
Articles
How To Cook Japanese Rice In Rice Cooker
Modified: February 21, 2024
Discover the best way to cook Japanese rice in a rice cooker with this informative article. Learn the tips and tricks to achieve perfectly cooked, fluffy rice every time.
(Many of the links in this article redirect to a specific reviewed product. Your purchase of these products through affiliate links helps to generate commission for Storables.com, at no extra cost. Learn more)
Introduction
Japanese rice, also known as Japonica rice or sushi rice, is a staple of Japanese cuisine. It has a sticky texture and a slightly sweet flavor, making it perfect for various dishes like sushi, onigiri, and donburi. While cooking rice on a stovetop can be a bit challenging, using a rice cooker simplifies the process and ensures perfectly cooked rice every time.
In this article, we will guide you on how to cook Japanese rice in a rice cooker. We will cover everything from choosing the right rice and washing it properly to the rice-to-water ratio and the step-by-step process of cooking. So, grab your rice cooker and let’s get started on our rice-cooking journey!
Key Takeaways:
- Master the art of cooking Japanese rice in a rice cooker for fluffy, perfectly cooked rice every time. Choose the right rice, wash it thoroughly, and follow the precise rice-to-water ratio for delicious results.
- Elevate your Japanese rice cooking skills by experimenting with flavorings, mixed rice blends, and homemade seasonings. Embrace the versatility of Japanese cuisine and enjoy the process of creating restaurant-quality rice dishes at home.
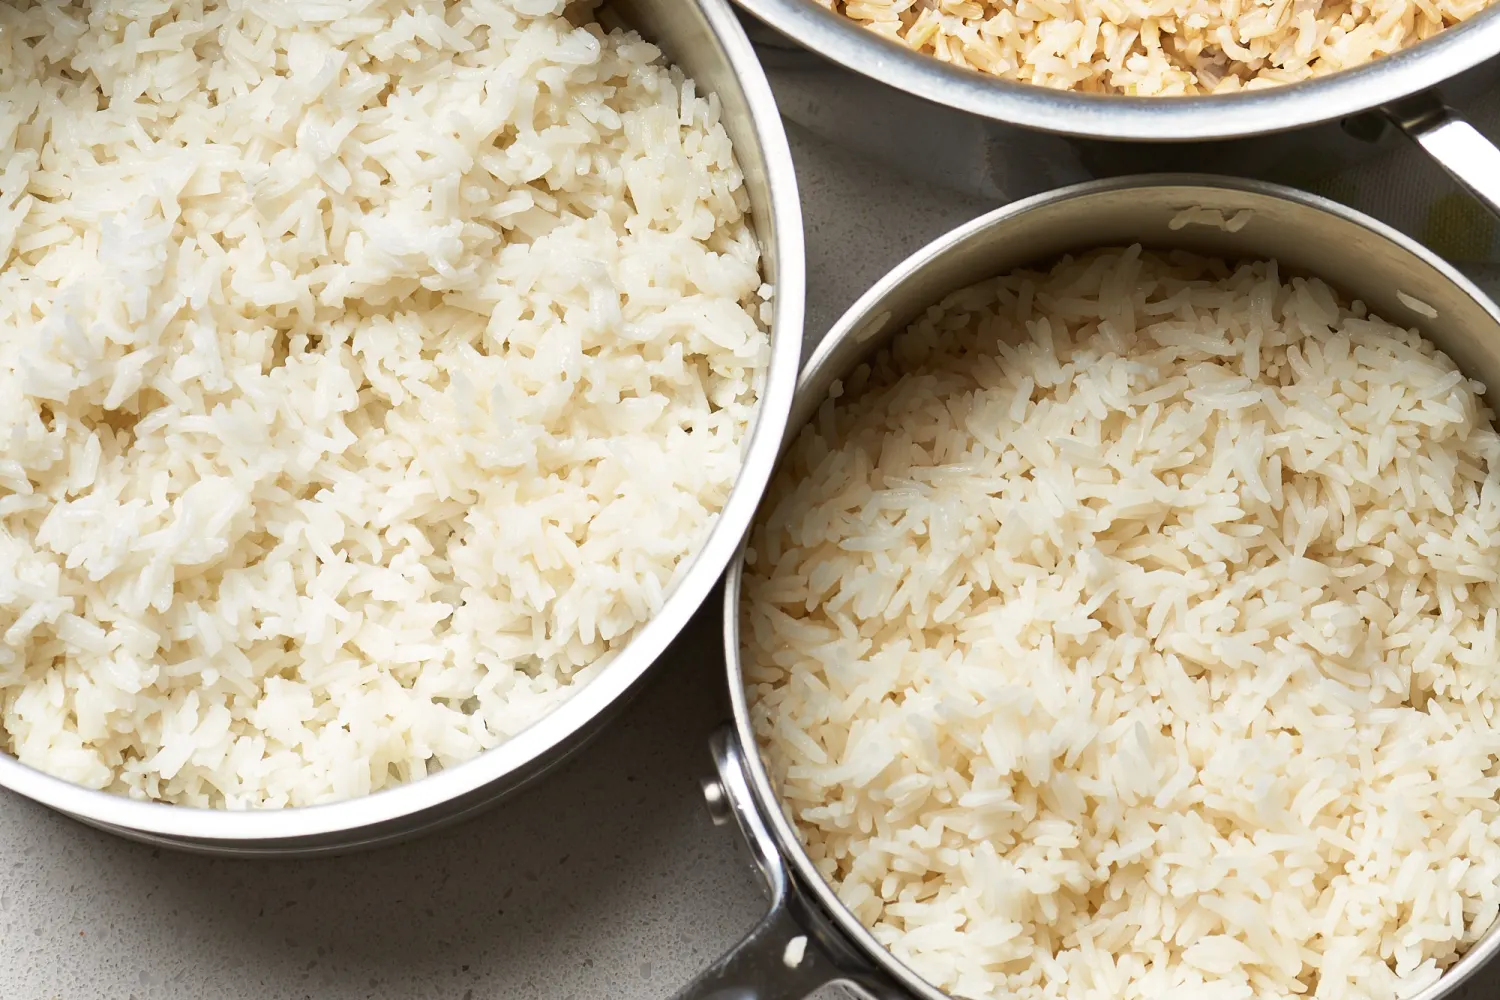
Choosing the Right Rice
When it comes to cooking Japanese rice, it is essential to choose the right type of rice. The most common variety used is short-grain Japonica rice, which has a higher starch content and lends itself well to the sticky consistency desired in Japanese cuisine.
Look for packages labeled “sushi rice” or “Japanese rice” at your local grocery store or Asian market. These varieties are specifically cultivated for their desirable texture and flavor. Pay attention to the brand and origin of the rice as well, as different regions may have unique characteristics in their rice production.
Additionally, consider whether you prefer white rice or brown rice. White rice has the outer husk, bran, and germ removed, resulting in a lighter and more refined texture. On the other hand, brown rice retains these outer layers, making it a healthier option with more fiber and nutrients.
Ultimately, the choice between white and brown rice depends on personal preference and dietary considerations. If you’re new to cooking Japanese rice or prefer a milder flavor, white rice is a great option to start with. As you become more familiar with the cooking process, you can experiment with different rice varieties to suit your taste.
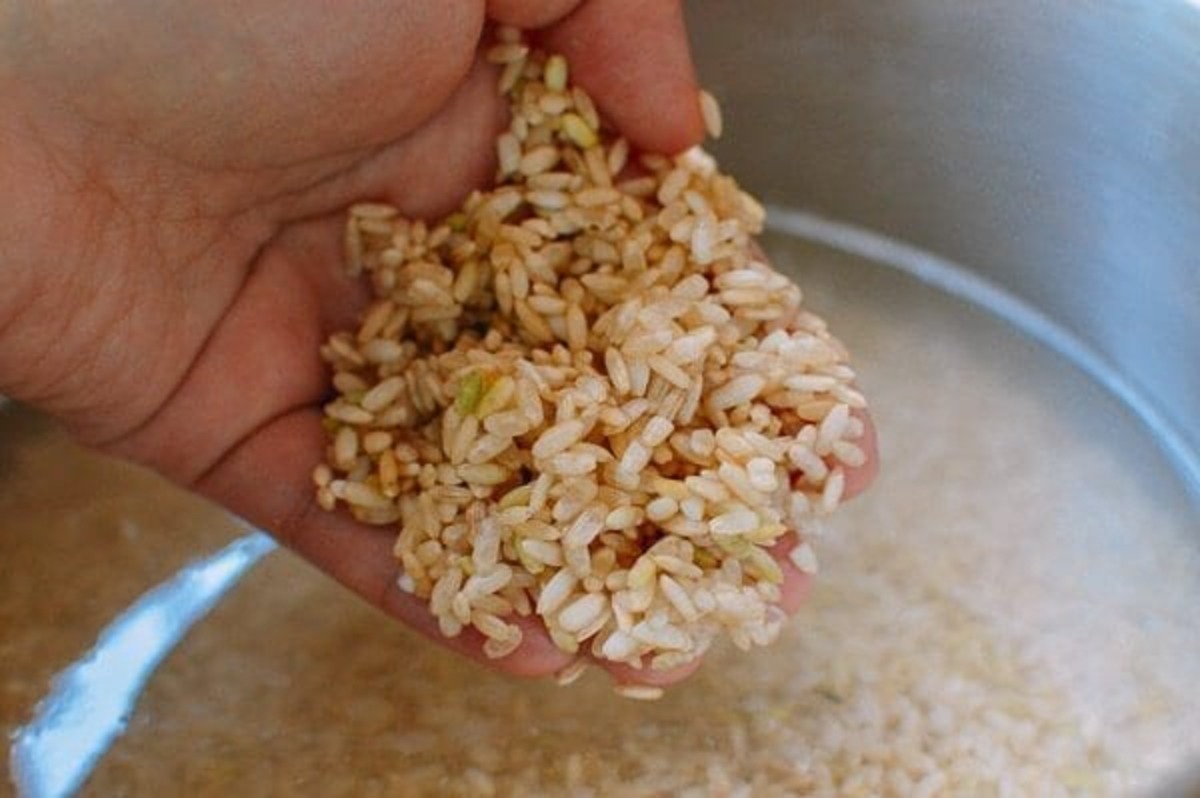
Washing the Rice
Before cooking Japanese rice, it is important to wash it thoroughly to remove any impurities and excess starch. This step helps improve the texture and taste of the cooked rice.
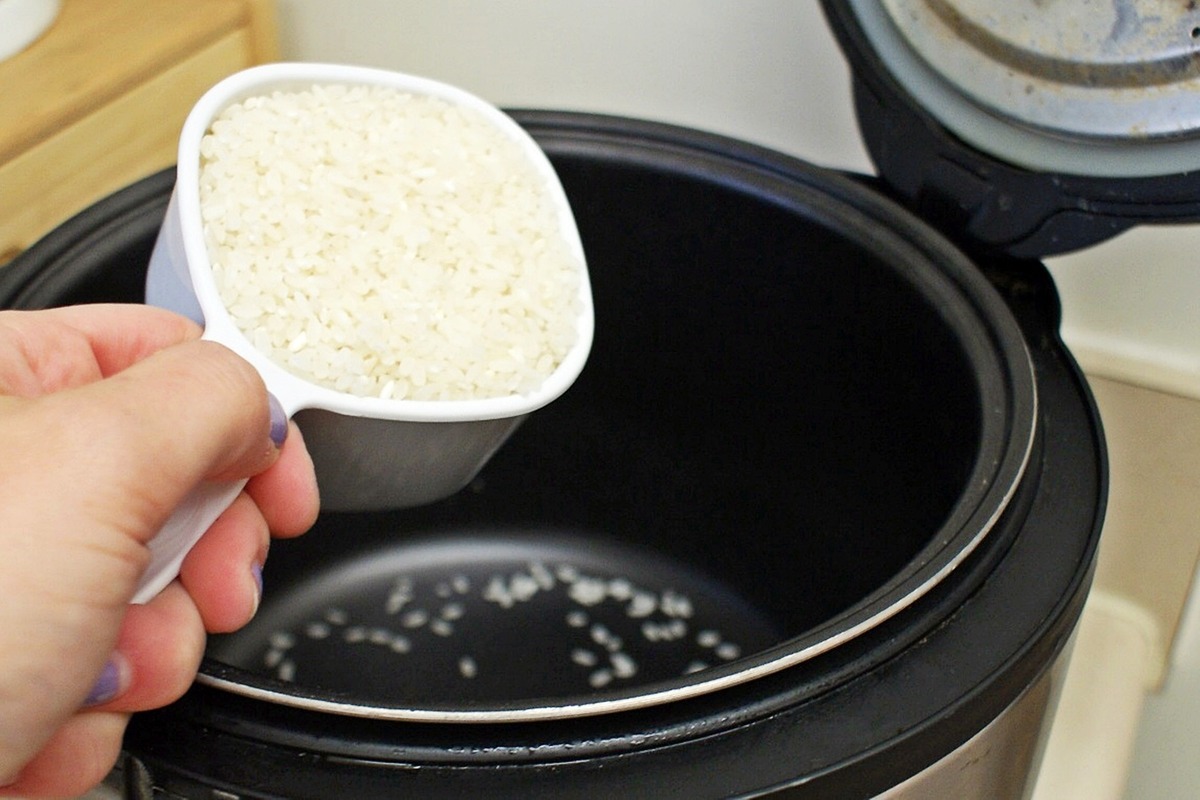
Start by measuring the desired amount of rice using a measuring cup and transferring it to a large bowl or colander. It is recommended to wash at least 2 cups of rice at a time to ensure an even distribution of water during cooking.
Next, pour cold water over the rice and gently stir it with your hand or a spoon. The water will turn cloudy due to the release of starch. Drain the water using the colander or gently tilt the bowl to pour out the water. Repeat this process 2-3 times until the water runs clear.
Be cautious while washing the rice to avoid causing damage to the grains. Avoid rubbing or vigorously stirring as this may result in broken or cracked rice. Instead, handle the rice with care and use a gentle stirring motion to loosen any dirt or impurities.
Some rice cookers come with a built-in rice-washing feature, which can be a convenient option. If your rice cooker has this feature, follow the manufacturer’s instructions to wash the rice directly in the cooking pot.
Once the rice is washed and drained, let it sit in the colander or bowl for a few minutes to remove excess water. It is now ready to be cooked in the rice cooker, ensuring perfectly fluffy and delicious Japanese rice.
Measuring the Rice and Water Ratio
Getting the rice-to-water ratio right is crucial for achieving well-cooked Japanese rice. The correct ratio ensures that the rice is not too dry or too mushy and has the right level of stickiness.
A general rule of thumb is to use 1 cup of rice for every 1.5 cups of water. However, this ratio may vary slightly depending on the type of rice and personal preference. Some people prefer their rice slightly drier, while others like it stickier.
If you are using a rice cooker with specific instructions for rice-to-water ratio, it is best to follow those guidelines. The rice cooker manufacturer will have tested their product to determine the optimal ratio for cooking rice.
For those without specific instructions, follow this simple method:
- Measure the desired amount of rice using a measuring cup and transfer it to the rice cooker pot.
- Rinse the rice as mentioned earlier to remove excess starch.
- After draining the rice, add the appropriate amount of water to the pot. For every cup of rice, add approximately 1.5 cups of water. Adjust this ratio based on your preference and previous experience with your rice cooker.
- Gently stir the rice and water together to ensure even distribution.
Always remember to use the same measuring cup for both the rice and water to maintain consistency in the ratio. Using a different cup size for either ingredient can throw off the balance.
By measuring the rice and water accurately, you can ensure the perfect texture and consistency of your Japanese rice. This careful attention to detail will make your rice dishes even more enjoyable!
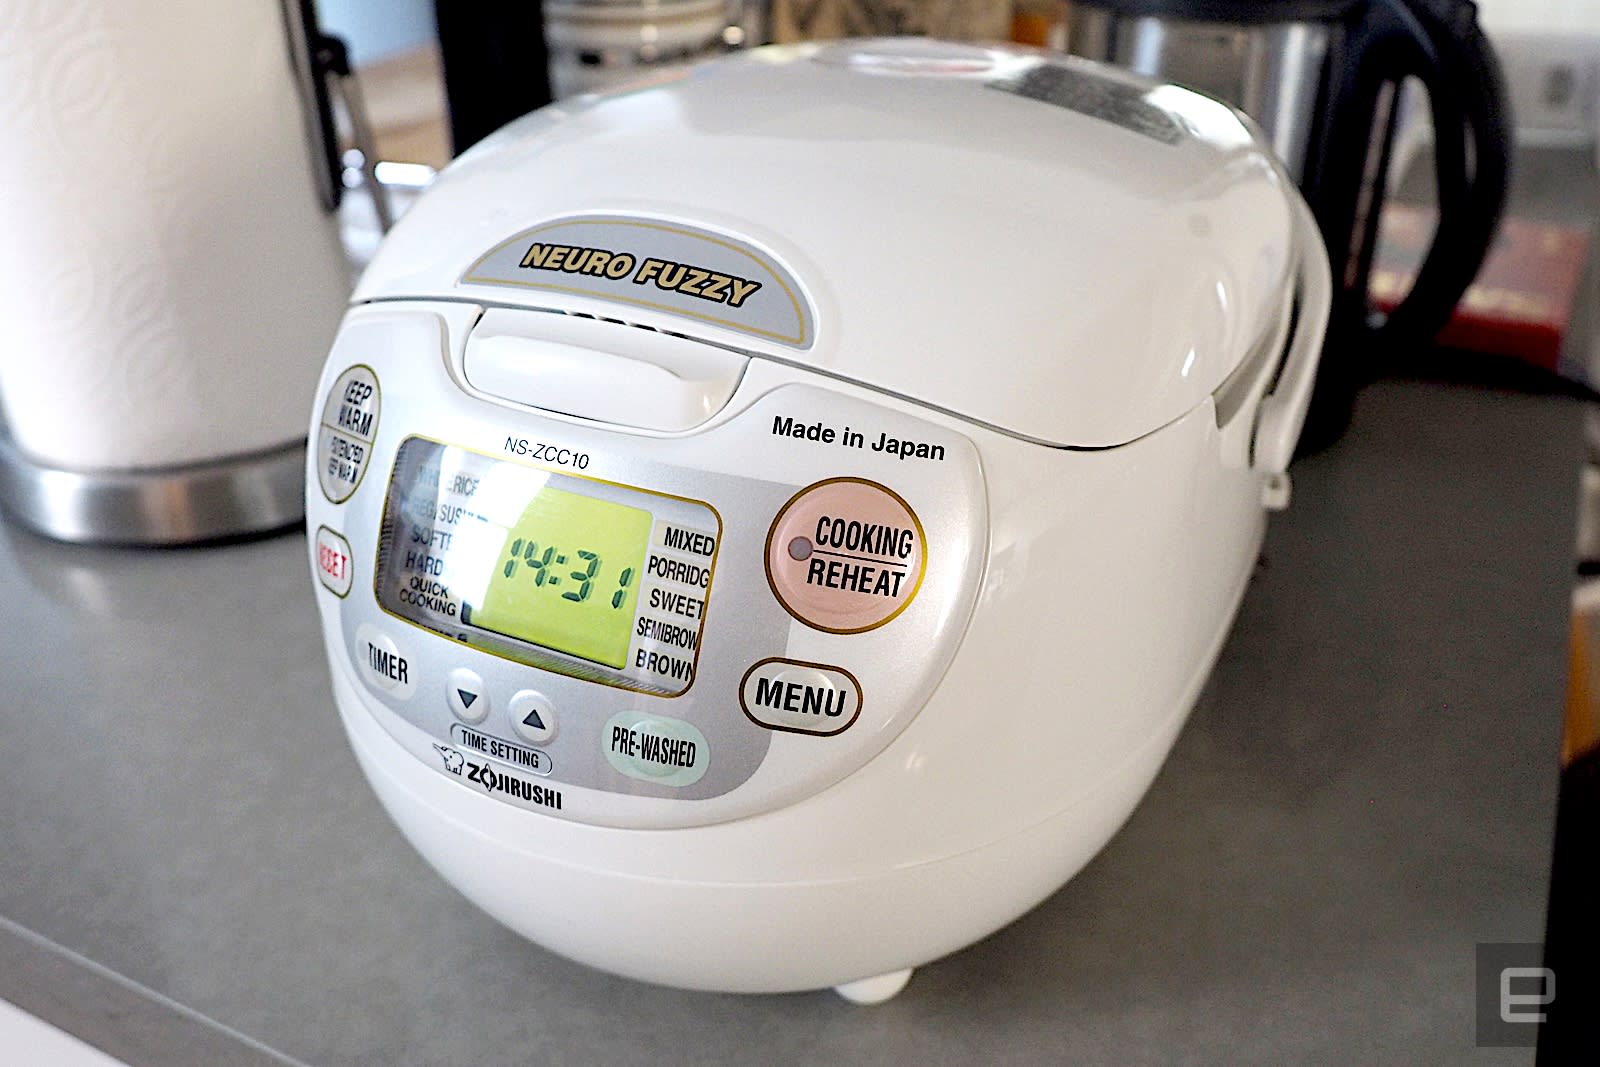
Preparing the Rice Cooker
Before cooking Japanese rice in a rice cooker, it is important to properly prepare the appliance to ensure optimal results. Follow these simple steps to prepare your rice cooker:
- Ensure that the inner pot of the rice cooker is clean and free from any residual food or debris. Wash it with warm soapy water, rinse thoroughly, and dry it completely.
- Place the cleaned inner pot back into the rice cooker. Make sure it is seated properly and securely before proceeding.
- If your rice cooker has a removable steam vent or condensation collector, detach them and clean them separately. This will help maintain the rice cooker’s efficiency during the cooking process.
- Reassemble the steam vent and condensation collector, making sure they fit snugly into their designated slots.
- Check the power cord for any damages or frayed wires. If any issues are spotted, repair or replace the cord before using the rice cooker.
- Ensure that the rice cooker is placed on a flat and stable surface, away from any flammable materials or water sources.
By taking the time to properly prepare your rice cooker, you can ensure that it is clean, safe, and ready to produce perfectly cooked Japanese rice.
Rinse the rice in a fine-mesh strainer until the water runs clear to remove excess starch. Use the correct rice-to-water ratio (usually 1:1) and let it sit for 10-15 minutes after cooking for best results.
Read more: How Much Rice For Rice Cooker
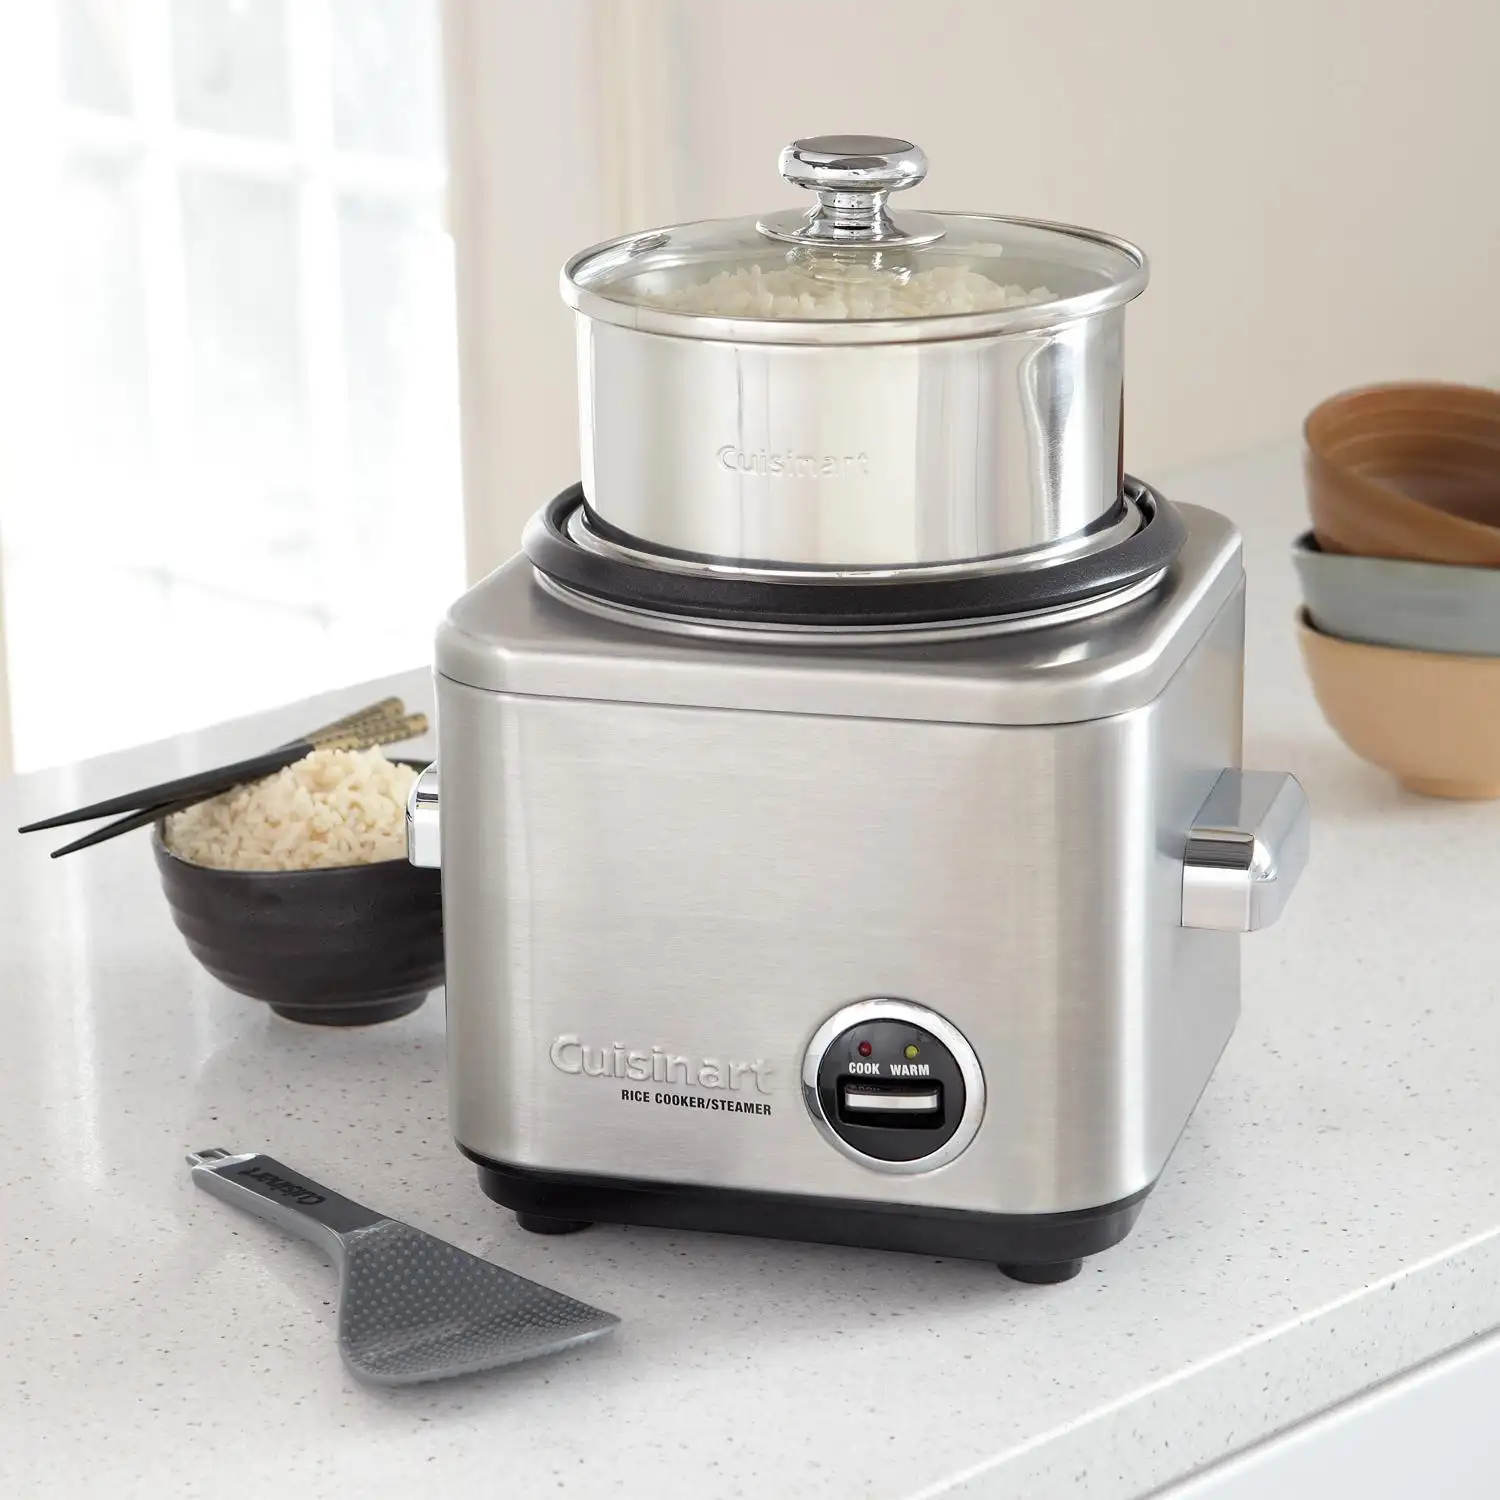
Cooking the Rice
Now that you have chosen the right rice, washed it, and prepared your rice cooker, it’s time to start cooking the Japanese rice. Follow these steps for a successful cooking process:
- Place the washed rice into the prepared rice cooker pot. Spread it evenly across the bottom, ensuring that the grains are evenly distributed.
- Close the lid of the rice cooker securely.
- Plug in the rice cooker and turn it on. Most rice cookers have a simple “Cook” or “Start” button.
- The rice cooker will automatically detect the rice and start the cooking process. Allow the rice to cook without opening the lid during the cooking cycle. This will ensure that the steam is trapped inside and the rice cooks evenly.
- The cooking time will vary depending on your rice cooker model and the amount of rice being cooked. On average, it takes about 20-30 minutes for the rice to cook.
During the cooking process, the rice cooker will maintain an optimal temperature and moisture level to cook the rice thoroughly. It will automatically switch to the “Keep Warm” setting once the rice is cooked to maintain its temperature until you are ready to serve.
Resist the temptation to open the lid during the cooking process, as this can release steam and disrupt the cooking. Trust in the rice cooker to do its job and let it work its magic.
Once the cooking cycle is complete, your rice should be perfectly cooked and ready to enjoy. Remember to unplug the rice cooker when you are done to ensure safety and save energy.
Cooking Japanese rice in a rice cooker takes the guesswork out of the process and delivers consistent results every time. Now that the rice is cooked, all that’s left to do is let it rest for a few minutes before serving.
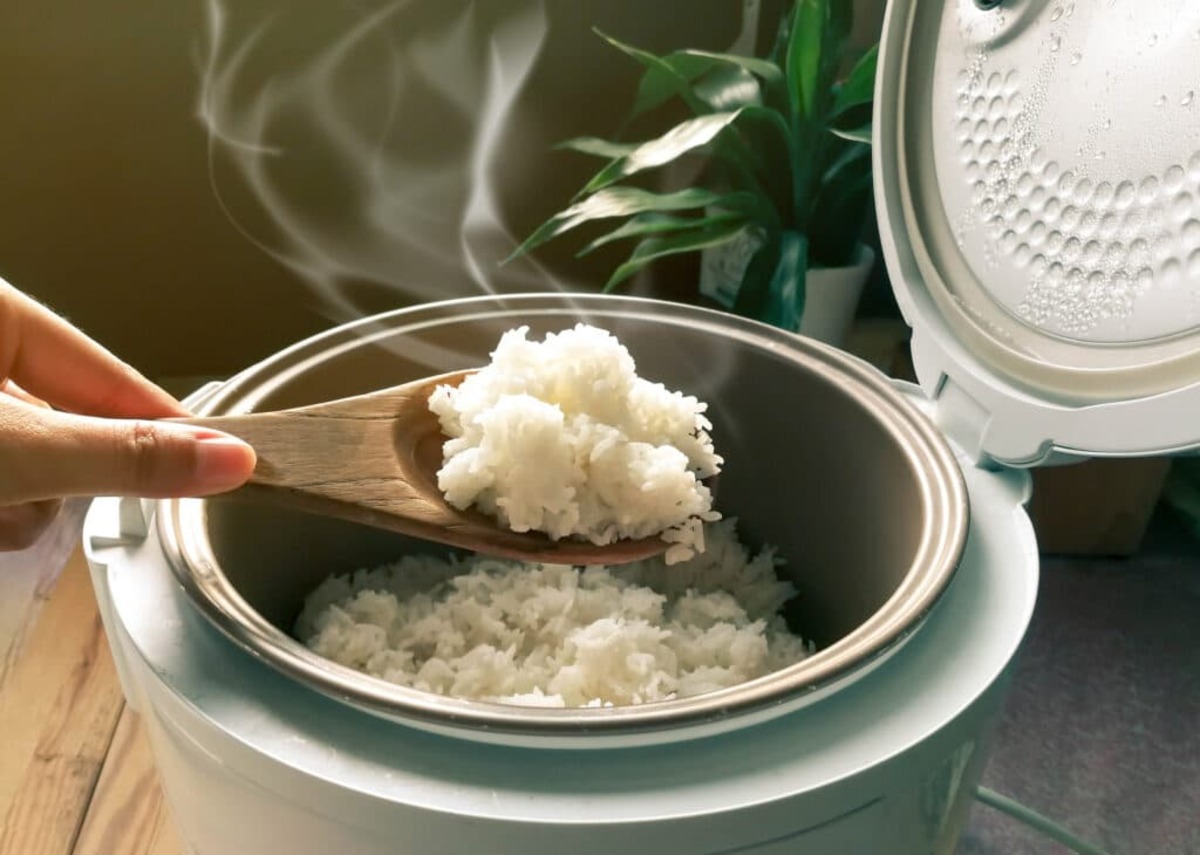
Letting the Rice Rest
After the rice has finished cooking in the rice cooker, it is important to let it rest before serving. This resting period allows the rice to settle and finish absorbing any remaining moisture, resulting in a better texture and flavor.
Once the cooking cycle is complete, resist the urge to immediately open the rice cooker lid. Let the cooked rice sit inside the rice cooker for about 10-15 minutes with the lid closed. This resting time allows the steam to distribute evenly throughout the rice and helps to avoid a gummy or sticky texture.
During this resting period, avoid stirring or fluffing the rice as it needs time to settle. The steam trapped inside the rice cooker will continue to cook and soften the rice grains, resulting in a fluffy and well-textured final product.
While the rice is resting, take this time to prepare any accompanying dishes or set the table. Use this opportunity to enhance your meal with side dishes like miso soup, pickles, or stir-fried vegetables.
After the rice has had time to rest, you’re ready to proceed to the next step: fluffing and serving the rice.
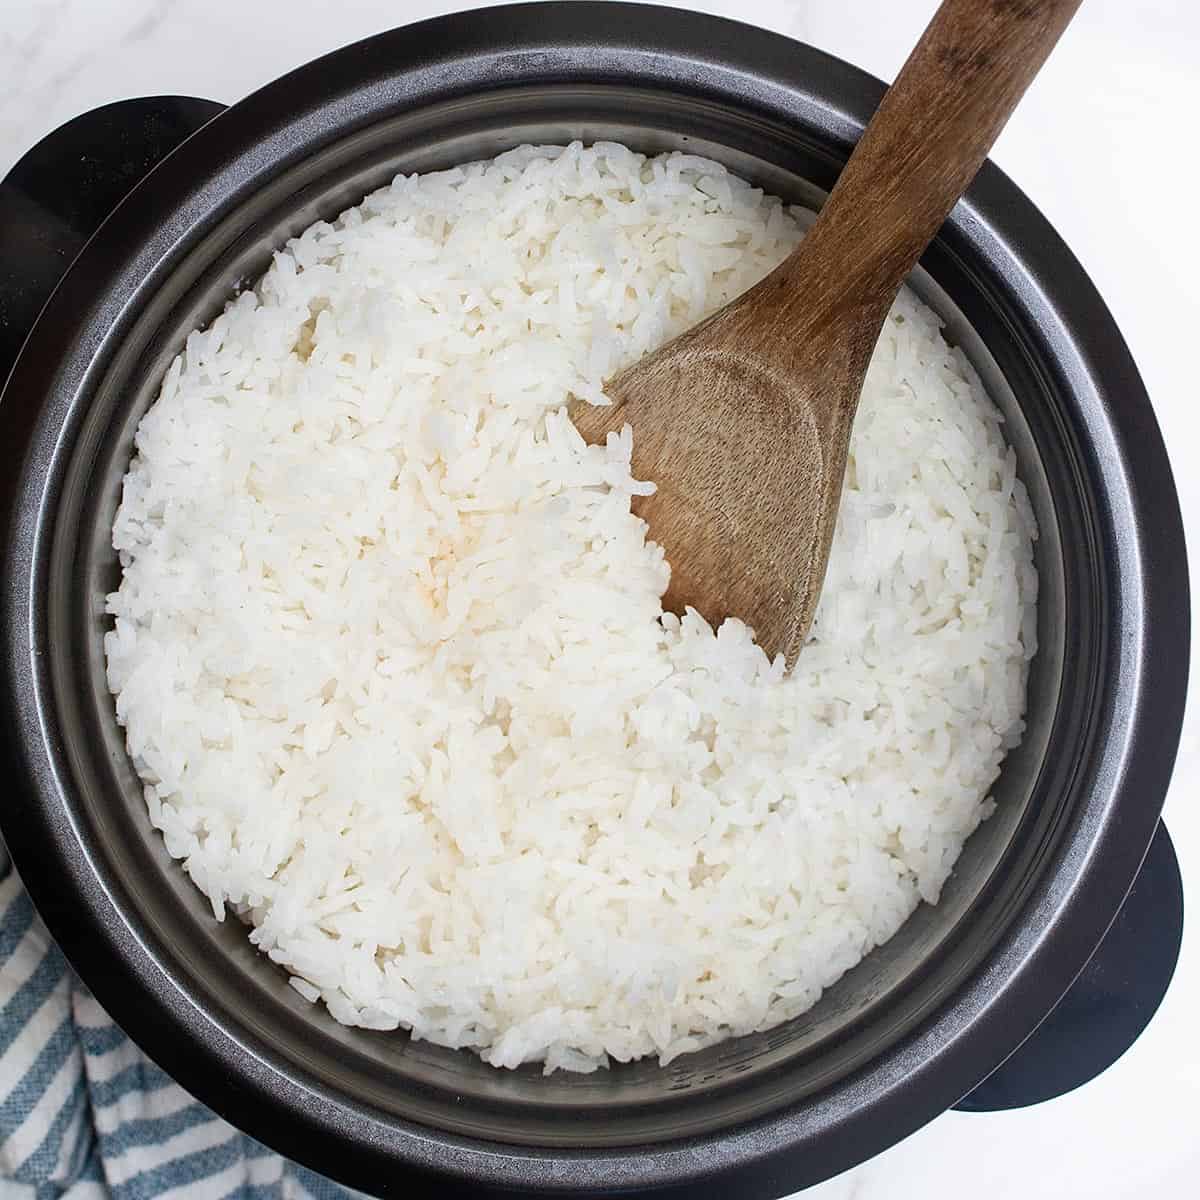
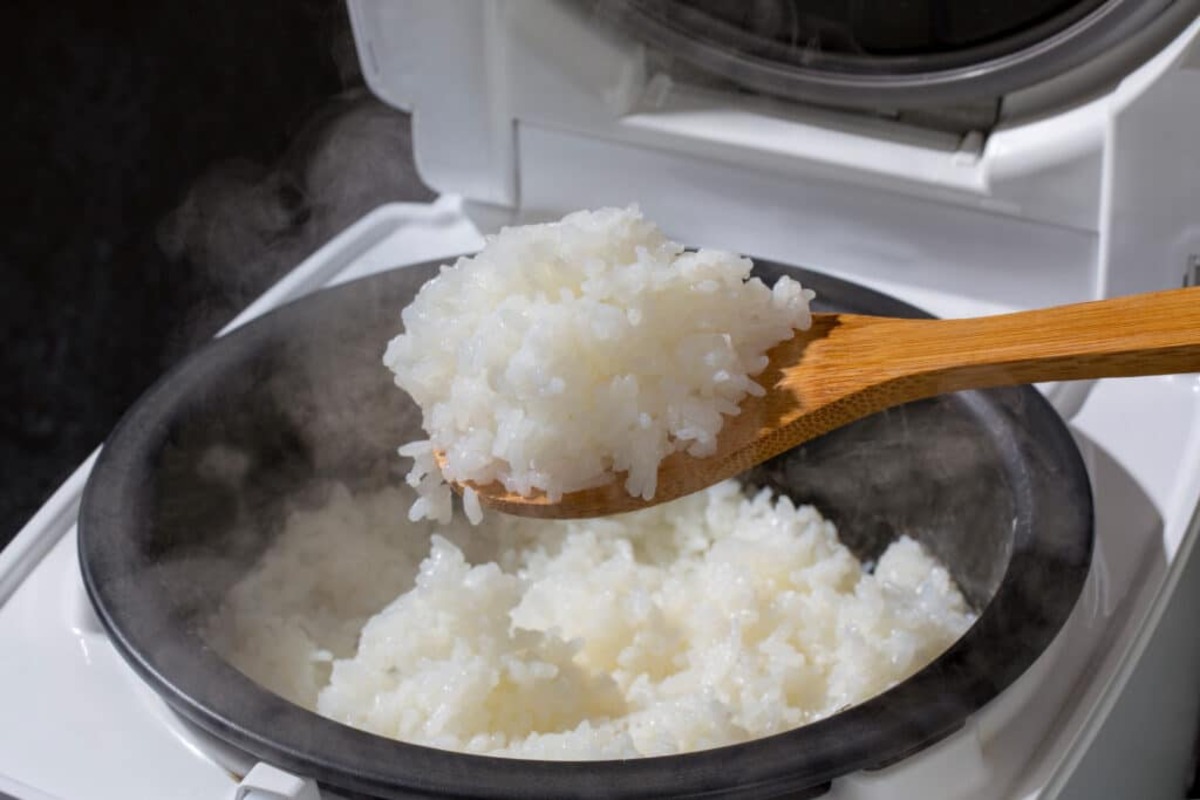
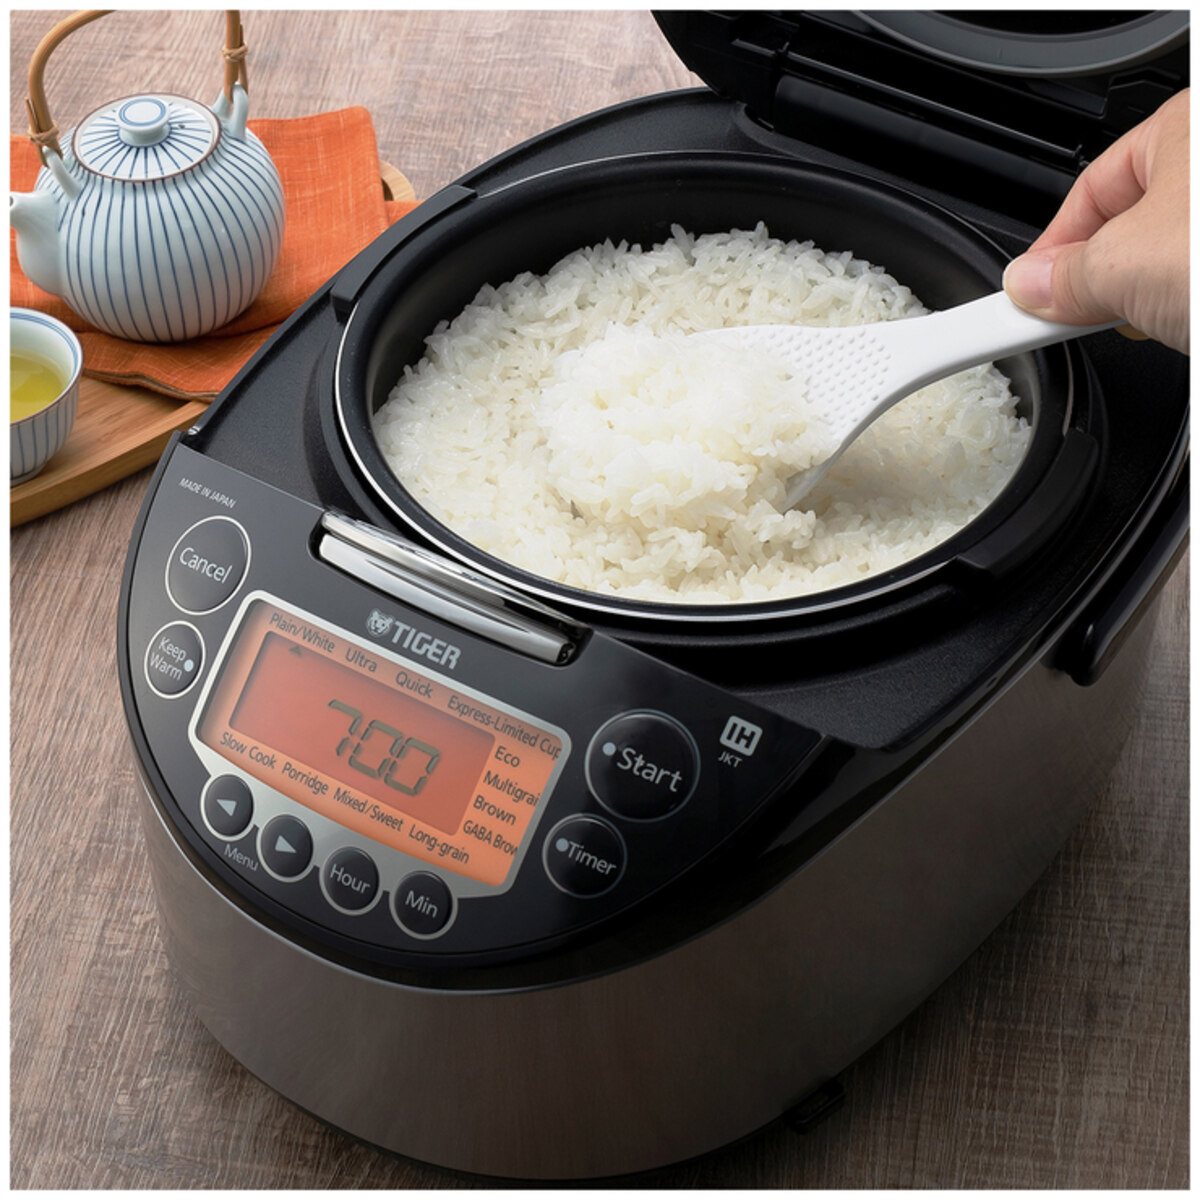
Fluffing and Serving the Rice
Now that the rice has rested, it’s time to fluff it and serve it. This step helps to separate the individual grains and enhance the overall texture and presentation of the cooked rice.
Start by opening the lid of the rice cooker and using a rice paddle or a wooden spoon, gently fluff the rice. Use a scooping and folding motion to loosen the grains and break up any clumps. Be careful not to mash or crush the rice while doing this.
While fluffing the rice, take a moment to appreciate the aroma and steam that wafts up. The satisfying fragrant scent of freshly cooked Japanese rice fills the air, signaling that you’re close to enjoying a delicious meal.
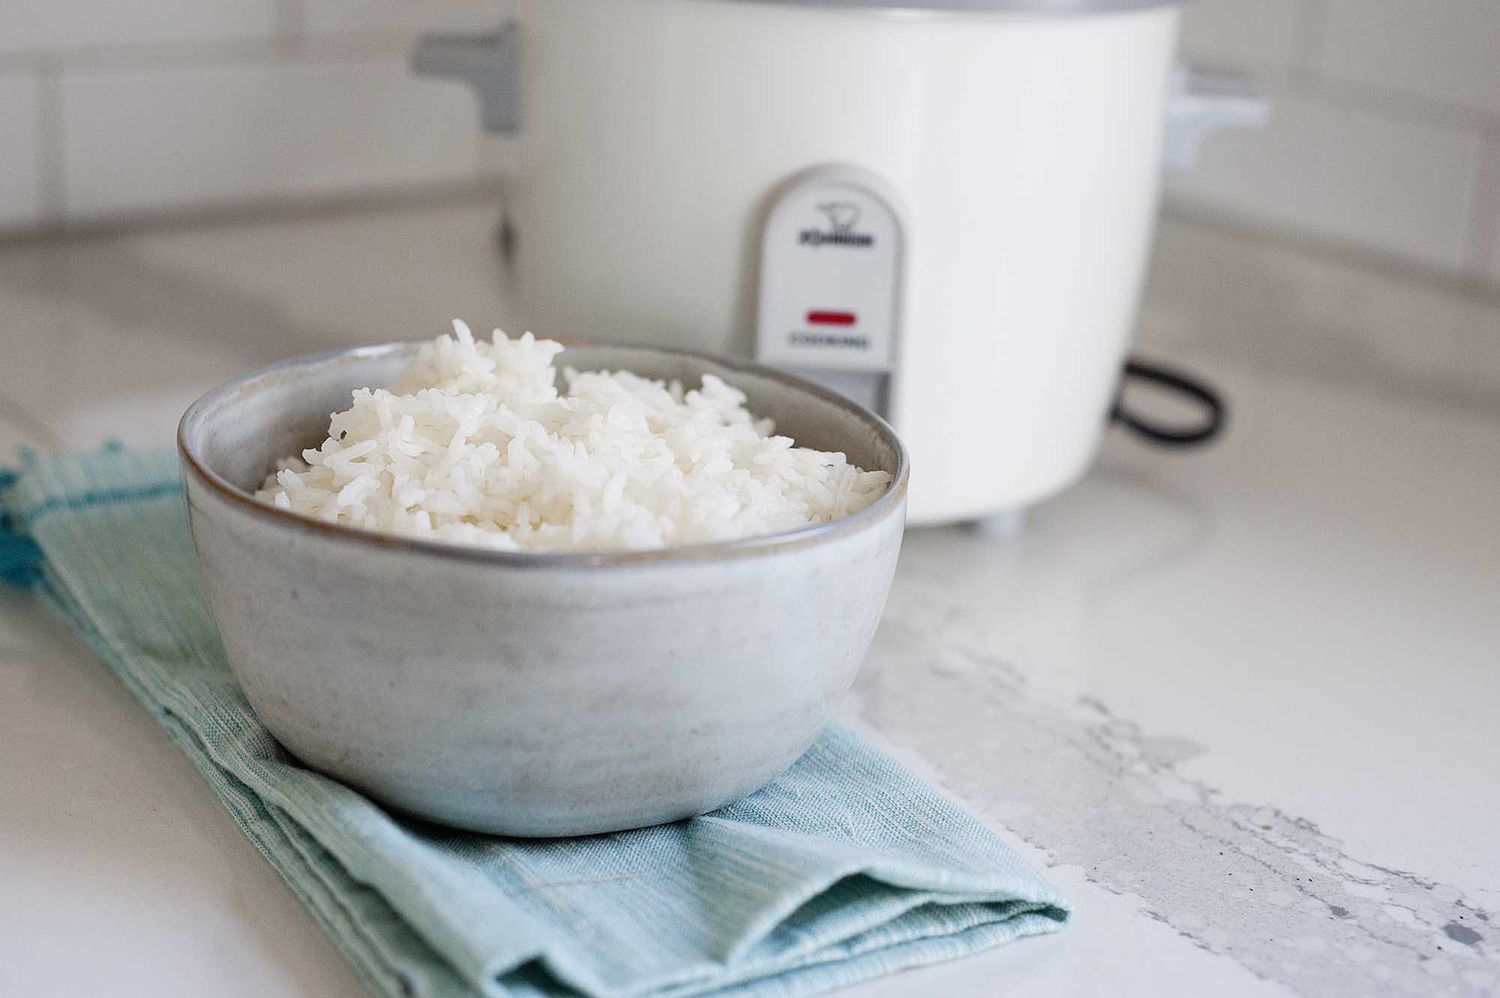
Once the rice is fluffed, it is ready to be served. Use the rice paddle or spoon to scoop the desired amount of rice onto individual plates or bowls. Japanese rice is often served in small or medium-sized bowls, allowing it to be easily enjoyed with other dishes.
As you serve the rice, take notice of its consistency and texture. Ideally, each grain should be separate and have a slight stickiness that holds them together, without being overly clumpy or mushy.
Japanese rice pairs well with a wide variety of dishes. From sushi and sashimi to teriyaki chicken or beef, the options are endless. The fluffy and slightly sticky texture of the rice complements the flavors of the accompanying dishes.
Remember to handle the rice gently and with care while serving. It is a precious part of Japanese cuisine, and its proper preparation and presentation reflect the respect and craftsmanship behind this staple food.
Now that the rice is fluffed and served, it’s time to dig in and enjoy the fruits of your cooking endeavors. Share the meal with loved ones and savor the flavors of Japanese cuisine!
Tips and Variations
Cooking Japanese rice in a rice cooker is a straightforward process, but here are some additional tips and variations to help you elevate your rice cooking skills:
- Use a rice cooker with a timer feature: If your rice cooker has a timer function, you can set it to start cooking at a specific time. This is especially useful if you want to have freshly cooked rice ready for breakfast or dinner.
- Add flavorings: For additional flavor, you can add ingredients like a strip of kombu (edible kelp) or a few drops of rice vinegar to the rice cooker before cooking. This will infuse the rice with a subtle umami taste.
- Try mixed rice: Experiment with different types of rice to create unique blends. You can mix white and brown rice for a healthier option or add in grains like quinoa for added texture and nutrition.
- Make rice seasoning: Prepare a homemade seasoning mix by combining ingredients like sesame seeds, furikake (Japanese seasoning), or roasted seaweed flakes. Sprinkle this seasoning over the rice before serving to add an extra layer of flavor.
- Store leftover rice properly: If you have leftover rice, store it in an airtight container in the refrigerator. Use it within 1-2 days, and if it becomes slightly dry, sprinkle a little water over the rice and reheat it in the microwave or steam it to restore its moisture.
- Explore different rice varieties: While short-grain Japonica rice is the most commonly used for Japanese cuisine, you can also experiment with other rice varieties like medium-grain or sushi rice to create different textures and flavors.
Remember, practice makes perfect. Don’t be discouraged if your first attempts at cooking Japanese rice don’t turn out exactly as expected. With time and experience, you will become more proficient in cooking perfect Japanese rice using a rice cooker.
Enjoy the process and have fun in the kitchen as you explore the vast world of Japanese cuisine with its delicious rice dishes and culinary delights!
Read more: How To Cook Fluffy Rice In A Rice Cooker
Conclusion
Cooking Japanese rice in a rice cooker is a convenient and foolproof way to achieve perfectly cooked rice with minimal effort. By following the steps in this guide, you can enjoy fluffy and delicious Japanese rice every time you cook.
Remember to choose the right type of rice, wash it thoroughly, and measure the rice-to-water ratio accurately. Preparing the rice cooker and allowing the rice to rest after cooking are important steps that contribute to the final texture and flavor of the rice.
You can customize your Japanese rice by adding flavorings or trying different rice blends. Experiment with new recipes and enjoy the versatility of this staple food in Japanese cuisine.
Whether you’re making sushi, onigiri, or enjoying a bowl of plain rice alongside a delicious Japanese dish, the quality of your rice can make a significant difference. With a rice cooker as your ally, you can confidently create restaurant-quality Japanese rice in the comfort of your own home.
So, round up your ingredients, fire up your rice cooker, and embark on a culinary journey filled with the delightful taste and texture of perfectly cooked Japanese rice!
Happy cooking and enjoy your rice!
Frequently Asked Questions about How To Cook Japanese Rice In Rice Cooker
Was this page helpful?
At Storables.com, we guarantee accurate and reliable information. Our content, validated by Expert Board Contributors, is crafted following stringent Editorial Policies. We're committed to providing you with well-researched, expert-backed insights for all your informational needs.


0 thoughts on “How To Cook Japanese Rice In Rice Cooker”