Articles
How To Cook Korean Rice In Rice Cooker
Modified: August 28, 2024
Looking for articles on how to cook Korean rice in a rice cooker? Find simple and easy-to-follow instructions in this helpful guide.
(Many of the links in this article redirect to a specific reviewed product. Your purchase of these products through affiliate links helps to generate commission for Storables.com, at no extra cost. Learn more)
Introduction:
When it comes to Korean cuisine, one dish that is an essential part of every meal is rice. Korean rice, also known as “bap,” is a staple food in Korean households and is a perfect accompaniment to various dishes such as kimchi, bulgogi, and bibimbap. While there are different methods to cook rice, using a rice cooker is the most convenient and foolproof way to achieve fluffy and perfectly cooked Korean rice.
In this article, we will guide you through the process of cooking Korean rice in a rice cooker. We will cover all the steps and techniques needed to ensure that you get delicious and authentic Korean rice from the comfort of your own kitchen.
Before we begin, let’s gather the necessary equipment and ingredients.
Key Takeaways:
- Enjoy fluffy and authentic Korean rice by following these simple steps to cook in a rice cooker. Perfect for pairing with your favorite Korean dishes!
- With the right equipment and ingredients, you can easily achieve fluffy and delicious Korean rice using a rice cooker. Elevate your Korean-inspired meals!
Equipment needed:
To cook Korean rice in a rice cooker, you will need the following equipment:
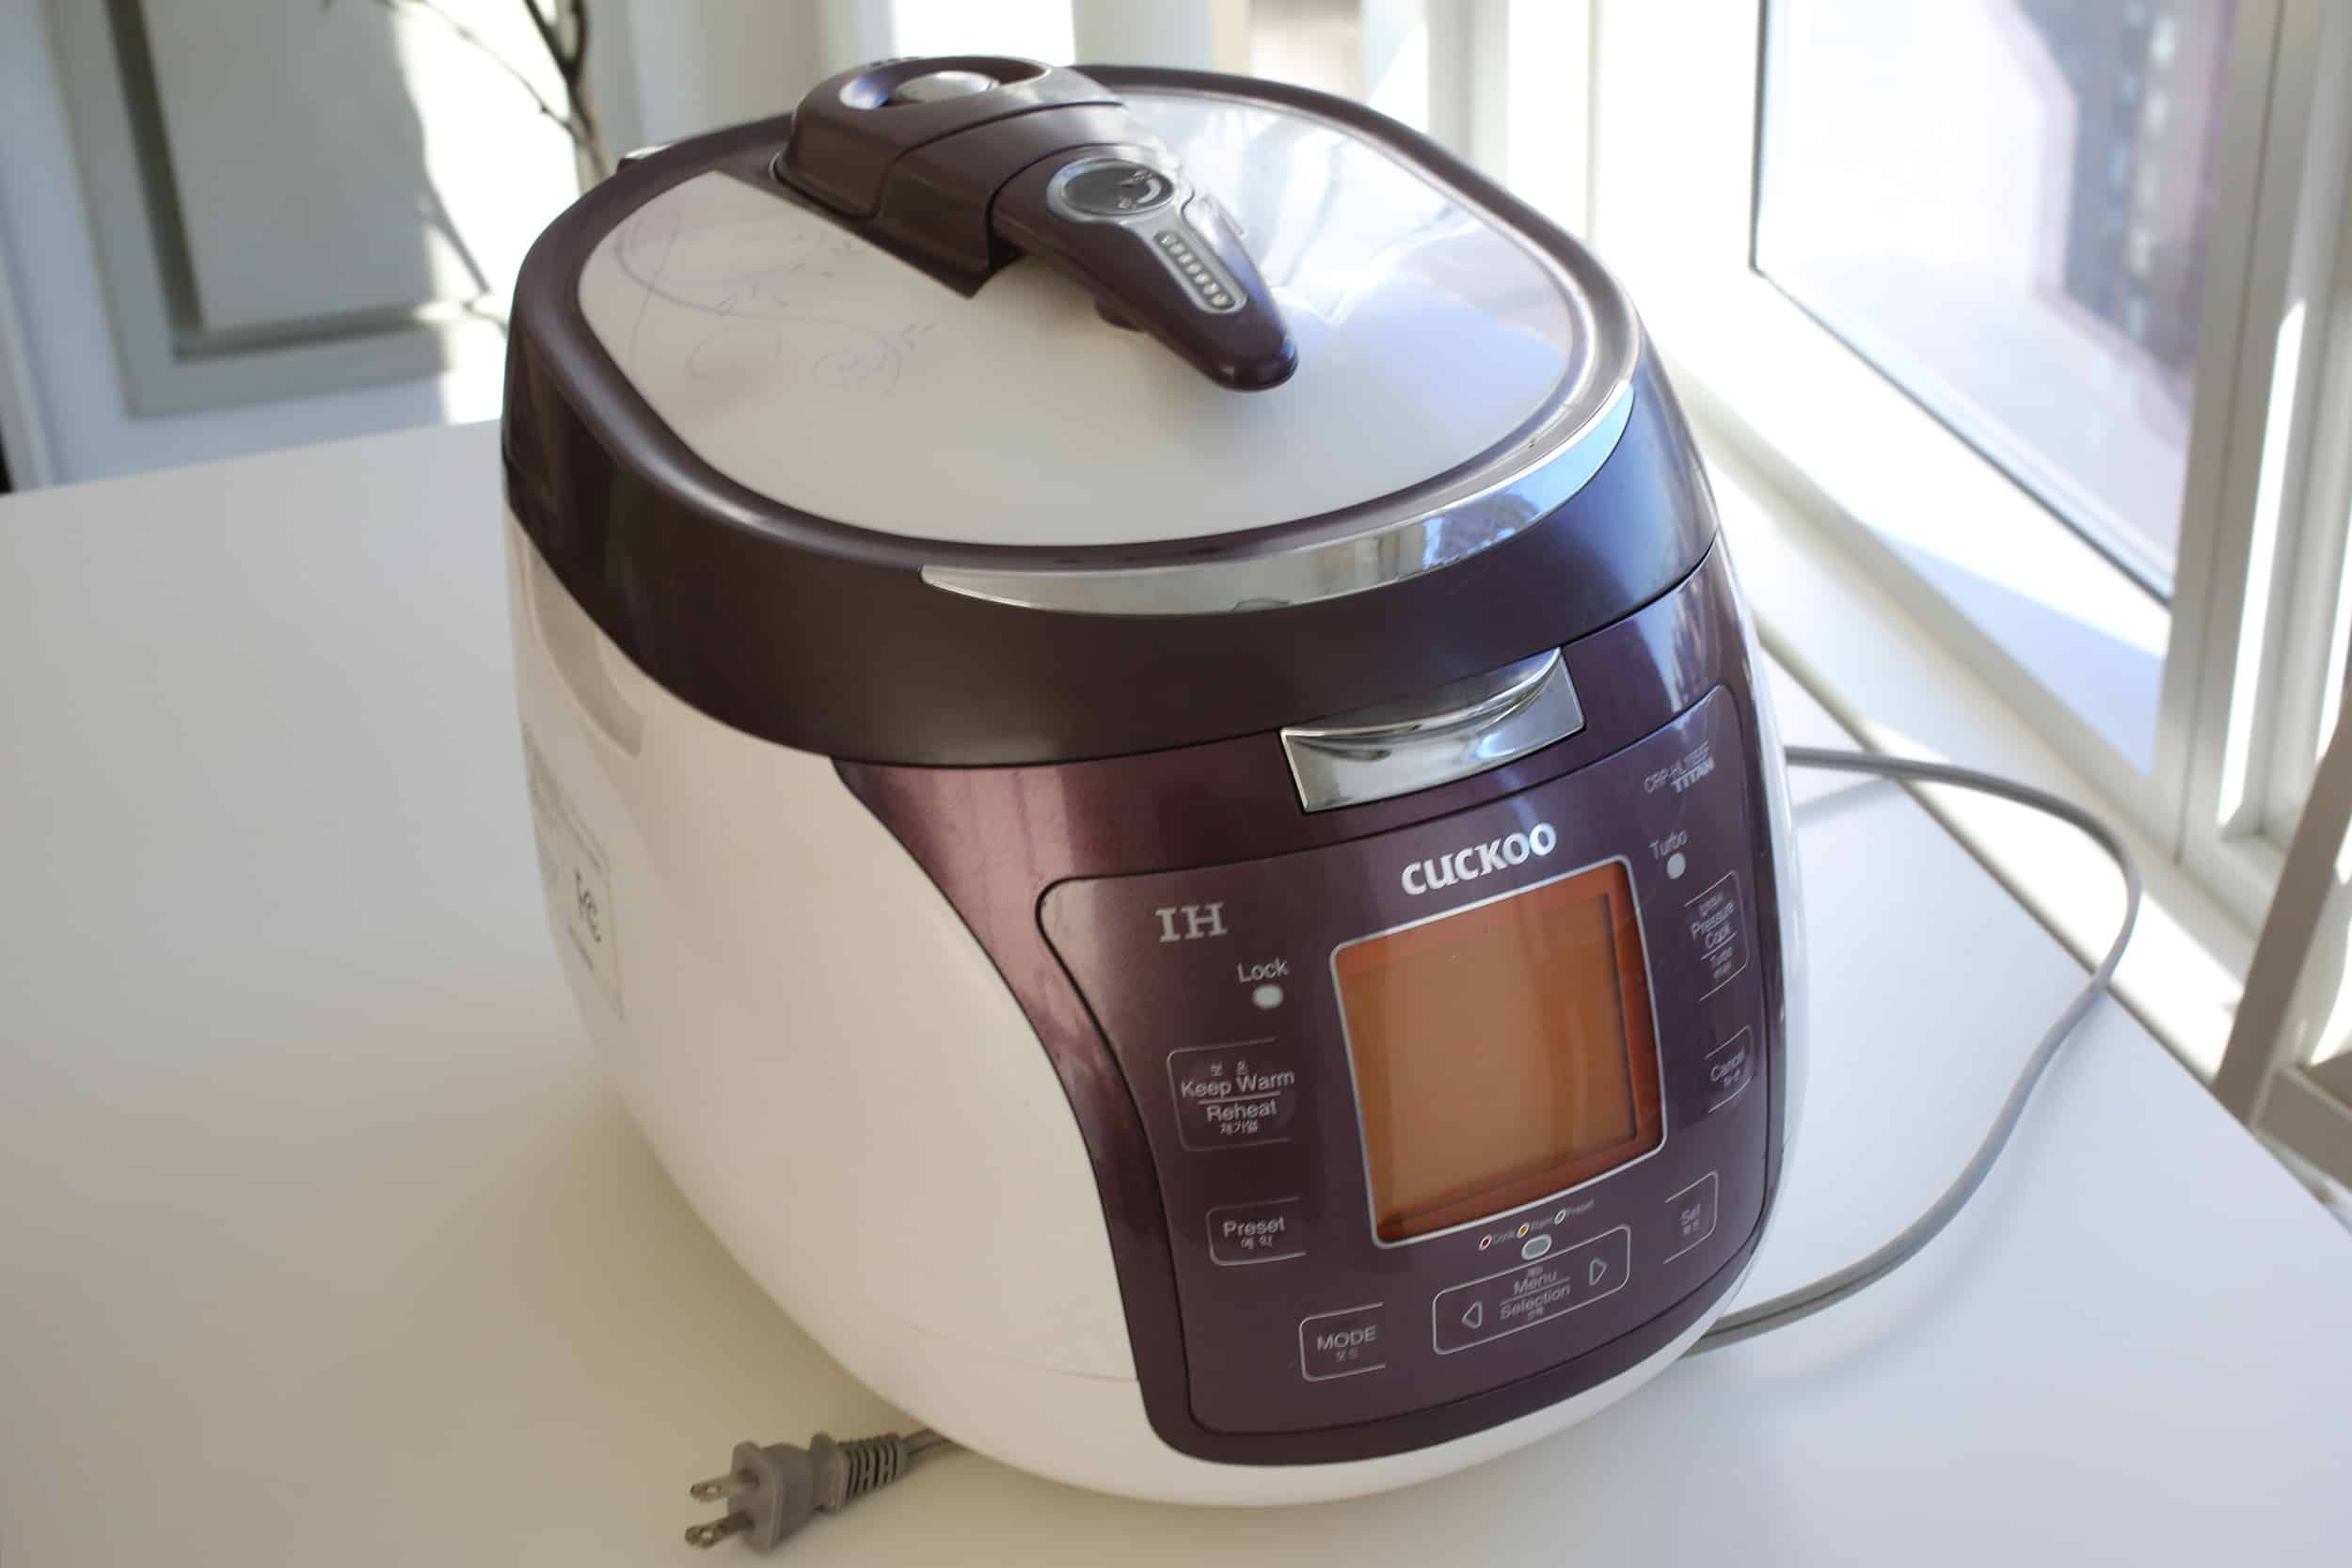
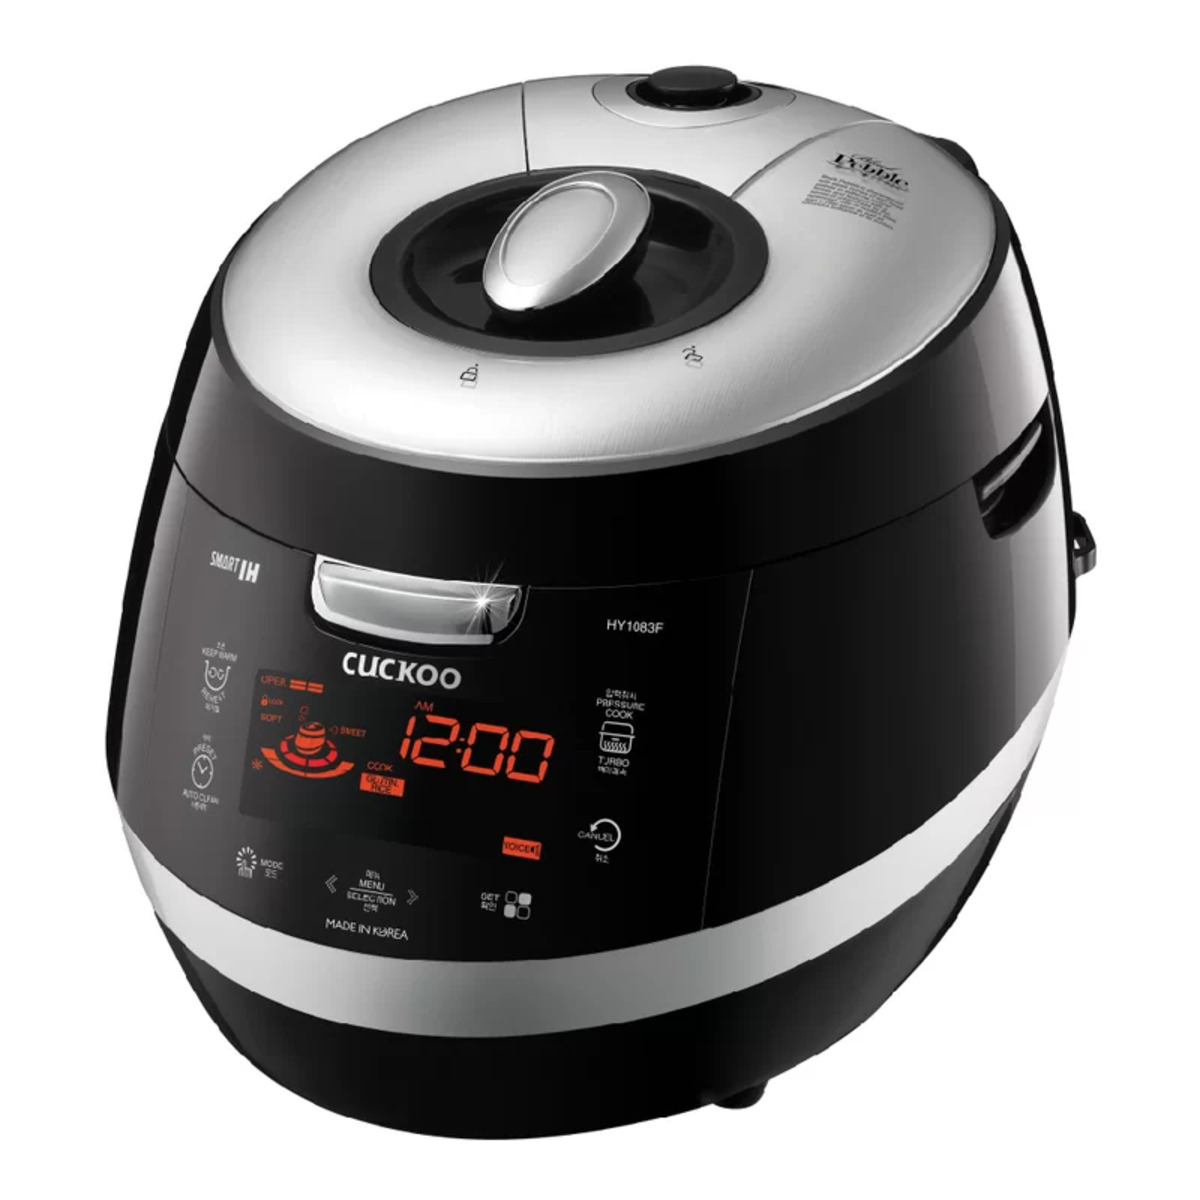
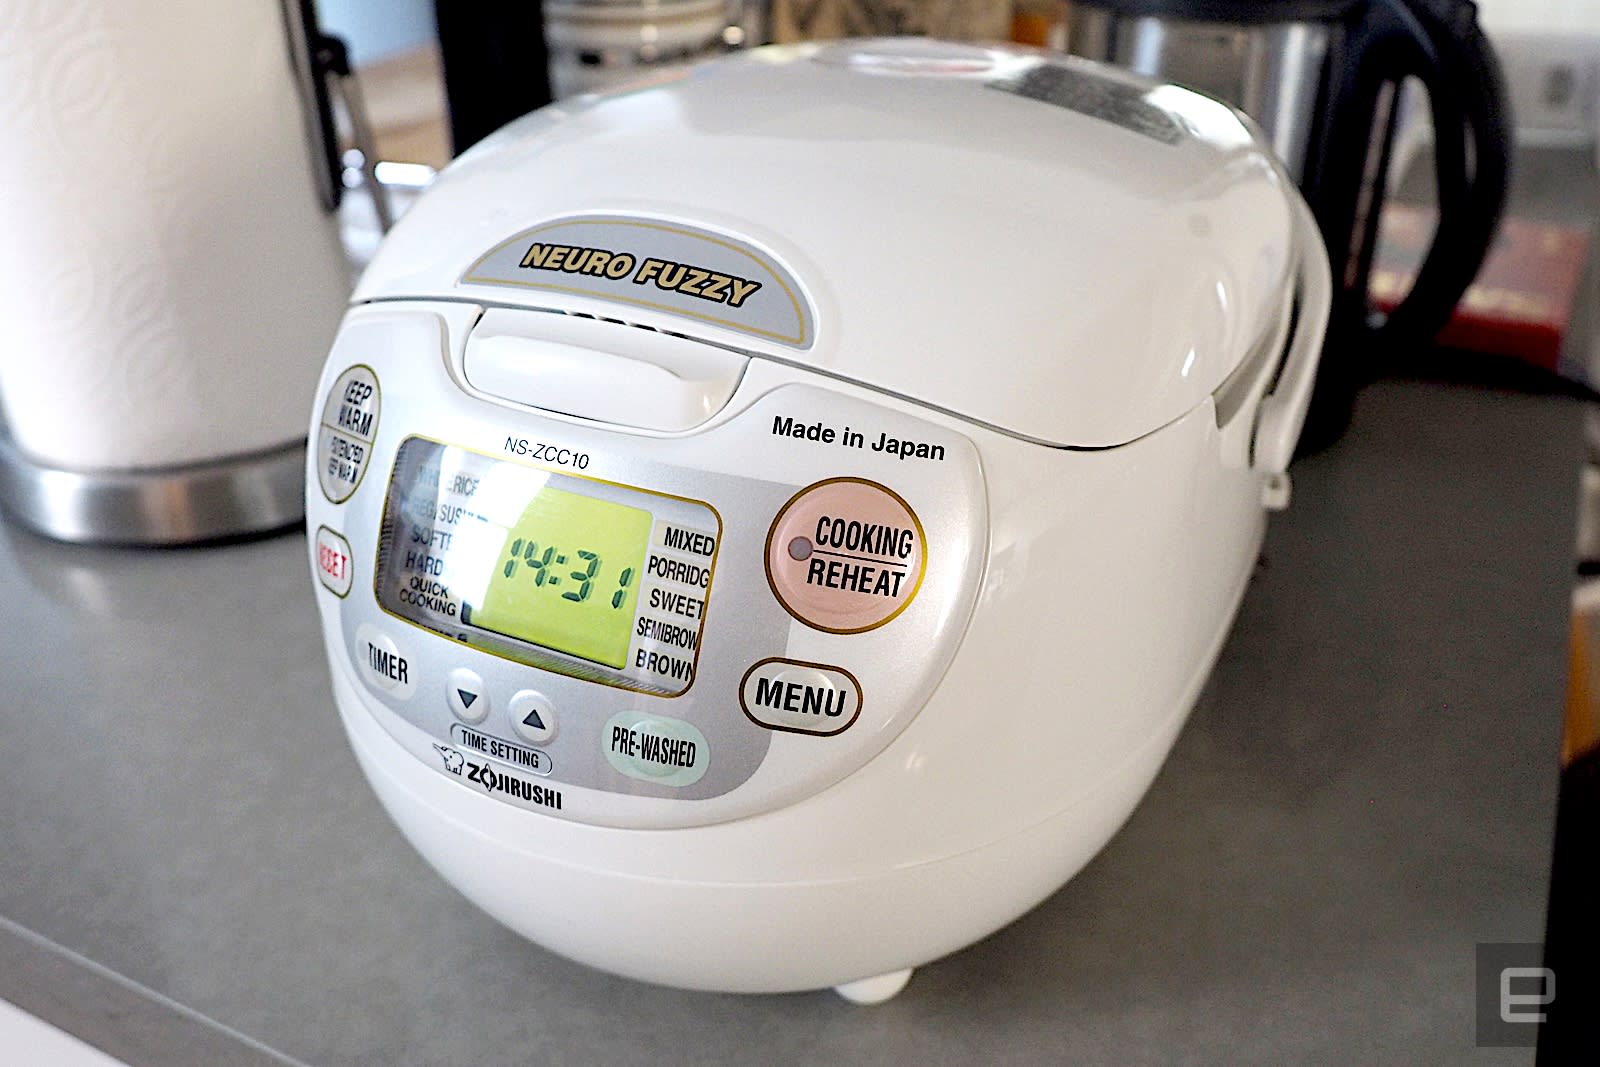
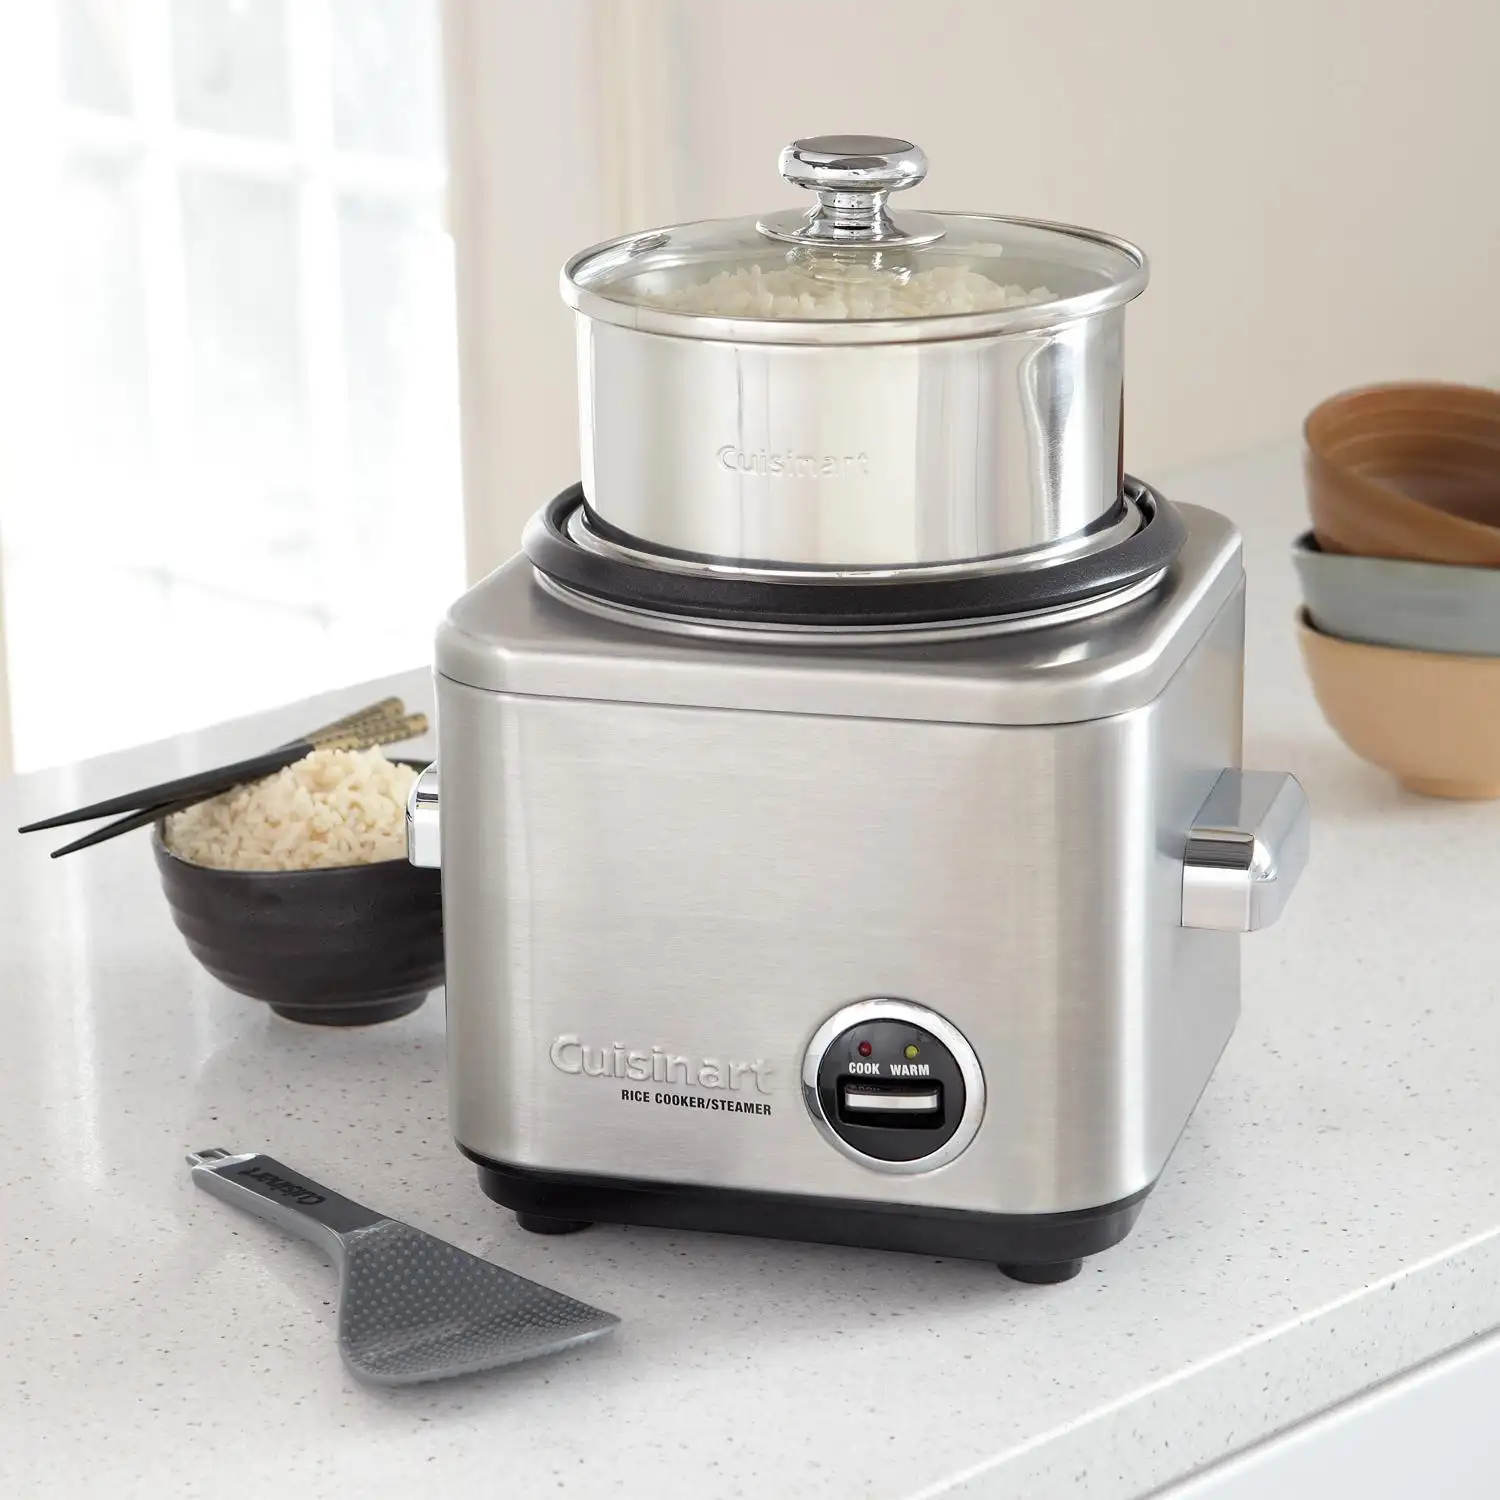
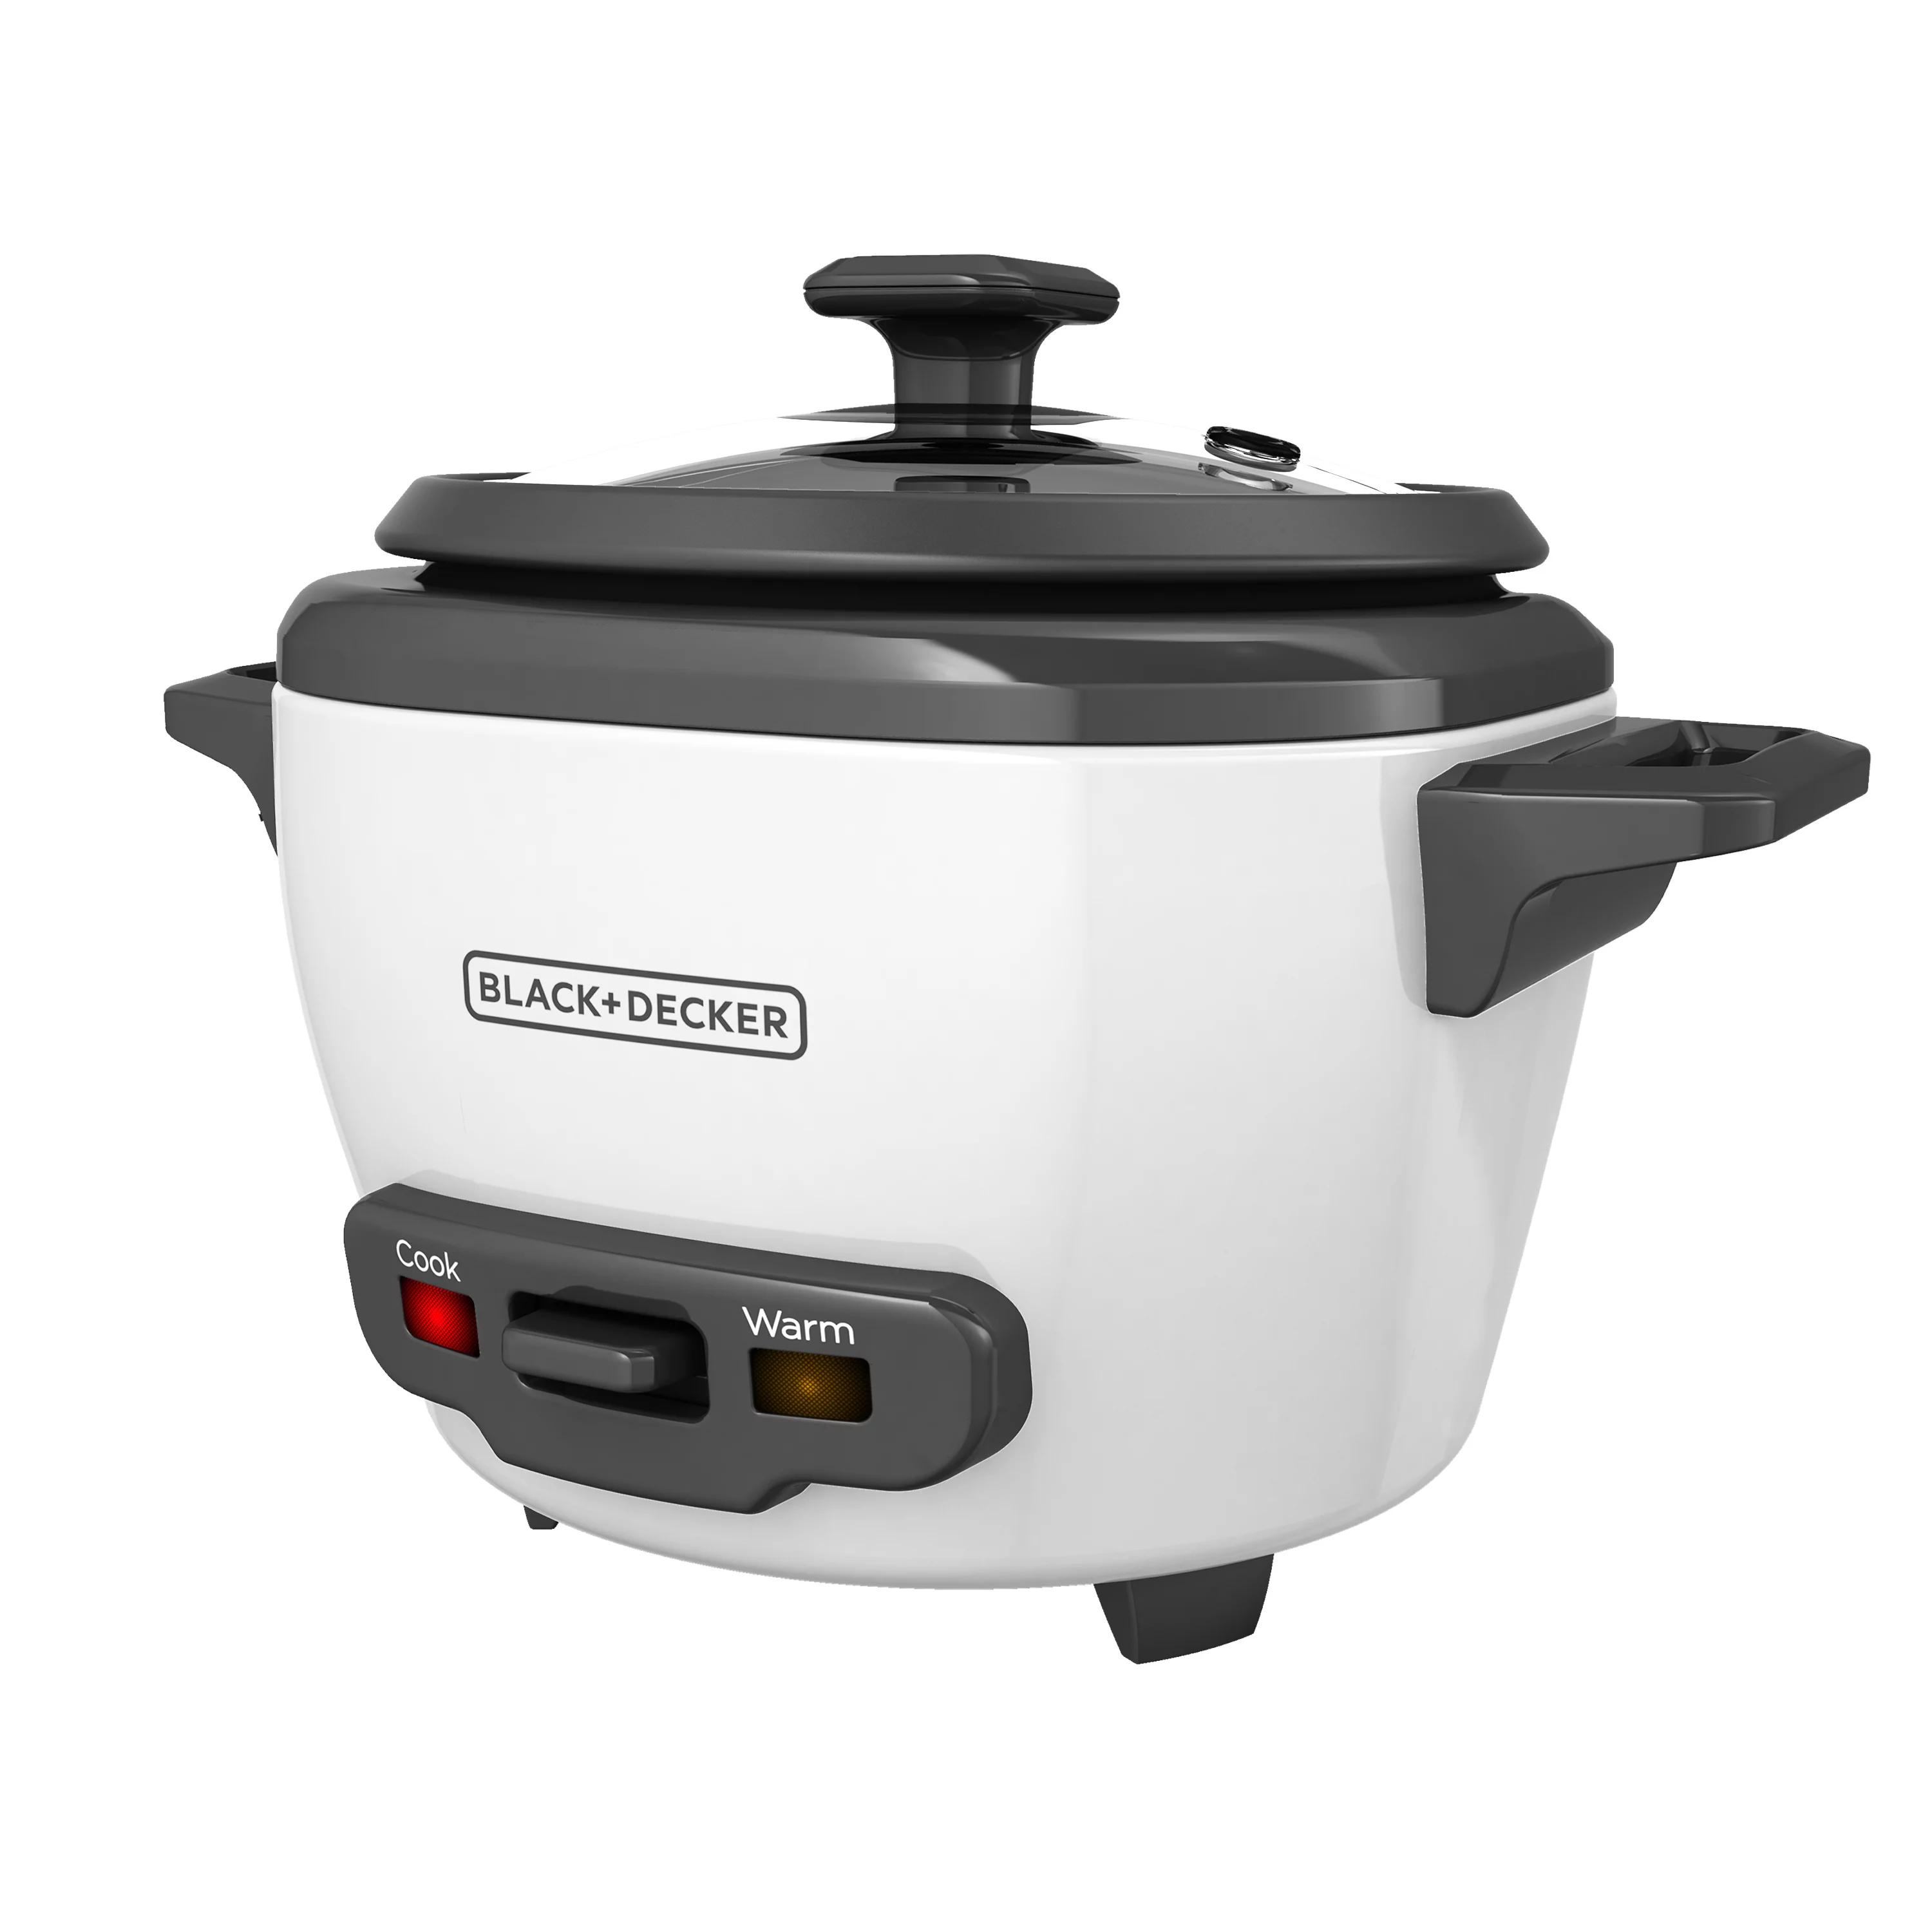
- A rice cooker: This is the most important piece of equipment as it will be used to cook the rice. Make sure your rice cooker is in good working condition and can accommodate the amount of rice you plan to cook.
- Rice measuring cup: Most rice cookers come with a rice measuring cup that is specifically designed to measure the perfect amount of rice. It is important to use the rice measuring cup provided with your rice cooker to ensure accurate measurements.
- A fine-mesh sieve/colander: This will be used to wash the rice before cooking. It helps to remove any excess starch and impurities from the rice grains.
- A spatula or spoon: You will need this to fluff the rice and serve it once it is cooked.
- A clean kitchen towel: This will come in handy when soaking the rice to remove any excess water.
Now that you have all the necessary equipment ready, it’s time to gather the ingredients required to cook Korean rice.
Ingredients:
To cook Korean rice, you will need the following ingredients:
- Short-grain rice: Korean rice is typically made using short-grain rice, also known as sushi rice or sticky rice. It is important to use this type of rice to achieve the desired texture and stickiness. You can find short-grain rice at your local Asian grocery store or online.
- Water: You will need water to cook the rice. The ratio of rice to water will depend on the specific brand of rice and your personal preference. As a general rule, a 1:1.1 ratio of rice to water works well for most brands of short-grain rice.
- Optional: Salt or other seasonings: Some people prefer to add a pinch of salt or other seasonings to enhance the flavor of the rice. This is completely optional and can be adjusted based on your personal taste.
With the equipment and ingredients ready, let’s move on to the step-by-step process of cooking Korean rice in a rice cooker.
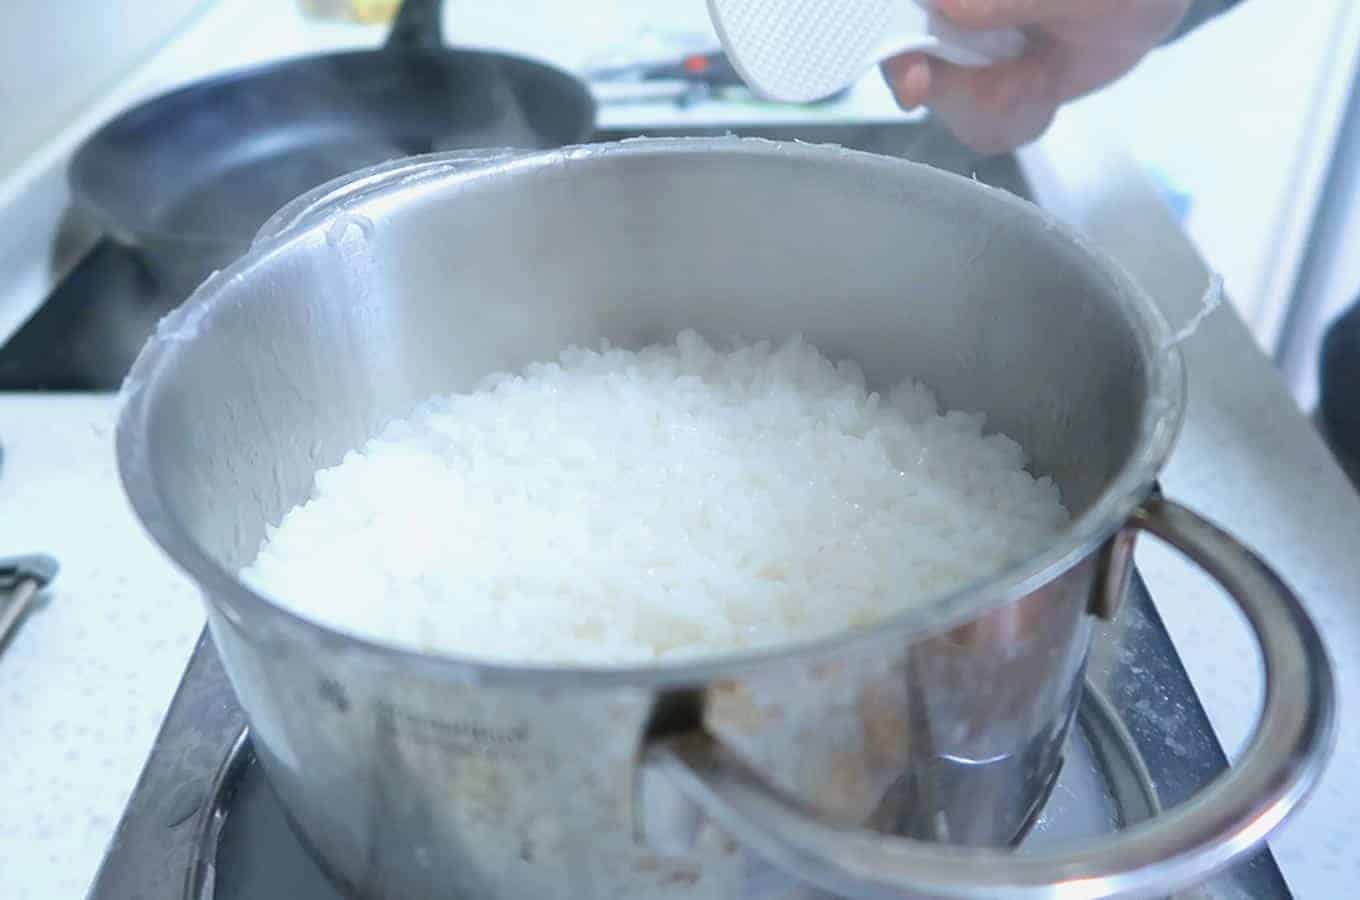
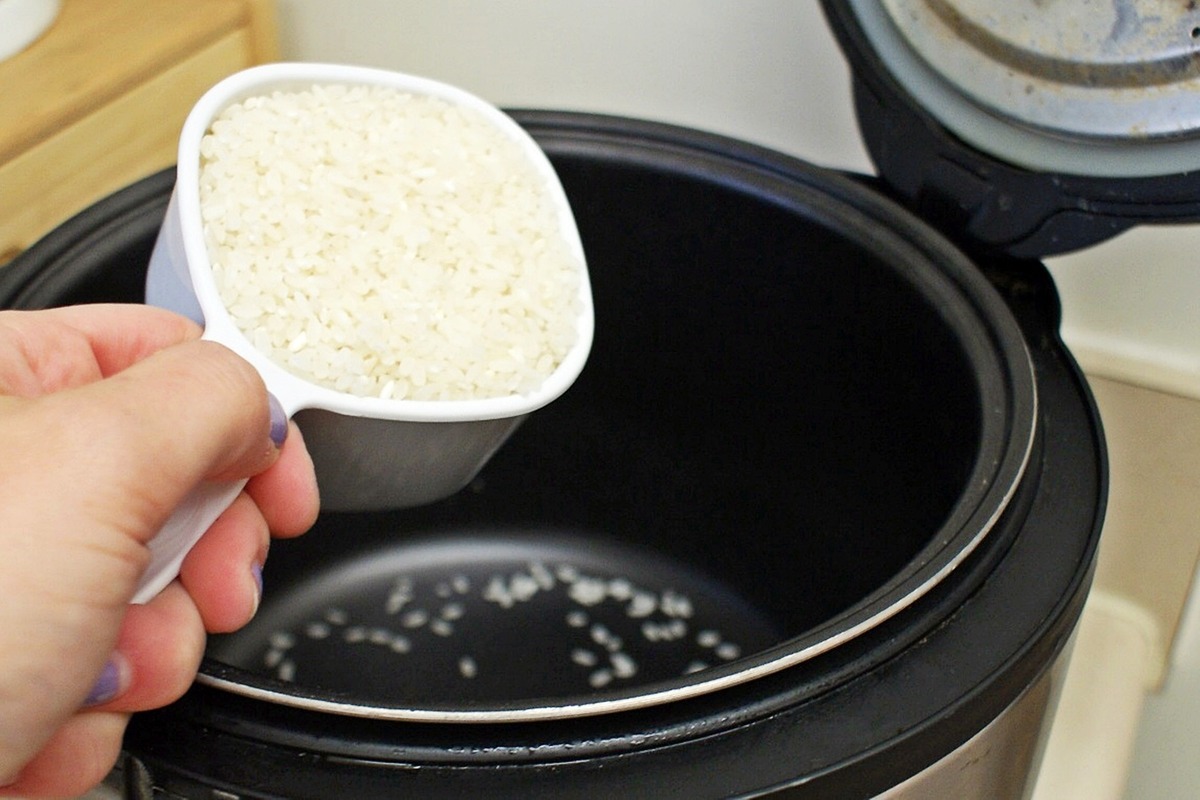
Step 1: Washing the rice
The first step in cooking Korean rice is to wash the rice thoroughly. This is an important step as it helps to remove any excess starch and impurities from the rice grains, resulting in fluffier and tastier rice.
Here’s how to wash the rice:
- Measure the desired amount of rice using the rice measuring cup that came with your rice cooker.
- Transfer the rice into a fine-mesh sieve or colander.
- Place the sieve or colander under cold running water and gently rinse the rice. Use your fingers to swirl the rice around to ensure all the grains are washed.
- Continue rinsing the rice until the water runs clear. This indicates that the rice is properly washed and free from excess starch.
- Once the rice is washed, transfer it to a clean bowl and let it sit for about 30 minutes. This step is optional, but it helps to improve the texture of the cooked rice.
With the rice washed and ready, let’s move on to the next step: measuring the water.
Rinse the rice in cold water until the water runs clear to remove excess starch. Use the rice cooker’s measuring cup for accurate water-to-rice ratio. Add water, press the cook button, and let it steam for 10-15 minutes after it’s done for perfect Korean rice.
Step 2: Measuring the water
Measuring the water correctly is crucial to cooking perfect Korean rice. The amount of water needed can vary depending on the type of rice and personal preference.
Here’s how to measure the water:
- Using the same rice measuring cup you used to measure the rice, fill it with cold water.
- For most brands of short-grain rice, a good starting point is to use a 1:1.1 ratio of rice to water. This means for every cup of rice, add 1.1 cups of water.
- Add the measured water into the rice cooker pot.
- Remember that the measurement lines on the rice cooker pot are not accurate for measuring water. It is best to use the rice measuring cup provided with your rice cooker for accurate measurements.
Once the water is measured, it’s time to move on to the next step: soaking the rice.
Step 3: Soaking the rice
Soaking the rice before cooking is an important step to ensure even cooking and improve the texture of the rice. It allows the grains to absorb water and become plump, resulting in fluffy and delicious Korean rice.
Here’s how to soak the rice:
- After measuring the water and adding it to the rice cooker pot, gently drain the water from the bowl where you let the washed rice sit.
- Transfer the washed rice into the rice cooker pot with the water.
- Use a spatula or spoon to evenly spread the rice in the pot.
- Let the rice soak in the water for about 20-30 minutes. This soaking time allows the grains to absorb water and soften.
Once the rice is done soaking, it’s time to move on to the next step: cooking the rice.
Step 4: Cooking the rice
Now that the rice is washed and soaked, it’s time to cook it in the rice cooker. Cooking Korean rice in a rice cooker is a simple and convenient process that ensures perfectly cooked rice every time.
Here’s how to cook the rice:
- Place the rice cooker pot into the rice cooker base and make sure it is securely locked.
- Close the lid of the rice cooker and select the appropriate cooking setting. Most rice cookers have a “Rice” or “Cook” setting, which is suitable for cooking Korean rice.
- Press the start button to begin the cooking process.
- The rice cooker will automatically adjust the cooking time based on the amount of rice and water. It will monitor the internal temperature and moisture levels to ensure the rice is cooked to perfection.
- Once the rice cooker indicates that the rice is done, let it sit for about 5-10 minutes to allow the steam to distribute evenly and the rice to fully cook.
With the rice cooked, all that’s left is the final step: fluffing and serving.
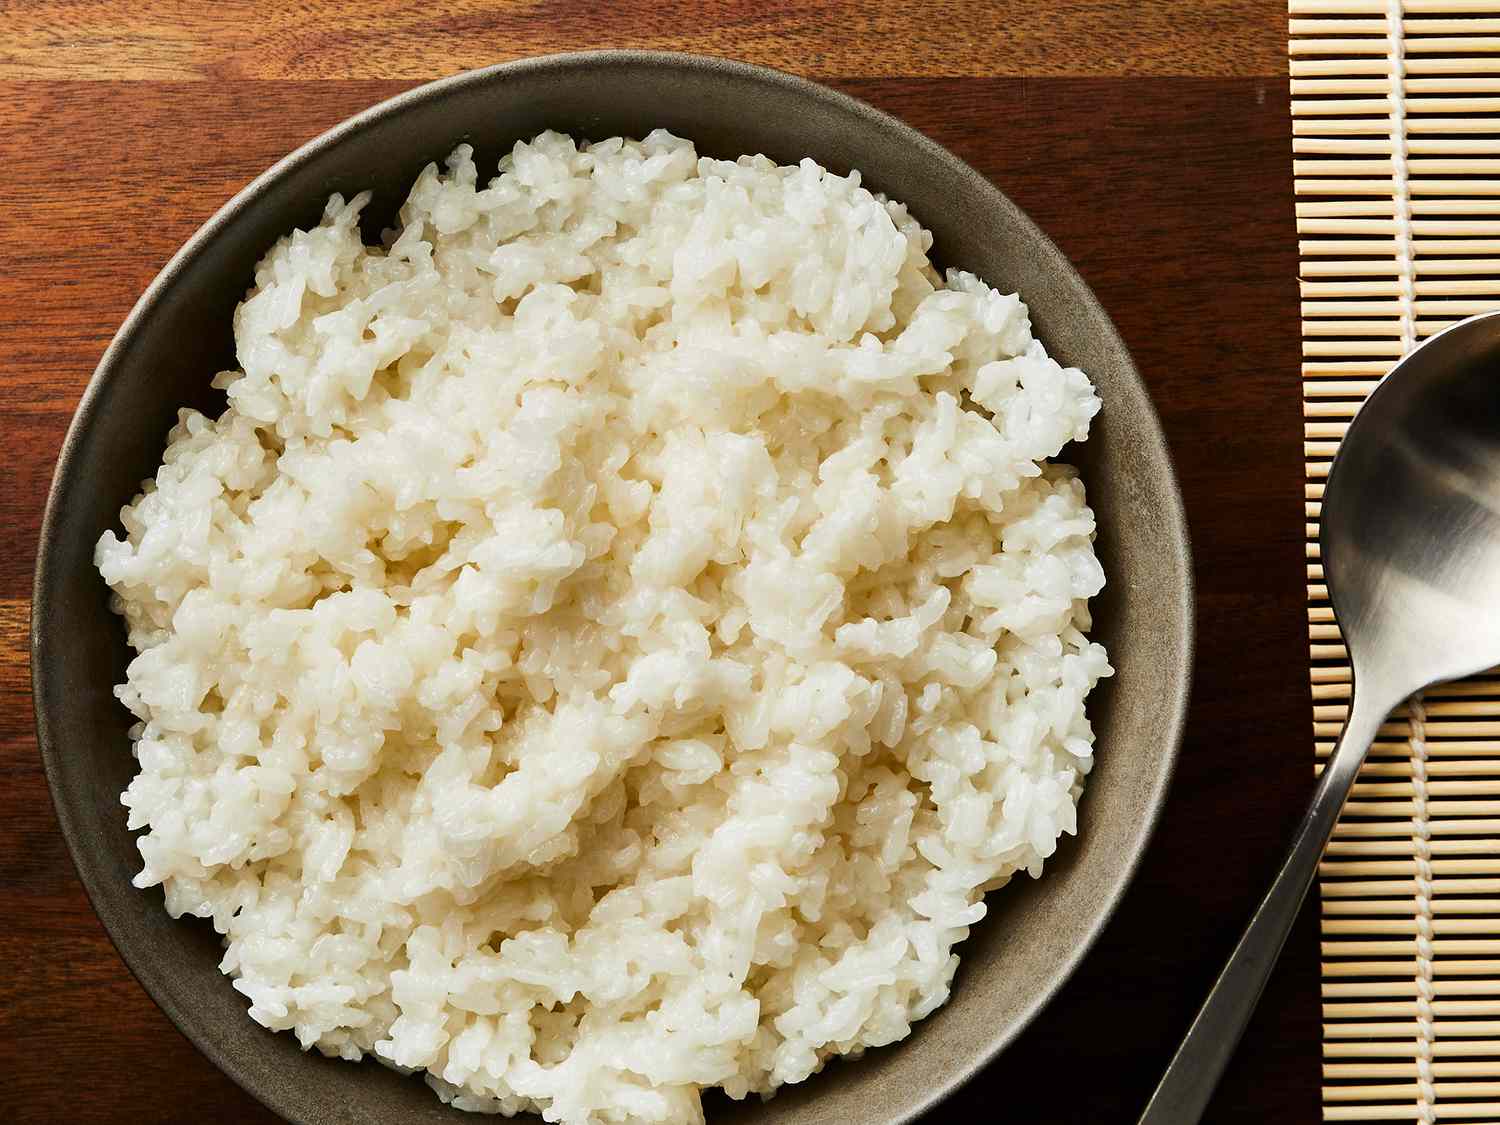
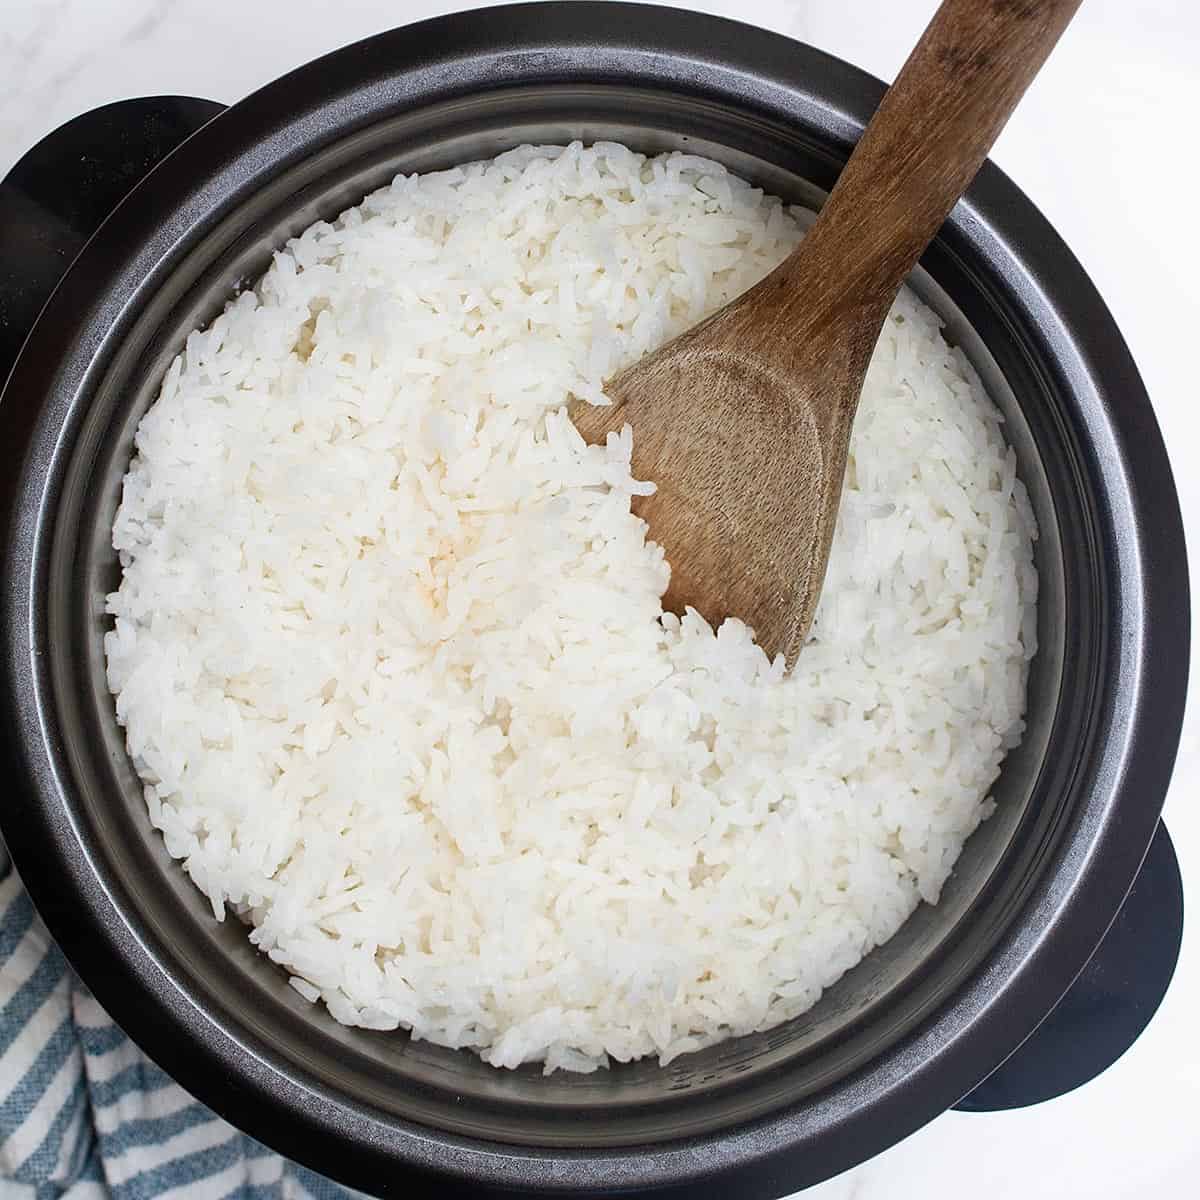
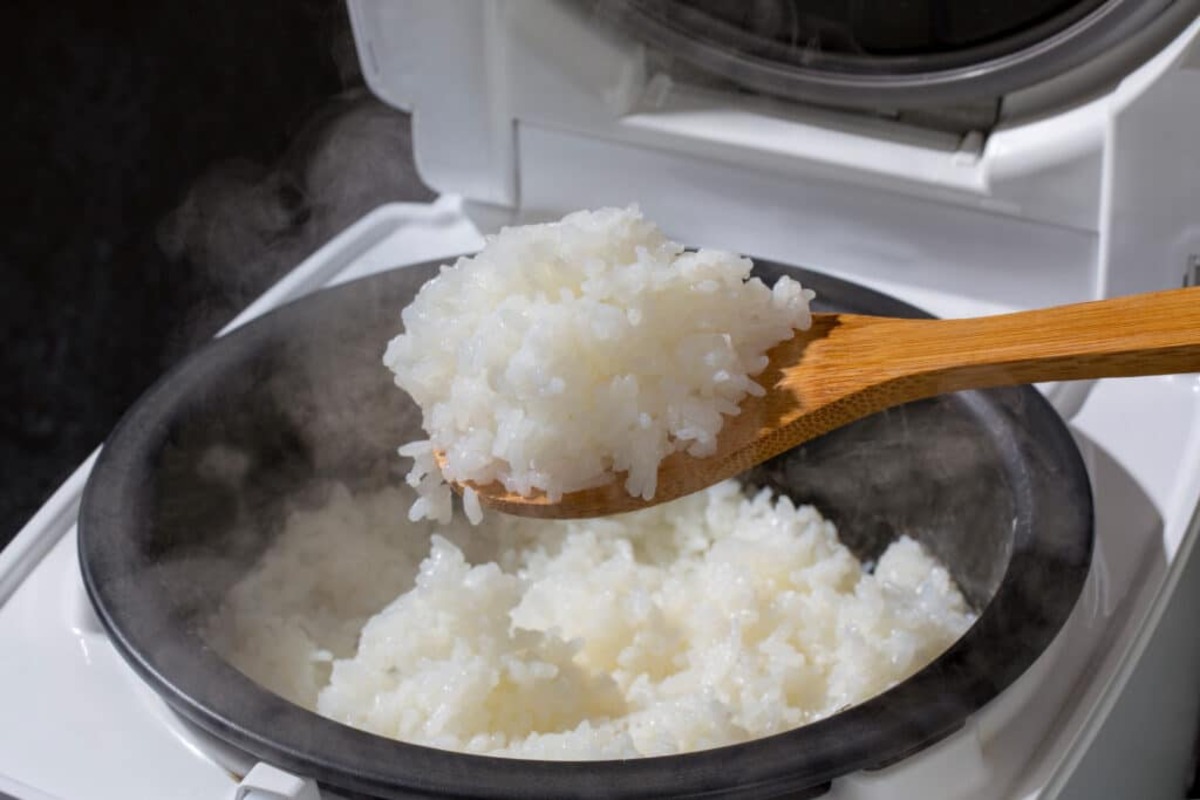
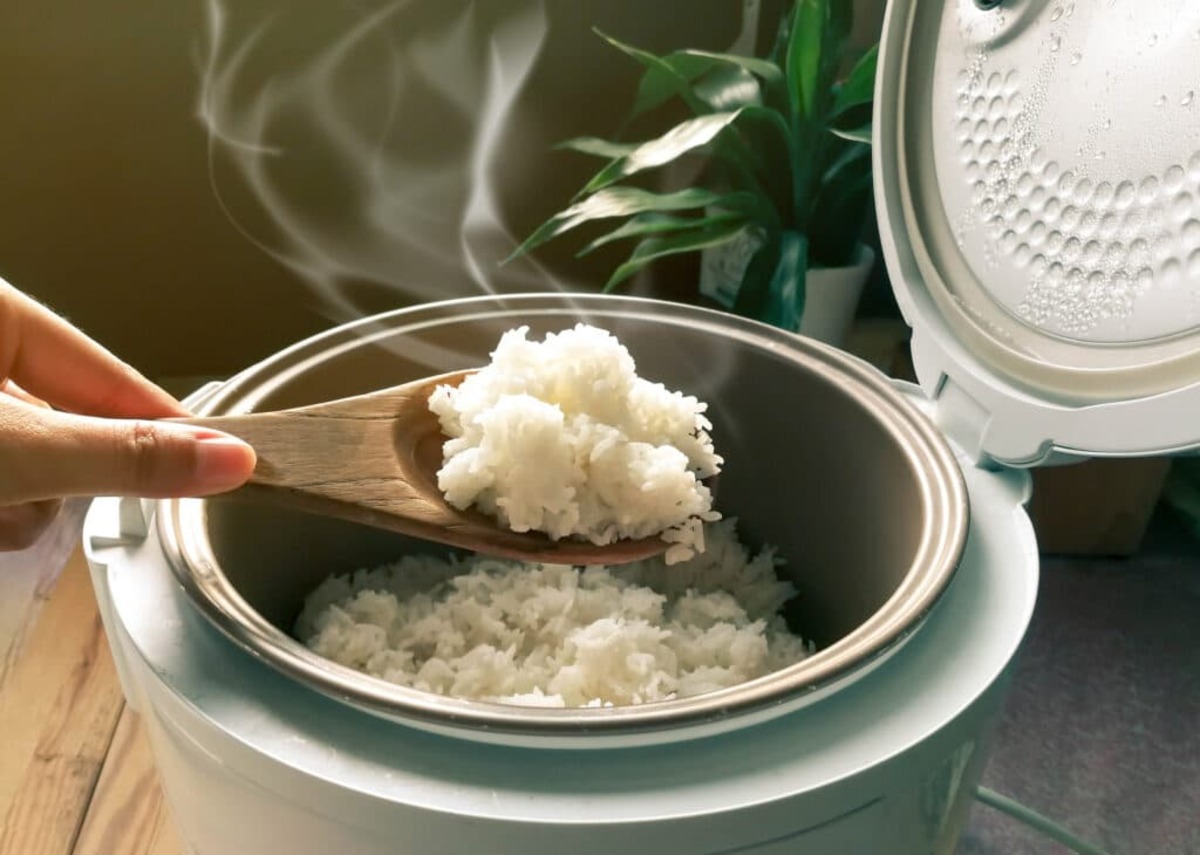
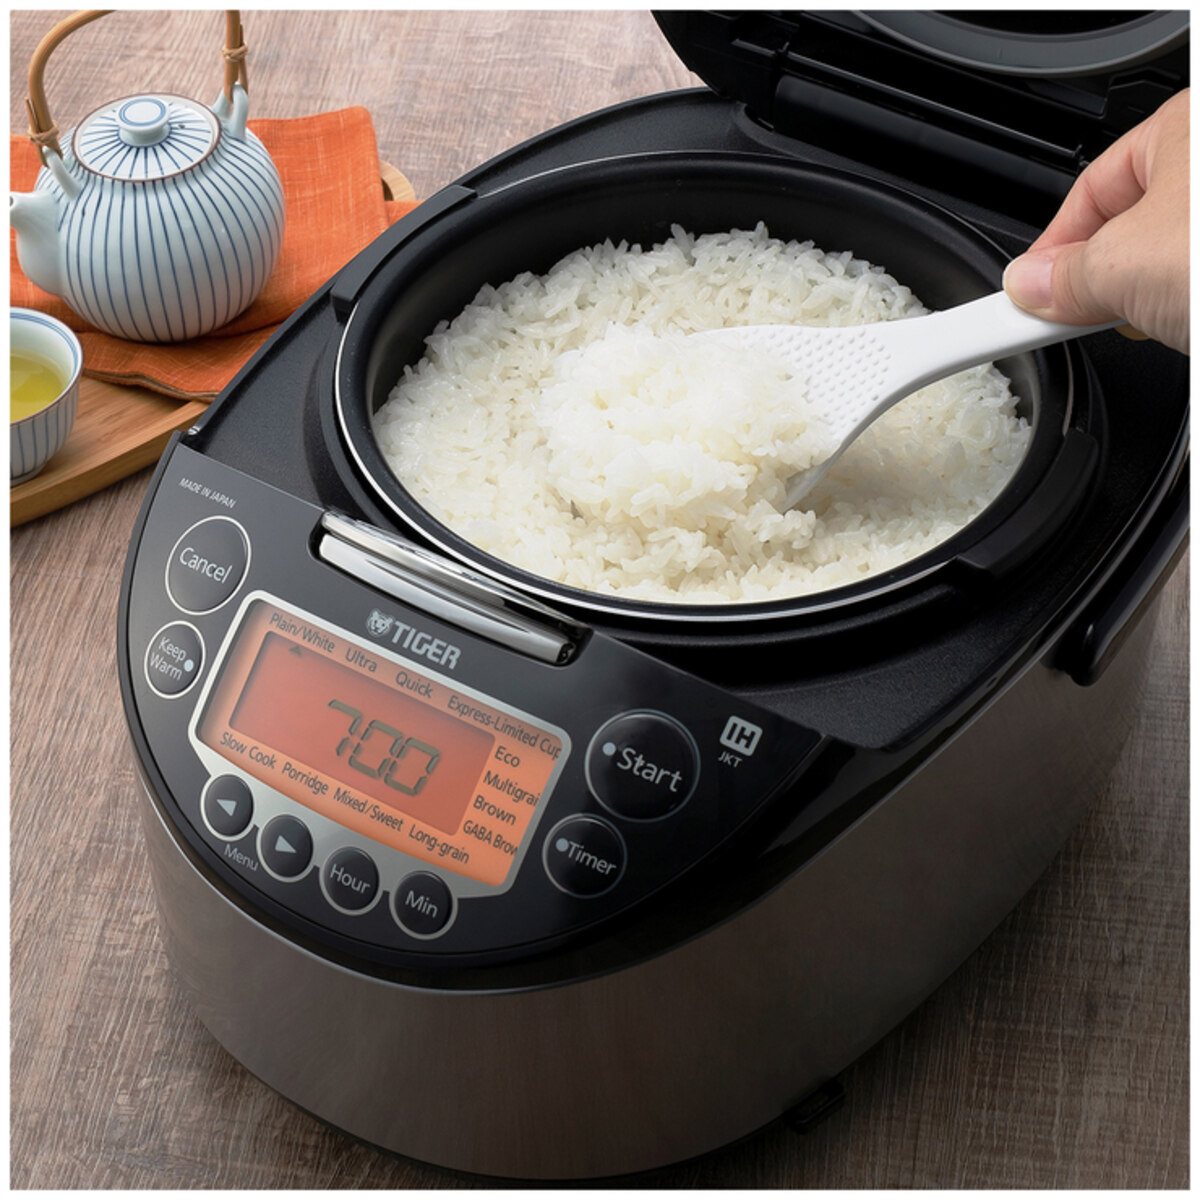
Step 5: Fluffing and serving
Fluffing the cooked rice before serving helps to separate the grains and enhance the texture and presentation of the Korean rice. It’s an important step to ensure that each spoonful of rice is light and fluffy.
Here’s how to fluff the rice and serve it:
- Open the lid of the rice cooker and use a spatula or spoon to gently fluff the rice. Be careful not to mash or break the grains.
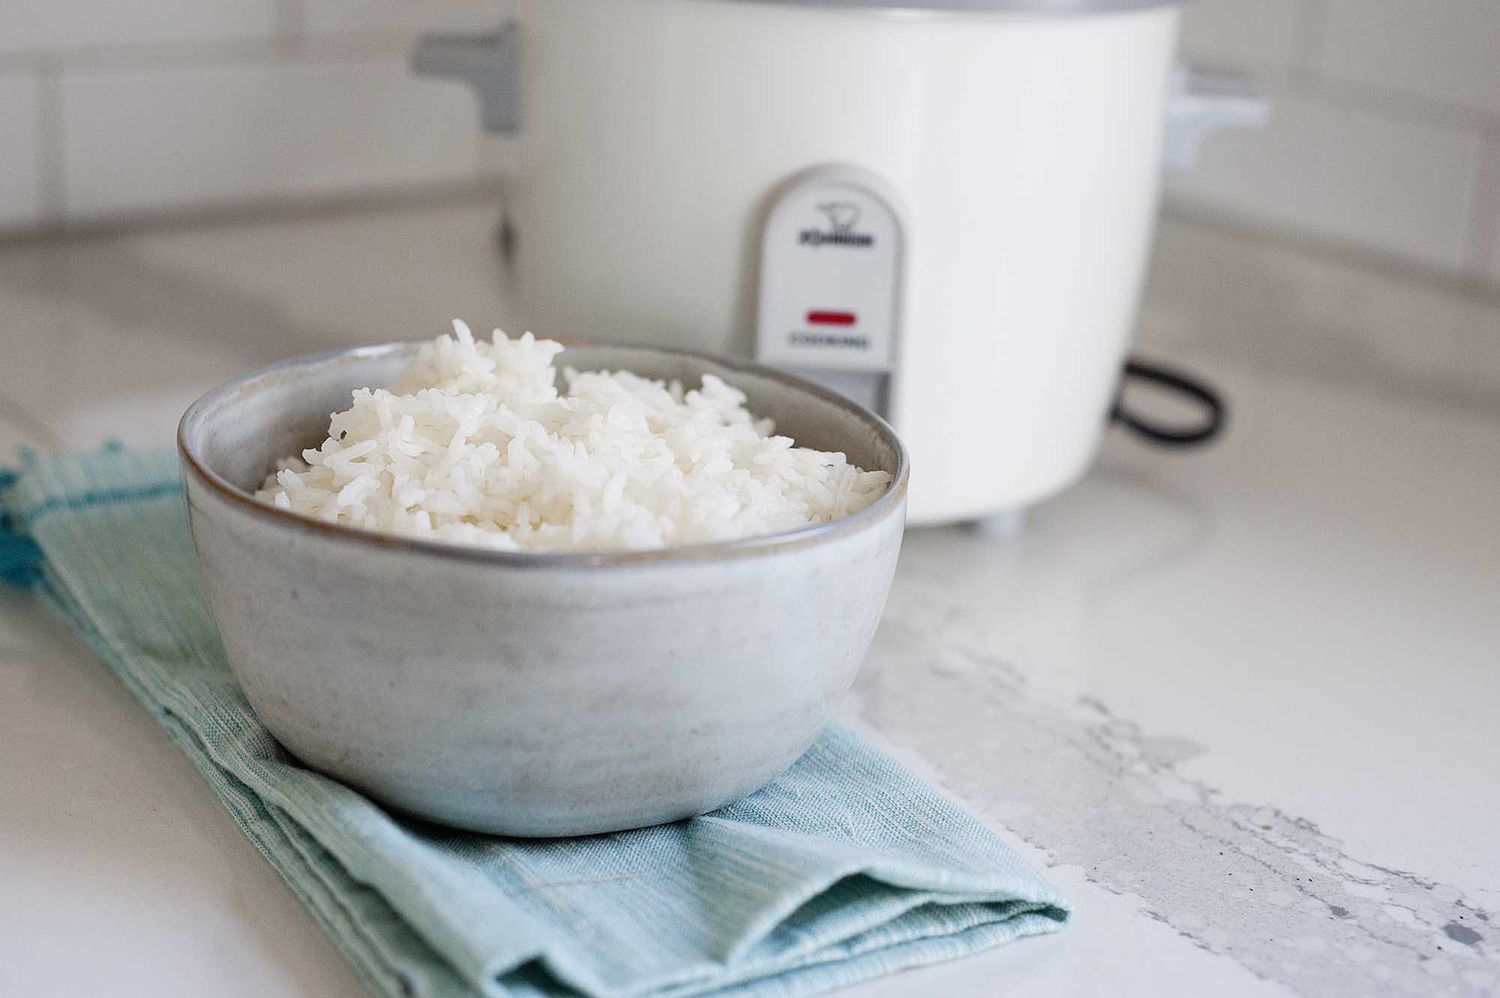
- With the rice fluffed, you can now serve it. Use a rice paddle or spatula to scoop out the desired amount of rice onto plates or bowls.
- Enjoy the Korean rice as a side dish to complement various Korean dishes such as kimchi, bulgogi, and bibimbap.
- Leftover rice can be stored in an airtight container in the refrigerator for up to a few days. To reheat, you can use the rice cooker or microwave with a bit of water to retain the moisture.
Now that you know the step-by-step process of cooking Korean rice in a rice cooker, you can confidently prepare this delicious and essential staple for your Korean-inspired meals.
So go ahead, grab your rice cooker, follow these steps, and savor the taste of fluffy and perfectly cooked Korean rice!
Frequently Asked Questions about How To Cook Korean Rice In Rice Cooker
Was this page helpful?
At Storables.com, we guarantee accurate and reliable information. Our content, validated by Expert Board Contributors, is crafted following stringent Editorial Policies. We're committed to providing you with well-researched, expert-backed insights for all your informational needs.


0 thoughts on “How To Cook Korean Rice In Rice Cooker”