Articles
How To Cook Rotisserie Chicken In Air Fryer
Modified: September 2, 2024
Learn the easiest way to cook rotisserie chicken in your air fryer with this step-by-step guide. Discover mouthwatering recipes and tips to create delicious meals at home.
(Many of the links in this article redirect to a specific reviewed product. Your purchase of these products through affiliate links helps to generate commission for Storables.com, at no extra cost. Learn more)
Introduction
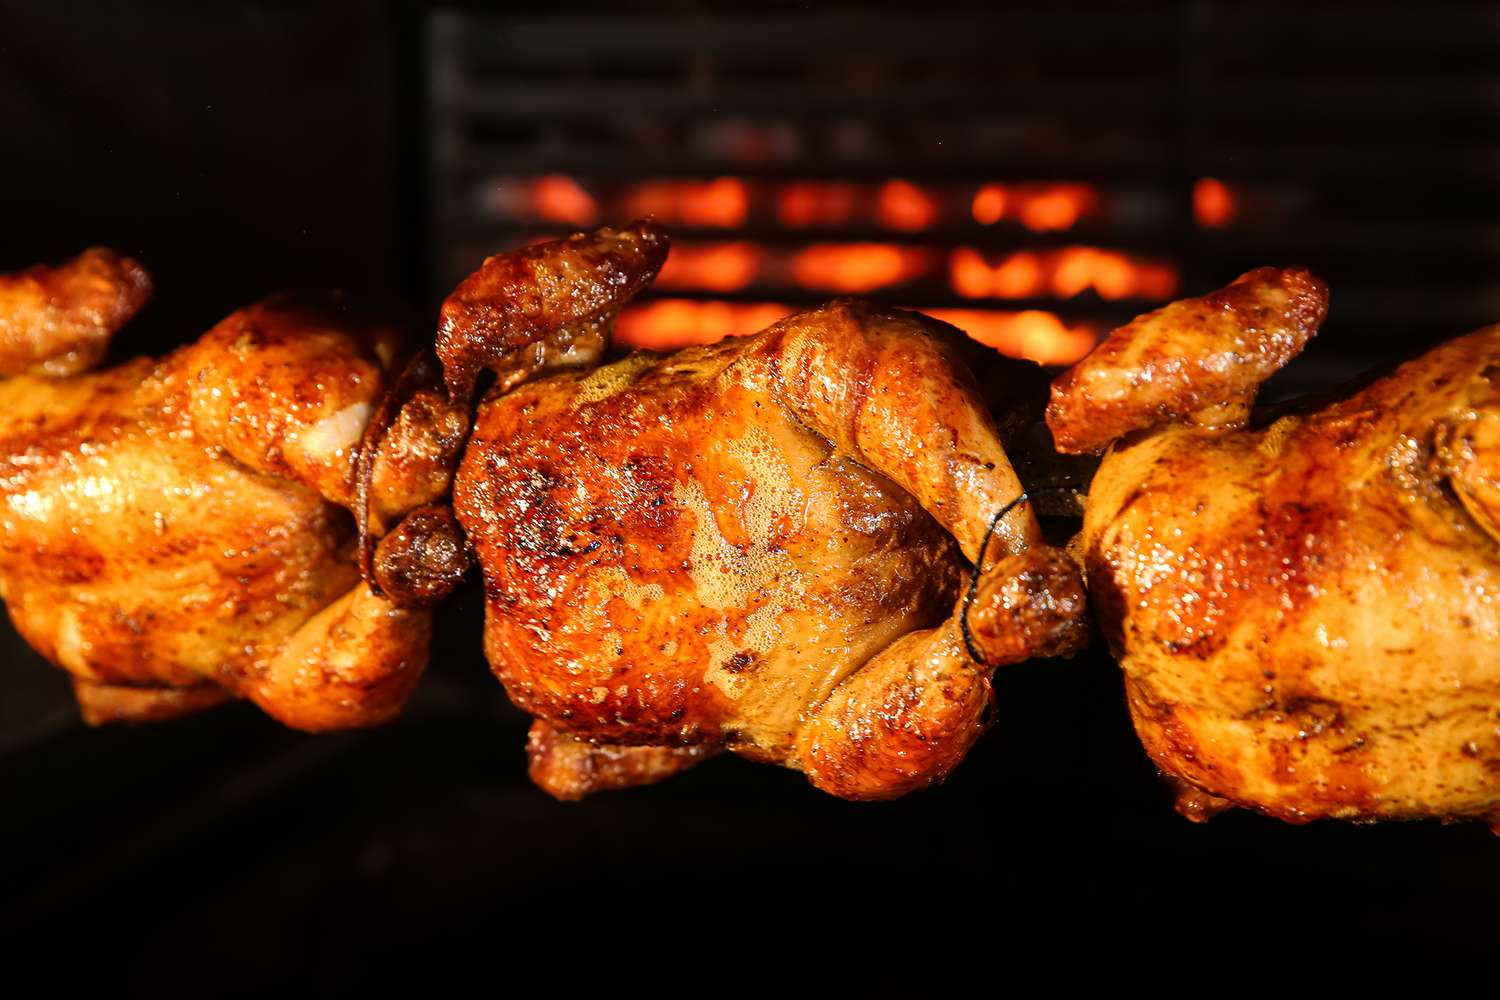
When it comes to cooking a delicious and succulent rotisserie chicken, many people think that it can only be achieved using a traditional rotisserie oven. However, with the advancement of kitchen appliances, you can now enjoy the same flavorful results using an air fryer.
Air fryers have gained popularity in recent years due to their ability to cook delicious, crispy foods with minimal oil. They use hot air circulation to cook the food, resulting in a crispy exterior and tender interior. And when it comes to rotisserie chicken, the air fryer can give you the same juicy and flavorful results as a traditional rotisserie oven, but in a fraction of the time.
In this article, we will guide you on how to cook rotisserie chicken in an air fryer, including selecting the right chicken, preparing and seasoning it, setting up the air fryer, and cooking the chicken to perfection. We will also provide tips on how to check for doneness, rest, and serve the chicken, and clean your air fryer afterwards.
So, whether you’re looking to impress your friends and family with a tasty dinner or simply want to treat yourself to a flavorful and healthy meal, read on to discover the secrets of cooking rotisserie chicken in an air fryer.
Key Takeaways:
- Cooking rotisserie chicken in an air fryer offers healthier, time-saving, and versatile benefits, resulting in a crispy texture and easy cleanup. It’s a convenient way to enjoy flavorful and succulent chicken with minimal oil.
- Properly selecting, preparing, seasoning, and cooking the chicken in the air fryer, followed by resting and serving it with favorite accompaniments, ensures a delicious and satisfying dining experience. Plus, maintaining and cleaning the air fryer is essential for long-term performance and enjoyment.
Benefits of Cooking Rotisserie Chicken in an Air Fryer
Cooking rotisserie chicken in an air fryer offers a range of benefits that make it a convenient and delicious option for any home cook. Here are some of the key benefits:
1. Healthier Cooking: With an air fryer, you can enjoy the taste and texture of rotisserie chicken with significantly less oil. Traditional rotisserie methods often require basting the chicken with butter or oil, which can add unnecessary calories and fat. In contrast, air frying uses hot air circulation to crisp up the chicken, resulting in a healthier final product.
2. Time-Saving: Air fryers are known for their efficiency, and cooking rotisserie chicken is no exception. Compared to traditional rotisserie ovens, which can take hours to cook a whole chicken, an air fryer can have your chicken ready to eat in a fraction of the time. This makes it ideal for busy individuals or those who crave a quick and delicious meal.
3. Versatile Cooking: Air fryers are not only great for rotisserie chicken, but they can also be used for a wide range of other dishes. From roasting vegetables to cooking crispy fries and even baking desserts, the versatility of an air fryer makes it a valuable addition to any kitchen. So, you’ll not only be able to cook rotisserie chicken with ease, but you’ll also have the option to experiment with various recipes.
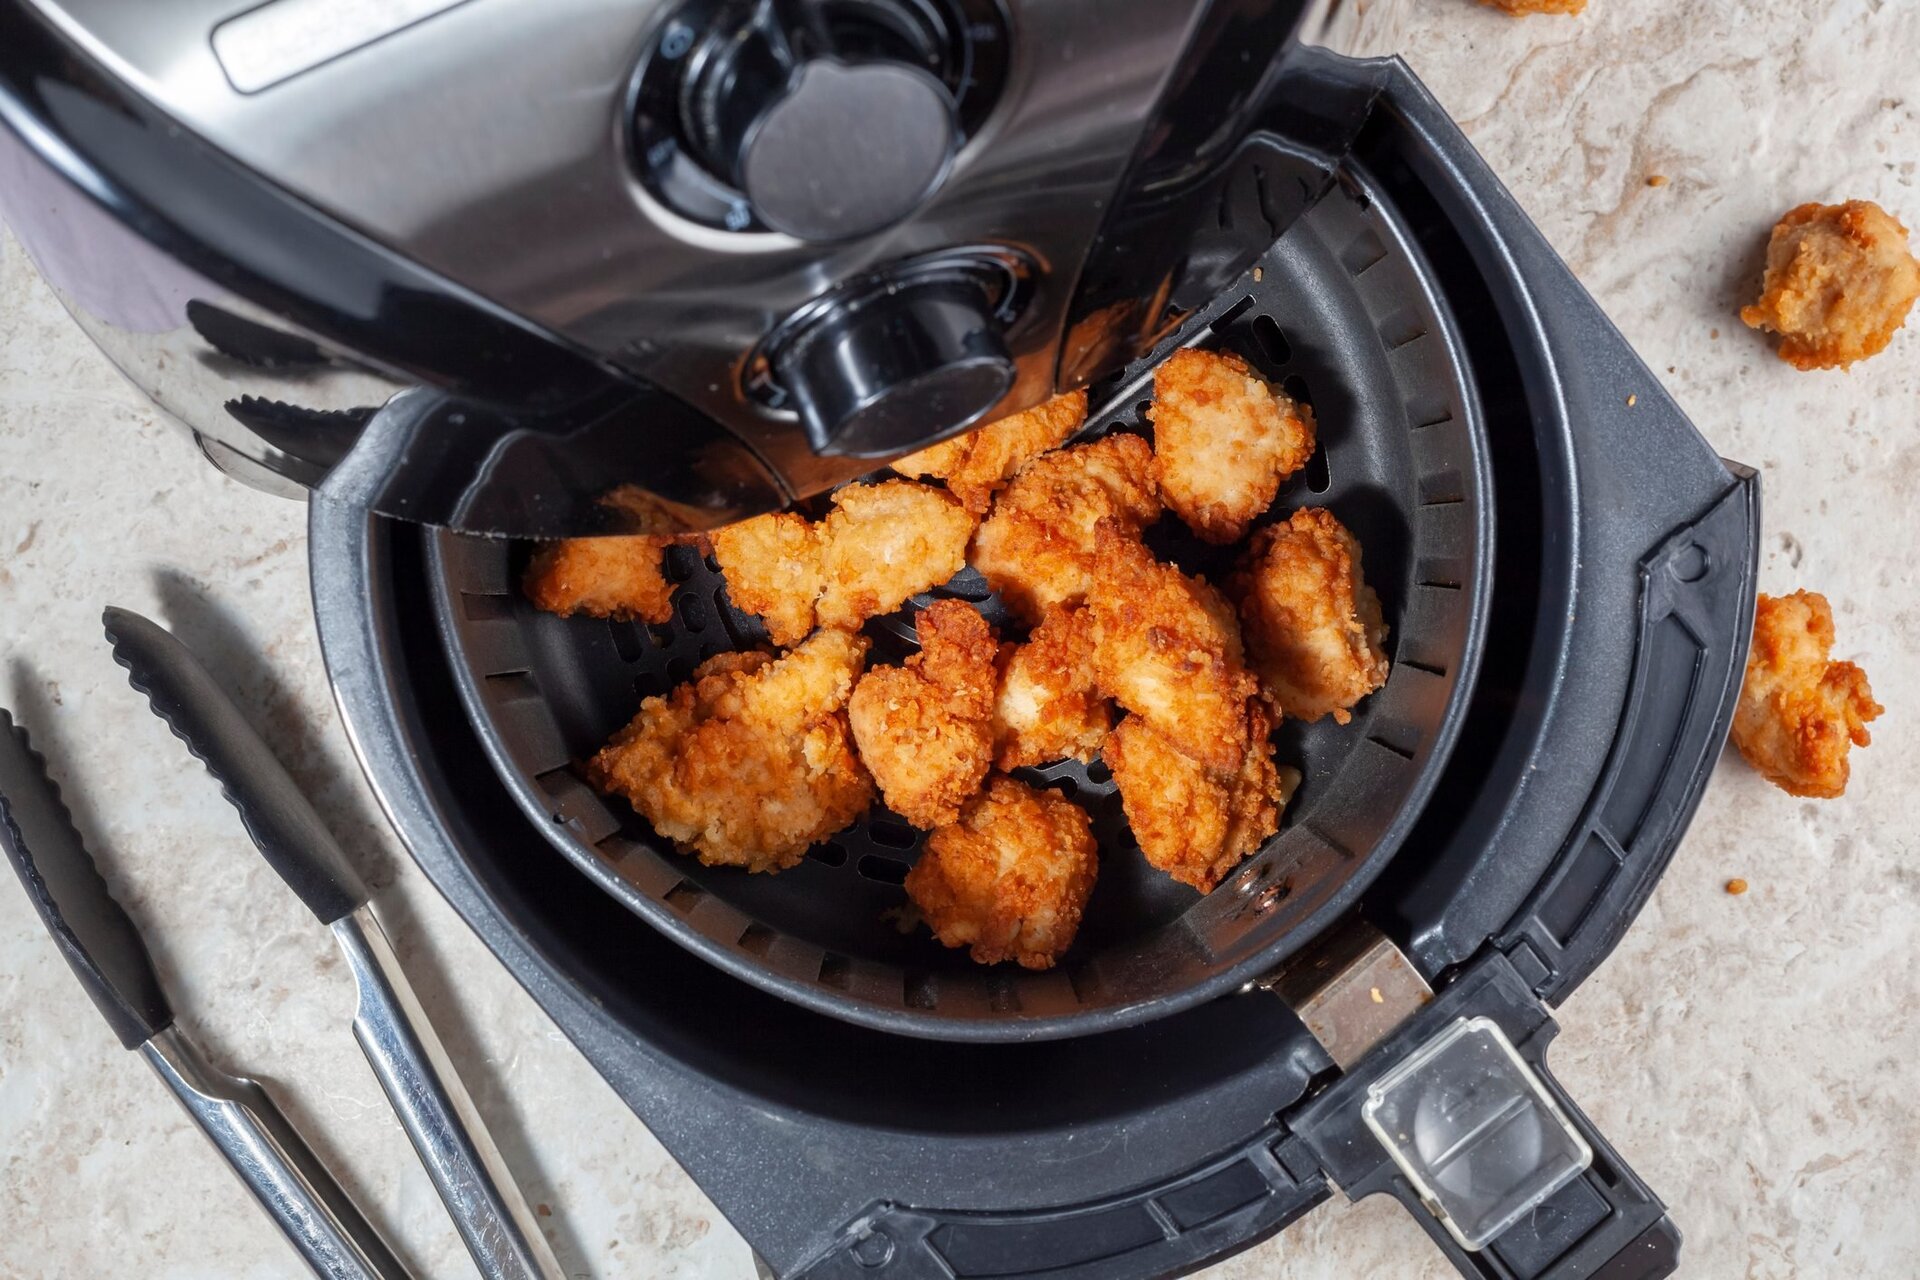
4. Crispy Texture: One of the standout features of cooking rotisserie chicken in an air fryer is the impeccable texture it produces. The circulating hot air in the fryer helps to create a crispy exterior, similar to what you would get with a traditional rotisserie oven. This adds a satisfying crunch to your chicken while sealing in the natural juices, resulting in a moist and flavorful bite.
5. Easy Cleanup: Cleaning up after a meal can often be one of the most time-consuming and dreaded tasks. However, when it comes to air fryers, cleanup is a breeze. Many air fryer models come with removable trays or baskets that are dishwasher safe, making it quick and simple to clean up after cooking your rotisserie chicken.
In summary, cooking rotisserie chicken in an air fryer provides several benefits such as healthier cooking, time-saving convenience, versatile cooking options, crispy texture, and easy cleanup. So, if you haven’t tried it yet, consider giving it a go and discover the delightful flavors and convenience that an air fryer brings to your rotisserie chicken cooking experience.
Choosing the Right Chicken
When it comes to cooking rotisserie chicken in an air fryer, choosing the right chicken is crucial to achieve the best results. Here are some factors to consider when selecting your chicken:
1. Size: The size of the chicken plays a significant role in determining the cooking time and overall outcome. For air frying, it is recommended to choose a chicken that weighs between 3 to 4 pounds. This size ensures that the chicken cooks evenly and allows for proper airflow within the air fryer.
2. Quality: Opt for a fresh and high-quality chicken. Look for organic or free-range options if possible, as these chickens tend to have better flavor and texture. Additionally, make sure the chicken is properly stored and not expired.
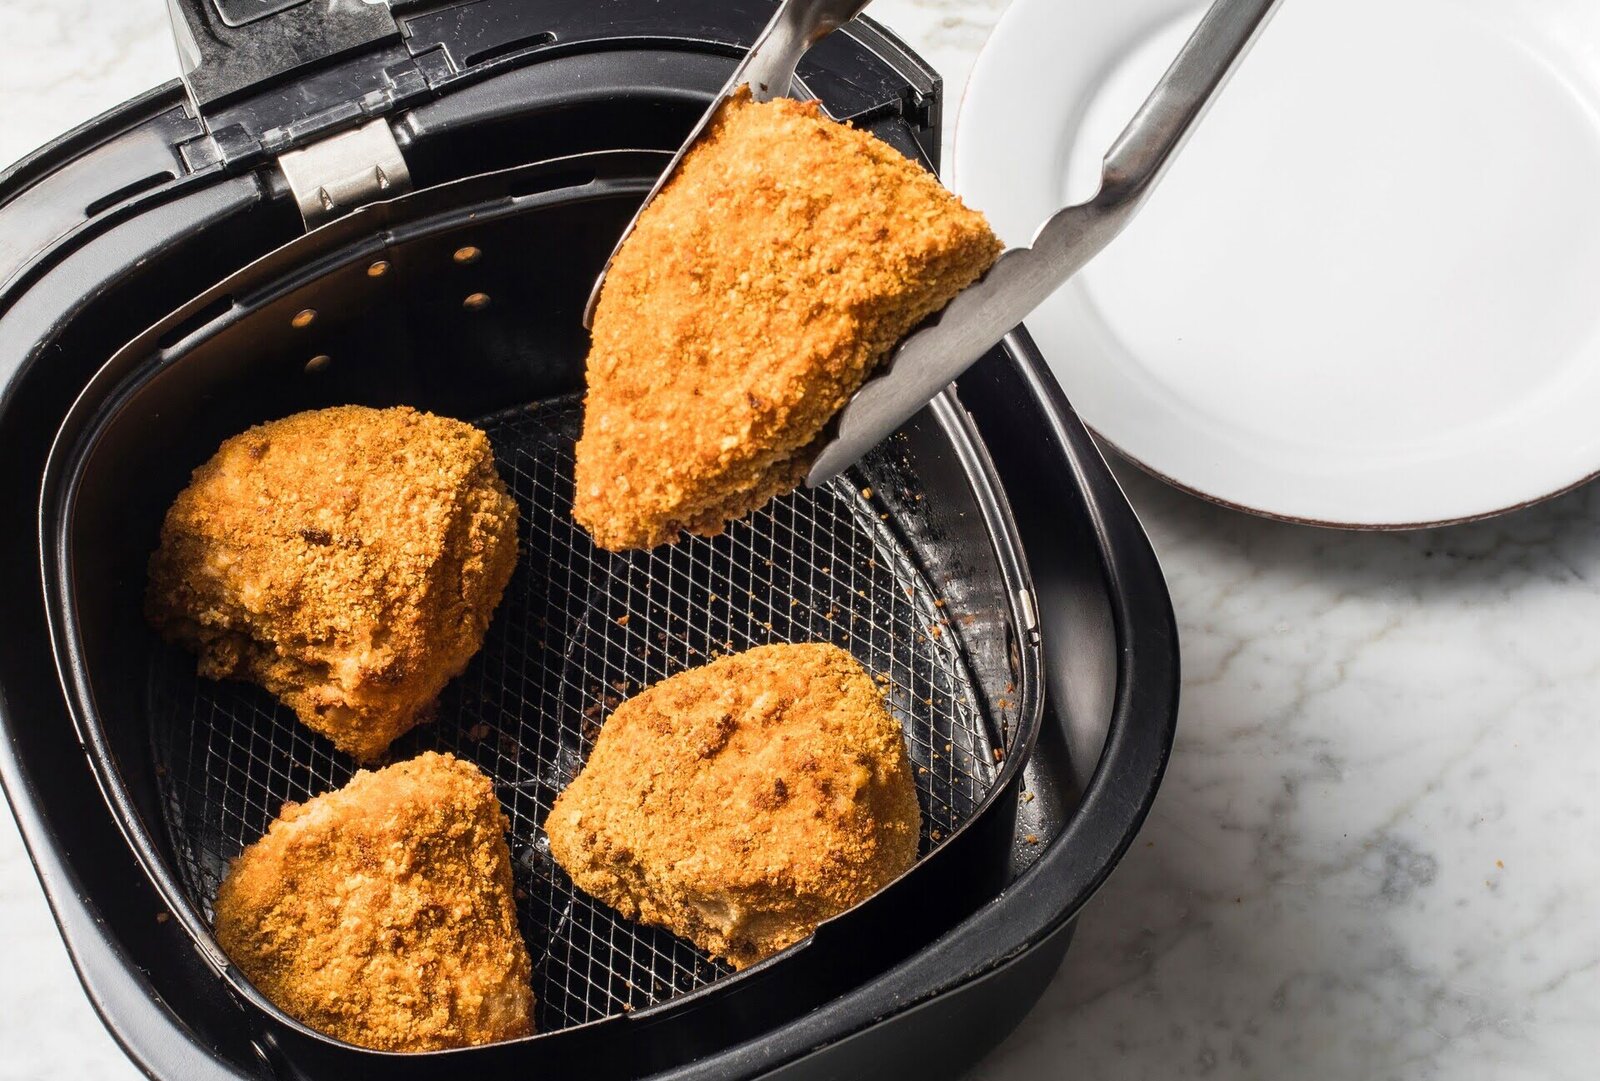
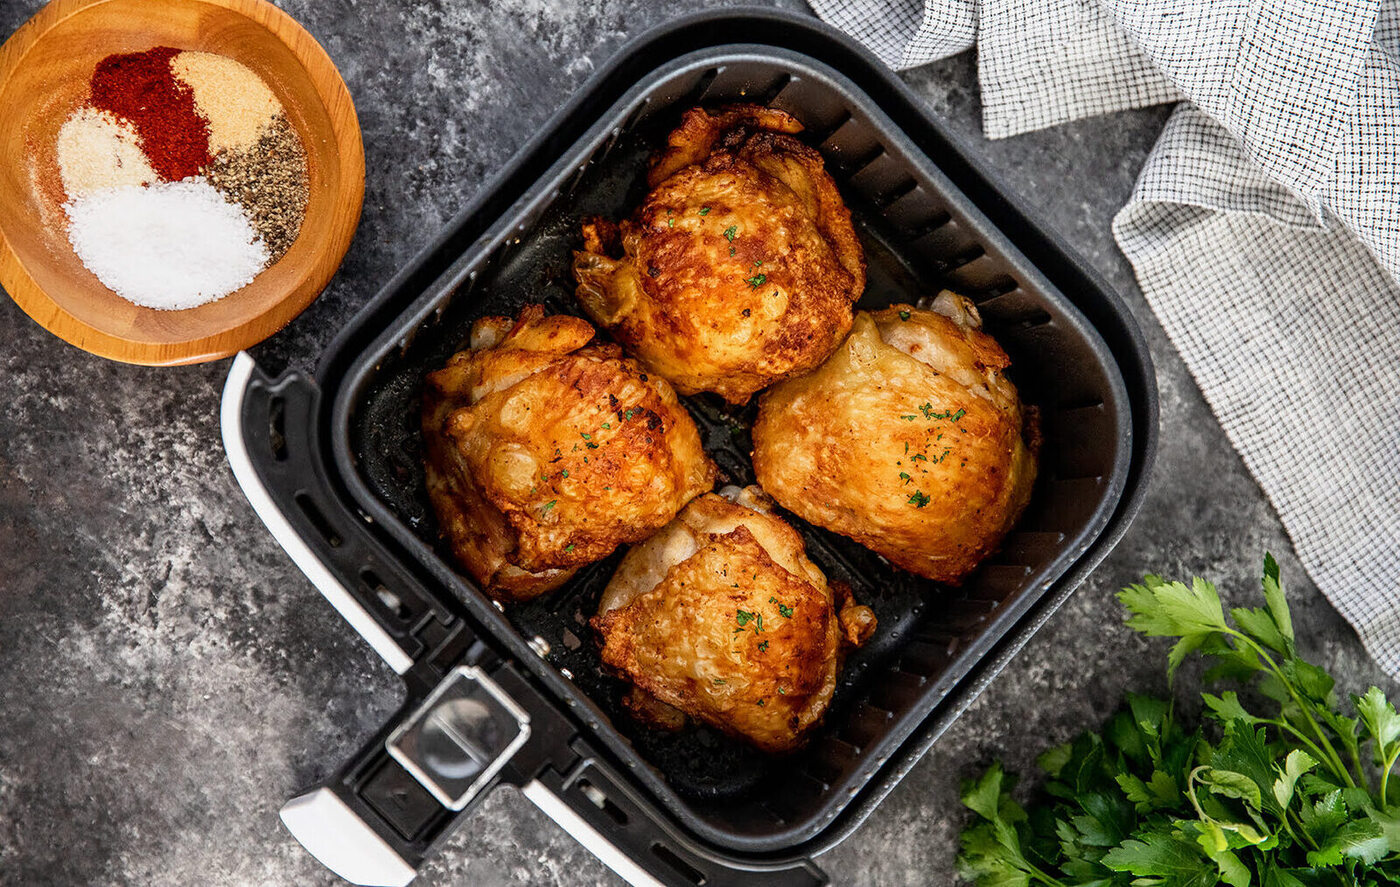
3. Whole Chicken vs. Pieces: You can either cook a whole chicken or choose specific pieces, such as drumsticks or bone-in thighs, for your rotisserie chicken in the air fryer. Whole chickens usually require longer cooking times, while individual pieces cook faster. Consider your preferences and cooking time constraints when deciding which option to go for.
4. Skin-on vs. Skinless: The skin of the chicken adds flavor and helps in retaining moisture during the cooking process. If you prefer crispy and flavorful skin, go for skin-on chicken. However, if you’re health-conscious or prefer a lighter option, you can choose skinless chicken.
5. Fresh or Frozen: Fresh chicken is generally preferred for better taste and texture. However, if you only have access to frozen chicken, make sure to fully thaw it before cooking. Thaw the chicken in the refrigerator overnight or use the defrost function on your microwave. It is important to ensure that the chicken is completely thawed before cooking to avoid uneven cooking.
By considering these factors, you can select the perfect chicken for your rotisserie cooking in the air fryer. Remember, the quality and size of the chicken will greatly influence the final flavor and texture, so choose wisely. Once you have chosen the right chicken, it’s time to move on to the next step – preparing the chicken for cooking.
Preparing the Chicken
Before cooking rotisserie chicken in an air fryer, proper preparation is essential to ensure delicious and safe results. Here are the steps to prepare the chicken:
1. Thoroughly Clean the Chicken: Rinse the chicken under cold water to remove any dirt or debris. Pat it dry with paper towels to remove excess moisture. Cleaning the chicken helps to ensure food safety and maintain hygiene.
2. Remove Giblets and Excess Fat: Check the cavity of the chicken for any giblets, such as the liver or gizzard, that may be included. Remove them and set them aside if you plan to use them for another recipe. Trim any excess fat from the chicken, as this can lead to excessive smoke and greasiness during cooking.
3. Truss the Chicken (Optional): Trussing involves tying the chicken with kitchen twine to ensure that it maintains a compact shape and cooks evenly. This step is optional but can help in creating a more aesthetically pleasing presentation.
4. Pat the Chicken Dry: Using paper towels, pat the chicken dry again. This step is crucial as a dry chicken will help the seasoning adhere better and create a crisper skin during cooking.
By following these preparation steps, you will be ready to move on to the next important step: seasoning the chicken. Preparing the chicken properly ensures a clean and safe cooking process while enhancing the overall flavor and texture of the rotisserie chicken in the air fryer.
Seasoning the Chicken
Seasoning the chicken is a crucial step in creating a flavorful and delicious rotisserie chicken in the air fryer. Here’s how to season your chicken:
1. Salt and Pepper: Start by generously seasoning the chicken with salt and pepper. This basic seasoning helps to enhance the natural flavors of the chicken and adds a simple yet delicious taste.
2. Herbs and Spices: Add herbs and spices to elevate the flavor profile of your rotisserie chicken. Some popular choices include garlic powder, onion powder, paprika, thyme, rosemary, or a poultry seasoning blend. Feel free to experiment with different combinations to suit your taste preferences.
3. Olive Oil or Butter: Rubbing the chicken with a small amount of olive oil or melted butter before seasoning can help improve the browning and crisping of the skin. It also adds moisture to the chicken, ensuring a juicy and tender result.
4. Rub or Marinade: To enhance the flavor further, you can create a rub or marinade using ingredients like lemon zest, dried herbs, minced garlic, honey, soy sauce, or your favorite barbecue sauce. Apply the rub or marinade all over the chicken and let it sit for at least 30 minutes to allow the flavors to penetrate the meat.
5. Inside and Outside Seasoning: Make sure to season both the inside and outside of the chicken for optimal flavor. This ensures that every bite of the chicken is well-seasoned and delicious.
Remember to adjust the amount of seasoning according to your personal preference. The seasoning process allows you to customize the flavor profile of your rotisserie chicken, so feel free to get creative and experiment with different herbs, spices, and seasonings. Once the chicken is well-seasoned, it’s time to move on to the next step: setting up the air fryer for cooking.
Setting Up the Air Fryer
Before you start cooking your rotisserie chicken in the air fryer, it’s important to set it up correctly to ensure optimal cooking results. Here’s how to set up your air fryer:
1. Read the Manual: Familiarize yourself with the user manual of your specific air fryer model. Each air fryer may have unique features and settings, so it’s important to understand how to operate it effectively and safely.
2. Preheat the Air Fryer: Preheating the air fryer is essential for achieving evenly cooked and crispy chicken. Most air fryers have a preheat option, which typically takes around 3-5 minutes to heat up. Check your air fryer manual for specific preheat instructions.
3. Place the Rotisserie Spit: If your air fryer comes with a rotisserie spit attachment, carefully insert it into the chicken. Ensure that the chicken is centered and balanced on the spit for even rotation during cooking. Some air fryers may have specific instructions on how to secure the chicken properly, so be sure to follow the guidelines.
4. Set the Temperature and Time: Set the temperature and cooking time according to your air fryer’s instructions. For rotisserie chicken, a temperature of around 400°F (200°C) is recommended. The cooking time will vary depending on the size of the chicken, but a rough estimate is about 30-40 minutes per pound of chicken.
5. Adjust Air Fryer Settings: Some air fryers offer additional settings like fan speed or rotation speed for rotisserie cooking. If your air fryer has these options, adjust them according to your preference and the manufacturer’s instructions.
6. Place the Chicken in the Air Fryer: Carefully place the spit with the seasoned chicken into the air fryer basket or cavity, ensuring a secure fit. Make sure to leave enough space around the chicken for proper air circulation.
With the air fryer properly set up, you are now ready to start cooking your rotisserie chicken. The precise cooking instructions will vary depending on your specific air fryer model, so refer to the user manual for more precise guidance. Cooking times may differ, so it’s important to monitor the chicken’s cooking progress and adjust as needed. In the next section, we will discuss how to cook the rotisserie chicken to perfection.
Before cooking the rotisserie chicken in the air fryer, make sure to pat the chicken dry with paper towels to remove any excess moisture. This will help the skin to become crispy during the cooking process.
Cooking the Rotisserie Chicken
Now that the air fryer is set up, it’s time to cook your rotisserie chicken to perfection. Follow these steps for cooking:
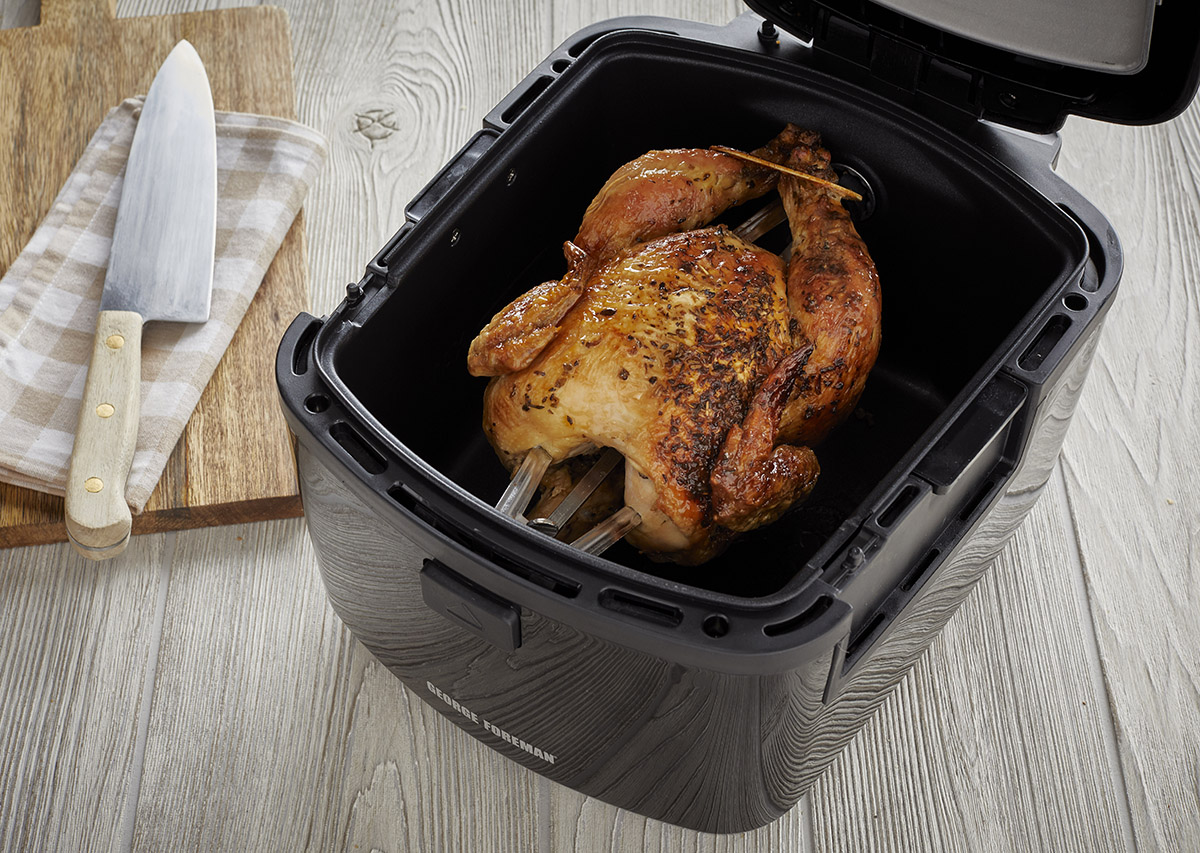
1. Place the Chicken in the Air Fryer: Gently place the prepared chicken on the rotisserie spit, ensuring it is centered and balanced. Make sure the spit is securely attached to the air fryer.
2. Start the Cooking Process: Close the air fryer and set it to the appropriate temperature and cooking time. The recommended temperature for rotisserie chicken is around 400°F (200°C). The cooking time will depend on the size of the chicken, but a general guideline is 30-40 minutes per pound.
3. Monitor the Cooking Process: Keep an eye on the chicken as it cooks. Some air fryer models have a transparent window or an interior light, allowing you to observe the progress without opening the fryer. If your air fryer doesn’t have this feature, you can carefully open it periodically to check the chicken’s doneness.
4. Rotate the Spit (If Applicable): If your air fryer has a rotating function, it is recommended to rotate the spit halfway through the cooking process. This helps to ensure even browning and cooking on all sides of the chicken.
5. Baste (Optional): If desired, you can baste the chicken with any remaining marinade or juices from the air fryer basket to keep it moist and add flavor. However, be cautious when opening the fryer to avoid temperature fluctuations.
6. Adjust Cooking Time if Needed: Cooking times may vary depending on your air fryer and the size of the chicken. Use a meat thermometer to check the internal temperature of the chicken. The thickest part of the chicken should reach 165°F (74°C) to ensure it is fully cooked.
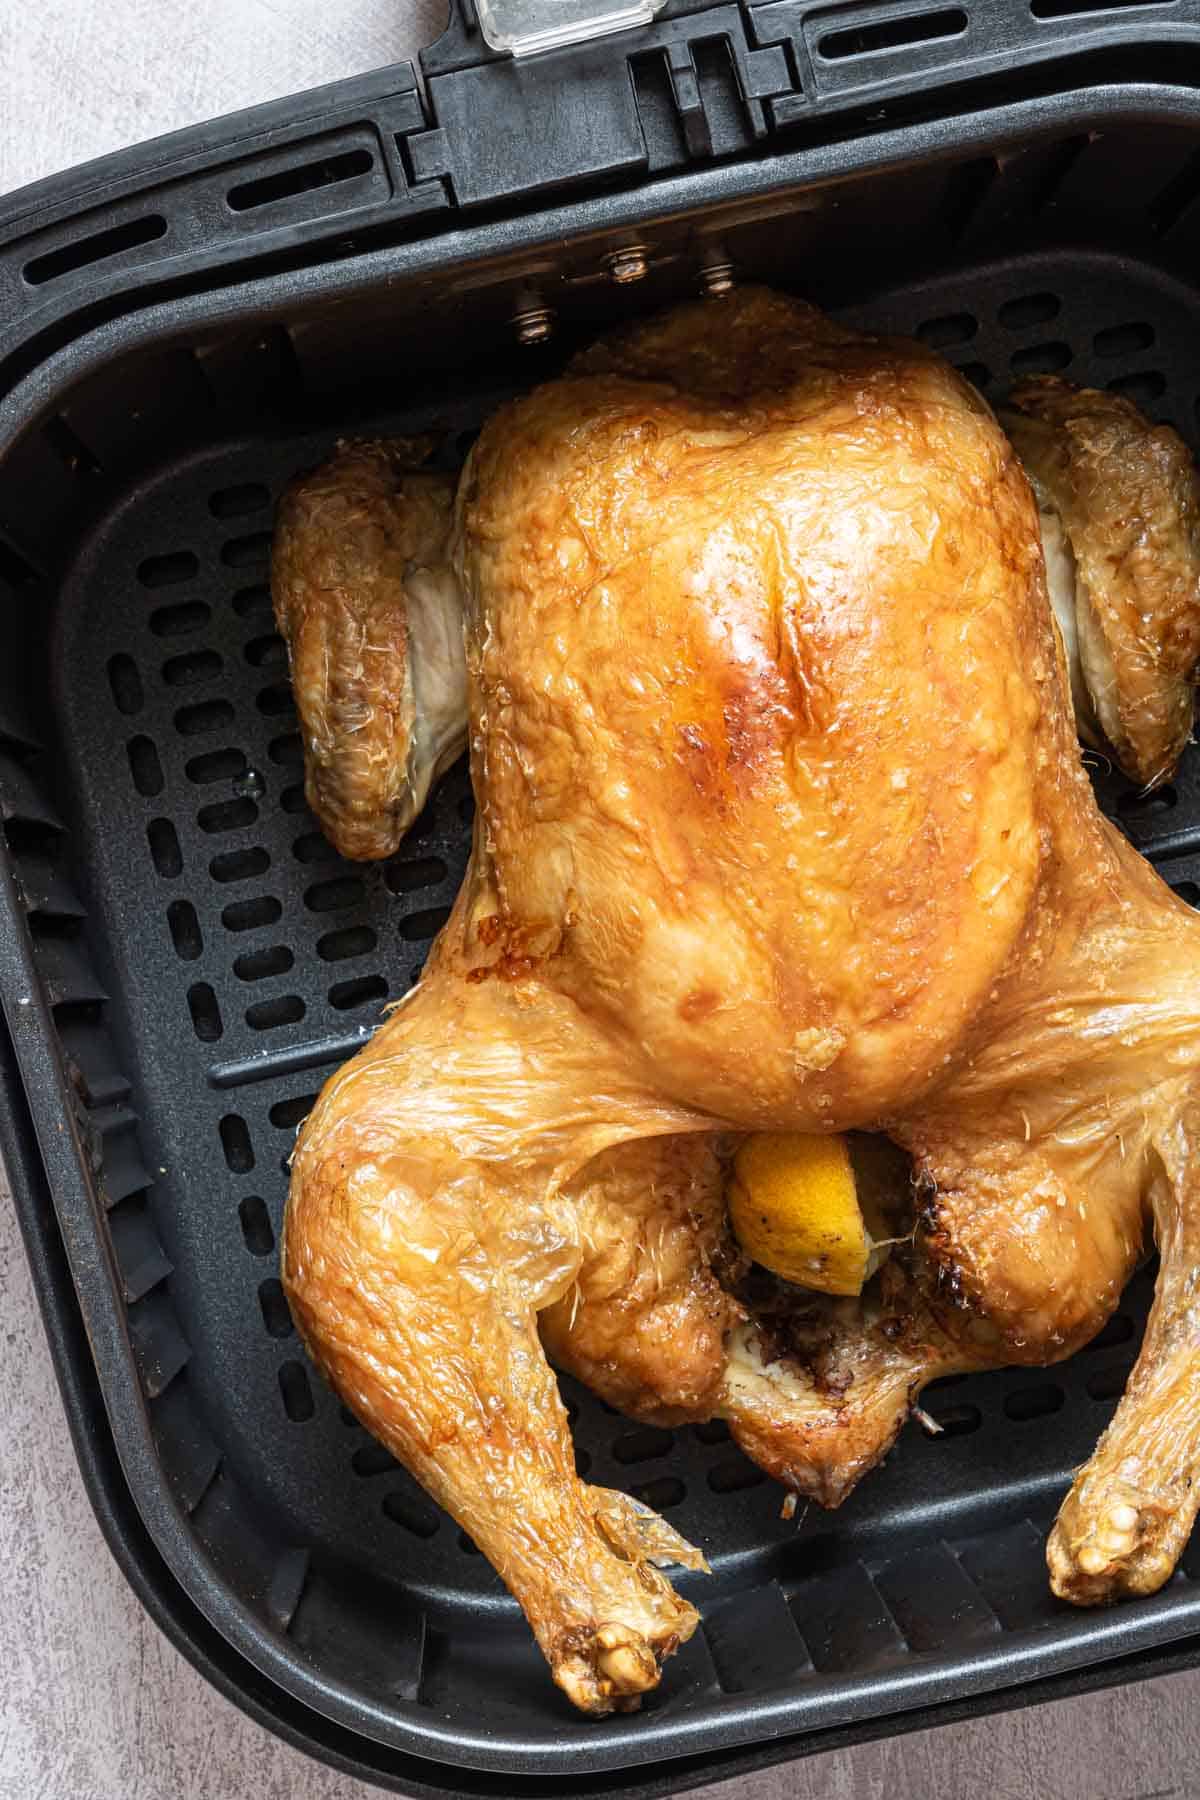
7. Crisp Up the Skin (Optional): If you prefer a crispier skin, you can increase the temperature to high or use the air fryer’s broil function for the last few minutes of cooking. This will help achieve a golden and crispy exterior.
8. Remove the Chicken: Once the chicken is cooked to perfection, carefully remove the rotisserie spit from the air fryer. Be cautious as the spit will be hot. Place the chicken on a cutting board or serving platter and let it rest for a few minutes before carving.
Cooking times may vary depending on your air fryer model and the size of the chicken. It’s important to follow the manufacturer’s instructions and monitor the progress to avoid overcooking. Once the chicken is cooked and rested, it’s time to check for doneness before serving.
Checking for Doneness
Checking for doneness is an important step to ensure that your rotisserie chicken is cooked thoroughly and safe to eat. Here’s how to check if your chicken is done:
1. Use a Meat Thermometer: The most accurate way to determine if your chicken is fully cooked is by using a meat thermometer. Insert the thermometer into the thickest part of the chicken, avoiding any bone or touching the spit. The internal temperature should reach 165°F (74°C) to ensure it’s safe to eat. If the temperature hasn’t been reached, continue cooking the chicken for a few more minutes and check again.
2. Check the Juices: Another indicator of doneness is the color and clarity of the juices that come out when the chicken is pierced. If the juices run clear with no traces of pink, it’s a good sign that the chicken is cooked. However, this method is less reliable than using a meat thermometer, as the color of the juices can be influenced by various factors.
3. Check the Texture: To ensure the chicken is fully cooked, check the texture. The meat should be firm and opaque, with no signs of raw or pink areas. You can also use a fork or knife to check that the juices run clear when the chicken is cut into.
Remember that cooking times may vary depending on the size and thickness of the chicken, as well as the specific air fryer model you are using. It’s always better to rely on the internal temperature rather than just visual cues.
Once you have confirmed that the chicken is fully cooked, it’s time to let it rest before carving and serving. Resting allows the meat to reabsorb its juices, resulting in a more flavorful and moist chicken. Let the chicken rest for about 5-10 minutes before carving to maximize its taste and tenderness.
By checking for doneness using a meat thermometer and observing the texture and juices, you can ensure that your rotisserie chicken is cooked to perfection and ready to be enjoyed.
Resting and Serving the Chicken
Resting the chicken is an important step that should not be overlooked after it has been cooked. Resting allows the juices to redistribute throughout the meat, resulting in a more flavorful and tender final product. Here’s how to rest and serve your rotisserie chicken:
1. Remove from the Air Fryer: Carefully remove the rotisserie spit from the air fryer and place it on a cutting board or serving platter. Be cautious as the spit and chicken will be hot.
2. Let it Rest: Allow the chicken to rest for about 5-10 minutes. This resting period allows the juices to settle back into the meat. Cover the chicken with aluminum foil to help retain heat during the resting process.
3. Carve the Chicken: Once the resting period is complete, it’s time to carve the chicken. Use a sharp knife and steady hand to slice the chicken into serving portions. You can separate the chicken into individual pieces like thighs, wings, and breast meat, or serve it as a whole chicken.
4. Serve with Accompaniments: Serve the rotisserie chicken with your favorite side dishes and accompaniments. Traditional options include roasted vegetables, mashed potatoes, steamed rice, or a fresh salad. The flavorful meat of the rotisserie chicken pairs well with a variety of sides, so choose your favorites to complete the meal.
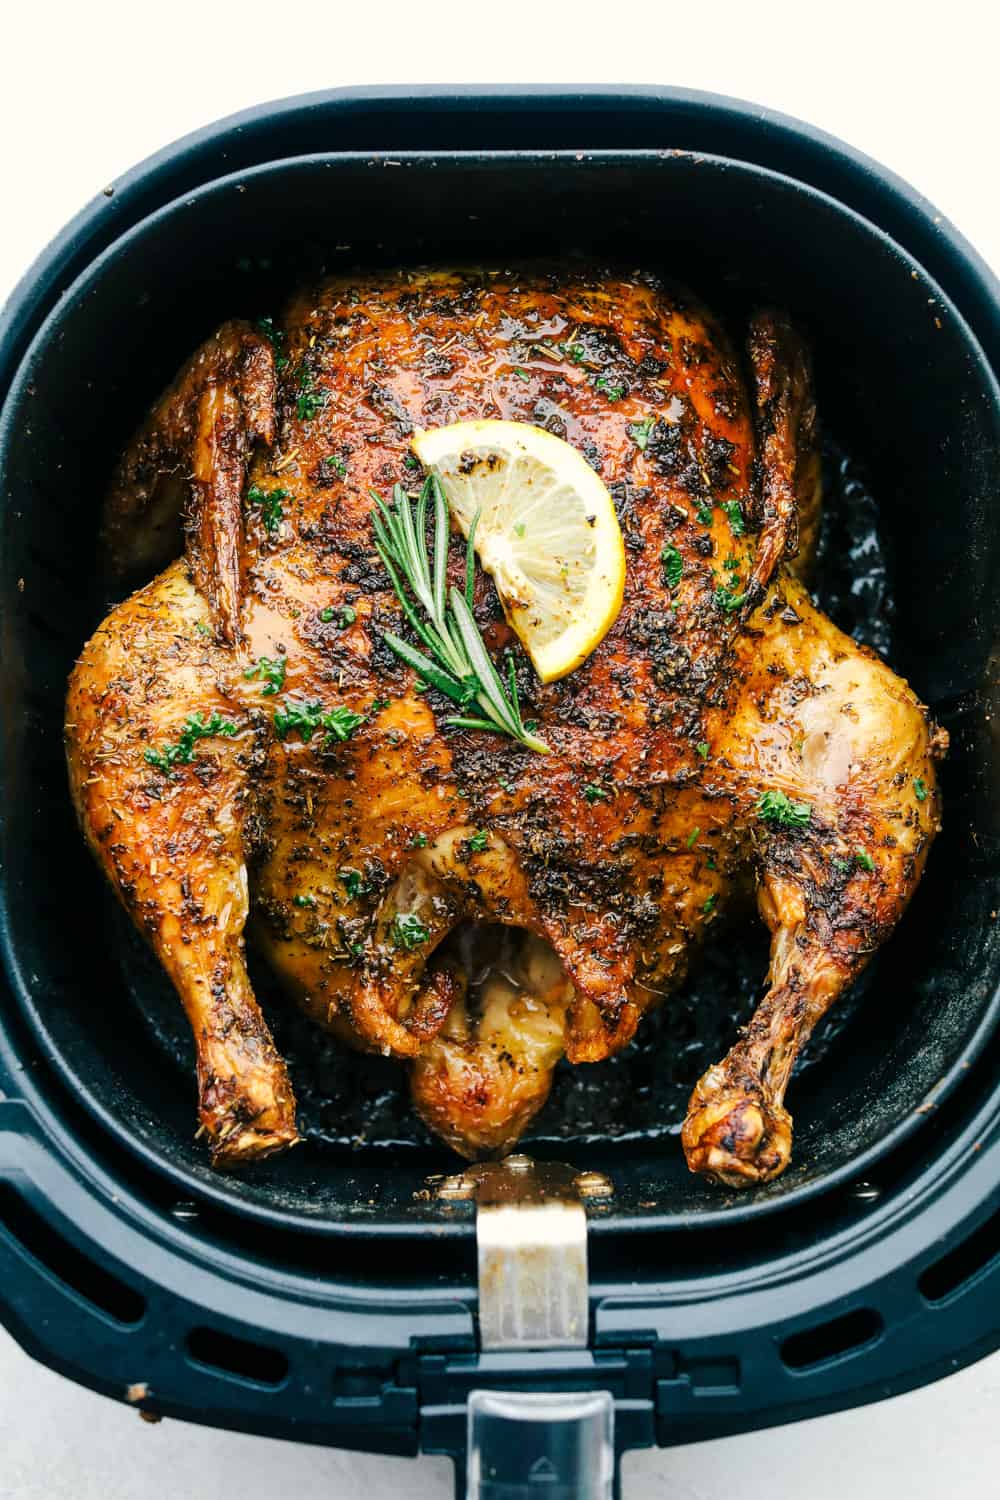
5. Garnish and Enjoy: To add an extra touch of flavor, garnish the chicken with fresh herbs, such as parsley or cilantro. You can also squeeze some lemon juice over the chicken for a citrusy kick. The tender, juicy, and flavorful rotisserie chicken is now ready to be enjoyed.
It’s worth noting that rotisserie chicken leftovers can be stored in an airtight container in the refrigerator for 3-4 days. They can be used in various recipes such as sandwiches, salads, or added to soups and stews.
Remember, the resting period is essential to achieving the best-tasting rotisserie chicken. It allows the flavors to develop and ensures that every bite is moist and succulent. By following these steps, you can serve a mouthwatering rotisserie chicken that will impress your family and guests.
Read more: How To Grill Chicken In Air Fryer
Cleaning the Air Fryer
Properly cleaning your air fryer after cooking is essential to maintain its performance and longevity. Here’s how to clean your air fryer effectively:
1. Unplug the Air Fryer: Before you begin cleaning, always ensure that the air fryer is unplugged and has cooled down completely. This is important for your safety and to avoid any risk of electric shock.
2. Remove Removable Parts: Most air fryers have removable parts that can be easily taken out for cleaning. Remove the basket, tray, and any other detachable components that come into contact with food.
3. Hand Wash or Dishwasher Safe: Check the manufacturer’s instructions to determine if the removable parts are dishwasher safe. If they are, place them in the dishwasher for thorough cleaning. If not, hand wash the parts using warm soapy water. Use a sponge or soft cloth to gently scrub away any food residue. Avoid using abrasive materials or harsh cleaners, as they can damage the non-stick coating.
4. Clean the Interior: Use a damp cloth or sponge to wipe down the inside of the air fryer. Pay special attention to any greasy or sticky spots. If necessary, use a mild dish detergent to remove any stubborn stains. Avoid immersing the air fryer in water or submerging any electrical components.
5. Clean the Heating Element: The heating element is an essential part of the air fryer, and it may accumulate grease or food particles over time. To clean it, gently wipe it with a damp cloth or use a soft brush if necessary. Make sure the heating element is completely dry before reassembling the air fryer.
6. Wipe the Exterior: Wipe the exterior of the air fryer with a damp cloth to remove any dust or stains. Dry it thoroughly with a soft towel.
7. Reassemble and Store: Once all the parts are clean and dry, reassemble the air fryer. Make sure all components are properly fitted and secure. Store the air fryer in a clean and dry place to keep it in good condition until your next use.
Regular cleaning of your air fryer ensures that oil and food residue do not build up, which can affect the performance and taste of your future dishes. It’s important to follow the manufacturer’s instructions for cleaning to avoid any damage and ensure the longevity of your air fryer.
By keeping your air fryer clean and well-maintained, you can continue to enjoy delicious and healthy meals with ease.
Conclusion
Cooking rotisserie chicken in an air fryer is a convenient and delicious way to enjoy the flavors of a traditional rotisserie oven, with the added benefits of healthier cooking and faster preparation time. By following the steps outlined in this article, you can achieve a perfectly cooked rotisserie chicken with crispy skin and juicy, tender meat.
Choosing the right chicken, properly preparing and seasoning it, and setting up the air fryer correctly are essential steps to ensure optimal cooking results. Monitoring the cooking process and checking for doneness using a meat thermometer will guarantee that your chicken is cooked thoroughly and safe to eat.
Resting the cooked chicken allows the juices to redistribute, resulting in a more flavorful and moist end result. When it’s time to serve, carving the chicken and pairing it with your favorite side dishes will create a satisfying and well-rounded meal.
Cleaning the air fryer after use is crucial to maintain its performance and longevity. A thorough cleaning of the removable parts and wiping down the interior and exterior will keep your air fryer in top condition for many delicious meals to come.
Whether you’re cooking for a family gathering or simply craving a flavorful meal, cooking rotisserie chicken in an air fryer offers convenience, outstanding taste, and healthier cooking options. From the crispy skin to the juicy meat, every bite will be a delight.
So, why not give it a try? With the guidance provided in this article, you can confidently cook rotisserie chicken in your air fryer and impress your loved ones with a mouthwatering meal that is sure to please. Enjoy the journey of exploring new culinary possibilities and creating memorable dining experiences right in your own kitchen.
Frequently Asked Questions about How To Cook Rotisserie Chicken In Air Fryer
Was this page helpful?
At Storables.com, we guarantee accurate and reliable information. Our content, validated by Expert Board Contributors, is crafted following stringent Editorial Policies. We're committed to providing you with well-researched, expert-backed insights for all your informational needs.


0 thoughts on “How To Cook Rotisserie Chicken In Air Fryer”