Articles
How To Make Fried Chicken In The Air Fryer
Modified: February 26, 2024
Learn how to make crispy and delicious fried chicken in the air fryer with these easy-to-follow articles. Perfect for a healthier twist on a classic favorite!
(Many of the links in this article redirect to a specific reviewed product. Your purchase of these products through affiliate links helps to generate commission for Storables.com, at no extra cost. Learn more)
Introduction
Nothing beats the irresistible and crispy goodness of fried chicken. It’s a timeless favorite that brings comfort and satisfaction to anyone who takes a bite. But what if you could indulge in this classic dish without the guilt of deep frying? Enter the air fryer, a revolutionary kitchen appliance that allows you to achieve that same crispy texture with a fraction of the oil.
In this article, we will guide you through a step-by-step tutorial on how to make fried chicken in the air fryer. Whether you’re a seasoned home cook or a beginner in the kitchen, this easy and convenient method will have you enjoying delicious homemade fried chicken in no time.
Before we dive into the cooking process, let’s first gather all the necessary equipment and ingredients.
Key Takeaways:
- Enjoy guilt-free, crispy fried chicken by using an air fryer. Follow the step-by-step guide to prepare, season, and cook the perfect air-fried chicken with minimal oil and maximum flavor.
- Master the art of air-fried chicken and impress your loved ones with this healthier, convenient, and delicious alternative to traditional deep-fried chicken. Indulge in crispy perfection without the guilt!
Read more: How To Make Fried Pickles In Air Fryer
Requirements
To make fried chicken in the air fryer, you will need the following:
- Air fryer: Make sure you have a functioning air fryer that can accommodate the amount of chicken you plan to cook. Different models may have varying cooking times and temperature settings, so refer to your specific appliance’s instruction manual for guidance.
- Chicken pieces: Choose your preferred cuts of chicken, such as drumsticks, thighs, or wings. Aim for fresh, high-quality chicken for the best flavor and texture.
- Seasonings: Prepare your favorite combination of seasonings to marinate the chicken and add flavor. Common options include salt, black pepper, garlic powder, paprika, and dried herbs like thyme or oregano.
- Breadcrumbs or flour: You will need a coating for the chicken to create that crispy exterior. Traditional breadcrumbs or flour work well for this purpose.
- Eggs: Beat a few eggs in a separate bowl to create an egg wash, which will help the breadcrumbs or flour adhere to the chicken.
- Cooking spray or oil: To prevent sticking and enhance crispiness, you may choose to lightly coat the chicken with cooking spray or brush it with a small amount of oil.
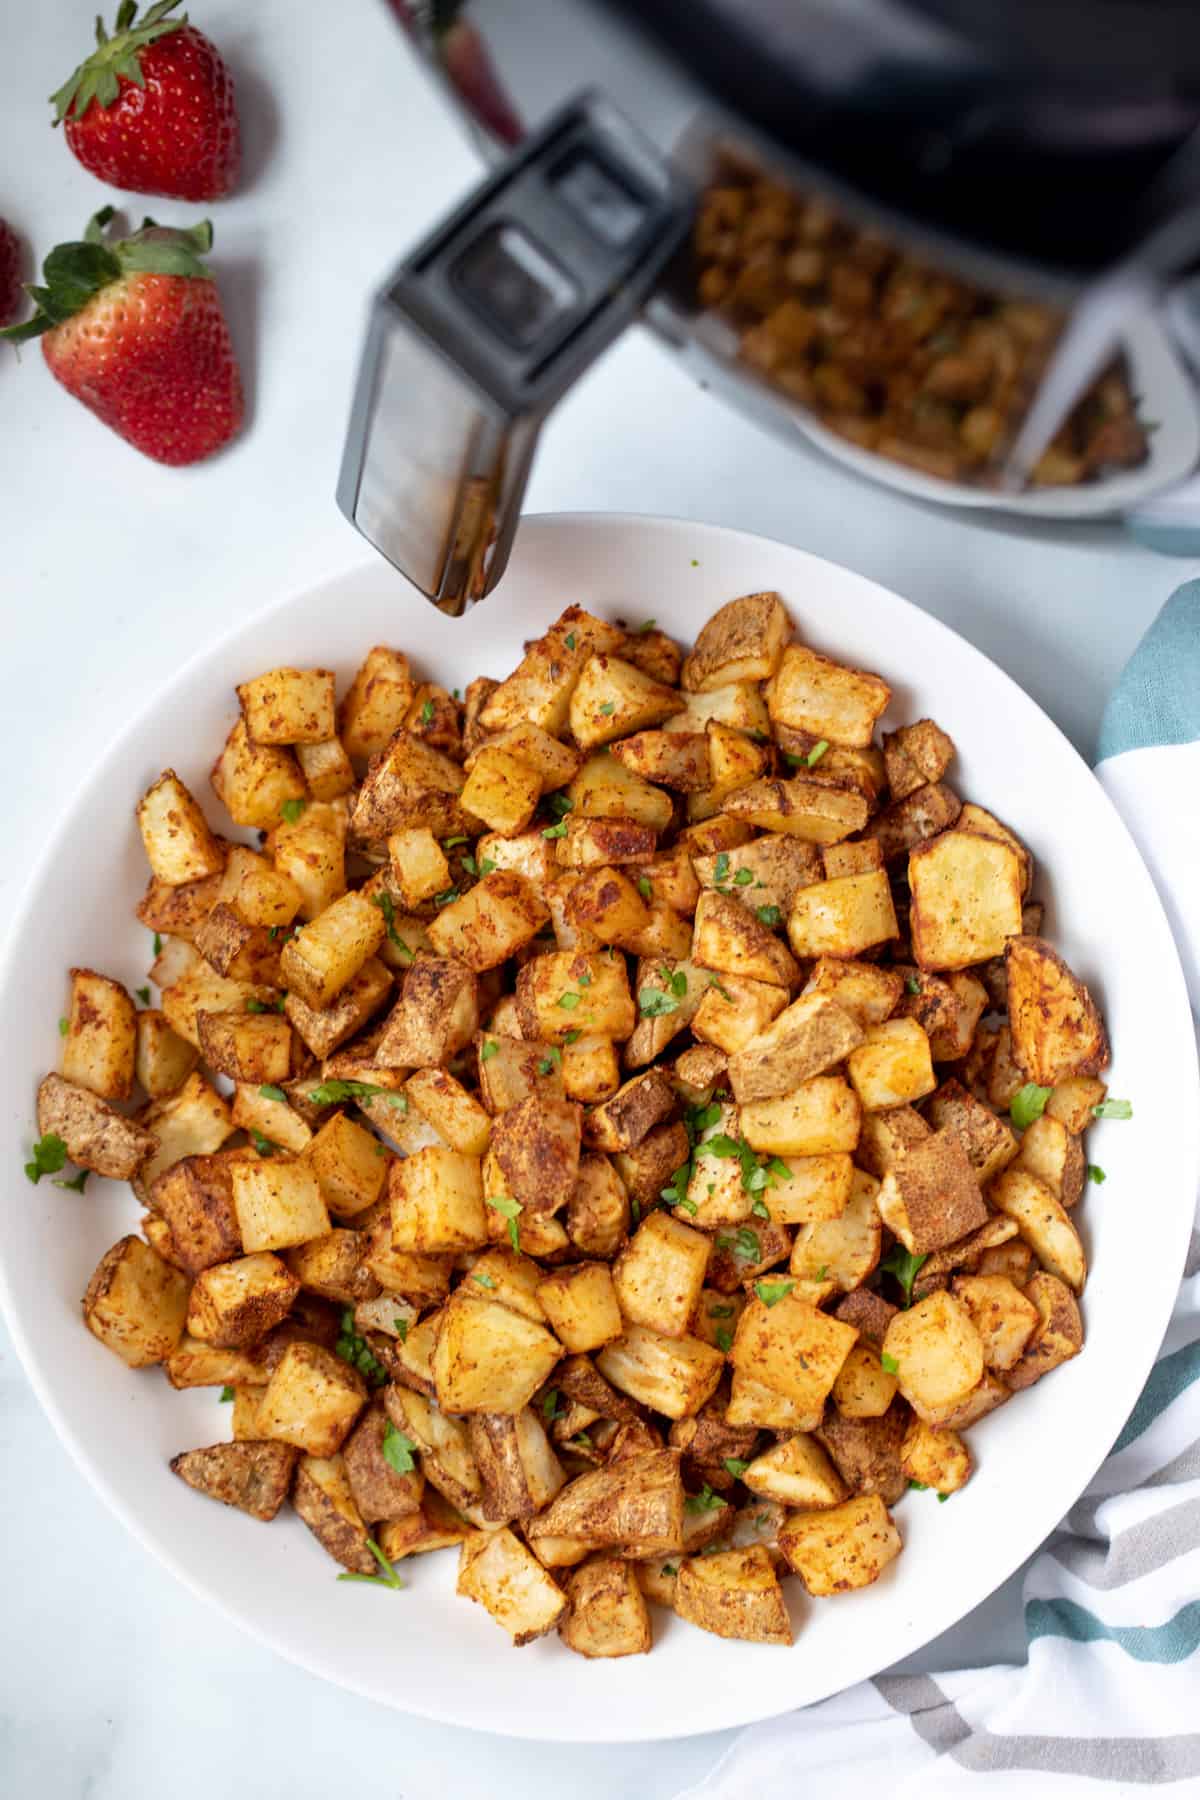
- Optional sides: Consider serving your air-fried chicken with classic accompaniments like mashed potatoes, coleslaw, or a fresh salad to complete the meal.
Once you have gathered these essentials, you’re ready to embark on your air-fried chicken cooking adventure. Let’s move on to the step-by-step process of preparing and cooking the chicken.
Step 1: Preparing the Chicken
Before you start cooking, it’s crucial to properly prepare the chicken. Follow these steps:
- Remove any excess moisture: Pat the chicken pieces dry with paper towels. This helps the seasonings and coating adhere better and promotes a crispier texture.
- Trim off excess fat: If desired, trim off any excess fat from the chicken pieces. This not only reduces the overall fat content of the dish but also prevents the air fryer from becoming too greasy.
- Score the chicken: Making a few shallow cuts in the chicken skin or flesh helps the seasonings penetrate and flavors to infuse during cooking. This step is optional, but it can enhance the overall taste of the chicken.
- Place in a bowl or dish: Transfer the chicken pieces to a bowl or dish that is large enough to accommodate them without crowding. This allows for even marination and coating.
Now that your chicken is prepared, it’s time to move on to the next step: seasoning.
Step 2: Seasoning
Seasoning is the key to imparting delicious flavors into your fried chicken. Here’s how to season your chicken:
- Sprinkle with salt: Generously season the chicken pieces with salt, ensuring that all sides are evenly coated. Salt helps to enhance the natural flavors of the chicken.
- Add your desired spices: Depending on your taste preferences, add a combination of spices such as black pepper, garlic powder, paprika, and dried herbs. Feel free to experiment and adjust the seasoning to suit your liking.
- Rub the seasoning into the chicken: Using your hands, gently rub the seasoning mixture into the chicken, making sure it is well-distributed. This step allows the flavors to penetrate the meat.
- Cover and refrigerate: Once seasoned, cover the bowl or dish and let the chicken marinate in the refrigerator for at least 30 minutes to allow the flavors to develop. For even more intense flavor, marinate for up to 4 hours or overnight.
While the chicken is marinating, it’s time to prepare the coating that will give your air-fried chicken its signature crunch. Let’s move on to step 3: coating.
Step 3: Coating
The coating is what creates that crispy, golden-brown exterior on your air-fried chicken. Here’s how to coat your chicken:
- Prepare your coating mixture: In a separate bowl or plate, combine breadcrumbs or flour with additional seasonings, if desired. You can use traditional breadcrumbs or opt for panko breadcrumbs for extra crunch. Adjust the seasonings to your taste.
- Dip the chicken in the coating: Take a marinated chicken piece and dip it into the coating mixture, ensuring all sides are evenly coated. Lightly press the coating onto the chicken to help it adhere better.
- Shake off excess coating: Once coated, gently shake off any excess coating from the chicken. This step prevents the coating from becoming too thick and ensures an even and crispy texture.
- Repeat for remaining pieces: Repeat the coating process for each chicken piece, working in batches if necessary. Make sure to replenish the coating mixture as needed.
With the chicken pieces coated and ready, it’s time to move on to the next step: preheating the air fryer.
To ensure crispy and evenly cooked fried chicken in the air fryer, preheat the air fryer before adding the chicken. This will help to achieve a golden and crispy exterior while keeping the inside juicy.
Read more: How To Make Chicken Cutlets In Air Fryer
Step 4: Preheating the Air Fryer
Preheating the air fryer is an important step to ensure that your fried chicken cooks evenly and achieves that desired crispy texture. Here’s how to preheat your air fryer:
- Place the air fryer on a stable and heat-resistant surface.
- Set the temperature: Refer to your specific air fryer’s instruction manual for the recommended preheating temperature. Typically, a temperature of 400°F (200°C) works well for most air fryers.
- Preheat for a few minutes: Turn on the air fryer and allow it to preheat for approximately 3-5 minutes. This preheating time may vary depending on the model of your air fryer.
Preheating the air fryer ensures that the cooking chamber reaches the desired temperature, which is crucial for achieving that crispy exterior on your fried chicken. Now that the air fryer is preheated, it’s time to move on to step 5: air frying the chicken.
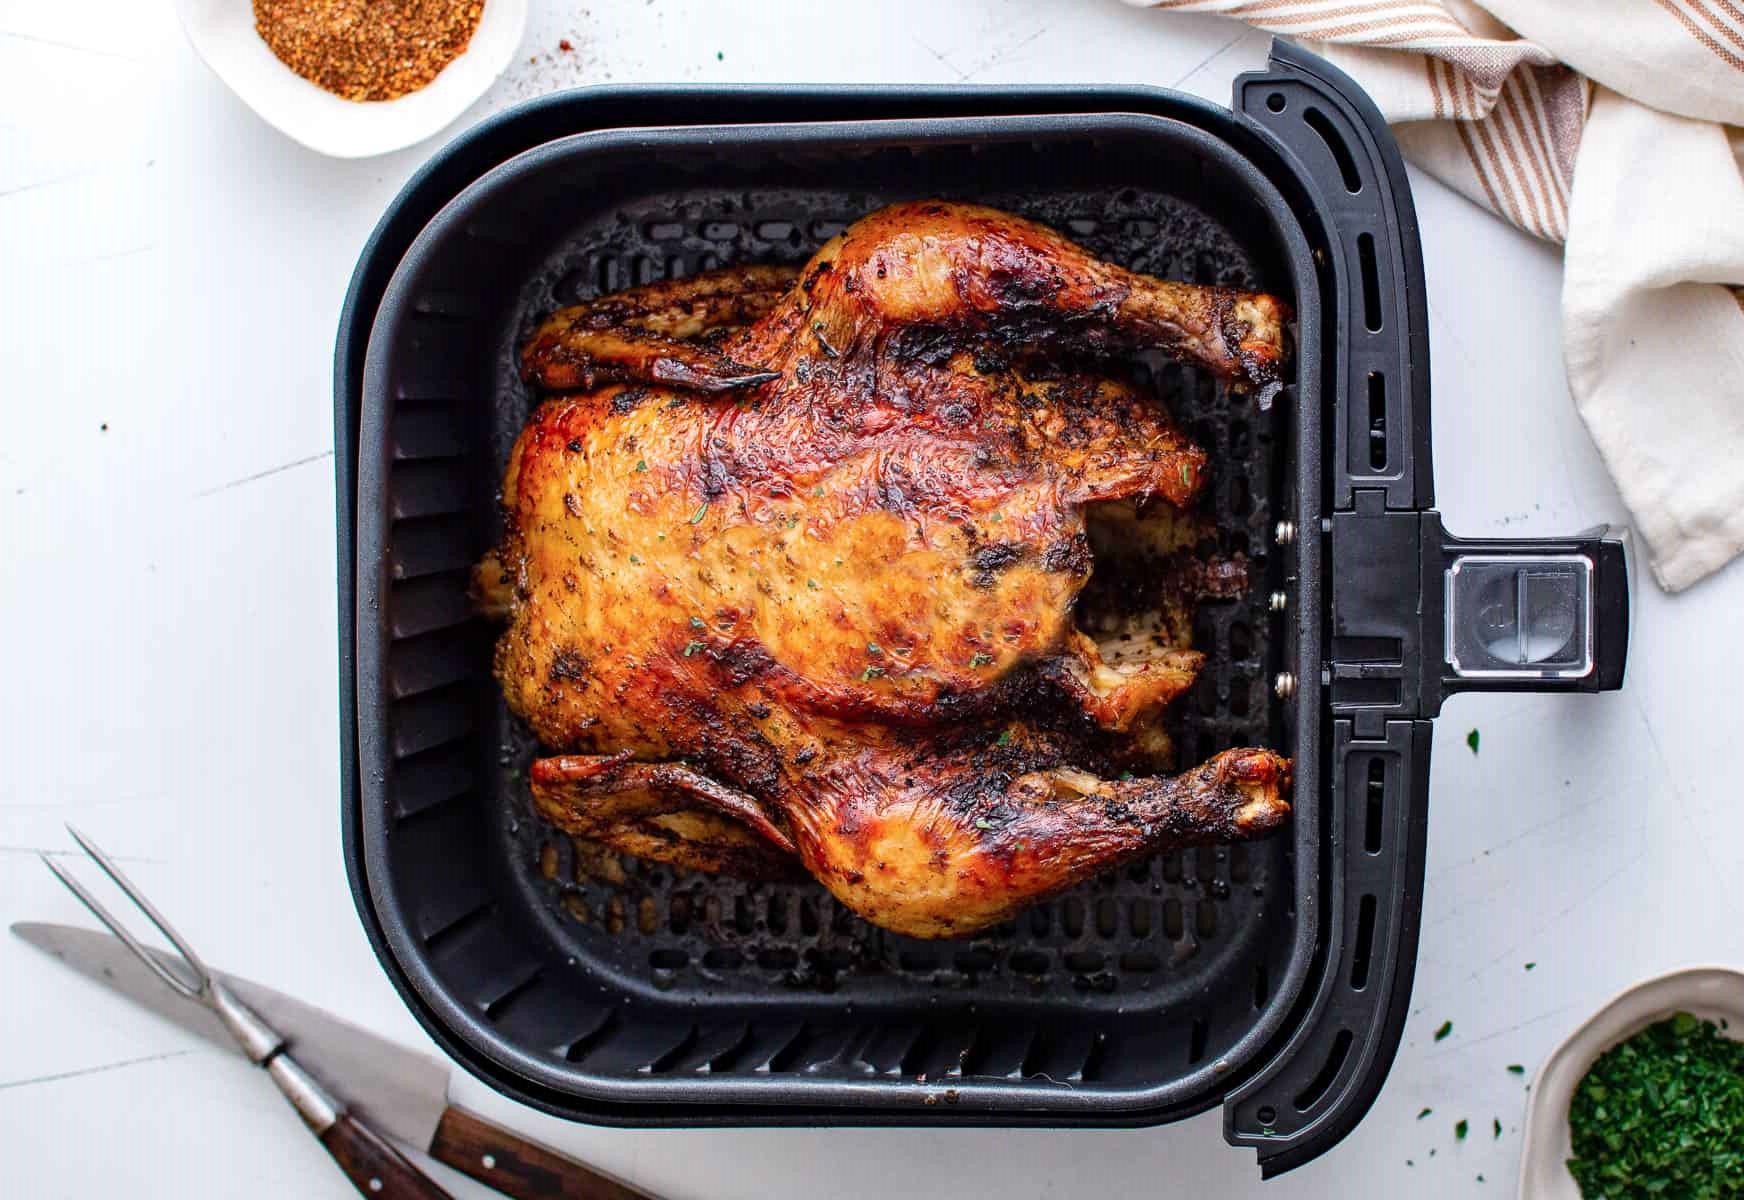
Step 5: Air Frying the Chicken
Now comes the exciting part – it’s time to air fry the chicken! Follow these steps to achieve crispy and perfectly cooked fried chicken:
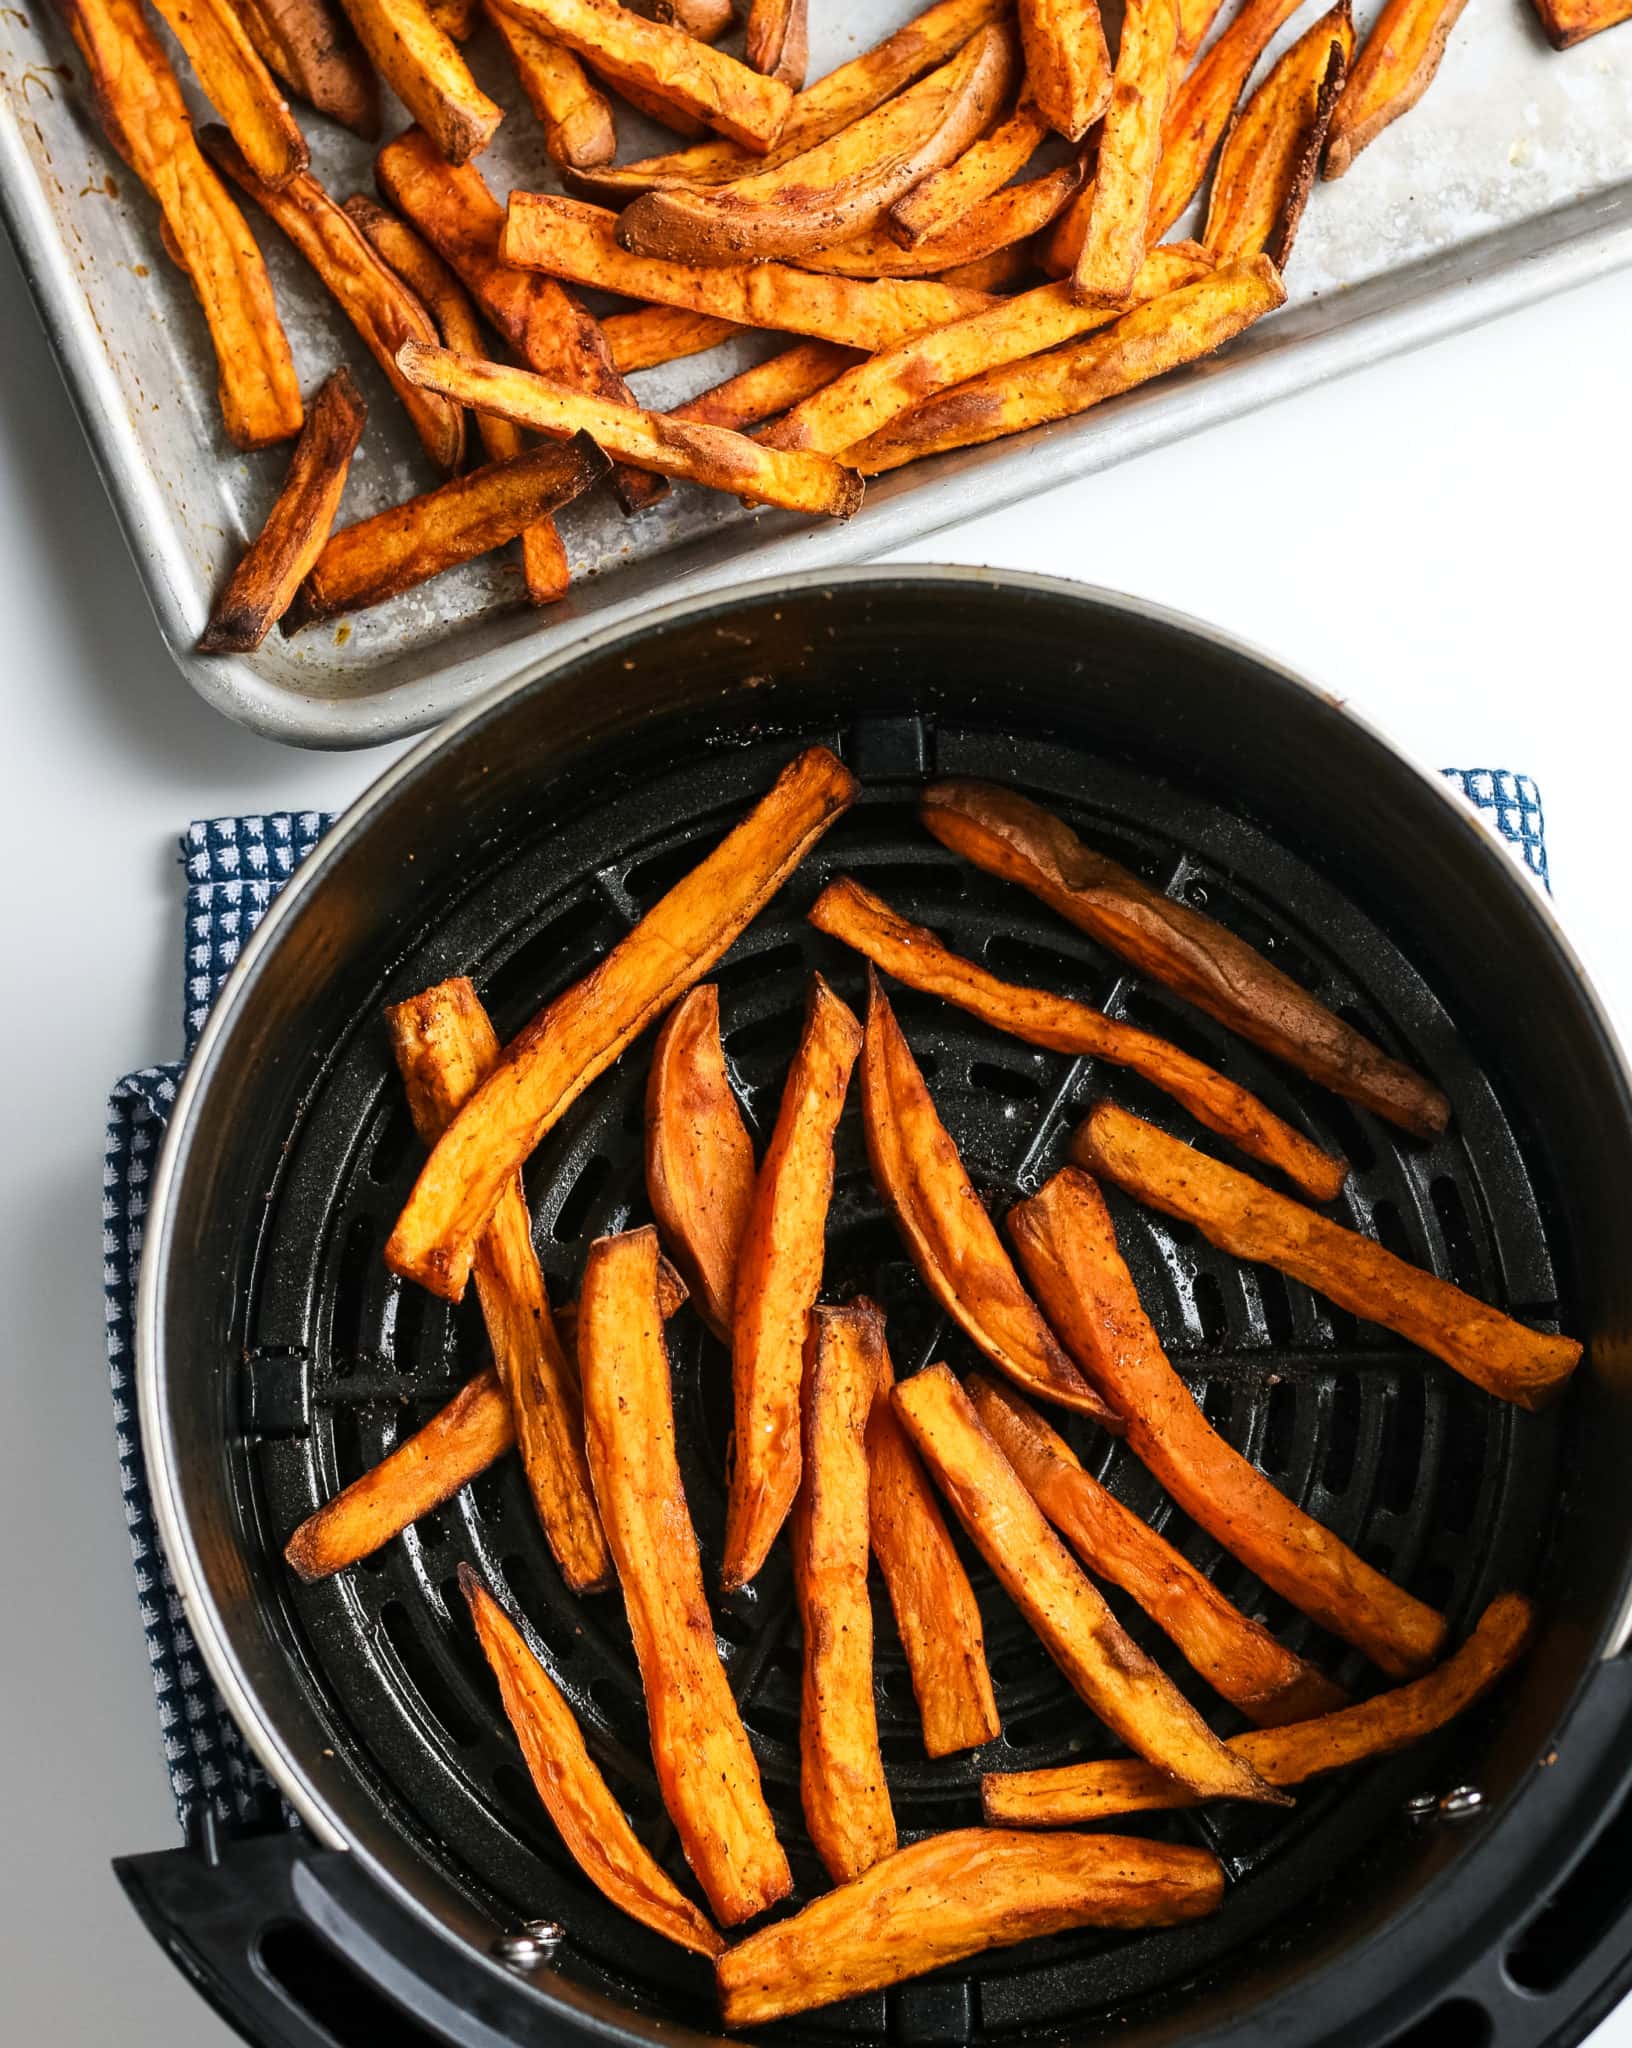
- Lightly grease the air fryer basket: Lightly coat the air fryer basket with cooking spray or brush it with a small amount of oil. This helps prevent the chicken from sticking to the basket and promotes browning.
- Arrange the chicken in a single layer: Place the coated chicken pieces in the air fryer basket, making sure they are arranged in a single layer without overlapping. This ensures even cooking.
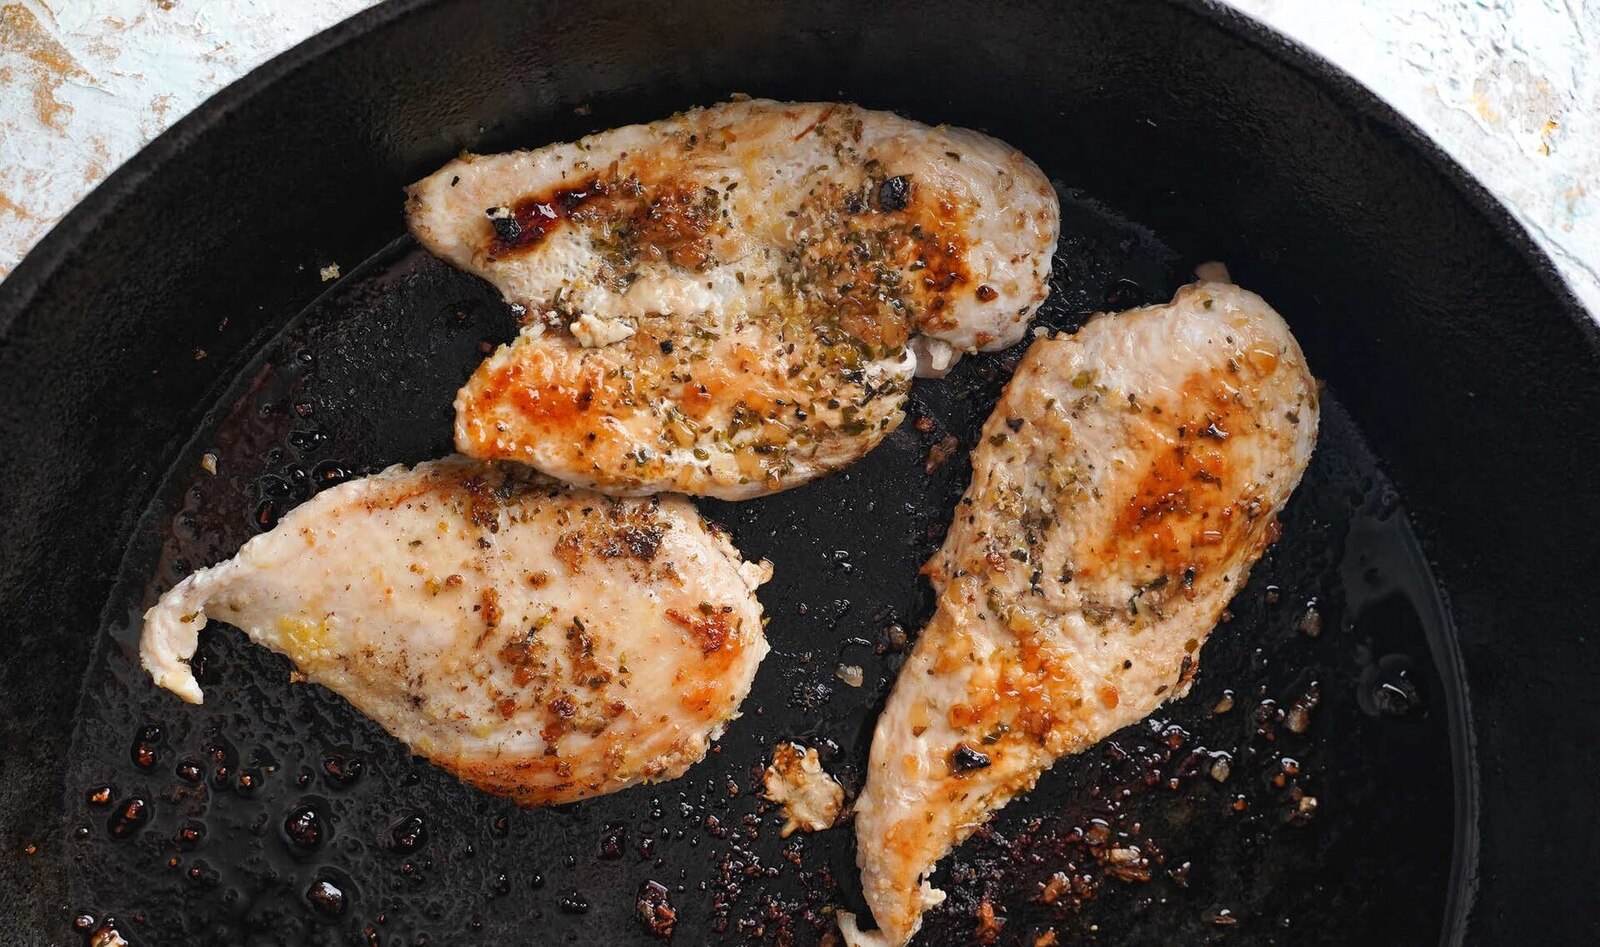
- Cook at the appropriate temperature and time: Set the air fryer to the recommended temperature for frying chicken, typically around 375°F (190°C). Refer to your specific air fryer’s instruction manual for the suggested cooking time, but generally, it takes about 18-20 minutes for bone-in chicken pieces.
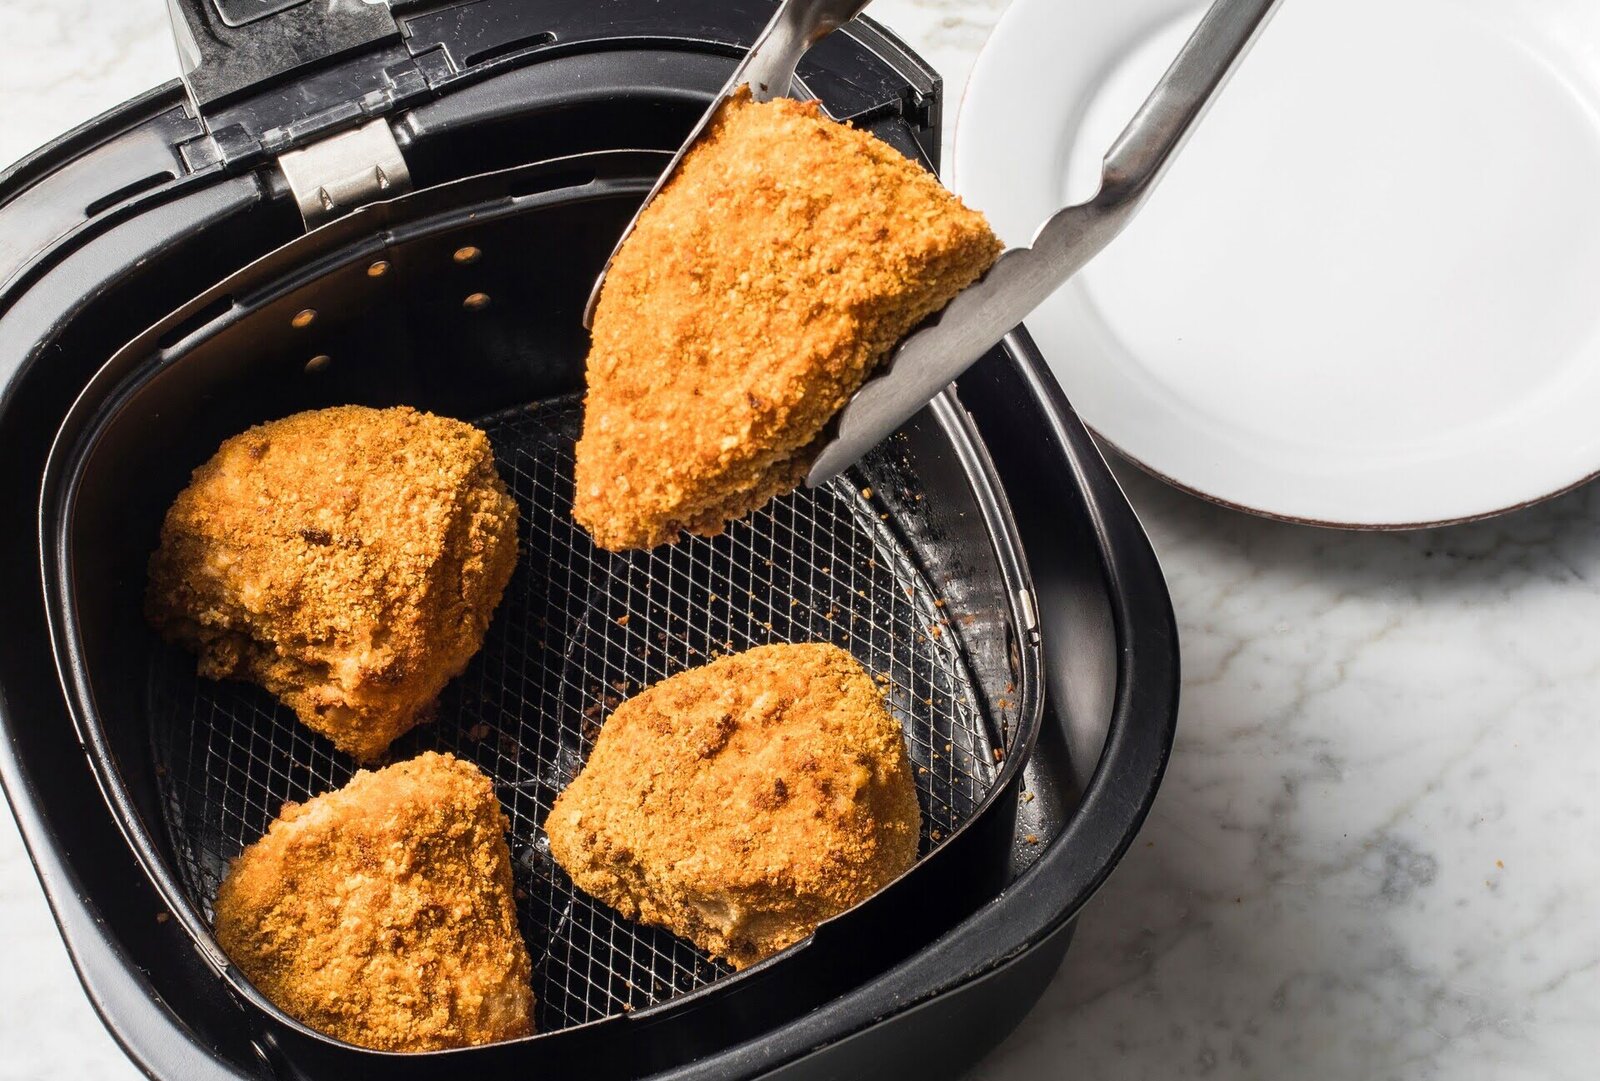
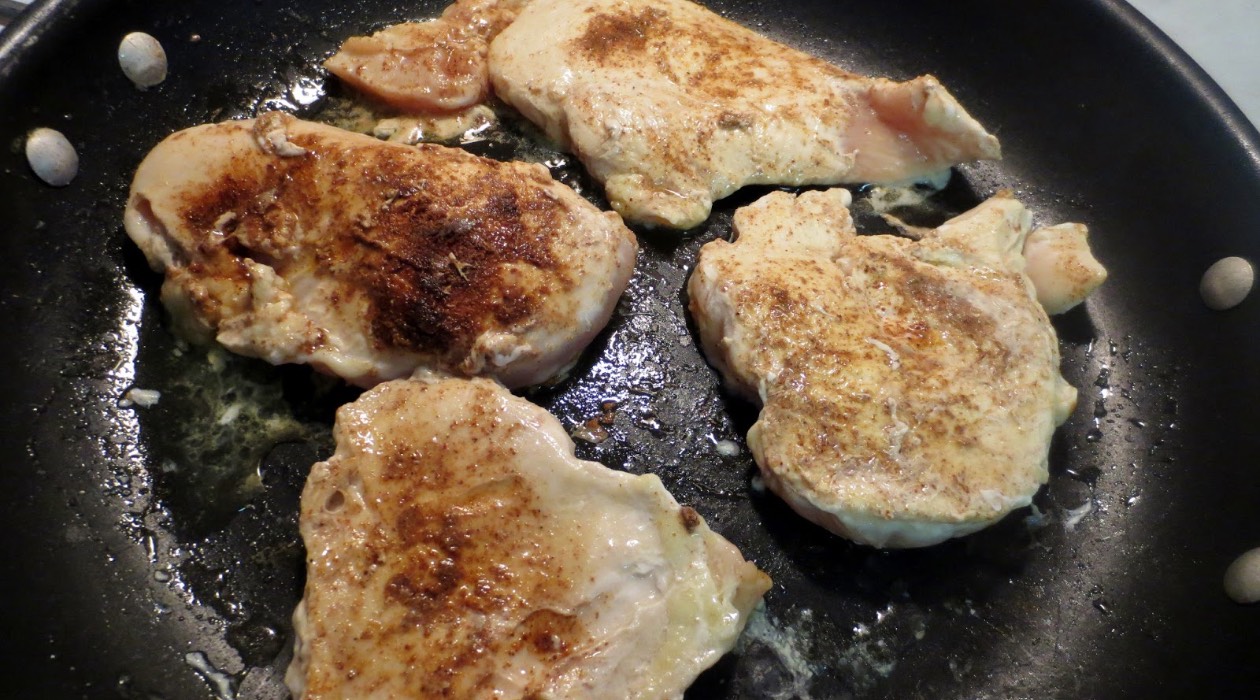
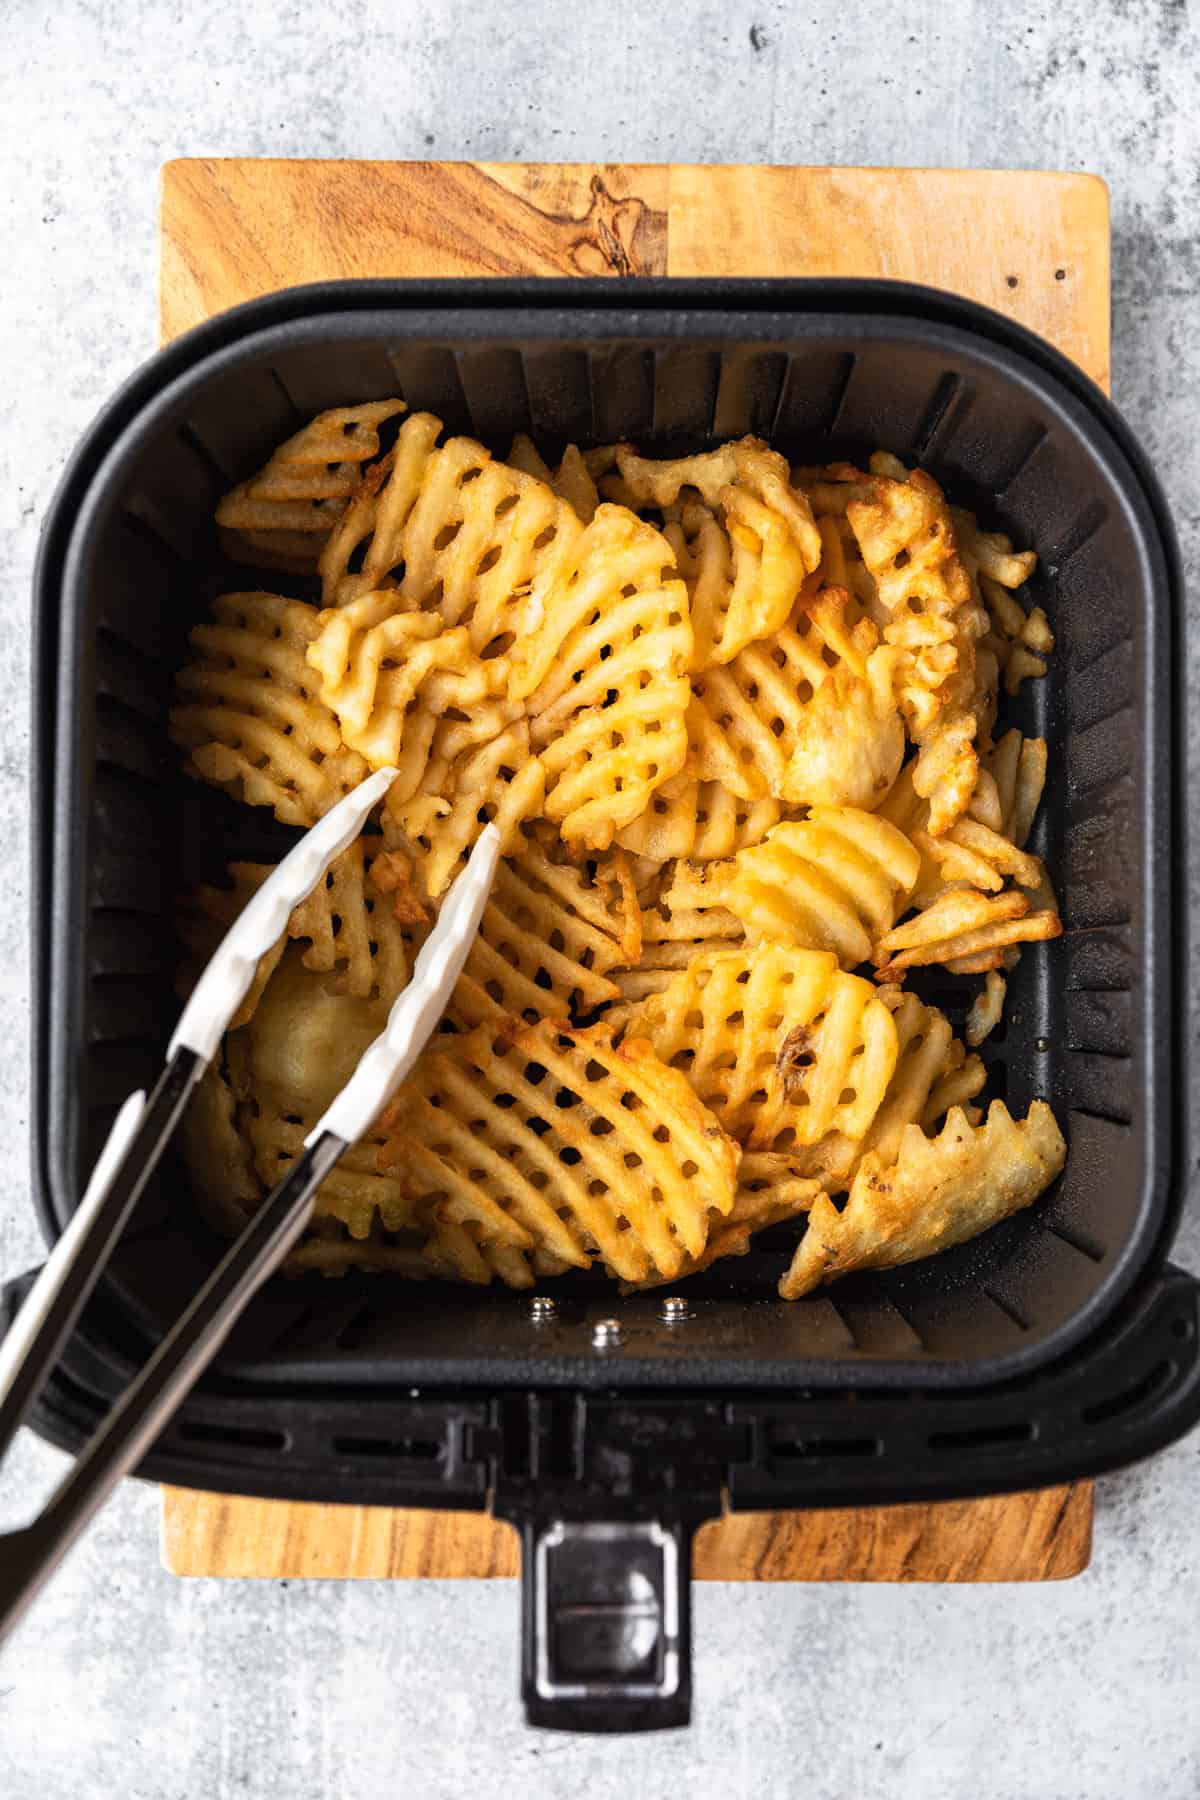
- Flip halfway through: About halfway through the cooking time, carefully flip the chicken pieces using tongs to ensure even browning on both sides. This step helps to achieve that coveted golden exterior.
Keep an eye on the chicken as it cooks to prevent overcooking or burning. The cooking time may vary depending on the size and thickness of the chicken pieces. It’s always best to use a meat thermometer to ensure that the internal temperature of the chicken reaches 165°F (75°C) for safe consumption.
Once the chicken is cooked to perfection, it’s time to move on to the next step: checking for doneness.
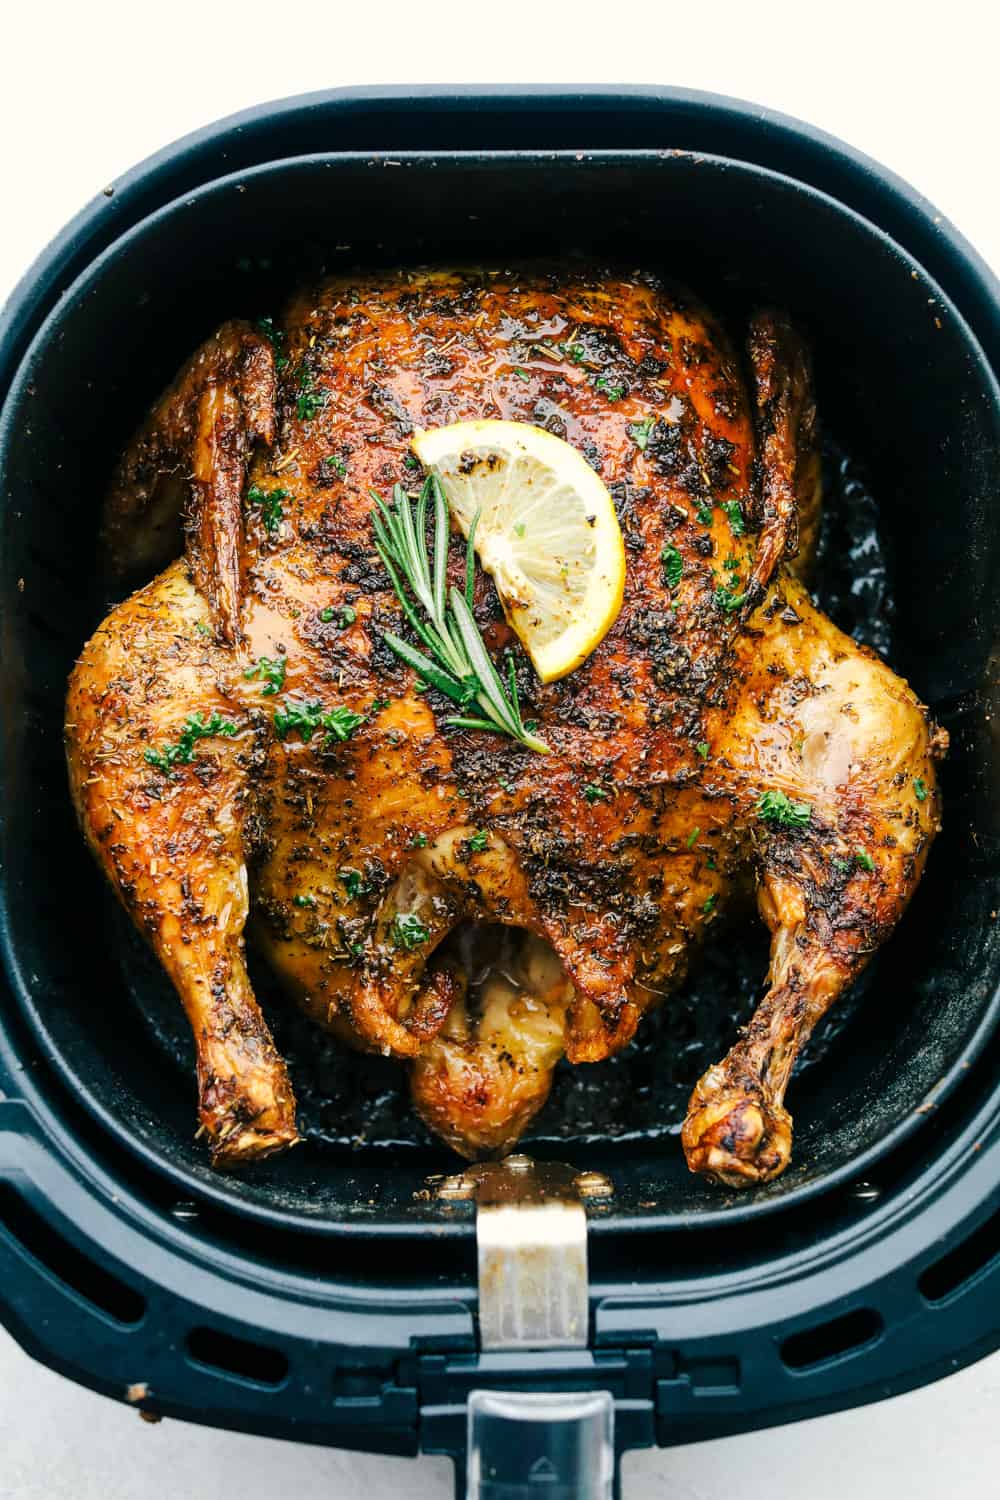
Step 6: Checking for Doneness
Checking for doneness is an essential step to ensure that your air-fried chicken is cooked all the way through. Here’s how to check if your chicken is done:
- Use a meat thermometer: Insert a meat thermometer into the thickest part of the chicken, avoiding the bone. The internal temperature should register 165°F (75°C) for safe consumption.
- Check for clear juices: Another way to check for doneness is to carefully make a small incision in the thickest part of the chicken. If the juices run clear without any traces of pink or blood, your chicken is cooked.
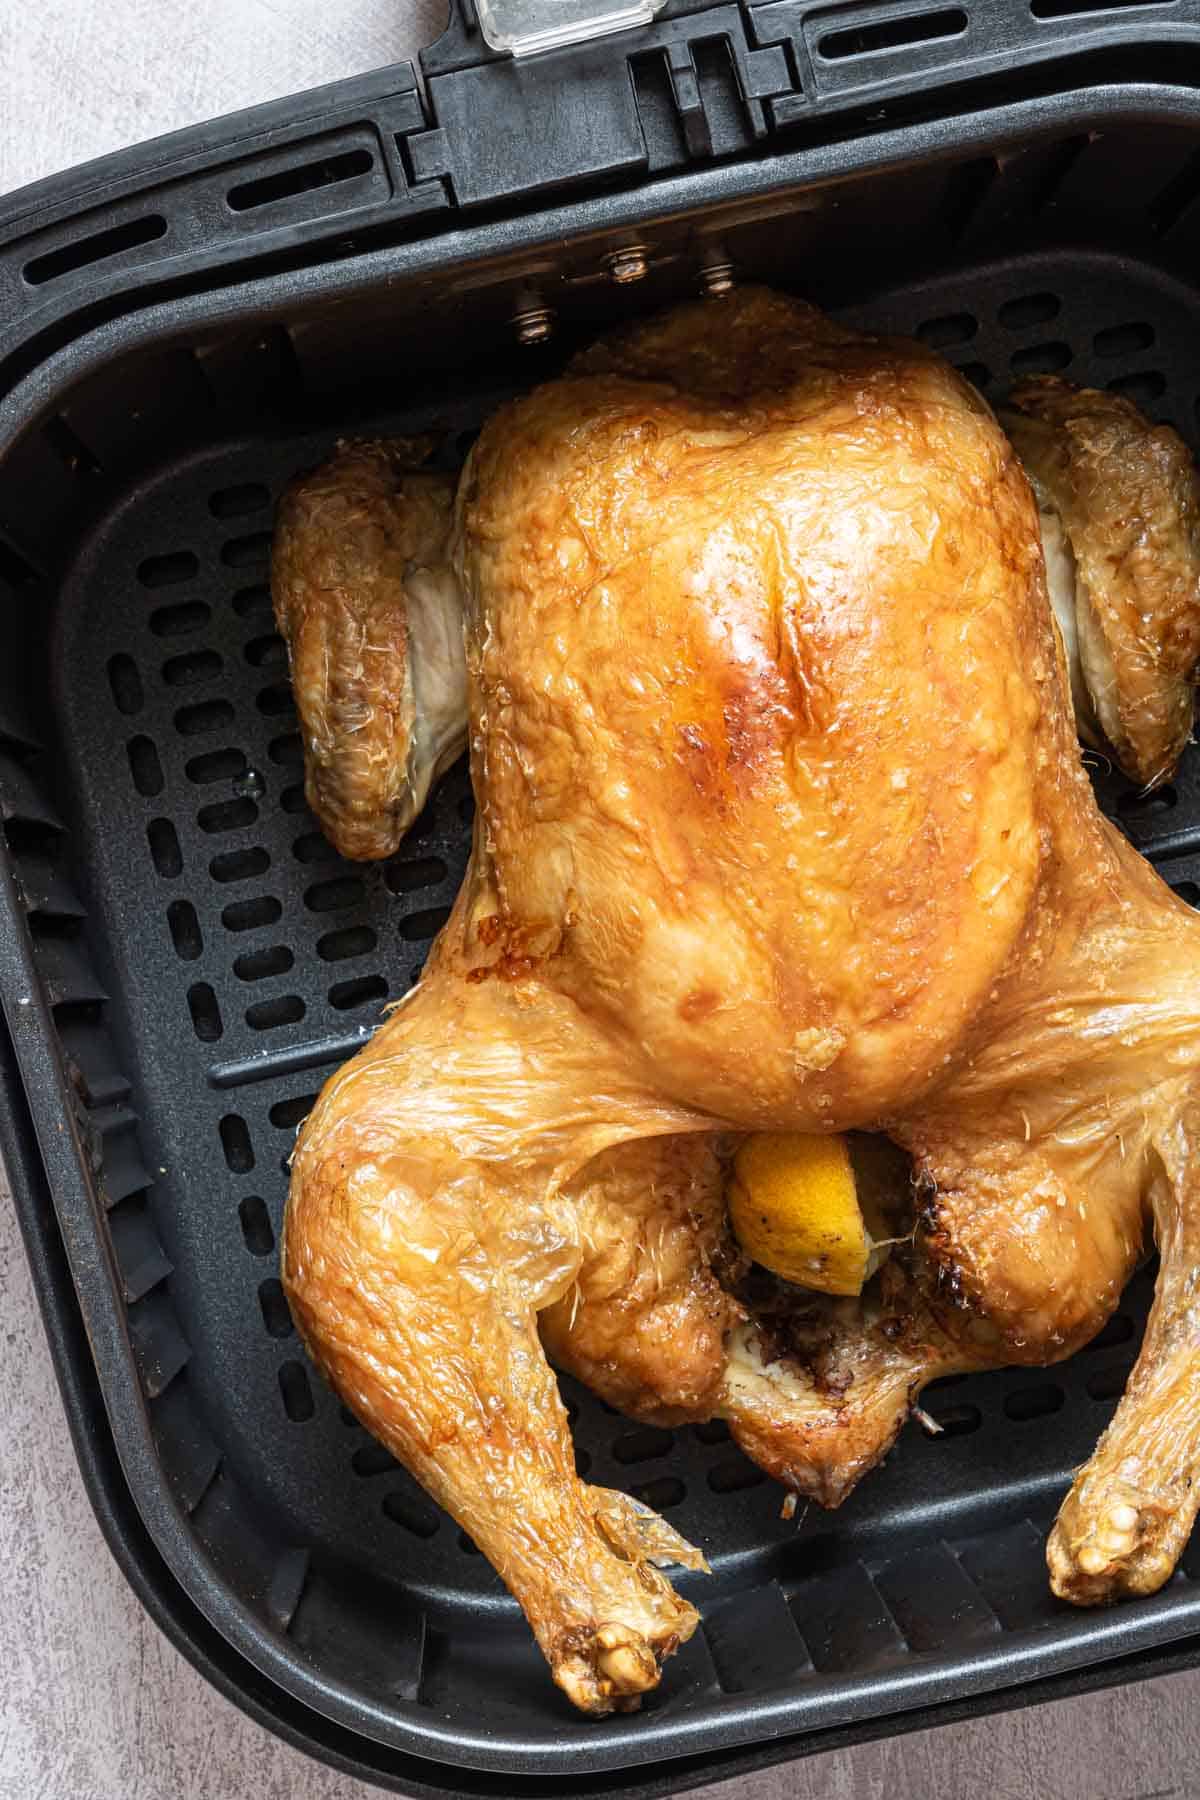
- Check for crispiness and golden color: Visually inspect the chicken to ensure that it has a crispy, golden-brown exterior. The coating should be crunchy, and there should be no visible signs of raw or undercooked chicken.
If the chicken is not fully cooked, return it to the air fryer and continue cooking for a few more minutes. Make sure to monitor the chicken closely to avoid overcooking.
Once your air-fried chicken is cooked to perfection, it’s time to move on to the final step: serving and enjoying your delicious creation.
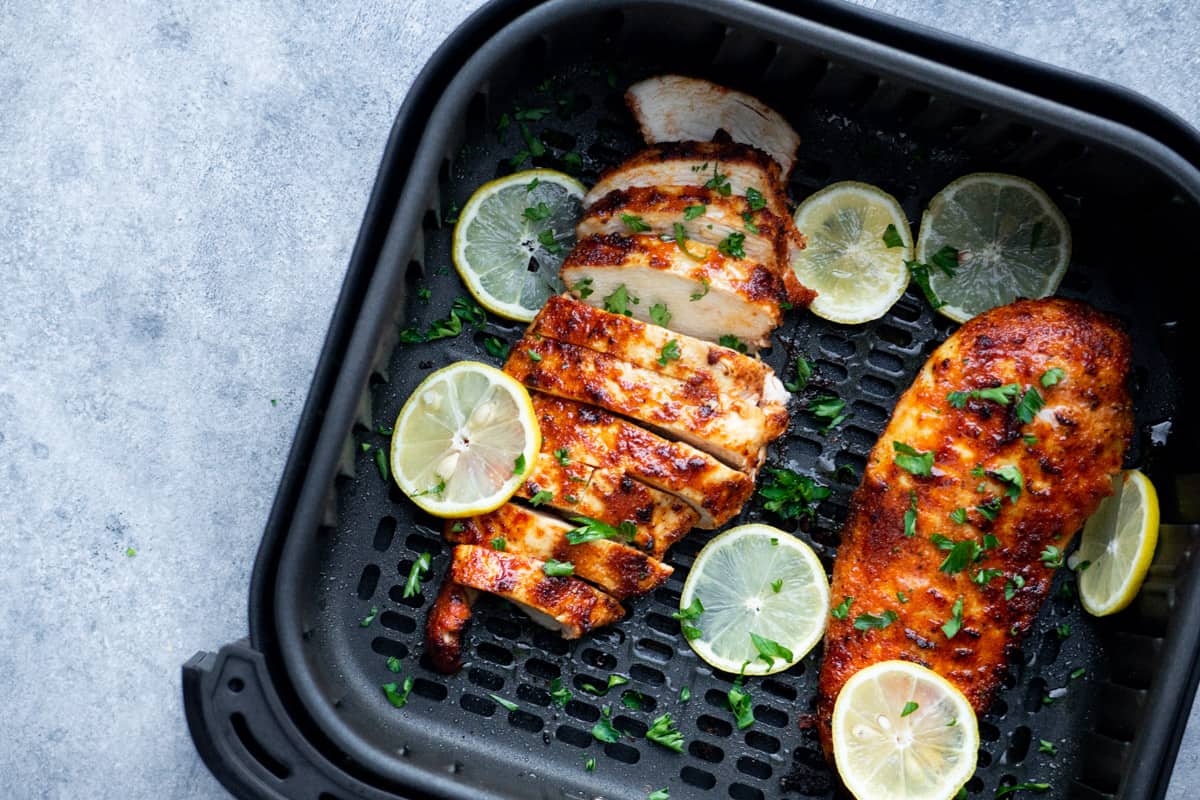
Step 7: Serving and Enjoying
Congratulations, your air-fried chicken is ready to be served and enjoyed! Here’s how to serve your delicious creation:
- Transfer to a serving plate: Carefully remove the air-fried chicken from the air fryer basket and transfer it to a serving plate lined with paper towels. This helps to absorb any excess oil and keeps the chicken crispy.
- Garnish with herbs (optional): For an added touch, sprinkle fresh herbs such as parsley or cilantro over the chicken to enhance its appearance and flavor.
- Serve with your favorite sides: Accompany your air-fried chicken with your favorite sides and condiments. Whether it’s mashed potatoes, coleslaw, cornbread, or barbecue sauce, the choice is yours!
Invite your friends and family to the table and serve up the crispy and flavorful air-fried chicken. This guilt-free version of the classic fried chicken will surely impress everyone. Remember to enjoy it while it’s still hot and crispy!
Now that you have mastered the art of making fried chicken in the air fryer, feel free to experiment with different seasoning blends, sauces, and side dishes to create your own unique variations. The possibilities are endless, and you can enjoy homemade fried chicken in a healthier and more convenient way.
So gather your ingredients, fire up your air fryer, and get ready to savor the crispy, golden perfection of air-fried chicken. It’s time to indulge without the guilt!
Happy cooking and bon appétit!
Read more: How Long To Fry Chicken Legs In A Deep Fryer
Conclusion
Making fried chicken in the air fryer is a game-changer for those who want to enjoy the crispy goodness of this classic dish without the excess oil. With its ability to achieve that desired crunch using minimal oil, the air fryer offers a healthier alternative to traditional deep frying.
In this article, we walked you through the step-by-step process of making fried chicken in the air fryer. From preparing the chicken to seasoning, coating, and air frying, we covered all the essential steps to ensure that your chicken turns out perfectly crispy and flavorful.
Remember, proper preparation and seasoning are key to enhancing the taste of your chicken. Marinating the chicken in your favorite seasonings allows the flavors to infuse, while a well-coated and properly preheated air fryer ensures even cooking and that coveted golden-brown exterior.
Once your chicken is cooked to perfection, it’s time to serve and enjoy your delicious creation. Pair it with your favorite sides and condiments to complete the meal and wow your taste buds.
Whether you’re hosting a gathering or simply treating yourself to a satisfying meal, making fried chicken in the air fryer is an excellent culinary adventure. It offers the perfect balance of indulgence and health-consciousness, allowing you to enjoy this classic comfort food guilt-free.
So grab your air fryer, gather your ingredients, and get ready to savor the mouthwatering flavor and crispy texture of homemade fried chicken. With this foolproof method, you can conquer the art of air-fried chicken and impress your loved ones with your culinary skills.
Happy air frying, and bon appétit!
Frequently Asked Questions about How To Make Fried Chicken In The Air Fryer
Was this page helpful?
At Storables.com, we guarantee accurate and reliable information. Our content, validated by Expert Board Contributors, is crafted following stringent Editorial Policies. We're committed to providing you with well-researched, expert-backed insights for all your informational needs.

0 thoughts on “How To Make Fried Chicken In The Air Fryer”