Home>Articles>How To Cook White Rice In An Electric Pressure Cooker
Articles
How To Cook White Rice In An Electric Pressure Cooker
Modified: February 27, 2024
Learn how to cook perfect white rice using an electric pressure cooker with this informative article. Get step-by-step instructions and expert tips for delicious results.
(Many of the links in this article redirect to a specific reviewed product. Your purchase of these products through affiliate links helps to generate commission for Storables.com, at no extra cost. Learn more)
Introduction
Welcome to this step-by-step guide on how to cook white rice in an electric pressure cooker. If you’re tired of waiting for your rice to cook on the stovetop or want a foolproof method for perfectly cooked rice every time, then using an electric pressure cooker is the way to go.
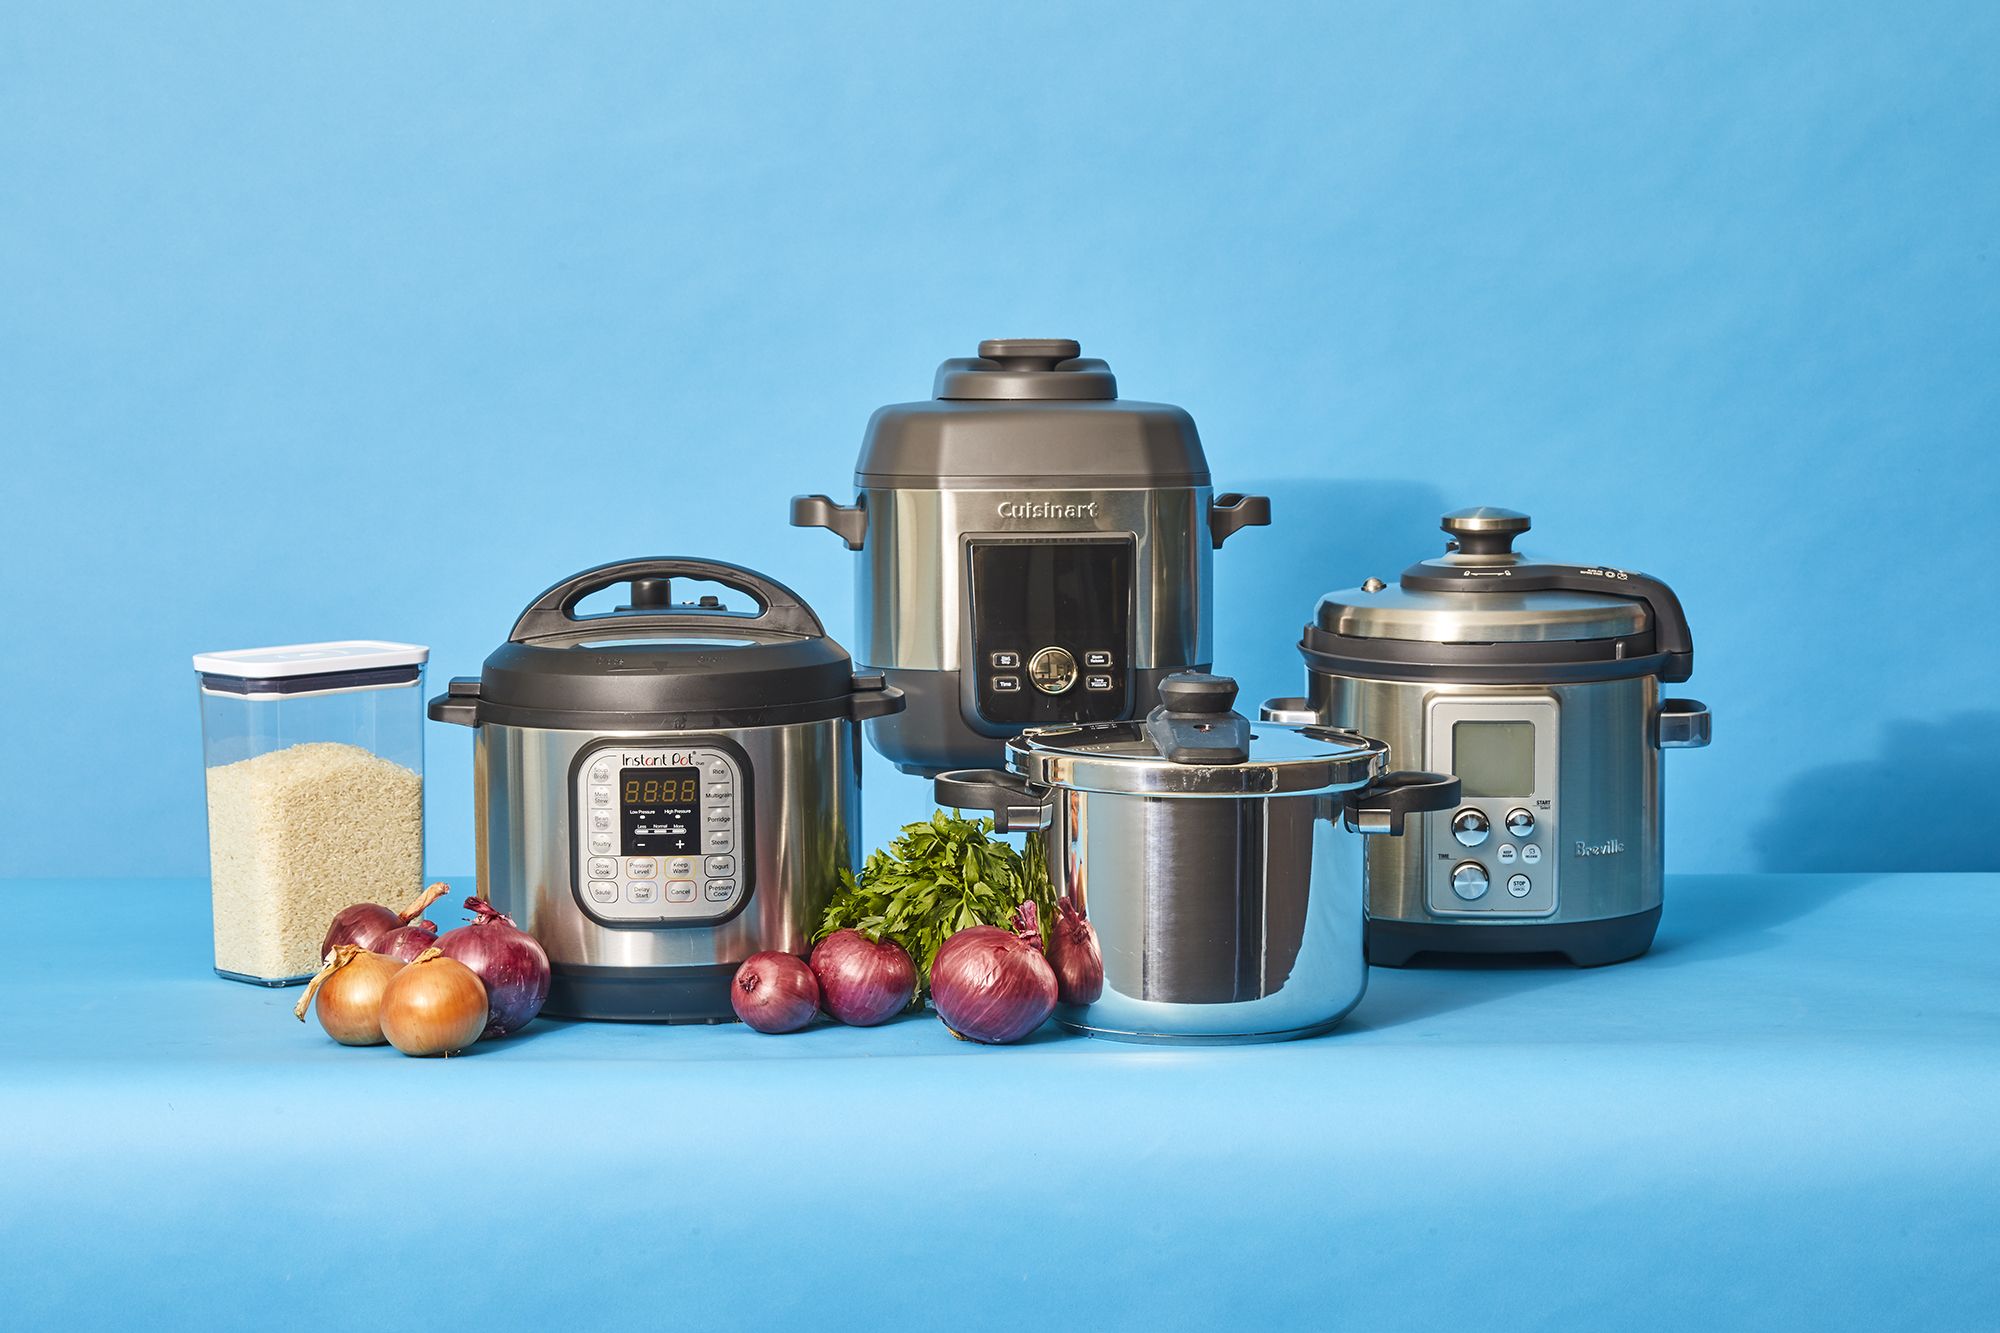
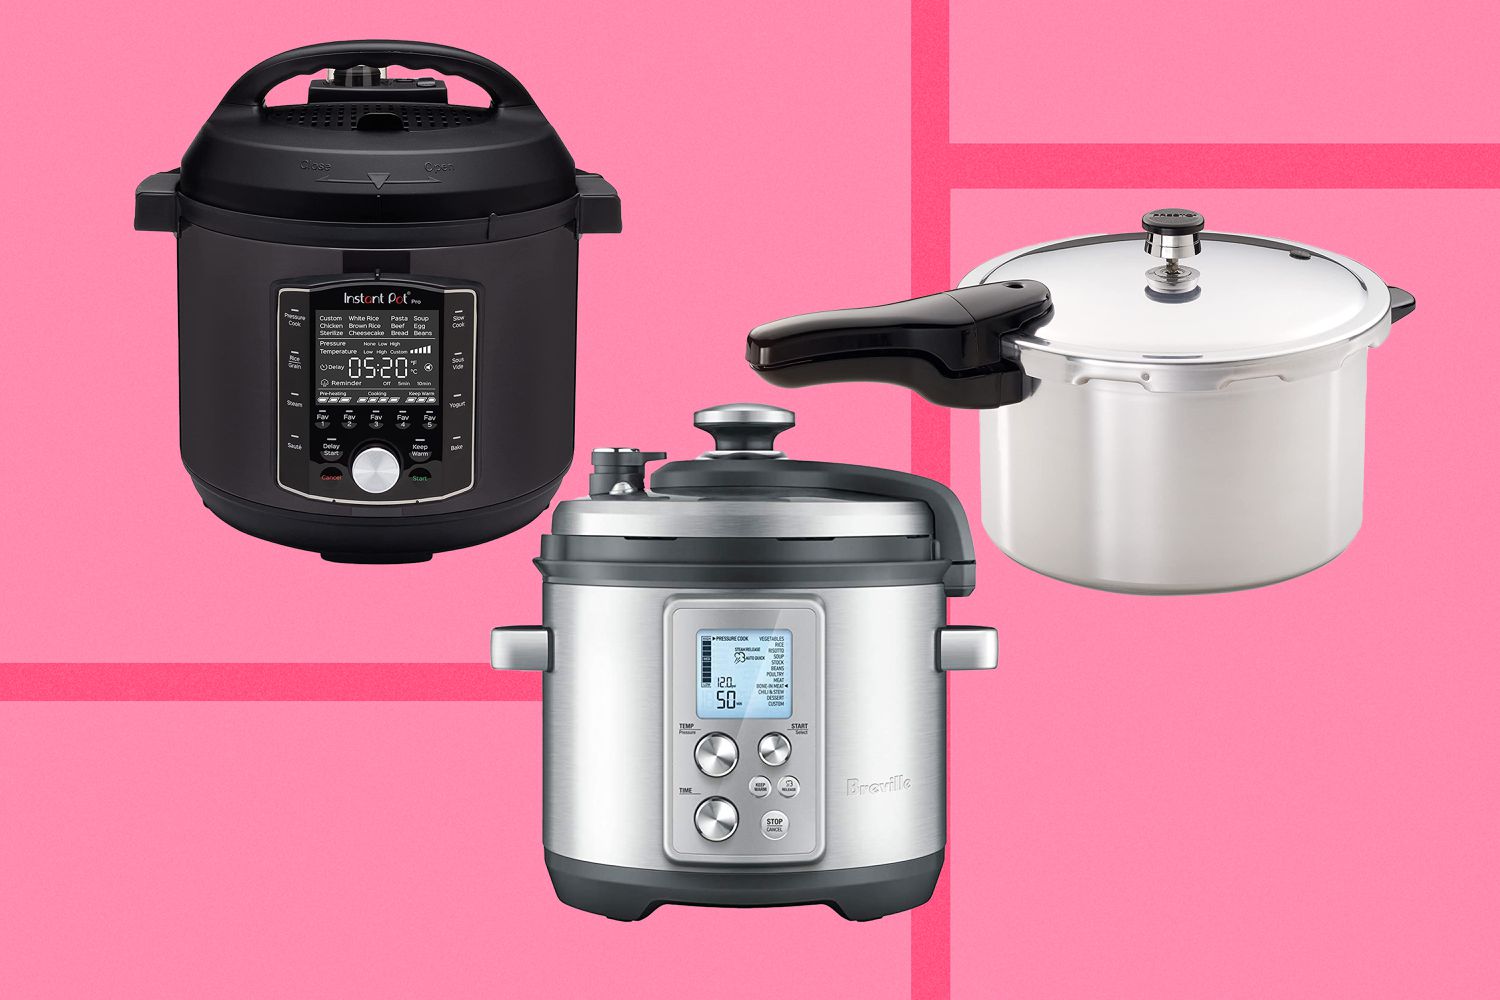
Electric pressure cookers have become increasingly popular for their convenience and efficiency in the kitchen. They are designed to cook food quickly and retain the natural flavors and nutrients of the ingredients. Cooking white rice in an electric pressure cooker not only saves time but also produces fluffy, tender grains that are a delight to eat.
In this article, we will walk you through the simple steps to cook white rice in an electric pressure cooker. Whether you’re a beginner or an experienced cook, you’ll find this guide easy to follow and the results truly satisfying.
But first, let’s gather all the ingredients you’ll need for cooking white rice in an electric pressure cooker.
Key Takeaways:
- Cooking white rice in an electric pressure cooker is a hassle-free and foolproof method that produces fluffy, tender grains every time. With just a few simple steps, you can enjoy perfectly cooked rice as a versatile side dish or base for various meals.
- Incorporating additional tips such as using a 1:1 ratio of rice to water, adding flavor with vegetable broth or spices, and experimenting with different rice varieties, ensures consistently delicious and fluffy white rice from your electric pressure cooker.
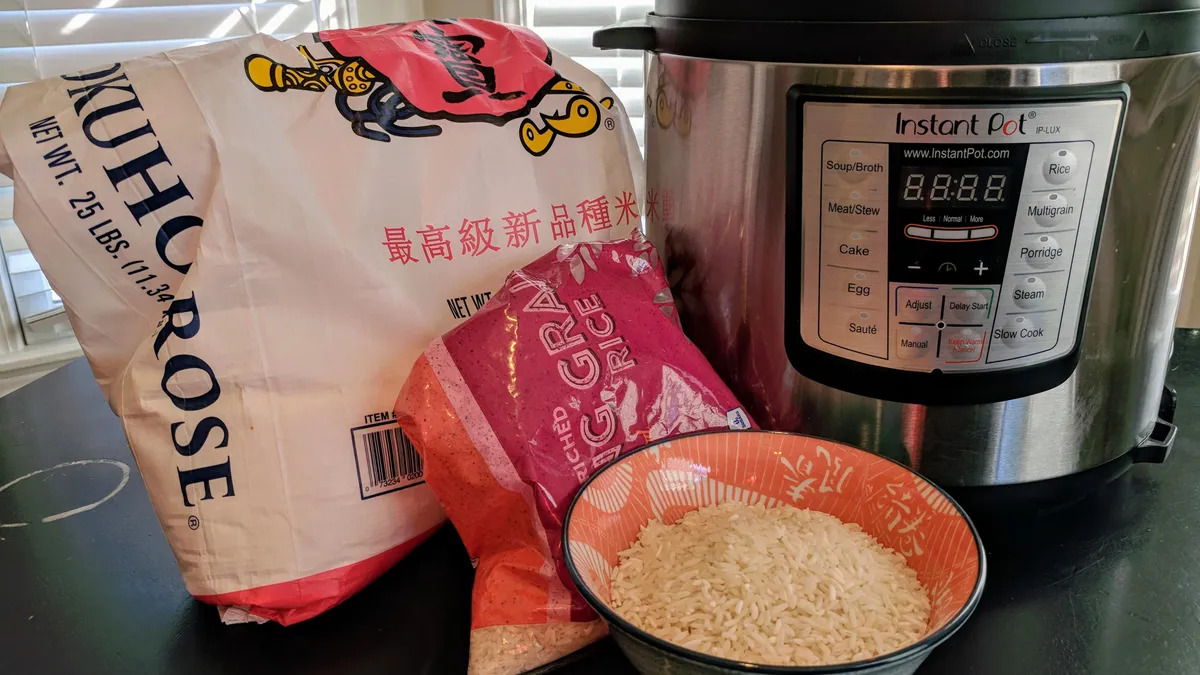
Ingredients
Before we begin, let’s make sure we have all the ingredients ready:
- 2 cups of white rice
- 2 cups of water
- Pinch of salt (optional)
That’s it! Just three simple ingredients to make perfect white rice in your electric pressure cooker. You can adjust the quantities based on your needs, but a general rule of thumb is equal parts of rice and water.
Now that we have our ingredients ready, let’s move on to the step-by-step process of cooking white rice in an electric pressure cooker.
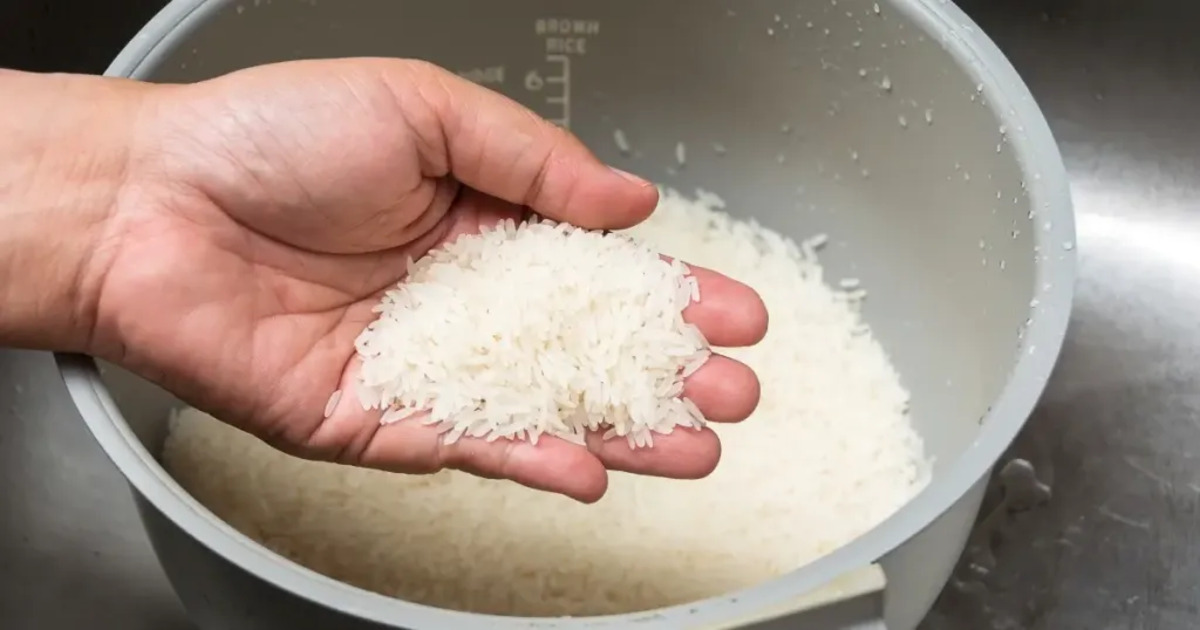
Step 1: Rinse the Rice
The first step in cooking white rice in an electric pressure cooker is to rinse the rice. Rinsing helps remove excess starch from the rice, resulting in fluffier and less sticky grains.
Here’s how to rinse the rice:
- Measure the desired amount of rice and place it in a fine-mesh strainer or colander.
- Rinse the rice under cool running water, using your fingers to gently swish the grains. Continue rinsing until the water runs clear.
- Drain the rinsed rice well and transfer it to the inner pot of the electric pressure cooker.
Rinsing the rice is an essential step to achieve the desired texture and to remove any impurities that may be present. Once you’ve rinsed the rice, it’s time to move on to the next step: measuring the water.
Step 2: Measure the Water
Now that the rice is rinsed and ready to go, it’s time to measure the water. The ratio of rice to water is crucial for perfectly cooked rice. Too much water can make the rice mushy, while too little can result in undercooked grains.
Here’s how to measure the water:
- Using a measuring cup, pour an equal amount of water as the amount of rice you’re using. For example, if you’re using 2 cups of rice, pour 2 cups of water.
- If you prefer slightly firmer rice, you can reduce the amount of water by a tablespoon or two. On the other hand, if you want softer rice, you can add a little more water.
- Optional: Add a pinch of salt to the water for added flavor. This step is completely optional, but it can enhance the taste of the rice.
Once you’ve measured the water, it’s time to add the rice and water to the electric pressure cooker. Let’s move on to the next step.
Step 3: Add Rice and Water to the Electric Pressure Cooker
With the rice rinsed and the water measured, it’s time to combine the two in the electric pressure cooker. This step ensures that the rice gets evenly cooked and absorbs the right amount of water.
Here’s how to add the rice and water to the electric pressure cooker:
- Transfer the rinsed rice from the colander to the inner pot of the electric pressure cooker.
- Pour the measured water into the inner pot, making sure it is evenly distributed over the rice.
- Gently stir the rice and water mixture to ensure that the rice grains are submerged and evenly distributed.
It’s important not to over-stir the rice as it can break the grains and affect the final texture. Once you’ve added the rice and water to the electric pressure cooker, it’s time to move on to the next step: setting the cooking time and pressure.
Step 4: Set the Cooking Time and Pressure
Now that the rice and water are in the electric pressure cooker, it’s crucial to set the cooking time and pressure correctly to ensure perfectly cooked rice. The time and pressure settings may vary depending on the brand and model of your electric pressure cooker, so be sure to consult the manufacturer’s instructions.
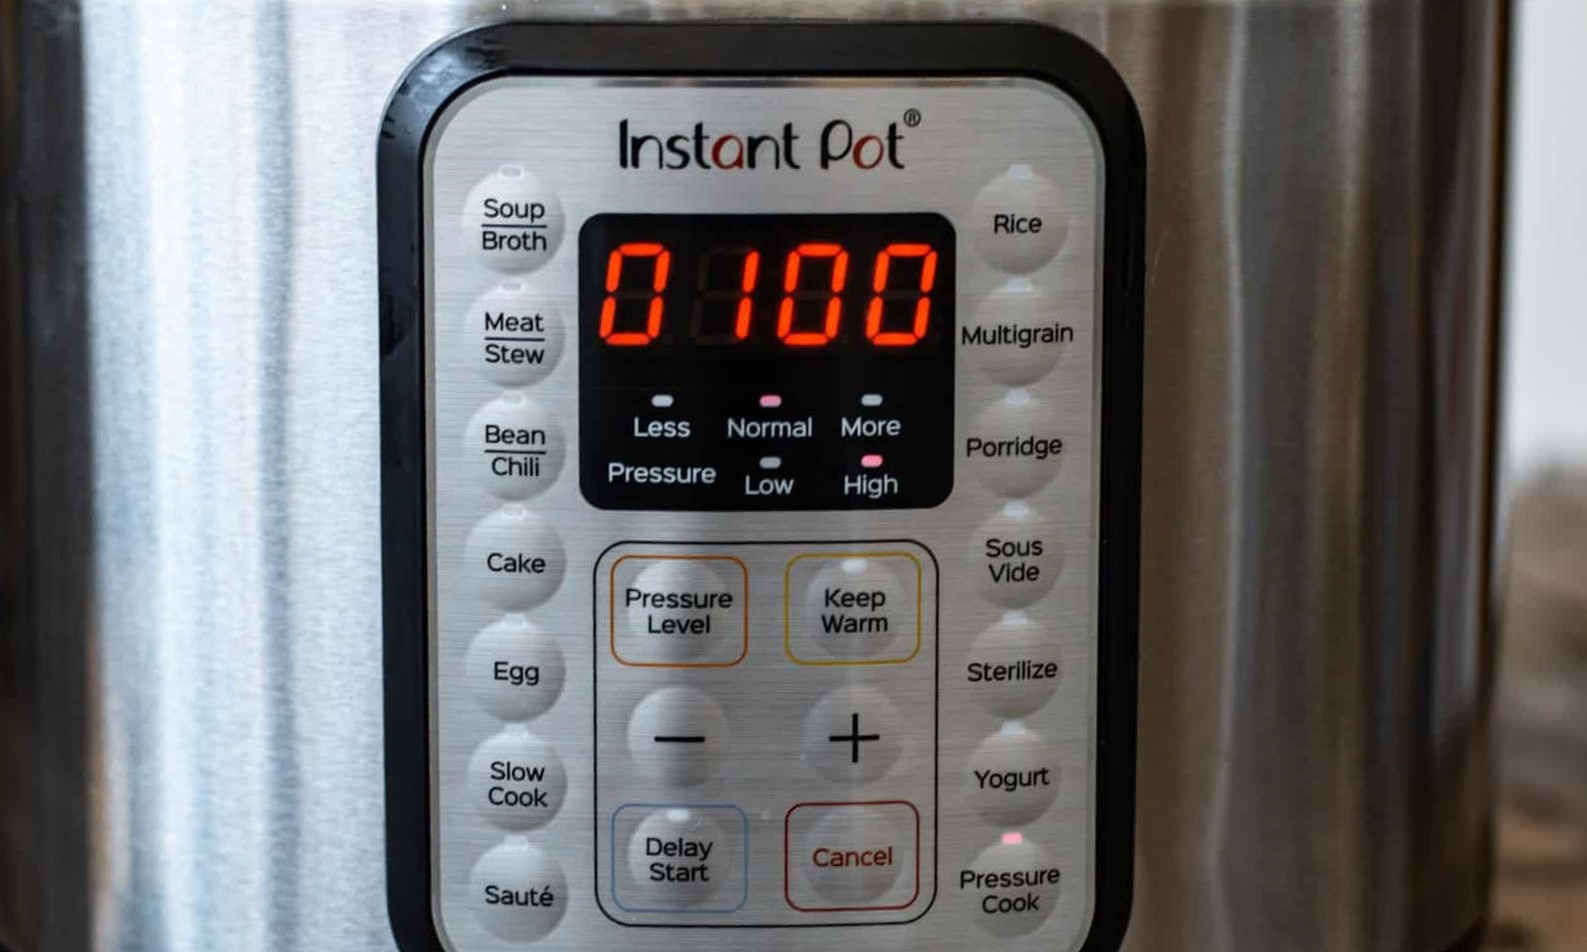
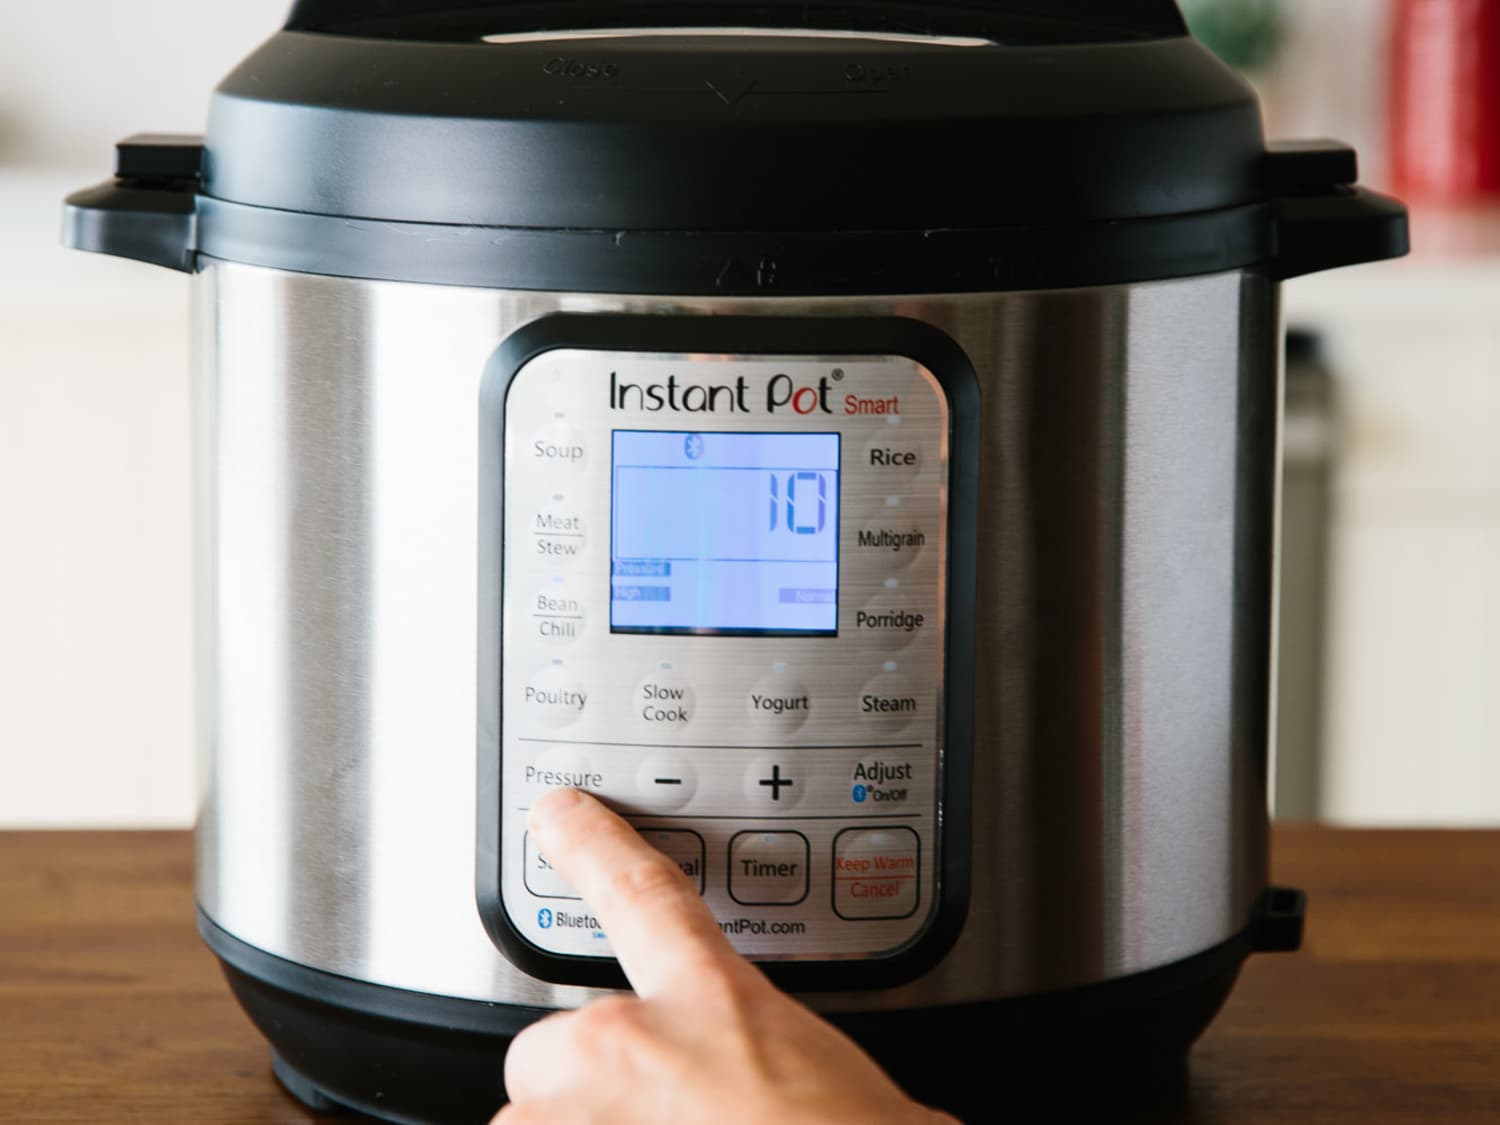
Here’s a general guide on how to set the cooking time and pressure:
- Close the lid of the electric pressure cooker securely.
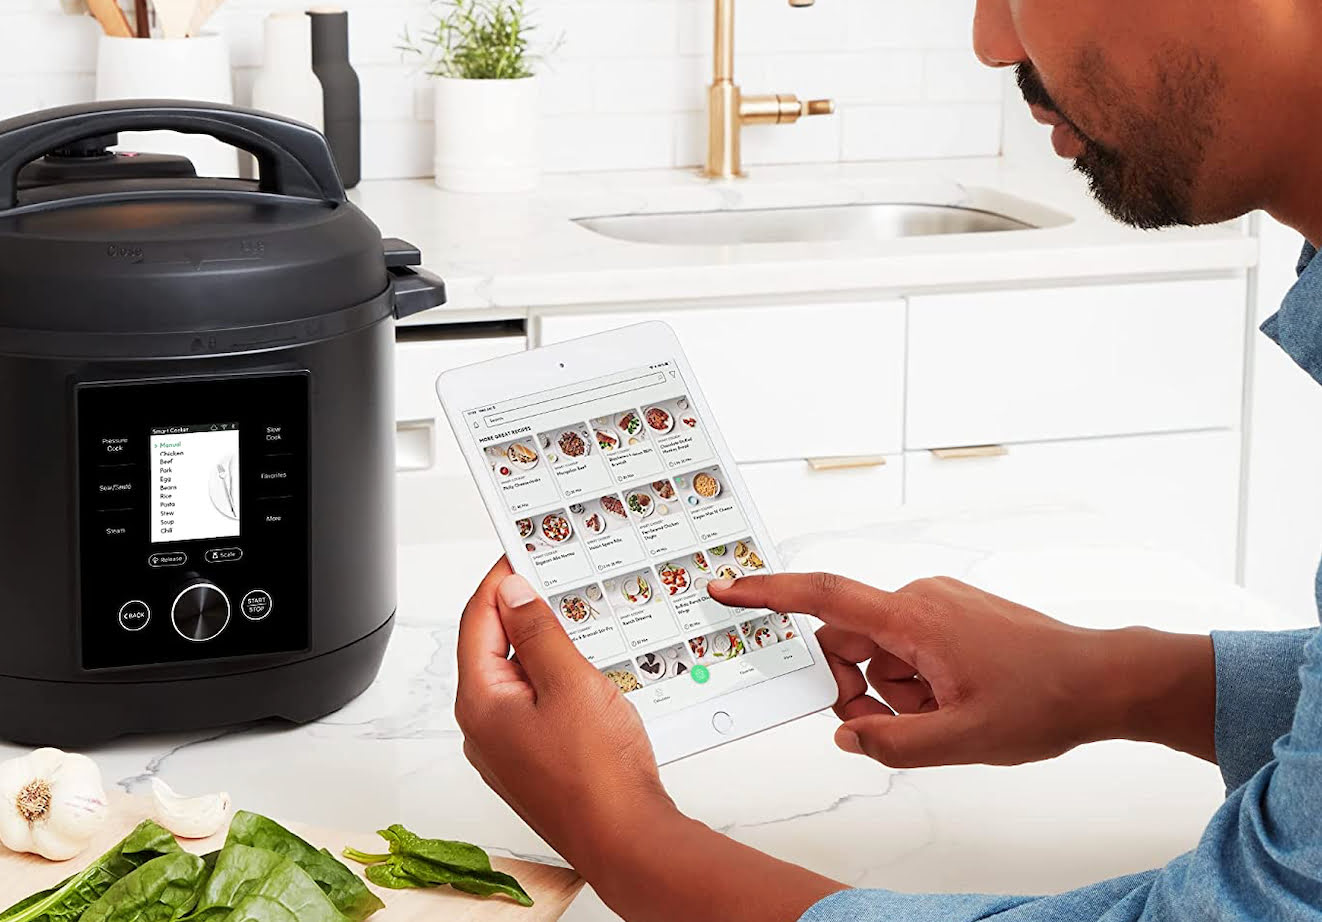
- Select the “Rice” or “Grains” button, if available, on the control panel of your electric pressure cooker. If your cooker doesn’t have these specific buttons, you can use the manual mode and set the cooking time and pressure manually.
- Set the cooking time according to the type of rice you’re using. For white rice, a typical cooking time is around 3 to 5 minutes under high pressure.
- Set the pressure level to high. This will ensure that the rice cooks evenly and absorbs the water properly.
Once you’ve set the cooking time and pressure, it’s time to start the cooking process. Let’s move on to the next step.
Add a teaspoon of oil to the rice and water in the electric pressure cooker to prevent the rice from sticking to the bottom.
Step 5: Start the Cooking Process
With the cooking time and pressure set, it’s time to start the cooking process and let the electric pressure cooker work its magic. This step requires patience as the cooker builds up pressure and cooks the rice to perfection.
Here’s how to start the cooking process:
- Ensure that the pressure release valve is in the sealed position.
- Press the start or cook button on your electric pressure cooker. This will initiate the cooking process.
- Wait for the cooker to reach full pressure. This may take a few minutes, depending on the model of your electric pressure cooker.
- Once the cooker has reached full pressure, the cooking time will begin counting down.
During the cooking process, avoid opening the lid or interrupting the cooking cycle. This can affect the pressure inside the cooker and result in unevenly cooked rice.
Now that the cooking process has started, it’s time to move on to the next step: natural release or quick release.
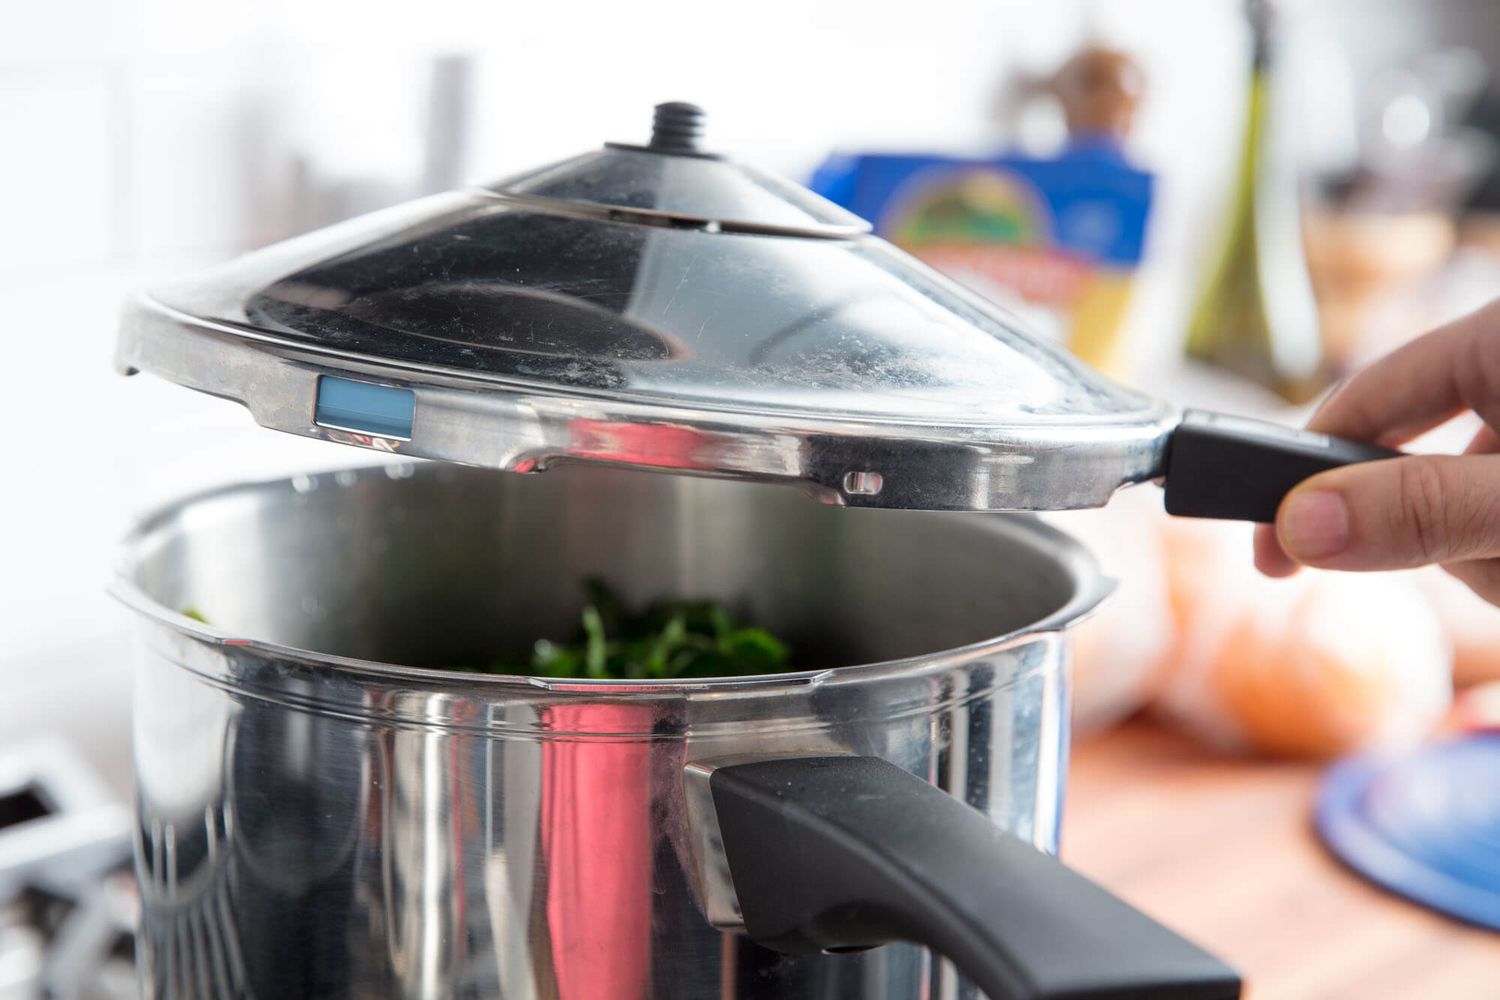
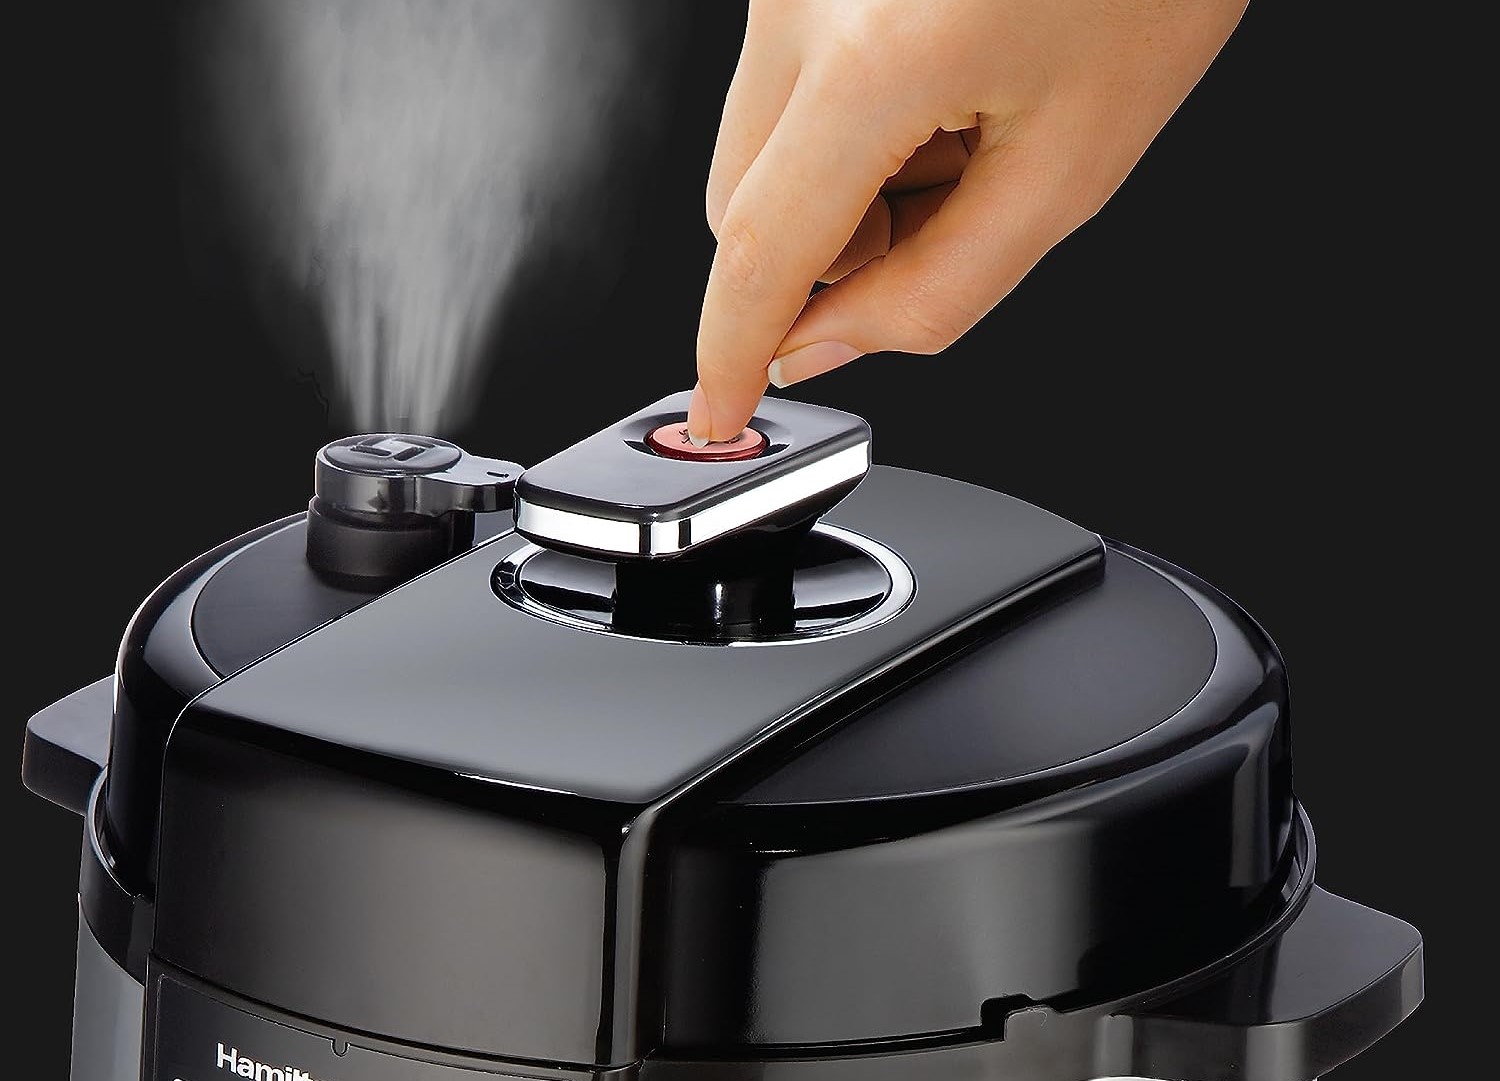
Step 6: Natural Release or Quick Release
After the cooking time has finished, there are two methods to release the pressure from the electric pressure cooker: natural release and quick release. The method you choose may depend on your preference and the type of rice you’re cooking.
Here are the two methods of pressure release:
- Natural Release: This method involves allowing the pressure to release naturally over time. After the cooking time has finished, let the electric pressure cooker sit undisturbed for about 10 to 15 minutes. During this time, the pressure will naturally decrease. After the natural release, carefully open the pressure release valve to ensure all the pressure has been released before opening the lid.
- Quick Release: This method involves manually releasing the pressure using the quick release valve. After the cooking time has finished, carefully turn the pressure release valve to release the pressure. Be cautious as the steam can be hot. Once the pressure is fully released, and the float valve has dropped, it is safe to open the lid.
The choice between natural release and quick release may impact the final texture of the rice. Natural release tends to result in slightly softer rice, while quick release can produce fluffier rice with separate grains.
Now that the pressure has been released, it’s time to move on to the final step: fluffing the rice and serving.
Step 7: Fluff the Rice and Serve
Once the pressure has been released and the lid is safely removed, it’s time to fluff the rice and get ready to enjoy your perfectly cooked white rice from the electric pressure cooker.
Here’s how to fluff the rice and serve:
- Take a fork or a rice paddle and gently fluff the rice. This will help separate the grains and prevent them from sticking together.
- Gently mix the rice from the bottom to the top, ensuring that all the grains are evenly fluffed.
- Let the rice sit for a minute or two to allow any excess moisture to evaporate.
- Serve the fluffy white rice as a side dish to accompany your favorite meals.
White rice cooked in an electric pressure cooker is versatile and can be enjoyed with various dishes, such as stir-fries, curries, stews, or even as a base for your favorite grain bowls.
Remember to store any leftovers in an airtight container in the refrigerator to maintain its freshness.
Now that you know how to cook white rice in an electric pressure cooker, you can enjoy hassle-free and delicious rice every time.
Read more: How To Test Electric Pressure Cooker
Additional Tips for Perfect White Rice
While the steps outlined above will help you achieve fantastic results when cooking white rice in an electric pressure cooker, here are a few additional tips to ensure your rice turns out perfect every time:
- Use a 1:1 ratio of rice to water for fluffy, separate grains. Adjust the amount of water slightly based on your preference for softer or firmer rice.
- For extra flavor, you can replace some of the water with vegetable broth or add a tablespoon of butter or oil to the rice and water mixture.
- If you prefer a more fragrant rice, you can add a few whole spices like cinnamon sticks, star anise, or cardamom pods to the cooking liquid.
- Avoid lifting the lid during the cooking process to prevent heat and pressure loss, resulting in unevenly cooked rice.
- If you’re using a newer model of an electric pressure cooker, follow the recommended cooking times and settings provided in the instruction manual.
- Experiment with different types of rice, such as jasmine or basmati, to add variety to your meals.
- Remember to properly clean your electric pressure cooker after each use to maintain its performance and longevity.
By following these additional tips and incorporating them into your cooking routine, you’ll be able to consistently prepare delicious and fluffy white rice in your electric pressure cooker.
Conclusion
Congratulations! You’ve now mastered the art of cooking white rice in an electric pressure cooker. By following the step-by-step guide and incorporating the additional tips, you can consistently achieve perfectly cooked, fluffy rice that will impress your family and guests.
The electric pressure cooker offers a convenient and efficient way to cook white rice, saving you time and delivering excellent results. With just a few simple steps, you can enjoy delicious rice as a side dish or base for a variety of meals.
Remember to rinse the rice, measure the water accurately, and set the cooking time and pressure correctly. Whether you opt for natural release or quick release, fluffing the rice with a fork or paddle will ensure separate, fluffy grains.
Feel free to experiment with different types of rice and flavor variations to suit your taste preferences. The electric pressure cooker opens up a world of possibilities for creating delicious and diverse rice dishes.
So, go ahead and put your newfound knowledge to use. Impress your family and friends by serving them perfectly cooked white rice made in your electric pressure cooker. Enjoy the convenience, flavor, and satisfaction that come with mastering this essential kitchen skill.
Happy cooking!
Frequently Asked Questions about How To Cook White Rice In An Electric Pressure Cooker
Was this page helpful?
At Storables.com, we guarantee accurate and reliable information. Our content, validated by Expert Board Contributors, is crafted following stringent Editorial Policies. We're committed to providing you with well-researched, expert-backed insights for all your informational needs.

0 thoughts on “How To Cook White Rice In An Electric Pressure Cooker”