Home>Articles>How To Dry Homemade Pasta For Long Term Storage
Articles
How To Dry Homemade Pasta For Long Term Storage
Modified: October 21, 2024
Learn how to dry homemade pasta for long term pantry storage with our easy-to-follow guide. Keep your pasta fresh and delicious for months!
(Many of the links in this article redirect to a specific reviewed product. Your purchase of these products through affiliate links helps to generate commission for Storables.com, at no extra cost. Learn more)
Introduction
When it comes to making homemade pasta, the taste and texture are unrivaled. Whether you are a seasoned pasta enthusiast or just getting started in the world of cooking from scratch, knowing how to dry homemade pasta for long-term storage is a valuable skill. Drying pasta not only extends its shelf life, but it also makes it convenient to have a stash of ready-to-cook pasta on hand whenever you need it.
Homemade pasta is typically made with simple ingredients such as flour, eggs, and water. It’s a labor of love that involves rolling out the dough and cutting it into various shapes, like spaghetti, fettuccine, or lasagna sheets. Once you’ve put in the effort to make the perfect batch of pasta, you’ll want to preserve it so that you can enjoy it weeks or even months down the line.
In this article, we will guide you through the process of drying homemade pasta for long-term storage. We’ll cover the equipment you’ll need, the steps to prepare the dough and cut the pasta, as well as different methods for drying and storing the pasta. By following these instructions, you’ll have a pantry stocked with your very own homemade pasta that can be cooked up at a moment’s notice.
Key Takeaways:
- Drying homemade pasta extends its shelf life, offers convenience, and allows for versatile cooking options. With the right equipment and storage practices, you can enjoy your own high-quality pasta anytime.
- By mastering the art of drying homemade pasta, you can save money, control texture and cook time, and unleash your culinary creativity. Proper storage and rotation ensure consistently fresh and flavorful pasta for your meals.
Read more: How To Store Pasta Long Term
Why Dry Homemade Pasta?
You might be wondering why it’s necessary to go through the extra step of drying homemade pasta. After all, fresh pasta, cooked immediately after preparation, delivers a beautifully tender and delicate texture. However, there are several benefits to drying homemade pasta for long-term storage:
1. Extended Shelf Life: Drying homemade pasta significantly extends its shelf life. While fresh pasta typically lasts only a few days in the refrigerator, dried pasta can be stored for months in a cool, dry place. This means you can make larger batches of pasta and have it on hand whenever you need it.
2. Convenience: Having dried pasta readily available makes meal preparation a breeze. Whether you’re whipping up a quick weeknight dinner or hosting a dinner party, having pre-dried pasta at your disposal saves time and effort.
3. Texture and Cook Time Control: Dried pasta has a firmer texture compared to fresh pasta. This makes it more suitable for certain dishes, like hearty sauces or baked pasta dishes. Furthermore, dried pasta requires a longer cooking time, allowing you to control the level of doneness to your preference.
4. Versatility: When you dry homemade pasta, you open up a world of culinary possibilities. Dried pasta can be stored and used in a variety of dishes, from classic spaghetti and meatballs to more adventurous creations like pasta salads and stir-fries.
5. Cost-Effectiveness: Buying dried pasta from the store can add up over time. Drying your own homemade pasta allows you to save money in the long run. Plus, you have the added benefit of knowing exactly what ingredients are in your pasta.
Now that you understand the reasons for drying homemade pasta, let’s move on to the equipment you’ll need to get started.
Equipment Needed
Drying homemade pasta requires a few essential tools to ensure successful results. Here’s a list of the equipment you’ll need:
1. Pasta Drying Rack: A pasta drying rack is the most common and convenient tool used to dry homemade pasta. Look for a sturdy rack with several arms or rods that allows you to hang and dry multiple strands of pasta at once. This will help prevent the pasta from sticking together.
2. Pasta Drying Rack Alternatives: If you don’t have a pasta drying rack, there are a few alternatives you can use. One option is to create a makeshift drying rack by draping clean kitchen towels or a clothes drying rack with dowels or wooden rods. Another alternative is to hang the pasta strands over a clean, sturdy surface, such as a broom handle, curtain rod, or even a clothes hanger.
3. Pasta Cutter: Depending on the shape of pasta you want to make, you’ll need a pasta cutter. This can be a simple knife or a pasta cutting attachment for a stand mixer or pasta machine. A pasta cutter ensures even and consistent shapes, whether you’re making spaghetti, fettuccine, or lasagna sheets.
4. Pasta Drying Tray or Baking Sheet: To lay out the cut pasta shapes for drying, you’ll need a clean, flat surface. A pasta drying tray specifically designed with perforations to promote airflow is ideal. If you don’t have a drying tray, a large baking sheet lined with parchment paper will work well.
5. Flour and Semolina: To prevent the pasta from sticking together during the drying process, make sure to have flour and semolina on hand. Dusting the pasta lightly with either flour or semolina will create a barrier and absorb excess moisture.
6. Clean Towels or Fabric: After cutting and shaping the pasta, it’s important to lay it out to dry without touching. Clean towels or fabric can be placed on pasta drying racks or other improvised drying surfaces to ensure the pasta strands don’t stick or clump together.
Having these basic tools will set you up for success when it comes to drying homemade pasta. Now that you have everything ready, let’s move on to the step-by-step process of preparing the pasta dough.
Step 1: Prepare the Pasta Dough
Before you can start drying your homemade pasta, you’ll need to prepare the pasta dough. Follow these steps to make the perfect dough:
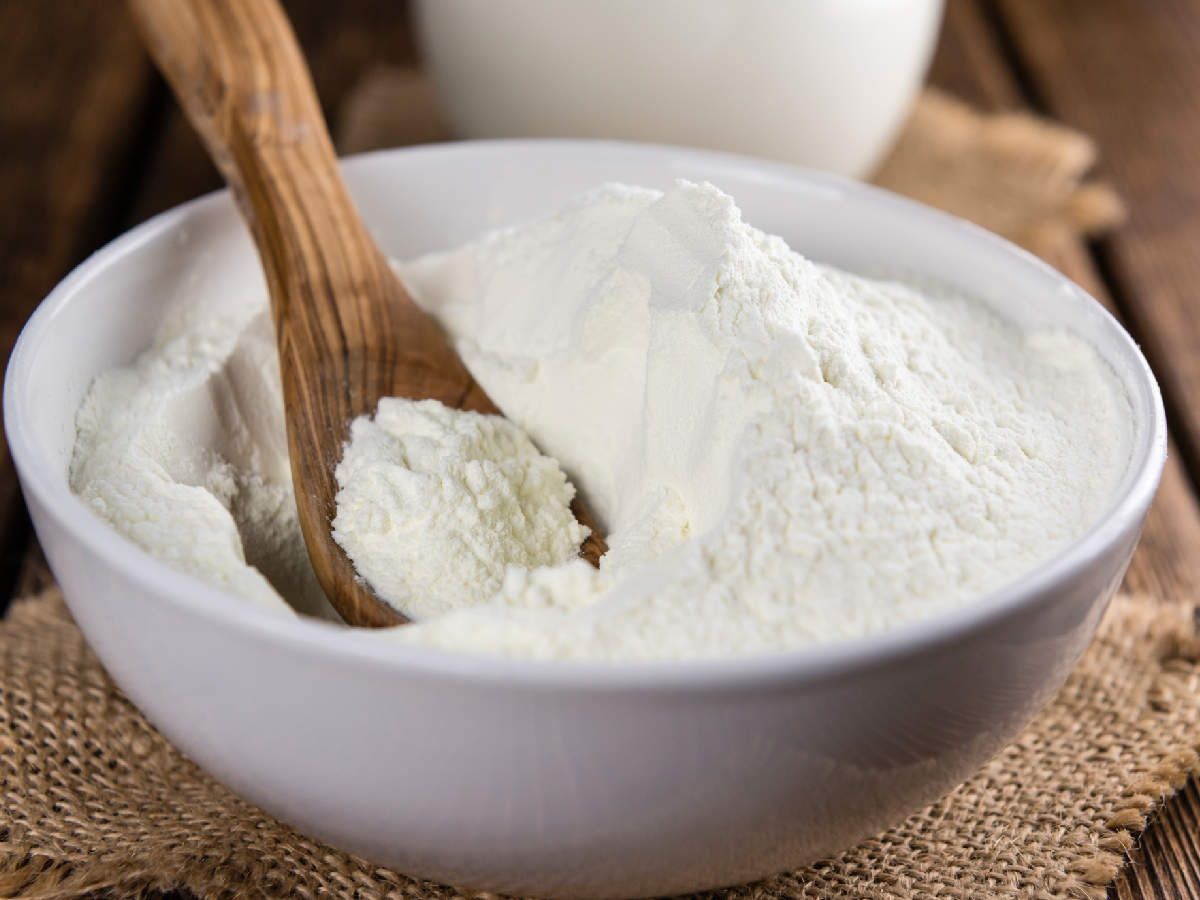
1. Ingredients: Gather your ingredients, which typically include all-purpose flour, eggs, and water. The ratio for a basic pasta dough is 1 cup of flour to 1 large egg. Adjust the quantities depending on the number of servings you want to make.
2. Mixing the Dough: On a clean work surface or in a mixing bowl, create a mound of flour. Make a well in the center of the flour mound and crack the eggs into the well. Use a fork or your fingers to gradually incorporate the eggs into the flour. As the dough starts to come together, add a small amount of water if needed to moisten the flour.
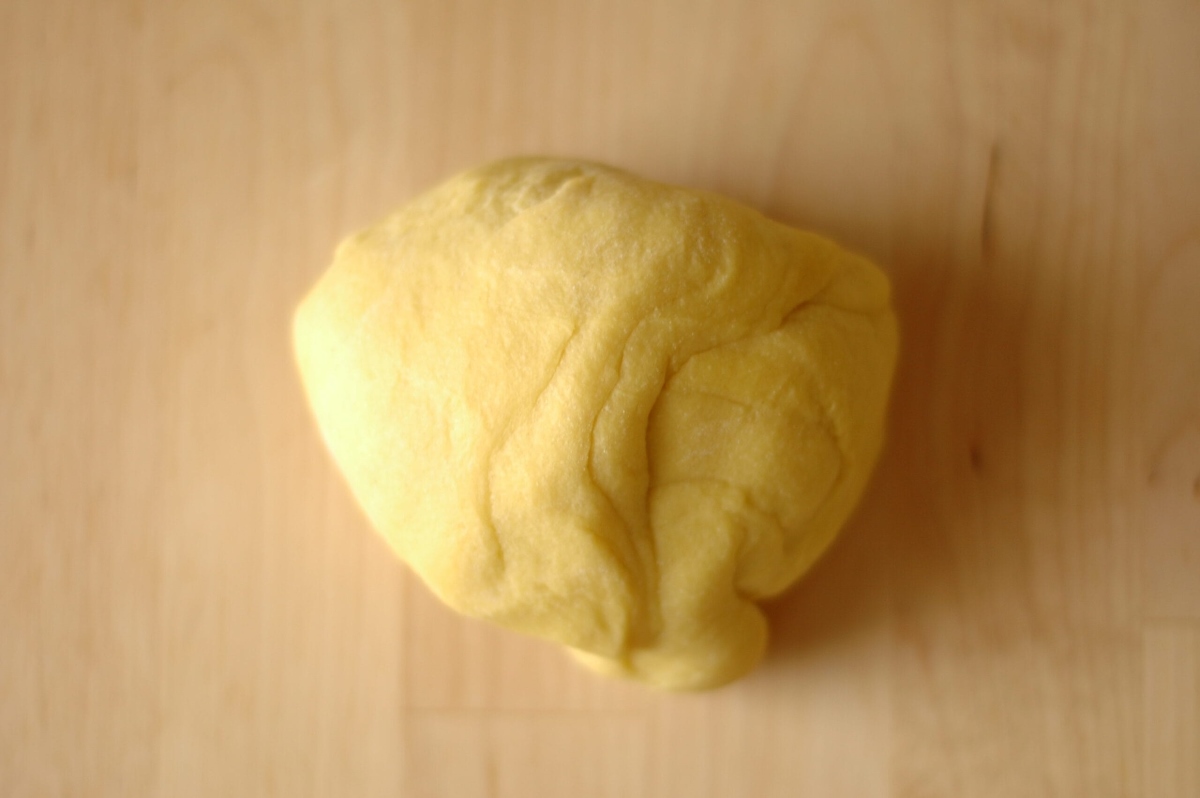
3. Kneading the Dough: Once most of the flour has been incorporated, use your hands to knead the dough until it becomes smooth and elastic. This process helps develop the gluten in the dough, giving it structure and elasticity. Knead for about 5-10 minutes, or until the dough springs back when pressed.
4. Resting the Dough: After kneading, shape the dough into a ball and wrap it in plastic wrap or cover it with a clean kitchen towel. Let the dough rest at room temperature for at least 30 minutes. This resting period allows the gluten strands to relax, making the dough easier to work with.
5. Dividing and Shaping: Once the dough has rested, unwrap it and divide it into manageable portions. Lightly flour your work surface and one portion of the dough. Use a rolling pin or a pasta machine to roll out the dough into a thin sheet. Continue rolling until you achieve the desired thickness, keeping in mind that the pasta will slightly expand when cooked.
6. Cutting the Pasta: Once the dough is rolled out, you can proceed to cut it into the desired shapes. Use a pasta cutter or a sharp knife to cut the dough into strips for spaghetti or fettuccine. Alternatively, you can cut it into squares or rectangles for lasagna sheets. Dust the cut pasta shapes with flour or semolina to prevent sticking.
Now that the pasta dough is prepared and cut into the desired shapes, it’s time to move on to the next step: drying the pasta.
Step 2: Cut Pasta into Desired Shapes
Now that you have prepared the pasta dough, it’s time to cut it into the desired shapes. Follow these steps to create the perfect pasta shapes:
1. Dust the Dough: Before you begin cutting the pasta, lightly dust the rolled-out dough with flour or semolina. This will prevent the pasta from sticking together and make it easier to handle.
2. Select the Cutting Method: Depending on the type of pasta you want to make, choose the appropriate cutting method. You can use a pasta cutter wheel for making shapes like farfalle (bowtie), ravioli, or tortellini. Alternatively, you can use a pasta attachment for a stand mixer or a pasta machine to create long strands like spaghetti or fettuccine.
3. For Long Strands (Spaghetti or Fettuccine): If you’re using a pasta attachment or machine, attach the appropriate pasta cutter. Feed the rolled-out dough through the machine, following the manufacturer’s instructions. As the pasta comes out, carefully catch and separate the strands using your hands or a spaghetti/fettuccine drying rack.
4. For Shapes (Farfalle, Ravioli, Tortellini, etc.): If you’re making shaped pasta, use a pastry wheel or pasta cutter to create the desired shape. Gently press the cutter onto the rolled-out dough, making sure to cut all the way through. For shapes like ravioli or tortellini, you’ll need to place a dollop of filling on half of the dough, fold it over, and then cut into individual pieces.
5. Keep the Cut Pasta Separated: After you have cut the pasta into the desired shapes, make sure to separate and spread them out to prevent sticking. You can lay them out on a clean, lightly floured surface or a drying tray lined with parchment paper. Keep the pasta shapes in a single layer, making sure they don’t overlap.
Remember, the size and shape of the pasta will determine the drying time and cooking instructions. Once you have cut the pasta into the desired shapes, you are ready to proceed to the next step: drying the pasta.
Read more: How To Store Dry Goods Long Term
Step 3: Air Drying Method
The air drying method is a traditional and effective way to dry homemade pasta. Follow these steps to air dry your pasta:
1. Prepare the Drying Surface: Find a well-ventilated area in your kitchen or a room where you can set up the pasta for drying. You can use a clean, flat surface, like a countertop or a large table. If you prefer, cover the surface with a clean kitchen towel or wax paper to prevent any direct contact between the pasta and the surface.
2. Spread out the Pasta: Gently transfer the cut pasta shapes onto the prepared drying surface. Make sure to keep them well separated and avoid overlapping. Allow enough space between each piece of pasta to promote proper airflow and prevent sticking.
3. Avoid Drafts: While air drying, it’s important to avoid drafts, as they can cause the pasta to dry unevenly or develop cracks. Choose a location away from fans, open windows, or direct airflow from heating or cooling systems.
4. Patience is Key: Depending on the humidity and temperature of your environment, allow the pasta to air dry for at least 12 to 24 hours. The drying time may vary, so it’s essential to check the pasta periodically for dryness. The pasta should feel firm and brittle to the touch when fully dried.
5. Flip and Rotate: To ensure even drying, gently flip and rotate the pasta shapes every few hours. This helps prevent any moisture from clinging to one side and aids in achieving consistent drying throughout.
6. Test for Dryness: After the recommended drying time has passed, select a small piece of pasta and break it in half. If there are no signs of moisture or raw dough in the center, the pasta is fully dried and ready for storage. If it seems slightly soft or doughy, allow it to air dry for a bit longer.
Once the pasta is fully dried, you can proceed to store it for long-term use. If air drying is not suitable or convenient for your situation, there are alternative methods that can be used. Let’s explore one such method in the next step: using a pasta drying rack.
After shaping the homemade pasta, let it dry on a floured surface for 12-24 hours. Once completely dry, store in an airtight container in a cool, dry place for up to 3 months.
Step 4: Using a Pasta Drying Rack
A pasta drying rack is a convenient and effective tool for drying homemade pasta. Follow these steps to dry your pasta using a pasta drying rack:
1. Set Up the Drying Rack: Begin by assembling your pasta drying rack according to the manufacturer’s instructions. Make sure it is on a stable surface and won’t easily topple over.
2. Hang the Pasta Strands: Take the cut pasta strands and carefully drape them over the arms or rods of the pasta drying rack. Space them out evenly to allow proper air circulation and prevent the strands from sticking together.
3. Avoid Overcrowding: It’s important not to overcrowd the pasta strands on the drying rack. Leave enough space between each strand to ensure they have room to dry properly. If necessary, use multiple racks or stagger the pasta strands on a single rack.
4. Rotate and Rearrange: To ensure even drying, rotate and rearrange the pasta strands every few hours. This helps prevent any moisture from accumulating on one side and promotes uniform drying.
5. Be Mindful of Length: If you’re working with longer strands of pasta such as spaghetti, fettuccine, or linguine, you might need to fold or coil the strands slightly to fit them on the drying rack. Avoid stretching the strands too much, as this can lead to uneven drying or breakage.
6. Patience is Key: Allow the pasta strands to dry on the rack for at least 12 to 24 hours. The exact drying time may vary depending on the humidity and temperature of your environment. The pasta strands should feel firm and brittle when fully dried.
7. Check for Dryness: To determine if the pasta strands are fully dried, break a small piece in half. There should be no signs of moisture or raw dough in the center. If the center seems slightly soft or doughy, allow the pasta to dry for a bit longer.
Using a pasta drying rack provides an organized and efficient way to dry your homemade pasta. Once the pasta is fully dried, it can be stored for an extended period. In the next step, we’ll explore alternative drying methods if you don’t have access to a pasta drying rack.
Step 5: Alternative Drying Methods
If you don’t have access to a pasta drying rack or prefer alternative methods of drying homemade pasta, there are a few options you can try:
1. Hanging the Pasta: If you have space and the right setup, you can hang the pasta strands to dry. Attach a clean kitchen towel or fabric to a clothesline or sturdy rod, creating a makeshift drying line. Gently drape the cut pasta strands over the line, making sure they are well-separated. Allow the pasta to dry in a well-ventilated area.
2. Clothes Drying Rack: A clothes drying rack can be used as an alternative to a pasta drying rack. Set up the drying rack in a clean and well-ventilated space, and lay the cut pasta shapes on the drying bars or over clothes hangers. Ensure there is enough distance between the pasta to allow proper air circulation. Rotate and rearrange the pasta shapes periodically for even drying.
3. Parchment Paper: If you have limited space, you can use parchment paper to dry the pasta. Place a large sheet of parchment paper on a flat surface and arrange the cut pasta shapes in a single layer. Make sure they are not touching each other. Place the parchment paper with the pasta in a well-ventilated area to allow for air circulation. Flip the pasta regularly to ensure even drying.
4. Baking Racks or Cooling Racks: Baking racks or cooling racks can be used as an alternative to a pasta drying rack. Place the racks over a clean surface, such as a countertop or baking sheet lined with parchment paper. Lay the cut pasta shapes on the racks, making sure they are evenly spaced. Allow the pasta to dry in a well-ventilated area, rotating the racks as necessary for even drying.
5.
Remember to observe proper hygiene practices throughout the drying process, ensuring all surfaces and equipment used are clean. Additionally, be mindful of the drying time and condition of the pasta to prevent over-drying or under-drying.
Once the pasta is fully dried using any of these alternative methods, it is ready to be stored for long-term use. In the next step, we’ll explore the best practices for storing dried pasta.
Step 6: Storing Dried Pasta
Now that you have successfully dried your homemade pasta, it’s important to store it properly to maintain its quality and freshness. Follow these steps to store your dried pasta:
1. Cool and Ventilate: Before storing the dried pasta, make sure it has completely cooled down and is at room temperature. This prevents condensation from forming inside the storage container, which could lead to moisture and potential spoilage.
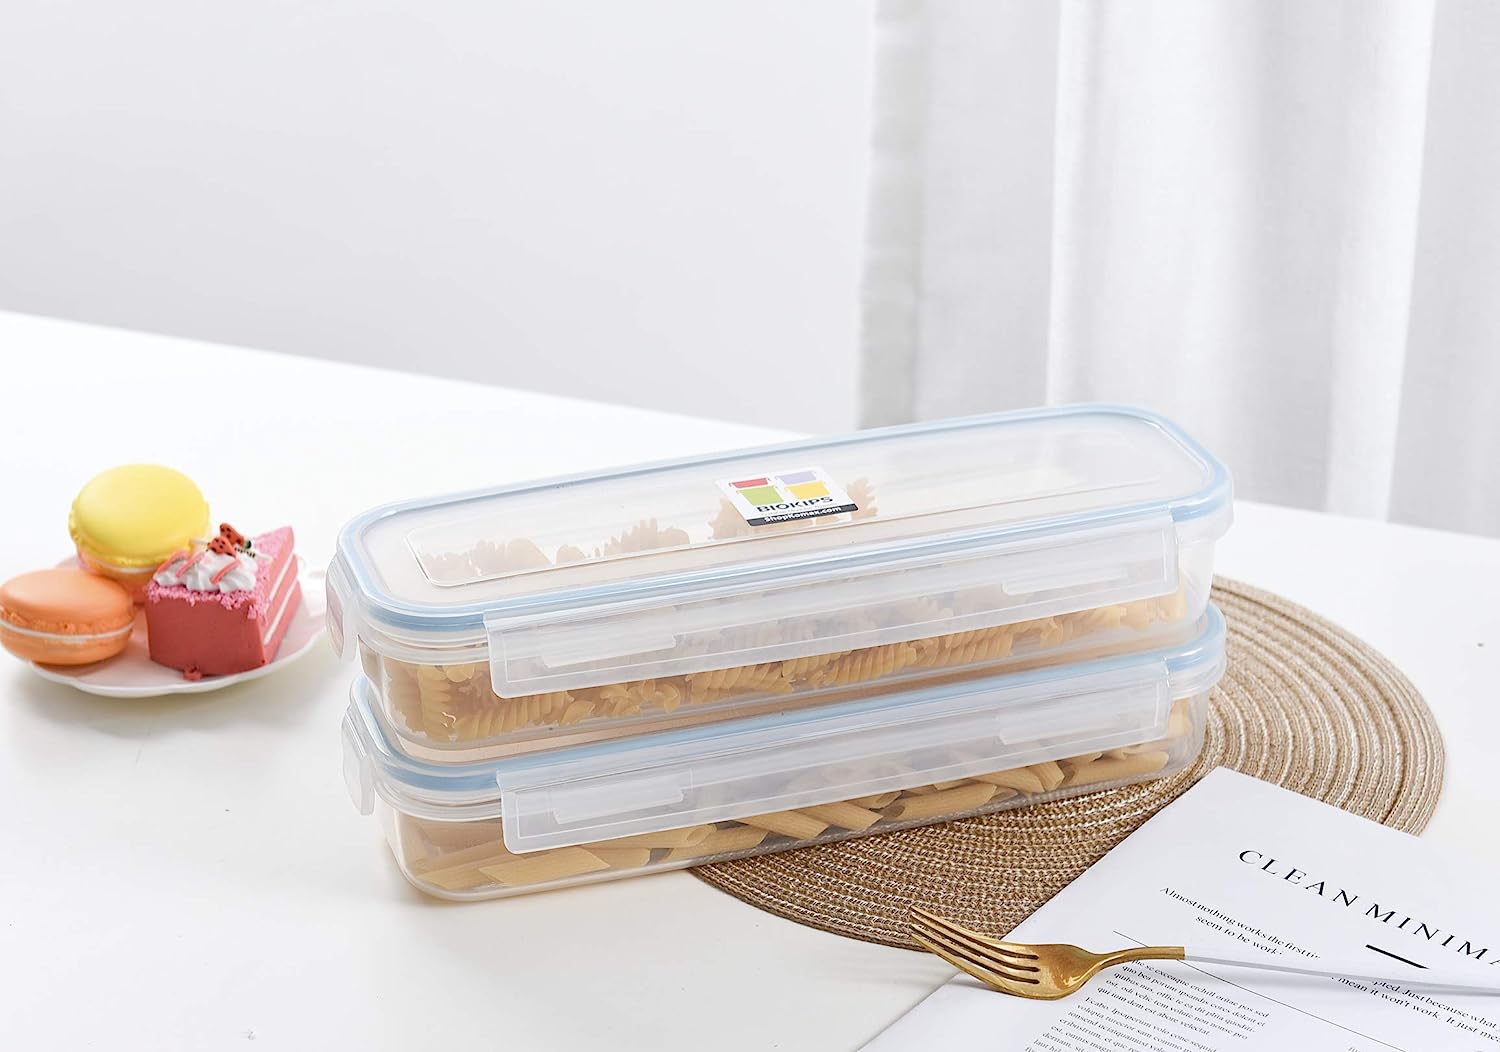
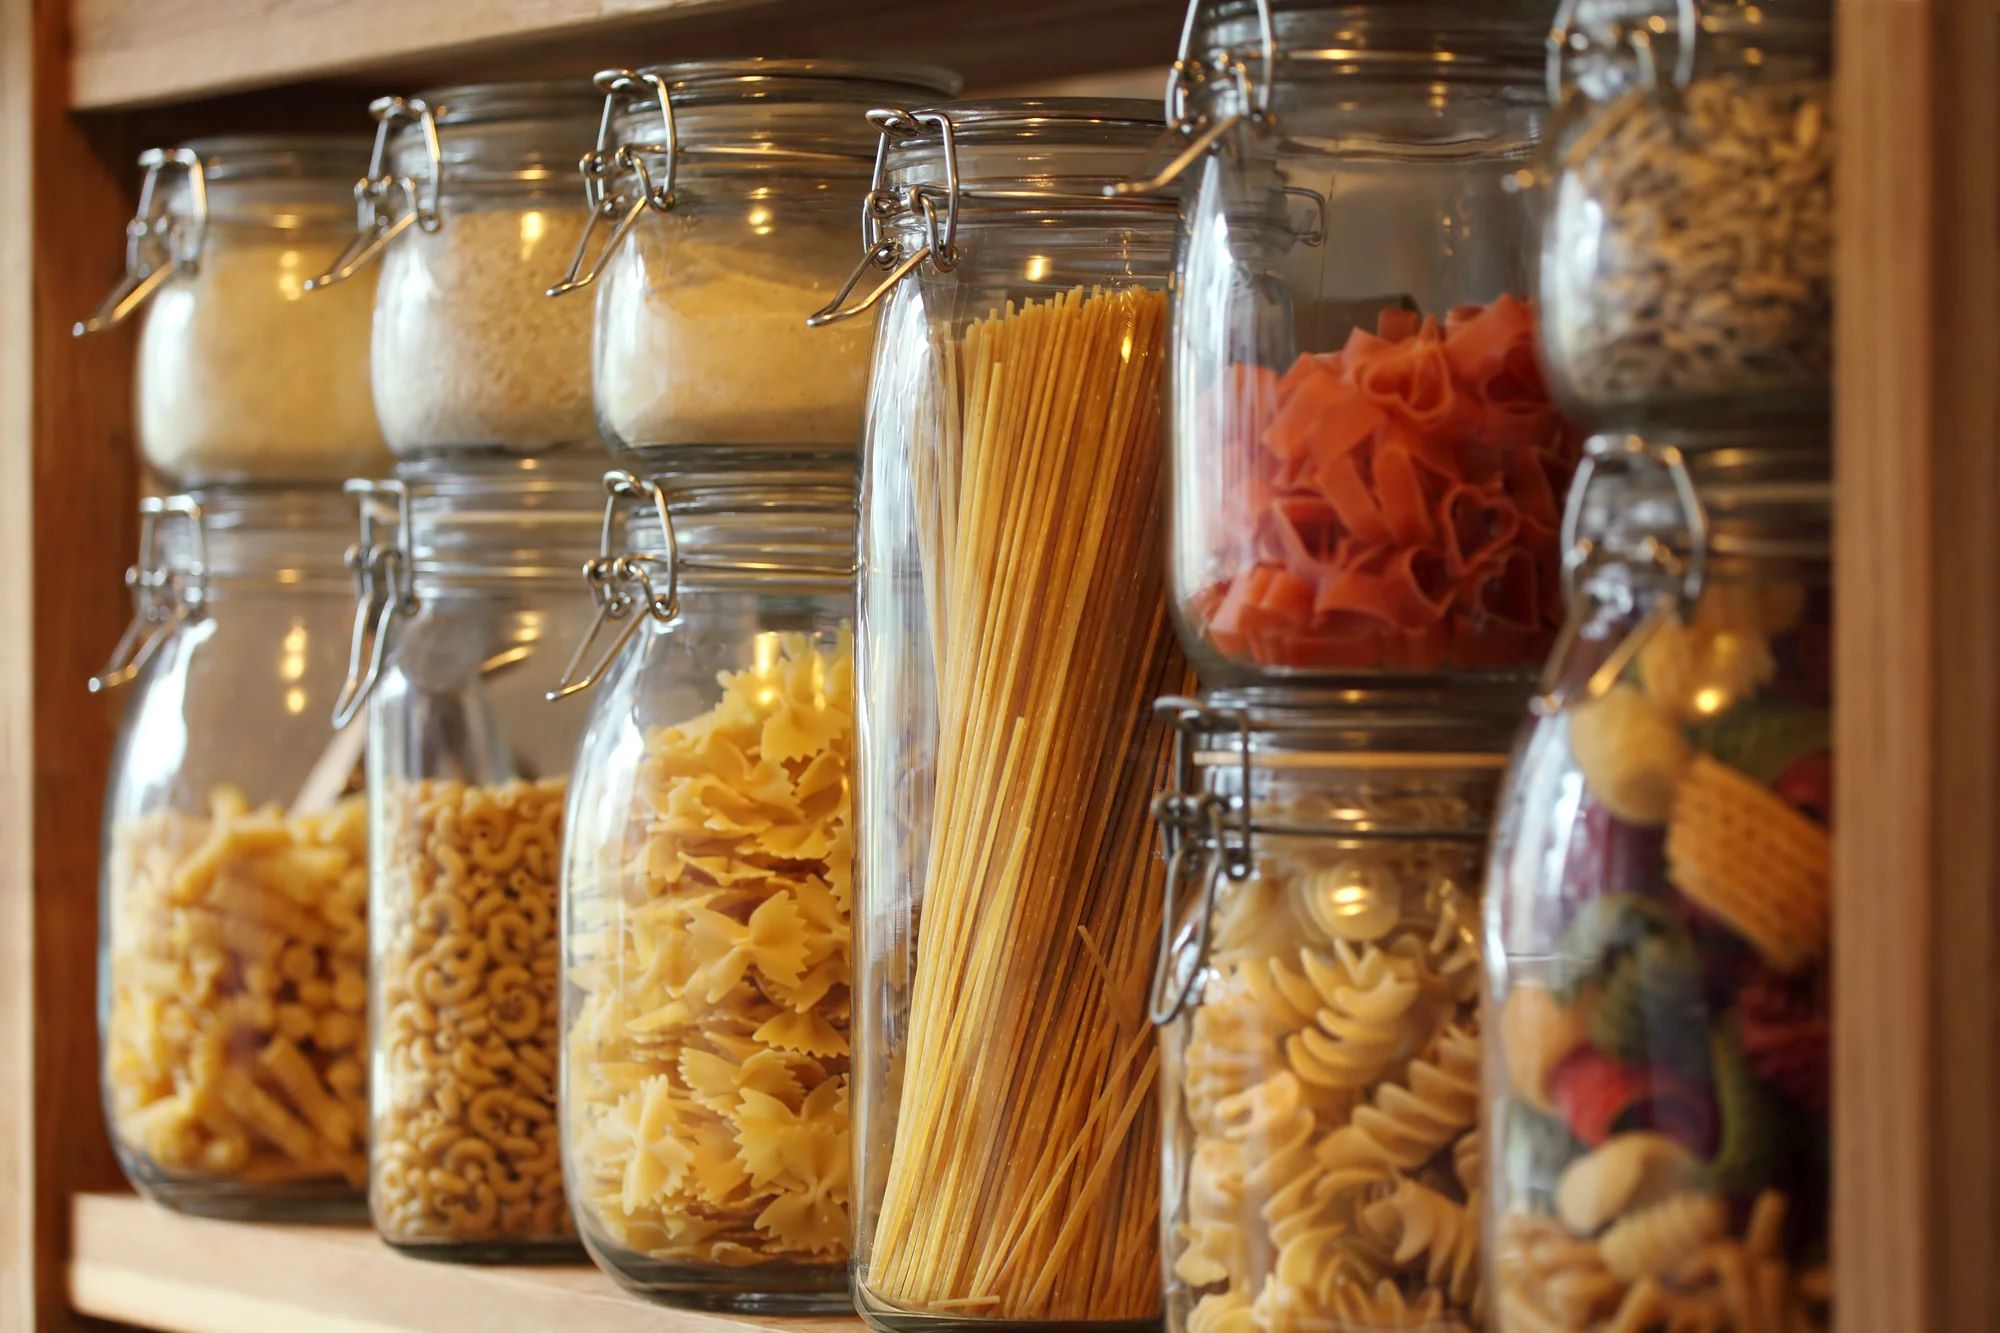
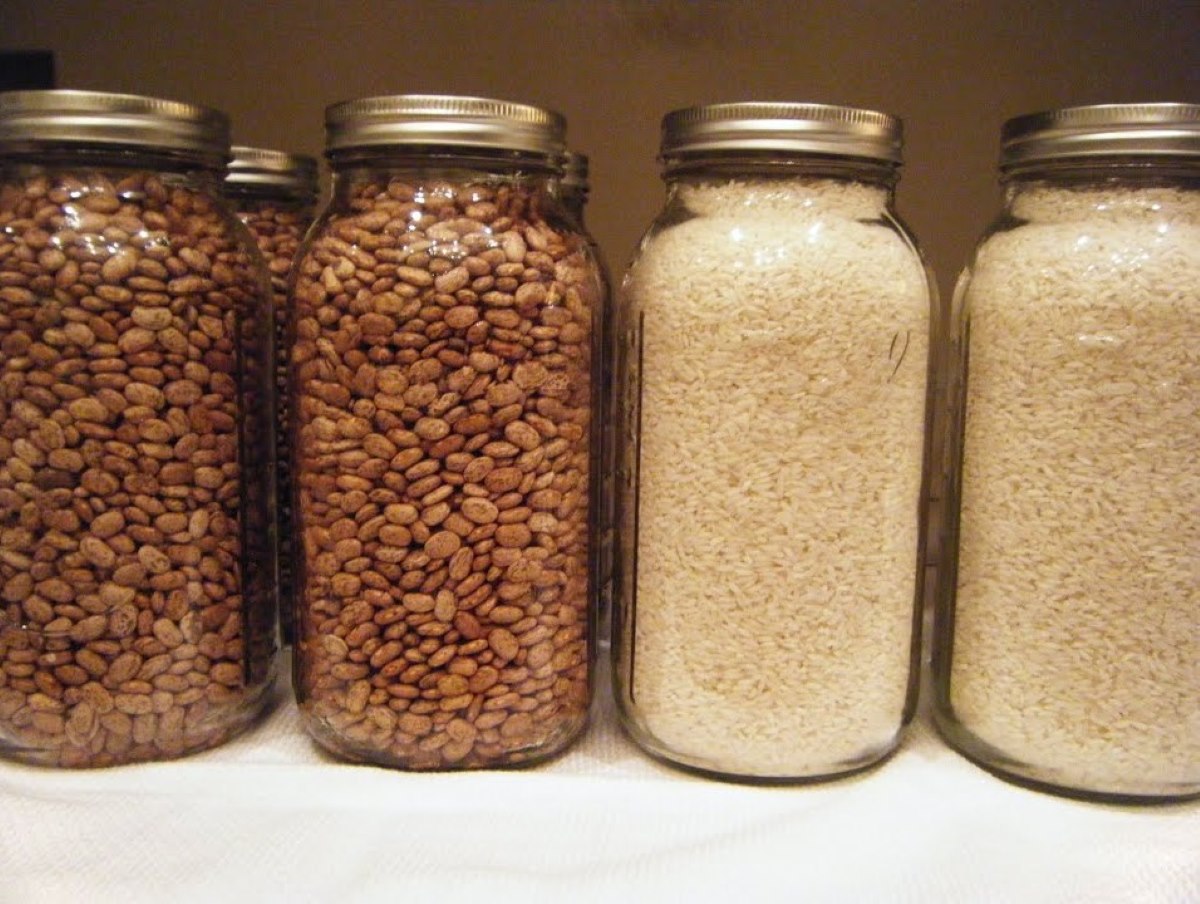
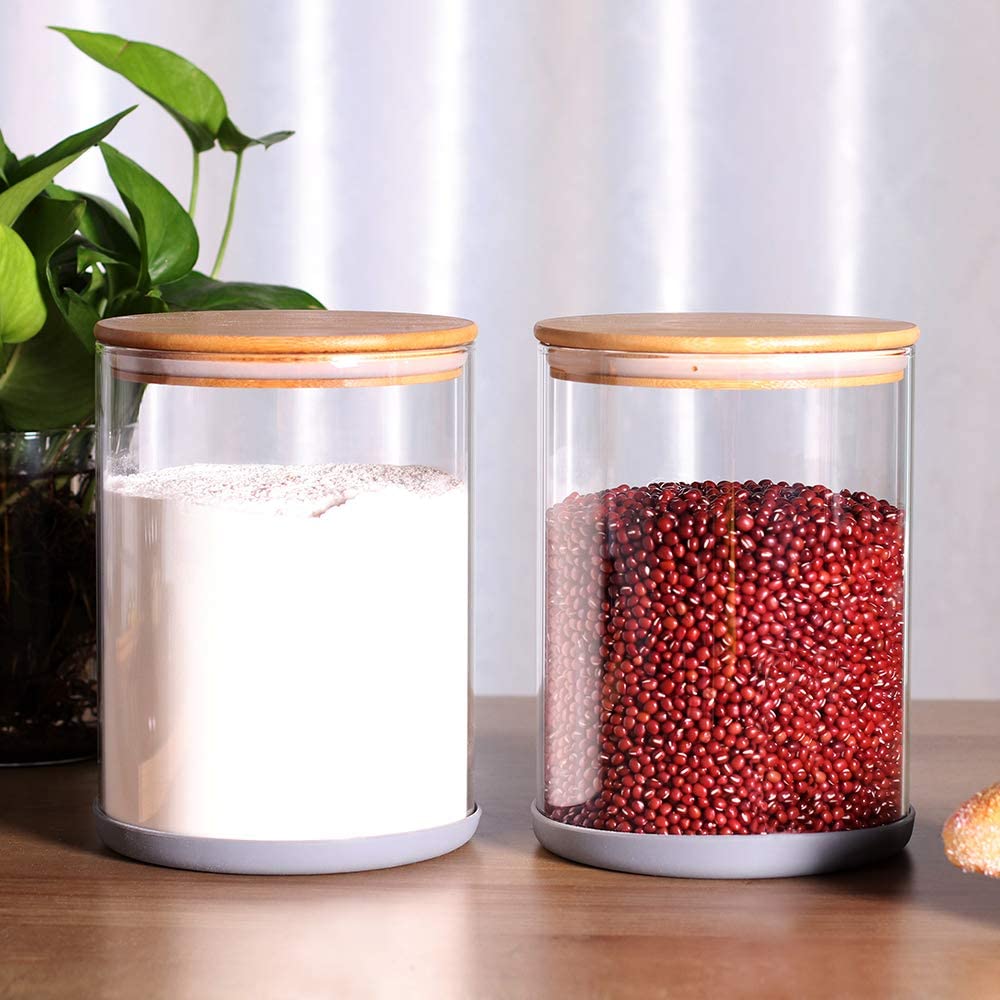
2. Choose Airtight Containers: Use airtight containers or resealable bags to store the dried pasta. This prevents moisture and pests from entering and helps to maintain its quality over time. Glass jars, plastic containers, or vacuum-sealed bags are all suitable options for storage.
3. Portion and Label: If you have a large batch of dried pasta, consider portioning it into smaller quantities before storage. This makes it easier to take out only the amount you need for each cooking session. Label the containers or bags with the date of storage to keep track of freshness.
4. Store in a Cool, Dry Place: Find a cool and dry location to store your dried pasta. Excessive heat or exposure to sunlight can affect the quality and taste of the pasta. Avoid storing it near stoves, ovens, or areas with high humidity, as moisture can cause the pasta to clump together.
5. Avoid Freezing Dried Pasta: While freezing fresh pasta can be an option, it is not recommended for already dried pasta. Freezing can alter the texture and quality of the pasta, leading to a less desirable cooking experience once thawed.
6. Monitor Storage Conditions: Regularly check the stored pasta for any signs of moisture, discoloration, or pests. If you notice any issues, discard the affected portion to prevent contamination of the rest of the pasta.
By following these guidelines, your dried pasta can maintain its quality for an extended period, allowing you to enjoy it whenever you desire a homemade pasta dish. Remember to use the oldest pasta first to ensure freshness and maintain a rotation system for optimal storage.
Now that you have successfully stored your dried pasta, let’s explore some tips to ensure successful long-term storage in the next section.
Read more: How To Store Pasta Sauce Long Term
Tips for Successful Long-Term Storage
To ensure the long-term storage of your dried homemade pasta, consider the following tips:
1. Use Quality Ingredients: For the best results, use high-quality ingredients when making your homemade pasta. Fresh and organic eggs, as well as high-quality flour, will contribute to the overall taste and texture of the dried pasta.
2. Avoid Flavored or Colorful Pasta: If you plan to dry and store pasta that is flavored or has added colorings (such as spinach pasta or tomato pasta), be aware that the flavors may fade and the colors may become less vibrant over time. Consider using these types of pasta within a shorter timeframe for optimal taste and appearance.
3. Consider Partially Drying: If you prefer a slightly more “al dente” texture in your cooked pasta, you can partially dry the pasta before storing it. This involves drying the pasta for a shorter period, leaving it slightly softer and with a shorter cooking time when later prepared.
4. Rotate and Use Within Timeframe: When storing your homemade dried pasta, make sure to use the oldest pasta first to maintain its freshness. Implement a rotation system, where you store new batches behind the older ones, to ensure the pasta is consumed within a reasonable timeframe.
5. Store in Small Batches: If you anticipate using different pasta shapes or sizes for various recipes, consider storing the dried pasta in smaller batches. This allows for easier selection and avoids opening and resealing the same container repeatedly.
6. Label and Date: Labeling the storage containers with the type of pasta and the date of storage helps maintain organization and ensures you can identify the pasta easily. Be sure to use a permanent marker or waterproof labels that won’t smudge or fade.
7. Properly Seal Containers: Ensure the storage containers or bags are well-sealed to prevent moisture from entering and affecting the quality of the pasta. Any exposure to humidity can cause the pasta to become sticky or even moldy.
8. Frequent Pasta Rotation: To maintain the best quality and taste, aim to rotate your pasta supply regularly. Even if properly stored, dried pasta has a shelf life of approximately 1-2 years. By consuming and replenishing your stock within this timeframe, you can enjoy consistently fresh pasta.
9. Inspect for Quality: Before cooking the dried pasta, inspect it for any signs of discoloration, off odors, or unusual texture. If the pasta looks questionable or develops an unpleasant smell, it’s best to discard it to avoid any health risks.
By following these tips, you can ensure that your homemade pasta remains fresh, flavorful, and ready to be transformed into delicious meals for an extended period.
Now that you are equipped with the knowledge to dry and store your homemade pasta, you can enjoy the convenience and satisfaction of having it readily available at any time. Happy cooking!
Conclusion
Congratulations! You have learned how to dry homemade pasta for long-term storage. By following the steps outlined in this guide and implementing the tips provided, you can enjoy the convenience of having your own supply of dried pasta whenever you need it. Whether you prefer spaghetti, fettuccine, lasagna sheets, or any other shape, drying homemade pasta allows you to extend its shelf life and preserve its delicious taste and texture.
From preparing the pasta dough to cutting it into desired shapes, and then selecting the best drying method, you now have the knowledge and tools to take control of your pasta-making endeavors. Whether you choose to air dry, use a pasta drying rack, or try one of the alternative methods, you can confidently produce perfectly dried pasta every time.
Remember to store the dried pasta in a cool, dry place, using airtight containers or resealable bags to maintain its freshness and quality. Rotate your stock regularly, using the oldest pasta first, and keep an eye out for any signs of moisture or spoilage.
Now, with your skill for drying homemade pasta, you can enjoy the convenience of having a pantry stocked with your very own high-quality noodles. Cook up a comforting bowl of pasta, create impressive pasta dishes for dinner parties, or simply savor the joy of making your own pasta from scratch. The possibilities are endless!
So, go ahead and unleash your culinary creativity with homemade dried pasta. Impress your family and friends with your pasta-making skills and continue to explore new flavors and recipes. With your newfound knowledge, you can take pride in creating a staple ingredient that will elevate your cooking to new heights.
Enjoy the process, experiment with different shapes and flavors, and savor each bite of your delicious homemade dried pasta. Bon appétit!
Excited to keep all that homemade pasta fresh? Consider expanding your savvy with our guide on the best options for long-term food storage. Knowing how to store essentials effectively can transform your pantry from chaotic to organized bliss. If your storage space feels crammed, our article on organizing a pantry closet will show you how to maximize every inch for an orderly kitchen haven. With these insights, your culinary space will become both functional and pleasing!
Frequently Asked Questions about How To Dry Homemade Pasta For Long Term Storage
Was this page helpful?
At Storables.com, we guarantee accurate and reliable information. Our content, validated by Expert Board Contributors, is crafted following stringent Editorial Policies. We're committed to providing you with well-researched, expert-backed insights for all your informational needs.


0 thoughts on “How To Dry Homemade Pasta For Long Term Storage”