Articles
How Long To Mix Cookie Dough In Stand Mixer
Modified: August 25, 2024
Learn how long to mix cookie dough in a stand mixer with our informative article. Discover the perfect technique for achieving the ideal consistency.
(Many of the links in this article redirect to a specific reviewed product. Your purchase of these products through affiliate links helps to generate commission for Storables.com, at no extra cost. Learn more)
Introduction
In the world of baking, few things are more satisfying than making homemade cookies. The aroma of freshly baked treats wafting through the kitchen is enough to make anyone’s mouth water. But when it comes to mixing the cookie dough, many bakers find themselves in a conundrum. Should they mix the dough by hand or use a stand mixer? In this article, we will explore the benefits of using a stand mixer for mixing cookie dough and provide some tips for achieving the perfect consistency.
Using a stand mixer to mix cookie dough offers numerous advantages. First and foremost, it saves time and energy. Mixing dough by hand can be a laborious process, requiring considerable effort and stamina. A stand mixer, on the other hand, does the hard work for you, allowing you to focus on other tasks while the dough comes together.
Another benefit of using a stand mixer is its ability to produce consistent results. The mixer’s powerful motor and various speed settings ensure that the ingredients are evenly mixed, resulting in a uniform texture and taste. This is particularly important when making delicate cookies that require precise measurements and mixing.
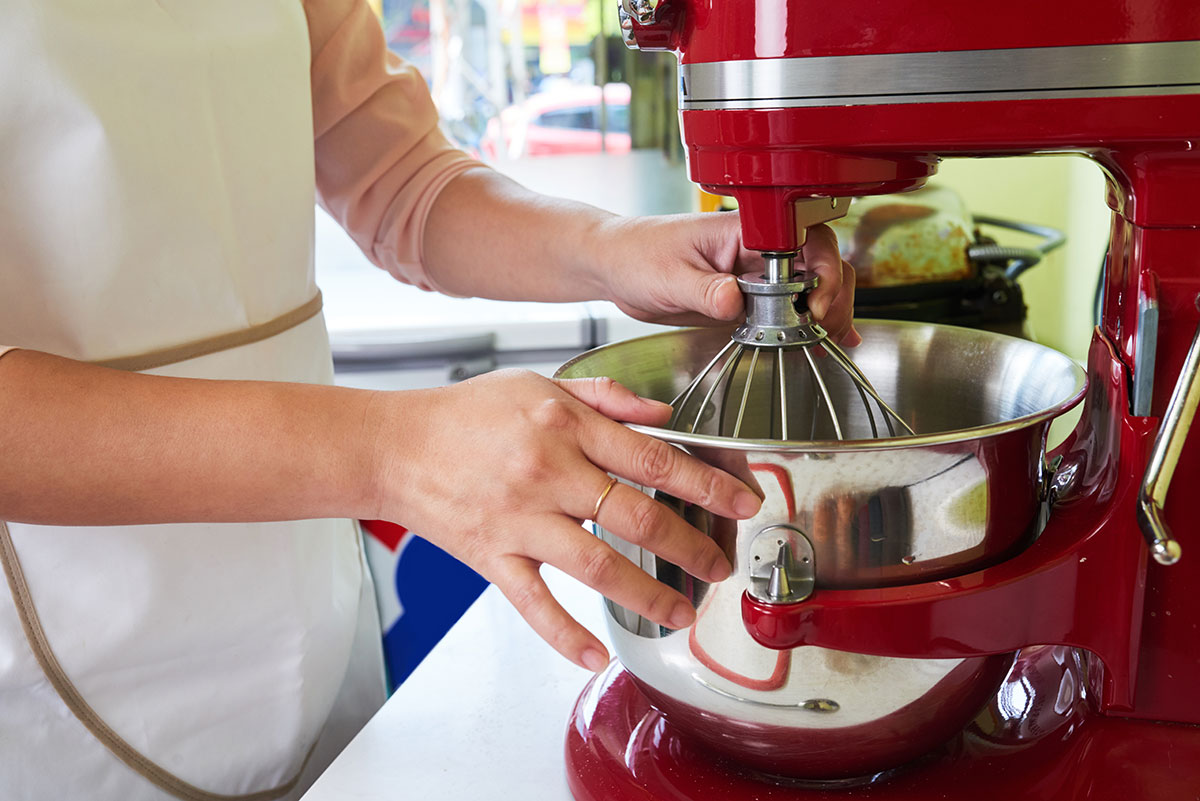
Besides saving time and producing consistent results, a stand mixer also offers convenience. Most mixers come with different attachments, such as dough hooks and paddle beaters, which make it easy to switch between tasks. You can effortlessly mix the dough, then switch to the paddle beater for adding in chocolate chips or nuts.
Furthermore, using a stand mixer allows for better control over the mixing process. You can adjust the speed and mixing time to achieve the desired consistency, whether it’s a soft and gooey cookie dough or a firm and crumbly one. This versatility comes in handy when working with different types of cookie recipes that have specific mixing requirements.
However, it is worth mentioning that using a stand mixer for mixing cookie dough does require some attention to detail. Overmixing the dough can lead to tough cookies, while undermixing may result in unevenly distributed ingredients. Finding the right balance is crucial to ensure the perfect texture and taste.
In the following sections, we will delve into the factors to consider when mixing cookie dough in a stand mixer, techniques for achieving the ideal mixing time, common mistakes to avoid, and how to adjust the mixing time based on different cookie dough recipes. Armed with this knowledge, you will be able to utilize your stand mixer to its full potential and create batches of delicious homemade cookies that will impress family and friends.
Key Takeaways:
- Using a stand mixer for cookie dough saves time, ensures consistent mixing, and offers hands-free operation, providing convenience and control over the mixing process.
- Factors such as type of mixer, mixing speed, dough consistency, and ingredient incorporation are crucial for achieving the perfect cookie dough texture. Adjusting mixing time based on recipe variations and visual cues is essential for optimal results.
Read more: How Long To Knead Bread Dough In Stand Mixer
Benefits of Using a Stand Mixer for Mixing Cookie Dough
Mixing cookie dough by hand can be a tedious and time-consuming task. That’s where a stand mixer comes to the rescue. Here are some key benefits of using a stand mixer for mixing cookie dough:
- Time and Effort-Saving: One of the biggest advantages of using a stand mixer is that it saves you time and effort. Rather than manually mixing the dough with a spoon or whisk, a stand mixer does all the work for you. It can mix ingredients together quickly and efficiently, allowing you to multitask in the kitchen.
- Consistent Mixing: With its powerful motor and various speed settings, a stand mixer ensures consistent mixing of the cookie dough. This is particularly important for achieving a uniform texture, evenly distributing ingredients, and preventing lumps. It eliminates the variability that can occur when mixing by hand, resulting in a more reliable and professional outcome.
- Versatility: Stand mixers often come with different attachments, such as dough hooks, paddle beaters, and wire whisks. These attachments allow you to tackle various mixing tasks effortlessly. When it comes to cookie dough, you can use the dough hook to blend the ingredients, ensuring thorough incorporation without overmixing. The paddle beater is ideal for adding in mix-ins like chocolate chips or nuts.
- Hands-Free Mixing: Another benefit of using a stand mixer is that it allows for hands-free mixing. Once you’ve added the ingredients to the mixing bowl, you can set the desired speed and let the mixer do its magic. This frees up your hands to prepare other components of the recipe or attend to other kitchen tasks. It’s a time-saving feature that adds convenience to the baking process.
- Control Over Mixing Time: A stand mixer gives you precise control over the mixing time, which is crucial for achieving the desired consistency in cookie dough. Different recipes call for different mixing times, and excessive or insufficient mixing can affect the final texture of your cookies. With a stand mixer, you can easily monitor and adjust the mixing time to achieve the perfect balance.
In summary, a stand mixer offers numerous advantages when it comes to mixing cookie dough. It saves you time and effort, ensures consistent mixing, provides versatility with its different attachments, allows for hands-free operation, and gives you control over the mixing time. With a stand mixer in your kitchen, you can effortlessly whip up batches of delicious cookies with ease and precision.
Factors to Consider When Mixing Cookie Dough in a Stand Mixer
Mixing cookie dough in a stand mixer can produce excellent results, but it’s important to consider several factors to ensure the best outcome. Here are some key factors to keep in mind:
- Type of Stand Mixer: Stand mixers come in various sizes and capacities. It’s essential to choose a mixer that is suitable for the amount of cookie dough you plan to make. A larger mixer is ideal for larger batches of dough, while a smaller one may be sufficient for smaller quantities. Ensure that the mixer you choose has a sturdy build and a powerful motor to handle the demands of mixing cookie dough.
- Mixing Speed: Stand mixers typically offer different speed settings. When mixing cookie dough, start at a low speed to incorporate the ingredients gradually and prevent them from splattering. Once the dough starts to come together, gradually increase the speed to ensure thorough mixing. Be cautious not to mix at high speeds for an extended period, as this can overwork the dough and affect the texture of the cookies.
- Consistency of Cookie Dough: Different cookie dough recipes require different consistencies. Some may call for a softer, sticky dough, while others may require a firmer, stiffer dough. Adjust the mixing time accordingly to achieve the desired consistency. It’s essential to follow the recipe instructions and monitor the dough’s texture as you mix, making any necessary adjustments along the way.
- Mixing Attachments: Stand mixers often come with various attachments, such as dough hooks, paddle beaters, and wire whisks. Choosing the appropriate attachment for mixing cookie dough is crucial. The dough hook is specifically designed for kneading dough and is ideal for blending the ingredients smoothly without overmixing. The paddle beater is perfect for incorporating mix-ins like chocolate chips or nuts. Always refer to the manufacturer’s recommendations for the suitable attachments to use for different types of dough.
- Ingredient Incorporation: When adding ingredients to the stand mixer, it’s important to do so gradually. Begin by mixing the wet ingredients together before adding the dry ingredients. This ensures that the ingredients are evenly distributed and prevents clumps from forming. Avoid overmixing once all the ingredients have been added, as this can lead to tough cookies. Instead, mix just until all the ingredients are combined and the dough has formed.
By considering these factors while mixing cookie dough in a stand mixer, you can achieve optimal results. Pay attention to the type of mixer and its capabilities, select the appropriate mixing speed, aim for the desired consistency, choose the right mixing attachments, and incorporate the ingredients in a methodical and gradual manner. With these considerations in mind, you’ll be well on your way to creating perfect batches of cookie dough with your stand mixer.
Determining the Ideal Mixing Time for Cookie Dough in a Stand Mixer
When it comes to mixing cookie dough in a stand mixer, determining the ideal mixing time is crucial to achieve the perfect texture and consistency. While exact mixing times may vary depending on the recipe and desired outcome, here are some general guidelines to help you determine the ideal mixing time:
- Follow the Recipe: Always start by following the recipe instructions. Many cookie recipes provide an estimated mixing time or specify until the ingredients are just combined. These guidelines serve as a good starting point.
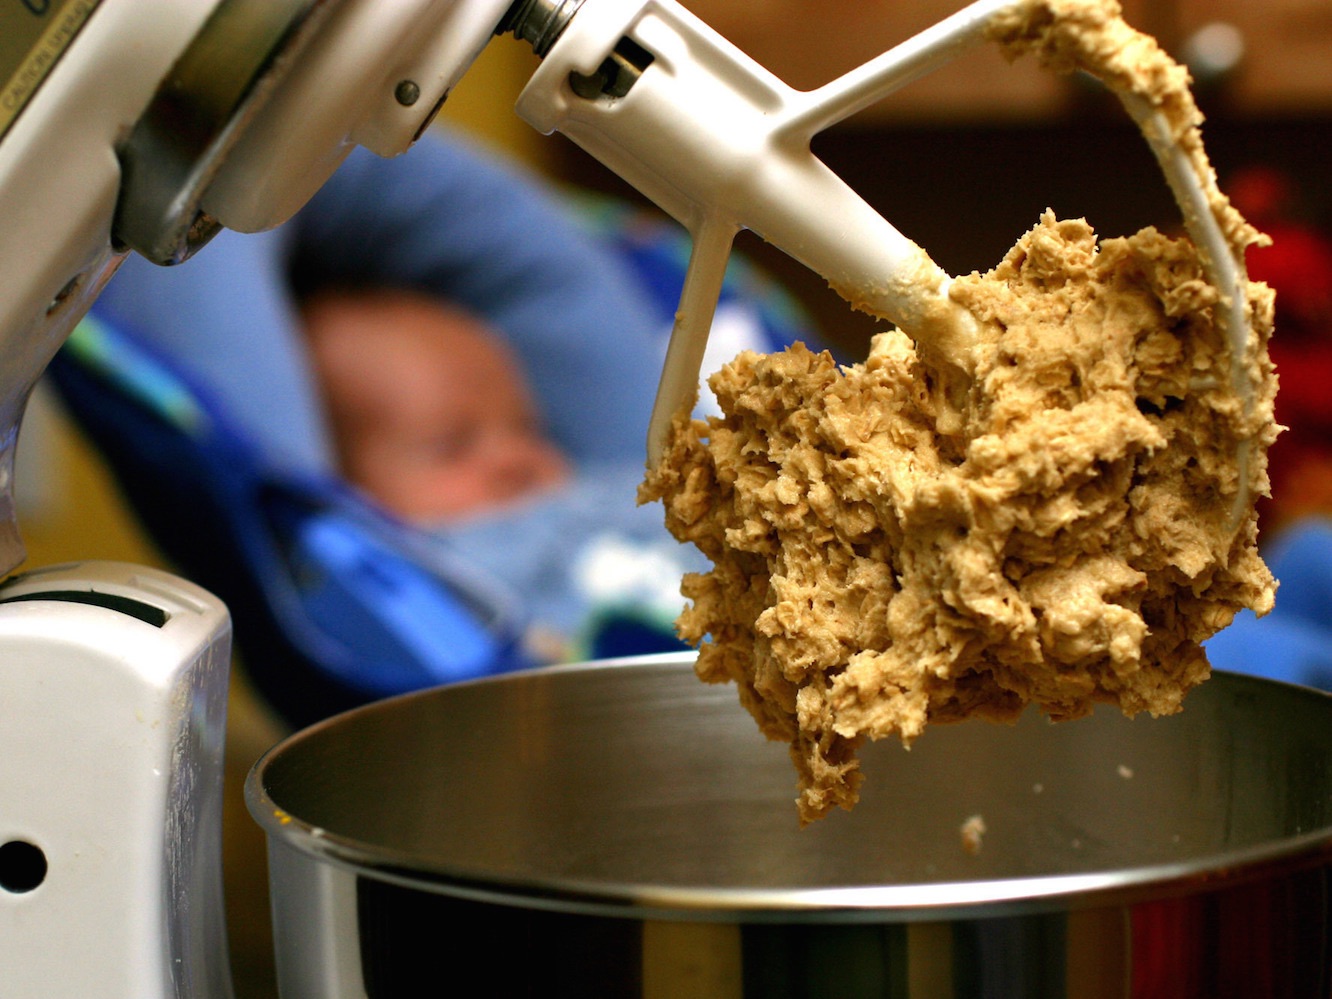
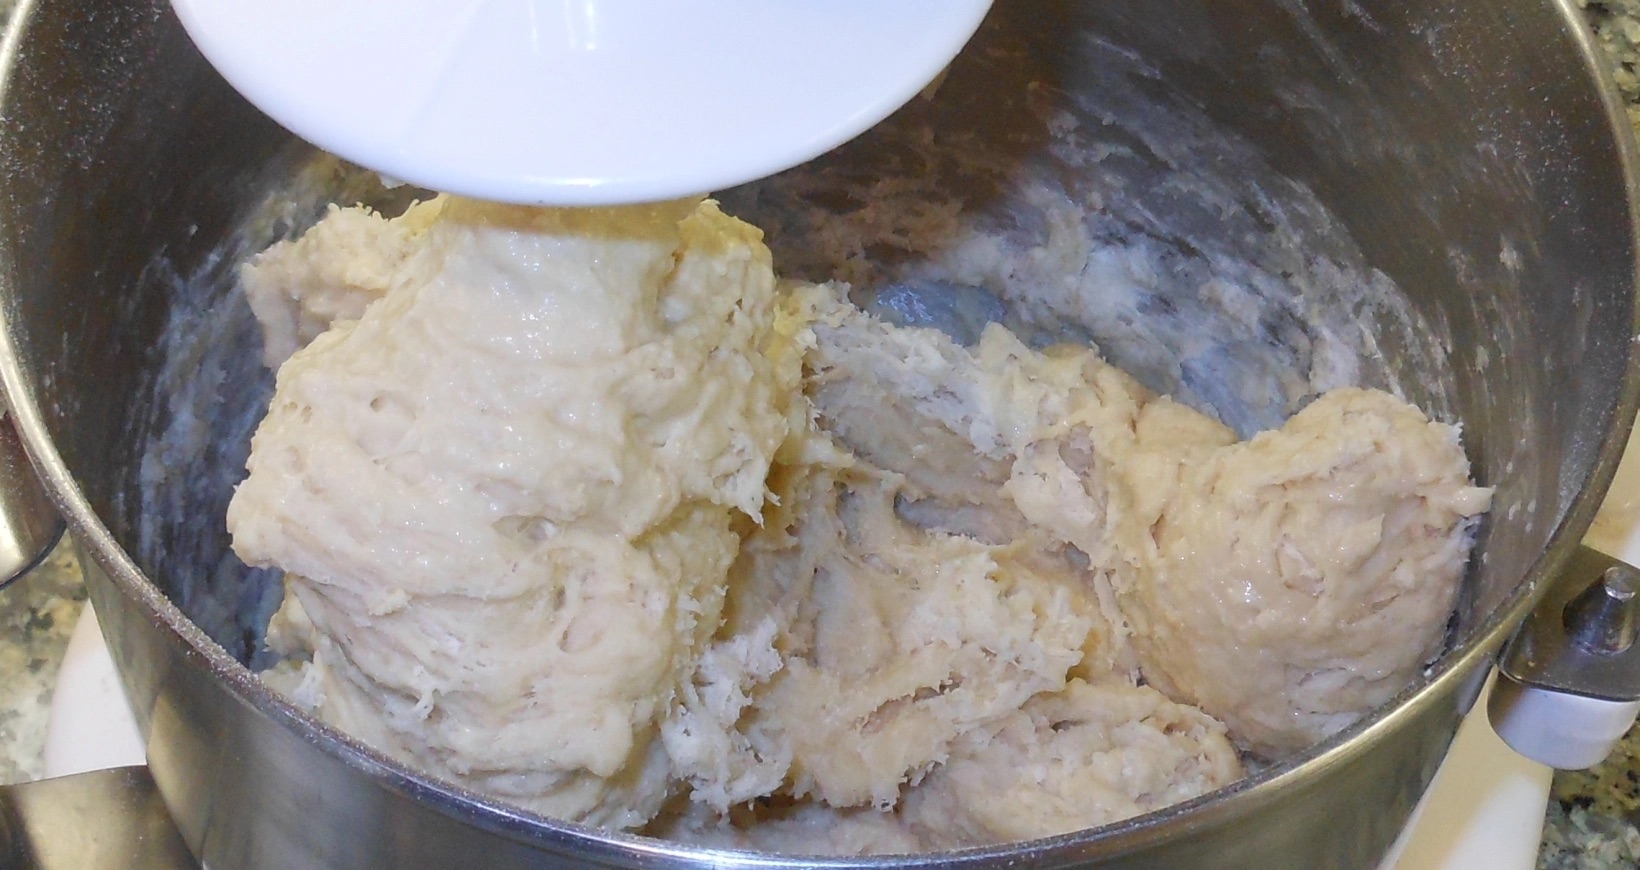
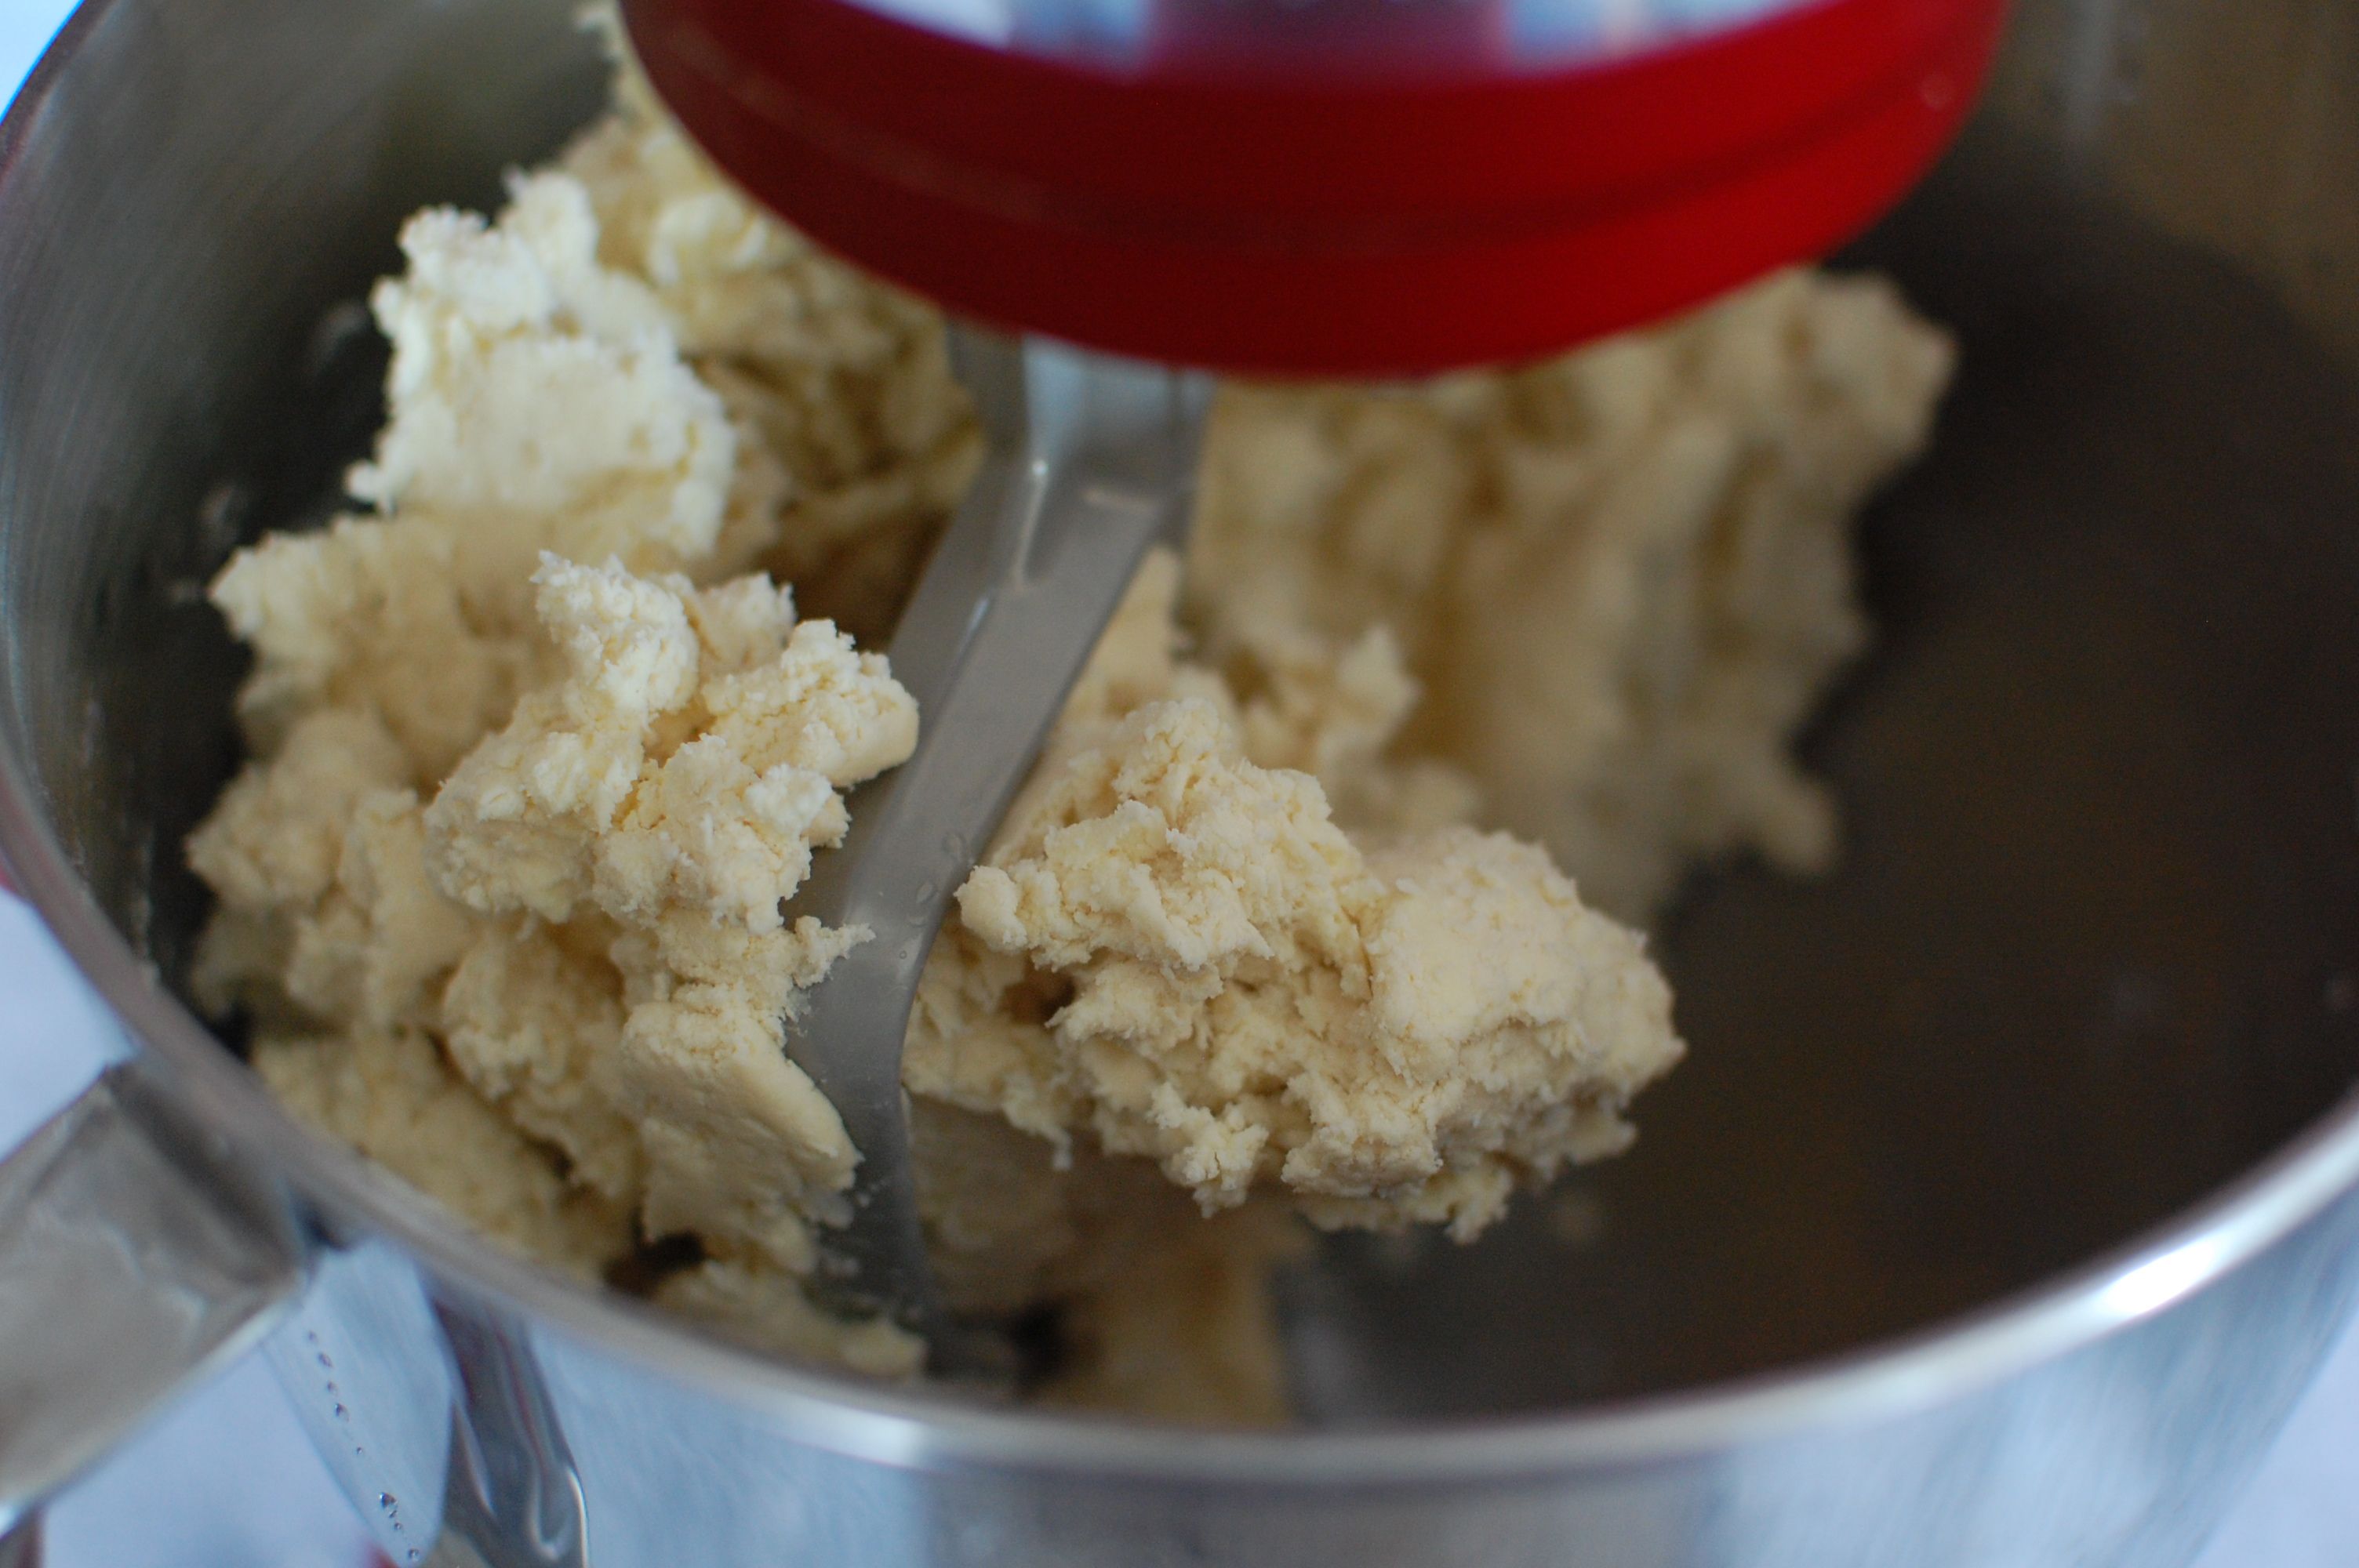
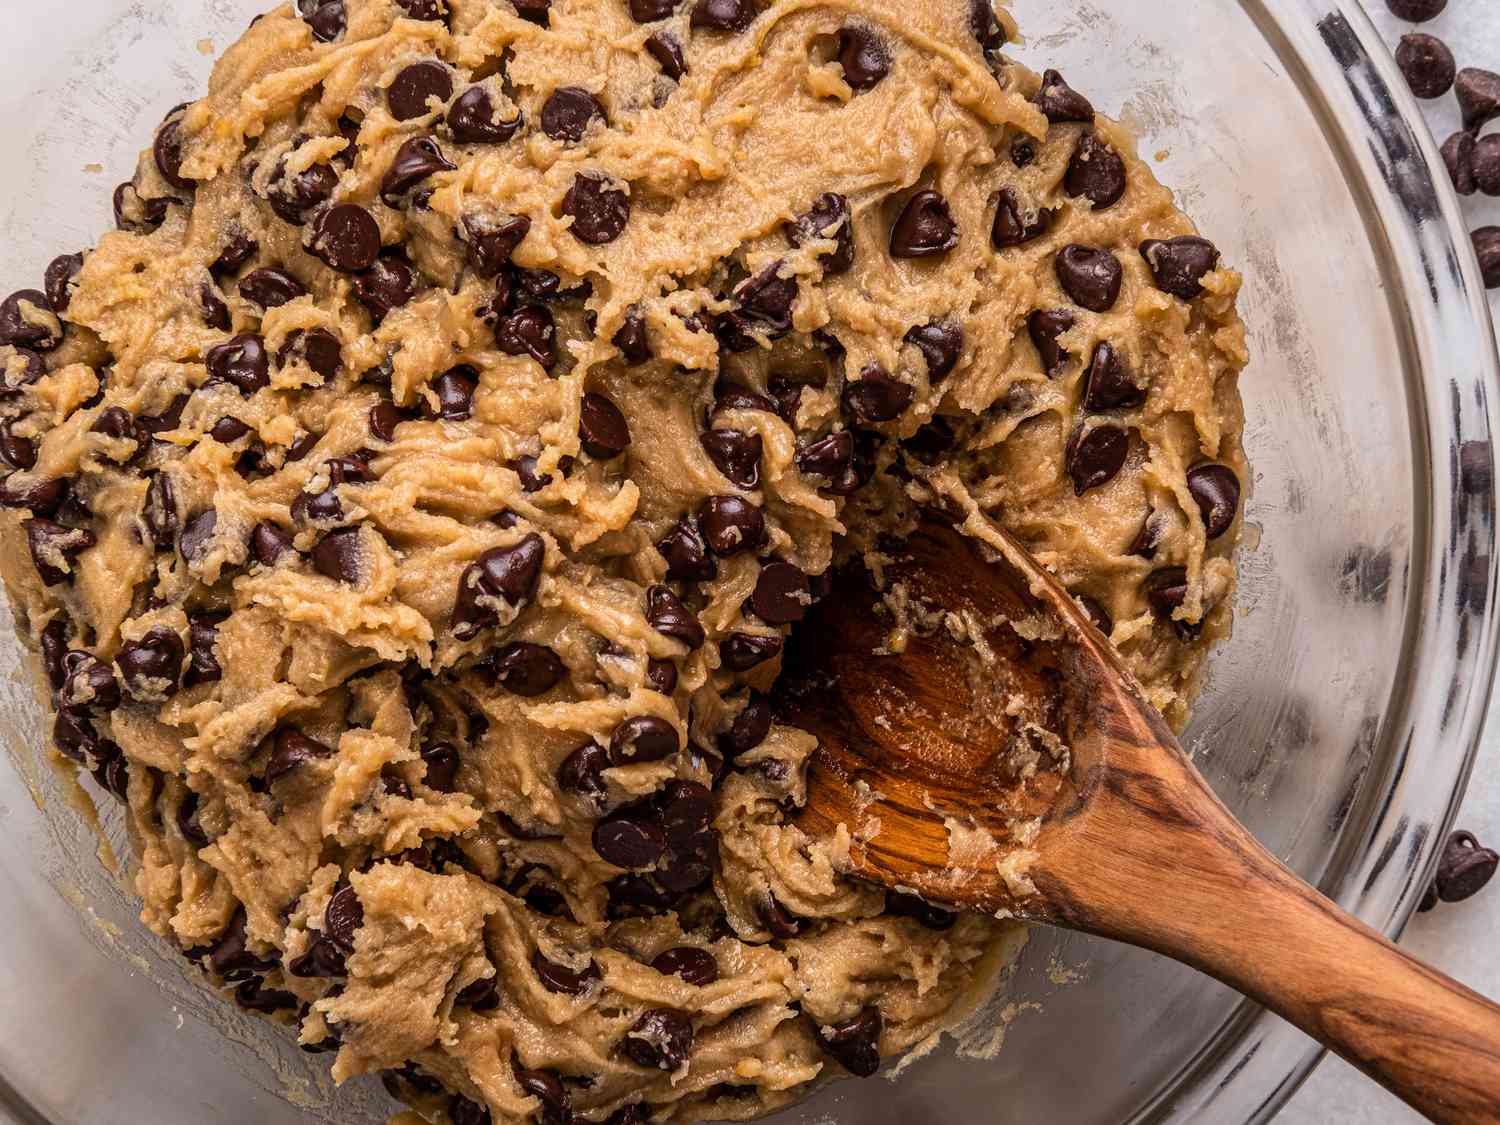
- Monitor Visual Cues: Pay attention to visual cues during the mixing process. As the stand mixer blends the ingredients, observe the dough’s appearance. It should start to come together and form a cohesive mass. Once the dough comes away from the sides of the mixing bowl and forms a ball, it is likely nearing the desired mixing time.
- Check Dough Consistency: The texture and consistency of the cookie dough can indicate whether it has been mixed enough or needs further mixing. If the dough looks crumbly or dry, it may need a bit more mixing time. On the other hand, if the dough looks overly sticky or wet, it may have been overmixed.
- Perform the “Windowpane Test”: The “windowpane test” is a technique commonly used for determining if yeast dough is ready, but it can also be useful for cookie dough. Take a small piece of the dough and gently stretch it between your fingers. If the dough can be stretched thin enough to create a translucent windowpane without tearing, it is likely well mixed. However, if it tears easily or does not stretch, it may need additional mixing time.
- Trust Your Instincts: As you gain experience in baking and using your stand mixer, you will develop a sense of what the ideal mixing time feels like. If the dough looks and feels well mixed, it probably is. Use your judgment and intuition along with the other guidelines to determine when to stop mixing.
It’s important to note that overmixing cookie dough can result in cookies that are tough and dense. On the other hand, undermixing can lead to cookies that are unevenly baked or have pockets of unmixed ingredients. It’s crucial to find the balance where the ingredients are fully incorporated without overworking the dough.
Ultimately, the ideal mixing time for cookie dough will depend on various factors, including the recipe, the stand mixer’s speed, and the desired outcome. Experimentation and practice will help you determine the perfect mixing time for your favorite cookie recipes. Remember to observe visual cues, check the dough’s consistency, perform the “windowpane test” if necessary, and trust your instincts. With time and experience, you’ll become adept at achieving the ideal mixing time for cookie dough in your stand mixer.
Mix cookie dough in a stand mixer on low speed for 1-2 minutes, just until the ingredients are combined. Overmixing can lead to tough cookies.
Techniques for Mixing Cookie Dough in a Stand Mixer
Mixing cookie dough in a stand mixer allows for efficient and consistent results. To ensure the best outcome, here are some techniques to keep in mind when using your stand mixer to mix cookie dough:
- Preparation: Before you begin mixing, make sure all your ingredients are measured and ready to go. This will help streamline the mixing process and prevent any delays or interruptions.
- Room Temperature Ingredients: For most cookie dough recipes, it’s important to use room temperature ingredients. This includes butter, eggs, and any other ingredients specified in the recipe. Room temperature ingredients blend more easily and result in a smoother cookie dough.
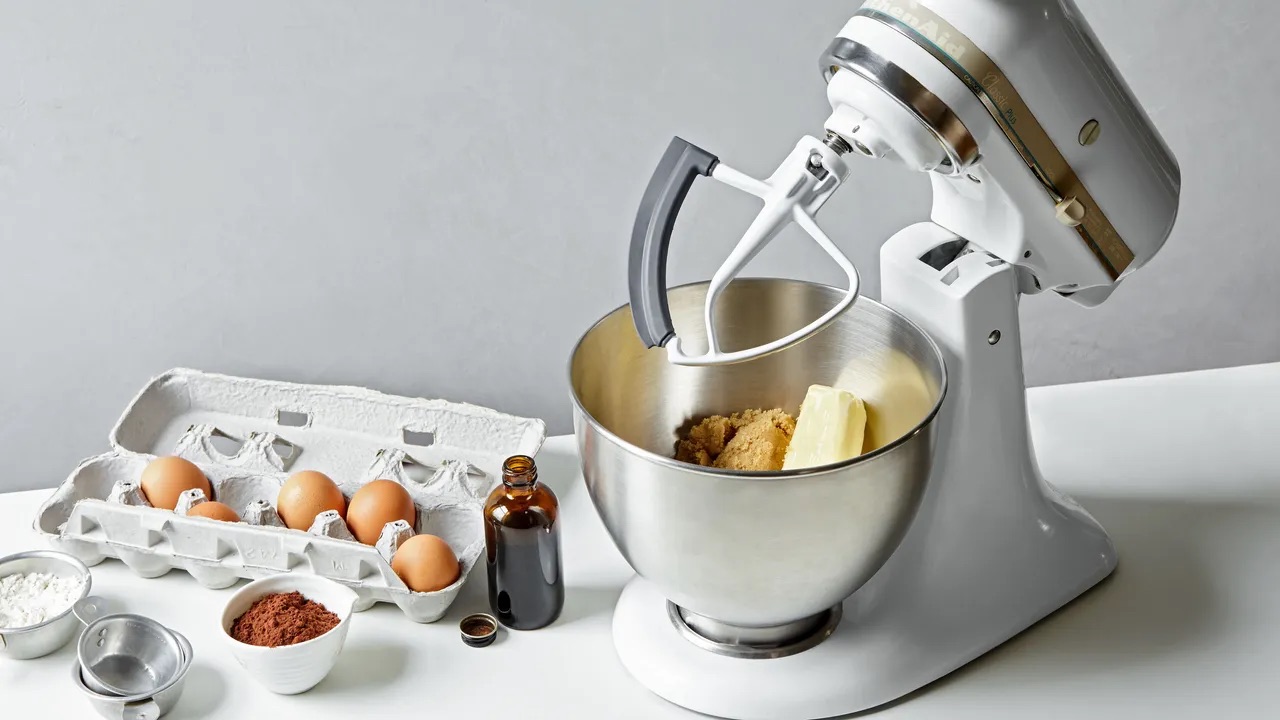
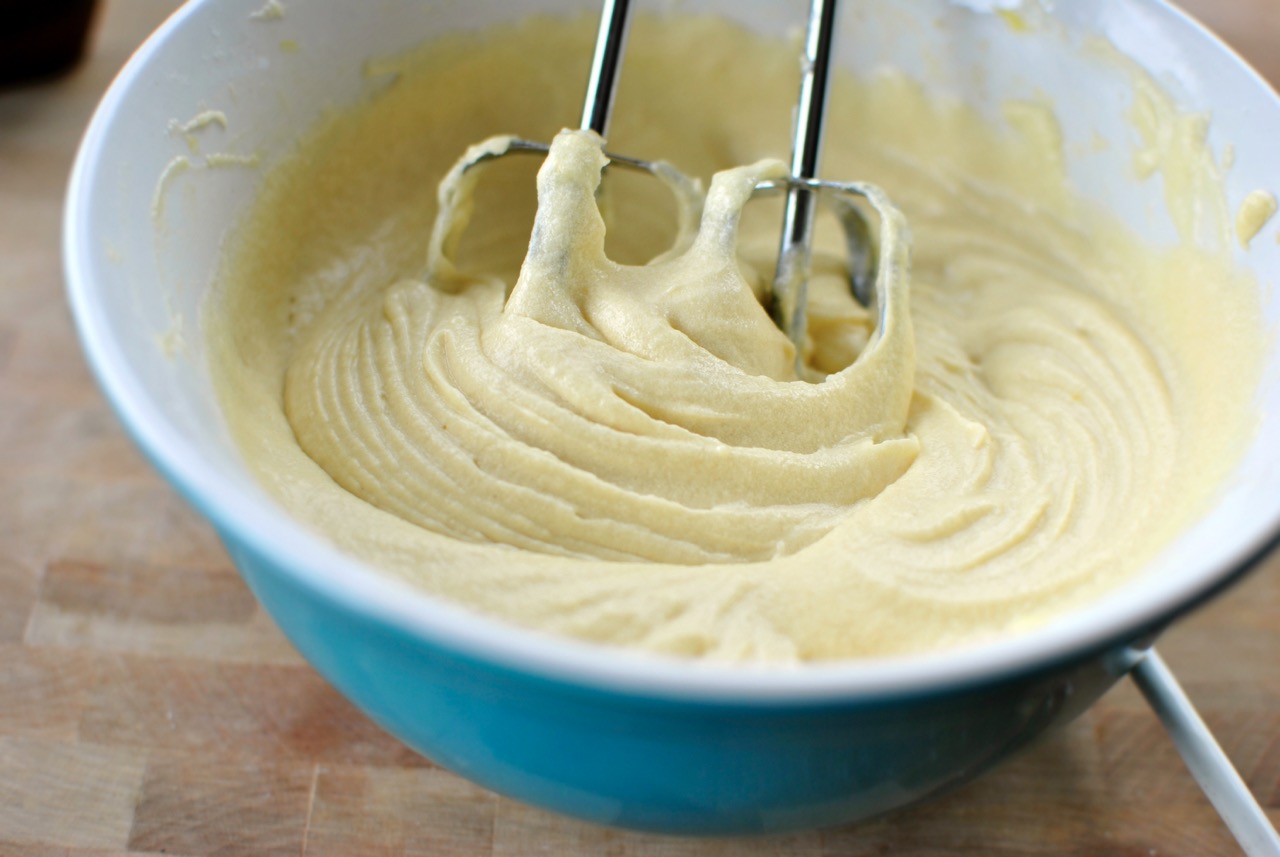
- Creaming Butter and Sugar: Many cookie recipes start with the step of creaming butter and sugar together. When using a stand mixer, start with softened butter and beat it on medium speed until it becomes light and fluffy. Gradually add in the sugar and continue beating until the mixture is pale and creamy. This step helps to incorporate air into the dough and create a tender texture.
- Add Dry Ingredients Gradually: When adding the dry ingredients (flour, baking powder, salt, etc.) to the stand mixer, do so gradually. It is best to add the dry ingredients in small increments, allowing them to be incorporated evenly into the dough. This prevents clumps and ensures a consistent texture.
- Scrape Down the Bowl: Throughout the mixing process, it’s important to periodically stop the stand mixer and scrape down the sides and bottom of the mixing bowl. This helps to ensure that all ingredients are fully incorporated and prevents any pockets of unmixed dough from being left behind.
- Avoid Overmixing: Overmixing cookie dough can lead to cookies that are tough and dense. Once all the ingredients are incorporated, be cautious not to overmix. As soon as the dough has come together and looks uniform, it’s typically time to stop mixing. Overmixing can develop the gluten in the flour, resulting in a less tender cookie.
- Mix-Ins: If you’re adding mix-ins to your cookie dough, such as chocolate chips, nuts, or dried fruits, incorporate them at the end of the mixing process. Use the stand mixer on the lowest speed or mix them in by hand to prevent the mix-ins from being crushed or overly distributed throughout the dough.
- Chill the Dough (if needed): Some cookie dough recipes benefit from a chilling period before baking. If your recipe calls for chilling the dough, transfer it to an airtight container and refrigerate for the specified time. Chilling the dough allows the flavors to meld, and it reduces spreading during baking.
By employing these techniques, you can effectively mix cookie dough in your stand mixer. Prepare your ingredients, cream the butter and sugar, add the dry ingredients gradually, scrape down the bowl when necessary, avoid overmixing, and incorporate mix-ins with care. These practices will help you achieve consistent and delicious cookie dough that is ready for baking.
Read more: How To Make Cookies Without A Mixer
Common Mistakes to Avoid When Mixing Cookie Dough in a Stand Mixer
Mixing cookie dough in a stand mixer can yield excellent results, but it’s important to be aware of some common mistakes to avoid. By avoiding these pitfalls, you can ensure that your cookie dough turns out perfectly every time. Here are some common mistakes to watch out for when using a stand mixer to mix cookie dough:
- Overmixing: One of the most common mistakes is overmixing the cookie dough. Overmixing can result in cookies that are tough and dense. It’s important to mix the dough just until all the ingredients are incorporated. Once the dough comes together and looks uniform, it’s usually time to stop mixing.
- Undermixing: On the flip side, undermixing can lead to unevenly mixed dough and cookies with pockets of unmixed ingredients. Be sure to thoroughly mix the dough to ensure that all the ingredients are incorporated. Stop mixing when the dough is uniform and free from any clumps or streaks.
- Incorrect Mixing Speed: Using the wrong mixing speed can also impact the outcome of your cookie dough. Start mixing on a low speed to gradually incorporate the ingredients and prevent them from splattering. Once the dough starts to come together, you can increase the speed slightly. Avoid mixing at high speeds for an extended period, as this can overwork the dough.
- Not Scraping Down the Bowl: Failure to scrape down the sides and bottom of the mixing bowl can leave pockets of unmixed dough. Throughout the mixing process, periodically stop the mixer and use a spatula to scrape down the sides and bottom of the bowl. This ensures that all ingredients are fully incorporated and prevents any lumps or streaks in the dough.
- Adding Too Many Mix-Ins: While mix-ins like chocolate chips, nuts, or dried fruits can add delicious flavor and texture to your cookies, it’s important not to overdo it. Adding too many mix-ins can alter the dough’s consistency and hinder proper mixing. Be mindful of the amount of mix-ins you add, ensuring they are evenly distributed without overwhelming the dough.
- Not Using Room Temperature Ingredients: Room temperature ingredients, particularly butter and eggs, blend more easily and result in a smoother cookie dough. Avoid using cold or straight-from-the-fridge ingredients, as they can create lumps and affect the dough’s texture. Allow your butter and eggs to come to room temperature before starting the mixing process.
- Not Following the Recipe: Each cookie recipe may have specific mixing instructions and times. It’s important to read and follow the recipe closely, as different recipes may require different mixing techniques and times. Skipping or altering steps in the recipe can affect the texture and taste of the cookies.
- Not Adjusting for Variations: Keep in mind that different types of cookie dough may require slight adjustments in mixing time and technique. For example, a dough with added mix-ins or one that requires chilling may require modifications to achieve the desired outcome. Pay attention to any specific instructions or recommendations provided in the recipe.
By avoiding these common mistakes and staying mindful of proper mixing techniques, you can create perfectly mixed cookie dough using your stand mixer. Remember to mix just until the ingredients are incorporated, scrape down the bowl as needed, use the correct mixing speed, and carefully add in mix-ins. With practice and attention to detail, you’ll be able to achieve consistently delicious cookies every time you use your stand mixer for mixing cookie dough.
Adjusting the Mixing Time Based on Cookie Dough Recipes
Cookie dough recipes can vary in their ingredients, moisture content, and desired texture, which means that the ideal mixing time may differ from recipe to recipe. It’s important to adjust the mixing time based on the specific cookie dough recipe you’re using to achieve the best results. Here are some guidelines for adjusting the mixing time:
- Follow the Recipe Instructions: Start by carefully reading the recipe instructions. Many recipes provide an estimated mixing time or specific instructions on how long to mix the dough. It’s important to follow these guidelines as a starting point.
- Texture and Consistency: Pay attention to the texture and consistency of the cookie dough as you mix. Some recipes may call for a soft and sticky dough, while others may require a firmer and more cohesive dough. Adjust the mixing time based on how the dough looks and feels. If it appears crumbly or dry, it may need more mixing time. If it seems overly sticky or wet, it may have been mixed enough.
- Visual Cues: Visual cues can also help indicate when the dough has been mixed enough. As the stand mixer blends the ingredients, observe the dough’s appearance. It should start to come together and form a cohesive mass. Once the ingredients are fully incorporated, the dough should look uniform and free from any clumps or streaks.
- The “Windowpane Test”: The “windowpane test” is a useful technique to determine if the gluten in the dough has developed enough. Take a small piece of the dough and gently stretch it between your fingers. If the dough can be stretched thin enough to create a translucent windowpane without tearing, it is likely well mixed. If it tears easily or does not stretch, it may need additional mixing time.
- Recipe Variations: Different types of cookie dough may benefit from slight adjustments in mixing time. For example, dough with added mix-ins like chocolate chips or nuts may require a shorter mixing time to prevent excessive breakage or crushing of the mix-ins. Similarly, dough that requires chilling may need slightly longer mixing to ensure proper incorporation of all ingredients.
- Experience and Intuition: Over time and with practice, you’ll develop a sense of what the ideal mixing time feels like based on the visual cues and desired outcome of the cookies. Trust your experience and intuition when adjusting the mixing time for cookie dough recipes. If the dough looks well mixed and the texture is consistent, it’s likely ready.
It’s important to note that the mixing time is just one factor in achieving the perfect cookie dough. Proper ingredient measurement, correct mixing speed, and other recipe-specific instructions also play significant roles in the overall outcome of the cookies.
By closely following recipe instructions, monitoring the texture and appearance of the dough, conducting the “windowpane test” when applicable, adjusting for recipe variations, and trusting your experience, you’ll be able to adjust the mixing time to suit each specific cookie dough recipe. With practice, you’ll become adept at determining the ideal mixing time for the perfect batch of cookies every time.
Conclusion
Mixing cookie dough in a stand mixer offers numerous benefits, including time and effort-saving, consistent results, convenience, and better control over the mixing process. By following the techniques and guidelines discussed in this article, you can achieve perfectly mixed cookie dough with your stand mixer.
When using a stand mixer, it’s important to consider factors such as the type of mixer, mixing speed, dough consistency, mixing attachments, and ingredient incorporation. Being mindful of these factors will help you achieve the desired texture and ensure all ingredients are evenly distributed.
Remember to avoid common mistakes such as overmixing or undermixing, using incorrect mixing speeds, not scraping down the bowl, adding too many mix-ins, and not using room temperature ingredients. These mistakes can negatively impact the quality and texture of your cookies.
Lastly, adjust the mixing time based on each specific cookie dough recipe. Follow the recipe instructions, pay attention to the texture and visual cues of the dough, perform the “windowpane test” if applicable, and trust your experience and intuition. These adjustments will help you achieve the ideal mixing time for each unique recipe.
With practice and attention to detail, you’ll become adept at using your stand mixer to create batches of delicious homemade cookies. The convenience and consistent results provided by a stand mixer will make your baking process enjoyable and efficient. Whether you’re making classic chocolate chip cookies, delicate shortbread, or chewy oatmeal raisin cookies, your stand mixer will be your trusted companion in creating delectable treats that will impress family and friends.
Frequently Asked Questions about How Long To Mix Cookie Dough In Stand Mixer
Was this page helpful?
At Storables.com, we guarantee accurate and reliable information. Our content, validated by Expert Board Contributors, is crafted following stringent Editorial Policies. We're committed to providing you with well-researched, expert-backed insights for all your informational needs.


0 thoughts on “How Long To Mix Cookie Dough In Stand Mixer”