Home>Articles>What Is The Easiest Way To Fold A Fitted Sheet


Articles
What Is The Easiest Way To Fold A Fitted Sheet
Modified: October 22, 2024
Discover the easiest way to fold a fitted sheet with helpful articles and step-by-step instructions. Say goodbye to messy linen closets and hello to perfectly organized sheets.
(Many of the links in this article redirect to a specific reviewed product. Your purchase of these products through affiliate links helps to generate commission for Storables.com, at no extra cost. Learn more)
Introduction
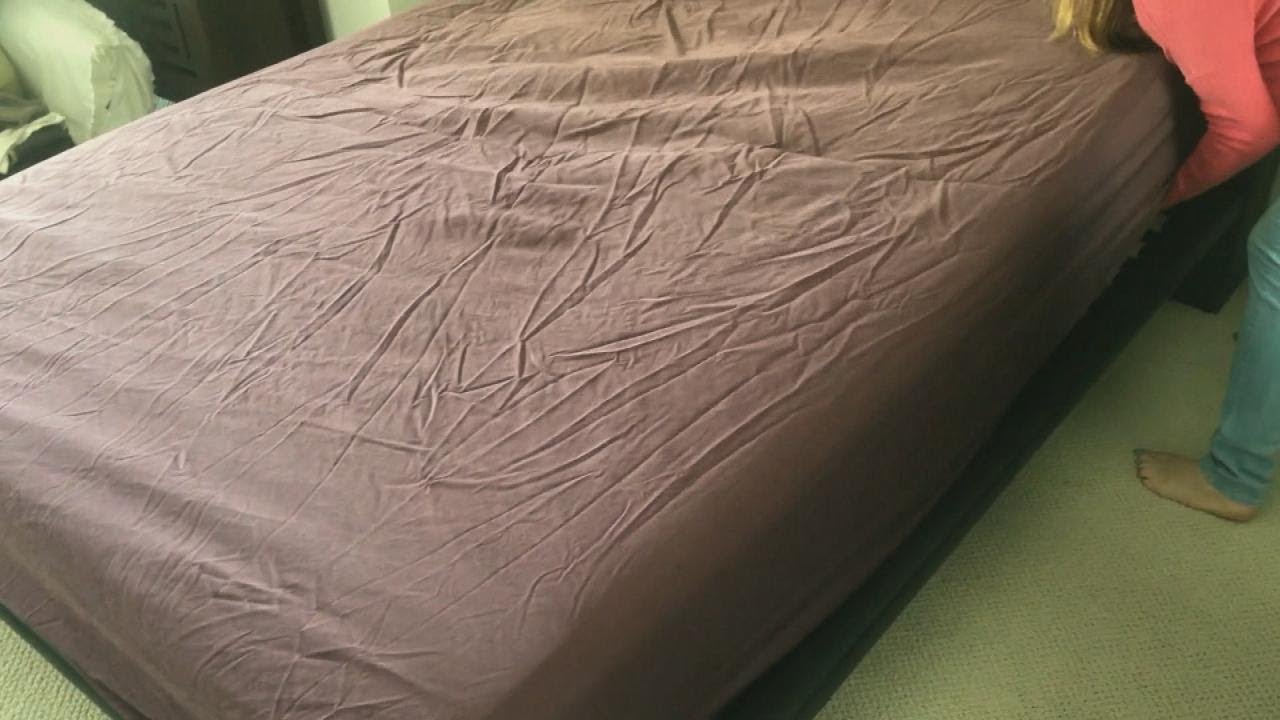
Folding a fitted sheet can be a frustrating task for many. With its elastic edges and odd shape, it can seem almost impossible to achieve that perfect, tidy fold. However, fear not! In this article, we will guide you through the easiest way to fold a fitted sheet, ensuring a neat and compact result every time.
By following these simple steps and tips, you will soon be able to conquer the art of folding a fitted sheet without any hassle. Whether you’re a meticulous organizer or just looking to declutter your linen closet, mastering this technique will save you time and frustration in the long run.
So, let’s dive in and discover the easiest way to fold a fitted sheet, turning this once daunting task into a breeze.
Key Takeaways:
- Master the art of folding fitted sheets with ease using simple steps and tips. Say goodbye to frustration and hello to neatly folded sheets every time!
- Keep your linen closet organized and tidy by following the easiest way to fold a fitted sheet. Practice makes perfect, so enjoy the satisfaction of a perfectly folded sheet!
Read more: How To Fold A Fitted Sheet
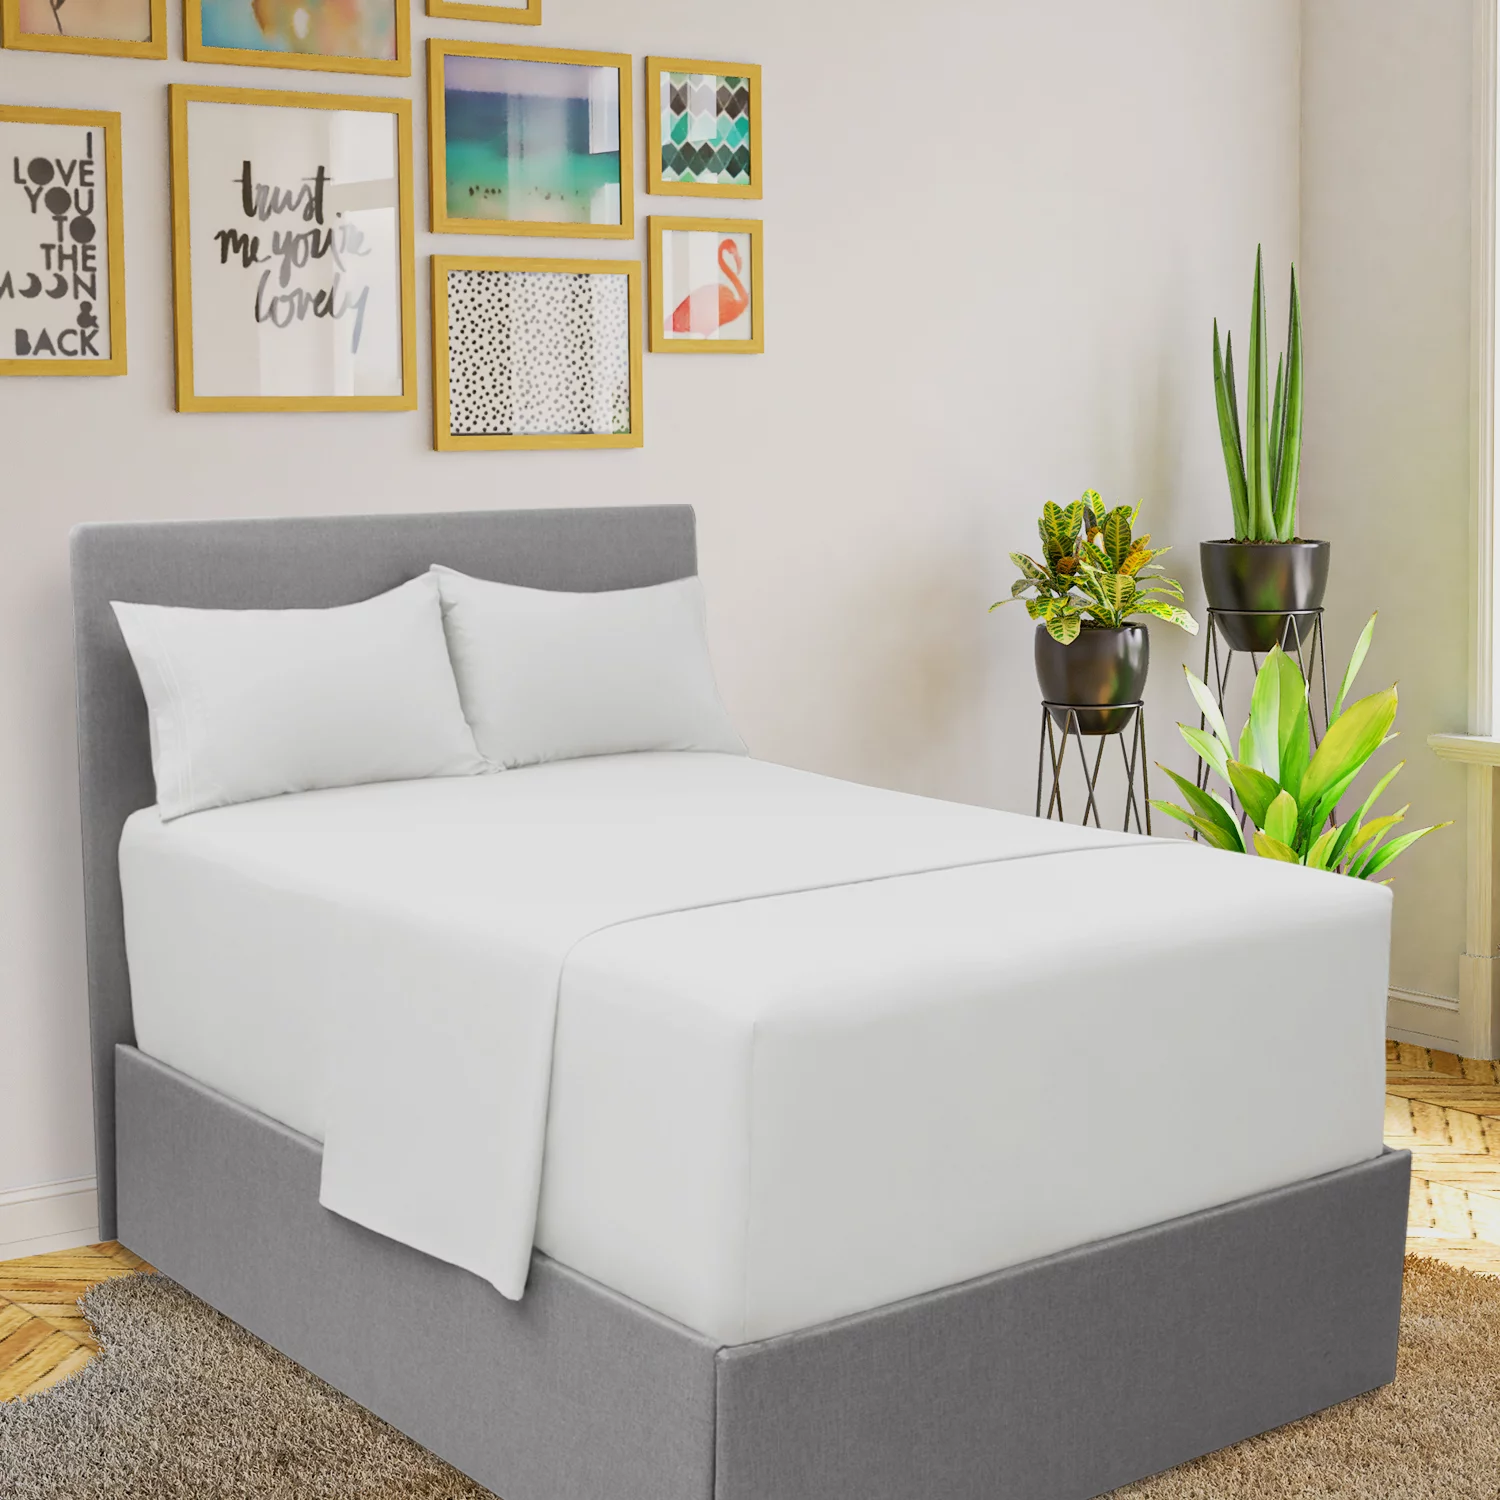
Step 1: Gather your supplies
Before you start folding your fitted sheet, it’s important to gather all the necessary supplies. Having everything ready will make the process smoother and more efficient. Here’s what you’ll need:
- A clean and flat surface: Find a spacious area, such as a table or a bed, where you can lay out the sheet without any obstructions. This will give you ample space to work with.
- The fitted sheet you want to fold: Ensure that the sheet has been washed and dried beforehand for the best results. It’s much easier to fold a sheet that’s been properly cleaned.
- Your hands: While it may seem like an obvious supply, your hands are your primary tools for folding the sheet. Having nimble and dexterous fingers will help you manipulate the fabric for a seamless fold.
Once you have gathered these supplies, you’re ready to move on to the next step. Make sure to take your time and create a comfortable setup to ensure successful folding.
Step 2: Identify the corners
Identifying the corners of the fitted sheet is an important step in the folding process. This will allow you to properly handle the sheet and achieve a neat fold. Here’s how you can identify the corners:
- Hold the fitted sheet with both hands: Start by holding the sheet at two adjacent corners. These will be the corners that go over the mattress.
- Form an “X” shape with your hands: With one corner in each hand, bring your hands together so that the corners cross over each other, forming an “X” shape.
- Identify the remaining corners: With the sheet still forming an “X” shape in your hands, use your other two fingers to locate the remaining corners of the sheet.
- Pinch and hold all four corners: Once you have located all four corners, pinch them firmly between your fingers and hold them together. This will help keep the sheet secure and prevent it from unfolding as you move on to the next step.
By identifying the corners of the fitted sheet, you will have better control over the fabric and be able to proceed with the folding process more effectively. Take a moment to ensure that all four corners are securely held before moving on to the next step.
Step 3: Fold in half
Now that you have identified the corners of the fitted sheet, it’s time to start folding. Folding the sheet in half will help create a more manageable size and set the foundation for the rest of the folding process. Follow these steps to fold the sheet in half:
- Hold the sheet lengthwise: Maintain a firm grip on the corners of the sheet with one hand at each end.
- Bring the corners together: Bring one set of corners towards the other set, folding the sheet in half lengthwise.
- Match up the corners: Make sure the corners align properly to create an even fold. Smooth out any wrinkles or creases as you go along.
- Continue holding the corners: Once the sheet is folded in half, hold on to the corners tightly to keep the folds secure.
After completing these steps, you should have a neatly folded fitted sheet that is now halved in size. This is an important step that will make the subsequent folding steps easier to execute. Proceed to the next step to further refine the fold and achieve a compact result.
Step 4: Tuck in the elastic edges
Now that the fitted sheet is folded in half, it’s time to address the elastic edges. The elastic edges can make the sheet bulky and prevent it from folding neatly. Here’s how you can tuck in the elastic edges:
- Hold the folded sheet by two adjacent corners: Ensure that you have a good grip on the corners of the folded sheet.
- Flip one side of the sheet over the other: Take one side of the folded sheet and flip it over the other side, aligning the corners once again.
- Tuck in the elastic edges: With the sheet flipped over, locate the elastic edges on all sides of the sheet.
- Smooth out the edges and tuck them inside: Take each elastic edge, starting from one corner, and fold it inward towards the center of the sheet. Continue doing this for all the elastic edges, smoothing them out as you go along.
By tucking in the elastic edges, you’re creating a more streamlined and compact fold. This step helps reduce bulkiness and ensures a neater appearance when storing or stacking the folded sheet.
Take your time to make sure the elastic edges are properly tucked in and there are no visible creases or edges sticking out. This will set you up for success in the next steps of the folding process.
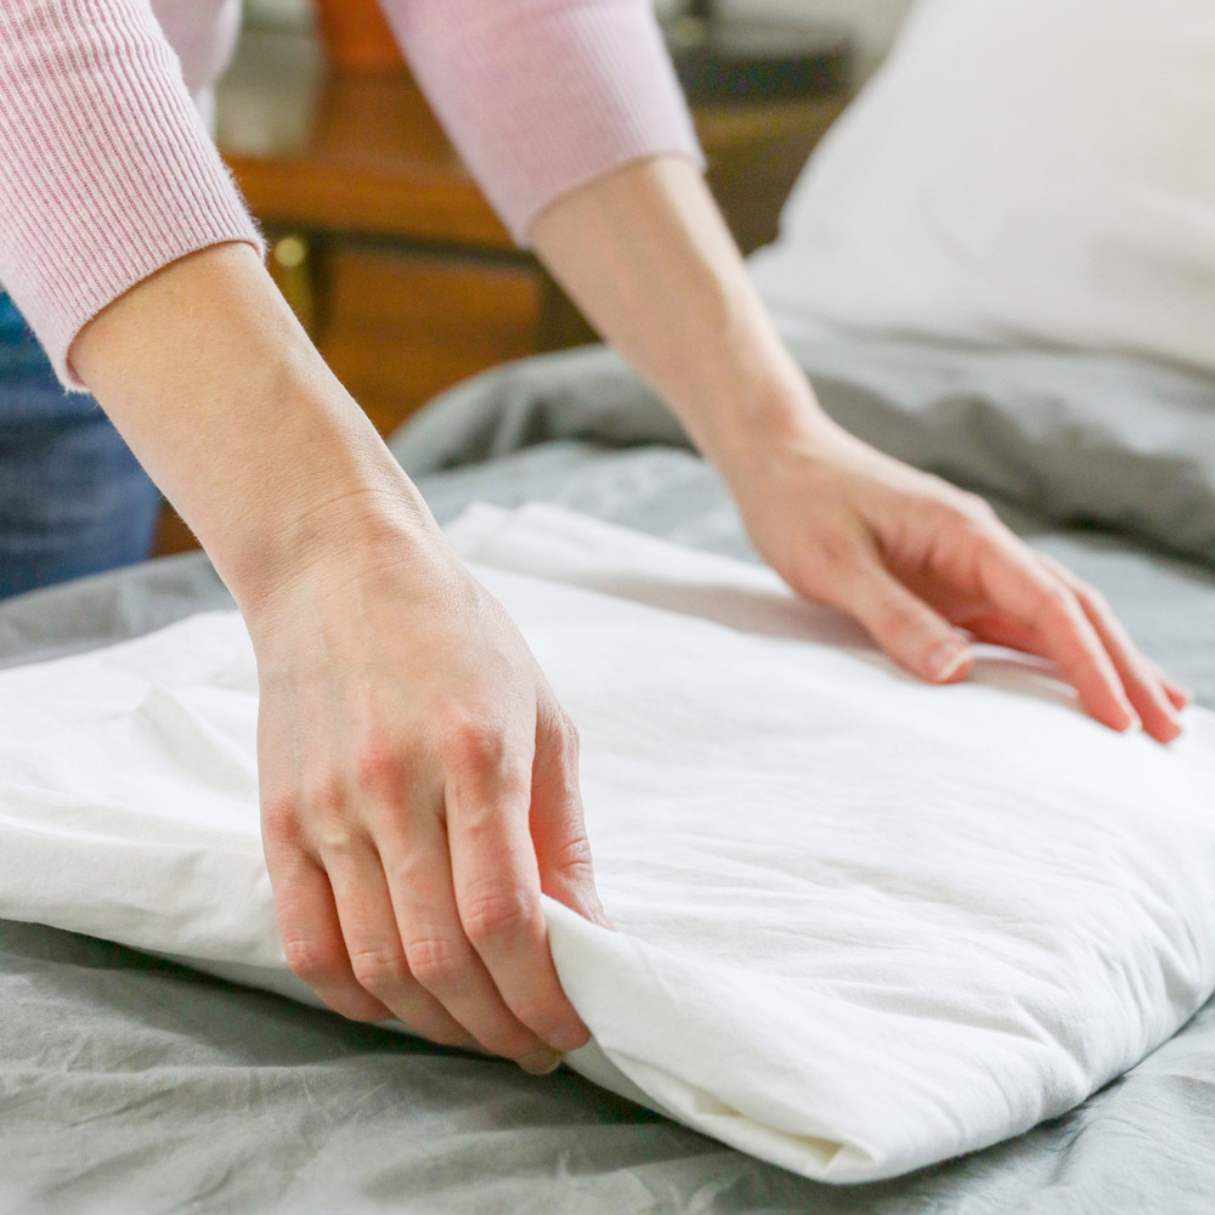
The easiest way to fold a fitted sheet is to lay it flat, tuck the corners into each other to create a rectangle, then fold it into thirds and then in half. This method will result in a neatly folded fitted sheet.
Read more: How To Fold Fitted Bed Sheets
Step 5: Fold into a rectangle
With the elastic edges securely tucked in, it’s time to further refine the fold by transforming the fitted sheet into a neat rectangle. Here’s how you can fold the sheet into a rectangle:
- Hold the folded sheet by the corners: Once again, grasp the corners of the sheet firmly to maintain control over the fabric.
- Bring the shorter end to meet the longer end: Take one end of the sheet and fold it towards the opposite end, creating a rectangle shape.
- Ensure the corners align: As you fold the sheet, make sure the corners align perfectly to create straight edges.
- Smooth out any wrinkles: If you notice any wrinkles or creases forming, smooth them out gently with your hands.
By folding the fitted sheet into a rectangle, you are shaping it into a more organized and space-efficient form. This step is crucial for achieving a neat and tidy final result.
Take your time during this step to ensure that the corners are properly aligned and the fabric is smooth and even. This will make the subsequent folding steps easier and contribute to a polished final result.
Step 6: Fold into a smaller rectangle
Now that you have folded the fitted sheet into a larger rectangle, it’s time to further reduce its size and create a more compact fold. Follow these steps to fold the sheet into a smaller rectangle:
- Hold the larger rectangle by the corners: Firmly grip the corners of the folded sheet to maintain control and stability.
- Fold one third of the sheet towards the center: Take one end of the larger rectangle and fold it towards the center, creating a smaller rectangle shape.
- Fold the remaining third towards the center: Now, fold the other end of the larger rectangle towards the center, overlapping the previously folded portion.
- Smooth out any wrinkles or creases: Take a moment to smooth out any wrinkles or creases that may have formed during the folding process, ensuring a neat and tidy appearance.
By folding the fitted sheet into a smaller rectangle, you are further optimizing space and making it easier to store or stack alongside other linens. This step adds the finishing touch to the folding process and creates a neat package.
Remember to take your time and ensure that the folds are even and the corners align properly. This will result in a clean and organized folded fitted sheet that is ready for storage or display.
Step 7: Final touches and storage tips
As you near the end of the folding process, it’s time to add some final touches and consider storage tips to keep your folded fitted sheets in optimal condition. Here are some recommendations:
- Smooth out any remaining wrinkles: Take a moment to smooth out any remaining wrinkles or creases on the folded sheet. This will give it a polished and tidy appearance.
- Label or categorize your folded sheets: To easily find the fitted sheet you need later on, consider labeling or categorizing them by size, color, or pattern. This will save you time and effort in the future.
- Store the folded sheets in a designated area: Find a dedicated space in your linen closet or storage area for your folded fitted sheets. This will help keep them organized and easily accessible.
- Avoid stacking too many sheets on top of each other: To prevent the sheets from becoming overly wrinkled or damaged, avoid stacking too many folded sheets on top of each other. This will help maintain their quality and appearance.
- Consider using storage containers or bags: If you have limited storage space or want to protect your folded sheets from dust and moisture, consider using storage containers or bags specifically designed for linens.
By following these final touches and storage tips, you can ensure that your folded fitted sheets remain in excellent condition and are readily available when needed.
Congratulations! You have successfully mastered the easiest way to fold a fitted sheet. With practice and consistency, this once-daunting task will become second nature to you. Say goodbye to messy linen closets and hello to perfectly folded fitted sheets!
Conclusion
Folding a fitted sheet may have seemed like a daunting task at first, but with the easiest way outlined in this article, you now have the knowledge and techniques to conquer it effortlessly. By following the step-by-step instructions and incorporating the storage tips, you can achieve a neat and tidy fold every time.
Remember, practice makes perfect. The more you fold fitted sheets using this method, the more proficient you will become. Soon enough, you’ll be able to complete the task quickly and efficiently, saving you time and frustration.
Properly folded fitted sheets not only declutter your linen closet but also give a sense of satisfaction and organization. You’ll never have to rummage through a messy pile of sheets again when you need one.
So, next time you’re faced with the challenge of folding a fitted sheet, remember the techniques outlined in this article. Gather your supplies, identify the corners, fold in half, tuck in the elastic edges, fold into a rectangle, fold into a smaller rectangle, add final touches, and follow the storage tips. You’ll be amazed at the difference it makes in maintaining a tidy and organized linen collection.
Now, go ahead and put your newfound knowledge into practice. Transform the task of folding fitted sheets from a source of frustration to a satisfying and accomplished endeavor. Happy folding!
Frequently Asked Questions about What Is The Easiest Way To Fold A Fitted Sheet
Was this page helpful?
At Storables.com, we guarantee accurate and reliable information. Our content, validated by Expert Board Contributors, is crafted following stringent Editorial Policies. We're committed to providing you with well-researched, expert-backed insights for all your informational needs.









0 thoughts on “What Is The Easiest Way To Fold A Fitted Sheet”