Articles
How Do You Make A Fitted Sheet
Modified: December 7, 2023
Learn how to make a fitted sheet with our comprehensive articles. Discover step-by-step instructions and tips for perfectly fitted bed linens.
(Many of the links in this article redirect to a specific reviewed product. Your purchase of these products through affiliate links helps to generate commission for Storables.com, at no extra cost. Learn more)
Introduction
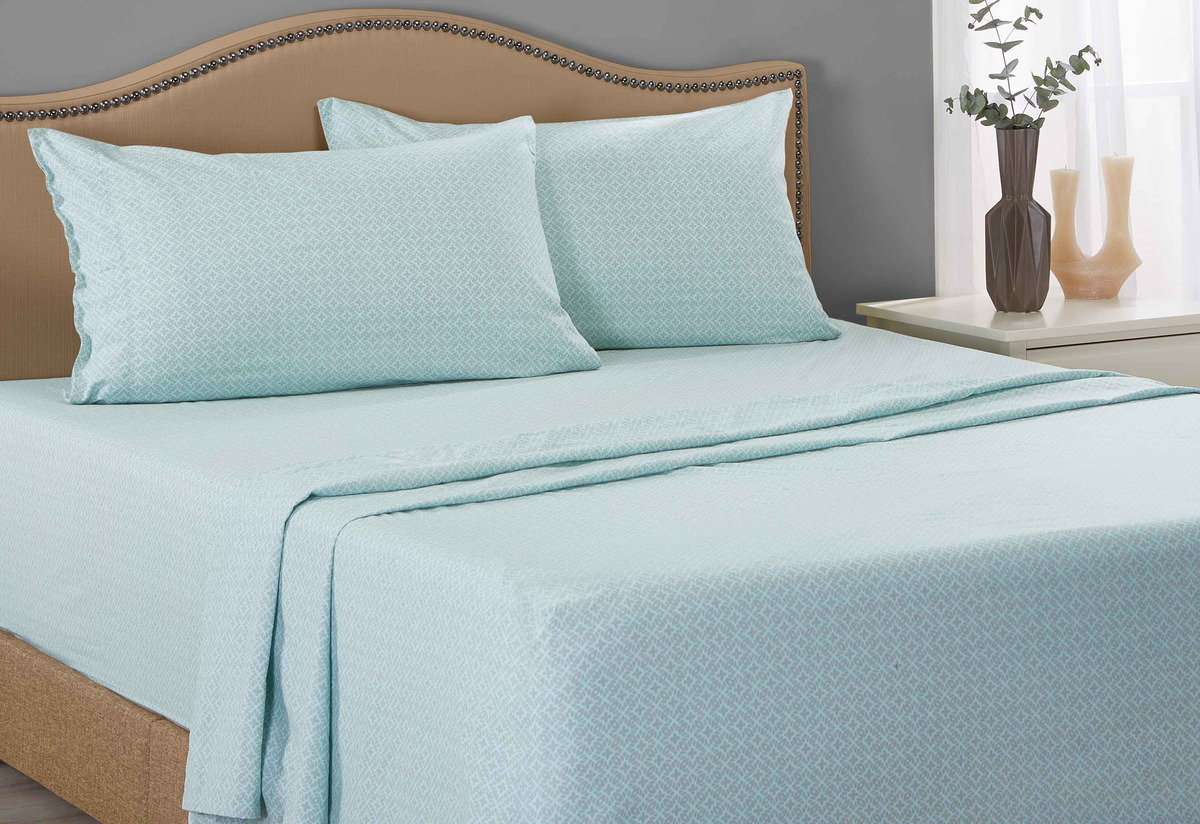
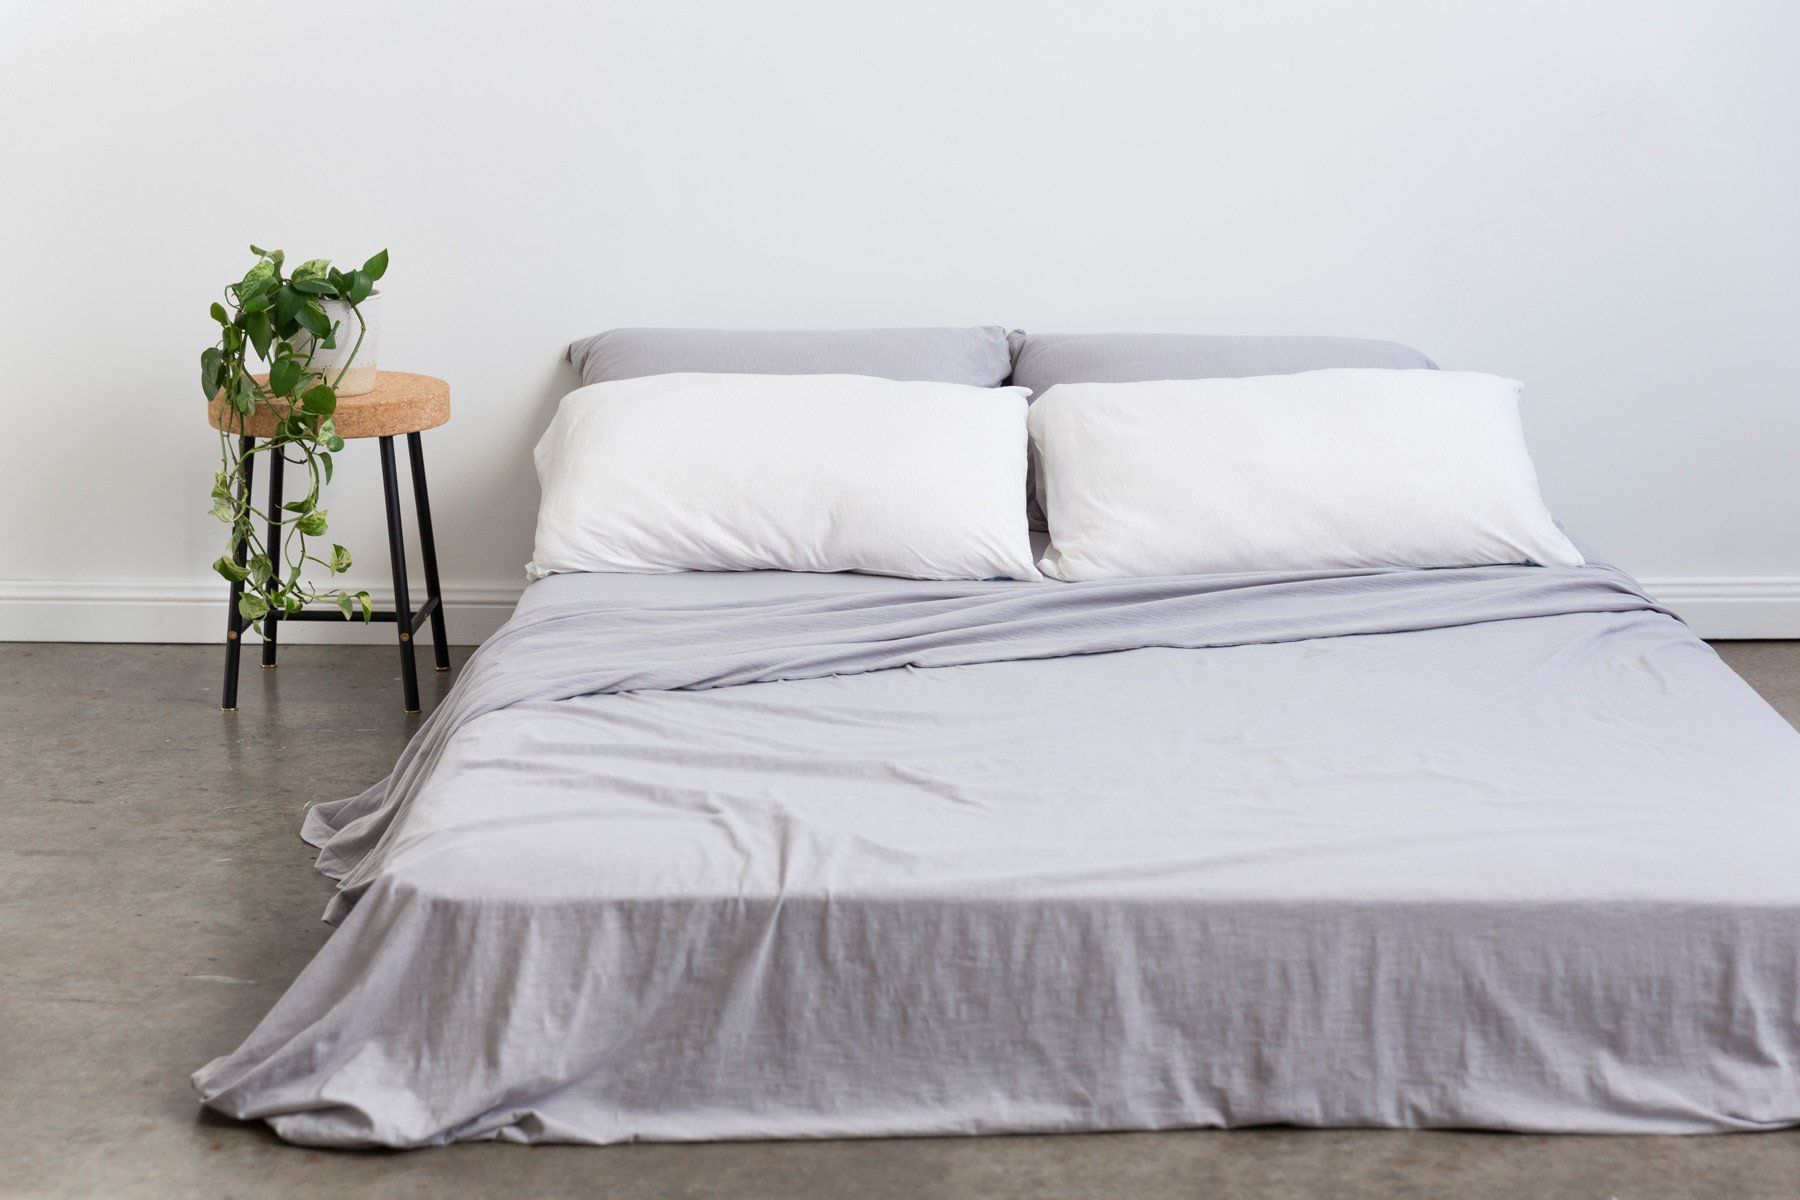
When it comes to creating a comfortable and well-made bed, one essential item that should never be overlooked is a fitted sheet. A fitted sheet is specifically designed to snugly fit over your mattress, ensuring a smooth and secure surface for a restful night’s sleep. While you can easily purchase fitted sheets from stores, making your own can be a rewarding and cost-effective solution.
In this article, we will guide you through the step-by-step process of making a fitted sheet. Whether you want to match your beddings to your existing decor, customize the size to fit your unique mattress, or simply enjoy the satisfaction of creating something with your own hands, this DIY project will allow you to do just that.
Before we dive into the process, let’s take a look at the materials you will need.
Key Takeaways:
- Create a personalized and perfectly fitting fitted sheet by following these step-by-step instructions. Enjoy the satisfaction of crafting your own bedding to match your style and mattress size.
- Pay attention to details, from accurate measurements to secure stitching, to achieve a professional-looking and functional fitted sheet. Test and adjust the fit for optimal comfort and longevity.
Read more: How To Make Your Fitted Sheet Stay On
Materials Needed
Before you begin making your fitted sheet, gather the following materials:
- Fabric: Choose a fabric that is suitable for bedding, such as cotton or linen. Make sure to select enough fabric to cover the surface area of your mattress, allowing for seam allowances.
- Elastic: You will need elastic that is wide enough to securely hold the corners of the fitted sheet in place.
- Scissors: A good pair of scissors for cutting fabric is essential for this project.
- Pins: Use pins to hold the fabric in place while sewing.
- Measuring tape: Accurate measurements are crucial for creating a well-fitting fitted sheet.
- Sewing machine: While it is possible to hand-sew a fitted sheet, using a sewing machine will make the process faster and more efficient.
- Thread: Choose a thread color that matches your fabric for a seamless finish.
- Iron: An iron will help you achieve crisp and neat seams.
Now that you have gathered all the necessary materials, we can move on to the steps involved in making your own fitted sheet.
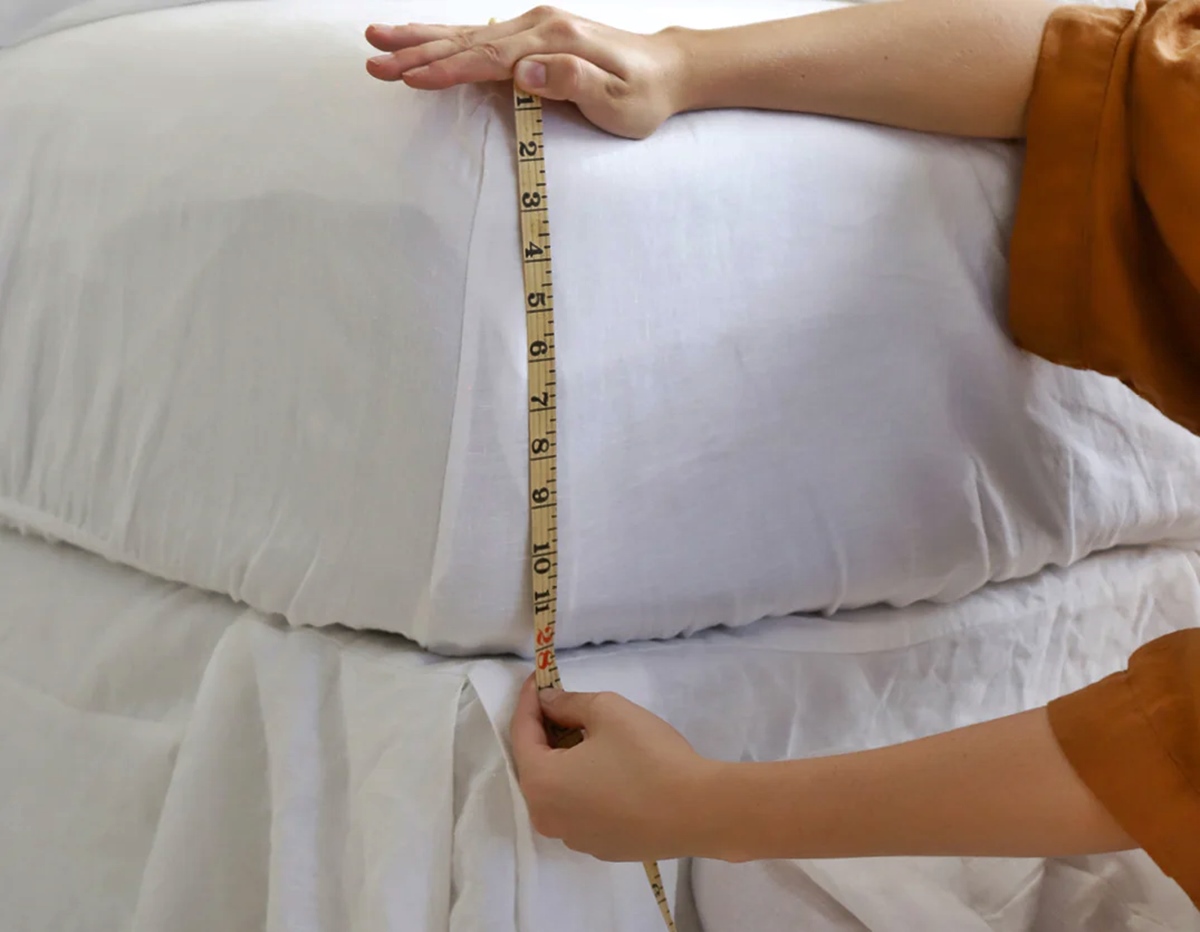
Step 1: Measure Your Mattress
Before you can start cutting and sewing your fabric, you need to accurately measure your mattress to ensure a perfect fit for your fitted sheet. Here’s how to do it:
- Begin by removing all bedding from your mattress to expose its surface.
- Using a measuring tape, measure the length and width of your mattress. Take note of these measurements as they will be the basis for cutting your fabric.
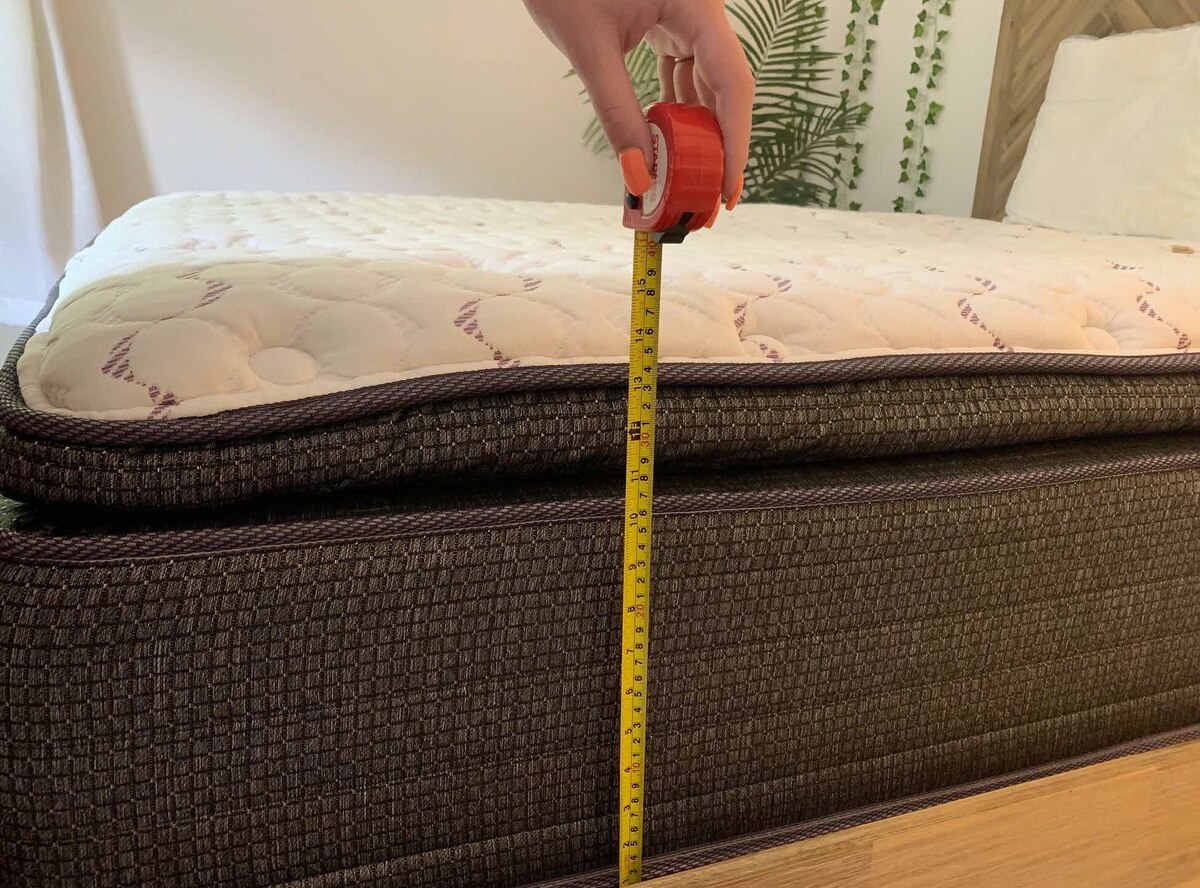
- In addition to the length and width, measure the height or depth of your mattress. This measurement will help you determine the size of the elastic needed to keep the sheet in place.
- When measuring the height, be sure to take into account any pillowtops or additional layers that may add to the overall thickness of the mattress.
- Once you have obtained the measurements, it’s time to calculate the dimensions of your fabric. Add twice the height measurement to the length and width of your mattress. For example, if your mattress is 80 inches long, 60 inches wide, and 12 inches high, your fabric dimensions would be 104 inches by 84 inches.
Properly measuring your mattress is crucial for creating a fitted sheet that fits snugly and securely. Taking accurate measurements will ensure that your finished sheet will stay in place, even with movement during sleep.
Now that you have your fabric dimensions, you can move on to the next step: cutting and preparing your fabric.
Step 2: Cut and Prepare the Fabric
With the measurements of your mattress in hand, it’s time to cut and prepare the fabric for your fitted sheet. Follow these steps:
- Spread out your fabric on a clean and flat surface, ensuring it is free from wrinkles or creases.
- Using your measuring tape and a fabric marker or pencil, mark the dimensions of your fabric according to the measurements calculated in Step 1. Double-check your marks to ensure accuracy.
- Using sharp fabric scissors, carefully cut along the marked lines to create the main panel of your fitted sheet. Remember to leave a small seam allowance of about a half-inch on all sides.
- Set aside the main panel of fabric, and cut four additional squares from your fabric, each measuring the depth of your mattress. These squares will be used to create the elasticized corners of the fitted sheet.
- Once you have cut the squares, fold each one in half diagonally to form a triangle.
- With your triangle-shaped fabric, match the raw edges together and pin them in place. This will create a triangular pocket on each corner of the fitted sheet.
- Repeat this process for all four corners of the main fabric panel.
By cutting and preparing your fabric in this manner, you are creating the foundation for the corners of your fitted sheet, which will be elasticized to ensure a snug fit.
Now that you have your main fabric panel and corner pieces ready, you can move on to the next step: sewing the corners of the fitted sheet.
Step 3: Sew the Corners
Now that you have prepared the fabric and created the triangular corner pieces, it’s time to sew the corners of your fitted sheet. Follow these steps:
- Take one of the triangular corner pieces and position it onto one corner of the main fabric panel, aligning the raw edges.
- Pin the corner piece in place, ensuring the raw edges match up accurately.
- Using a sewing machine or a needle and thread, stitch along the pinned edges, securing the triangular piece onto the corner of the main fabric panel.
- Repeat this process for the remaining three corners of the fitted sheet.
- Once all four corners are sewn, trim any excess fabric and threads.
- Press the seams open or to the side with an iron, ensuring a smooth and neat finish.
By sewing the corners of the fitted sheet, you are creating reinforced pockets that will accommodate the elastic and contribute to the snug fit of the sheet on your mattress.
With the corners sewn, you are now ready to move on to the next step: creating elasticized corners for your fitted sheet.
When making a fitted sheet, be sure to measure and cut the fabric to the correct dimensions for your mattress size. Use elastic around the edges to ensure a snug fit. Sew the corners with mitered seams for a professional finish.
Read more: What Is A Fitted Sheet
Step 4: Create Elasticized Corners
Creating elasticized corners is a crucial step in making a fitted sheet. These corners will ensure that your sheet stays securely in place on your mattress. Follow these steps to create elasticized corners:
- Take one of the corner pockets and flip it inside out, so the wrong side of the fabric is facing you.
- Measure and cut a piece of elastic for the corner. The length of the elastic should be equal to twice the depth of your mattress plus a few extra inches for flexibility.
- Attach a safety pin to one end of the elastic, making it easier to thread through the fabric.
- Starting at one of the bottom corners, insert the safety pin with the elastic through the opening of the corner pocket.
- Continue threading the elastic through the pocket until it reaches the other end. Take care not to twist the elastic as you thread it through.
- Once the elastic reaches the other end, remove the safety pin and overlap the ends of the elastic by a few inches.
- Securely stitch the ends of the elastic together, creating a loop that will provide tension and hold the corners of the fitted sheet onto the mattress.
- Repeat this process for all four corner pockets.
Creating elasticized corners is a simple yet effective way of ensuring that your fitted sheet stays snugly in place on your mattress, even with movement during sleep.
Now that you have elasticized corners for your fitted sheet, it’s time to move on to the next step: attaching the elastic to the main fabric panel.
Step 5: Attach the Elastic
With the elasticized corners in place, it’s time to attach the elastic to the main fabric panel of the fitted sheet. This will help create a secure and snug fit. Follow these steps:
- Start by folding over and pinning the raw edge of the fabric on one side of the main panel. This will create a casing for the elastic.
- Using a sewing machine or needle and thread, stitch along the folded edge, leaving a small opening at each end to insert the elastic.
- Repeat this process for each side of the main panel, creating a casing on all four sides.
- Once all four casings are stitched, attach a safety pin to one end of the elastic.
- Insert the safety pin with the elastic into one of the casings and begin threading it through until it comes out the other end.
- Once the elastic is through the casing, remove the safety pin and overlap the ends of the elastic by a few inches.
- Securely stitch the ends of the elastic together, creating a loop.
- Repeat this process for the remaining three sides of the fitted sheet, threading the elastic through each casing.
Attaching the elastic to the main fabric panel will allow you to easily stretch the sheet over your mattress, ensuring a tight and secure fit. The elastic will keep the sheet in place, even with movement during sleep.
Now that you have attached the elastic, it’s time to move on to the next step: finishing the edges of your fitted sheet.
Step 6: Finish the Edges
Finishing the edges of your fitted sheet will not only provide a professional-looking touch but also help prevent fraying and ensure durability. Follow these steps to finish the edges of your fitted sheet:
- Start by folding over the raw edge of the fabric on one side of the fitted sheet.
- Pin the folded edge in place to secure it.
- Using a sewing machine or needle and thread, stitch along the folded edge, creating a neat and finished hem. Repeat this process for all four sides of the fitted sheet.
- Trim any excess fabric and threads once the edges are stitched.
- Press the finished hems using an iron to give them a crisp and polished look.
Finishing the edges of your fitted sheet will not only add a professional touch but also help prolong its lifespan. It will prevent fraying and ensure that your sheet withstands regular use and washing.
With the edges finished, you’re almost done! The final step is to test and adjust the fit of your fitted sheet.
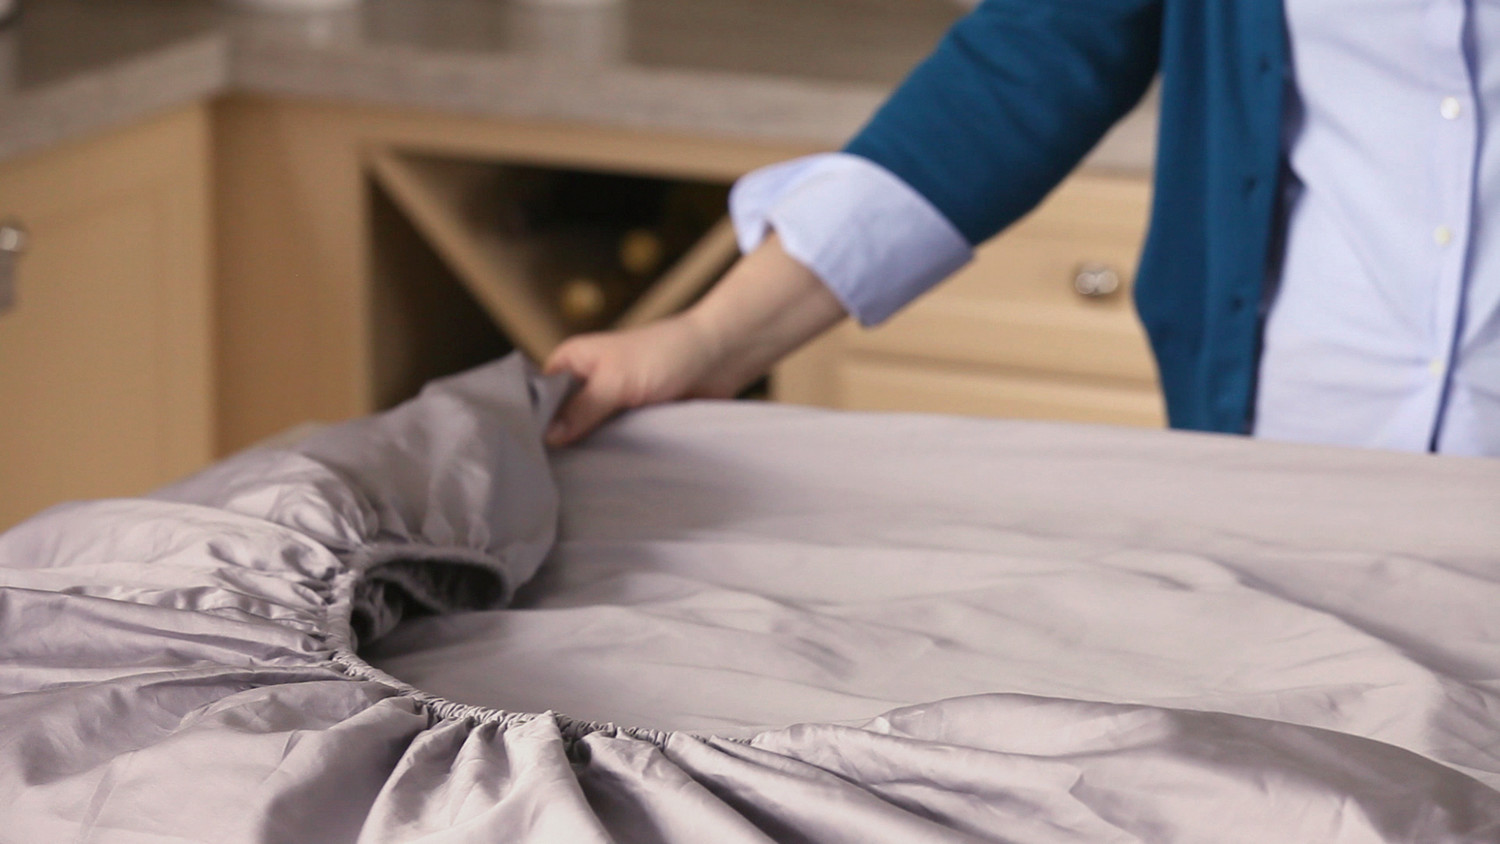
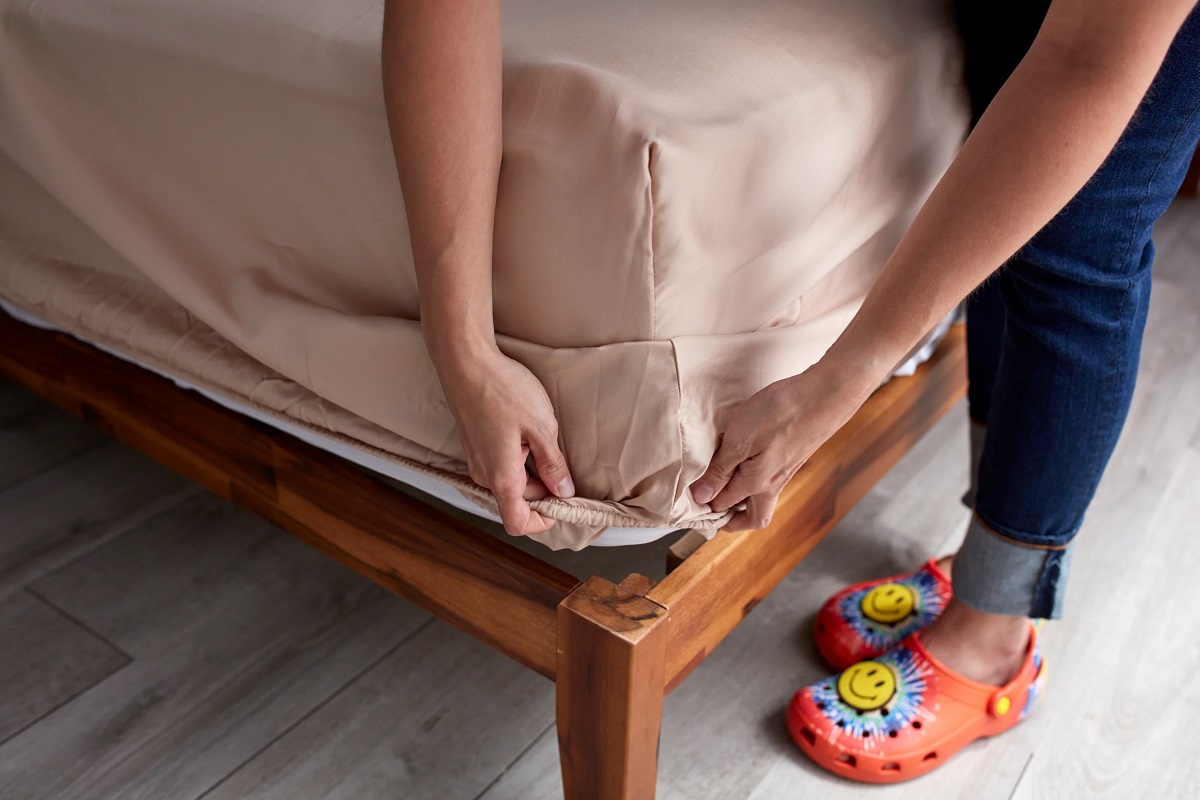
Step 7: Test and Adjust the Fit
Now that you have completed making your fitted sheet, it’s time to test its fit on your mattress and make any necessary adjustments. Follow these steps:
- Place the fitted sheet on your mattress, ensuring that the corners are properly aligned with the corners of the mattress.
- Gently stretch the elasticized corners of the sheet over the corners of the mattress, ensuring a snug fit.
- Smooth out any wrinkles or creases on the surface of the sheet.
- Move around on the bed and test the fit of the sheet with various movements. This will help determine if any adjustments need to be made.
- If the sheet feels too loose or tight in certain areas, you can make adjustments to the elastic by either tightening or loosening it. Simply open up the seam in the corner pocket, adjust the length of the elastic, and re-stitch the seam.
- Repeat this process until you achieve the desired fit and snugness.
Taking the time to test and adjust the fit of your fitted sheet will ensure optimal comfort and functionality. It allows you to customize the fit to your specific mattress and personal preference.
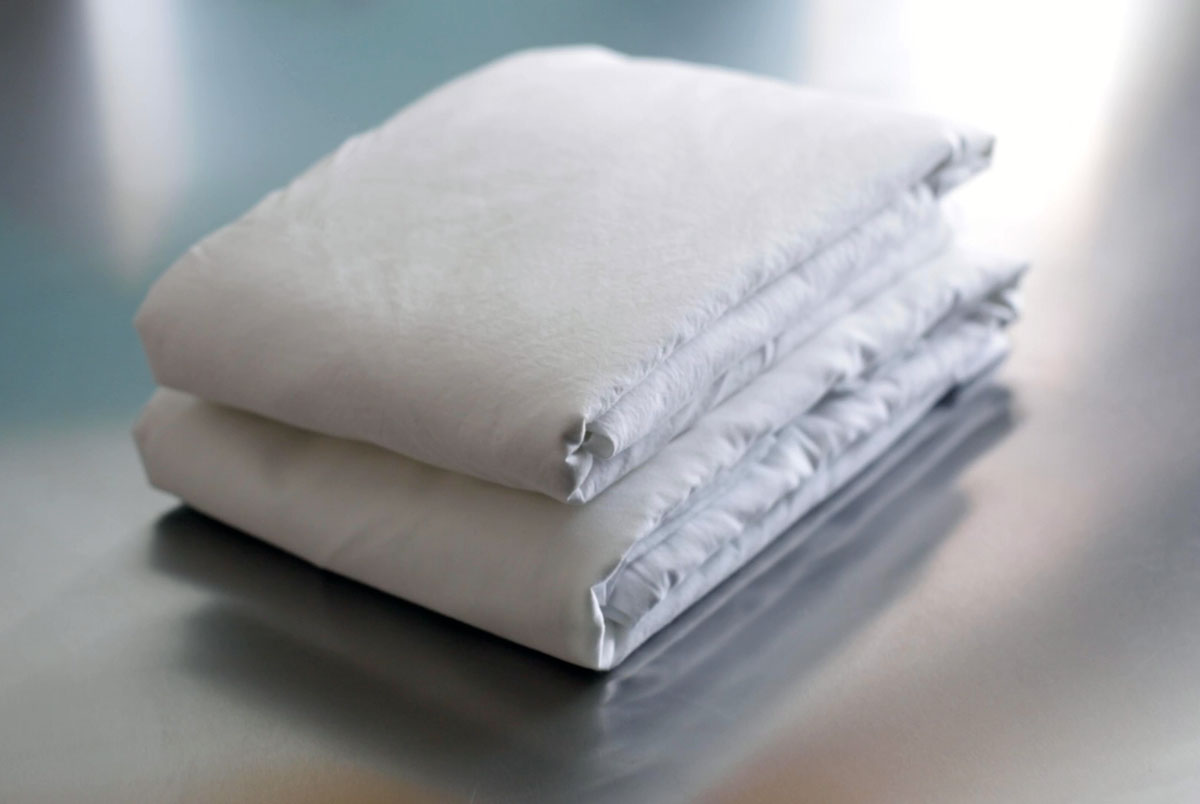
Congratulations! You have successfully created your very own fitted sheet. Now you can enjoy the comfort and satisfaction of sleeping on a handcrafted sheet made to fit your mattress perfectly.
As a final tip, remember to regularly wash and care for your fitted sheet according to the fabric’s specific instructions. This will help maintain its quality and longevity, ensuring many nights of comfortable sleep.
With these steps and tips, you’re well on your way to mastering the art of making fitted sheets. Enjoy the process and happy sewing!
Read more: How To Turn A Flat Sheet Into A Fitted Sheet
Conclusion
Making your own fitted sheet is a rewarding DIY project that allows you to personalize your bedding and create a perfectly fitting sheet for your mattress. By following the step-by-step process outlined in this article, you can create a custom-fitted sheet that not only adds a touch of uniqueness to your bedroom but also ensures a comfortable and secure sleep experience.
Throughout the process, it’s important to pay attention to the measurements, cut the fabric accurately, sew the corners and elasticized edges securely, and finish the edges neatly. These details are essential for achieving a professional-looking and functional fitted sheet.
Remember that personalization is key when it comes to making a fitted sheet. You can choose the fabric that matches your style and preferences, whether it’s a soft and breathable cotton or a luxurious linen. Additionally, customizing the size of the fitted sheet ensures a perfect fit for your particular mattress, be it a standard size or an unconventional size.
Be sure to regularly test and adjust the fit of your fitted sheet to ensure maximum comfort and longevity. With a little bit of fine-tuning, you can achieve the perfect snugness and smoothness on your mattress.
Now that you have the knowledge and guidance to create your own fitted sheet, grab your materials, unleash your creativity, and embark on this fun and engaging DIY project. Making your bed will take on a whole new level of satisfaction when you cozy up in a fitted sheet that you’ve crafted with your own hands!
So, why settle for store-bought sheets when you can have the satisfaction of making your own? Start your sewing machine, gather your materials, and get ready to enjoy a comfortable and customized bed with your very own homemade fitted sheet.
Frequently Asked Questions about How Do You Make A Fitted Sheet
Was this page helpful?
At Storables.com, we guarantee accurate and reliable information. Our content, validated by Expert Board Contributors, is crafted following stringent Editorial Policies. We're committed to providing you with well-researched, expert-backed insights for all your informational needs.


0 thoughts on “How Do You Make A Fitted Sheet”