Articles
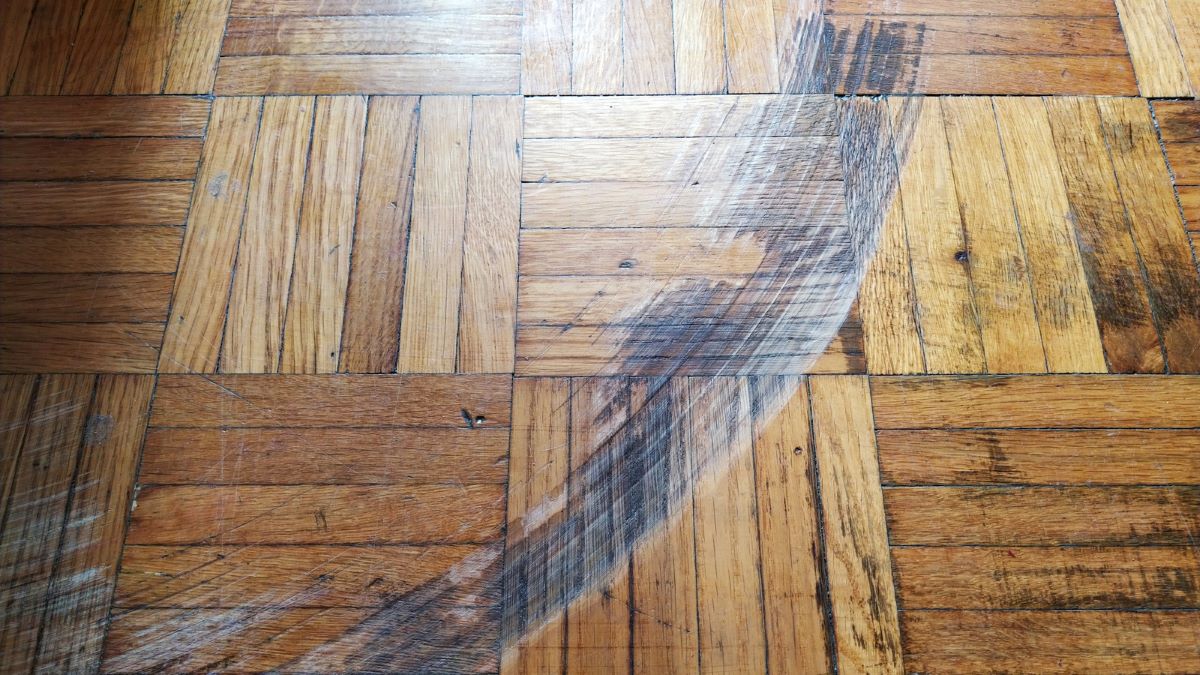
How To Get Pee Out Of Wood Floor
Modified: August 17, 2024
Looking for articles on how to get pee out of wood floor? Discover effective tips and tricks to remove urine stains and odors from your hardwood floors.
(Many of the links in this article redirect to a specific reviewed product. Your purchase of these products through affiliate links helps to generate commission for Storables.com, at no extra cost. Learn more)
Introduction
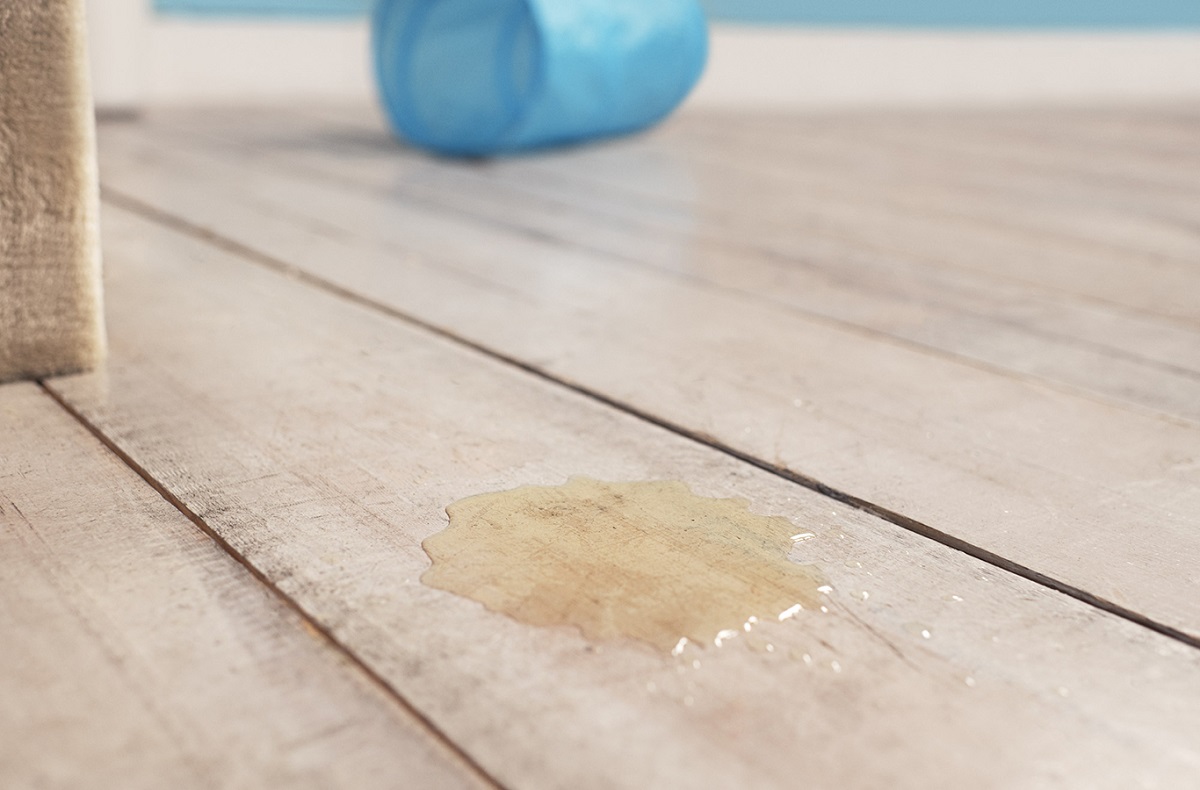
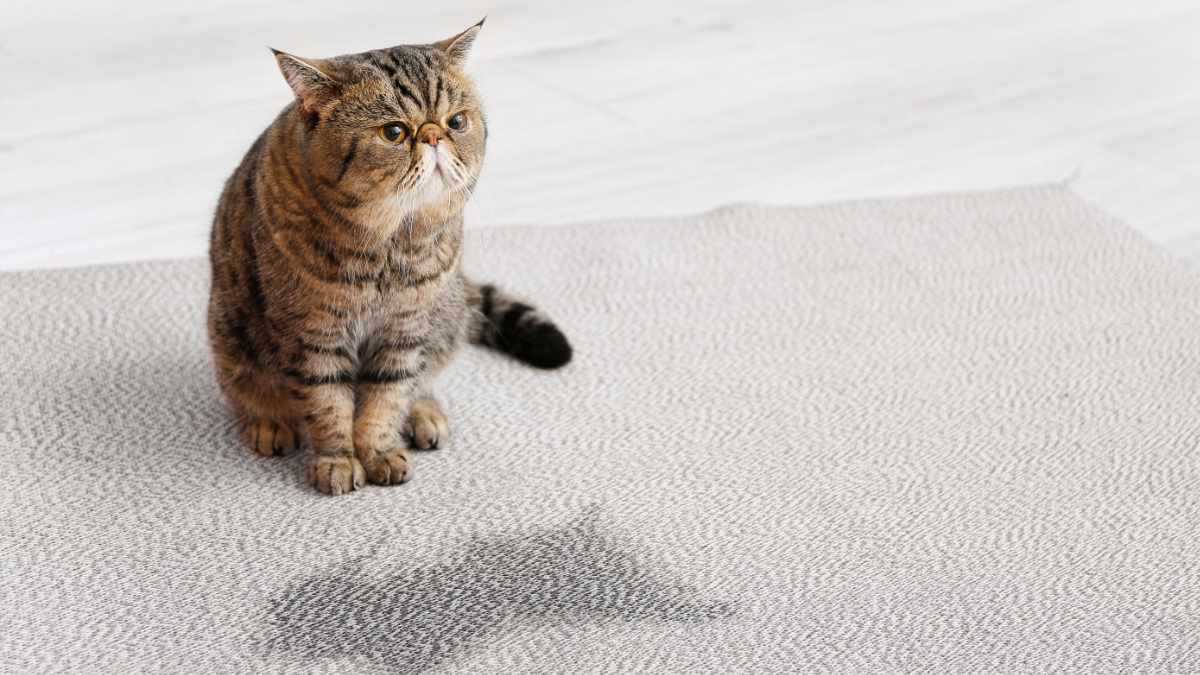
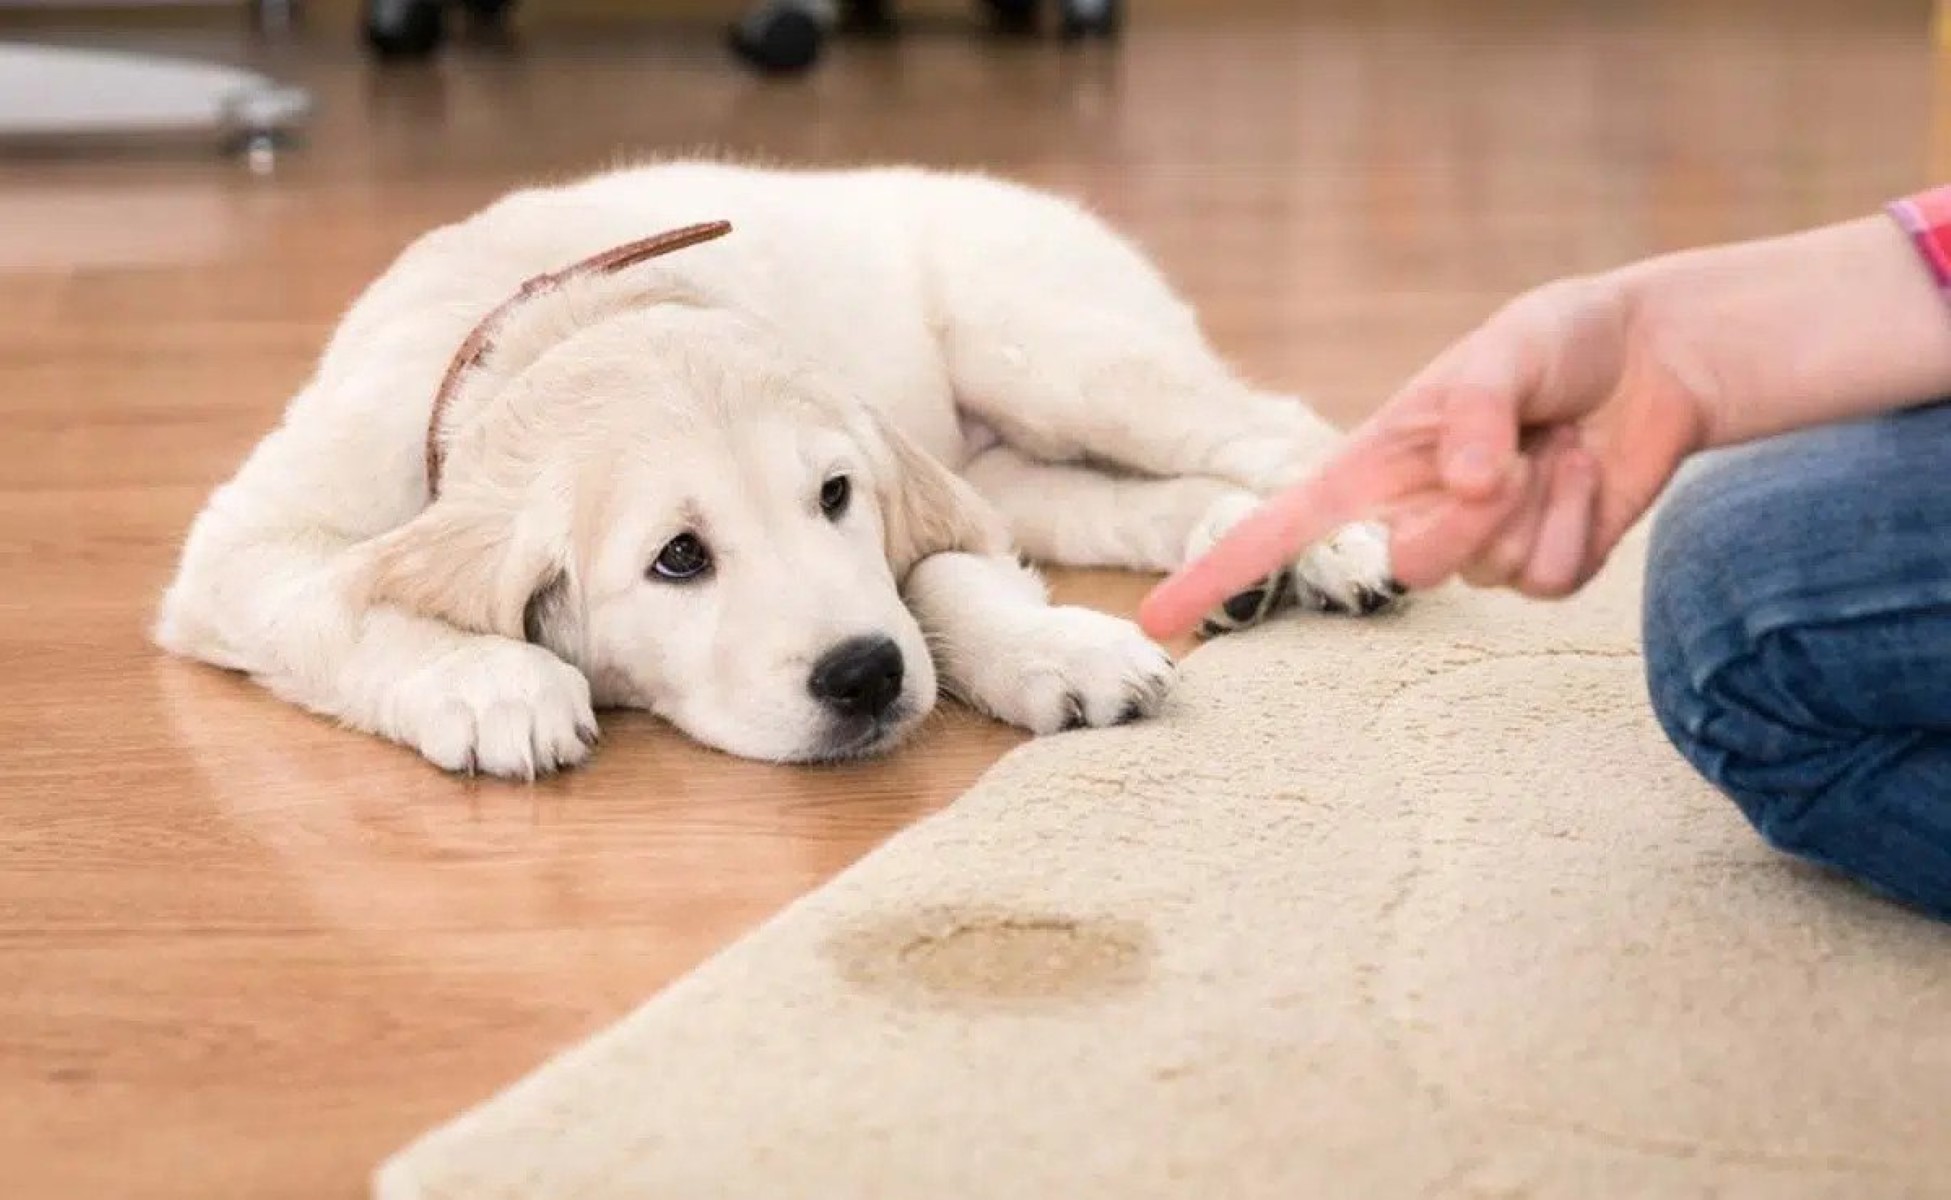
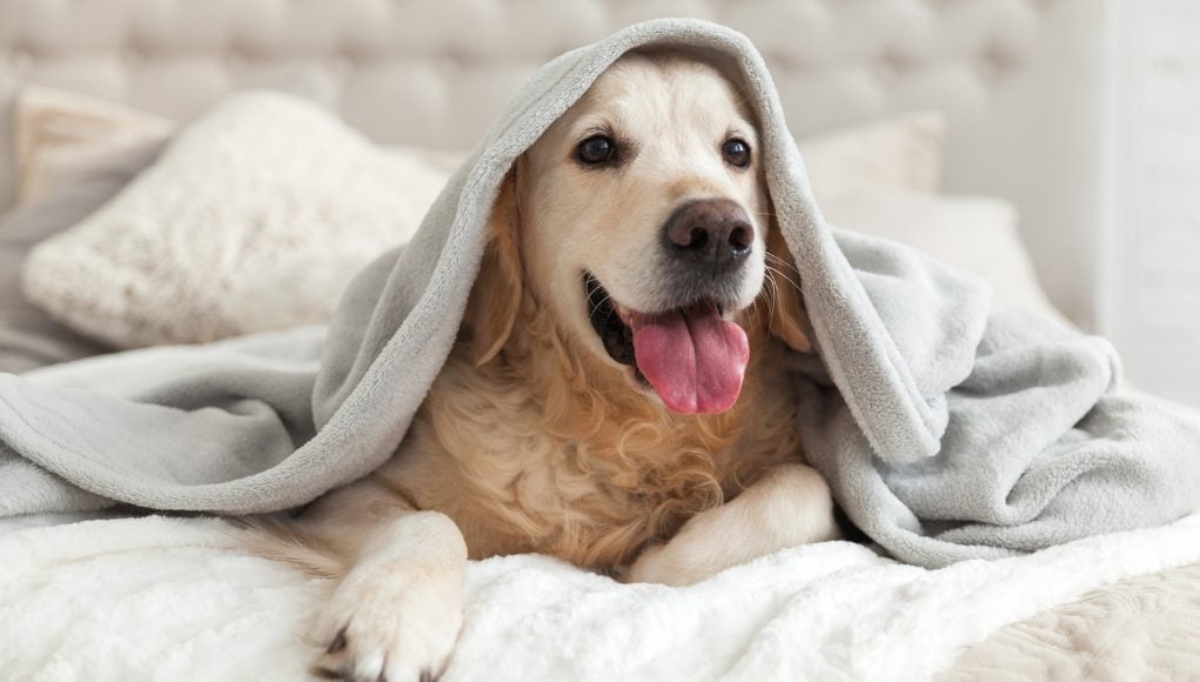
Welcome to our comprehensive guide on how to get pee out of wood floors! Whether you have a pet who had an accident, a potty-training mishap, or any other urine-related issue, we understand the frustration and urgency to remove the stain and odor from your hardwood floors.
Urine stains can be particularly challenging to tackle, as they can penetrate deep into the wood, causing discoloration and unpleasant odors if not properly addressed. However, with the right techniques and cleaning solutions, you can effectively eliminate the pee stains and restore the beauty of your wood floors.
This article will guide you through step-by-step instructions on how to remove urine stains from wood floors, ensuring that the process is thorough, safe, and effective. By following these methods, you can say goodbye to unsightly stains and say hello to a clean and fresh-smelling floor.
Before we begin, it’s important to note that the sooner you address the urine stain, the easier it will be to remove it. If possible, try to tackle the stain as soon as you notice it to prevent it from setting deeper into the wood. Now, let’s gather the necessary supplies and get started on restoring your wood floors to their pristine condition.
Key Takeaways:
- Say goodbye to unsightly urine stains and odors on wood floors by following our step-by-step guide. Act quickly, gather supplies, and use natural cleaning solutions for effective stain removal.
- Restore the beauty of your wood floors with gentle cleaning techniques and proactive maintenance. Blot, scrub, and rinse to ensure a fresh and welcoming environment in your home.
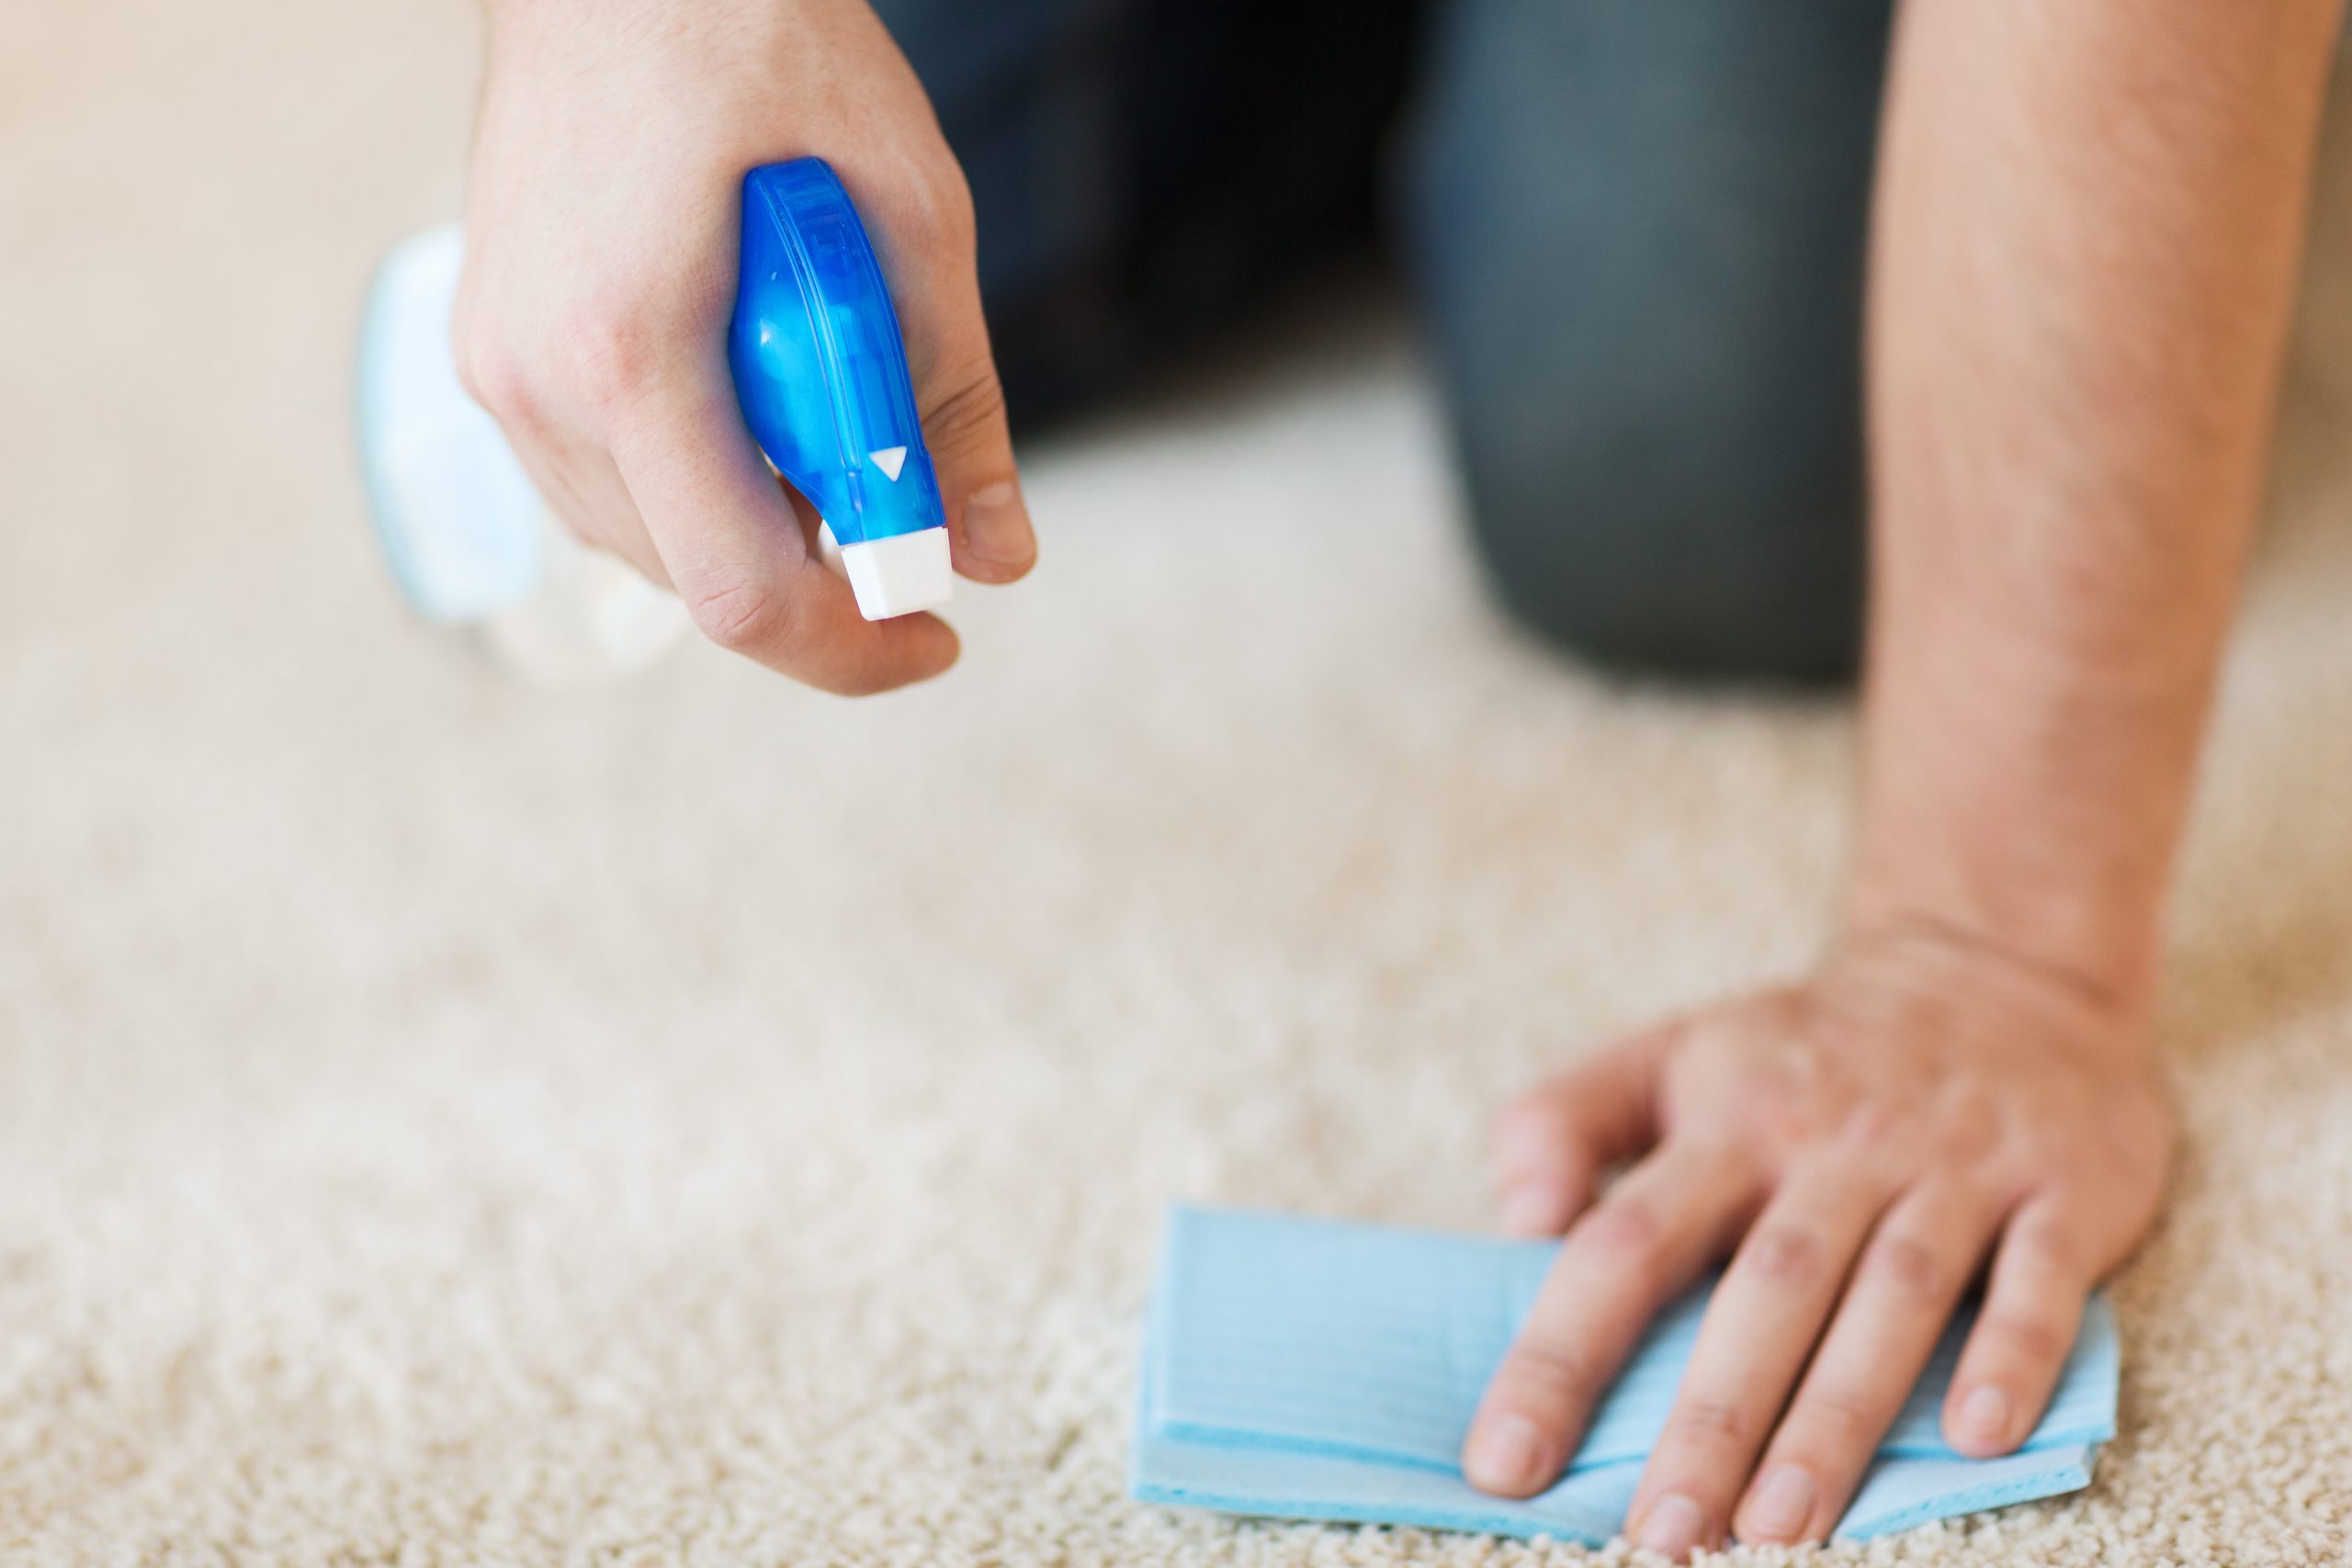
Read more: How To Get Pee Out Of The Carpet
Step 1: Gather Supplies
Before you begin the process of removing pee stains from your wood floor, it’s important to gather the necessary supplies. Having everything on hand will make the cleaning process smoother and more efficient. Here are the essential cleaning supplies you’ll need:
- Paper towels or cloth: These will be used to blot and remove the excess urine from the wood floor surface.
- Vinegar: Vinegar is a natural cleaning agent that can effectively neutralize urine odor and break down stains.
- Water: You will need water to dilute the vinegar and rinse off the cleaning solution.
- Spray bottle: This will be used to mix and apply the vinegar and water cleaning solution.
- Soft brush or cloth: A soft-bristled brush or cloth will help gently scrub the stained area without damaging the wood.
- Mild detergent: In some cases, you may need a mild detergent to remove stubborn stains or odors.
In addition to the cleaning supplies, it’s also essential to gather some protective gear to ensure your safety while handling cleaning chemicals. Here are some items you may want to consider:
- Gloves: Latex or rubber gloves will help protect your hands from any potential skin irritation or chemical exposure.
- Protective eyewear: Safety goggles or glasses will prevent any splashes or accidental contact with your eyes.
- Face mask: A face mask or respirator can be useful if you’re sensitive to strong smells or fumes. It will also provide protection against any airborne particles during the cleaning process.
Once you have gathered all the necessary supplies and put on your protective gear, you’re ready to move on to the next step: blotting the urine from the wood floor surface.
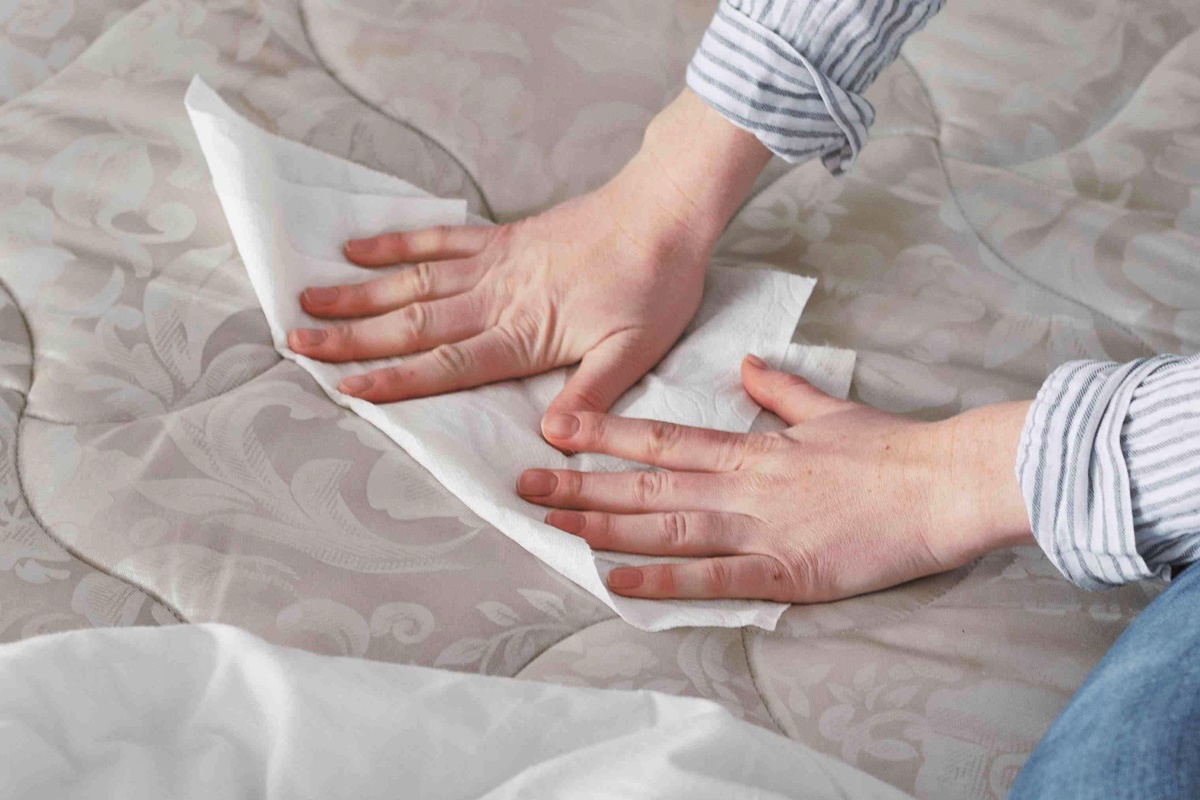
Step 2: Blot the Urine
After gathering the necessary supplies and putting on your protective gear, it’s time to remove the excess urine from the wood floor surface. Blotting the urine is an essential first step to prevent the stain from spreading further and deeper into the wood. Follow these steps to effectively blot the urine:
- Act quickly: The sooner you can address the urine stain, the easier it will be to remove it. Try to tackle the stain as soon as you notice it.
- Use paper towels or cloth: Grab a few paper towels or a clean cloth and blot the affected area gently. Press down firmly to absorb as much urine as possible. Avoid rubbing or spreading the urine, as this can make the stain more difficult to remove.
- Work from the outside in: Start blotting from the outer edges of the stain and work your way towards the center. This helps prevent the urine from spreading to a larger area.
- Replace soiled paper towels: As you blot the urine, the paper towels may become saturated. Replace them with fresh ones as needed to ensure effective absorption.
- Repeat the blotting process: If the urine stain is large or deeply embedded, you may need to repeat the blotting process multiple times until you’ve removed as much urine as possible.
It’s important to be gentle when blotting the urine to avoid damaging the wood floor surface. Avoid using excessive force or abrasive materials, as this can cause scratches or further damage to the wood. Once you have blotted as much urine as you can, it’s time to move on to the next step: preparing a cleaning solution to remove the remaining stain and odor.
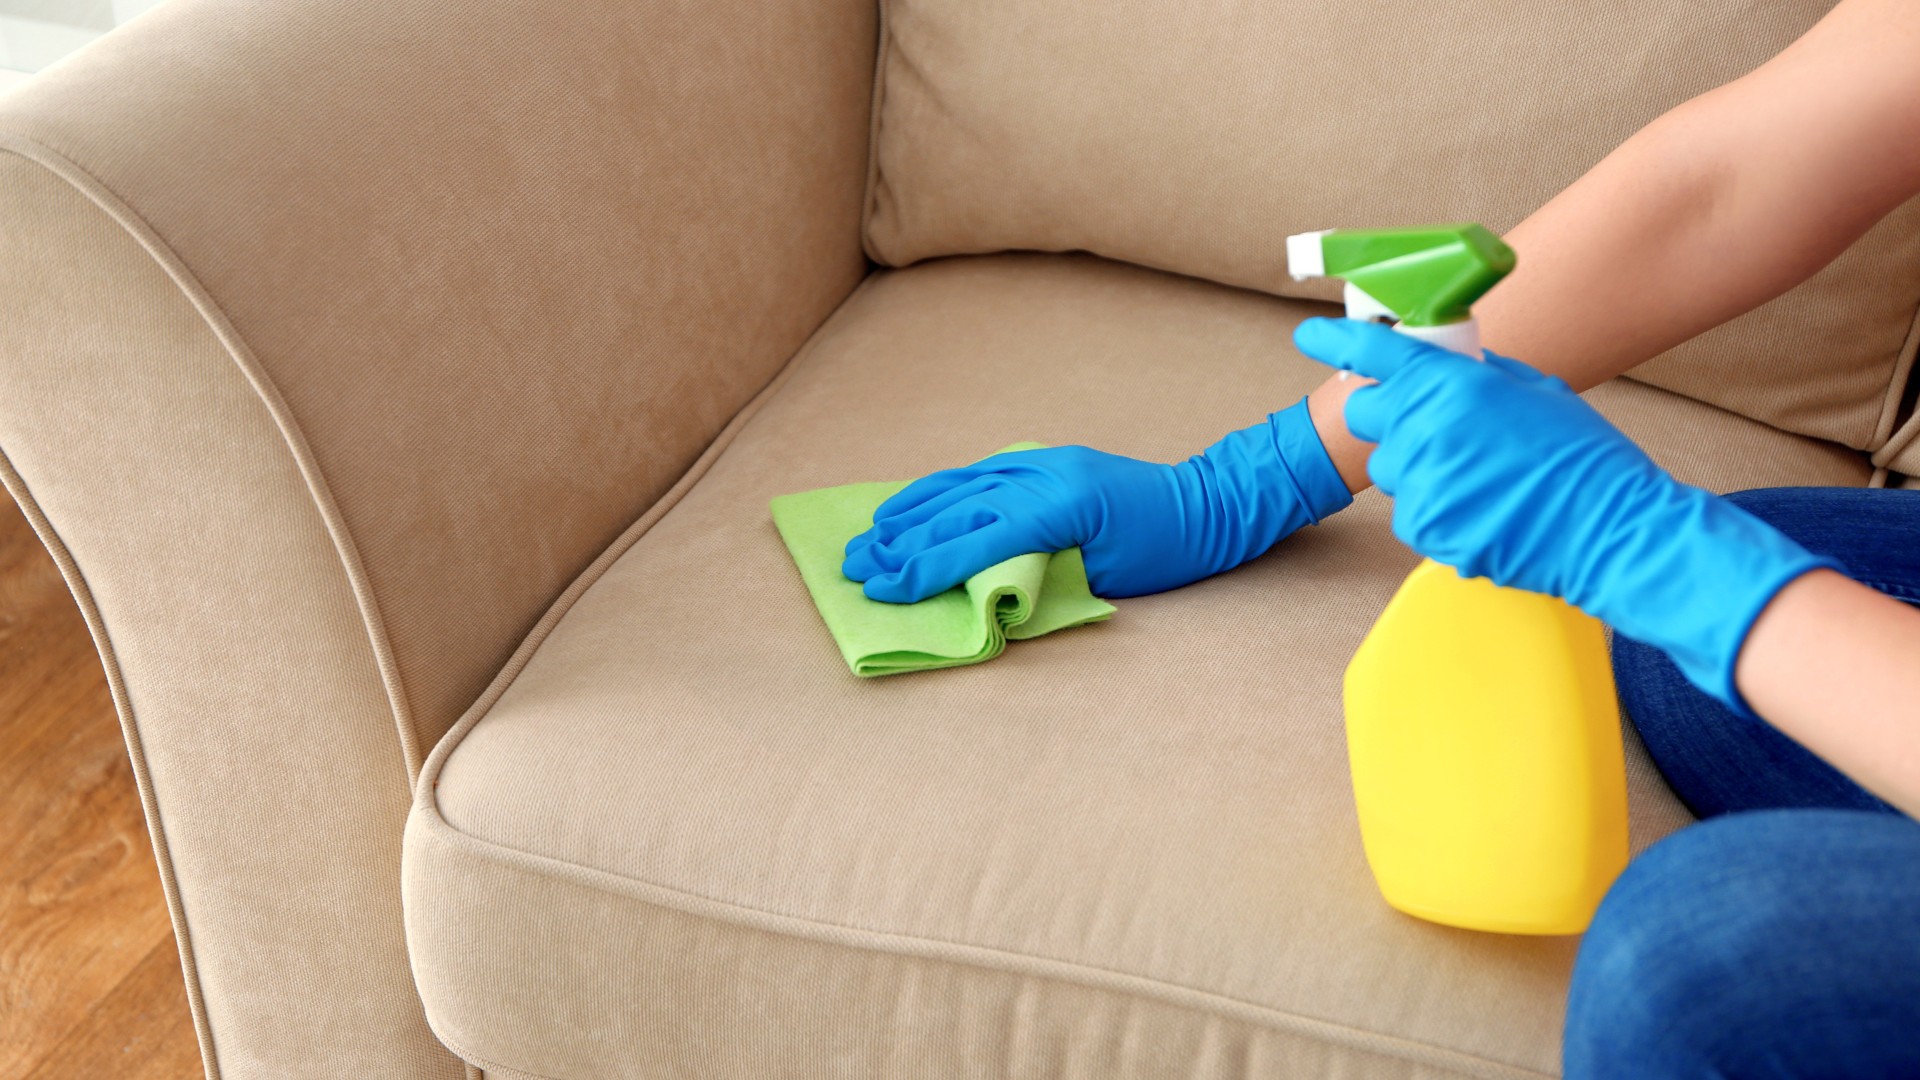
Step 3: Prepare Cleaning Solution
Once you have successfully blotted the urine from the wood floor, it’s time to prepare a cleaning solution to remove the remaining stain and odor. Vinegar is a commonly used and effective natural cleaner for eliminating urine stains and neutralizing odors. Here’s how to prepare the cleaning solution:
- Mix vinegar and water: In a spray bottle, combine equal parts vinegar and water. For example, if you use 1 cup of vinegar, add 1 cup of water. You can adjust the amounts depending on the size of the urine stain.
- Shake the spray bottle: Give the spray bottle a gentle shake to ensure the vinegar and water are well mixed.
The acidic properties of vinegar help break down the urine components, making it easier to remove the stain and eliminate the odor. However, if you find the smell of vinegar too overpowering, you can add a few drops of your favorite essential oil to the cleaning solution to create a more pleasant scent.
While vinegar is an effective cleaning solution, there are alternative options you can consider if you don’t have vinegar available:
- Enzymatic cleaners: These cleaners are specifically formulated to break down the enzymes in urine, eliminating both the stain and odor. Look for enzymatic cleaners designed for wood floors and follow the instructions on the product label.
- Hydrogen peroxide: Hydrogen peroxide can be used as an alternative cleaning solution. Mix equal parts hydrogen peroxide and water, then apply it to the urine stain. However, be cautious when using hydrogen peroxide on darker or stained wood, as it can potentially lighten the color.
- Baking soda: Baking soda is known for its odor-absorbing properties. Sprinkle baking soda over the affected area and gently scrub it with a soft brush or cloth. Let it sit for a few hours, then vacuum or sweep away the baking soda.
Now that you have your cleaning solution ready, it’s time to move on to the next step: applying the solution to the urine-stained area of the wood floor.
Step 4: Apply Cleaning Solution
With your cleaning solution prepared, it’s time to apply it to the affected area of the wood floor. The cleaning solution will work to break down the remaining urine stain and eliminate any lingering odors. Follow these steps to apply the cleaning solution effectively:
- Spray the cleaning solution: Use the spray bottle to apply the vinegar and water cleaning solution directly onto the urine-stained area. Spray enough solution to cover the entire stain.
- Ensure even coverage: Pay attention to ensure that the cleaning solution is evenly distributed across the stain. This will help to penetrate the urine and break down the stain more effectively.
- Let it sit: After applying the cleaning solution, allow it to sit on the urine stain for a few minutes. This gives the solution time to work its magic and break down the stain and eliminate the odor.
During this time, the vinegar in the cleaning solution will work to neutralize the ammonia present in the urine, which is primarily responsible for the unpleasant smell. The acidity of the vinegar will also help to break down any remaining stain particles.
Keep in mind that the exact length of time the cleaning solution should sit on the stain may vary depending on the severity and depth of the urine stain. You can test a small area first to determine the effectiveness of the solution and adjust the sitting time accordingly.
Once the cleaning solution has had time to work, it’s time to move on to the next step: gently scrubbing the stained area to further lift the urine stain from the wood floor surface.
Blot the area with a clean cloth to soak up as much urine as possible. Mix equal parts water and white vinegar, then apply to the affected area and let it sit for a few minutes. Blot with a clean cloth and repeat as necessary.
Read more: How To Get Water Stain Out Of Wood Floor
Step 5: Scrub Gently
After the cleaning solution has had time to sit on the urine stain, it’s time to gently scrub the affected area. The scrubbing process will help to further lift and remove the urine stain from the wood floor surface. Follow these steps to scrub the stained area effectively:
- Choose a soft brush or cloth: Select a soft-bristled brush or a clean, soft cloth to gently scrub the stained area. Avoid using abrasive materials or brushes with stiff bristles, as they can potentially damage the wood surface.
- Dip the brush or cloth in the cleaning solution: Dip the brush or cloth into the cleaning solution to moisten it. Make sure it’s not overly saturated, as excessive moisture can be harmful to the wood.
- Gently scrub the stain: Using gentle circular or back-and-forth motions, scrub the stained area with the brush or cloth. Apply slight pressure, but be cautious not to scrub too vigorously, as this can damage the wood surface.
- Work in small sections: If the urine stain covers a large area, it’s recommended to work in small sections. This will ensure that you thoroughly clean each part of the stain and prevent the cleaning solution from drying out too quickly.
As you scrub the stained area, you might notice the stain gradually lifting and fading away. If you come across stubborn or deep-set stains, be patient and continue the gentle scrubbing motion until you achieve satisfactory results.
It’s important to note that different types of wood floors may have varying levels of durability. Understanding the type of finish or sealant on your wood floor can help you adjust your scrubbing technique accordingly to prevent any unintentional damage.
Once you have gently scrubbed the stained area, it’s time to move on to the next step: rinsing off the cleaning solution to ensure no residue is left behind on the wood floor surface.
Step 6: Rinse the Area
After scrubbing the stained area with the cleaning solution, it’s important to thoroughly rinse off any residue left behind on the wood floor surface. This step ensures that no remaining cleaning solution or loosened stain particles are left to potentially damage or discolor the wood. Follow these steps to effectively rinse the area:
- Dampen a clean cloth with water: Take a clean cloth and dampen it with water. Make sure the cloth is only damp and not soaking wet, as excess moisture can harm the wood floor.
- Gently wipe off the cleaning solution residue: Using the damp cloth, gently wipe the stained area to remove any remaining cleaning solution residue. Start from the edges of the stain and work your way towards the center to avoid spreading the residue.
- Rinse and wring out the cloth as needed: As you wipe off the residue, rinse the cloth with water and wring it out regularly to ensure effective cleaning. This helps to prevent transferring the residue back onto the wood floor.
Be mindful when rinsing the stained area, as excess water can seep into the wood and potentially damage it. Avoid leaving any standing water on the floor and ensure that the cloth is only damp enough to remove the residue without saturating the wood.
By thoroughly rinsing off the cleaning solution residue, you are not only ensuring a clean and residue-free wood floor but also preventing any potential discoloration or damage caused by the cleaning solution lingering on the surface.
Once you have removed all the residue and the stained area is clean, it’s time to move on to the next step: ensuring the floor is completely dry to prevent any moisture-related issues.
Step 7: Dry the Floor
After rinsing off the cleaning solution residue, it’s crucial to ensure that the wood floor is completely dry. Excess moisture left on the surface can lead to various issues, including warping, mold, or damage to the wood. Follow these steps to effectively dry the floor:
- Air circulation: Open windows or turn on fans to increase air circulation in the room. Proper airflow can help speed up the drying process.
- Remove excess water: If there is any standing water or excessive moisture on the floor, use a clean dry cloth or mop to absorb it. Be careful not to spread the moisture to other areas of the floor.
- Allow time for natural drying: Give the wood floor sufficient time to air dry naturally. Avoid walking on the damp areas to prevent any potential damage.
- Check for moisture: To ensure that the floor is fully dry, you can use a moisture meter or touch the surface with clean, dry hands to check for any residual dampness.
The duration required for the wood floor to dry completely will vary depending on various factors, including humidity levels, ventilation, and the type of wood. It’s important not to rush the drying process to prevent any potential damage to the floor.
During the drying period, it’s crucial to avoid any water seepage into the wood. Ensure that the area is completely dry before placing any rugs, furniture, or allowing foot traffic in the treated area. This will prevent any trapped moisture that could potentially lead to future damage.
By ensuring that the wood floor is thoroughly dry, you can maintain its integrity and prevent any long-term issues related to moisture or water damage.
Once the floor is completely dry, you can move on to the next step: assessing the effectiveness of the cleaning process. If required, you may need to repeat the steps or consider seeking professional assistance.
Step 8: Repeat if Necessary
After completing the previous steps, it’s time to assess the effectiveness of the cleaning process. In some cases, persistent urine stains or odor may require additional treatment. Follow these steps to determine if you need to repeat the cleaning process:
- Inspect the area: Carefully examine the wood floor to see if any urine stain or lingering odor is still present. Look for any discoloration or areas that still emit a strong smell.
- Repeat the cleaning process: If you notice any remaining stain or odor, it’s necessary to repeat the cleaning process with the vinegar and water solution. Follow the previous steps, starting from blotting the urine and continuing through each step of the process.
- Consider alternative solutions: If repeating the cleaning process doesn’t yield desired results, you may want to consider using alternative cleaning products or methods. For stubborn stains or odors, enzymatic cleaners specifically formulated for removing urine stains can be an effective option.
If despite your efforts the urine stain or odor persists, or if you’re unsure about conducting further cleaning yourself, it may be time to seek professional assistance. Professional cleaning services have specialized equipment and experience in dealing with stubborn stains and odors on wood floors.
Professional cleaners can assess the situation, determine the best course of action, and provide expert guidance. They will have access to stronger cleaning agents and equipment to effectively remove the urine stain and eliminate any lingering odor.
Remember, it’s important to address urine stains and odors promptly to avoid potential long-term damage to your wood floor. By repeating the cleaning process or seeking professional assistance if needed, you can ensure that your wood floor is restored to its original condition and free from any unsightly stains or odors.
With these steps completed, you can now enjoy a fresh and odor-free wood floor. Remember to take preventive measures, such as prompt cleanup of any future accidents or using protective coverings for your floors, to maintain their cleanliness and beauty.
By following these steps and being proactive in your cleaning routine, you can keep your wood floors free from urine stains and odors, providing a clean and welcoming space in your home.
Read more: How To Get Hair Dye Out Of Wood Floor
Conclusion
Dealing with urine stains on wood floors can be a frustrating and challenging task, but with the right techniques and cleaning methods, you can effectively remove the stains and eliminate any lingering odors. Taking immediate action and following the step-by-step process outlined in this guide will help restore the beauty and freshness of your wood floors.
Remember to gather the necessary supplies and put on protective gear before starting the cleaning process. Blotting the urine with paper towels or a cloth, and avoiding spreading or rubbing the urine, is crucial to prevent the stain from setting deeper into the wood.
Preparing a cleaning solution using vinegar and water, or alternative options if preferred, will effectively break down the urine stain and neutralize any odors. Applying the cleaning solution and allowing it to sit on the stain allows the ingredients to work their magic.
Gently scrubbing the stained area with a soft brush or cloth ensures that the stain is lifted and removed without harming the wood surface. It’s important to rinse off the cleaning solution residue and dry the floor thoroughly to prevent any potential damage caused by moisture.
If necessary, repeat the cleaning process or consider seeking professional assistance to address persistent stains or odors. Professional cleaners have the expertise and specialized equipment to handle stubborn stains and ensure efficient stain removal.
By following these steps and being proactive in your cleaning routine, you can keep your wood floors looking pristine, free from urine stains, and smelling fresh. Remember to act quickly, address accidents promptly, and institute preventive measures to maintain the cleanliness and beauty of your wood floors in the long run.
With the information provided in this comprehensive guide, you have the knowledge and tools to effectively remove urine stains from wood floors, restoring them to their original state and ensuring a clean and welcoming environment in your home.
Frequently Asked Questions about How To Get Pee Out Of Wood Floor
Was this page helpful?
At Storables.com, we guarantee accurate and reliable information. Our content, validated by Expert Board Contributors, is crafted following stringent Editorial Policies. We're committed to providing you with well-researched, expert-backed insights for all your informational needs.
0 thoughts on “How To Get Pee Out Of Wood Floor”