Home>Articles>How To Get Scratches Out Of Wood Floors: 5 DIY Solutions
Articles
How To Get Scratches Out Of Wood Floors: 5 DIY Solutions
Modified: December 7, 2023
Learn how to remove scratches from wood floors with these 5 DIY solutions. Find helpful articles and tips to restore the natural beauty of your wooden floors.
(Many of the links in this article redirect to a specific reviewed product. Your purchase of these products through affiliate links helps to generate commission for Storables.com, at no extra cost. Learn more)
Introduction
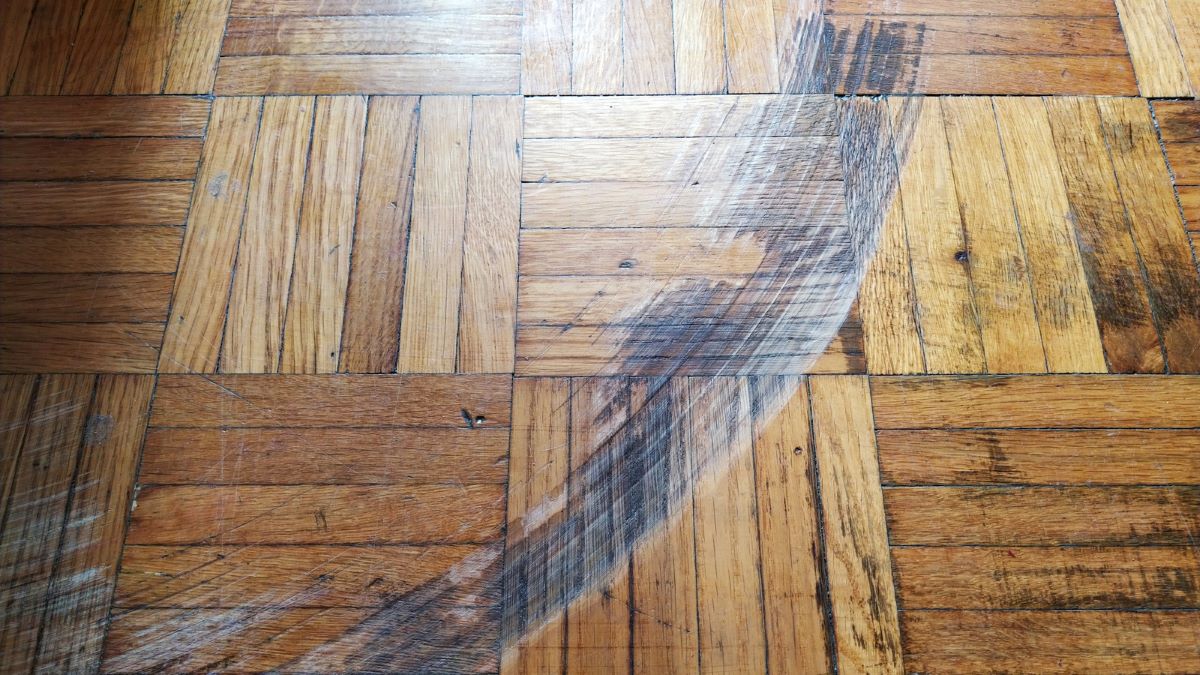
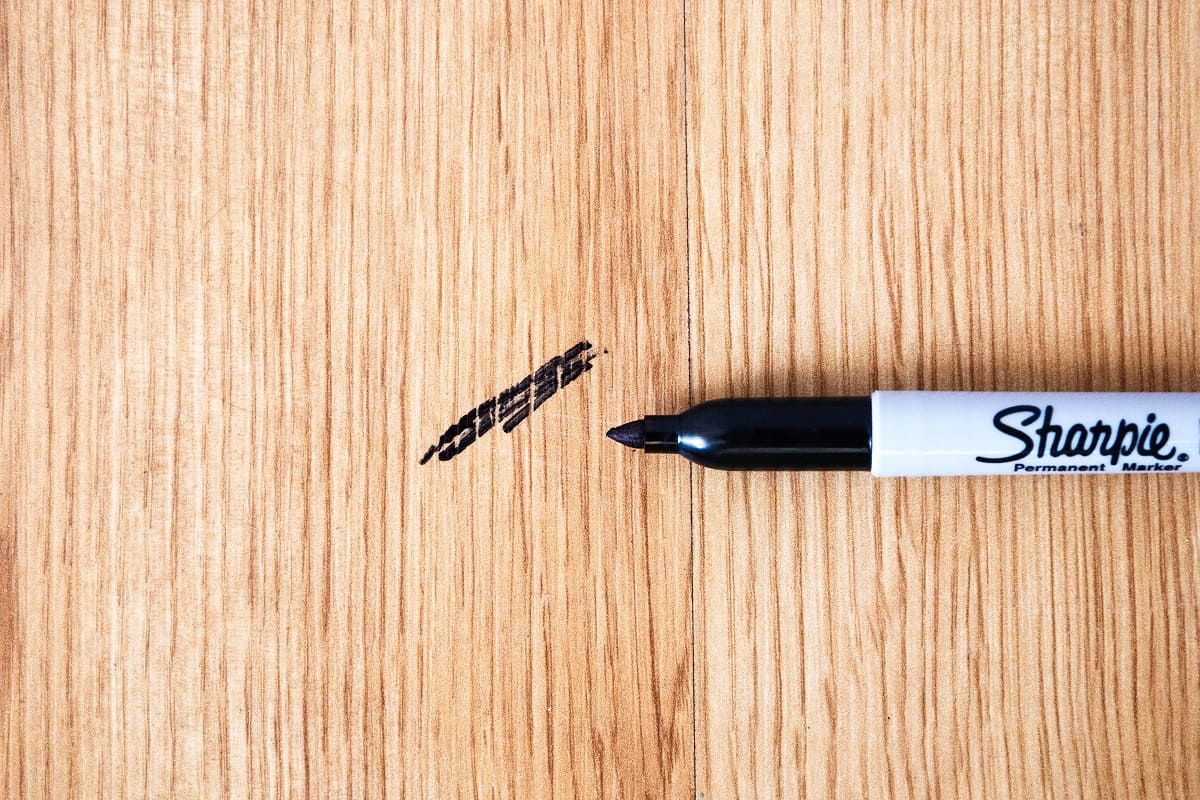
Wood floors add warmth and elegance to any home, but over time, they can start to show signs of wear and tear. One common issue that many homeowners face is scratches on their wood floors. These scratches can be a result of furniture movement, pet claws, or simply everyday foot traffic.
If you’re dealing with scratches on your wood floors, don’t worry – there are several DIY solutions that can help restore their appearance and durability. In this article, we’ll explore five effective methods to get scratches out of wood floors, using readily available supplies and simple techniques.
Before we dive into the solutions, it’s important to note that the method you choose will depend on the severity of the scratches. For minor surface scratches, you can use natural remedies like vinegar and olive oil. Deeper scratches, on the other hand, may require slightly more intensive techniques such as using a walnut or steel wool. With that in mind, let’s get started!
Key Takeaways:
- DIY Solutions: Easily remove minor surface scratches with vinegar and olive oil, shallow scratches with a walnut, and deeper scratches with steel wool and floor wax. Keep your wood floors looking beautiful with simple, practical methods.
- Preventive Measures: Protect your wood floors by using floor protectors, rugs, and keeping pet nails trimmed. Regular maintenance and prompt repair of scratches will ensure the longevity and timeless elegance of your wood floors.
Read more: How To Get Pee Out Of Wood Floor
Gather the necessary supplies
The first step is to gather the supplies you’ll need for the scratch repair process. It’s always a good idea to be prepared before tackling any DIY project. Here’s a list of items you might need:
- Mild dish soap
- Vinegar
- Olive oil
- Walnut
- Steel wool
- Soft cloth or microfiber pad
- Wood floor wax
- Soft-bristle brush
Having these supplies on hand will ensure that you can smoothly proceed with the various methods mentioned in this article.
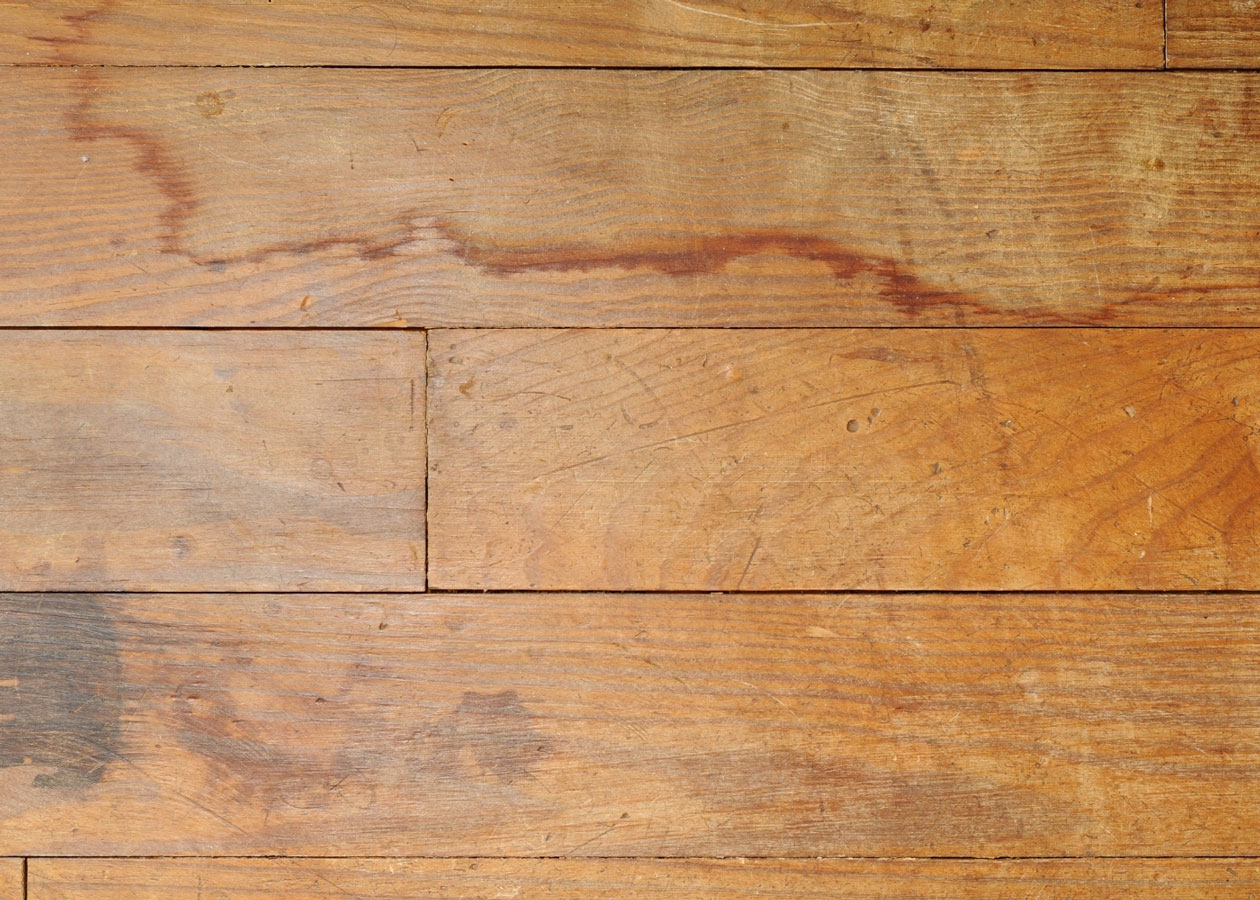
Assess the severity of the scratches
Before jumping into any specific solutions, it’s essential to assess the severity of the scratches on your wood floors. This step will help you determine which method to utilize and the level of effort required. Here’s a quick guide to help you classify the scratches:
- Surface scratches: These are superficial scratches that have not penetrated the protective layer of the wood. They are usually lighter in color and can be easily concealed.
- Shallow scratches: These scratches have penetrated the protective layer of the wood but are not too deep. They may require some filling or repair to restore the appearance.
- Deep scratches: These scratches have deeply penetrated the wood and may require more extensive repair techniques.
Once you’ve identified the severity of the scratches, you can proceed with the appropriate solution. For minor surface scratches, solution 3 using vinegar and olive oil is ideal. For shallow scratches, solution 4 with a walnut can work wonders. And for deeper scratches, solution 5 with steel wool and floor wax will provide effective results.
Now that you have a clear understanding of the scratches on your wood floors, let’s explore the specific DIY solutions to get them out and restore the beauty of your hardwood.
Key Takeaways:
- DIY Solutions: Easily remove minor surface scratches with vinegar and olive oil, shallow scratches with a walnut, and deeper scratches with steel wool and floor wax. Keep your wood floors looking beautiful with simple, practical methods.
- Preventive Measures: Protect your wood floors by using floor protectors, rugs, and keeping pet nails trimmed. Regular maintenance and prompt repair of scratches will ensure the longevity and timeless elegance of your wood floors.
Read more: How To Get Pee Out Of Wood Floor
Gather the necessary supplies
Before you begin any DIY project to get scratches out of your wood floors, it’s important to ensure you have all the necessary supplies at hand. Having the right tools readily available will make the process smoother and more efficient. Here’s a list of supplies you’ll need:
- Mild dish soap: This will be used to clean the area around the scratches.
- Vinegar: Vinegar is a natural cleaning agent that can help remove minor scratches on wood floors.
- Olive oil: Olive oil is great for restoring the shine and hiding surface scratches on wood floors.
- Walnut: Believe it or not, a simple walnut can be used to repair shallow scratches on wood floors.
- Steel wool: For deeper scratches, steel wool is effective in smoothing the surface and preparing it for waxing.
- Soft cloth or microfiber pad: These will be used to apply the cleaning solutions and polish the wood floor.
- Wood floor wax: Waxing the floor after repairing scratches helps protect the wood and restore its natural luster.
- Soft-bristle brush: This is optional but can be helpful in gently scrubbing away dirt and grime from the scratched area.
By having these supplies ready, you can proceed with confidence and ensure a smoother and more effective scratch repair process.
Note: It’s always a good idea to test any cleaning solutions or techniques on a small inconspicuous area of the floor first to ensure they do not cause any damage or discoloration.
Once you have gathered all the necessary supplies, you’re ready to move on to assessing the severity of the scratches on your wood floors and determining the appropriate solution to use. This step is crucial as it will help you choose the right method and technique to effectively address the scratches.
Remember, different types of scratches require different approaches. Surface scratches may only need a simple cleaning and buffing, while deeper scratches may require more intensive repair techniques. By carefully evaluating the scratches, you can ensure that you choose the most suitable method to bring your wood floors back to their original beauty.
Now that you have your supplies ready and understand the importance of assessing the severity of the scratches, it’s time to move on to the specific methods and techniques for removing scratches from wood floors. In the following sections, we will explore different DIY solutions depending on the severity of the scratches and guide you through step-by-step instructions.
Assess the severity of the scratches
Once you have gathered all the necessary supplies, the next step in getting scratches out of your wood floors is to assess the severity of the scratches. This step is crucial as it will help you determine the best course of action to take and the level of effort required for the repair.
Here’s a guide to help you classify the severity of the scratches:
- Surface scratches: These are superficial scratches that have only affected the top protective layer of the wood. They are typically light in color and can be easily concealed or buffed out.
- Shallow scratches: Shallow scratches are deeper than surface scratches and have penetrated the protective layer of the wood. They may be visible and require some filling or repair to restore the appearance of the floor.
- Deep scratches: Deep scratches have significantly penetrated the wood and are highly visible. These scratches require more intensive repair techniques to effectively remove or minimize their appearance.
By assessing the severity of the scratches, you can determine which method is best suited for your specific situation. For surface scratches, a simple cleaning or buffing may be enough to restore the original look of the floor. For shallow scratches, additional steps such as filling or using a repair solution may be necessary. And for deep scratches, more advanced techniques like sanding or using wood putty may be required.
It’s important to note that not all scratches may require professional intervention. In many cases, minor scratches can be effectively repaired using the DIY solutions provided in this article. However, for more severe or extensive damage, it is recommended to consult a professional wood floor refinisher to ensure the best possible outcome.
You can assess the severity of the scratches by closely examining the affected areas and considering their depth, width, and visibility. Take note of any other factors that may affect the repair process, such as the type of wood flooring you have and any existing finishes or coatings.
Once you have determined the severity of the scratches, you can proceed with the appropriate method outlined in the subsequent sections of this article. Each solution is designed to address different levels of scratches and restore the beauty of your wood floors.
Remember, patience and attention to detail are key when dealing with scratches on wood floors. By assessing the severity of the scratches and choosing the right method, you can effectively remove or minimize their appearance and ensure your wood floors regain their natural allure.
Now that you’ve assessed the severity of the scratches, let’s move on to the specific DIY solutions for removing scratches from wood floors.
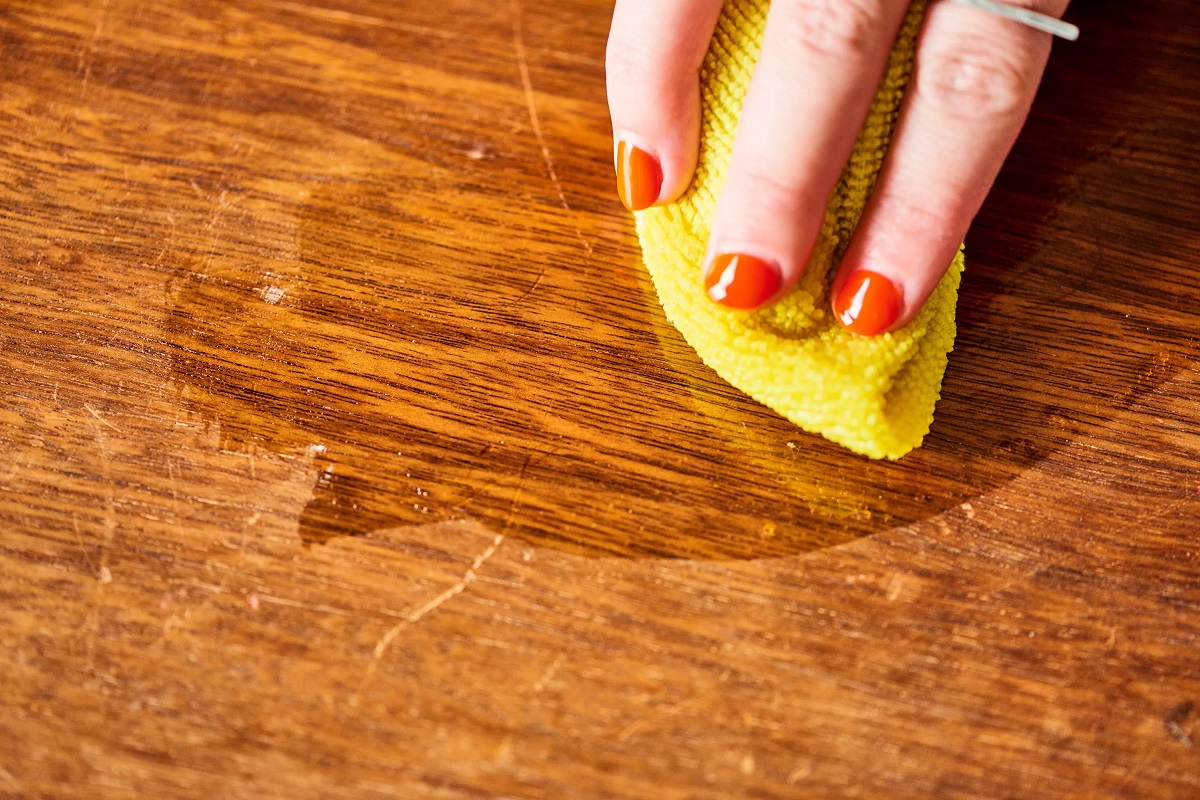
Use a mixture of equal parts vinegar and olive oil to gently rub out scratches on wood floors. The vinegar cleans and the oil nourishes the wood.
Read more: How To Repair Scratches On Wood Floor
Remove minor scratches with vinegar and olive oil
If you’re dealing with minor surface scratches on your wood floors, one of the easiest and most effective DIY solutions is to use vinegar and olive oil. This method is ideal for light scratches that have not deeply penetrated the protective layer of the wood. Here’s how you can get started:
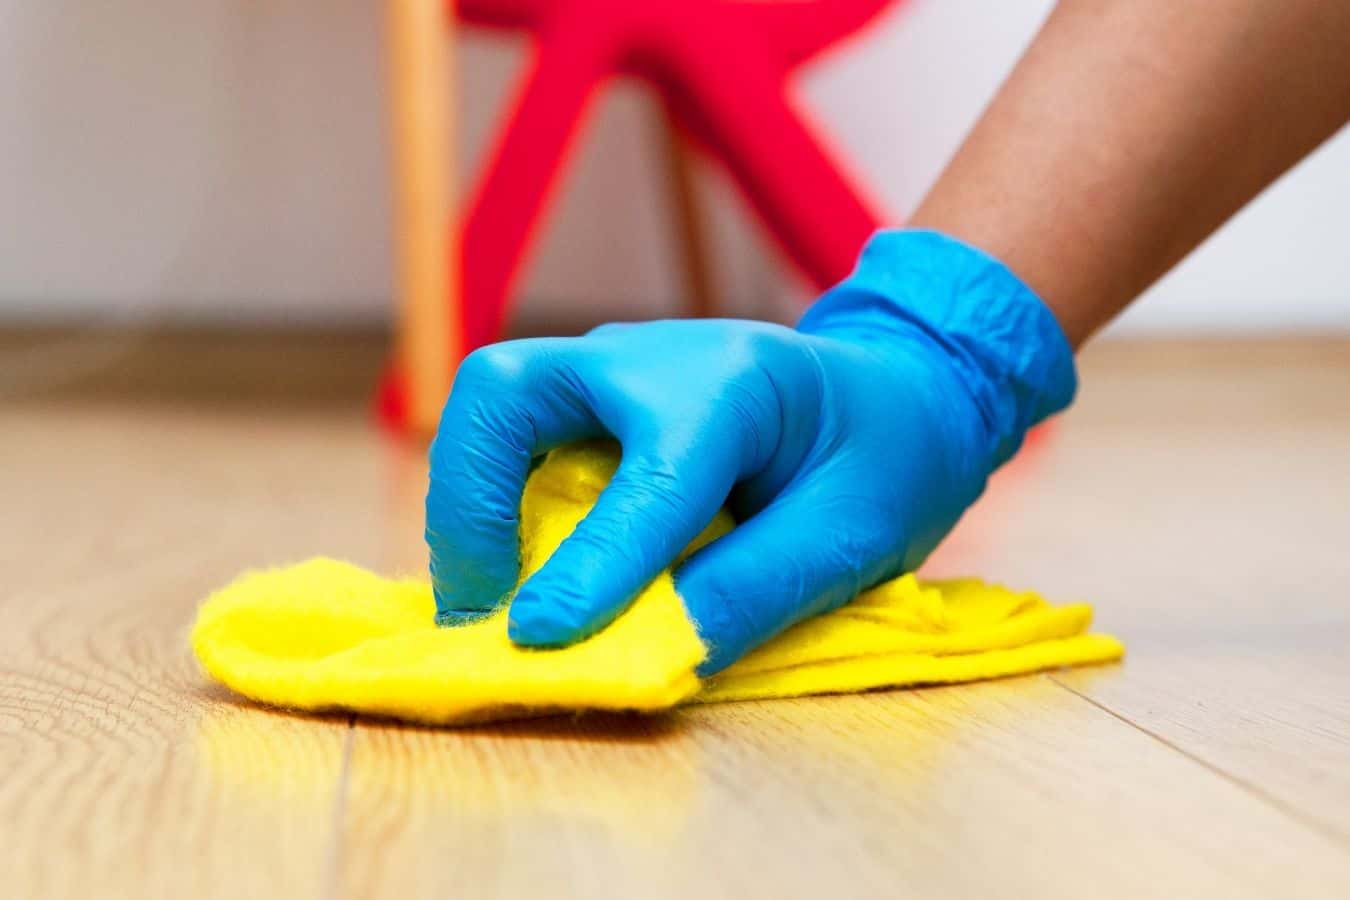
- Clean the area: Begin by cleaning the scratched area with a mild dish soap and water solution. Gently scrub the surface using a soft cloth or microfiber pad to remove any dirt or debris that may be present. Make sure the area is completely dry before proceeding to the next step.
- Prepare the scratch remover: In a small bowl, mix equal parts of white vinegar and olive oil. You will need enough of this solution to cover the scratched area.
- Apply the solution: Dip a soft cloth or microfiber pad into the vinegar and olive oil mixture, wring out any excess liquid, and gently rub it onto the scratched surface. Make sure to apply the solution in the direction of the wood grain, using smooth and even strokes.
- Allow the solution to penetrate: After applying the mixture, let it sit on the scratched area for a few minutes. This will allow the vinegar and olive oil to penetrate the wood and help minimize the appearance of the scratches.
- Buff the area: Using a clean, dry cloth or microfiber pad, gently buff the scratched area in circular motions. This will help remove any excess solution and polish the wood surface, giving it a renewed shine.
- Inspect and repeat if necessary: Once you have finished buffing, take a step back and inspect the area. If the scratches are still visible, you can repeat the process and apply the vinegar and olive oil solution again. For deeper or more stubborn scratches, you may need to explore other methods.
- Finish with wood floor wax: To protect the repaired area and restore its natural luster, apply a thin layer of wood floor wax using a soft cloth or microfiber pad. Follow the manufacturer’s instructions for application and drying time.
This DIY solution using vinegar and olive oil works well for minor surface scratches, as the vinegar helps to clean the surface while the oil helps to conceal and moisturize the wood. It’s a simple and natural remedy that can rejuvenate the appearance of your wood floors.
Remember, it’s always a good idea to test the vinegar and olive oil solution in an inconspicuous area of the floor first to ensure it doesn’t cause any discoloration or damage. Additionally, this method is not recommended for deeper scratches, as it may not effectively repair them.
Now that you know how to remove minor scratches using vinegar and olive oil, you can confidently tackle the surface scratches on your wood floors and restore their beauty. If you’re dealing with deeper or more severe scratches, keep reading to explore other DIY solutions.
Repair shallow scratches with a walnut
If you have shallow scratches on your wood floors, you can easily repair them using a surprising tool – a simple walnut. This DIY solution is effective for scratches that have penetrated the protective layer of the wood but are not too deep. Here’s how you can use a walnut to repair shallow scratches:
- Clean the scratched area: Start by cleaning the scratched area with a mild dish soap and water solution. Use a soft cloth or microfiber pad to gently remove any dirt or debris from the surface. Make sure the area is completely dry before moving on to the next step.
- Prepare the walnut: Take a raw, uncooked walnut and remove the outer shell, leaving only the inner nut exposed. This inner nut contains natural oils that can help restore the appearance of the wood.
- Rub the walnut on the scratch: Take the exposed walnut and rub it back and forth along the direction of the scratch. Apply gentle pressure as you work the walnut across the scratch, allowing the oils to fill in the damaged area.
- Buff the area: After rubbing the walnut on the scratch, use a clean, soft cloth or microfiber pad to buff the area in circular motions. This will help blend the oils into the surrounding wood and create a smoother surface.
- Inspect and repeat if necessary: Step back and inspect the repaired area. If the scratches are still visible, you can repeat the process and continue rubbing the walnut on the scratch until the desired results are achieved.
- Finish with wood floor wax: To further protect and enhance the repaired area, apply a thin layer of wood floor wax using a soft cloth or microfiber pad. Follow the manufacturer’s instructions for application and allow the wax to dry completely.
The natural oils in the walnut help to fill in shallow scratches and restore the appearance of the wood. This simple and eco-friendly solution is an effective way to address minor damage to your wood floors.
Keep in mind that this method is best suited for shallow scratches. Deeper scratches may require alternative solutions, such as using steel wool or wood putty. Additionally, it’s always a good idea to test the walnut solution in an inconspicuous area of the floor first to ensure it doesn’t cause any adverse effects.
Now that you know how to repair shallow scratches with a walnut, you can confidently tackle minor damage on your wood floors. If you’re dealing with deeper or more severe scratches, read on to explore other DIY solutions.
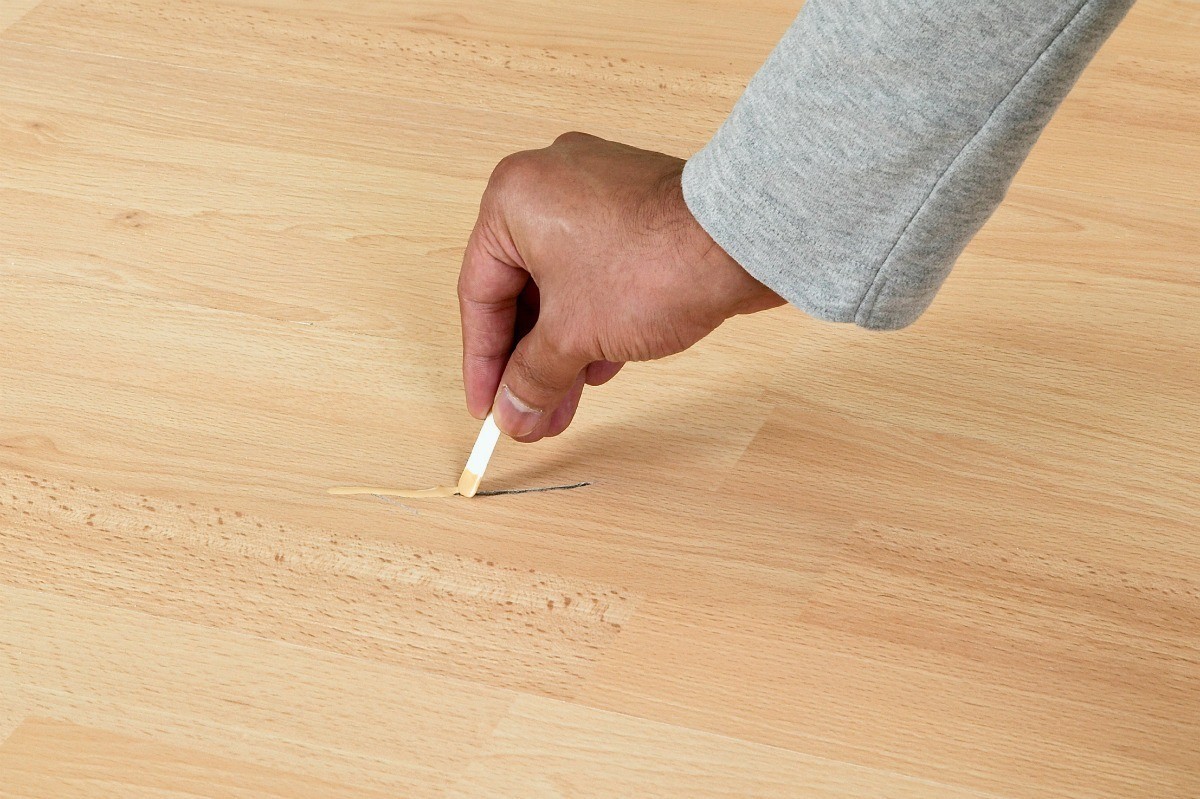
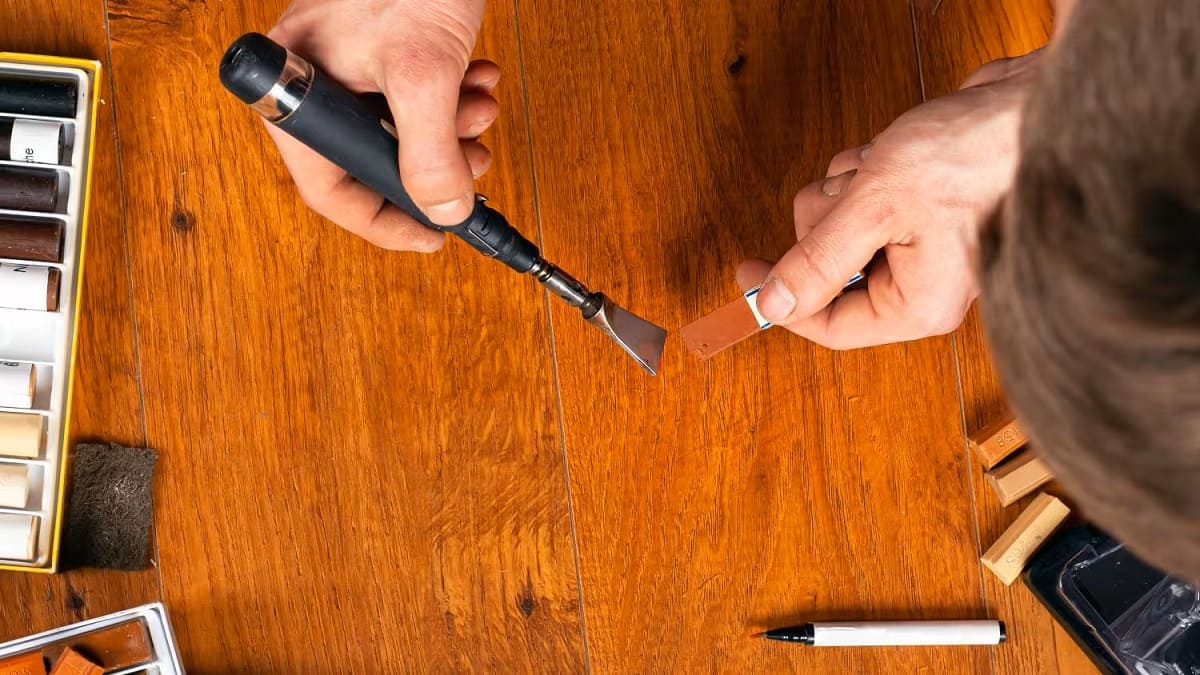
Use steel wool and floor wax to fix deeper scratches
For deeper scratches on your wood floors that go beyond the surface, using steel wool and floor wax can be an effective solution. This method is ideal for scratches that have deeply penetrated the wood and require more intensive repair techniques. Here’s how you can use steel wool and floor wax to fix deeper scratches:
- Clean the scratched area: Start by cleaning the scratched area with a mild dish soap and water solution. Gently scrub the surface using a soft cloth or microfiber pad to remove any dirt or debris. Ensure the area is fully dry before proceeding.
- Select the appropriate steel wool: Choose a fine-grade steel wool pad, such as 000 or 0000, which is less abrasive and suitable for wood surfaces. It’s important to avoid using coarse or heavy-grade steel wool that can cause further damage to the wood.
- Prepare the steel wool: Take a small piece of the fine-grade steel wool and fold it into a compact pad, making it easier to handle and control during the repair process.
- Gently rub the scratches: Holding the folded steel wool pad, gently rub it back and forth along the direction of the scratches. Apply moderate pressure to help smooth the surface and minimize the visibility of the scratches. Take care not to press too hard, as this can result in more damage to the wood.
- Remove dust: After using the steel wool, remove any dust or debris created during the process by vacuuming or sweeping the area. It’s crucial to have a clean surface before applying the floor wax.
- Apply floor wax: Using a soft cloth or microfiber pad, apply a thin layer of wood floor wax to the repaired area. Follow the manufacturer’s instructions for application and make sure the wax is spread evenly over the scratched surface.
- Allow the wax to dry: Give the floor wax sufficient time to dry completely. This may take a few hours, so it’s important to avoid walking on the repaired area during this time to prevent any damage to the finish.
- Buff the area: Once the wax is fully dry, gently buff the area using a clean, soft cloth or microfiber pad. This will help to further blend the repaired area with the surrounding wood, creating a seamless finish.
Using steel wool and floor wax helps to smooth the surface of the wood and conceal deeper scratches, making them less noticeable. Keep in mind that this method is suitable for moderate-depth scratches, but for severe damage, it’s advisable to consult a professional wood floor refinisher.
It’s essential to follow safety precautions when working with steel wool, as fine-grade steel wool can still cause some minor scratches on the wood if not handled properly. Always work gently and in the direction of the wood grain to minimize any potential damage.
Now that you know how to use steel wool and floor wax to fix deeper scratches, you can confidently repair more significant damage on your wood floors. Remember, regular maintenance and prompt repair of scratches will help your floors retain their beauty and durability for years to come.
Conclusion
Wood floors, while beautiful and timeless, are not immune to scratches and wear over time. However, with the right knowledge and a little bit of effort, you can effectively remove scratches and restore the beauty of your wood floors. The DIY solutions discussed in this article provide simple and practical ways to address different levels of scratches.
By assessing the severity of the scratches and gathering the necessary supplies, you can confidently approach the repair process. For minor surface scratches, consider using vinegar and olive oil to gently buff and conceal the scratches. Shallow scratches can often be repaired using a surprising tool – a walnut – which contains natural oils that nourish and restore the wood. For deeper scratches, utilize the power of steel wool and floor wax to smooth out the surface and minimize their visibility.
It’s important to remember that preventive measures can go a long way in maintaining the condition of your wood floors. Consider using floor protectors under furniture, placing rugs or mats in high-traffic areas, and keeping pet nails trimmed to minimize the occurrence of future scratches.
While the DIY solutions provided in this article are effective for minor to moderate scratches, it’s essential to consult a professional for severe or extensive damage. A wood floor refinisher can assess the condition of your floors and recommend the best course of action to restore them to their original glory.
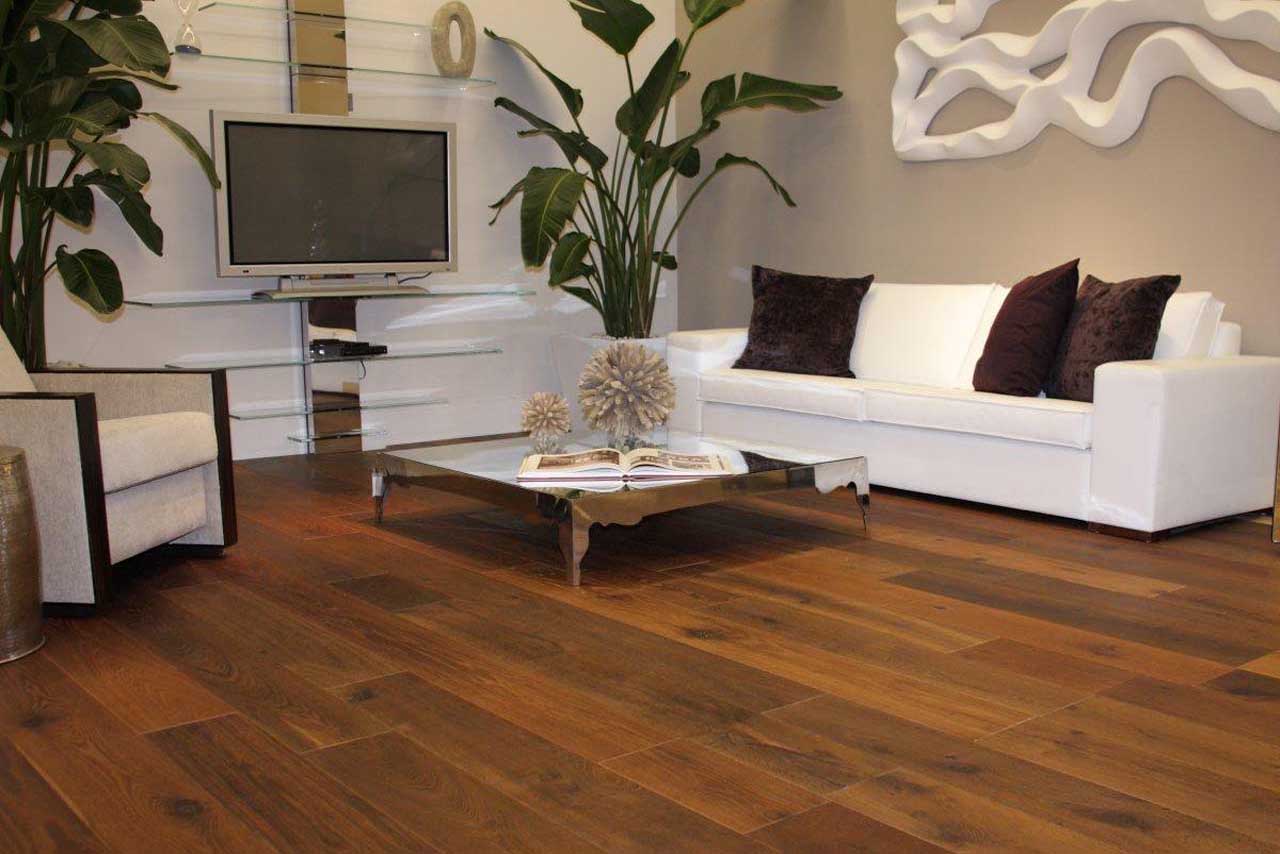
Taking care of your wood floors not only enhances the aesthetics of your home but also preserves their value and longevity. Regular maintenance, prompt repair of scratches, and adopting preventive measures will ensure that your wood floors remain beautiful for years to come.
Now armed with the knowledge and techniques in this article, you can confidently tackle scratches on your wood floors and enjoy the timeless elegance they bring to your living space.
Frequently Asked Questions about How To Get Scratches Out Of Wood Floors: 5 DIY Solutions
Was this page helpful?
At Storables.com, we guarantee accurate and reliable information. Our content, validated by Expert Board Contributors, is crafted following stringent Editorial Policies. We're committed to providing you with well-researched, expert-backed insights for all your informational needs.


0 thoughts on “How To Get Scratches Out Of Wood Floors: 5 DIY Solutions”