Articles
How To Grind Oats Without A Food Processor
Modified: January 20, 2024
Learn how to grind oats without a food processor with these helpful articles. Find alternative methods for achieving the perfect texture without specialized equipment.
(Many of the links in this article redirect to a specific reviewed product. Your purchase of these products through affiliate links helps to generate commission for Storables.com, at no extra cost. Learn more)
Introduction
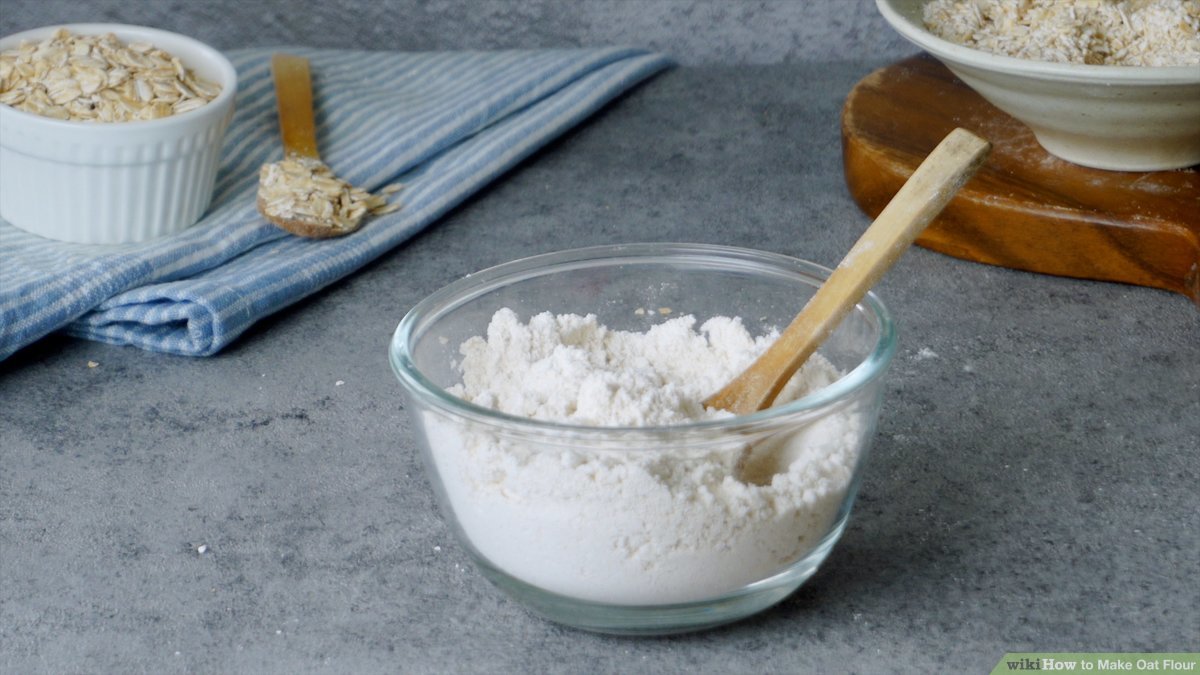
Grinding oats is a common and versatile task that allows you to create oat flour, which can be used in a variety of recipes. While many people use a food processor to grind oats, not everyone has access to this kitchen appliance. Luckily, there are several alternative methods that can be used to grind oats without a food processor. Whether you have a blender, a coffee grinder, a mortar and pestle, a rolling pin, or a food mill, you can take advantage of these easy and effective techniques.
In this article, we will explore five different methods for grinding oats without a food processor. Each method has its own unique benefits and can yield different textures and consistencies. By exploring these techniques, you’ll be able to choose the method that best suits your needs and the tools that you already have in your kitchen.
Let’s dive in and discover how you can grind oats without a food processor.
Key Takeaways:
- Grinding oats without a food processor is achievable using alternative methods such as a blender, coffee grinder, mortar and pestle, rolling pin, or food mill. Each method offers unique textures and benefits, catering to various culinary needs and preferences.
- Whether you prefer a quick and efficient grind with a blender or a traditional hands-on approach with a mortar and pestle, there’s a method for everyone. Get creative in the kitchen and enjoy the versatility of oats, knowing that you can easily grind them without a food processor.
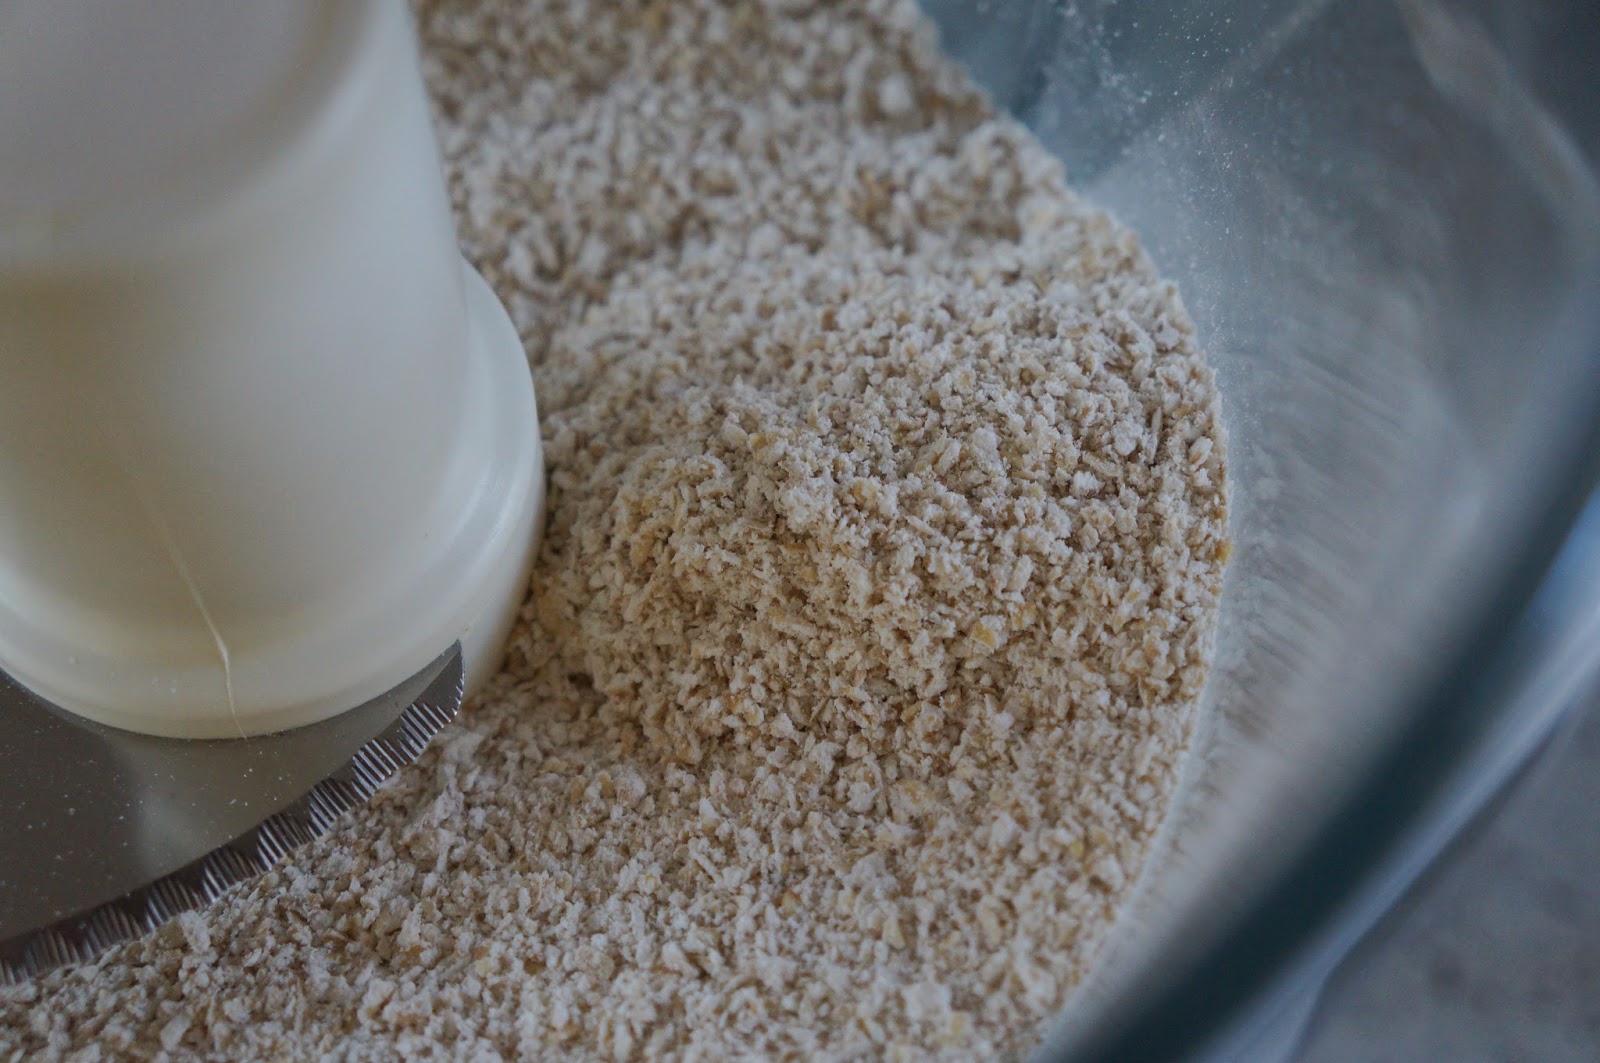
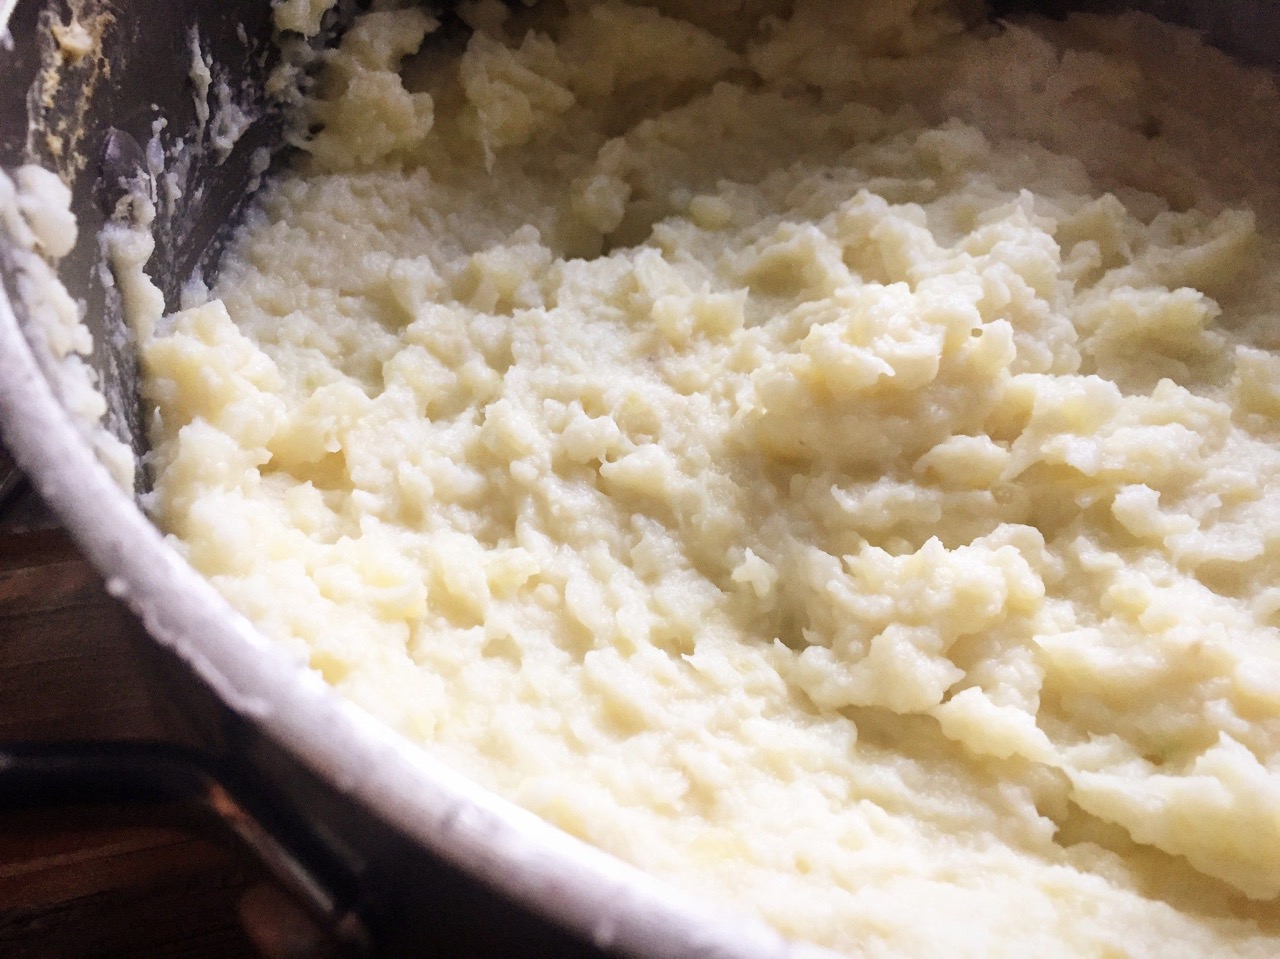
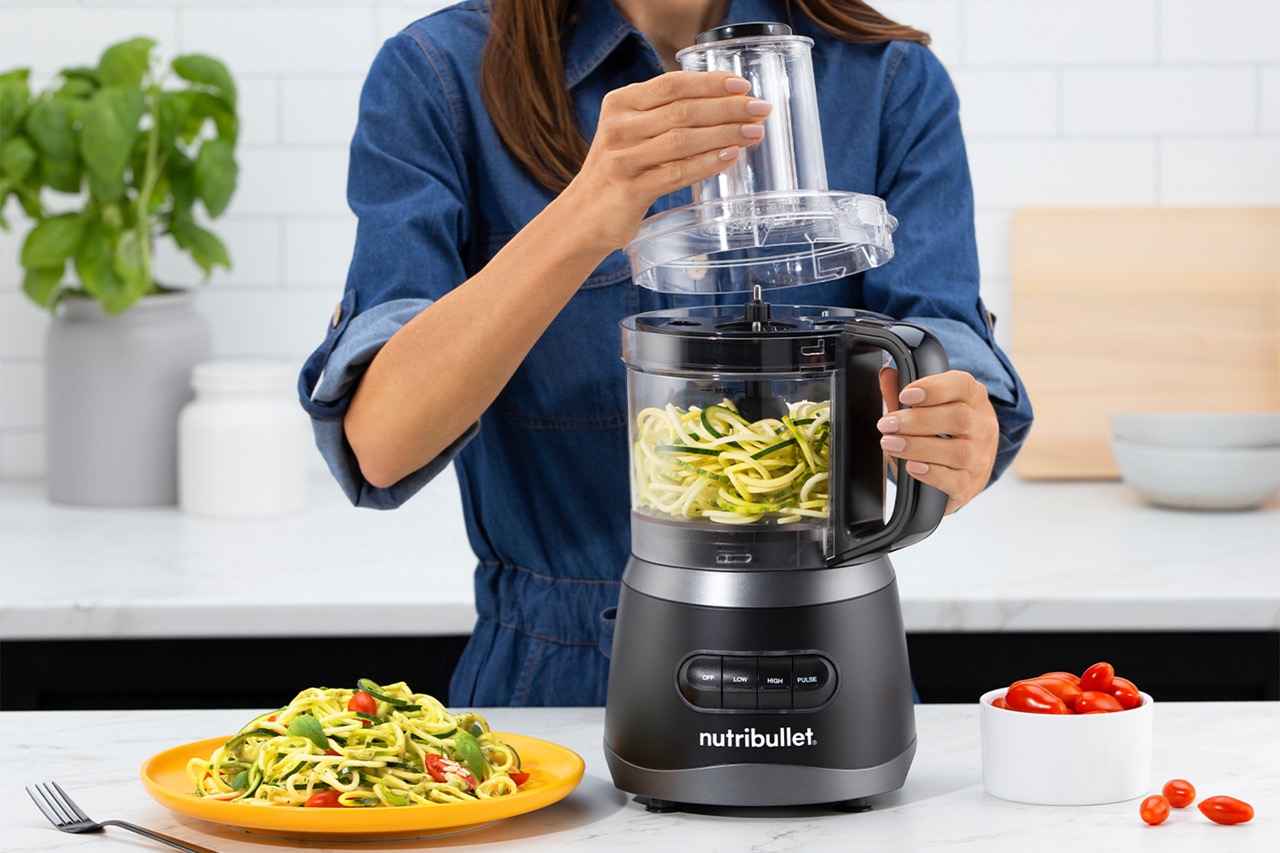
Method 1: Using a Blender
If you have a blender in your kitchen, it can be a convenient tool for grinding oats. Here’s a step-by-step guide to help you use a blender to grind your oats:
- Measure the desired amount of oats that you want to grind.
- Add the oats to the blender.
- Secure the lid tightly to prevent any oats from flying out during the blending process.
- Pulse the blender a few times to break down the oats into smaller pieces.
- After pulsing, blend the oats on high speed for about 20-30 seconds or until you achieve the desired consistency.
- Stop the blender and check the texture of the ground oats. If they are not finely ground, you can blend them for a bit longer.
- Transfer the ground oats to a container or airtight bag for storage or immediate use.
Using a blender may produce a slightly coarser texture compared to using a food processor, but it is still effective in grinding oats to a usable consistency. Adjusting the blending time can also help you achieve the desired level of fineness.
Remember to clean your blender thoroughly after grinding the oats to remove any remaining particles. This will prevent any unwanted flavors or odors from transferring to your next use.
Blenders are a versatile kitchen appliance and can be used for various tasks, including grinding oats to a fine powder. So, if you have a blender but no food processor, it is a reliable option for achieving a smooth and consistent oat flour.
Method 2: Using a Coffee Grinder
If you have a coffee grinder at home, you can repurpose it to grind oats. Coffee grinders are known for their ability to grind beans into a fine powder, and they can be just as effective for grinding oats. Here’s how you can use a coffee grinder to grind your oats:
- Measure the desired amount of oats that you want to grind.
- Make sure your coffee grinder is clean and free of any coffee residue.
- Add the oats to the coffee grinder.
- Close the lid securely to prevent any oats from escaping during the grinding process.
- Grind the oats in short bursts, pulsing the grinder for about 10-15 seconds at a time.
- Check the texture of the ground oats after each pulse. If they are not finely ground, continue pulsing for a few more seconds.
- Once you achieve the desired consistency, transfer the ground oats to a container for storage or immediate use.
Using a coffee grinder can yield a fine and consistent texture, similar to that of a food processor. However, keep in mind that the oats may heat up slightly during the grinding process. To prevent overheating, it’s recommended to grind the oats in shorter bursts and pause between pulsing to allow the grinder to cool down.
It’s important to note that if you use your coffee grinder to grind oats, you may encounter some residual oat flavors in your coffee beans. If this is a concern, consider using a separate coffee grinder specifically for grinding oats to avoid any flavor transfer.
A coffee grinder is a handy alternative for grinding oats without a food processor, especially if you enjoy freshly ground oats for your recipes. It provides a quick and efficient way to achieve a fine oat flour suitable for various culinary creations.
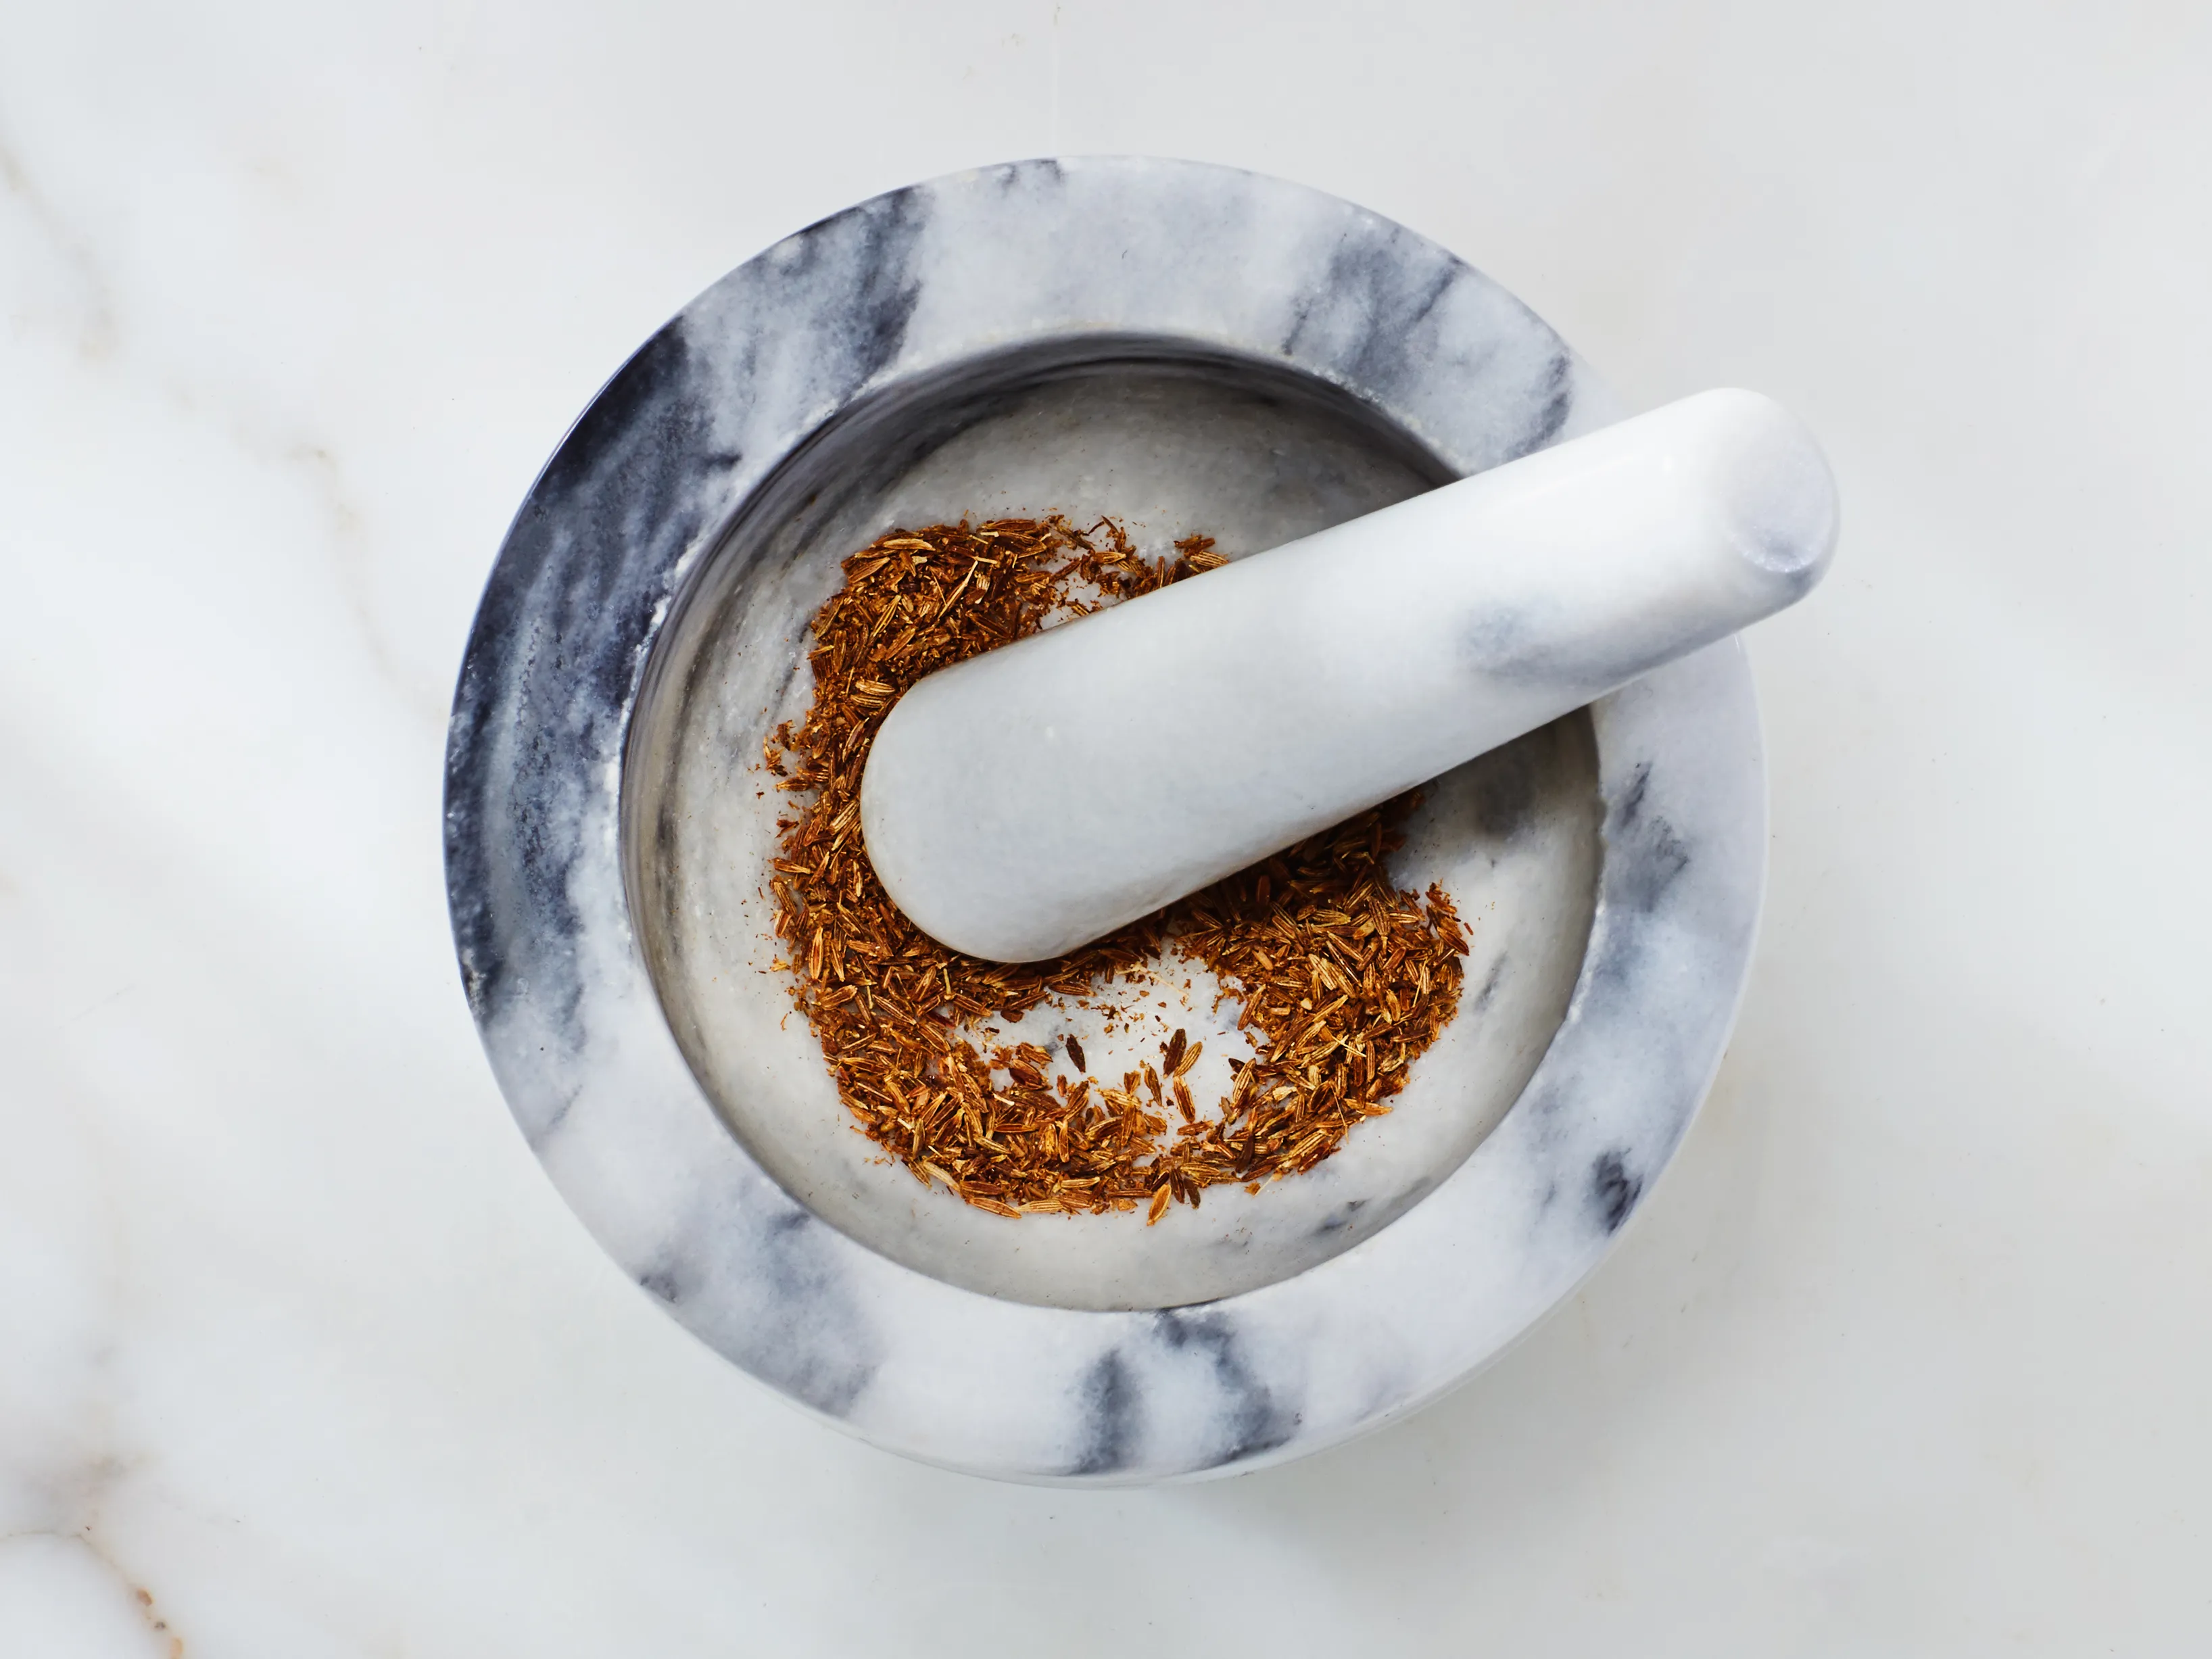
Method 3: Using a Mortar and Pestle
If you’re looking for a more traditional and hands-on approach, using a mortar and pestle can be a great option for grinding oats. While it requires a bit more effort, it can deliver satisfying results. Here’s a step-by-step guide on how to use a mortar and pestle to grind oats:
- Measure the desired amount of oats that you want to grind.
- Place the oats in the mortar.
- Hold the mortar steady with one hand and use the pestle to crush and grind the oats in a circular motion.
- Apply pressure and continue grinding until the oats are finely ground. This process may take a few minutes of repeated grinding.
- Periodically check the texture of the ground oats to ensure they are reaching the desired consistency.
- Once the oats are finely ground, transfer the ground oats to a container for storage or immediate use.
Using a mortar and pestle allows you to control the texture of the oats more precisely, depending on your preferences. You can choose to leave some larger pieces for added texture or grind them into a fine powder.
It’s worth noting that grinding oats with a mortar and pestle may result in a coarser texture compared to using a food processor or blender. However, this can be desirable in some recipes, such as granola or oatmeal cookies, where a bit of texture adds a delightful crunch.
Using a mortar and pestle not only lets you grind oats but also provides a unique and satisfying tactile experience in the kitchen. It’s a great option if you enjoy the process of manually grinding your ingredients and appreciate the connection to traditional culinary practices.
Use a blender or coffee grinder to grind oats into a fine powder. Pulse the oats in small batches to ensure even grinding. Sift the ground oats to remove any larger pieces for a smoother texture.
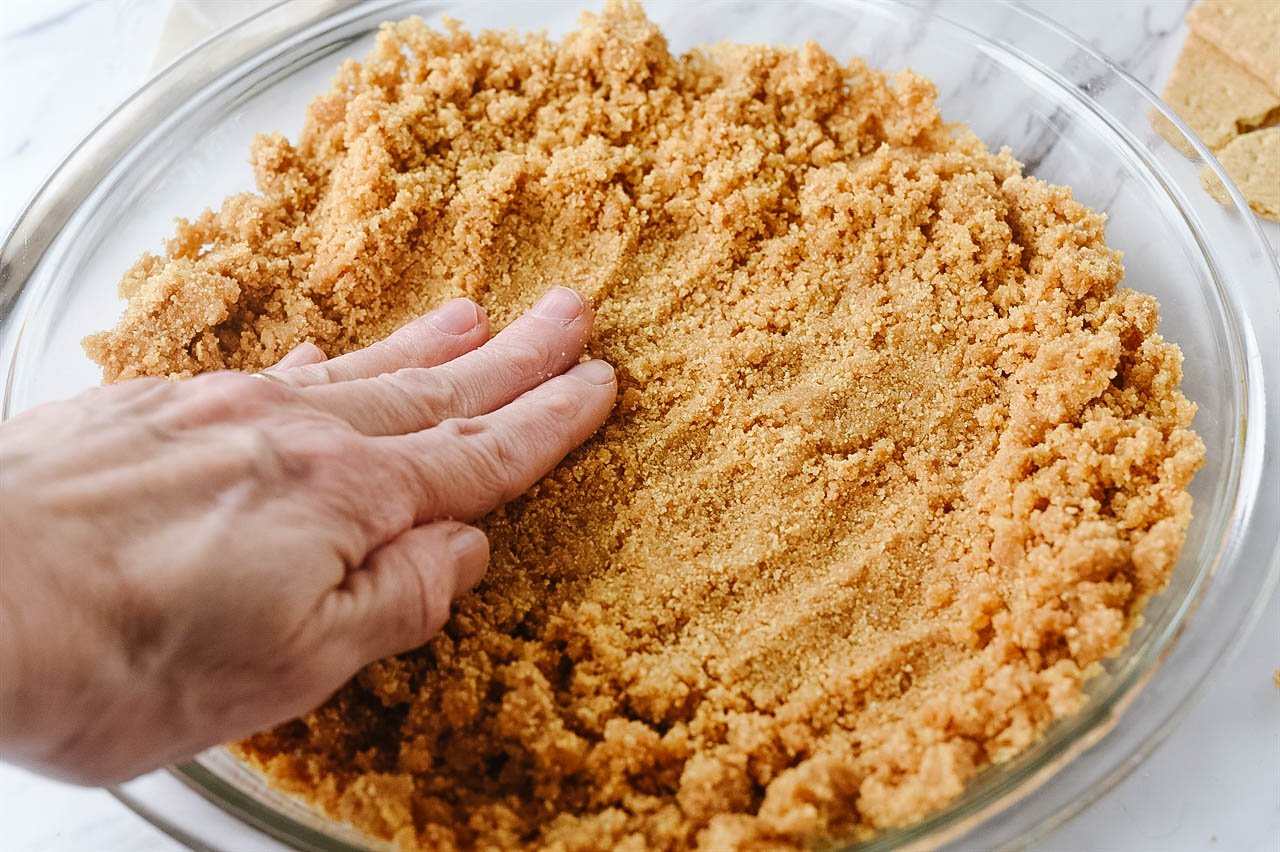
Method 4: Using a Rolling Pin
Using a rolling pin is another simple and effective method for grinding oats without a food processor. This method is especially convenient if you don’t have a blender, coffee grinder, or mortar and pestle. Here’s how you can use a rolling pin to grind oats:
- Place the desired amount of oats in a sturdy, sealable plastic bag or between two sheets of parchment paper.
- Seal the bag or sandwich the oats between the parchment paper to prevent them from escaping during the grinding process.
- Using a rolling pin, gently roll it over the oats, applying even pressure.
- Continue rolling the pin back and forth until the oats are finely ground. This may take a few minutes of consistent rolling.
- Periodically check the texture of the ground oats to ensure they are reaching the desired consistency.
- Once the oats are finely ground, transfer them to a container for storage or immediate use.
Using a rolling pin allows you to control the coarseness of the ground oats based on the pressure you apply. If you prefer a finer texture, apply more pressure and continue rolling. If you prefer a coarser texture, apply less pressure and roll for a shorter duration.
This method may require some effort and patience compared to other techniques, but it can be a great way to achieve a consistent grind without specialized equipment. Plus, using a rolling pin can be a fun and engaging activity in the kitchen!
Grinding oats with a rolling pin is a versatile method that can be adapted to suit your preferences and the specific requirements of your recipes. It’s a handy option if you’re looking for an alternative and accessible way to grind oats.
Method 5: Using a Food Mill
If you have a food mill in your kitchen, you can take advantage of this versatile tool to grind oats. A food mill is specifically designed for processing various ingredients, including fruits, vegetables, and even grains. Here’s how you can use a food mill to grind oats:
- Measure the desired amount of oats that you want to grind.
- Set up your food mill according to the manufacturer’s instructions.
- Place the oats in the hopper or bowl of the food mill.
- Turn the handle or crank to pass the oats through the grinding mechanism.
- Continue turning the handle until the oats are finely ground to your desired consistency.
- Periodically check the texture of the ground oats to ensure they are reaching the desired fineness.
- Once the oats are ground to your liking, transfer them to a container for storage or immediate use.
A food mill offers the advantage of producing a consistently fine grind with minimal effort. The grinding mechanism in a food mill is designed to ensure uniformity in the final result, resulting in a smooth and even oat flour.
It’s worth noting that a food mill may not be as common in every kitchen as the other methods mentioned earlier. However, if you own a food mill or have access to one, it can be a highly effective tool for grinding oats and other ingredients.
The use of a food mill provides convenience and precision, allowing you to achieve professional-quality results in grinding your oats for various recipes. Consider utilizing this versatile tool if you have it at your disposal.
Conclusion
Grinding oats without a food processor is not only possible but also quite straightforward. In this article, we have explored five alternative methods that you can use to achieve finely ground oats for your culinary endeavors. Whether you have a blender, coffee grinder, mortar and pestle, rolling pin, or food mill, there is a solution for everyone.
Using a blender can be a quick and effective method, producing a slightly coarser texture compared to a food processor. A coffee grinder offers a fine and consistent grind, but it’s essential to be cautious about any potential flavor transfer. Grinding oats with a mortar and pestle allows for a more traditional and hands-on approach, providing control over the texture. Using a rolling pin is a practical option that yields consistent results with a bit of effort. Finally, a food mill delivers a consistently fine grind, ideal for achieving professional-quality oat flour.
When choosing the method that works best for you, consider the tools you already have in your kitchen, your desired grind texture, and the level of convenience you seek. Each method has its unique charms and benefits, providing you with options suitable for different recipes and personal preferences.
Remember to clean your chosen grinding tool thoroughly after using it to remove any remaining oat particles. This will ensure that the flavor and texture of your next ingredient will not be affected.
So, whether you’re making oat flour for pancakes, cookies, or adding it to your morning smoothie, now you have a range of methods to choose from. Get creative in the kitchen and enjoy the versatility of oats, knowing that you can easily grind them without a food processor.
Happy grinding and happy cooking!
Frequently Asked Questions about How To Grind Oats Without A Food Processor
Was this page helpful?
At Storables.com, we guarantee accurate and reliable information. Our content, validated by Expert Board Contributors, is crafted following stringent Editorial Policies. We're committed to providing you with well-researched, expert-backed insights for all your informational needs.

0 thoughts on “How To Grind Oats Without A Food Processor”