Home>Articles>How To Make Bread Crumbs Without Food Processor

Articles
How To Make Bread Crumbs Without Food Processor
Modified: September 1, 2024
Learn how to make bread crumbs at home without using a food processor. This article provides easy and practical methods to prepare bread crumbs using common kitchen tools.
(Many of the links in this article redirect to a specific reviewed product. Your purchase of these products through affiliate links helps to generate commission for Storables.com, at no extra cost. Learn more)
Introduction
Breadcrumbs are a versatile ingredient used in various recipes, from breading and coating crispy chicken cutlets to adding texture to meatballs or as a topping for macaroni and cheese. While many recipes call for store-bought breadcrumbs, you may find yourself in a situation where you don’t have a food processor on hand to make them. Don’t worry! In this article, we will explore five different methods to make breadcrumbs without a food processor.
Using simple household tools and some elbow grease, you can easily create breadcrumbs that are just as delicious and effective in your recipes. So, whether you’re looking to use up stale bread or you want to make your own breadcrumbs from scratch, read on to discover these easy and practical methods.
Key Takeaways:
- Create homemade breadcrumbs without a food processor using simple tools like a rolling pin, blender, grater, or mortar and pestle. Enjoy the process and elevate your recipes with custom-made breadcrumbs.
- Whether you prefer fine or chunky breadcrumbs, these methods allow you to control the texture and flavor of your homemade breadcrumbs. Use stale bread for better results and store them for future use.
Method 1: Manual Crushing Method
The manual crushing method is one of the simplest ways to make breadcrumbs without a food processor. All you need is a zip-lock bag, a rolling pin, and some bread slices.
Start by placing a few slices of bread in the zip-lock bag, ensuring that the bag is sealed tightly. To prevent any mess, you can place a clean kitchen towel over the bag before you start crushing the bread.
Next, use a rolling pin to gently crush the bread slices inside the bag. Apply even pressure and roll the pin back and forth until the bread becomes coarse crumbs. You can repeat this process with additional bread slices until you have the desired amount of breadcrumbs.
Once the bread has been crushed to the desired consistency, carefully open the zip-lock bag and transfer the breadcrumbs to a bowl. Take a moment to break up any larger clumps with your fingers, ensuring that the breadcrumbs are uniform in size.
The manual crushing method gives you control over the texture of the breadcrumbs. If you prefer finer breadcrumbs, simply continue rolling the pin until the desired consistency is achieved. Alternatively, if you prefer larger, more rustic breadcrumbs, you can leave them slightly chunkier.
Keep in mind that the texture of the bread you use will also affect the final result. Fresh bread will produce softer breadcrumbs, while stale or toasted bread will yield drier, crunchier breadcrumbs. Adjust the crushing time and the amount of pressure applied to match your desired consistency and texture.
Now that you have your homemade breadcrumbs, you can use them right away or store them for future use. Place the breadcrumbs in an airtight container and store them in a cool, dry place. They will stay fresh for several weeks, ready to enhance your favorite recipes.
Method 2: Blender Method
If you have a blender at home, you can easily use it to make breadcrumbs without a food processor. This method is quick and efficient, resulting in fine breadcrumbs that are perfect for recipes that require a smoother texture.
Start by tearing or cutting several slices of bread into smaller pieces. It’s best to use stale bread for this method, as it will yield better results compared to fresh bread. Stale bread tends to be drier, making it easier to turn into breadcrumbs.
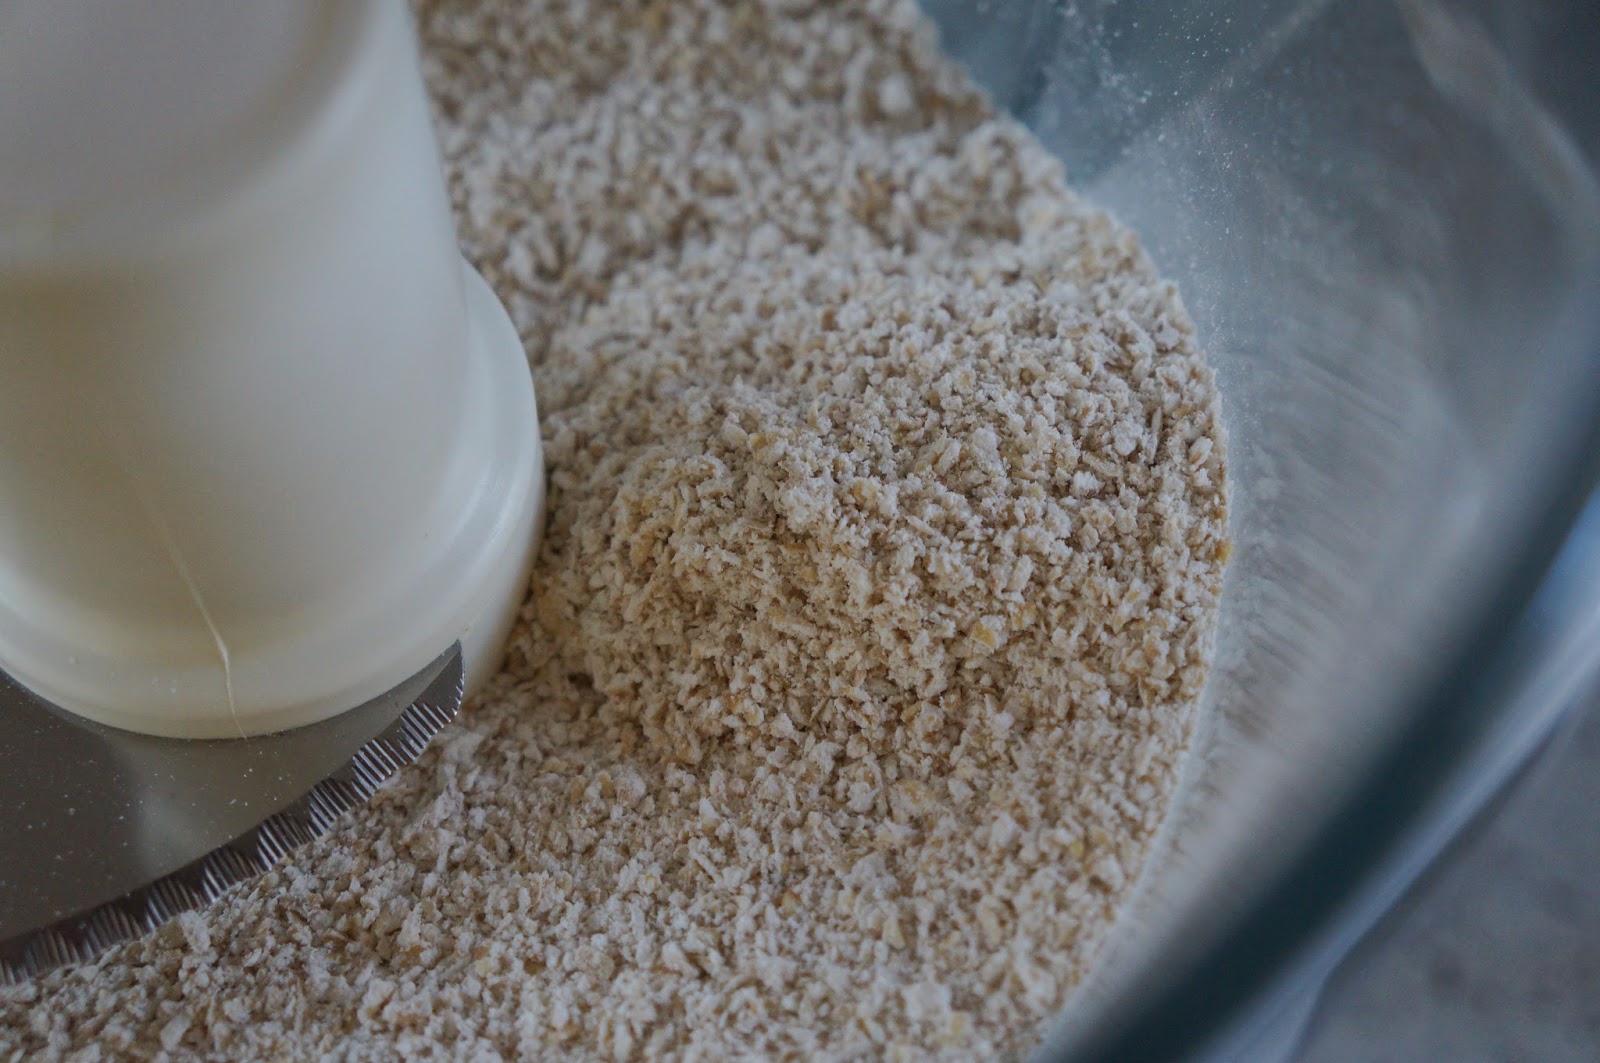
Place the bread pieces into the blender and secure the lid. Start with a few slices at a time to ensure even blending. Pulse the blender for a few seconds at a time until the bread reaches the desired consistency. Be careful not to over-blend, as you may end up with overly fine breadcrumbs.
If the bread pieces tend to clump together, stop the blender and break up the clumps with a fork or spatula. Ensure that all the bread pieces are evenly processed and no large chunks remain.
Once the breadcrumbs have reached the desired consistency, carefully transfer them to a bowl or container. Use your fingers or a spoon to break up any remaining clumps and ensure that the breadcrumbs are evenly mixed.
These breadcrumbs can be used immediately or stored for later use. If you’re not using them right away, store them in an airtight container in a cool, dry place. They will stay fresh for several weeks.
With the blender method, you can easily make fine breadcrumbs that are perfect for recipes like meatballs, coating for fish, or as a topping for casseroles. It’s a convenient alternative to using a food processor and allows you to achieve the desired texture without much effort.
Method 3: Rolling Pin Method
If you don’t have a food processor or a blender, don’t worry! You can still make breadcrumbs using the rolling pin method. This technique requires a rolling pin and a flat surface, making it a great option for those without specialized kitchen appliances.
Start by selecting a few slices of bread, preferably stale bread for better results. Place the bread slices on a clean, dry surface such as a cutting board or countertop. Use a rolling pin to evenly press down on the bread, applying gentle pressure as you roll back and forth.
Continue rolling the pin over the bread until it turns into fine crumbs. Make sure to cover the entire surface area of the bread to achieve uniform results. The rolling pin method may require a bit more effort compared to other methods, but it is simple and effective.
Once the bread has been crushed into crumbs, transfer them to a bowl. Take a moment to break up any larger clumps with your fingers, ensuring that the breadcrumbs are of even consistency throughout.
These breadcrumbs can be used immediately or stored for later use. To store them, place the breadcrumbs in an airtight container and keep them in a cool, dry location. They will remain fresh for several weeks, ready to add texture and flavor to your favorite recipes.
The rolling pin method is not only practical but also allows you to control the texture of the breadcrumbs. If you prefer finer crumbs, apply firmer pressure while rolling. For coarser breadcrumbs, use a lighter touch to leave them slightly chunkier.
Whether you’re coating chicken fingers or topping a casserole dish, the rolling pin method is an excellent alternative to using a food processor. It’s a great way to make breadcrumbs with just a few simple tools that are available in most kitchens.
You can make bread crumbs without a food processor by using a grater or blender to finely grate stale bread. You can also place the bread in a resealable plastic bag and crush it with a rolling pin or mallet.
Method 4: Grater Method
If you don’t have a food processor or a blender, another handy method for making breadcrumbs is by using a grater. This method requires a box grater with a fine grating side, preferably one with larger holes to prevent the bread from getting stuck.
Start by selecting a few slices of bread, preferably stale bread for better results. Hold the grater firmly and position it over a clean bowl or plate to catch the grated bread. Take the bread slice and rub it against the fine grating side of the grater in a downward motion.
Continue grating the bread slice until the entire slice has been grated. You may need to apply gentle pressure and use a circular motion to facilitate the grating process. Be cautious of your fingers and keep them away from the grating surface to avoid any accidents.
Repeat this process with additional bread slices until you have enough grated bread crumbs for your recipe. Take a moment to break up any larger clumps with your fingers, ensuring that the breadcrumbs are of even consistency.
The grated breadcrumbs can be used immediately or stored for later use. Keep them in an airtight container in a cool, dry place. They will stay fresh for several weeks, ready to add texture and crunch to your dishes.
The grater method is an efficient way to make breadcrumbs without a food processor. It creates fine, uniform crumbs, perfect for coating meats or adding a breadcrumb topping to casseroles. Plus, using a grater allows you to control the size and texture of the breadcrumbs according to your preference.
So, if you have a grater in your kitchen, give this method a try and enjoy the convenience of homemade breadcrumbs without the need for specialized equipment.
Read more: How To Make Pesto Without A Food Processor
Method 5: Mortar and Pestle Method
For those who enjoy a hands-on approach and have a mortar and pestle in their kitchen, the mortar and pestle method is a fantastic option for making breadcrumbs. This traditional method allows you to crush the bread into fine crumbs with precision and control.
Begin by tearing or cutting a few slices of bread, preferably stale bread for better results. Place the bread pieces into the mortar, ensuring that you have enough space to comfortably crush and grind them.
Using the pestle, apply steady pressure and begin grinding the bread in a circular motion. Crush the bread into smaller pieces, working systematically to achieve a consistent texture throughout.
Continue grinding and crushing the bread until it reaches the desired breadcrumb consistency. You may need to adjust the pressure and grinding motion depending on the bread’s texture and moisture content. Be patient and take your time to ensure uniform results.
Once the bread has been crushed into fine crumbs, transfer them to a bowl. Use your fingers or a spoon to break up any larger clumps, ensuring that the breadcrumbs are of even size and texture.
Store the breadcrumbs in an airtight container in a cool, dry place, and they will remain fresh for several weeks. Now you can use these homemade breadcrumbs to elevate your recipes and add a crispy coating or a flavorful topping.
The mortar and pestle method may require a bit more effort compared to other techniques, but it provides a satisfying hands-on experience and allows you to control the texture of the breadcrumbs. It’s perfect for those who enjoy the traditional method of food preparation and appreciate the art of grinding ingredients by hand.
So, if you have a mortar and pestle in your kitchen, give this method a try and enjoy the process of transforming bread into fine, flavorful breadcrumbs.
Conclusion
Making breadcrumbs without a food processor is easier than you might think. With just a few simple household tools and some creativity, you can create delicious homemade breadcrumbs that will enhance the texture and flavor of your favorite recipes.
In this article, we explored five different methods for making breadcrumbs without a food processor: the manual crushing method, blender method, rolling pin method, grater method, and mortar and pestle method. Each method offers its unique benefits and allows you to control the texture of the breadcrumbs according to your preference.
Whether you prefer fine crumbs for coating chicken or chunkier breadcrumbs for adding texture to casseroles, there is a method that suits your needs. Remember to use stale bread for better results, as it tends to yield drier and crunchier breadcrumbs.
Once you have made your homemade breadcrumbs, you can use them immediately in your recipes or store them for future use. Store them in an airtight container in a cool, dry place, and they will stay fresh for several weeks, ready to elevate your culinary creations.
By making breadcrumbs without a food processor, you not only save time and effort but also have the satisfaction of knowing that you created something from scratch. It allows you to be resourceful in the kitchen and explore different techniques to achieve the desired results.
So, the next time you find yourself without a food processor, don’t fret. Just grab a rolling pin, a grater, or a mortar and pestle, and get creative with making your own breadcrumbs. Enjoy the process and the flavorful results they bring to your dishes!
Frequently Asked Questions about How To Make Bread Crumbs Without Food Processor
Was this page helpful?
At Storables.com, we guarantee accurate and reliable information. Our content, validated by Expert Board Contributors, is crafted following stringent Editorial Policies. We're committed to providing you with well-researched, expert-backed insights for all your informational needs.

0 thoughts on “How To Make Bread Crumbs Without Food Processor”