Articles
How To Make Hummus Without A Food Processor
Modified: September 2, 2024
Learn how to make delicious hummus without the need for a food processor. Follow our step-by-step guide and enjoy homemade hummus in no time!
(Many of the links in this article redirect to a specific reviewed product. Your purchase of these products through affiliate links helps to generate commission for Storables.com, at no extra cost. Learn more)
Introduction
Do you love hummus but don’t have a food processor? Don’t worry – you can still enjoy this delicious and healthy dip with just a few simple steps. Making hummus without a food processor is easier than you might think, and it allows you to savor the homemade goodness without the need for fancy equipment.
Hummus is a popular Middle Eastern dip made from cooked and mashed chickpeas, blended with tahini, lemon juice, garlic, and olive oil. It’s not only incredibly tasty but also packed with essential nutrients like protein, fiber, and healthy fats. Whether you’re looking for a quick and easy snack, a party appetizer, or a tasty spread for sandwiches and wraps, hummus is a versatile and nutritious option.
While a food processor is commonly used to make hummus, not everyone has this appliance in their kitchen. But that doesn’t mean you have to miss out on enjoying homemade hummus. With just a few basic kitchen tools and a little bit of patience, you can create a creamy and flavorful hummus that will rival store-bought versions.
In this article, we’ll guide you through the process of making hummus without a food processor. We’ll share the ingredients you’ll need and the step-by-step instructions to achieve that smooth and creamy texture we all love. So let’s get started and learn how to make delicious homemade hummus, even without a food processor!
Key Takeaways:
- Enjoy homemade hummus without a food processor using basic kitchen tools. Customize flavors, control ingredients, and savor the satisfaction of creating a healthier, tastier dip from scratch.
- Transform chickpeas into creamy hummus with blending or mashing methods. Adjust consistency, add flavorful ingredients, and serve with your favorite accompaniments for a delightful homemade snack or appetizer.
Read more: How To Make Pesto Without A Food Processor
Ingredients
To make hummus without a food processor, you’ll need the following ingredients:
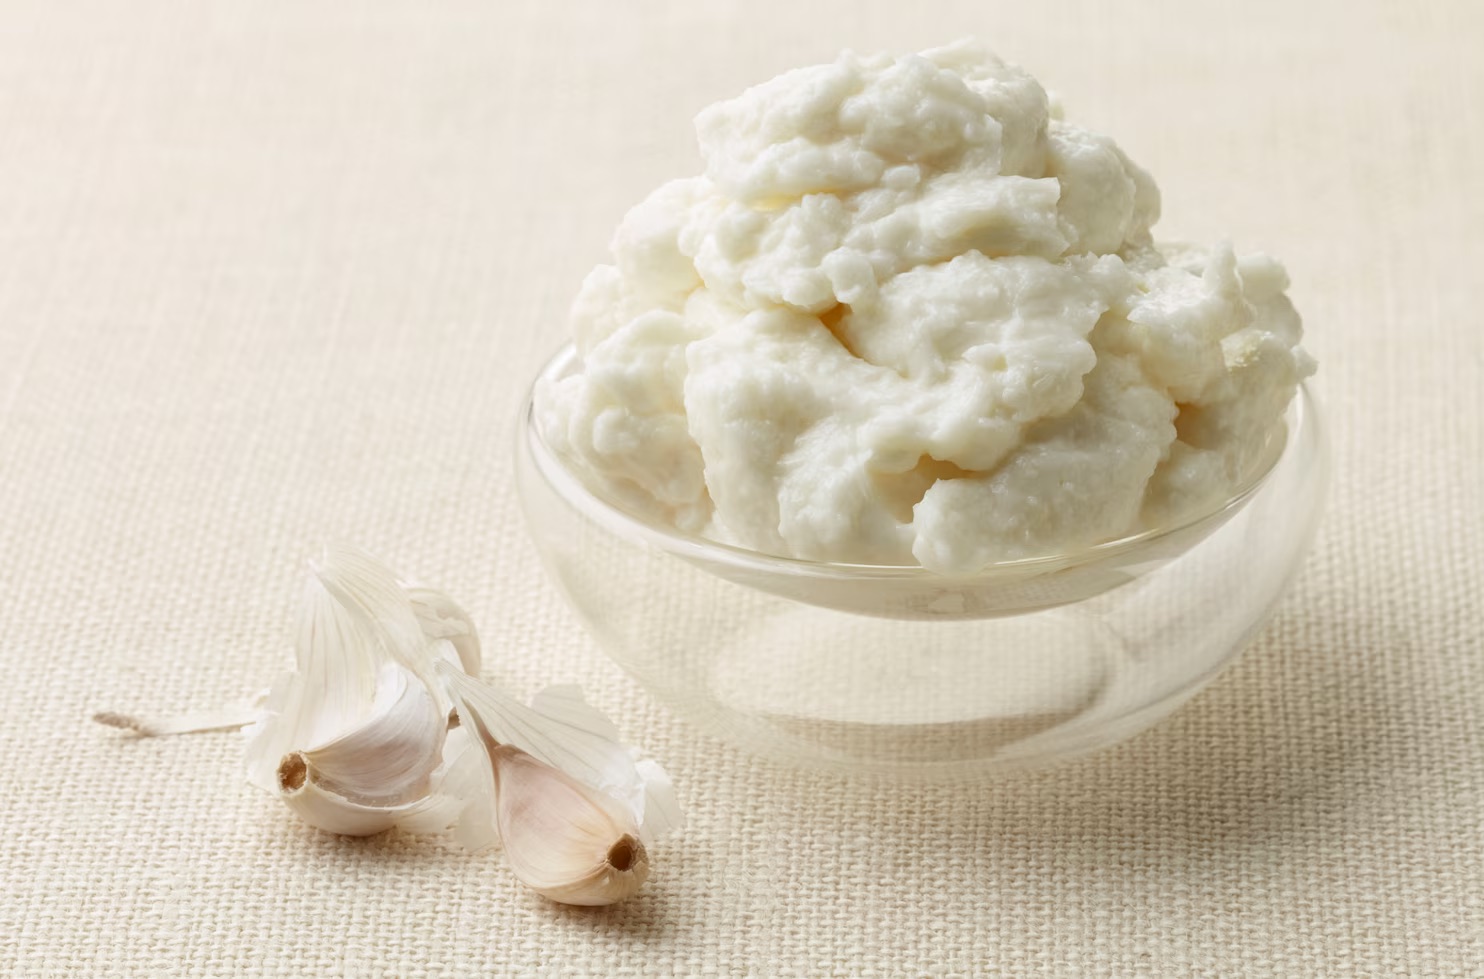
- 1 can (15 ounces) of chickpeas (also known as garbanzo beans)
- 3 tablespoons of tahini
- 2 tablespoons of olive oil
- 1 garlic clove, minced
- Juice of 1 lemon
- 1/2 teaspoon of cumin
- 1/2 teaspoon of salt (adjust to taste)
- Water (as needed to adjust the consistency)
- Optional toppings: olive oil, paprika, chopped herbs, or sesame seeds
These ingredients are readily available in most grocery stores, and you may already have them in your pantry. Chickpeas are the primary ingredient in hummus, providing a creamy base and a good source of plant-based protein and fiber. Tahini, made from ground sesame seeds, adds a rich and nutty flavor to the dip. The olive oil, garlic, lemon juice, cumin, and salt bring additional layers of taste and aroma.
Feel free to customize the recipe to your liking by adding spices like paprika, cayenne pepper, or roasted red pepper flakes. You can also experiment with different herbs and seasonings to create unique flavor profiles. Don’t be afraid to get creative and make the hummus your own!
Now that you have all the ingredients ready, it’s time to move on to the next step and start making your homemade hummus without a food processor.
Step 1: Gather the Ingredients
Before you begin making hummus without a food processor, make sure you have all the ingredients on hand. This will ensure a smooth and efficient cooking process. Collect the following items:
- 1 can (15 ounces) of chickpeas
- 3 tablespoons of tahini
- 2 tablespoons of olive oil
- 1 garlic clove, minced
- Juice of 1 lemon
- 1/2 teaspoon of cumin
- 1/2 teaspoon of salt (adjust to taste)
- Water (as needed to adjust the consistency)
- Optional toppings: olive oil, paprika, chopped herbs, or sesame seeds
Once you have gathered all the ingredients, make sure you have the necessary kitchen tools within reach. You will need a mixing bowl, a potato masher or a fork, a whisk or a spoon for stirring, and a measuring utensil.
Ensure that the chickpeas are drained and rinsed thoroughly. Removing excess liquid from the canned chickpeas will help achieve the desired consistency. Tahini, which is a key ingredient in hummus, can sometimes separate in the jar. Give it a good stir before measuring it out to ensure an even distribution of oils and solids.
With all the ingredients gathered and prepped, you are now ready to move on to the next step: preparing the chickpeas.
Step 2: Prepare the Chickpeas
Now that you have gathered all the necessary ingredients, it’s time to prepare the chickpeas for your homemade hummus. Follow these simple steps to ensure they are ready for blending or mashing:
- Drain and rinse the chickpeas: Open the can of chickpeas and pour them into a colander or strainer. Rinse them thoroughly under cold running water to remove any excess salt or brine.
- Peel the skins (optional): While not necessary, removing the skins can help achieve a smoother and creamier texture. Simply pinch each chickpea between your thumb and index finger to remove the skin. This step takes a bit of time and patience, but it can be worth it if you prefer a silky smooth hummus.
- Dry the chickpeas: After rinsing and peeling (if desired), pat the chickpeas dry with a clean kitchen towel or paper towels. Removing excess moisture will prevent a watery consistency in your hummus.
Preparing the chickpeas is an essential step in making hummus. By rinsing, peeling, and drying the chickpeas, you minimize any unwanted flavors or textures and ensure a clean base for the dip.
Once the chickpeas are properly prepared, you can move on to the next step: blending or mashing them to create a smooth and creamy texture. Keep reading to learn how to accomplish this without a food processor.
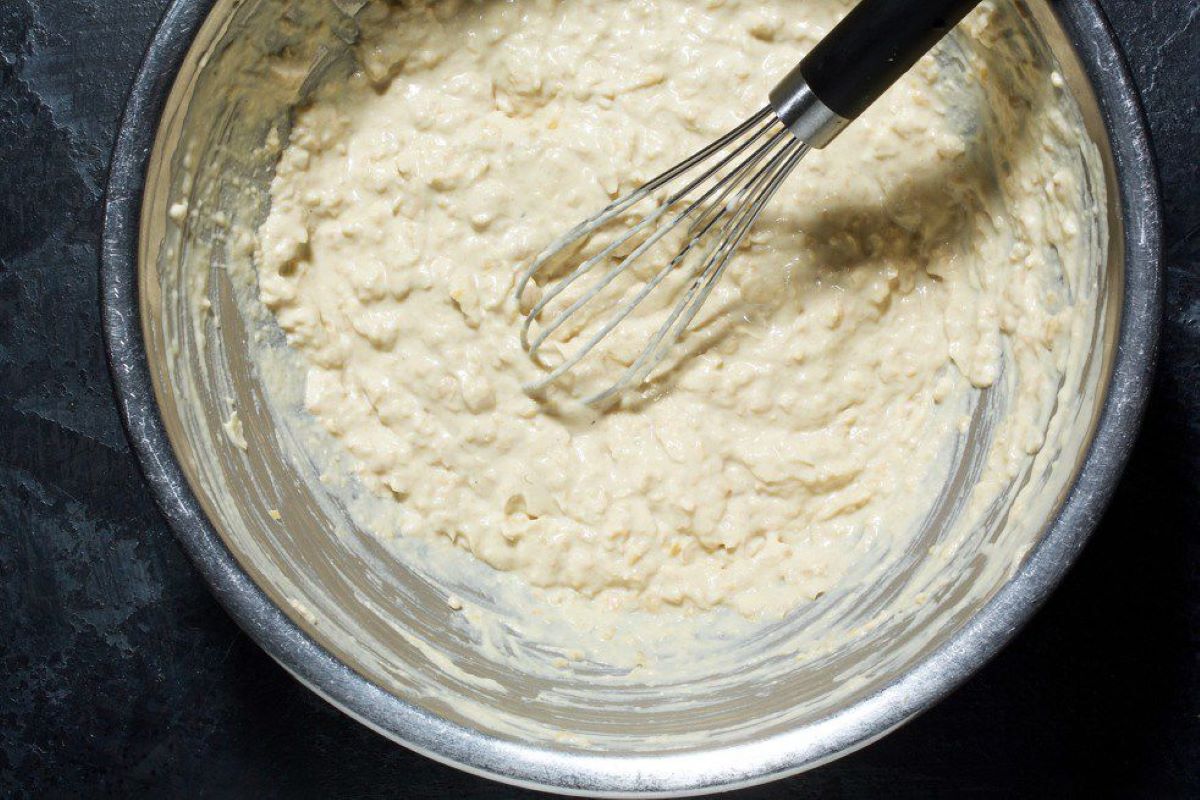
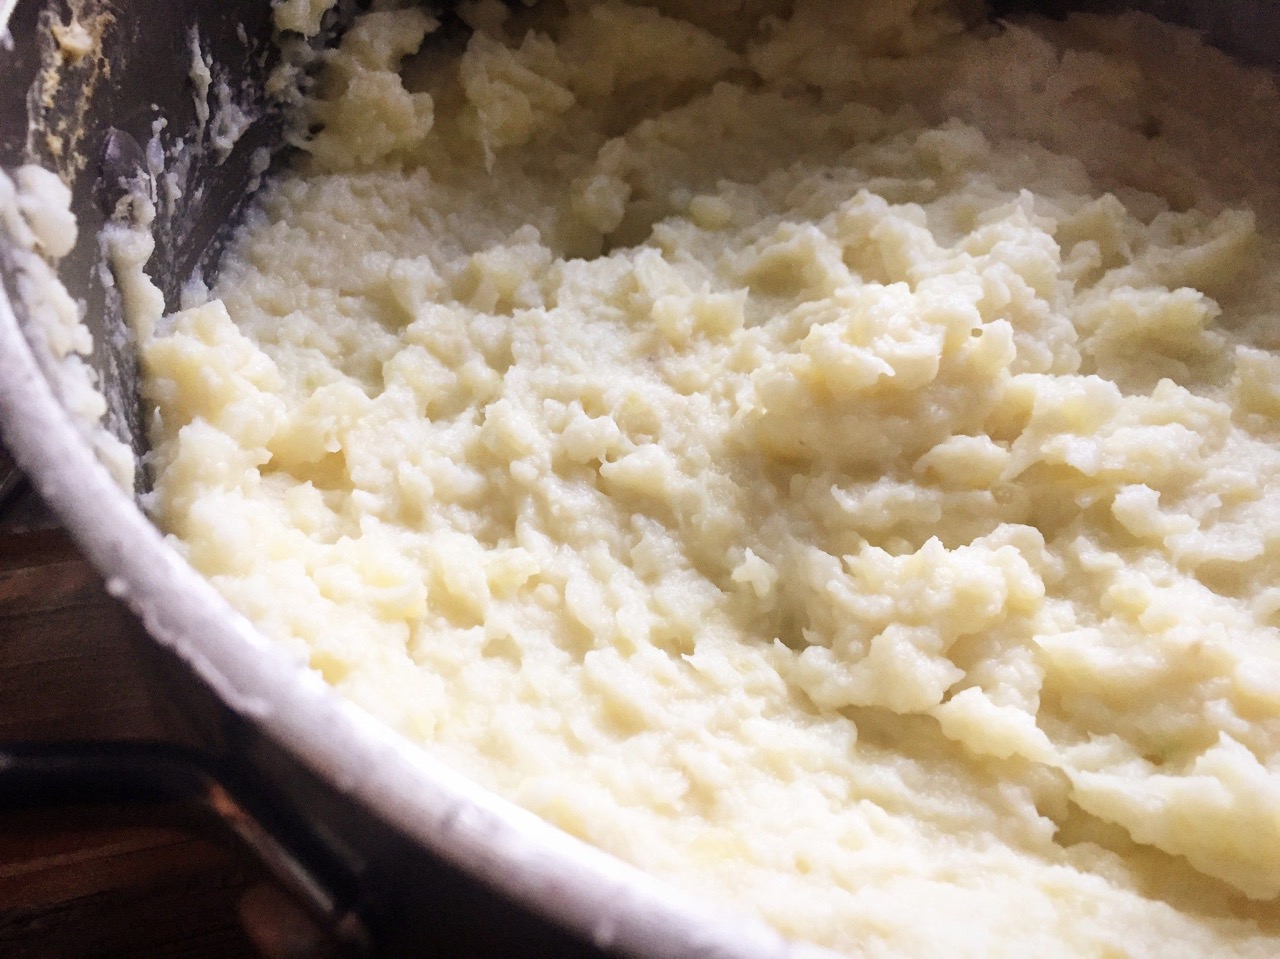
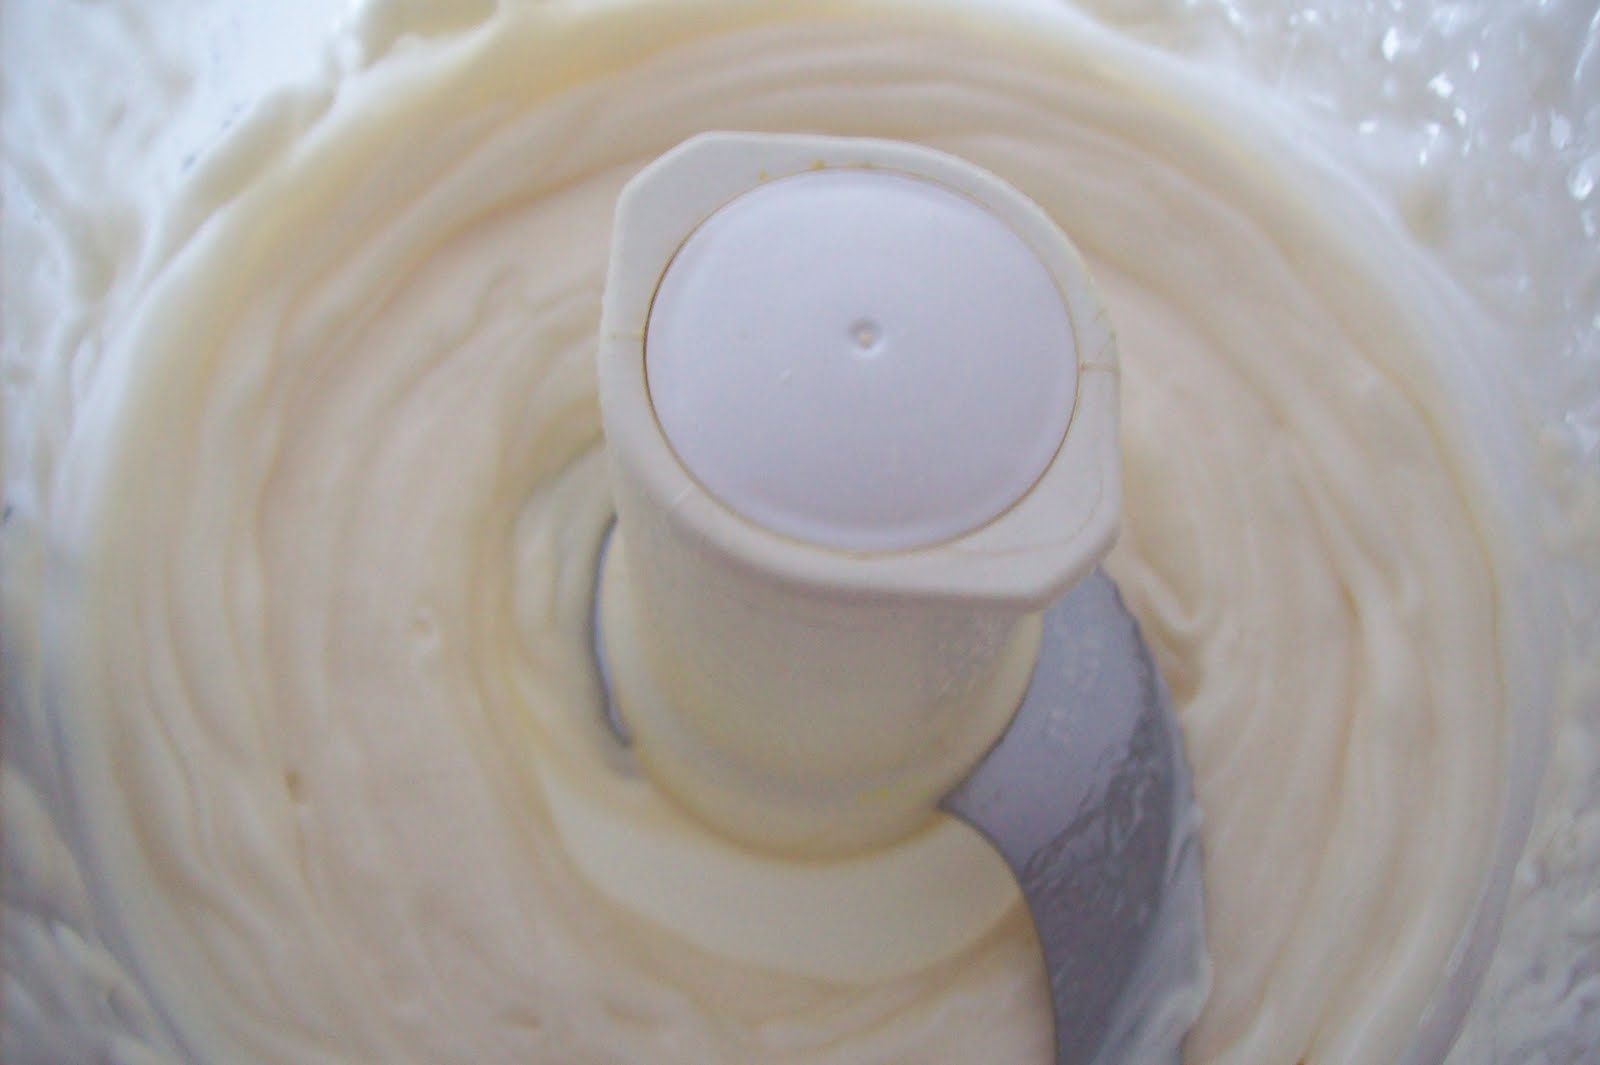
Step 3: Blend or Mash the Chickpeas
With the prepared chickpeas at the ready, it’s time to transform them into a smooth and creamy base for your hummus. In this step, we’ll explore two methods: blending and mashing. Choose the method that best suits the kitchen tools you have available:
Read more: How To Make Falafel Without A Food Processor
Blending Method:
- Transfer the prepared chickpeas to a mixing bowl.
- Using a blender or an immersion blender, puree the chickpeas until they reach a smooth consistency. Start on low speed and gradually increase to high speed to ensure a thorough blend.
- If the mixture is too thick and difficult to blend, add a small amount of water or olive oil, about a tablespoon at a time, until the desired consistency is achieved. The hummus should be smooth and spreadable.
Mashing Method:
- Place the prepared chickpeas in a mixing bowl.
- Using a potato masher, a fork, or the back of a sturdy spoon, start mashing the chickpeas. Apply firm pressure and continue mashing until they are well broken down.
- Mash the chickpeas until they resemble a paste-like consistency. This process may take a bit longer than blending, but it can still produce delicious hummus.
- If the texture is too chunky, you can continue mashing or use a whisk to further smooth out the mixture.
Both methods will result in a creamy base for your hummus, but blending tends to yield a slightly smoother texture. However, don’t worry if you don’t have a blender or prefer a more rustic texture – mashing the chickpeas works just as well.
Once you have achieved the desired texture, it’s time to move on to the next step: adding the remaining ingredients to enhance the flavor of your hummus.
Step 4: Add the Remaining Ingredients
Now that you have a smooth and creamy chickpea base for your hummus, it’s time to add the remaining ingredients to enhance its flavor. Follow these steps to achieve a delicious and well-balanced dip:
- Add tahini: Measure out 3 tablespoons of tahini and add it to the bowl containing the mashed or blended chickpeas. Tahini is a key ingredient in hummus, providing a rich and nutty flavor.
- Squeeze in lemon juice: Freshly squeeze the juice of 1 lemon into the bowl. The acidity of the lemon juice brightens the flavors and adds a tangy kick to your hummus.
- Minced garlic: Add 1 minced garlic clove for a subtle garlicky taste. Adjust the amount to your preference, adding more or less depending on how strong you like it.
- Season with cumin and salt: Sprinkle in 1/2 teaspoon of cumin and 1/2 teaspoon of salt to enhance the overall taste. Feel free to adjust the amount of salt to suit your personal preference.
By adding these ingredients, you will infuse your hummus with a robust and flavorful profile. The tahini adds richness, the lemon juice provides brightness, the garlic adds a savory note, and the cumin and salt contribute depth of flavor.
Once all the remaining ingredients are in the bowl, it’s time to move on to the next step: adjusting the consistency of your hummus to your liking.
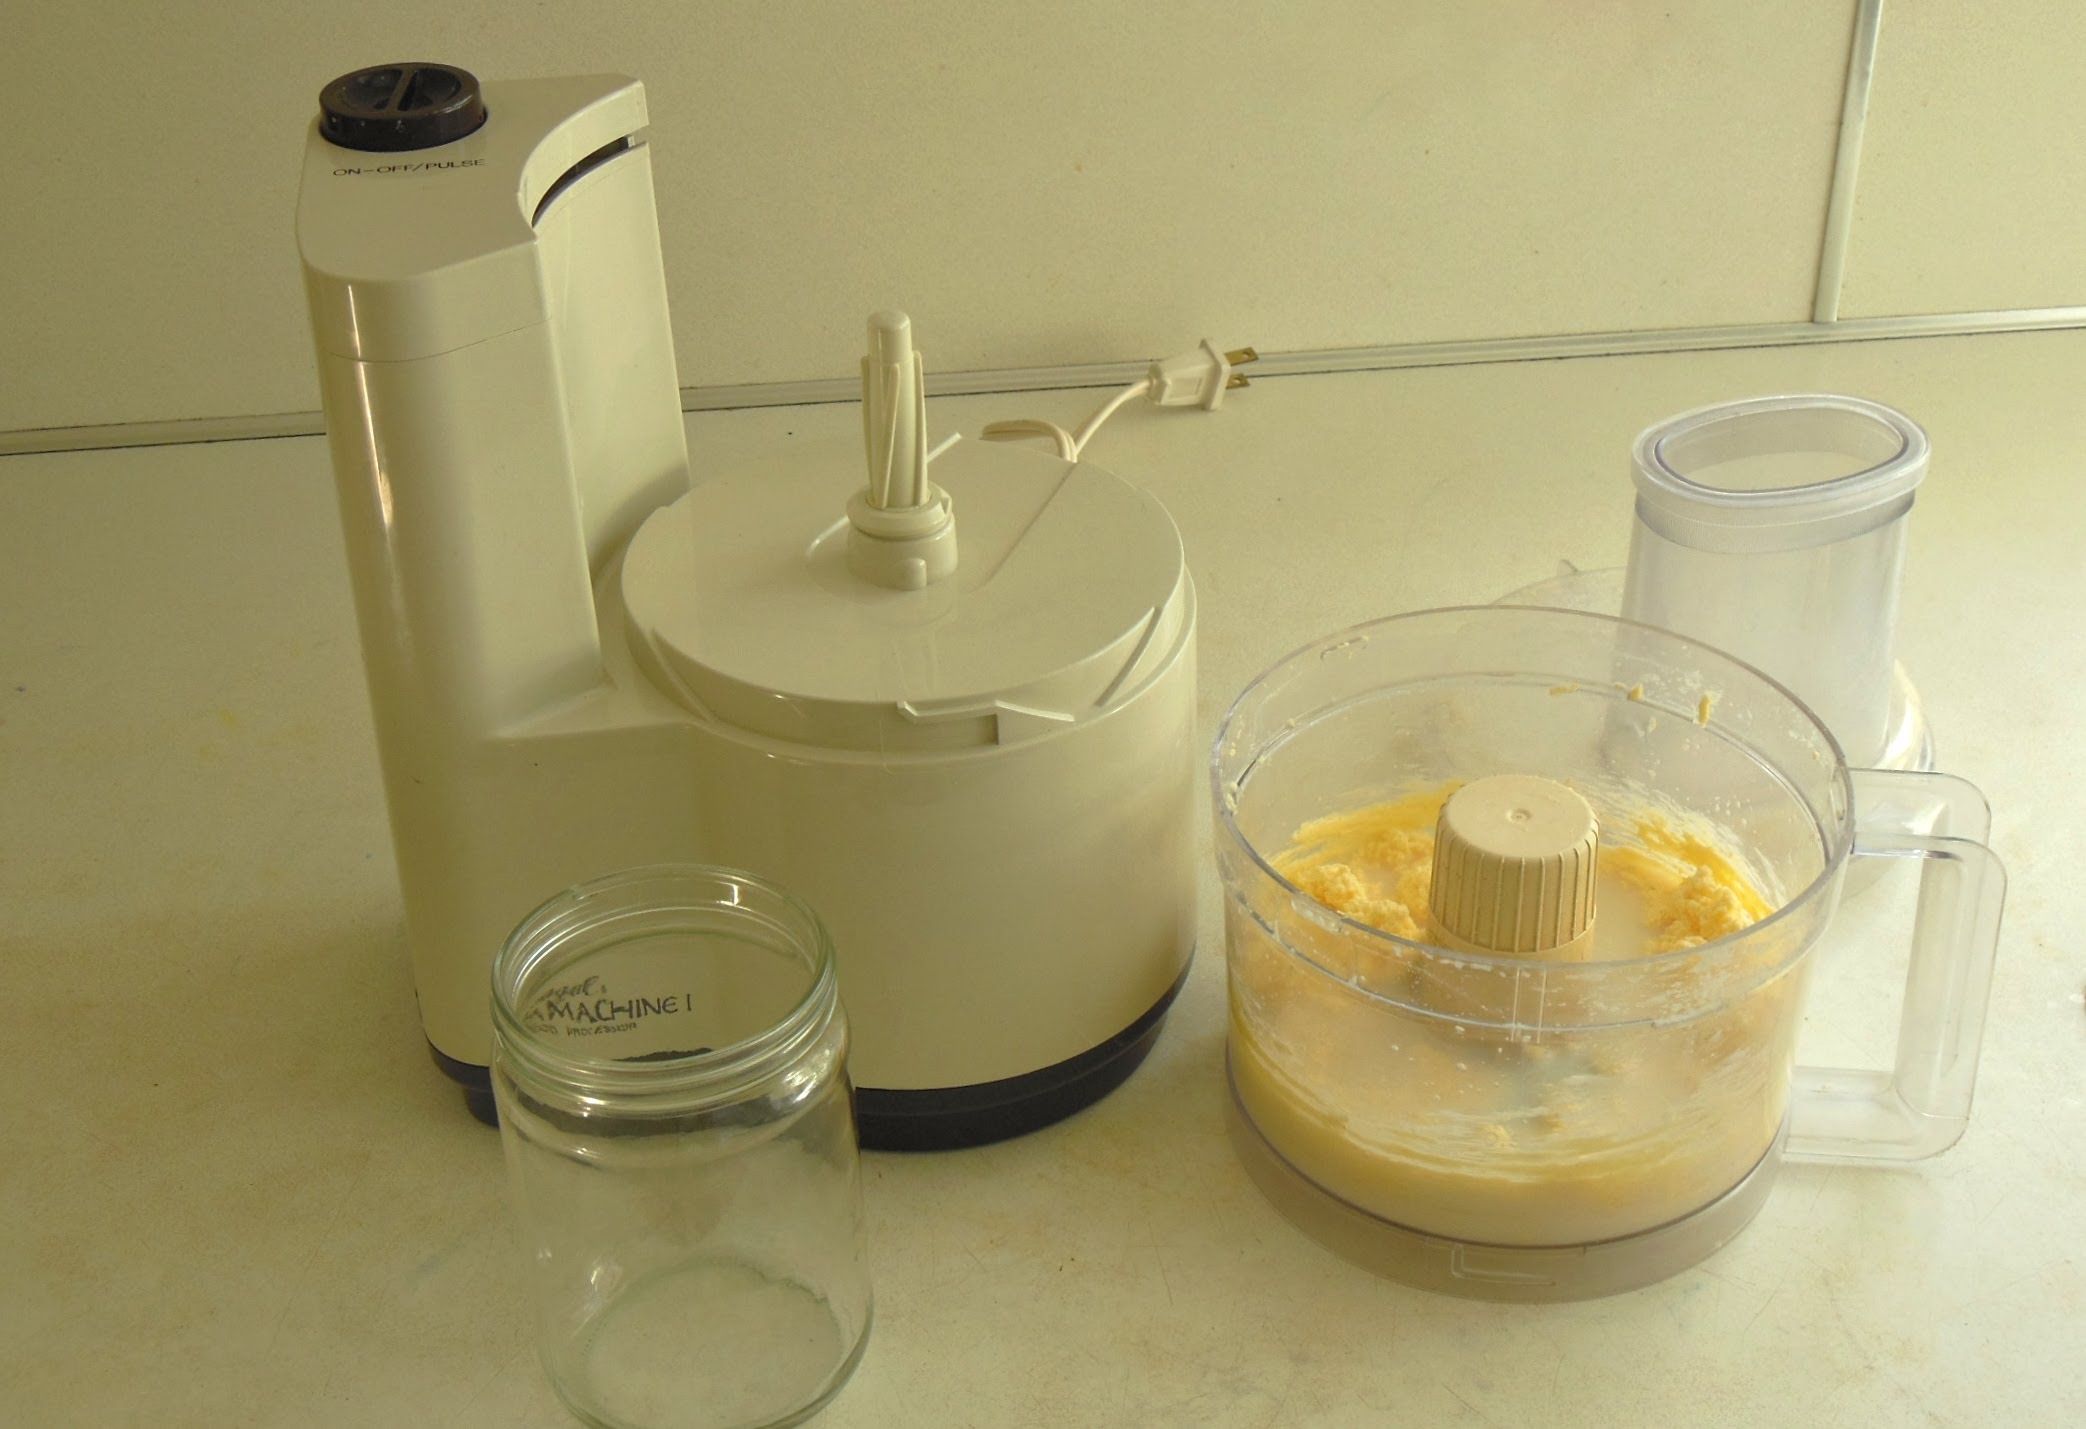
You can make hummus without a food processor by using a blender or a hand mixer. Simply blend the ingredients until smooth and creamy, adding a little extra olive oil or water if needed to achieve the desired consistency.
Step 5: Adjust the Consistency
Now that you have all the key ingredients mixed together, it’s time to evaluate and adjust the consistency of your hummus. The texture of hummus can range from thick and creamy to more thin and spreadable, depending on personal preference. Follow these steps to achieve the desired consistency:
- Assess the thickness: Take a look at your hummus and evaluate its thickness. If it appears too thick and dense, you can gradually add water or olive oil to thin it out. Start with a small amount, about a tablespoon at a time, and mix well. Continue adding liquid until the hummus reaches your desired consistency.
- Blend or whisk: To incorporate the additional liquid and maintain a smooth texture, use a blender, an immersion blender, or a whisk to mix everything together. Blend or whisk until the hummus is well combined and silky in texture.
- Taste and adjust seasoning: Take a small spoonful of your hummus and taste it. Adjust the seasoning according to your preferences. If it needs more salt, cumin, or any other spices, add them gradually and mix well until you achieve the desired flavor.
Remember that the consistency of hummus can vary depending on its purpose. If you plan to use it as a dip, you may prefer a thicker, more substantial texture. On the other hand, if you want to use it as a spread or dressing, a thinner consistency might be more suitable.
Once you have achieved the perfect consistency and flavor for your hummus, it’s time to move on to the final step: serving and enjoying your homemade creation!
Step 6: Serve and Enjoy
Congratulations! You have successfully made homemade hummus without a food processor. Now it’s time to savor the delicious dip you’ve created. Follow these final steps to serve and enjoy your hummus:
- Transfer the hummus to a serving bowl: Use a spatula or a spoon to transfer the hummus from the mixing bowl to a clean serving bowl. This will give it a polished and appetizing presentation.
- Garnish the hummus (optional): If desired, drizzle a little olive oil over the top of the hummus for an extra touch of richness and shine. You can also sprinkle on some paprika, chopped herbs, or sesame seeds for added flavor and visual appeal.
- Serve with accompaniments: Hummus pairs well with a variety of accompaniments. Cut up some fresh vegetables like carrots, celery, cucumbers, and bell peppers for a crunchy and refreshing combination. You can also serve it with pita bread, tortilla chips, pretzels, or even as a spread on sandwiches or wraps.
Now that your hummus is ready to be enjoyed, dig in and indulge in the creamy, flavorful goodness. Take the time to appreciate the homemade taste and the satisfaction of creating something delicious with your own hands.
Any leftovers can be stored in an airtight container in the refrigerator for up to a week. Simply give it a stir before serving again.
Homemade hummus is not only a delicious and versatile snack, but it’s also a healthier alternative to store-bought options. By making it yourself, you can control the ingredients, adjust the flavors to your liking, and avoid any unnecessary preservatives or additives.
So gather your friends and family, serve up your homemade hummus, and enjoy the delightful flavors together. Your effort and creativity will be appreciated, and you will likely find yourself making this tasty dip again and again.
Now, go ahead and indulge in the deliciousness of your homemade hummus. Bon appétit!
Conclusion
Congratulations on learning how to make hummus without a food processor! You have discovered that with just a few simple steps and basic kitchen tools, you can create a creamy and flavorful dip that will impress your taste buds and those of your guests. Making hummus from scratch allows you to customize the flavors, control the ingredients, and enjoy a healthier and more satisfying snack.
By following the steps outlined in this article, you now have the knowledge and confidence to whip up a batch of homemade hummus whenever the craving strikes. Whether you choose to blend or mash the chickpeas, adjust the consistency, or experiment with different seasonings, the end result will be a delicious and nutritious dip that you can be proud of.
Remember, hummus is a versatile and adaptable dish. You can modify it to suit your own taste preferences and dietary needs. Feel free to add additional spices, herbs, or even roasted vegetables to create your own unique variations. The possibilities are endless!
Now that you have mastered the art of making hummus without a food processor, you can enjoy this delightful dip as a snack, appetizer, or even as a tasty spread on sandwiches and wraps. Share your homemade hummus with family and friends, and let them marvel at your culinary skills.
So, what are you waiting for? Start gathering the ingredients, prepare the chickpeas, blend or mash, add the remaining ingredients, adjust the consistency, and serve it up with your favorite accompaniments. With each bite of your homemade hummus, you’ll savor the rich and satisfying flavors that can only come from a dish made with love and creativity.
Enjoy the journey of making hummus without a food processor and revel in the joy of creating something delicious from scratch. Happy hummus-making!
Frequently Asked Questions about How To Make Hummus Without A Food Processor
Was this page helpful?
At Storables.com, we guarantee accurate and reliable information. Our content, validated by Expert Board Contributors, is crafted following stringent Editorial Policies. We're committed to providing you with well-researched, expert-backed insights for all your informational needs.

0 thoughts on “How To Make Hummus Without A Food Processor”