Articles
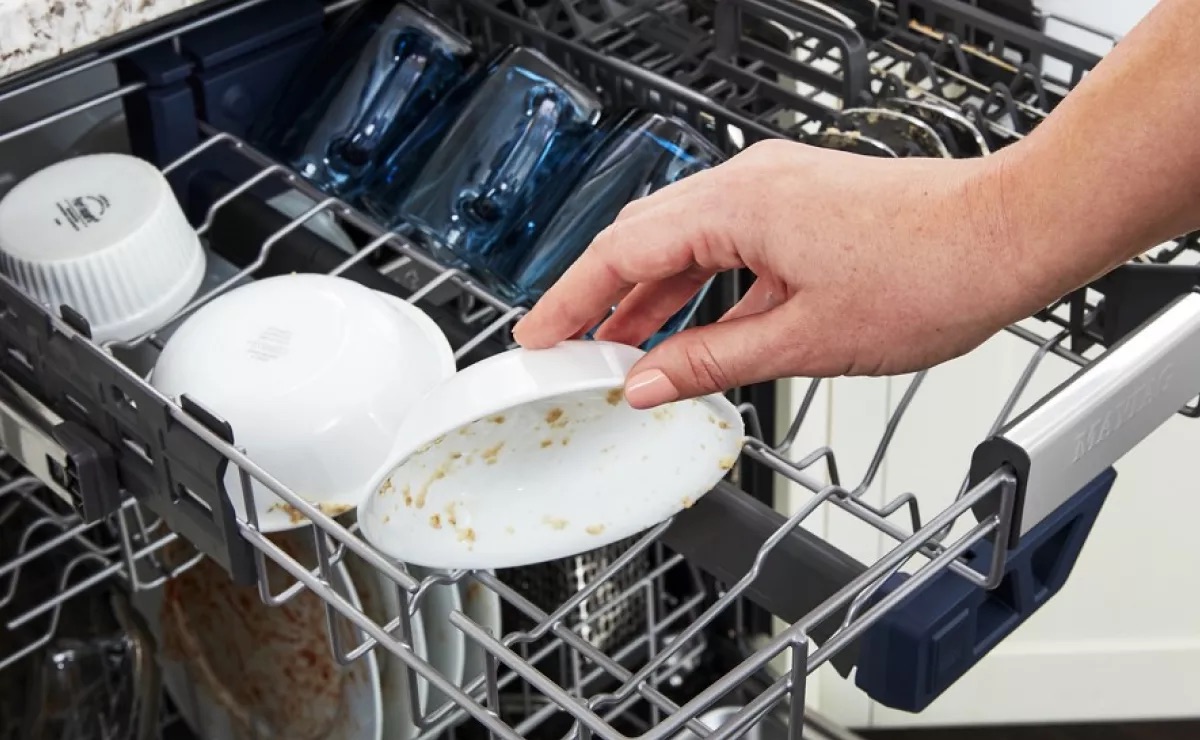
How To Install Maytag Dishwasher
Modified: September 2, 2024
Learn how to install a Maytag dishwasher with this helpful articles that provides step-by-step instructions and expert tips. Simplify your kitchen cleanup now!
(Many of the links in this article redirect to a specific reviewed product. Your purchase of these products through affiliate links helps to generate commission for Storables.com, at no extra cost. Learn more)
Introduction
Welcome to our comprehensive guide on how to install a Maytag dishwasher. Whether you’re upgrading your kitchen appliances or replacing an old dishwasher, knowing the proper installation techniques is essential for a successful and hassle-free process. A well-installed dishwasher not only enhances the functionality of your kitchen but also adds value to your home.
In this article, we will walk you through the step-by-step process of installing a Maytag dishwasher. From gathering the necessary tools and materials to connecting the water supply and electrical wiring, we’ve got you covered. By following this guide, you can confidently tackle the installation on your own, saving both time and money.
Before we dive into the installation process, it’s important to note that safety should always be your top priority. Make sure to read and follow the manufacturer’s instructions provided with your Maytag dishwasher. If you’re uncertain about any step or encounter any difficulties, it’s best to consult a professional or contact Maytag customer support for assistance.
Now, let’s get started with the first step in installing your Maytag dishwasher: gathering the necessary tools and materials.
Key Takeaways:
- Proper installation of a Maytag dishwasher involves gathering the necessary tools, preparing the installation area, removing the old dishwasher (if applicable), adjusting the height, and connecting the water supply and electrical wiring.
- Testing the dishwasher after installation is crucial to ensure all connections are secure, proper water drainage, and efficient operation. Finalizing the installation includes cleaning the exterior, running a cleaning cycle, and reviewing the user manual for maintenance and care instructions.
Read more: How To Clean Filter On Maytag Dishwasher
Step 1: Gather the necessary tools and materials
Before you begin the installation process, it’s important to gather all the required tools and materials. Having everything on hand will save you time and ensure a smooth installation. Here’s a list of the items you’ll need:
- Maytag dishwasher (with installation instructions)
- Adjustable wrench
- Screwdriver (Phillips and flathead)
- Tape measure
- Level
- Drill (if needed for securing the dishwasher)
- Gloves (for safety)
- Water supply line
- Drain hose and clamp
- Electrical cord or wire (if not provided with the dishwasher)
- Wire connectors
- Teflon tape or pipe thread sealant
Make sure you have all the tools and materials readily available before you start the installation. This will prevent unnecessary delays or interruptions during the process.
Additionally, it’s a good idea to wear protective gloves while handling the dishwasher and working with any tools. This will protect your hands from sharp edges and any potential accidents.
Once you have gathered all the necessary tools and materials, you’re ready to move on to the next step: preparing the installation area.
Step 2: Prepare the installation area
Preparing the installation area is an important step to ensure a smooth and successful dishwasher installation. Before you begin, make sure you have cleared out the area where the dishwasher will be installed. Remove any items, such as pots, pans, or small appliances, from the surrounding cabinets and countertop.
Next, ensure that you have enough space for the dishwasher. Measure the height, width, and depth of the space to ensure it can accommodate the dimensions of your Maytag dishwasher. Refer to the installation instructions provided with your dishwasher for the specific measurements.
Once you have confirmed that the installation area is clear and has enough space, it’s time to check the flooring for stability. A level and sturdy floor is necessary to prevent any imbalance or movement of the dishwasher during operation. Use a level to check if the floor is even and adjust if needed.
Additionally, consider the proximity of the installation area to the electrical outlet and water supply. Ensure that the dishwasher’s power cord and water supply line can comfortably reach their respective connections without any strain or stretching.
Finally, if your Maytag dishwasher requires a built-in installation, make sure you have the necessary materials to secure it to the surrounding cabinets. Follow the manufacturer’s instructions for proper securing methods and ensure that the cabinets are strong enough to support the dishwasher’s weight.
By adequately preparing the installation area, you are setting the foundation for a successful installation process. Now that the area is ready, we can proceed to the next step: removing the old dishwasher (if applicable).
Step 3: Remove the old dishwasher (if applicable)
If you are replacing an existing dishwasher, you’ll need to remove the old one before installing your Maytag dishwasher. Follow these steps to safely remove the old dishwasher:
- Turn off the power: Locate the circuit breaker or disconnect switch for the dishwasher and turn off the power. This will prevent any electrical accidents during the removal process.
- Disconnect the water supply: Locate the shut-off valve under the sink and turn it clockwise to shut off the water supply. Place a bucket or towel under the valve to catch any residual water.
- Disconnect the drain hose: The drain hose is usually connected to the sink drain or garbage disposal. Use pliers to loosen the hose clamp and slide it off the connection. Make sure to have a bucket or towel handy to catch any water that may come out of the hose.
- Disconnect the electrical wiring: If the dishwasher is hardwired, turn off the circuit breaker for the dishwasher at the main electrical panel. If it is plugged in, unplug the power cord from the outlet. Take caution when handling electrical wires and ensure that they are properly disconnected.
- Remove the mounting brackets: Most dishwashers are secured to the countertop with mounting brackets. Use a screwdriver to remove the screws and brackets holding the dishwasher in place. Be sure to support the dishwasher as you remove the last few screws to prevent it from falling.
- Slide out the dishwasher: Carefully pull the dishwasher out from its cavity, taking note of any hoses or wires that may still be connected. Have someone assist you if needed to ensure a safe removal.
Once the old dishwasher is removed, you can proceed to the next step: measuring and adjusting the height for your new Maytag dishwasher.
Step 4: Measure and adjust the dishwasher height
Before installing your Maytag dishwasher, it’s crucial to ensure that it fits perfectly within the designated space. Here’s how to measure and adjust the height of your dishwasher:
- Measure the height: Using a tape measure, measure the height of the dishwasher space from the floor to the underside of the countertop. Make note of this measurement as it will help you determine if any adjustments need to be made.
- Adjust the dishwasher legs: Most dishwashers come with adjustable legs to accommodate for variations in cabinet height. Check the manufacturer’s instructions to locate the leg adjustment mechanism. Use a wrench or screwdriver to adjust the leg height accordingly. Aim to achieve a level dishwasher when it is installed.
- Check for additional height adjustments: In some cases, you may need to remove the dishwasher’s toe kick panel to access additional height-adjustment screws or knobs. Refer to the manufacturer’s instructions for guidance on any additional adjustments that may be required.
- Re-measure the height: Once you have made the necessary adjustments to the dishwasher legs, re-measure the height of the dishwasher space. Ensure that the dishwasher now fits within the allotted space and that there is sufficient clearance underneath the countertop.
Properly adjusting the height of your dishwasher is crucial for its optimal performance and aesthetic appeal. Once you’ve successfully adjusted the height, you can move on to the next step: connecting the water supply.
Read more: How To Reset Maytag Dishwasher
Step 5: Connect the water supply
Connecting the water supply is an essential step in the installation of your Maytag dishwasher. Here’s how you can efficiently connect the water supply:
- Locate the water supply valve: Underneath the sink, find the water supply valve that connects to the dishwasher. It is typically located on the hot water line.
- Turn off the water supply: Turn the water supply valve clockwise to shut off the water flow. This step is crucial to prevent any leaks or water damage during the installation.
- Prepare the water supply line: Take the water supply line and wrap some Teflon tape or apply pipe thread sealant on the threaded end. This helps create a watertight connection.
- Connect the water supply line: Attach one end of the water supply line to the water supply valve under the sink. Use an adjustable wrench to tighten the connection securely.
- Connect the other end to the dishwasher: Locate the water inlet valve on the bottom front of the dishwasher. Insert the other end of the water supply line into the valve and tighten it with an adjustable wrench.
- Slowly turn on the water supply: Gradually turn the water supply valve counterclockwise to allow water to flow into the dishwasher. Check for any leaks around the connections and ensure a tight seal.
Once you have successfully connected the water supply, you can proceed to the next step: connecting the drain hose.
Before installing a Maytag dishwasher, make sure to measure the space to ensure it fits properly. Also, check the electrical and plumbing connections to ensure they are compatible with the new dishwasher.
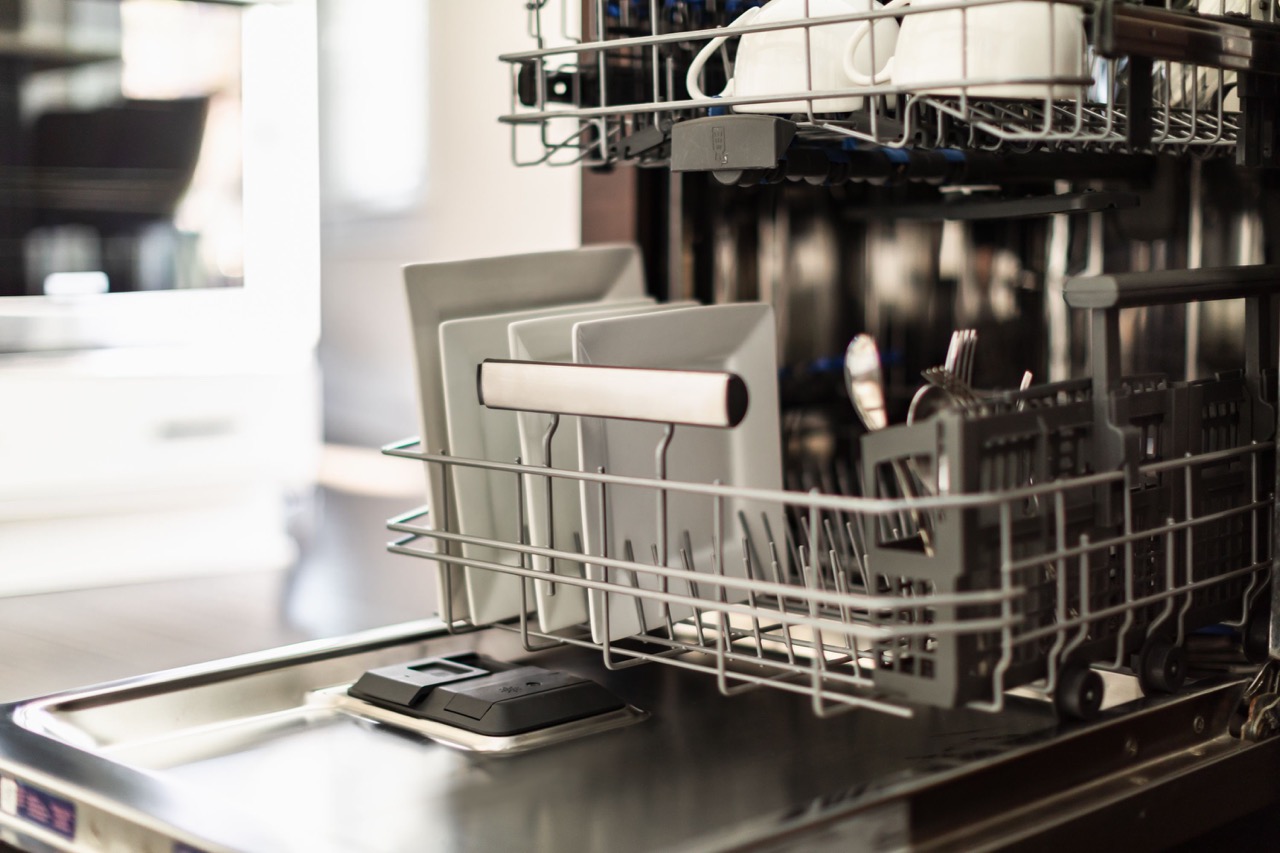
Step 6: Connect the drain hose
Connecting the drain hose is a crucial step in the installation process of your Maytag dishwasher. Here’s how you can efficiently connect the drain hose:
- Locate the dishwasher drain hose: The drain hose is usually located at the back of the dishwasher. It may already be attached or wrapped for shipping purposes.
- Position the drain hose: Ensure that the flexible drain hose is positioned in a way that allows it to reach the drainage point. This can be a dedicated dishwasher drainpipe or the sink’s drain or garbage disposal unit.
- Secure the drain hose: If the drain hose has a clamp, slide it onto the end of the hose. Attach the hose to the drainage point, whether it’s a drainpipe or a garbage disposal, making sure it is secure. Use pliers to tighten the clamp if necessary.
- Elevate the drain hose: To prevent water from siphoning back into the dishwasher, ensure that the drain hose is elevated. Use a clip or tie to secure the hose to the underside of the countertop or sink.
It’s important to ensure that the drain hose is properly connected and secure to avoid any leaks or drainage issues during the dishwasher’s operation. With the drain hose securely in place, we can now move on to the next step: securing the dishwasher in place.
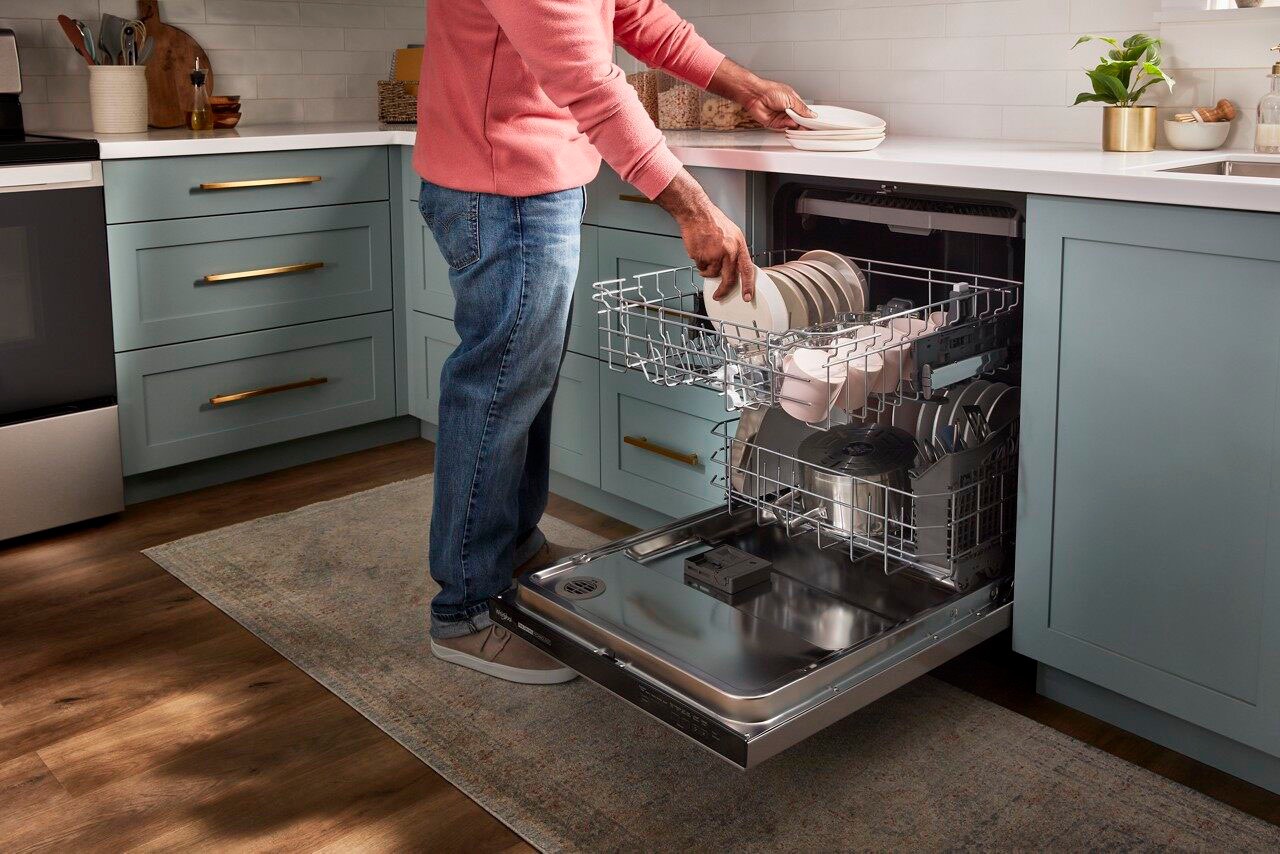
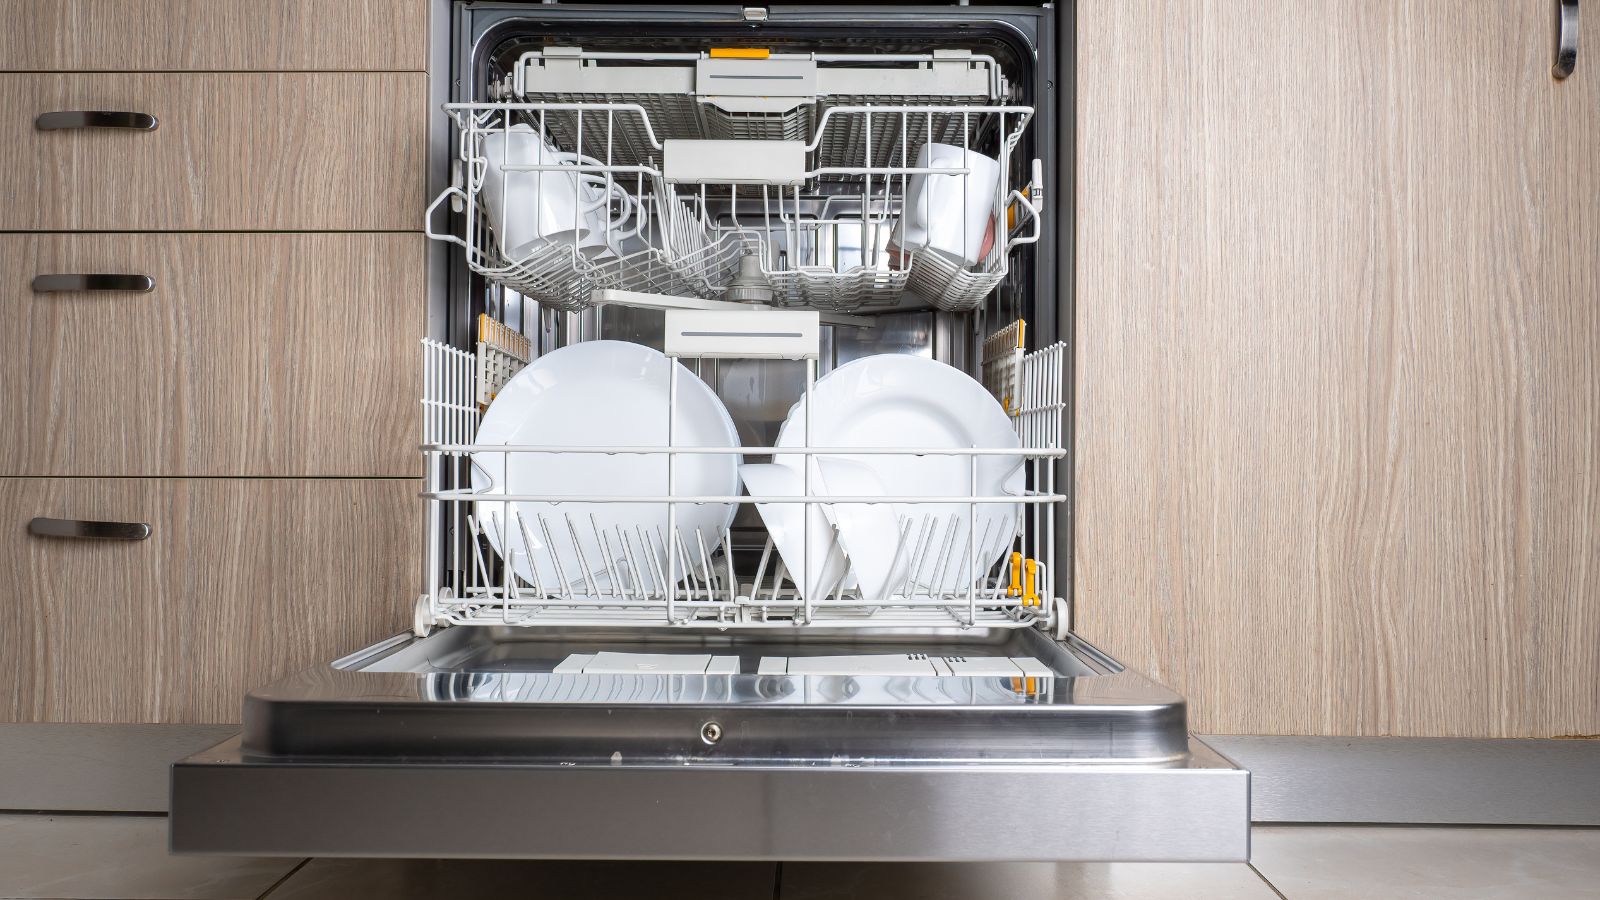
Step 7: Secure the dishwasher in place
Securing the dishwasher in place is an important step to ensure stability and prevent any movement during operation. Follow these steps to securely fasten your Maytag dishwasher:
- Position the dishwasher: Carefully slide the dishwasher back into the installation space, ensuring that it is aligned with the surrounding cabinets and countertop.
- Check for gaps: Verify that there are no gaps between the dishwasher and the surrounding cabinets or countertop. If there are any gaps, adjust the position of the dishwasher accordingly for a snug fit.
- Secure the dishwasher: Depending on the model, your Maytag dishwasher may have mounting brackets or tabs that need to be secured to the adjacent cabinets. Follow the manufacturer’s instructions on how to properly secure the dishwasher.
- Attach mounting screws: Using a screwdriver, attach the mounting screws through the designated holes in the dishwasher’s side brackets and into the wooden cabinet frame. Tighten the screws until the dishwasher feels securely fastened.
- Test for stability: Once the dishwasher is secured, gently wiggle or push against it to test for any movement. If there is excessive movement, recheck the mounting screws and brackets to ensure they are properly tightened.
By securely fastening your dishwasher in place, you reduce the risk of damage and ensure that it operates smoothly. With the dishwasher secured, we can move on to the next step: connecting the electrical supply.
Step 8: Connect the electrical supply
Connecting the electrical supply properly is crucial for the safe and efficient operation of your Maytag dishwasher. Follow these steps to connect the electrical supply:
- Turn off the power: Locate the circuit breaker dedicated to the dishwasher in your main electrical panel and switch it off. This ensures that there is no power running to the dishwasher during the installation process.
- Check the dishwasher’s power requirements: Examine the dishwasher’s specification sheet or the manufacturer’s instructions to determine the electrical requirements, such as voltage and amperage.
- Prepare the electrical cord: If your dishwasher comes with an electrical cord, make sure it is properly connected. If not, you will need to install a dedicated electrical circuit. Consult an electrician for assistance with proper wiring procedures.
- Connect the electrical cord: If your dishwasher comes with a cord, attach it to the electrical junction box located near the bottom of the dishwasher. Follow the manufacturer’s instructions for proper connection, which may involve removing a cover plate and connecting the corresponding wires using wire connectors.
- Secure the electrical connection: Once the wires are securely connected, use wire connectors to twist and secure the wiring. Properly insulate the connections with electrical tape to ensure safety.
- Restore power: Flip the circuit breaker back to the “on” position to restore power to the dishwasher. Ensure that the dishwasher is receiving power by checking the control panel for any active indicators or lights.
It is essential to follow all electrical codes and safety guidelines when connecting the dishwasher’s electrical supply. If you are unsure or uncomfortable performing electrical work, consult a licensed electrician for assistance.
With the electrical supply connected, we can move on to the next step: testing the dishwasher.
Step 9: Test the dishwasher
Testing your Maytag dishwasher is an important step to ensure that all connections are properly functioning. Follow these steps to test your dishwasher:
- Ensure all connections are secure: Double-check that all water supply connections, drain hose connections, and electrical connections are tight and properly sealed.
- Remove any protective film or packaging: Before running a test cycle, ensure that all protective film or packaging materials have been removed from the dishwasher’s interior and components.
- Run a test cycle: Refer to your Maytag dishwasher’s user manual for instructions on running a test or diagnostic cycle. This will allow you to check for any leaks, unusual noises, or malfunctions.
- Check for leaks: During the test cycle, closely monitor the dishwasher for any signs of leaks. Pay attention to the water supply connections, drain hose, and the bottom of the dishwasher. If you notice any leaks, turn off the dishwasher and inspect and tighten the affected connections before running another test cycle.
- Ensure proper water drainage: Observe how the dishwasher drains water during the test cycle. Make sure the drain hose is securely connected to the drainpipe or garbage disposal and that water is efficiently draining without any obstructions.
- Check for proper operation: As the test cycle runs, assess the dishwasher’s performance. Confirm that it fills with water, circulates water properly, and drains without any issues. Make note of any unusual noises, error codes, or malfunctioning features.
If you encounter any problems or concerns during the test cycle, refer to the troubleshooting section of your user manual or contact Maytag customer support for assistance. It’s important to address any issues before proceeding to the final step.
With the dishwasher successfully tested, we can move on to the final step: finalizing the installation.
Step 10: Finalize the installation
Once you have successfully tested your Maytag dishwasher, it’s time to finalize the installation process. Follow these steps to complete the installation:
- Ensure all connections are secure: Double-check that all water supply connections, drain hose connections, and electrical connections are tight and properly sealed.
- Reattach the toe kick panel (if applicable): If you removed the toe kick panel during the installation process, now is the time to reattach it. Follow the manufacturer’s instructions or use the provided screws to secure the panel back in place.
- Clean the exterior: Clean the exterior surfaces of the dishwasher using a mild detergent and a soft cloth. This will give your dishwasher a polished look and help remove any residual marks or fingerprints.
- Run a cleaning cycle: Run a cleaning cycle with an appropriate dishwasher cleaner or a mixture of vinegar and baking soda. This will help remove any potential residue or odors left from the manufacturing process.
- Review the user manual: Take some time to review the user manual provided with your Maytag dishwasher. Familiarize yourself with the different settings, operation instructions, and maintenance recommendations to ensure proper care and functionality.
- Dispose of the packaging material: Properly dispose of any packaging material, such as cardboard boxes, plastic wraps, or foam inserts. Recycling or disposing of them according to local regulations is essential for environmental consciousness.
Congratulations! You have successfully installed your Maytag dishwasher. By following these steps and guidelines, you have ensured a proper and efficient installation that will enhance the functionality and convenience of your kitchen.
If you have any further questions or encounter any issues with your dishwasher, refer to the user manual or contact Maytag customer support for additional assistance. Enjoy your new dishwasher and the ease it brings to your kitchen routine!
Lastly, make sure to validate the HTML encoding of the final article to ensure its correctness and compliance with HTML standards.
Conclusion
Congratulations on successfully installing your Maytag dishwasher! This comprehensive guide has provided you with step-by-step instructions to ensure a seamless and efficient installation process. By following these steps, you have not only saved money but also gained the satisfaction of completing the installation yourself.
Remember, safety should always be a priority during the installation process. If you encounter any difficulties or are unsure about any step, it is always wise to consult a professional or seek assistance from Maytag customer support. They are there to help you and provide guidance.
Now that your Maytag dishwasher is installed, you can enjoy the benefits it brings to your kitchen. Its efficiency and convenience will make dishwashing a breeze, allowing you to spend more time on the things you love.
Be sure to review the user manual for important information on maintenance, proper use, and troubleshooting. Regular maintenance and proper care will ensure the longevity and optimal performance of your new dishwasher.
Lastly, don’t forget to properly dispose of any packaging material and recycle it according to local regulations. As responsible consumers, let’s do our part in taking care of the environment.
Thank you for choosing Maytag and trusting this guide for your dishwasher installation. We hope this article has been helpful and that you continue to enjoy the convenience and efficiency of your Maytag dishwasher for years to come.
Happy dishwashing!
Remember to validate the HTML encoding of this article to ensure its correctness and compliance with HTML standards.
Frequently Asked Questions about How To Install Maytag Dishwasher
Was this page helpful?
At Storables.com, we guarantee accurate and reliable information. Our content, validated by Expert Board Contributors, is crafted following stringent Editorial Policies. We're committed to providing you with well-researched, expert-backed insights for all your informational needs.


0 thoughts on “How To Install Maytag Dishwasher”