Home>Articles>How To Make A Fitted Sheet For A Queen Size Bed
Articles
How To Make A Fitted Sheet For A Queen Size Bed
Modified: February 23, 2024
Learn how to make a fitted sheet for a queen size bed with our informative articles. Discover easy steps and helpful tips for a perfect fit.
(Many of the links in this article redirect to a specific reviewed product. Your purchase of these products through affiliate links helps to generate commission for Storables.com, at no extra cost. Learn more)
Introduction
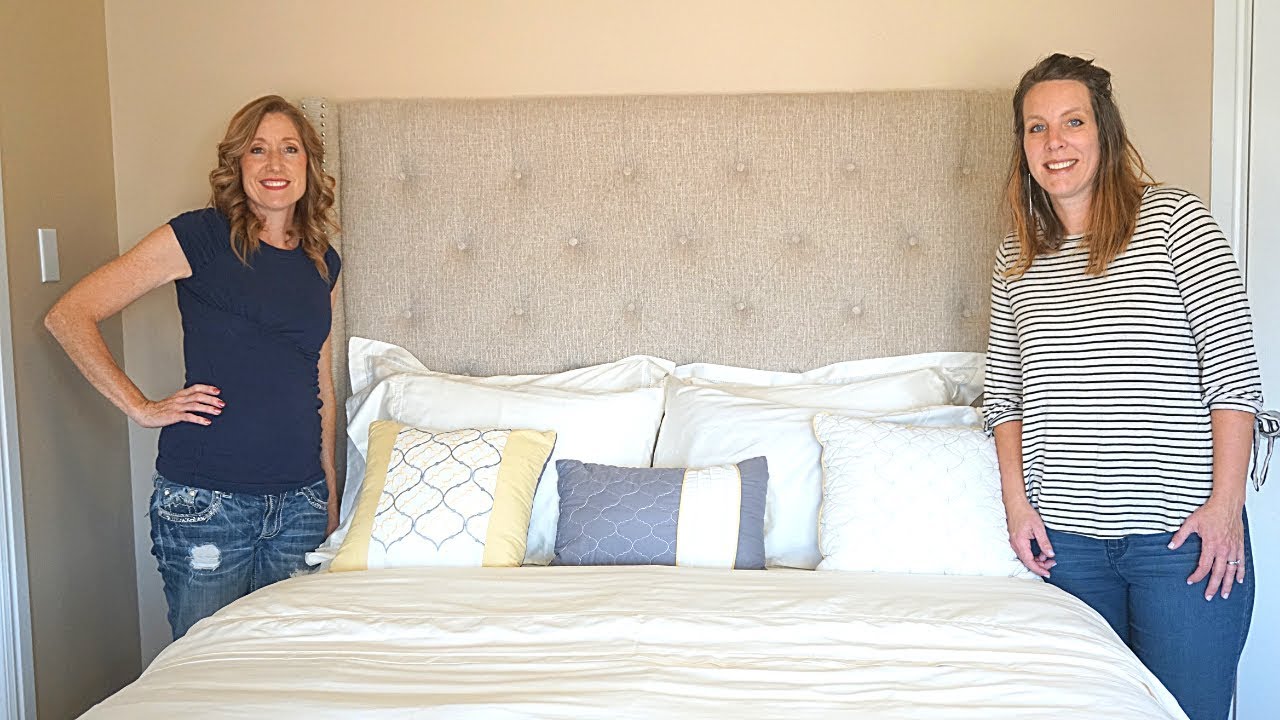
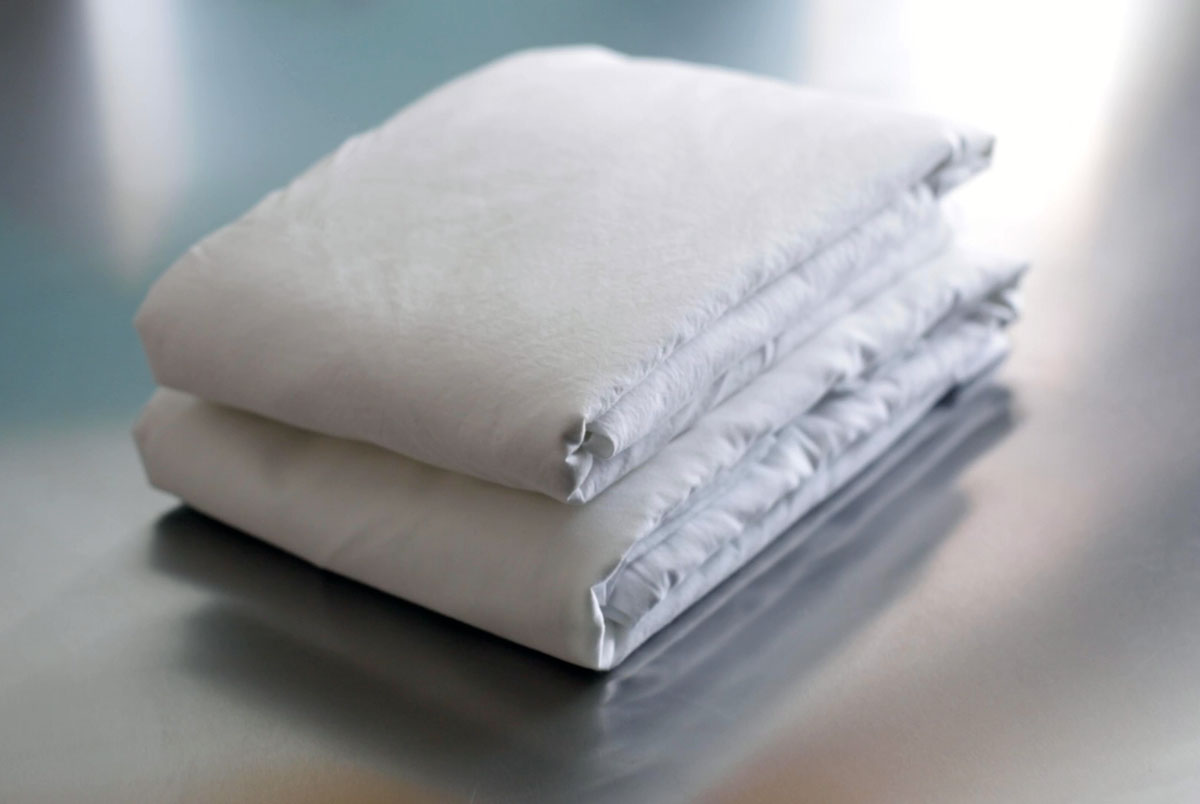
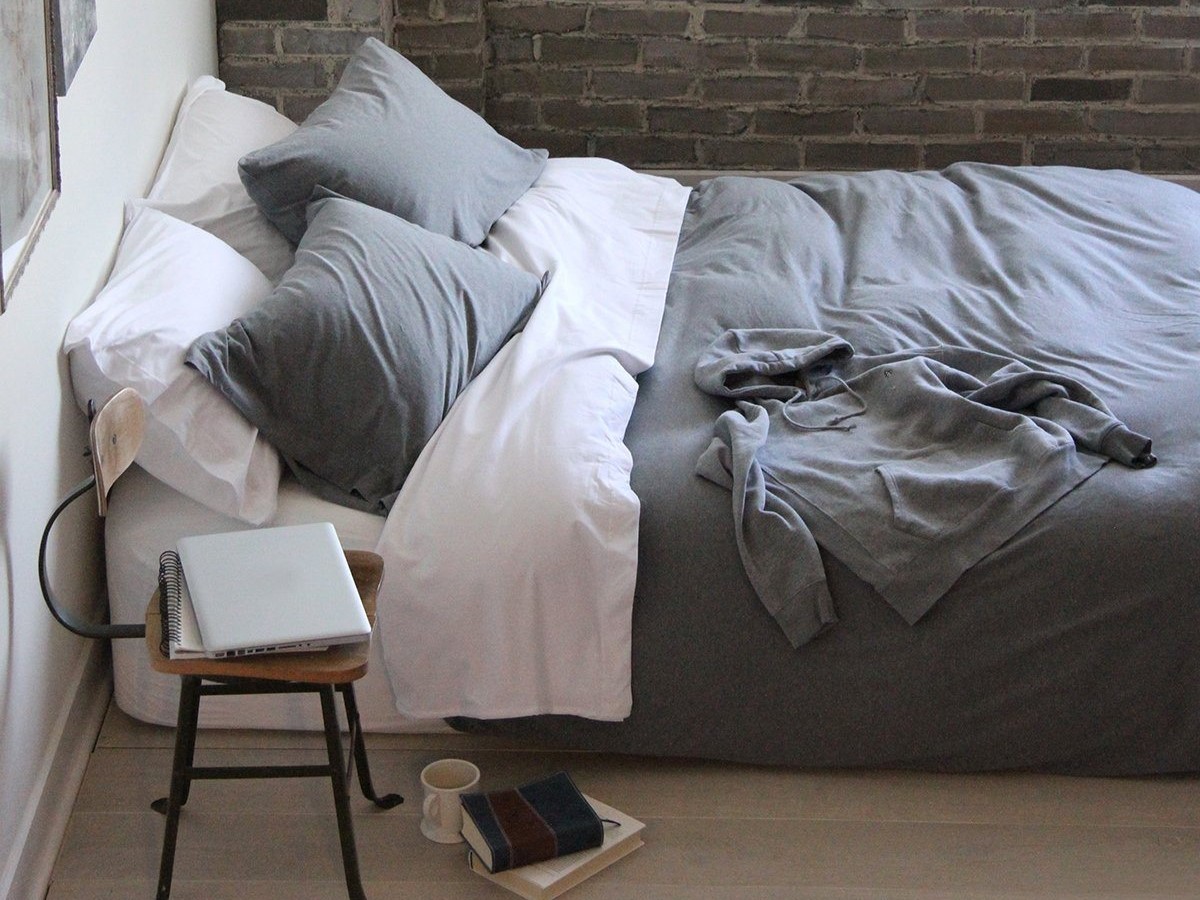
When it comes to creating a comfortable and inviting bed, having a fitted sheet that perfectly fits your queen-size mattress is essential. While you can easily find fitted sheets in stores, making your own allows you to choose the fabric and customize the fit to ensure a snug and secure fit.
In this guide, we will take you through the step-by-step process of making a fitted sheet for a queen-size bed. With a few basic materials and some sewing skills, you can create a fitted sheet that not only looks great but also provides a cozy and comfortable sleeping surface.
Whether you are an experienced seamstress or a beginner looking to tackle a new project, making a fitted sheet is a rewarding and practical endeavor. So gather your supplies, set up your sewing machine, and let’s get started!
Key Takeaways:
- Create a personalized and snug-fitting fitted sheet for your queen-size bed by following simple steps and using basic sewing skills. Enjoy the satisfaction of crafting your own custom bedding!
- With the right materials and step-by-step guidance, making a fitted sheet for a queen-size bed is a rewarding and practical DIY project. Embrace your creativity and sewing skills to achieve a cozy and customized sleeping surface.
Read also: 15 Superior Queen Size Fitted Sheet for 2025
Materials Needed
To make a fitted sheet for a queen-size bed, you will need the following materials:
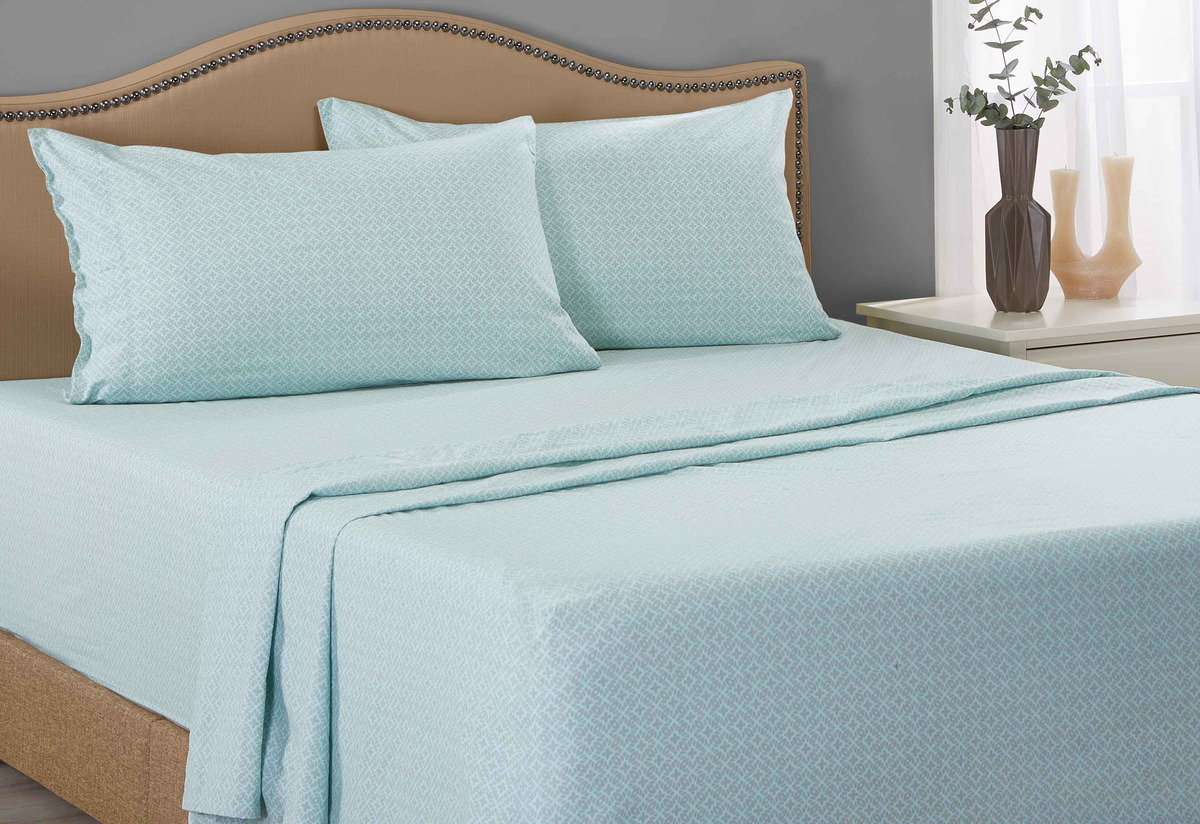
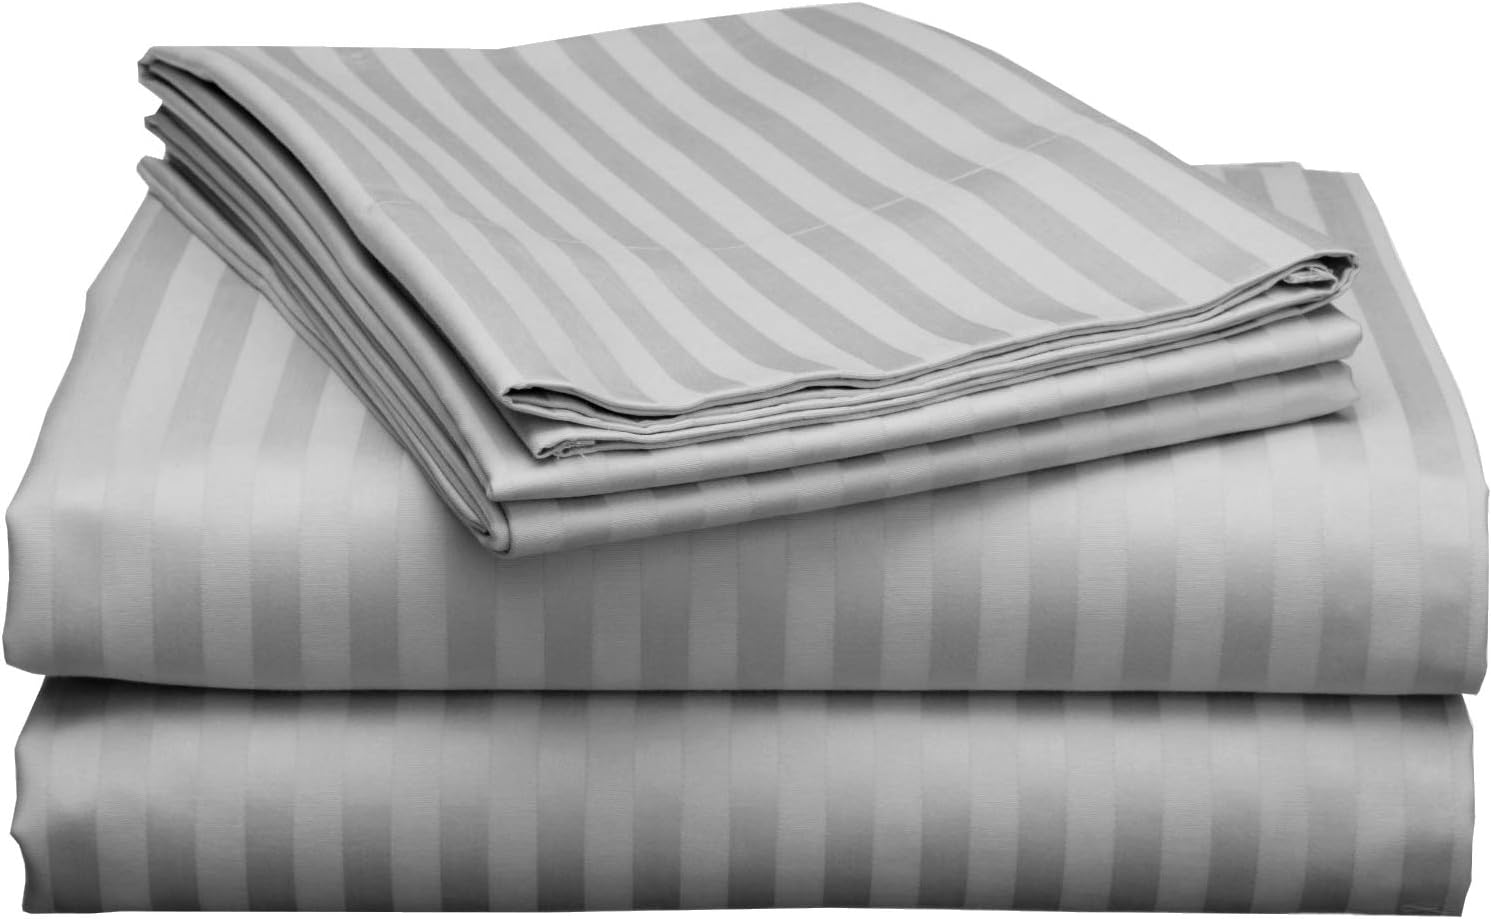
- Queen-size fabric: Choose a fabric that is soft, durable, and suitable for bedding. Cotton, cotton blend, or jersey knit fabrics work well for fitted sheets.
- Measuring tape: This will help you accurately measure the dimensions of your mattress.
- Fabric scissors: Use sharp fabric scissors to cut the fabric cleanly.
- Sewing machine: A sewing machine will make the process faster and more efficient, but you can also sew by hand if you prefer.
- Pins or clips: These will help hold the fabric together while you sew.
- Elastic band: Choose a high-quality elastic band that is strong and stretchy.
- Thread: Select a thread color that matches or complements your fabric.
- Iron and ironing board: These will be handy for pressing the fabric and ensuring crisp seams.
- Needle and thread: These will be useful for any hand-sewing finishing touches.
Having these materials ready before you begin will make the process smoother and more enjoyable. Now that you’re equipped with everything you need, let’s move on to the next step: measuring the bed.
Step 1: Measuring the Bed
The first step in making a fitted sheet for your queen-size bed is to accurately measure the dimensions of your mattress. This will ensure that your fitted sheet fits snugly and stays in place.
Start by measuring the length and width of your mattress using a measuring tape. Take measurements from edge to edge, including any additional depth if your mattress has a pillow-top or is particularly thick. Note down these measurements as your reference.
Next, add 2 inches (5 cm) to both the length and width measurements to account for seam allowances and a snug fit. This additional allowance will provide room for the elastic to stretch and hold the fitted sheet securely on the mattress.
For example, if your mattress measures 60 inches by 80 inches, you would add 2 inches to each side, resulting in a final fabric size of 62 inches by 82 inches.
It’s important to ensure accurate measurements to avoid ending up with a fitted sheet that doesn’t fit properly. Take your time and double-check your measurements before moving on to the next step.
Now that you have the necessary measurements, you’re ready to move on to the next step: cutting the fabric.
Step 2: Cutting the Fabric
Now that you have the measurements for your fitted sheet, it’s time to cut the fabric to the correct size.
Start by laying out your fabric on a clean and flat surface, ensuring that it is free from any wrinkles or folds. Use fabric scissors to carefully cut the fabric according to the measurements you obtained in Step 1.
Remember to add the additional 2 inches to both the length and width measurements to account for seam allowances and a snug fit.
Once you have cut the fabric to the correct size, you can consider adding extra features like rounded corners. This can be achieved by folding the corners of the fabric and cutting off a small triangle. This will help the fitted sheet fit nicely around the mattress corners.
After you have cut the fabric, take a moment to iron out any wrinkles or creases. This will make it easier to work with the fabric during the sewing process.
Now that you have the fabric cut to the correct size, you’re ready to move on to the next step: sewing the corners.
Step 3: Sewing the Corners
Now it’s time to sew the corners of your fitted sheet. This step will give your sheet a tailored look and help it fit snugly around the corners of your mattress.
Start by folding one corner of the fabric in half diagonally to create a triangle, aligning the edges of the fabric. Use pins or clips to hold the fabric in place.
Next, sew along the raw edge of the triangle, about ½ inch (1.3 cm) from the edge. You can use a straight stitch or a zigzag stitch to secure the fabric. Make sure to backstitch at the beginning and end of the seam for added durability.
Repeat this process for the remaining three corners of the fabric.
Once you have sewn all the corners, trim away any excess fabric, leaving a small seam allowance. This will help reduce bulk and create a neater finish.
After sewing and trimming all the corners, give your fitted sheet a quick iron to flatten the seams and create a polished look.
With the corners sewn, you’re one step closer to completing your fitted sheet. The next step is to hem the edges.
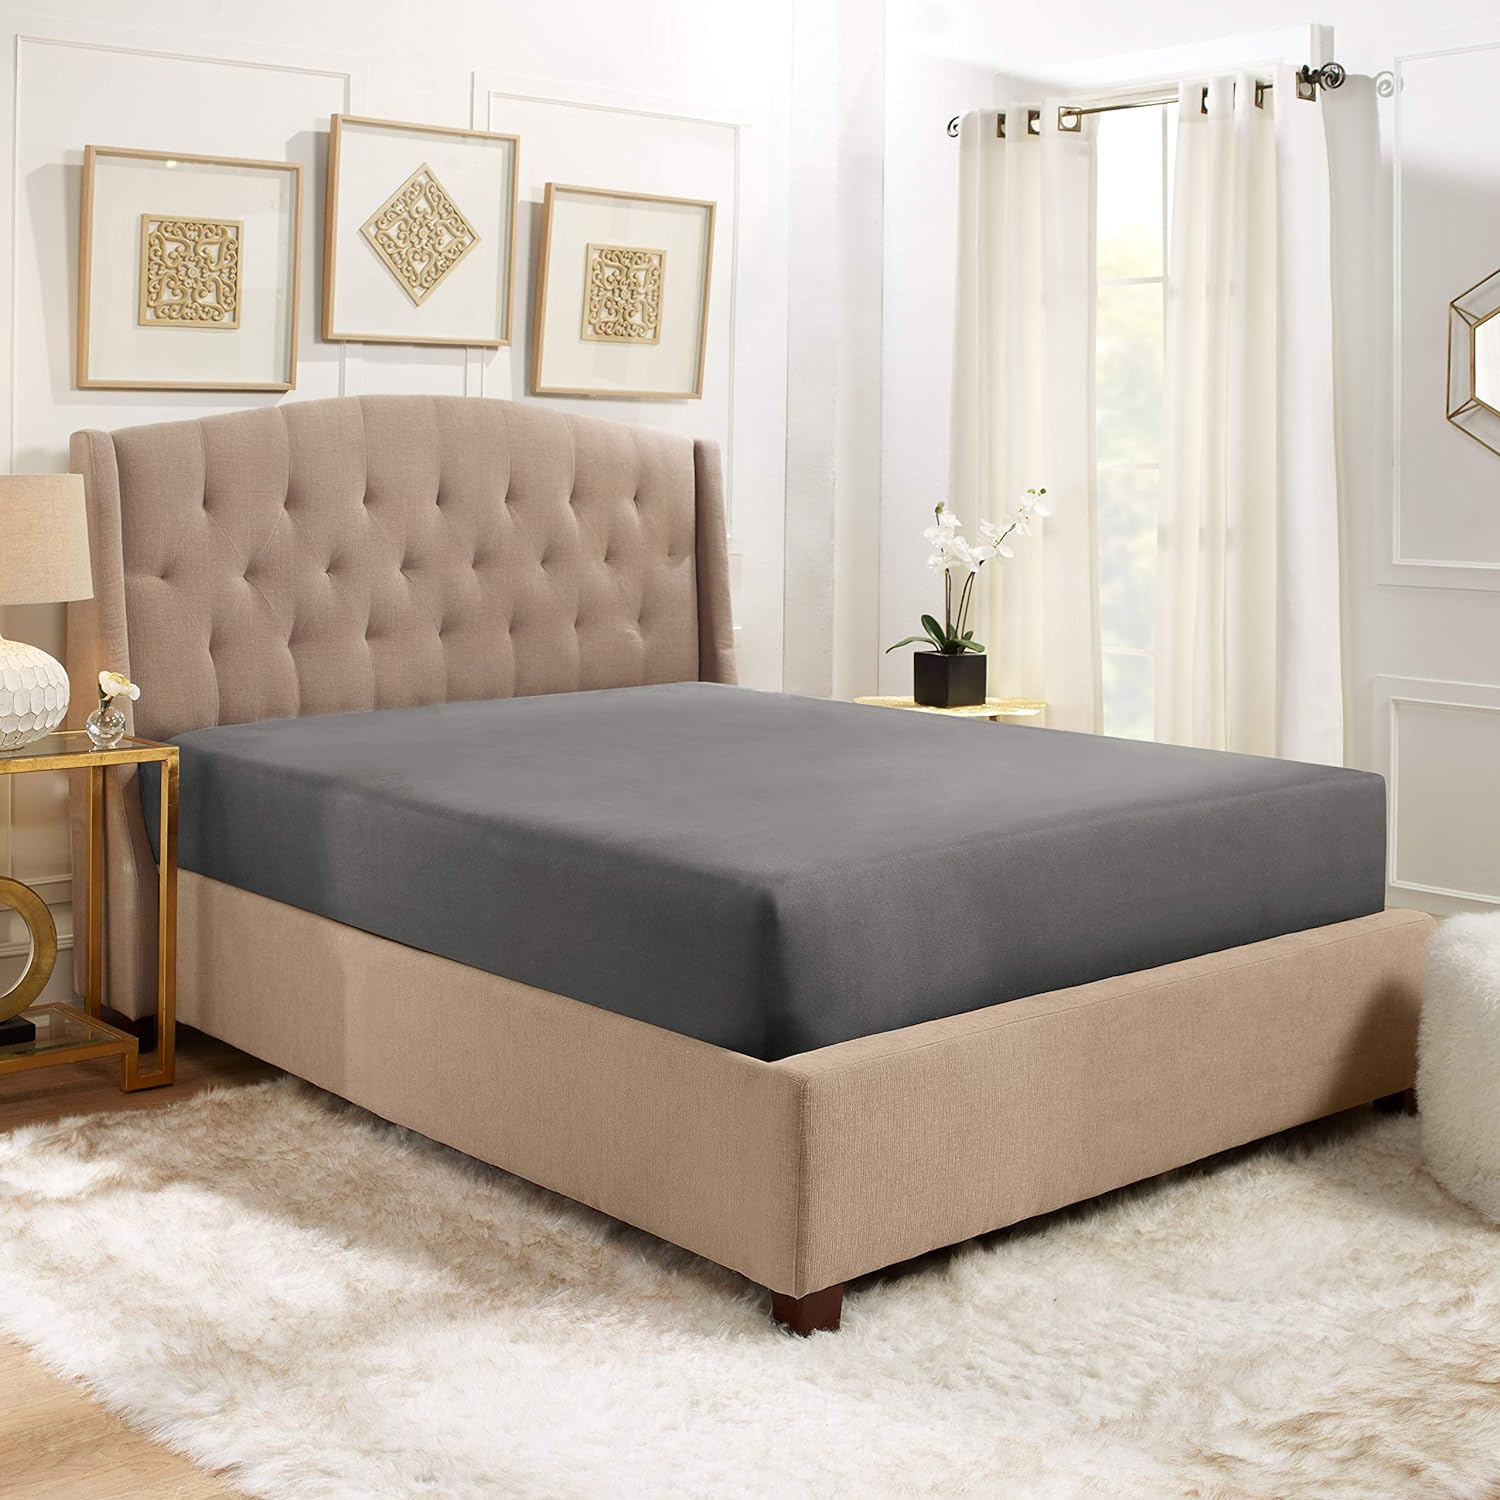
When making a fitted sheet for a queen size bed, be sure to measure and cut the fabric accurately to ensure a snug fit. Use elastic around the edges to keep the sheet in place.
Read more: What Size Sheets Fit A Hospital Bed
Step 4: Hemming the Edges
Now that your corners are neatly sewn, it’s time to hem the edges of your fitted sheet. Hemming the edges will provide a finished look and prevent fraying.
Start by folding over the raw edge of the fabric by about ½ inch (1.3 cm) and press it with an iron to create a crease. Then, fold the fabric over again by another ½ inch to enclose the raw edge.
Secure the folded edge in place with pins or clips and then sew along the folded edge. Use a straight stitch or a zigzag stitch, whichever you prefer. Remember to backstitch at the beginning and end of the seam to reinforce it.
Continue hemming all four sides of the fitted sheet following the same folding and sewing method.
Once you have hemmed all the edges, give your fitted sheet a final press with the iron to create crisp and polished edges.
With the edges hemmed, you’re almost done with your fitted sheet. The next step is to add the elastic.
Step 5: Adding Elastic
Adding elastic to your fitted sheet is crucial for ensuring a snug and secure fit around the mattress. The elastic will help keep the sheet in place and prevent it from slipping off during sleep.
Starting with one corner of the fitted sheet, fold the edge of the fabric twice, creating a small pocket wide enough to accommodate your elastic. Pin or clip the fabric pocket in place.
Measure and cut a length of elastic that matches the width of your fitted sheet. It should be long enough to comfortably stretch around the corner of the mattress.
Attach a safety pin to one end of the elastic and insert it into the fabric pocket. Use the safety pin as a guide to thread the elastic through the pocket, ensuring it is evenly distributed.
Once you have threaded the elastic through the entire pocket, overlap the two ends by about 1 inch (2.5 cm). Sew the ends of the elastic together using a zigzag stitch or a straight stitch back and forth several times to secure it.
Release the elastic from the pocket and distribute it evenly by gently pulling the fitted sheet fabric. The elastic should be snug enough to hold the sheet in place without causing excessive tension.
Repeat this process for all four corners of the fitted sheet, making sure the elastic is evenly distributed and securely attached.
With the elastic added, you’re almost finished with your fitted sheet. The final step is to test the fit.
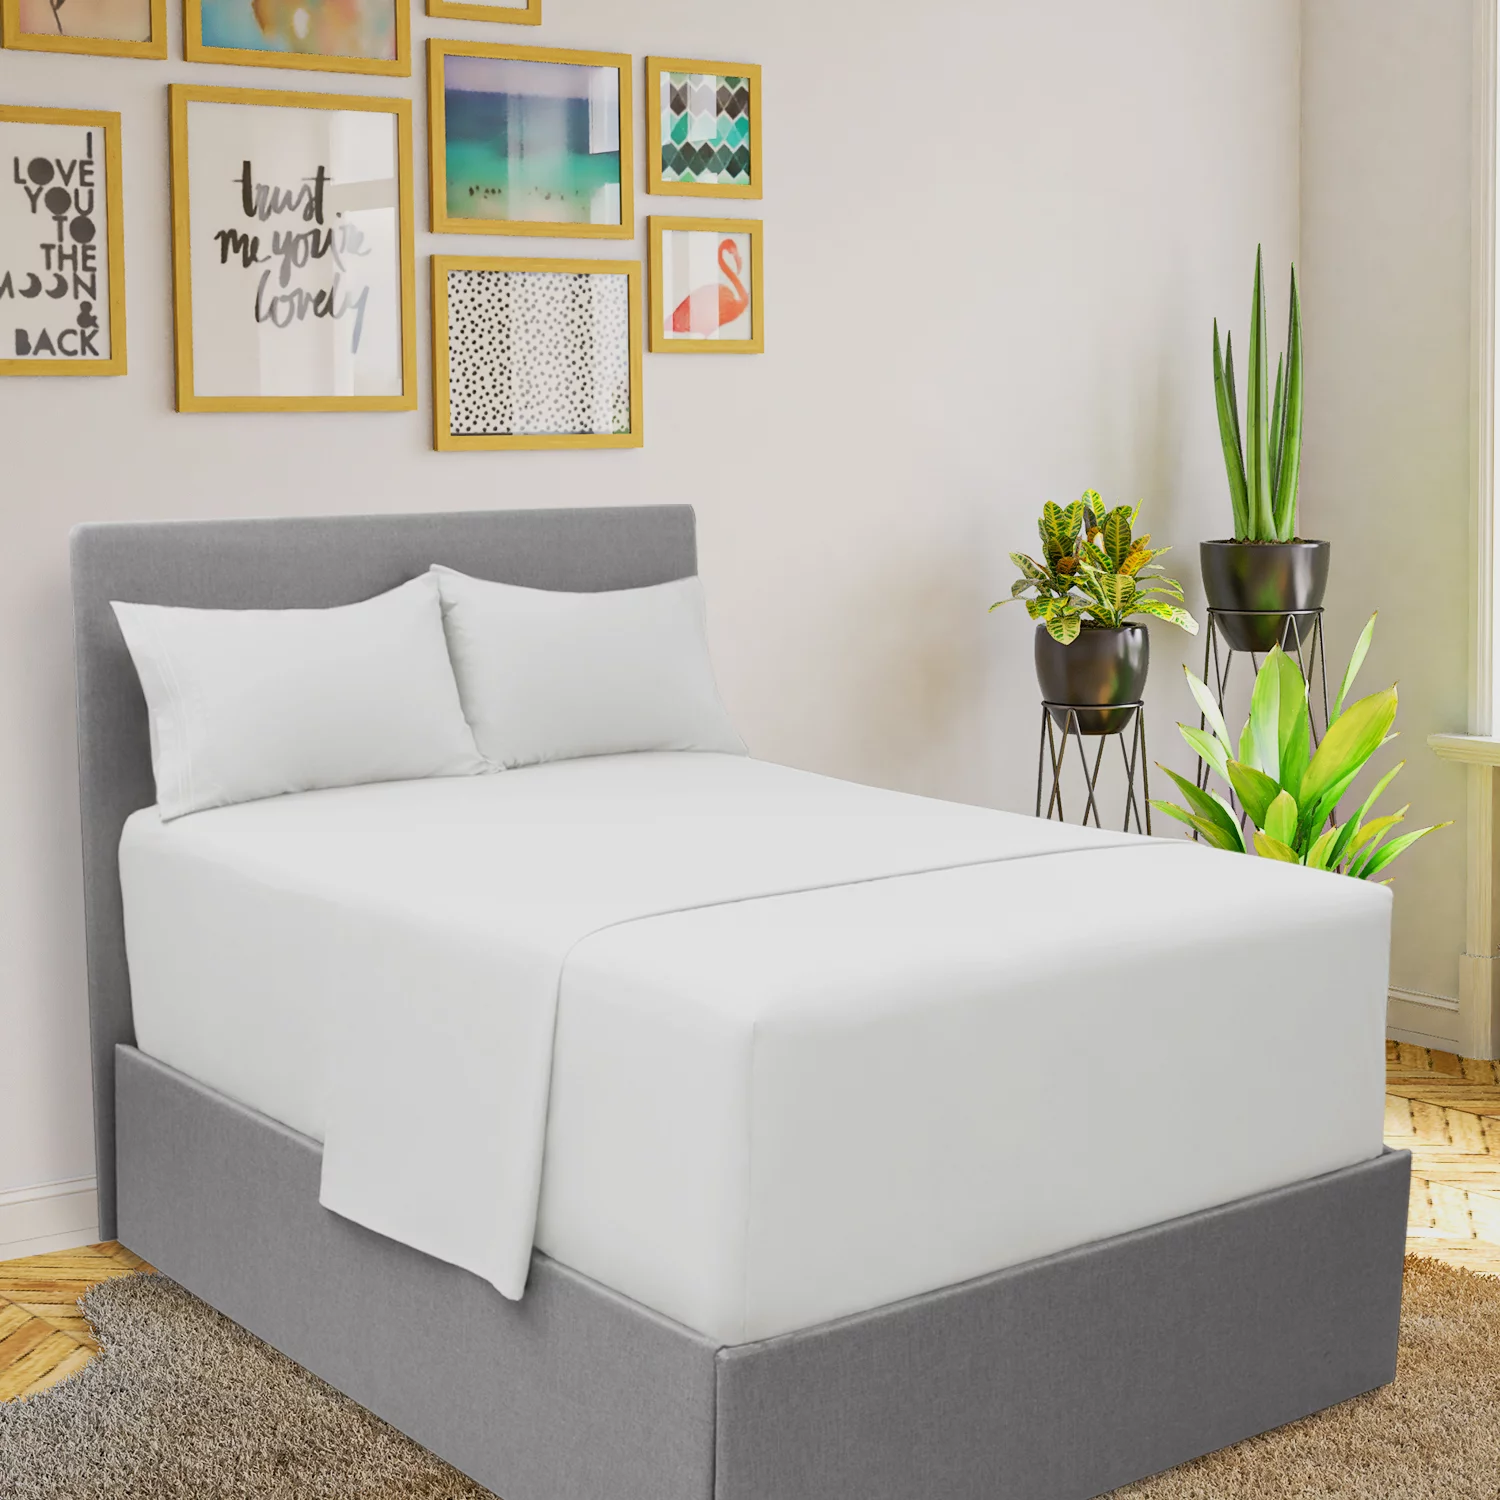
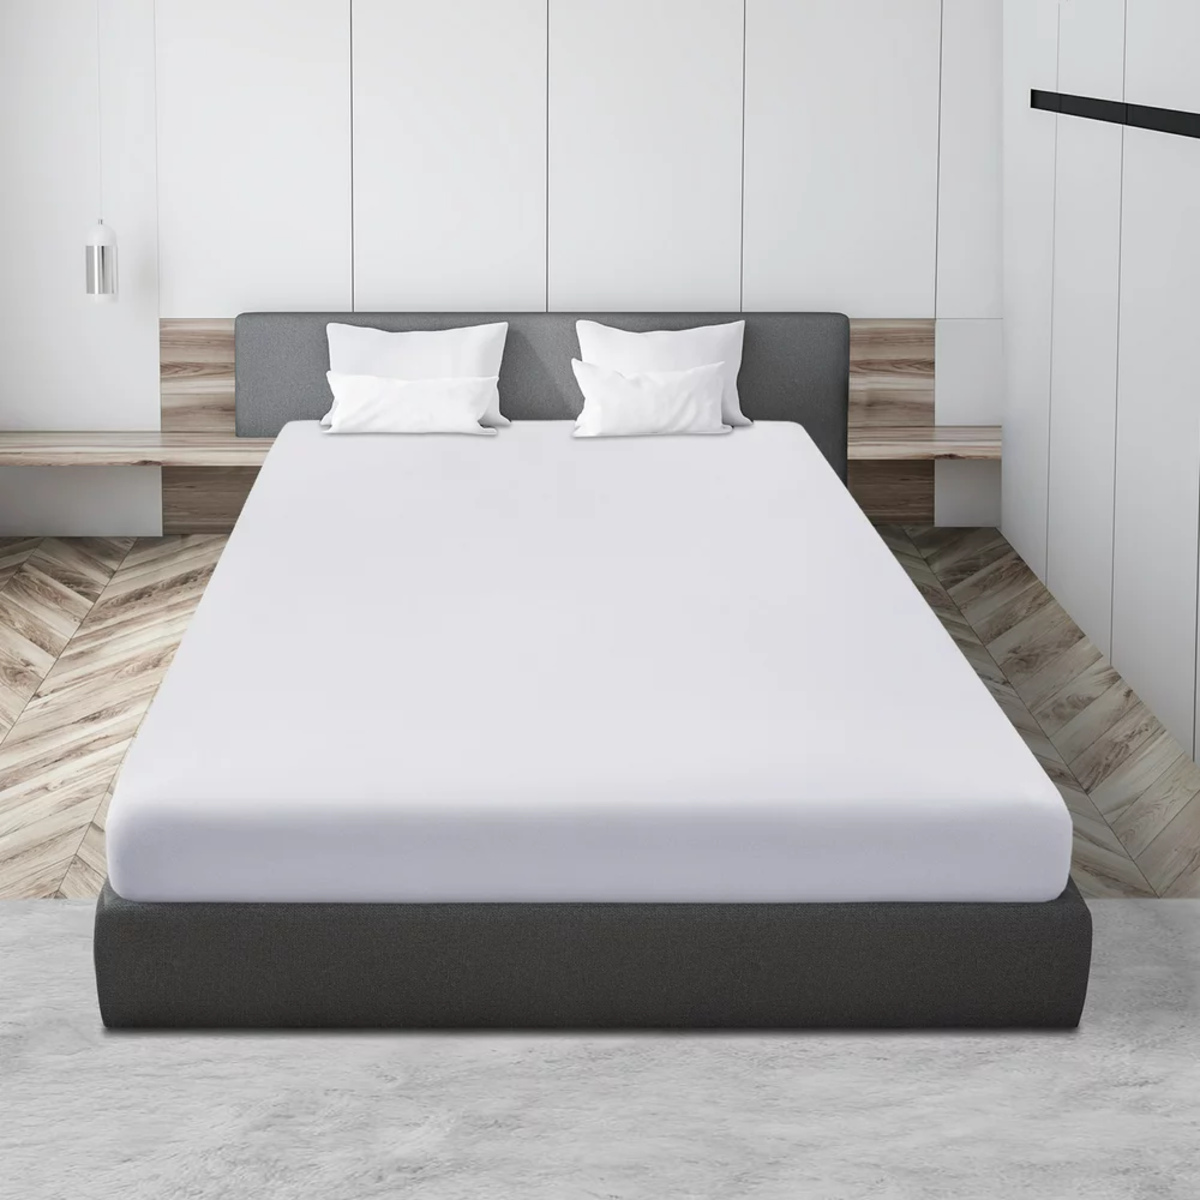
Step 6: Testing the Fit
After all the hard work you’ve put into making your fitted sheet, it’s time to test the fit and ensure that it fits your queen-size mattress perfectly.
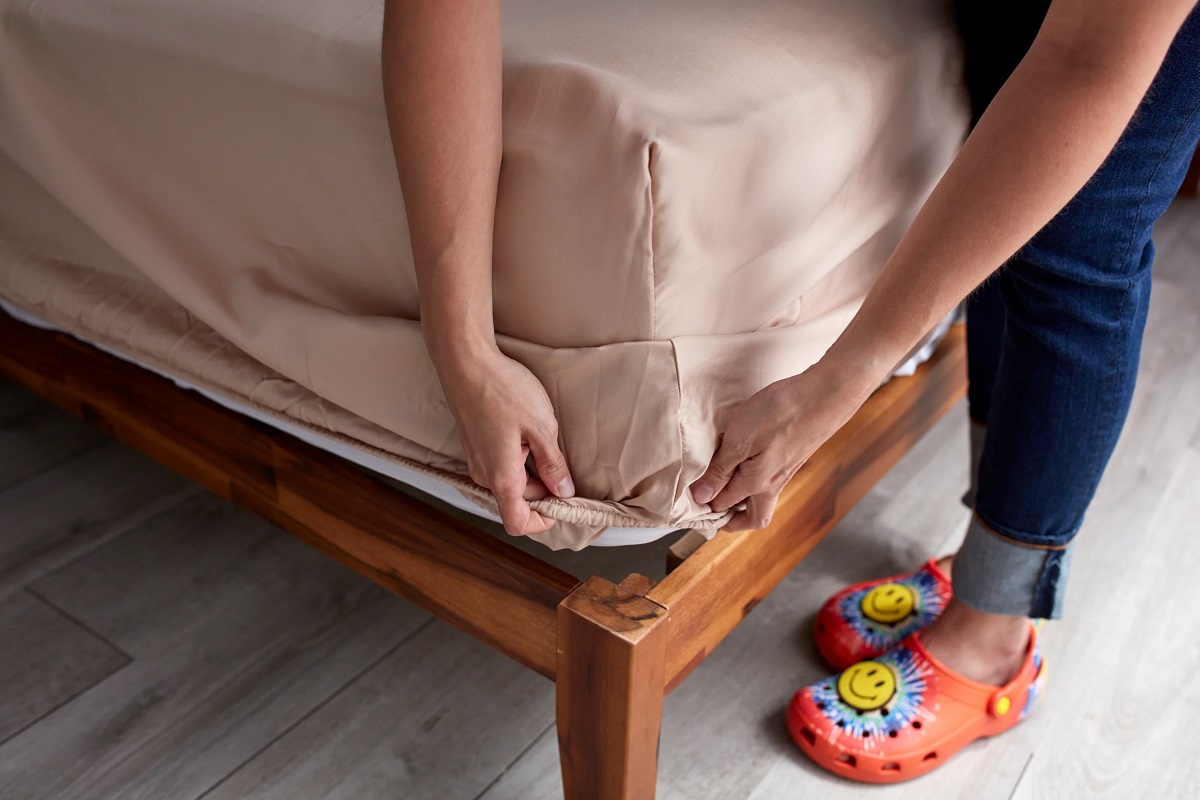
Lay your fitted sheet on the mattress, aligning the corners with the corners of the mattress. Gently pull the elasticized edges of the sheet over the corners of the mattress.
Check that the fitted sheet fits snugly and securely around the mattress without any excess fabric or sagging corners. The sheet should be taut but not overly tight.
If necessary, make any adjustments by tightening or loosening the elastic in the corner pockets. You can remove the sheet from the mattress, adjust the elastic, and then try it on again until you are satisfied with the fit.
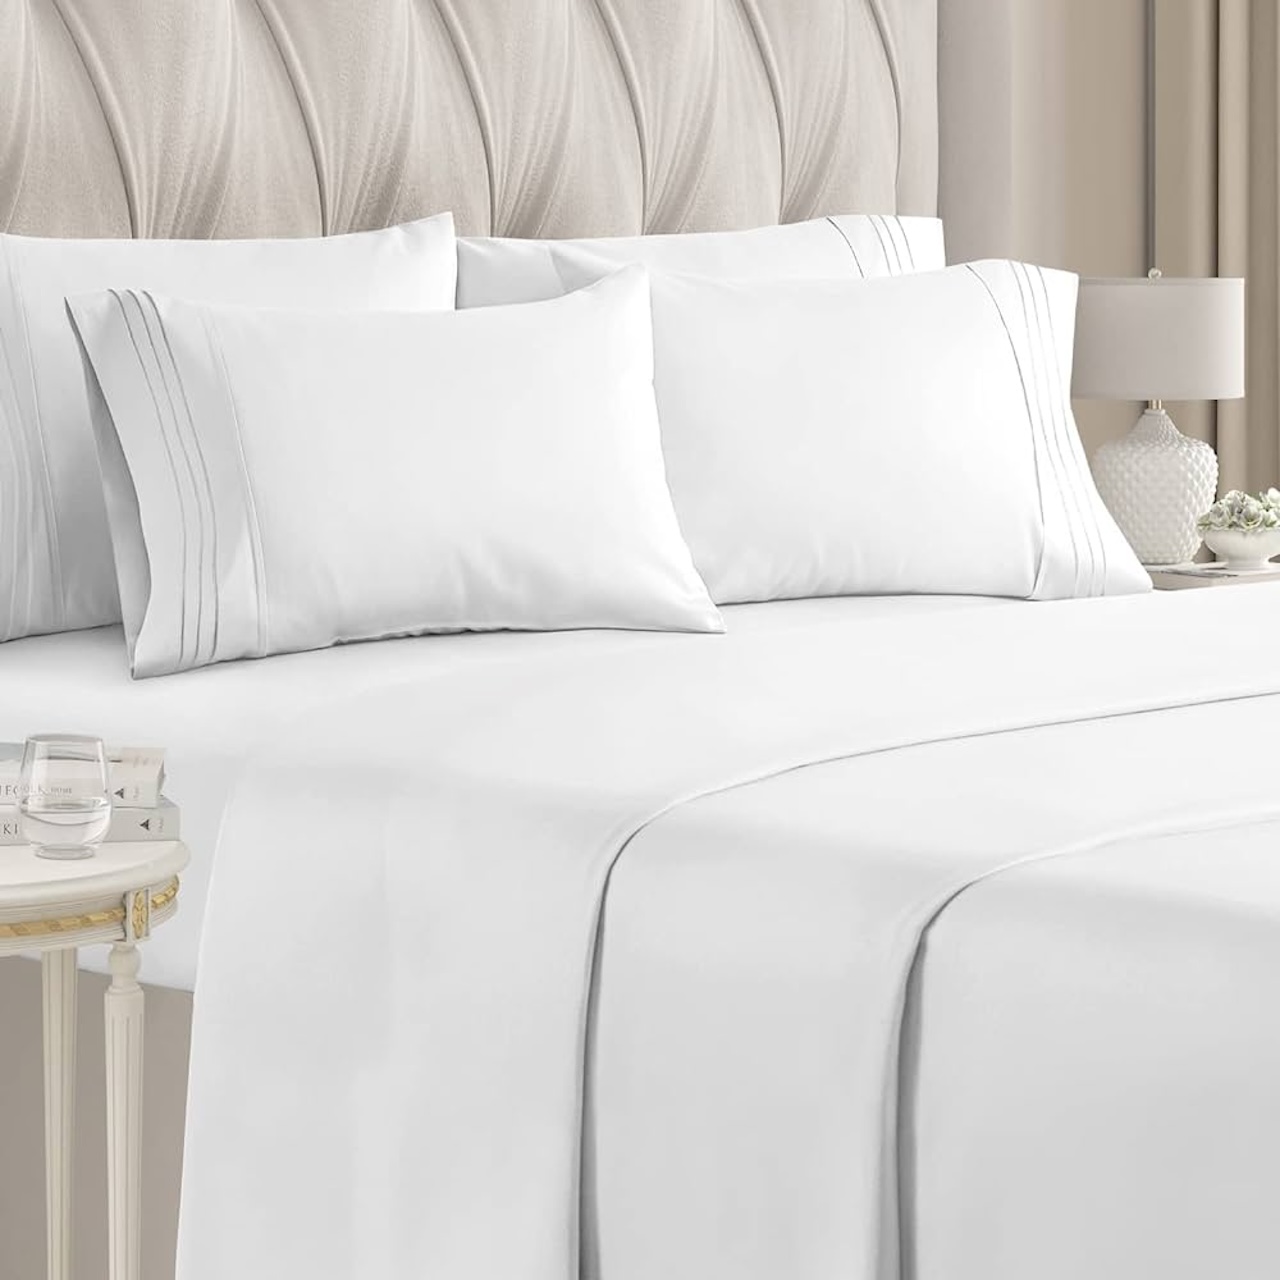
Once you are happy with the fit, your fitted sheet is ready to be used! Make sure to wash and care for it according to the fabric’s instructions to keep it in great shape.
Congratulations! You have successfully made your own fitted sheet for your queen-size bed. Not only have you saved money by making it yourself, but you also have a custom-fit sheet that adds a personal touch to your bedroom decor. Enjoy the comfort and satisfaction of sleeping on a perfectly fitted sheet you created.
Remember, practice makes perfect, so don’t be discouraged if your first attempt is not flawless. Keep honing your sewing skills, and soon you’ll be a pro at making fitted sheets in various sizes and fabrics.
Happy sewing and sweet dreams!
Conclusion
Congratulations on completing your journey to create a fitted sheet for your queen-size bed! By following the steps outlined in this guide, you have acquired the skills and knowledge to craft a comfortable and customized sheet that perfectly fits your mattress.
Through careful measuring, cutting, sewing, and adding elastic, you have created a fitted sheet that not only enhances the aesthetics of your bedroom but also provides a snug and secure fit.
By making your own fitted sheet, you have the freedom to choose the fabric, design, and quality of materials used. This allows you to create a sheet that reflects your personal style and ensures optimal comfort while you sleep.
Remember to wash and care for your fitted sheet according to the fabric’s instructions to maintain its quality and longevity. Regularly changing and washing your fitted sheet will also contribute to a clean and hygienic sleep environment.
Whether you are an experienced seamstress or a beginner looking to expand your sewing skills, creating your own fitted sheet is an excellent way to showcase your creativity and elevate your sleeping experience.
So, enjoy the satisfaction of a job well done and relish in the comfort of your newly crafted fitted sheet. With your newfound skills, you can even venture into making fitted sheets for different bed sizes or experiment with different fabrics to suit your preferences.
Thank you for joining us on this DIY journey. We hope this guide has inspired you to unleash your creativity and embark on more exciting sewing projects in the future. Sleep tight on your perfectly fitted sheet!
Frequently Asked Questions about How To Make A Fitted Sheet For A Queen Size Bed
Was this page helpful?
At Storables.com, we guarantee accurate and reliable information. Our content, validated by Expert Board Contributors, is crafted following stringent Editorial Policies. We're committed to providing you with well-researched, expert-backed insights for all your informational needs.


0 thoughts on “How To Make A Fitted Sheet For A Queen Size Bed”