Home>Articles>How To Make A King Pillowcase To Fit A Standard Pillow
Articles
How To Make A King Pillowcase To Fit A Standard Pillow
Modified: August 16, 2024
Learn how to make a king pillowcase that fits a standard pillow with our helpful articles. Find step-by-step instructions and tips for a perfect fit.
(Many of the links in this article redirect to a specific reviewed product. Your purchase of these products through affiliate links helps to generate commission for Storables.com, at no extra cost. Learn more)
Introduction
Have you ever found yourself struggling to find the perfect pillowcase for your standard-sized pillow? It seems like the ones available in stores are either too big or too small, leaving your pillow exposed or slipping out during the night. Well, fret no more! In this article, we will guide you through the steps of creating a king pillowcase that fits your standard pillow like a glove.
With just a few simple materials and some basic sewing skills, you can customize a pillowcase that not only matches your bedroom decor but also ensures a snug and comfortable fit for your pillow. Say goodbye to restless nights and say hello to a perfectly fitted pillowcase!
So, let’s gather our materials and get started on creating a king pillowcase that will revolutionize your sleep experience.
Key Takeaways:
- Say goodbye to ill-fitting pillowcases and hello to a perfectly snug sleep experience with custom king pillowcases that match your bedroom decor and add a touch of personal style.
- Create a collection of custom king pillowcases to elevate your bedroom decor and enjoy a comfortable and stylish sleep experience tailored to your preferences.
Read more: What Is The Size Of A Standard Pillowcase
Materials Needed
Before we dive into the step-by-step process of making a king pillowcase, let’s gather all the necessary materials. You’ll need the following:
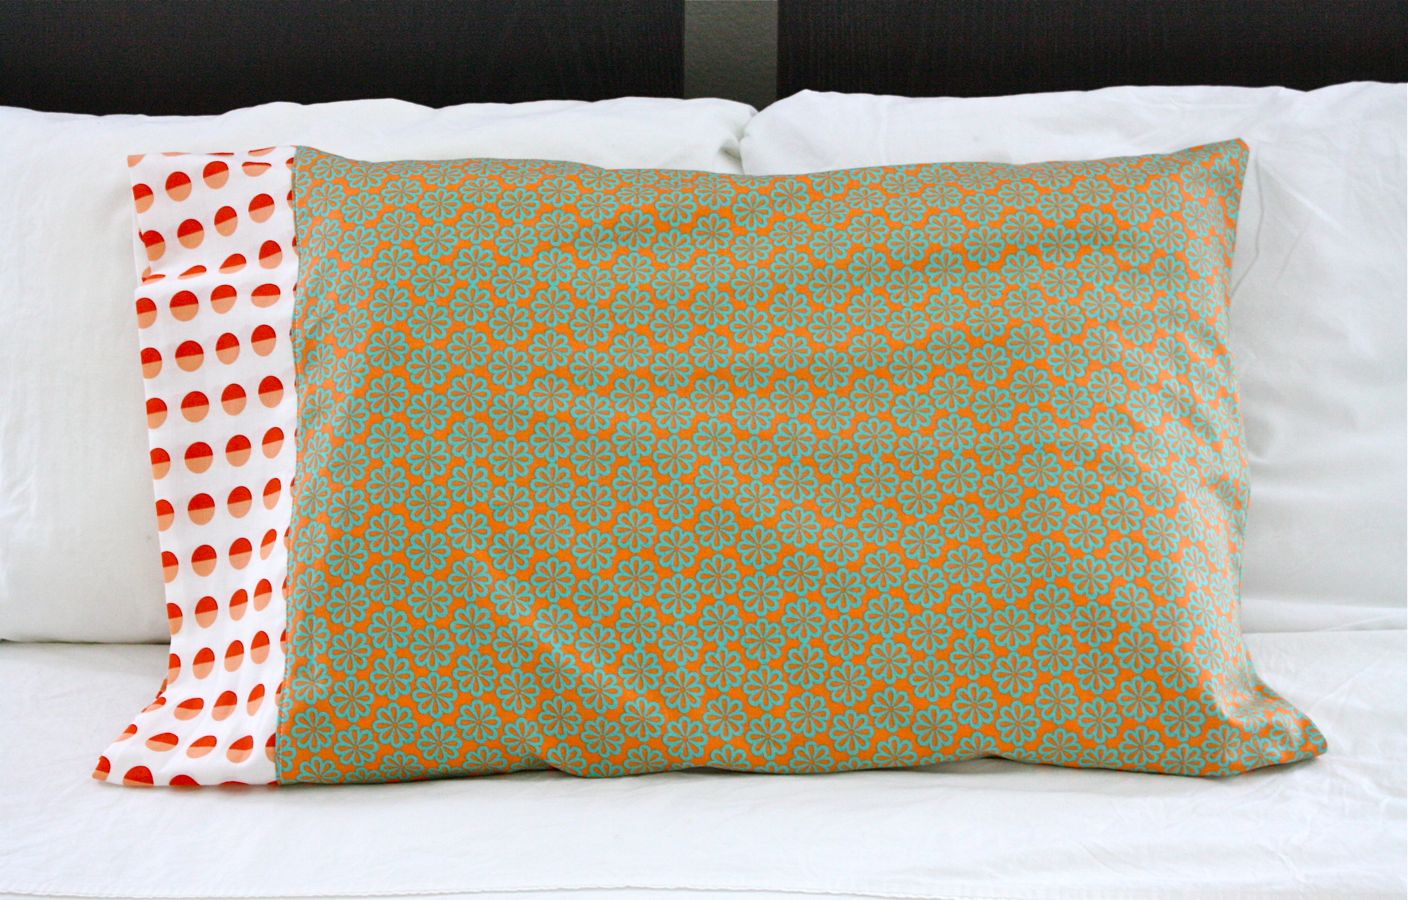
- Fabric: Choose a fabric of your preference, such as cotton or linen, in a pattern or color that complements your bedroom decor. The amount of fabric needed will depend on the dimensions of your pillow, so make sure to measure it beforehand.
- Thread: Select a thread that matches or complements the color of your fabric. A durable thread, such as polyester or cotton thread, is recommended for a strong and long-lasting pillowcase.
- Pins: These will be essential for securing the fabric together during the sewing process.
- Scissors: A pair of sharp fabric scissors will be necessary to cut the fabric to the right dimensions and trim excess threads.
- Measuring tape or ruler: Accurate measurements are key to ensuring a perfectly fitting pillowcase, so make sure to have a measuring tool on hand.
- Sewing machine or needle and thread: You can choose to sew the pillowcase by hand or opt for a sewing machine if you have one available. Both methods will yield great results, so use whichever you are most comfortable with.
- Iron: An iron will help you achieve crisp and neat seams, ensuring a professional finish for your pillowcase.
Once you have these materials gathered, you’re ready to move on to the next step: taking the measurements for your king pillowcase.
Measurements
To create a king pillowcase that fits your standard pillow perfectly, you’ll need to take accurate measurements. Here’s how:
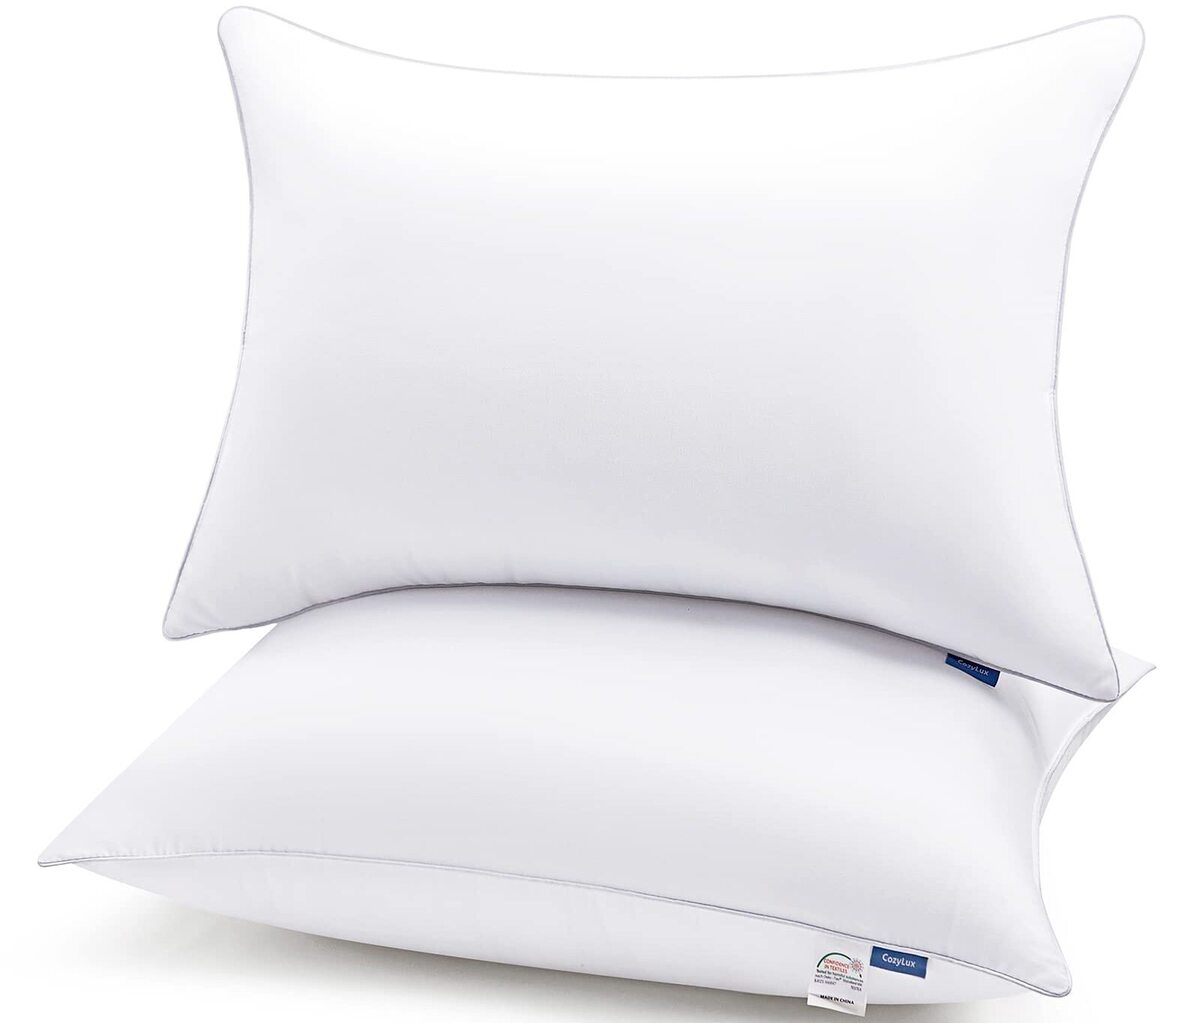
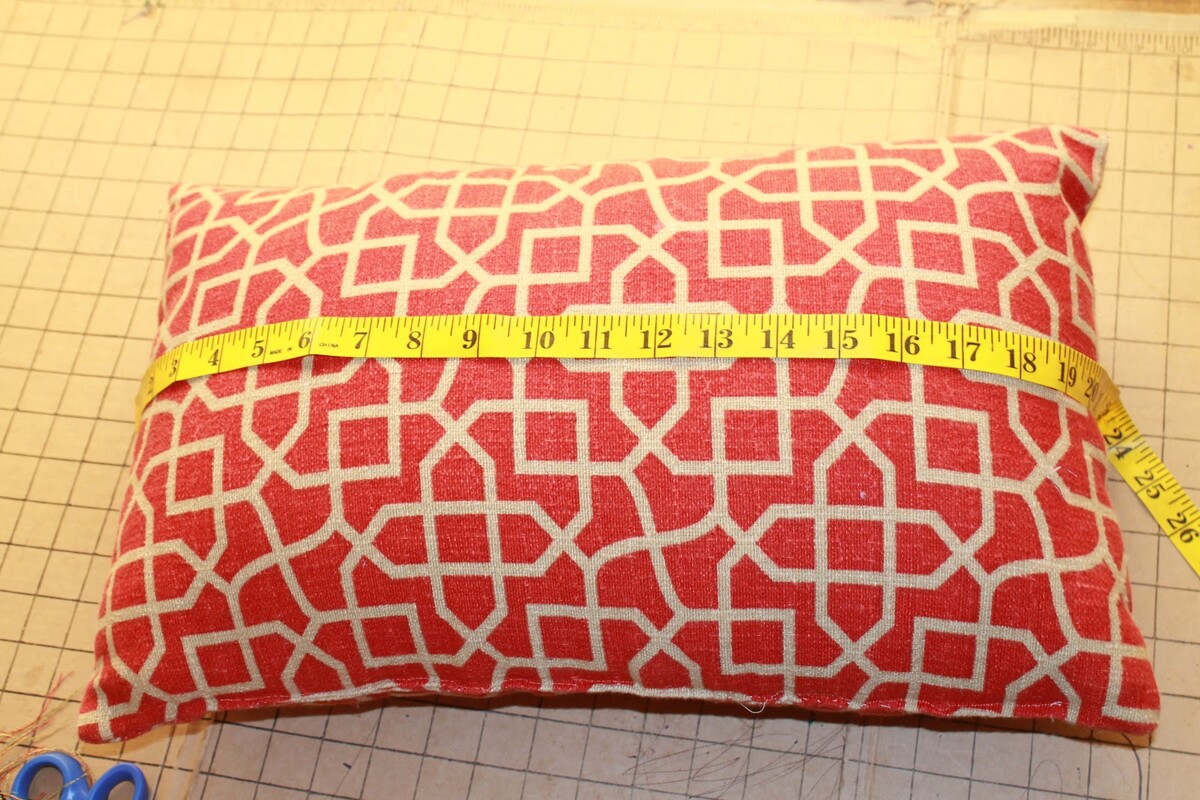
- Measure the width: Start by measuring the width of your standard pillow from one edge to the other. Take note of this measurement.
- Measure the length: Next, measure the length of your pillow, starting from the top edge to the bottom edge. Record this measurement as well.
- Add seam allowance: To ensure a comfortable fit and accommodate the seams, add an additional half-inch to each measurement. This will be the total width and length of your king pillowcase.
For example, if your standard pillow measures 20 inches in width and 26 inches in length, adding the half-inch seam allowance would result in a final measurement of 20.5 inches by 26.5 inches for your pillowcase.
Keep in mind that these measurements can vary depending on the size of your standard pillow, so it’s essential to measure your specific pillow to ensure a custom fit.
With your measurements in hand, you’re ready to move on to the next step: cutting the fabric for your king pillowcase.
Cutting the Fabric
Now that you have your measurements, it’s time to cut the fabric for your king pillowcase. Follow these steps:
- Prepare the fabric: Start by laying out your chosen fabric on a flat surface. Ensure that it is free from any wrinkles or creases by using an iron to press it if necessary.
- Measure and mark: Using a measuring tape or ruler, measure and mark the width and length of your king pillowcase on the fabric. Make sure to add the half-inch seam allowance to each measurement.
- Cut the fabric: Using fabric scissors, carefully cut along the marked lines to create a rectangular piece of fabric that matches the measurements of your king pillowcase.
Remember to cut the fabric accurately to ensure a proper fit. Double-check your measurements before cutting to avoid any mistakes.
Once you have the fabric cut to the correct size, it’s time to move on to the next step: sewing the pillowcase.
When making a king pillowcase to fit a standard pillow, simply use a standard pillowcase as a template and add 4 inches to the width and 8 inches to the length to accommodate the larger pillow.
Sewing the Pillowcase
With the fabric prepared, it’s time to sew the pieces together to create your king pillowcase. Follow these steps:
- Place the fabric: Take the fabric and fold it in half lengthwise, with the right sides facing each other. Align the edges and pin them together to secure the fabric in place.
- Sew the side seam: Using a sewing machine or a needle and thread, sew a straight stitch along the open side opposite the fold. Be sure to leave a half-inch seam allowance.
- Finish the side seam: To prevent fraying and add durability, reinforce the side seam by either zigzag stitching or serging the raw edges.
- Sew the bottom seam: At the bottom of the fabric, sew another straight stitch across the width, leaving a half-inch seam allowance.
- Finish the bottom seam: Just like the side seam, reinforce the bottom seam to prevent fraying and add strength to the pillowcase.
- Turn the pillowcase: Reach into the opening at the side seam and pull the pillowcase right side out. Use a blunt object, such as a pencil or a chopstick, to push out the corners and ensure they are fully formed.
- Iron the pillowcase: Once the pillowcase is turned right side out, give it a good press with an iron to smooth out any wrinkles and create crisp edges.
Now you have successfully sewn the basic structure of your king pillowcase. All that’s left is adding some finishing touches.
Read more: What Is The Size Of A King-Size Pillowcase?
Finishing Touches
Now that your king pillowcase is complete, it’s time to add the finishing touches to make it even more stylish and functional. Follow these steps:
- Optional embellishments: If you want to add extra flair to your pillowcase, consider adding decorative elements such as ribbon, lace, or embroidered accents. You can sew these onto the pillowcase using a sewing machine or needle and thread.
- Hem the open end: To close the open end of the pillowcase, fold the raw edge inside by half an inch, then fold it in again to create a neat and secure hem. Pin the hem in place and sew a straight stitch along the edge to secure it.
- Final press: Give the entire pillowcase a final press with an iron to ensure all seams are flat and create a polished look.
Now, you have fully completed your king pillowcase. It’s ready to be placed on your standard-sized pillow and enjoy a snug fit every night.
Remember, you can repeat this process to create as many pillowcases as you need for your standard pillows, allowing you to match or coordinate with different bedding sets or change up the look of your bedroom.
With your new king pillowcases, you can say goodbye to ill-fitting pillowcases and embrace a sleeping experience tailored to your preferences.
Conclusion
Congratulations! You have successfully learned how to make a king pillowcase to fit your standard pillow. By following the step-by-step instructions outlined in this article, you can create custom pillowcases that provide a perfect fit and add a touch of personal style to your bedroom.
With just a few materials and basic sewing skills, you can easily customize pillowcases that match your bedroom decor and ensure a snug fit for your standard-sized pillows. No more struggling with ill-fitting pillowcases that slip off during the night or leave your pillows exposed. Now, you can enjoy a comfortable and stylish sleep experience.
Remember to take accurate measurements, cut the fabric precisely, and sew the pillowcase with care. Adding finishing touches, such as decorative accents or neatly hemming the opening, can elevate the look of your pillowcase and make it even more unique.
So, gather your materials, follow the steps, and experiment with different fabrics and embellishments to create a collection of custom king pillowcases that will make your bedroom truly your own.
Thank you for joining us in this pillowcase-making journey. We hope you find joy in creating and using your handmade king pillowcases!
Frequently Asked Questions about How To Make A King Pillowcase To Fit A Standard Pillow
Was this page helpful?
At Storables.com, we guarantee accurate and reliable information. Our content, validated by Expert Board Contributors, is crafted following stringent Editorial Policies. We're committed to providing you with well-researched, expert-backed insights for all your informational needs.
0 thoughts on “How To Make A King Pillowcase To Fit A Standard Pillow”