Articles
How To Make Standard Pillowcase
Modified: February 24, 2024
Learn how to make standard pillowcases with our step-by-step articles. Enhance your bedding collection with these DIY pillowcase tutorials. Create personalized and stylish pillowcases at home.
(Many of the links in this article redirect to a specific reviewed product. Your purchase of these products through affiliate links helps to generate commission for Storables.com, at no extra cost. Learn more)
Introduction
A standard pillowcase is a simple and essential item that every household should have. Not only does it protect your pillow from dirt and stains, but it also adds a touch of style to your bedroom decor. Making your own pillowcase is a fun and rewarding sewing project that allows you to choose the fabric and design that best suits your taste.
In this article, we will guide you through the step-by-step process of making a standard pillowcase. Whether you are a beginner or an experienced seamstress, this project is suitable for all skill levels. So, let’s gather the materials and get started!
Before we proceed, here’s a quick overview of the materials you will need:
Key Takeaways:
- Create personalized pillowcases to add style and protection to your bedroom decor. Follow the step-by-step guide to make your own functional and stylish standard pillowcase, perfect for all skill levels.
- Embrace creativity and personalize your pillowcases to match your bedroom decor or give as thoughtful handmade gifts. Enjoy the satisfaction of creating something beautiful and useful with your own hands.
Materials Needed
- Fabric: Choose a soft and comfortable fabric such as cotton, satin, or flannel. You’ll need a piece of fabric measuring 44-45 inches wide and 35-37 inches long.
- Thread: Select a thread color that complements your fabric.
- Pins: You’ll need several pins to secure the fabric during sewing.
- Scissors: Use fabric scissors to cut the fabric accurately.
- Sewing Machine: A sewing machine will make the process faster and more efficient, but you can also sew by hand if you prefer.
- Iron and Ironing Board: These will help you achieve crisp and neat seams.
Now that you have the necessary materials, let’s dive into the step-by-step instructions on how to make a standard pillowcase.
Key Takeaways:
- Create personalized pillowcases to add style and protection to your bedroom decor. Follow the step-by-step guide to make your own functional and stylish standard pillowcase, perfect for all skill levels.
- Embrace creativity and personalize your pillowcases to match your bedroom decor or give as thoughtful handmade gifts. Enjoy the satisfaction of creating something beautiful and useful with your own hands.
Materials Needed
Before you begin making a standard pillowcase, it’s important to gather all the necessary materials. Here’s a list of what you’ll need:
- Fabric: Choose a fabric that is soft, durable, and suitable for pillowcases. Cotton, satin, and flannel are popular choices. Look for a fabric that is 44-45 inches wide and 35-37 inches long, which is the standard size for a pillowcase.
- Thread: Select a thread color that matches or complements your fabric. Polyester or cotton thread in a medium weight is suitable for sewing pillowcases.
- Pins: You’ll need a handful of straight pins to hold the fabric in place while sewing.
- Scissors: Use fabric scissors or shears to cut the fabric. Make sure they are sharp to ensure clean and precise cuts.
- Sewing Machine: While it is possible to sew a pillowcase by hand, using a sewing machine will make the process quicker and more efficient. If you don’t own a sewing machine, check if you can borrow one or consider using a local sewing café or community center.
- Iron and Ironing Board: These are essential for pressing the seams and achieving a professional-looking finish. Make sure your iron is set to the appropriate heat setting for your fabric.
It’s important to note that the measurements and quantities mentioned above are for a standard pillowcase. If you are making a pillowcase for a different pillow size, you may need to adjust the measurements accordingly.
Now that you have all the materials ready, you’re one step closer to creating your own beautiful pillowcase. The next section will guide you through cutting the fabric for your pillowcase.
Step 1: Cutting the Fabric
The first step in making a standard pillowcase is cutting the fabric to the appropriate size. Follow these instructions:
- Preparation: Start by ensuring your fabric is clean and free from any wrinkles.
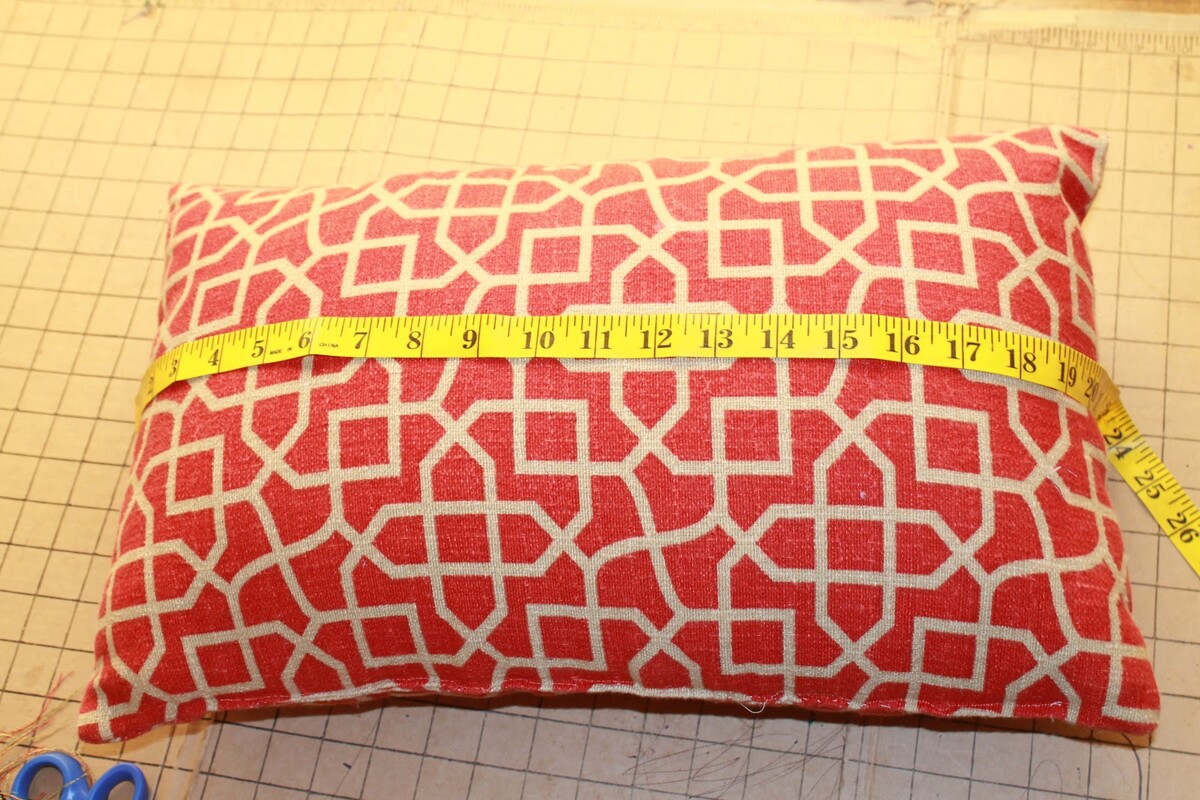
- Measurements: Measure and mark a piece of fabric that is 44-45 inches wide and 35-37 inches long. You can use a fabric measuring tape or ruler for accuracy.
- Cutting: Once you have marked your fabric, carefully cut along the lines using fabric scissors. Make sure to cut as straight as possible to ensure even edges.
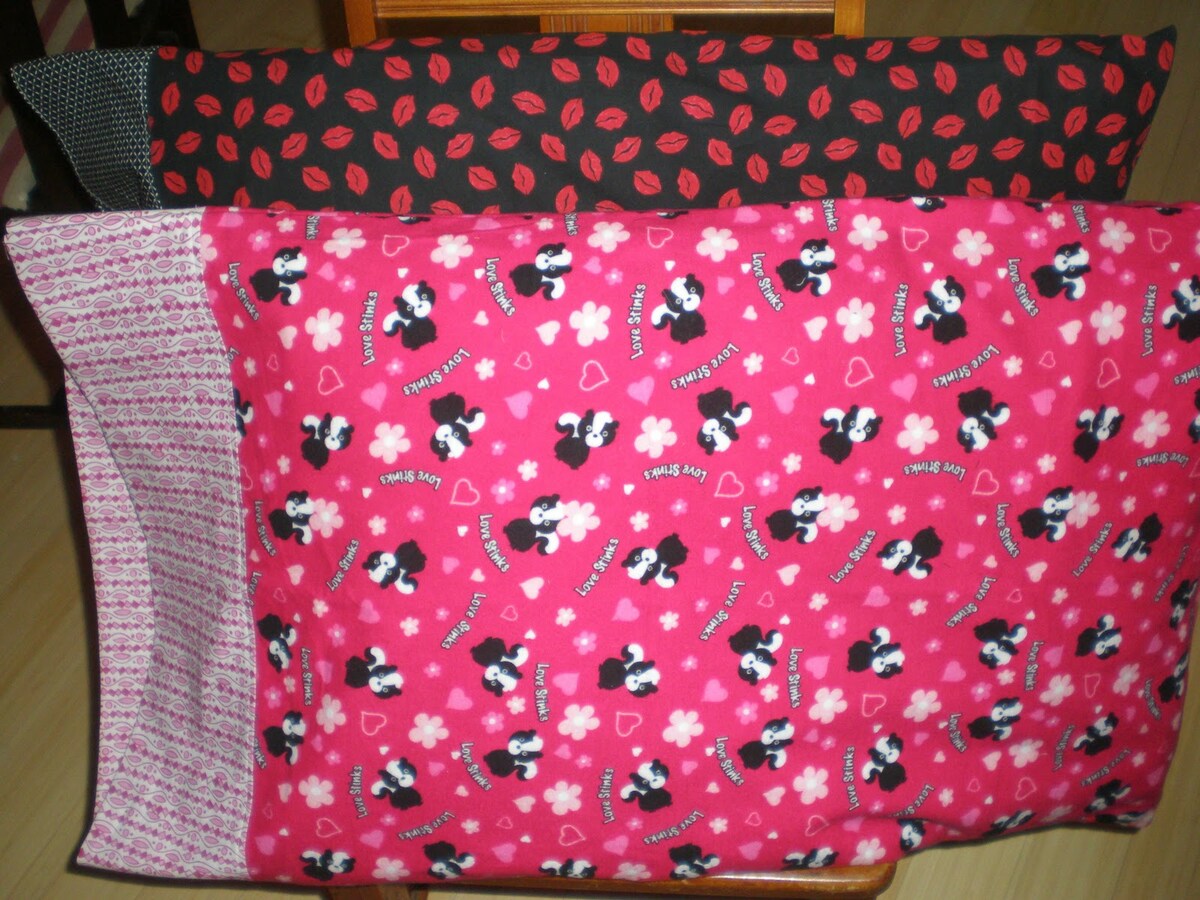
- Optional: Patterned Fabric: If you are using patterned fabric, pay attention to the alignment of the pattern. You may need to make adjustments to ensure that the pattern looks symmetrical and cohesive once the pillowcase is sewn together.
After cutting the fabric, you should have a rectangular piece that is ready to be transformed into a pillowcase. The next step will guide you through sewing the hem of the pillowcase to prevent fraying and create a clean edge.
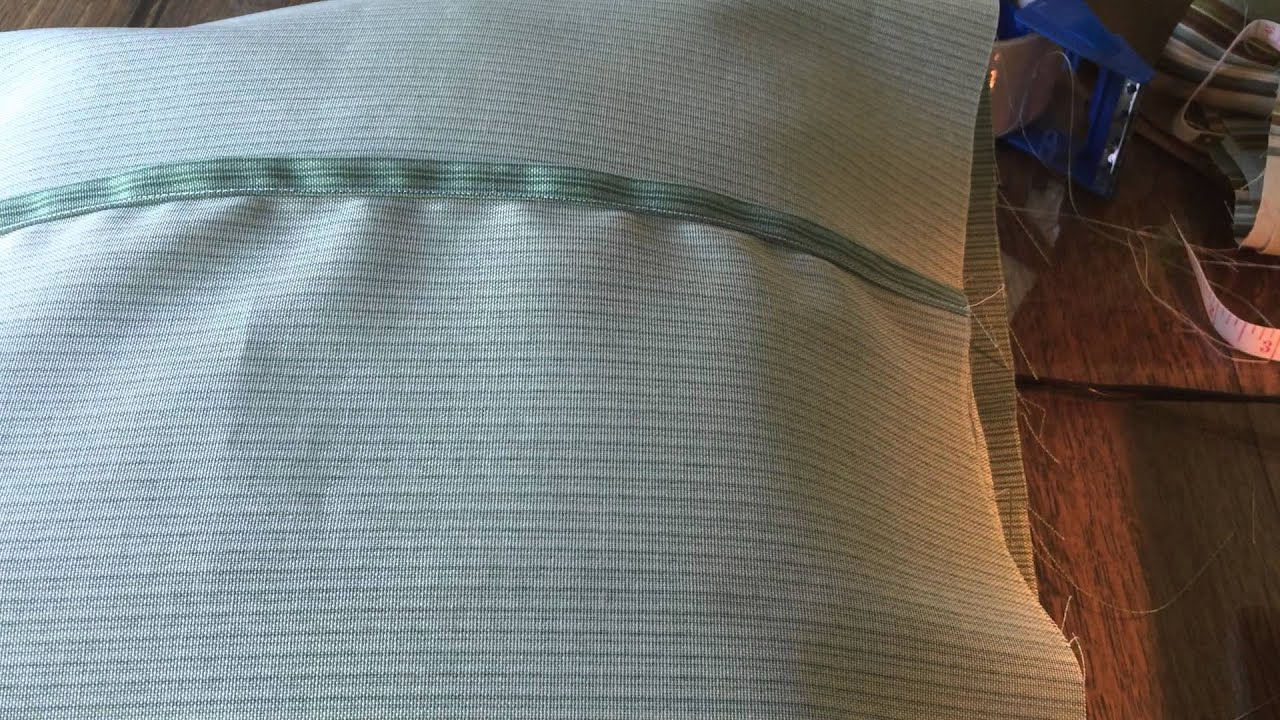
Step 2: Sewing the Hem
Now that you have cut the fabric for your pillowcase, it’s time to sew the hem. This step will give your pillowcase a neat finish and prevent fraying. Follow these instructions:
- Ironing: Start by ironing the fabric to remove any wrinkles and create a smooth surface for sewing.
- Hem Width: Determine the desired width of your hem. A 1-inch hem is standard, but you can adjust it to your preference.
- Marking: Using a fabric pen or pencil, mark the hem width along the top edge of the fabric. Make sure to mark it consistently along the entire edge.
- Folding: Fold the fabric at the marked line, towards the wrong side of the fabric. This means folding it towards the backside of the fabric, with the printed or patterned side facing out.
- Pinning: Secure the folded hem in place with straight pins. Place the pins about 2-3 inches apart along the entire length of the fabric.
- Sewing: Set up your sewing machine with a matching thread and select a straight stitch. Starting from one end, sew along the folded edge, removing the pins as you go. Take care to maintain a straight and even seam.
- Backstitch: Remember to backstitch at the beginning and end of your hem to secure the stitches.
- Pressing: Once you have sewn the hem, press it with an iron to create a crisp and well-defined edge.
By sewing the hem, you have created a clean finish for your pillowcase and ensured that the fabric won’t fray. The next step will guide you through sewing the side seams of the pillowcase.
When sewing a standard pillowcase, be sure to prewash and iron your fabric to prevent shrinkage. Use a French seam for a clean, professional finish that also prevents fraying.
Read more: What Is The Size Of A Standard Pillowcase
Step 3: Sewing the Side Seams
With the hem of your pillowcase securely sewn, it’s time to move on to sewing the side seams. This step will transform your fabric into a pouch that will hold the pillow. Follow these instructions:
- Lay the Fabric: Lay the fabric flat on a table or sewing surface with the right side facing up.
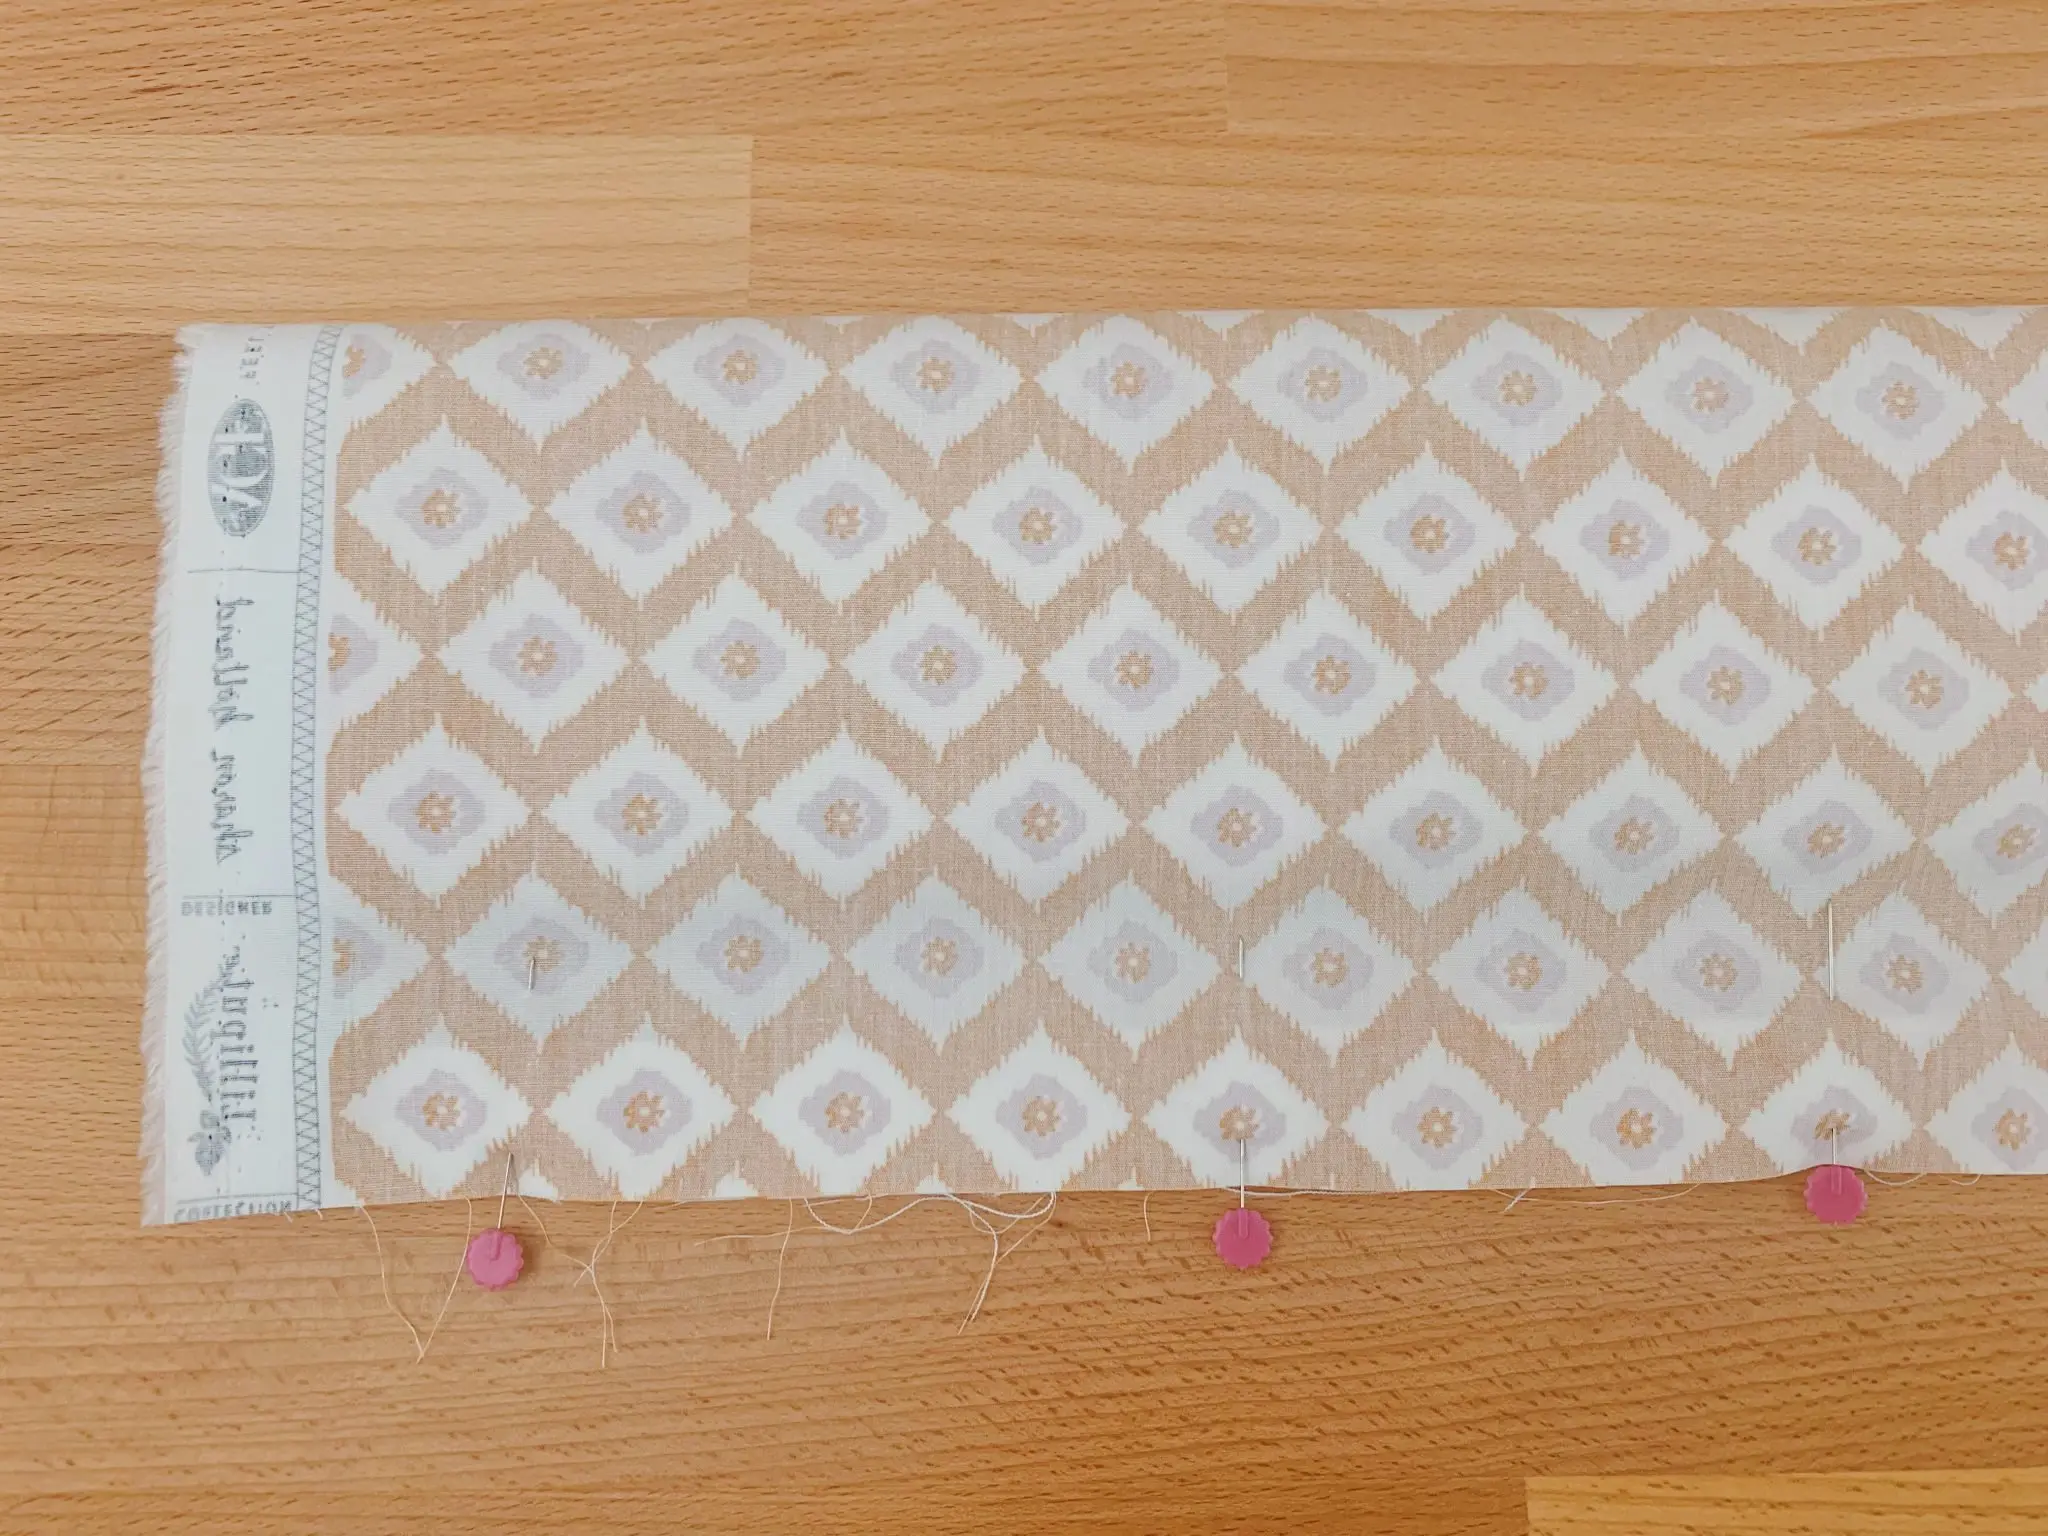
- Matching Edges: Fold the fabric in half lengthwise, matching up the raw edges of the fabric on both sides.
- Pinning: Secure the sides of the fabric together with straight pins. Pin from the top of the fabric down to the bottom to ensure the edges stay aligned.
- Sewing: Set up your sewing machine with a matching thread and select a straight stitch. Starting from the top or bottom, sew along the pinned edge. Remove the pins as you sew, and remember to backstitch at the beginning and end to secure the seam.
- Finishing the Seam: After sewing the side seam, you can finish the raw edges with a zigzag stitch or use a serger if you have one. This will help prevent fraying and add durability to the seam.
- Pressing: Press the side seam open with an iron to create a flat and tidy seam.
With the side seams sewn, your pillowcase is starting to take shape. The next step will guide you through adding the pillow flap, which will keep the pillow secure inside the pillowcase.
Step 4: Adding the Pillow Flap
Adding a pillow flap to your pillowcase will ensure that your pillow stays securely inside. This step is essential for providing a snug fit and keeping the pillow in place. Follow these instructions to add the pillow flap:
- Lay the Fabric: Lay the fabric flat on a table or sewing surface with the right side facing up.
- Measure and Mark: Measure approximately one-third of the fabric’s width from one end, and make a small mark with a fabric pen or pencil.
- Cut: Starting from the mark, cut straight across the fabric towards the opposite side. This will create the pillow flap.
- Fold and Pin: Fold the raw edge of the flap towards the wrong side of the fabric, ensuring that it covers the pillow opening. Pin it in place to secure.
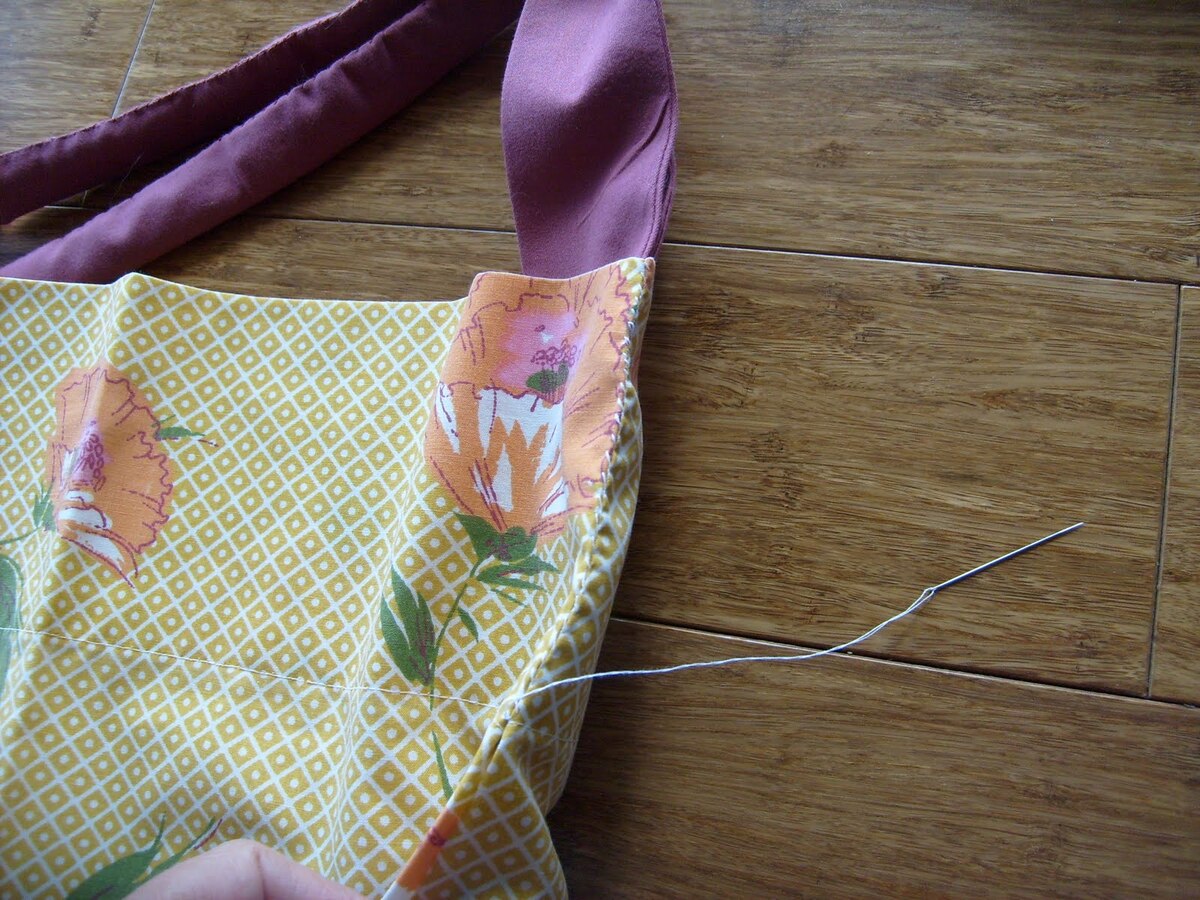
- Sewing: Set up your sewing machine with a matching thread and select a straight stitch. Starting from one end of the flap, sew along the edge, securing the flap in place. Continue sewing along the side seam, reinforcing the stitching to add strength to the flap.
- Trimming: Trim any excess fabric and threads.
- Pressing: Press the flap and surrounding area with an iron to create a smooth and professional finish.
By adding the pillow flap, you have created a secure closure that will keep your pillow snugly inside the pillowcase. The next step will guide you through sewing the pillowcase together, completing the construction of your homemade standard pillowcase.
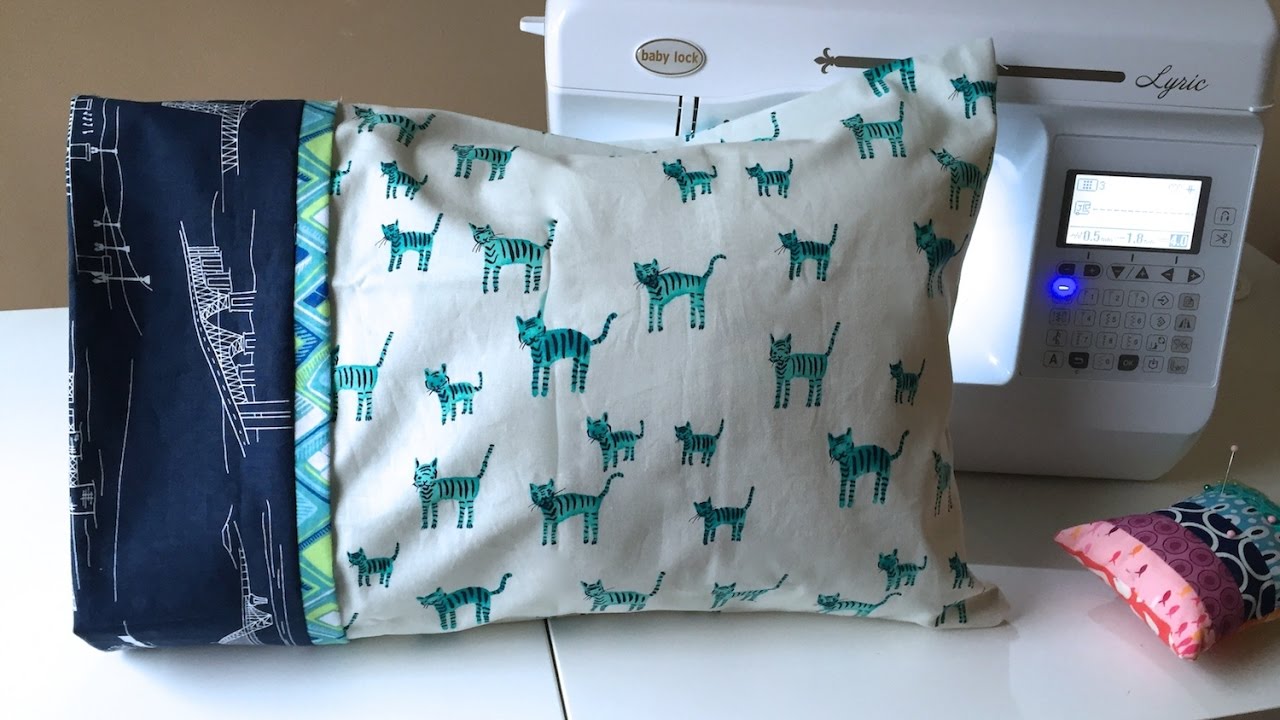
Step 5: Sewing the Pillowcase Together
Now that you have sewn the hem, side seams, and added the pillow flap, it’s time to sew the pillowcase together to complete the construction. This step will bring all the elements together and transform your fabric into a functional and stylish pillowcase. Follow these instructions:
- Lay the Fabric: Lay the fabric flat on a table or sewing surface with the right side facing up.
- Matching Edges: Fold the fabric in half, matching up the raw edges on the top and bottom.
- Pinning: Secure the edges together with straight pins. Pin along the side seam and ensure that the pillow flap is tucked inside and aligned with the rest of the fabric.
- Sewing: Set up your sewing machine with a matching thread and select a straight stitch. Starting from one end, sew along the pinned edge, removing the pins as you go. Remember to backstitch at the beginning and end to secure the seam.
- Trimming: Trim any excess fabric and threads.
- Finishing the Seam: To prevent fraying and add durability, you can finish the raw edges with a zigzag stitch or use a serger if available.
- Pressing: Press the entire pillowcase with an iron to create crisp and neat seams.
Once you have sewn the pillowcase together, you are almost done! The final step will cover some finishing touches to make your pillowcase look polished and ready for use.
Step 6: Finishing Touches
With your pillowcase sewn together, it’s time to add some finishing touches to make it look even more polished and professional. These final steps will enhance the overall appearance and provide a clean and neat finish. Follow these instructions for the finishing touches:
- Trim Excess Threads: Carefully trim any loose threads or excess fabric along the seams. This will give your pillowcase a clean and tidy appearance.
- Optional: Topstitching: If desired, you can add decorative topstitching along the hem or side seams of the pillowcase. This can be done using a contrasting or coordinating thread color and a straight or decorative stitch. It adds a decorative element and reinforces the seams.
- Pressing Again: Once you have completed any additional stitching, press the entire pillowcase once more to ensure all the seams are crisp and well-defined.
- Washing and Ironing: Before using your newly sewn pillowcase, it’s important to give it a good wash and press. This will remove any lingering fabric sizing or dirt and ensure your pillowcase is fresh and ready for use.
Congratulations! You have successfully made your own standard pillowcase. Now you can enjoy the satisfaction of creating something useful and beautiful with your own hands.
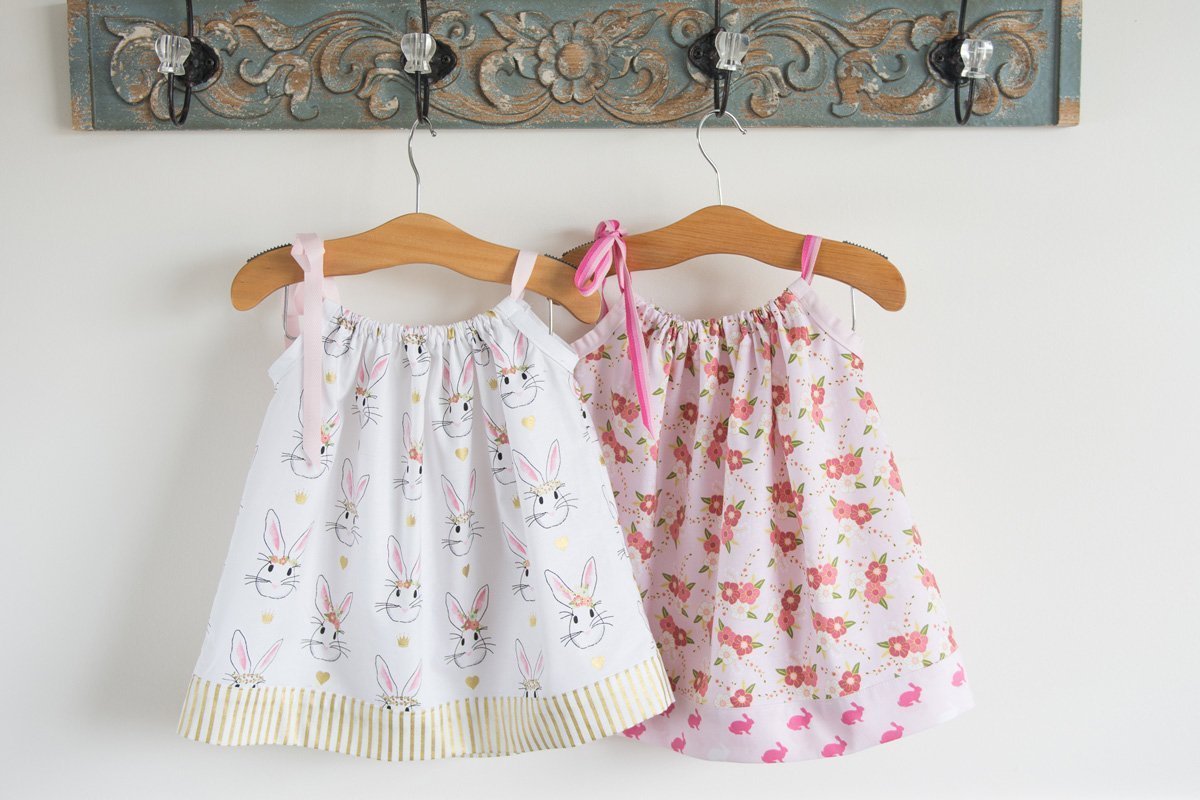
Remember, as you continue to sew and experiment with different fabrics and designs, you can personalize your pillowcases to match your bedroom decor or give them as thoughtful handmade gifts to friends and family.
With a bit of practice, you’ll be able to whip up pillowcases in no time. So go ahead, make a few more pillowcases, and breathe some new life into your bedroom decor!
Once you have finished all the steps, your standard pillowcase is ready to be used or gifted. Enjoy the comfort and style that your handmade pillowcase brings to your bedroom!
Conclusion
Congratulations on completing your journey of making a standard pillowcase! By following these step-by-step instructions, you have created a functional and stylish pillowcase that adds a personal touch to your bedroom decor. The sense of accomplishment and satisfaction that comes from creating something with your own hands is truly rewarding.
Throughout this process, you have learned the essential techniques of cutting fabric, sewing hems and side seams, adding a pillow flap, and sewing the pillowcase together. These skills can be applied to future sewing projects and allow you to explore your creativity further.
Keep in mind that while this guide provides a standard pillowcase size and instructions, you can easily adapt the measurements to accommodate different pillow sizes or explore different fabric options and patterns to suit your style and preferences. The possibilities for customizing your pillowcases are endless!
Remember, practice makes perfect, so don’t be discouraged if your first attempt isn’t flawless. With each pillowcase you make, you will improve your sewing skills and gain more confidence in your abilities.
Whether you choose to make pillowcases for yourself or as gifts for loved ones, your handmade creations will bring joy and comfort to those who use them. The time and effort you put into making something from scratch make it all the more special and meaningful.
So, gather your materials, set up your sewing machine, and dive into the world of DIY pillowcase making. Enjoy the process, embrace your creativity, and let your imagination soar as you embark on more sewing adventures!
Happy sewing!
Frequently Asked Questions about How To Make Standard Pillowcase
Was this page helpful?
At Storables.com, we guarantee accurate and reliable information. Our content, validated by Expert Board Contributors, is crafted following stringent Editorial Policies. We're committed to providing you with well-researched, expert-backed insights for all your informational needs.


0 thoughts on “How To Make Standard Pillowcase”