Home>Articles>How To Make A Panini With A George Foreman Grill

Articles
How To Make A Panini With A George Foreman Grill
Modified: February 20, 2024
Learn how to make delicious paninis with a George Foreman grill. Our articles share step-by-step instructions and helpful tips for perfect results every time.
(Many of the links in this article redirect to a specific reviewed product. Your purchase of these products through affiliate links helps to generate commission for Storables.com, at no extra cost. Learn more)
Introduction
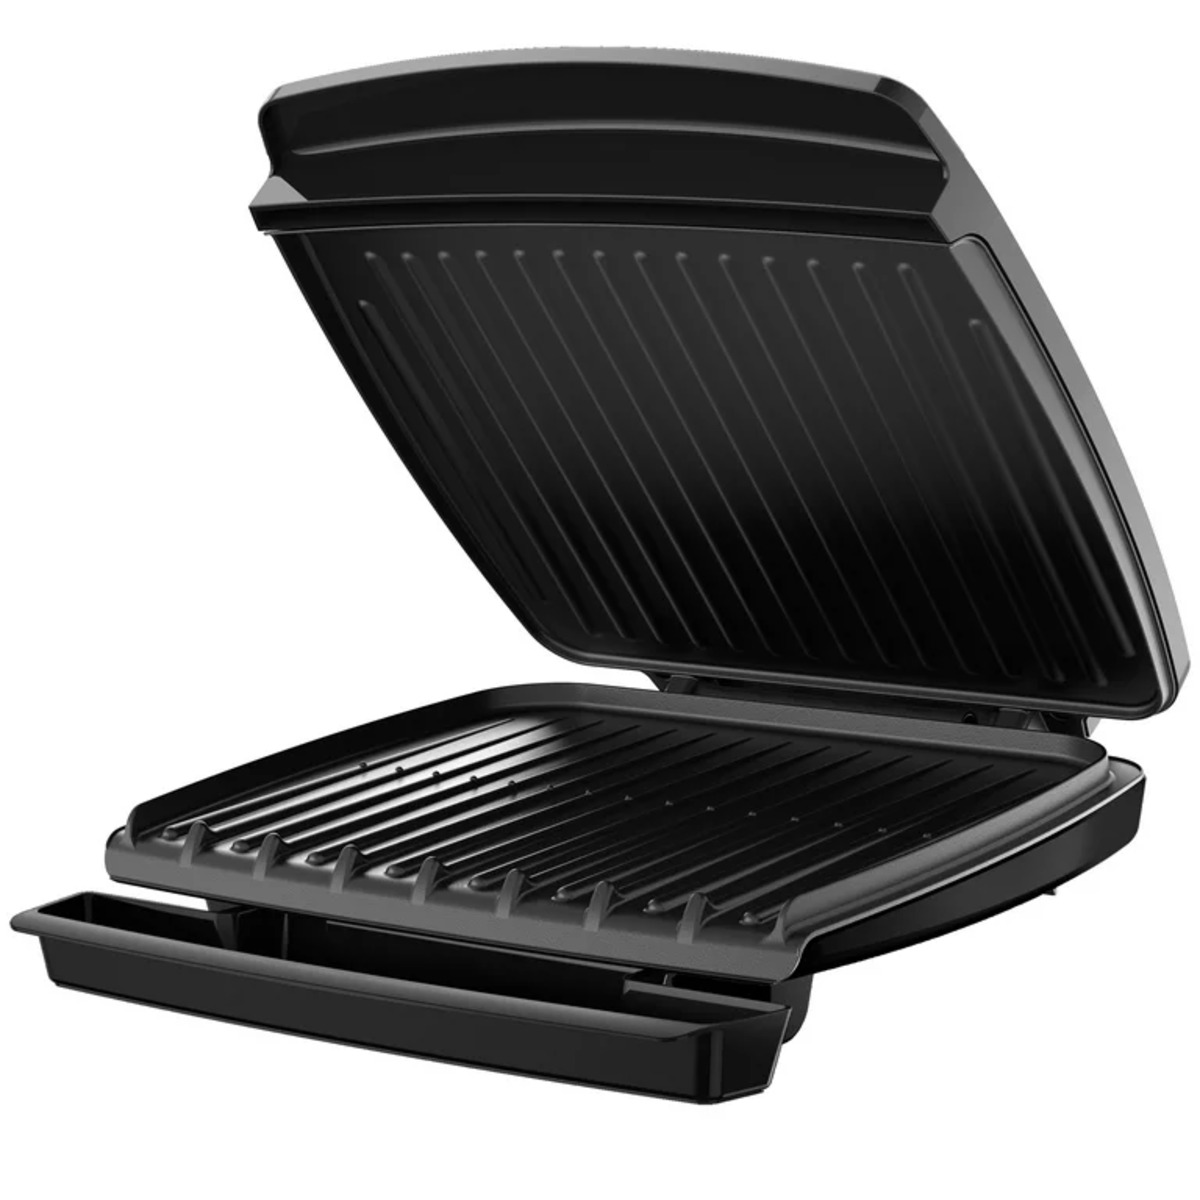
Are you craving a delicious and warm panini but don’t have access to a traditional panini press? Fear not! With a George Foreman grill, you can easily recreate the satisfying crunch and ooey-gooey goodness of a panini right in the comfort of your own kitchen. The George Foreman grill is a versatile appliance that can be used for more than just grilling meats. It can also be used to make mouthwatering paninis with minimal effort.
In this article, we will guide you through the step-by-step process of making a panini using a George Foreman grill. Whether you prefer classic combinations like ham and cheese or want to get creative with unique fillings, we’ve got you covered. So, let’s get started and unlock the secret to making a perfect panini every time!
Key Takeaways:
- Elevate your sandwich game by making mouthwatering paninis with a George Foreman grill. Customize fillings, preheat the grill, and savor the crispy, gooey goodness of homemade paninis. Happy grilling!
- Unleash your creativity in the kitchen with endless panini variations. From classic combos to unique ingredients, the George Foreman grill lets you craft restaurant-quality paninis at home. Enjoy the flavorful adventure!
Read more: How To Clean A George Foreman Grill
Step 1: Gather your ingredients
The first step in making a delicious panini with a George Foreman grill is to gather all your ingredients. The beauty of paninis is that they can be customized to suit your taste preferences, so feel free to get creative with your fillings. However, here are some classic ingredients that you can use:
- Bread: Opt for sturdy bread like ciabatta, sourdough, or French bread. These types of bread hold up well under the heat and pressure of the grill.
- Protein: Choose your favorite protein such as sliced turkey, ham, chicken, or even tofu for a vegetarian option.
- Cheese: Go for melty cheeses like cheddar, mozzarella, provolone, or Swiss. You can use one type or mix and match for extra flavor.
- Veggies: Add a pop of freshness and crunch with vegetables like sliced tomatoes, spinach, bell peppers, or onions.
- Condiments: Enhance the flavor of your panini with condiments like mayonnaise, mustard, pesto, or even a drizzle of balsamic glaze.
- Seasonings: Sprinkle some salt, pepper, or your favorite herbs and spices to elevate the overall taste.
- Optional extras: If you want to take your panini to the next level, you can include ingredients like bacon, avocado, roasted red peppers, or even sliced apples for a sweet and savory twist.
Once you have gathered all your ingredients, you’re ready to move on to the next step of preparing your fillings.
Step 2: Prepare your fillings
Now that you have your ingredients ready, it’s time to prepare your fillings for the panini. The key here is to ensure that your fillings are sliced or prepared in a way that they will easily fit between the bread slices and cook evenly on the grill. Follow these steps to prepare your fillings:
- If using deli meats like turkey or ham, thinly slice them so that they can heat through and meld with the other ingredients.
- Cheese should be sliced or grated, depending on your preference. Make sure the cheese covers the bread evenly and melts properly when you grill the panini.
- Wash and slice any vegetables you plan to add, such as tomatoes or bell peppers. Opt for thin slices to ensure they cook through and won’t overpower the other flavors in the panini.
- If you’re including any optional extras like bacon or avocado, cook them in advance and have them ready to add to the sandwich.
By preparing your fillings ahead of time, you will save yourself the hassle while assembling the panini and ensure that each ingredient is cooked to perfection before your first bite.
Now that your fillings are ready, it’s time to move on to the next step: preheating your George Foreman grill.
Step 3: Preheat your George Foreman grill
Before you start assembling your panini, it’s important to preheat your George Foreman grill to ensure even cooking and optimal results. Follow these steps to preheat your grill:
- Plug in your George Foreman grill and make sure it’s properly connected to a power source.
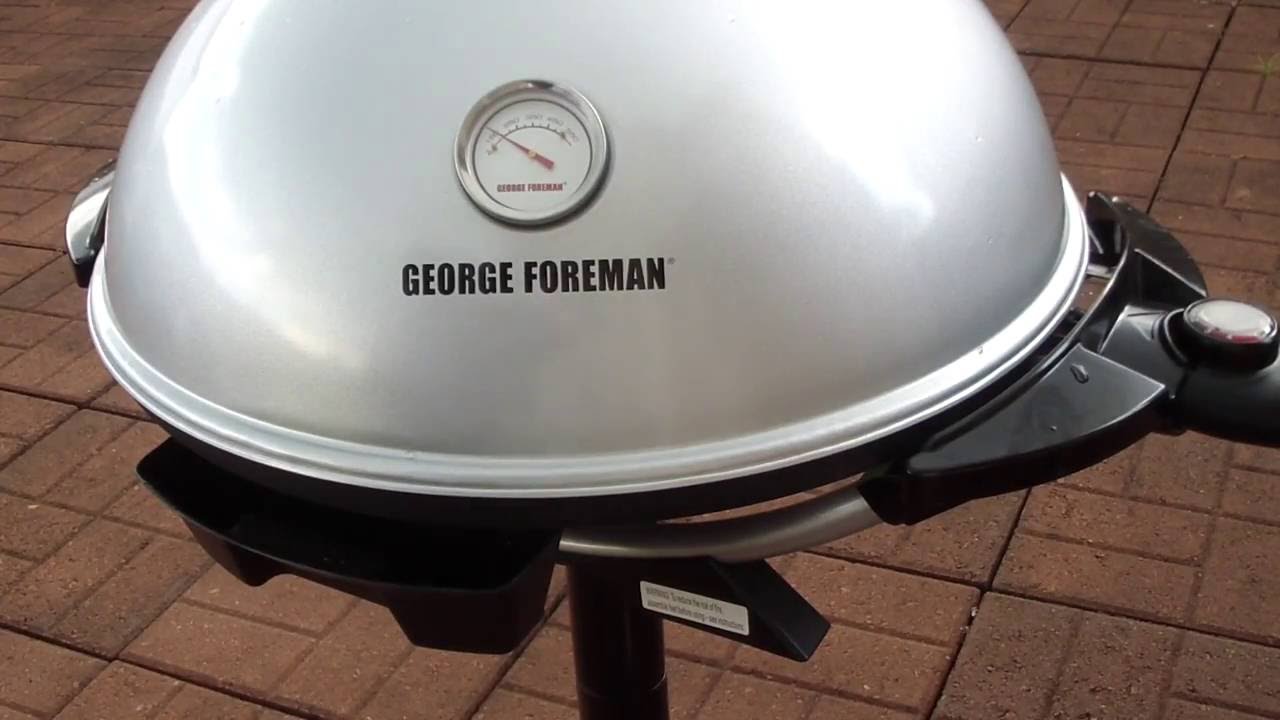
- Most George Foreman grills have a temperature control dial or knob. Set the dial to medium heat or about 350 degrees Fahrenheit (175 degrees Celsius).
- Close the lid of the grill and allow it to heat up for about 5-10 minutes. This will ensure that the grill plates are sufficiently hot and ready for cooking.
- During this time, you can gather your assembled panini and prepare for the next step.
Preheating your grill is essential because it helps create those sought-after grill marks on your panini and ensures that the bread gets toasted to perfection. It also helps in melting the cheese and heating up the fillings evenly.
Once your George Foreman grill is preheated, you’re ready to move on to the next step: assembling your panini.
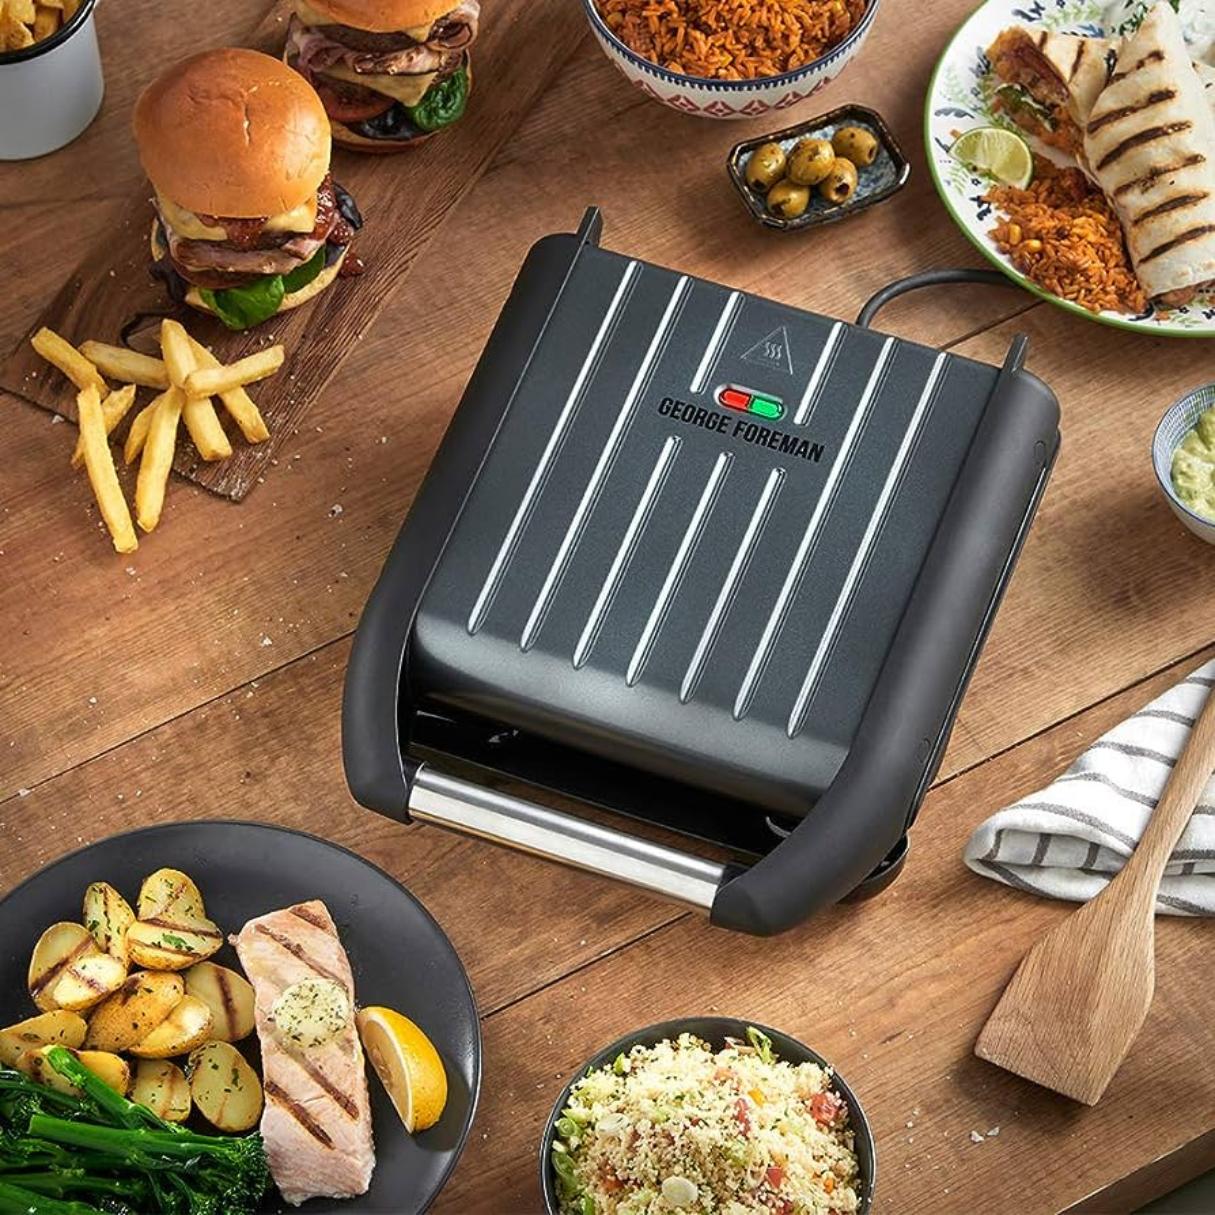
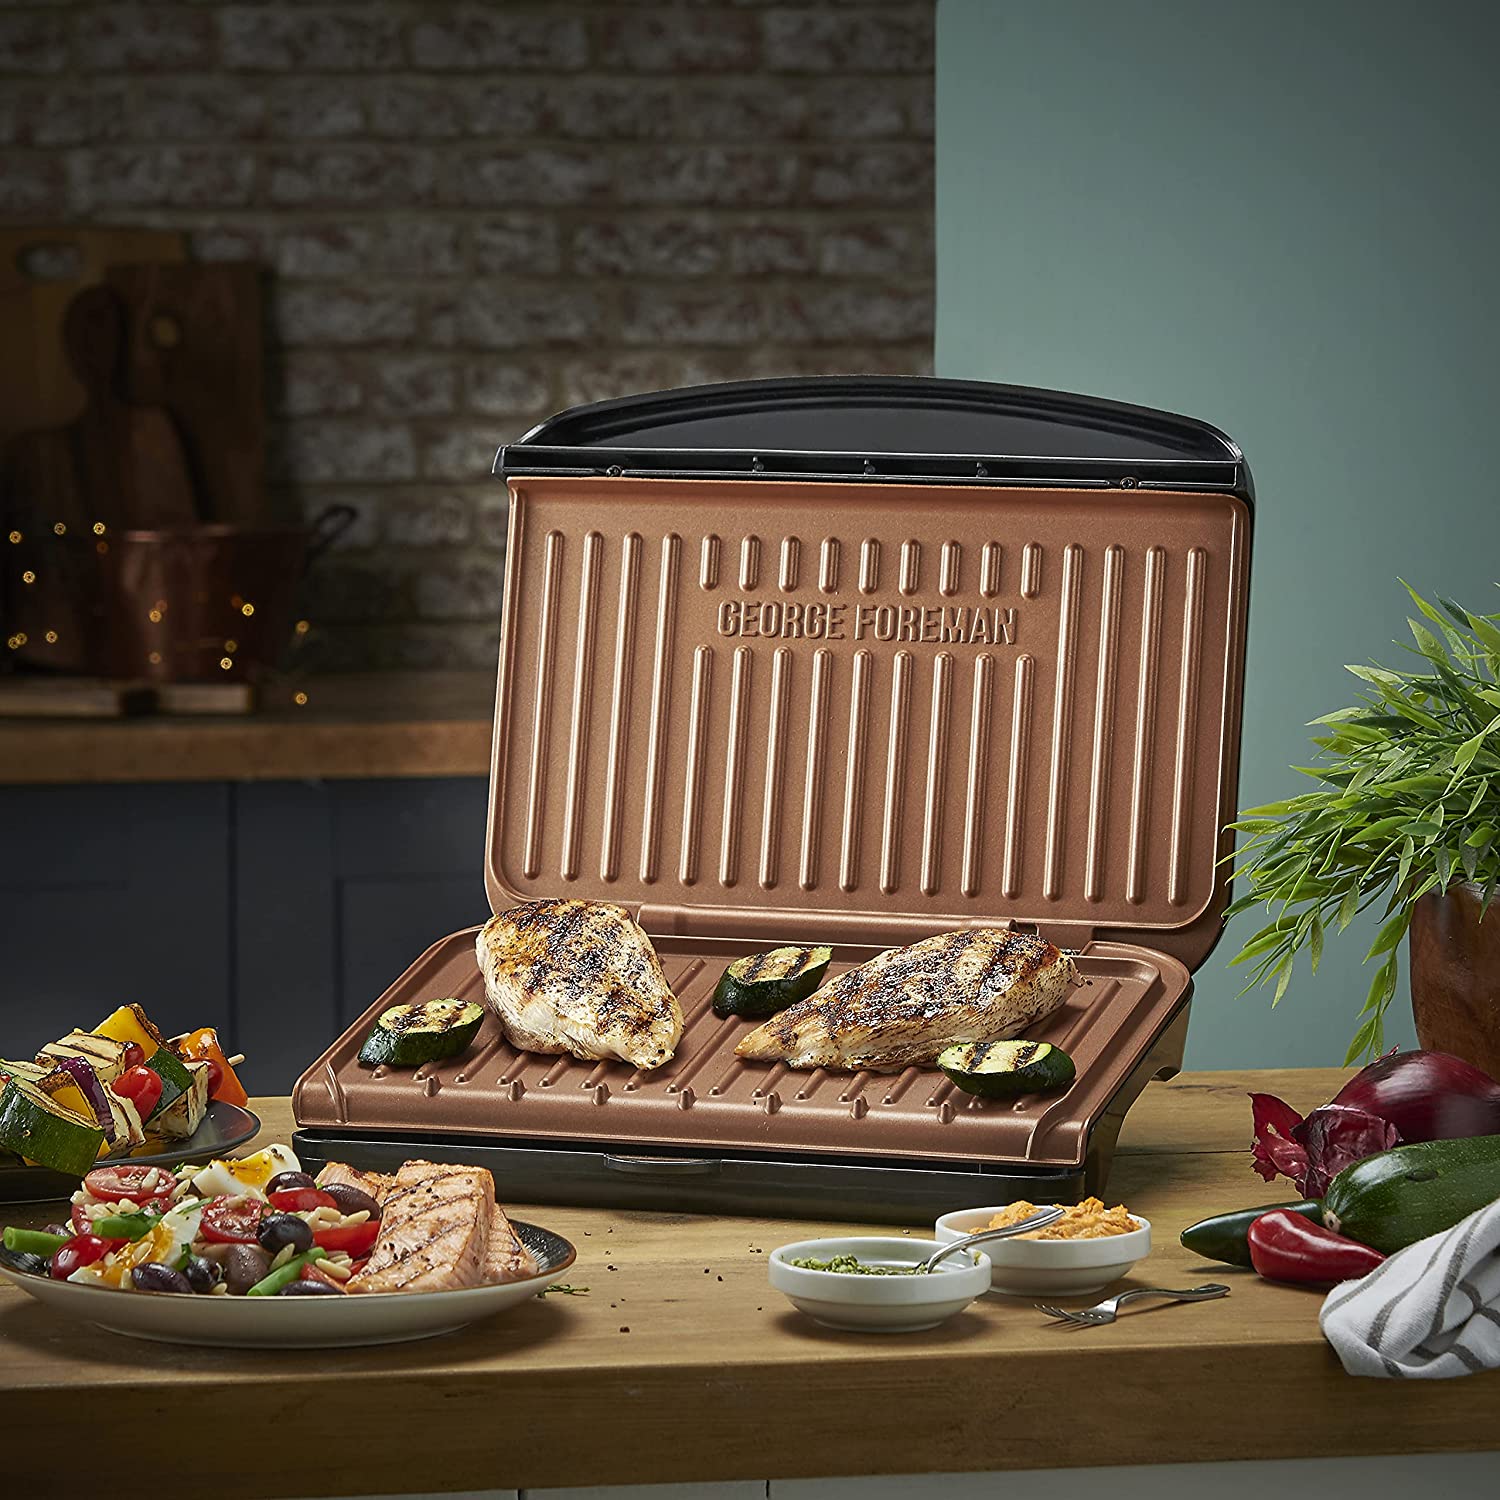
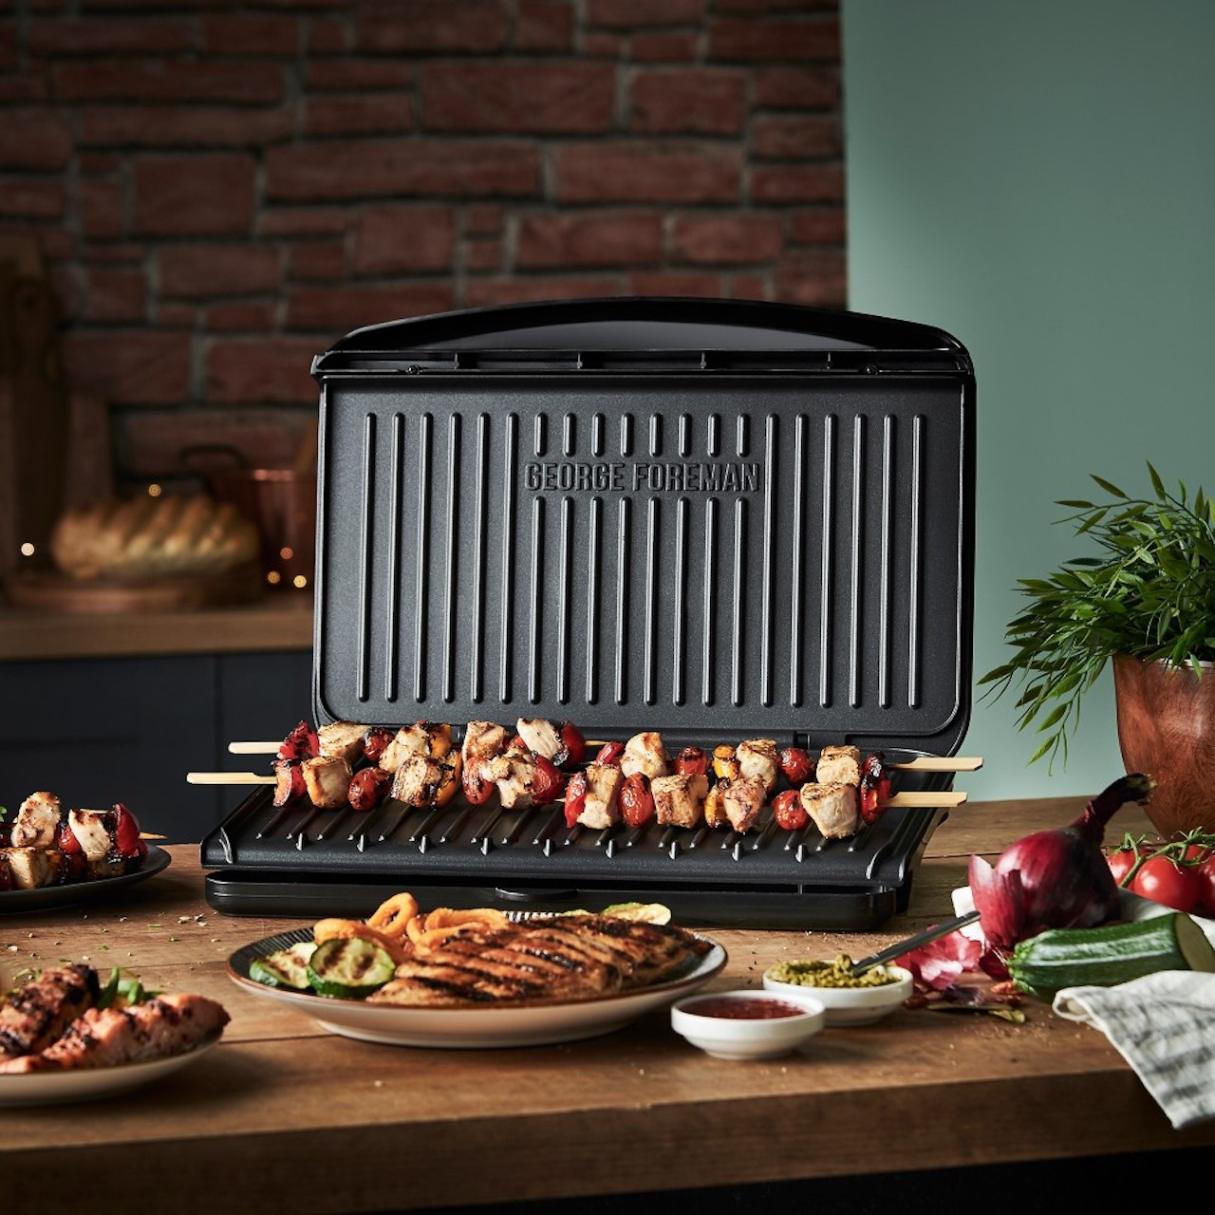
Preheat your George Foreman Grill, assemble your panini with your choice of fillings, and place it on the grill. Close the lid and cook for 3-5 minutes until the bread is crispy and the fillings are heated through. Enjoy your delicious panini!
Step 4: Assemble your panini
Now comes the fun part – assembling your panini! Follow these steps to create a delicious and perfectly layered sandwich:
- Take two slices of your chosen bread and lay them out on a clean surface.
- Spread your desired condiments, such as mayonnaise, mustard, or pesto, on one or both slices of bread.
- Start layering your fillings on one slice of bread. Begin with your protein, followed by cheese, vegetables, and any other extras you’ve chosen.
- Once your fillings are layered, carefully place the other slice of bread on top, condiment-side down, to create a sandwich.
Make sure to press down on the sandwich lightly to secure all the ingredients together.
Assembling the panini is a crucial step as it ensures that each bite is packed with a harmonious combination of flavors. The layering also helps in preventing the ingredients from falling apart during cooking.
With your panini assembled, it’s time to move on to the next step: cooking the panini on the George Foreman grill.
Read more: How To Clean George Foreman Grill
Step 5: Cook the panini
Now that your panini is assembled and ready to go, it’s time to cook it on your preheated George Foreman grill. Follow these steps to achieve a perfectly grilled and crispy panini:
- Open the grill and place the assembled panini onto the bottom grill plate.
- Close the grill and apply gentle pressure to ensure the sandwich is pressed evenly.
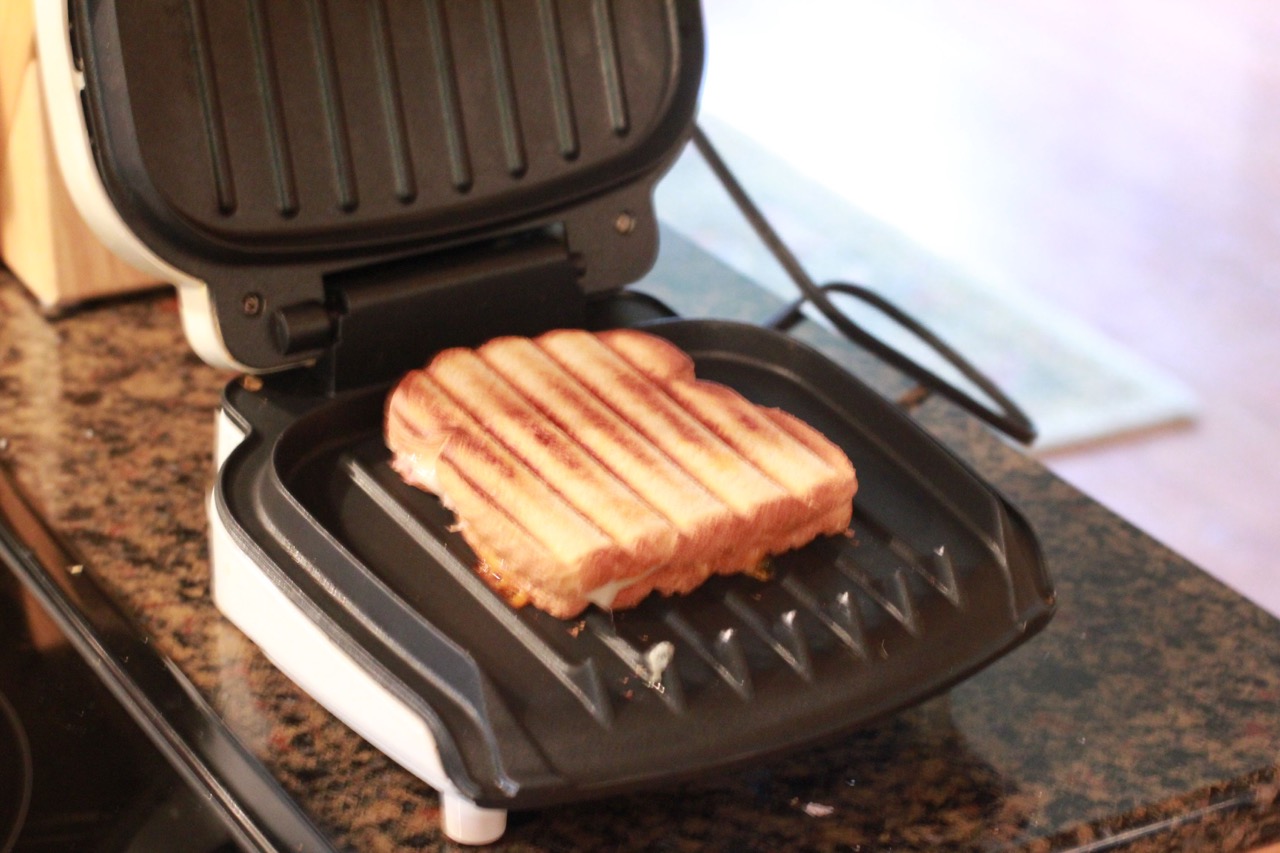
- Cook the panini for approximately 3-5 minutes, or until the bread is golden brown and the cheese has melted.
- Keep an eye on the panini as it cooks to prevent it from getting overly crispy or burnt.
- Once cooked to your desired level of crispness, carefully remove the panini from the grill using a spatula or tongs.
By cooking the panini on the George Foreman grill, you allow the heat and pressure to create those beautiful grill marks on the bread while simultaneously melting the cheese and heating the fillings. The result is a deliciously crispy exterior and a warm, gooey interior.
With your panini cooked to perfection, you’re ready to move on to the final step: serving and enjoying your mouthwatering creation.
Step 6: Serve and enjoy!
Congratulations! You have successfully cooked your panini on the George Foreman grill. Now it’s time to serve it up and savor every delectable bite. Here’s what you need to do:
- Carefully transfer the cooked panini to a cutting board.
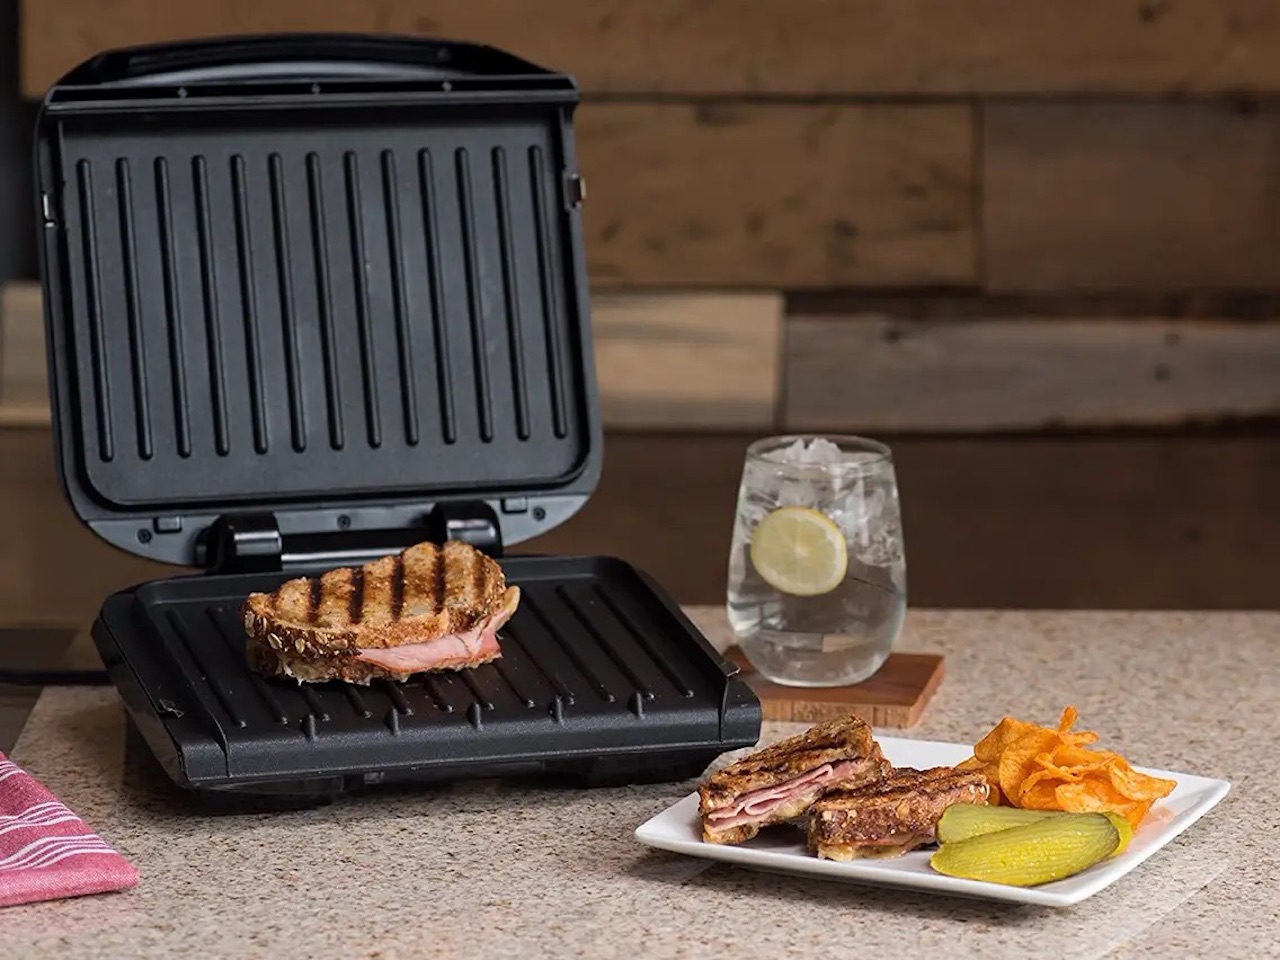
- Use a sharp knife to cut the panini in half diagonally or into smaller bite-sized pieces.
- Plate the panini halves or pieces and garnish them with a side of pickles, chips, or a fresh salad.
- Serve your panini immediately while it’s still warm and the cheese is gooey.
- Enjoy your homemade panini with friends, family, or simply savor it for yourself. Feel free to pair it with your favorite beverage, such as a refreshing iced tea or a cozy cup of soup.
As you take your first bite, relish the crispy texture of the grilled bread, the melty cheese oozing with flavor, and the delightful combination of fillings you carefully selected. Paninis are versatile, allowing you to customize them according to your preferences, making each bite a unique and enjoyable experience.
Remember, making paninis with a George Foreman grill is not only easy but also a great way to get creative in your own kitchen. So don’t hesitate to experiment with different fillings, condiments, and seasonings to create your signature panini masterpiece.
Now it’s time to gather your ingredients, follow the steps, and enjoy the irresistible taste of a homemade panini made with a George Foreman grill. Happy grilling!
Conclusion
Making a panini with a George Foreman grill is a convenient and delicious way to enjoy a restaurant-quality sandwich from the comfort of your own kitchen. By following the steps outlined in this article, you can create mouthwatering paninis packed with your favorite fillings and flavors.
From gathering the perfect combination of bread, protein, cheese, vegetables, and condiments, to preheating your George Foreman grill and assembling the panini, each step plays a critical role in achieving a perfectly grilled and flavorful sandwich.
Cooking the panini on the George Foreman grill allows the bread to become golden brown and crispy while the fillings heat and meld together. The result is a delightful blend of textures and flavors that will leave your taste buds craving for more.
Whether you’re a fan of classic combinations like ham and cheese or prefer to experiment with unique ingredient pairings, the versatility of the panini allows you to create endless variations to suit your taste preferences.
So, the next time you’re in the mood for a satisfying and hearty sandwich, reach for your George Foreman grill and get creative with your panini creations. Gather your ingredients, prepare your fillings, preheat the grill, assemble the sandwich, cook it to perfection, and finally, serve and enjoy the fruits of your labor.
Join the ranks of panini enthusiasts who have discovered the joy and satisfaction of making their own delicious sandwiches at home. With a George Foreman grill and a bit of imagination, you can elevate your sandwich game and impress your family and friends with restaurant-quality paninis.
Now, it’s time to put your newfound knowledge to use, fire up that grill, and embark on your panini adventure. Get ready to savor the flavors, relish the textures, and create unforgettable culinary experiences with every bite. Happy grilling!
Frequently Asked Questions about How To Make A Panini With A George Foreman Grill
Was this page helpful?
At Storables.com, we guarantee accurate and reliable information. Our content, validated by Expert Board Contributors, is crafted following stringent Editorial Policies. We're committed to providing you with well-researched, expert-backed insights for all your informational needs.

0 thoughts on “How To Make A Panini With A George Foreman Grill”