
Articles
How To Protect Outdoor Plumbing From Freezing
Modified: January 7, 2024
Learn how to protect your outdoor plumbing from freezing with these helpful articles. Keep your pipes safe during the winter months.
(Many of the links in this article redirect to a specific reviewed product. Your purchase of these products through affiliate links helps to generate commission for Storables.com, at no extra cost. Learn more)
Introduction
Outdoor plumbing plays a crucial role in our everyday lives, supplying water for various activities such as gardening, washing cars, and even providing water access to outdoor kitchens. However, when the frigid winter months roll in, there is a significant risk of outdoor plumbing freezing and potentially causing costly damages. Understanding how to protect outdoor plumbing from freezing is vital to ensure its longevity and proper functionality.
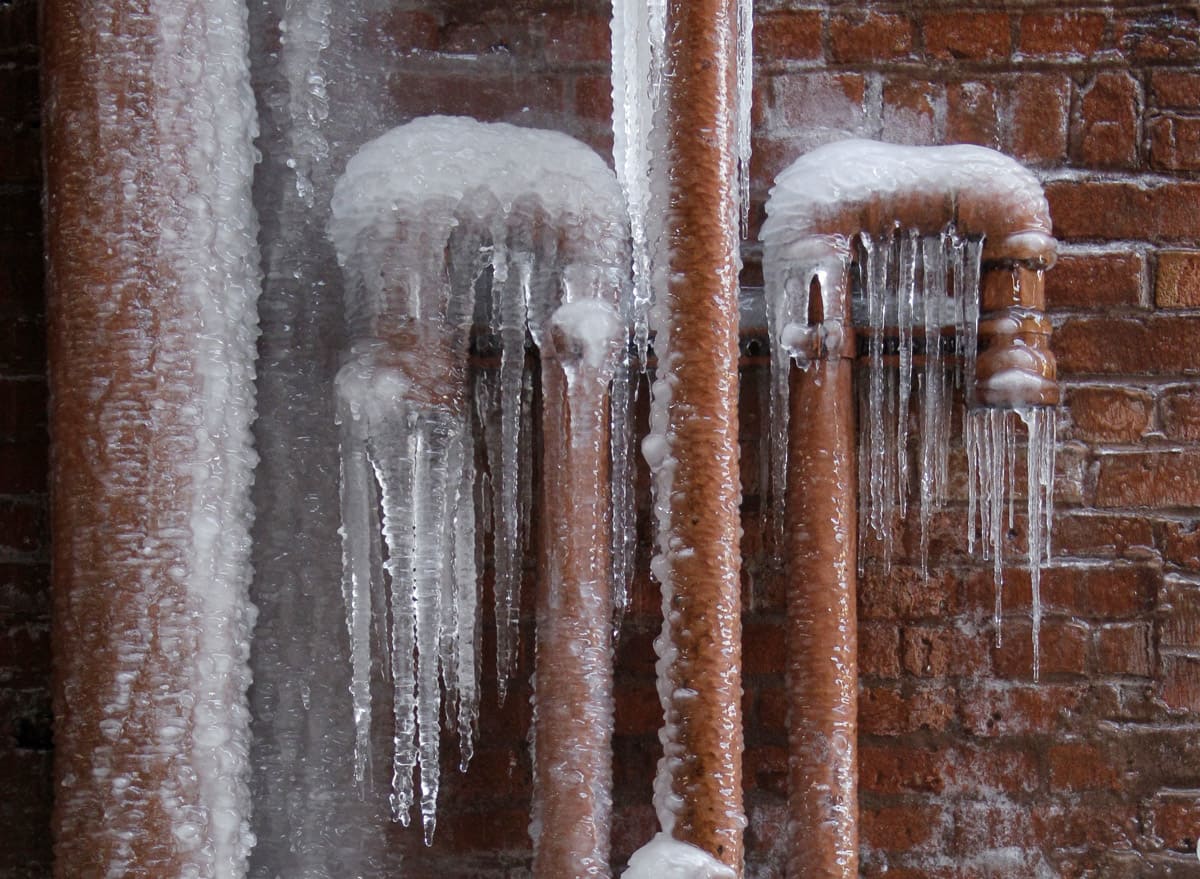
Freezing temperatures can wreak havoc on exposed outdoor plumbing, causing pipes to burst and faucets to crack. When water freezes, it expands, leading to increased pressure within the pipes. This pressure can eventually result in the pipes splitting open, causing leaks and extensive water damage. Additionally, frozen pipes can disrupt the flow of water, leaving you without access to water until the issue is resolved.
Fortunately, there are several preventative measures you can take to safeguard your outdoor plumbing from freezing temperatures. Insulating pipes and faucets, installing heat tape or cable, using insulated pipe sleeves, draining and disconnecting outdoor faucets, and covering and protecting outdoor plumbing fixtures can help mitigate the risk of freezing. By implementing these measures and staying proactive in monitoring and maintaining your outdoor plumbing, you can avoid the hassle and cost of dealing with frozen pipes.
In this article, we will delve deeper into each of these strategies and provide you with practical tips on how to protect your outdoor plumbing from freezing. By following these guidelines, you can ensure that your outdoor plumbing remains functional and intact even during the coldest of winters.
Key Takeaways:
- Protecting outdoor plumbing from freezing is essential to avoid costly damage and inconvenience. Insulate pipes, install heat tape, and regularly monitor and maintain the system to ensure functionality during winter.
- Draining and disconnecting outdoor faucets, using insulated pipe sleeves, and covering fixtures are effective strategies to prevent freezing. Stay proactive in safeguarding outdoor plumbing to avoid the hassles of dealing with frozen pipes.
Read more: How To Protect Outdoor Plants From Freeze
Understanding the Risks of Frozen Outdoor Plumbing
Before diving into the strategies for protecting outdoor plumbing from freezing, it is important to understand the risks associated with frozen pipes and faucets. Freezing temperatures can cause water inside the pipes to expand, leading to increased pressure. This pressure can lead to pipes cracking or bursting, resulting in leaks and water damage.
Not only can a burst pipe cause significant financial losses due to property damage, but it can also disrupt your daily activities. Imagine waking up on a chilly winter morning only to find that your outdoor faucet is frozen solid, leaving you without water for your morning routine. Additionally, frozen pipes can cause inconvenience and frustration, requiring costly repairs and potentially even a complete replacement of the affected plumbing.
It is also worth noting that frozen outdoor plumbing can have consequences beyond just the immediate damage. If left unresolved, water leaks can seep into the foundation of your home or other structures, leading to structural instability and mold growth. These issues can be costly to rectify and may significantly impact the value of your property.
Furthermore, preventive measures should not be limited to your primary residence. If you have a vacation home or a seasonal property, it is essential to protect the outdoor plumbing in those locations as well. Neglecting to do so can result in extensive damage during the winter months when the property is unoccupied and not regularly monitored.
By understanding the risks associated with frozen outdoor plumbing, you can appreciate the importance of taking proactive measures to protect your pipes and faucets. Now, let’s explore the various strategies you can implement to safeguard your outdoor plumbing from freezing temperatures.
Insulating Pipes and Faucets
One of the most effective ways to prevent outdoor plumbing from freezing is by insulating pipes and faucets. Insulation helps to create a barrier between the cold air and the water inside the pipes, reducing the risk of freezing.
There are several insulation options available, such as foam pipe insulation sleeves or heat-resistant tape. Insulating pipes involves wrapping them with the chosen insulation material, ensuring that all exposed areas are covered. It is particularly important to focus on exposed pipes that are prone to freezing, such as those located on exterior walls or in unheated areas.
When insulating faucets, it is essential to use faucet covers or insulated faucet socks. These covers are designed to fit over the faucet, protecting it from direct exposure to cold temperatures. Faucet covers are easy to install and provide an additional layer of insulation to prevent freezing.
Insulation materials can be found at most home improvement stores and are relatively inexpensive. When purchasing insulation products, ensure that they are made specifically for outdoor plumbing and can withstand low temperatures.
In addition to insulating exposed pipes and faucets, it is also crucial to inspect the plumbing system for any gaps or openings. These openings can allow cold air to penetrate the pipes and increase the risk of freezing. Seal any gaps or cracks with caulk or expanding foam insulation to further enhance the insulation barrier.
By properly insulating your outdoor pipes and faucets, you can significantly reduce the likelihood of freezing and protect your plumbing system from costly damage.
Installing Heat Tape or Cable
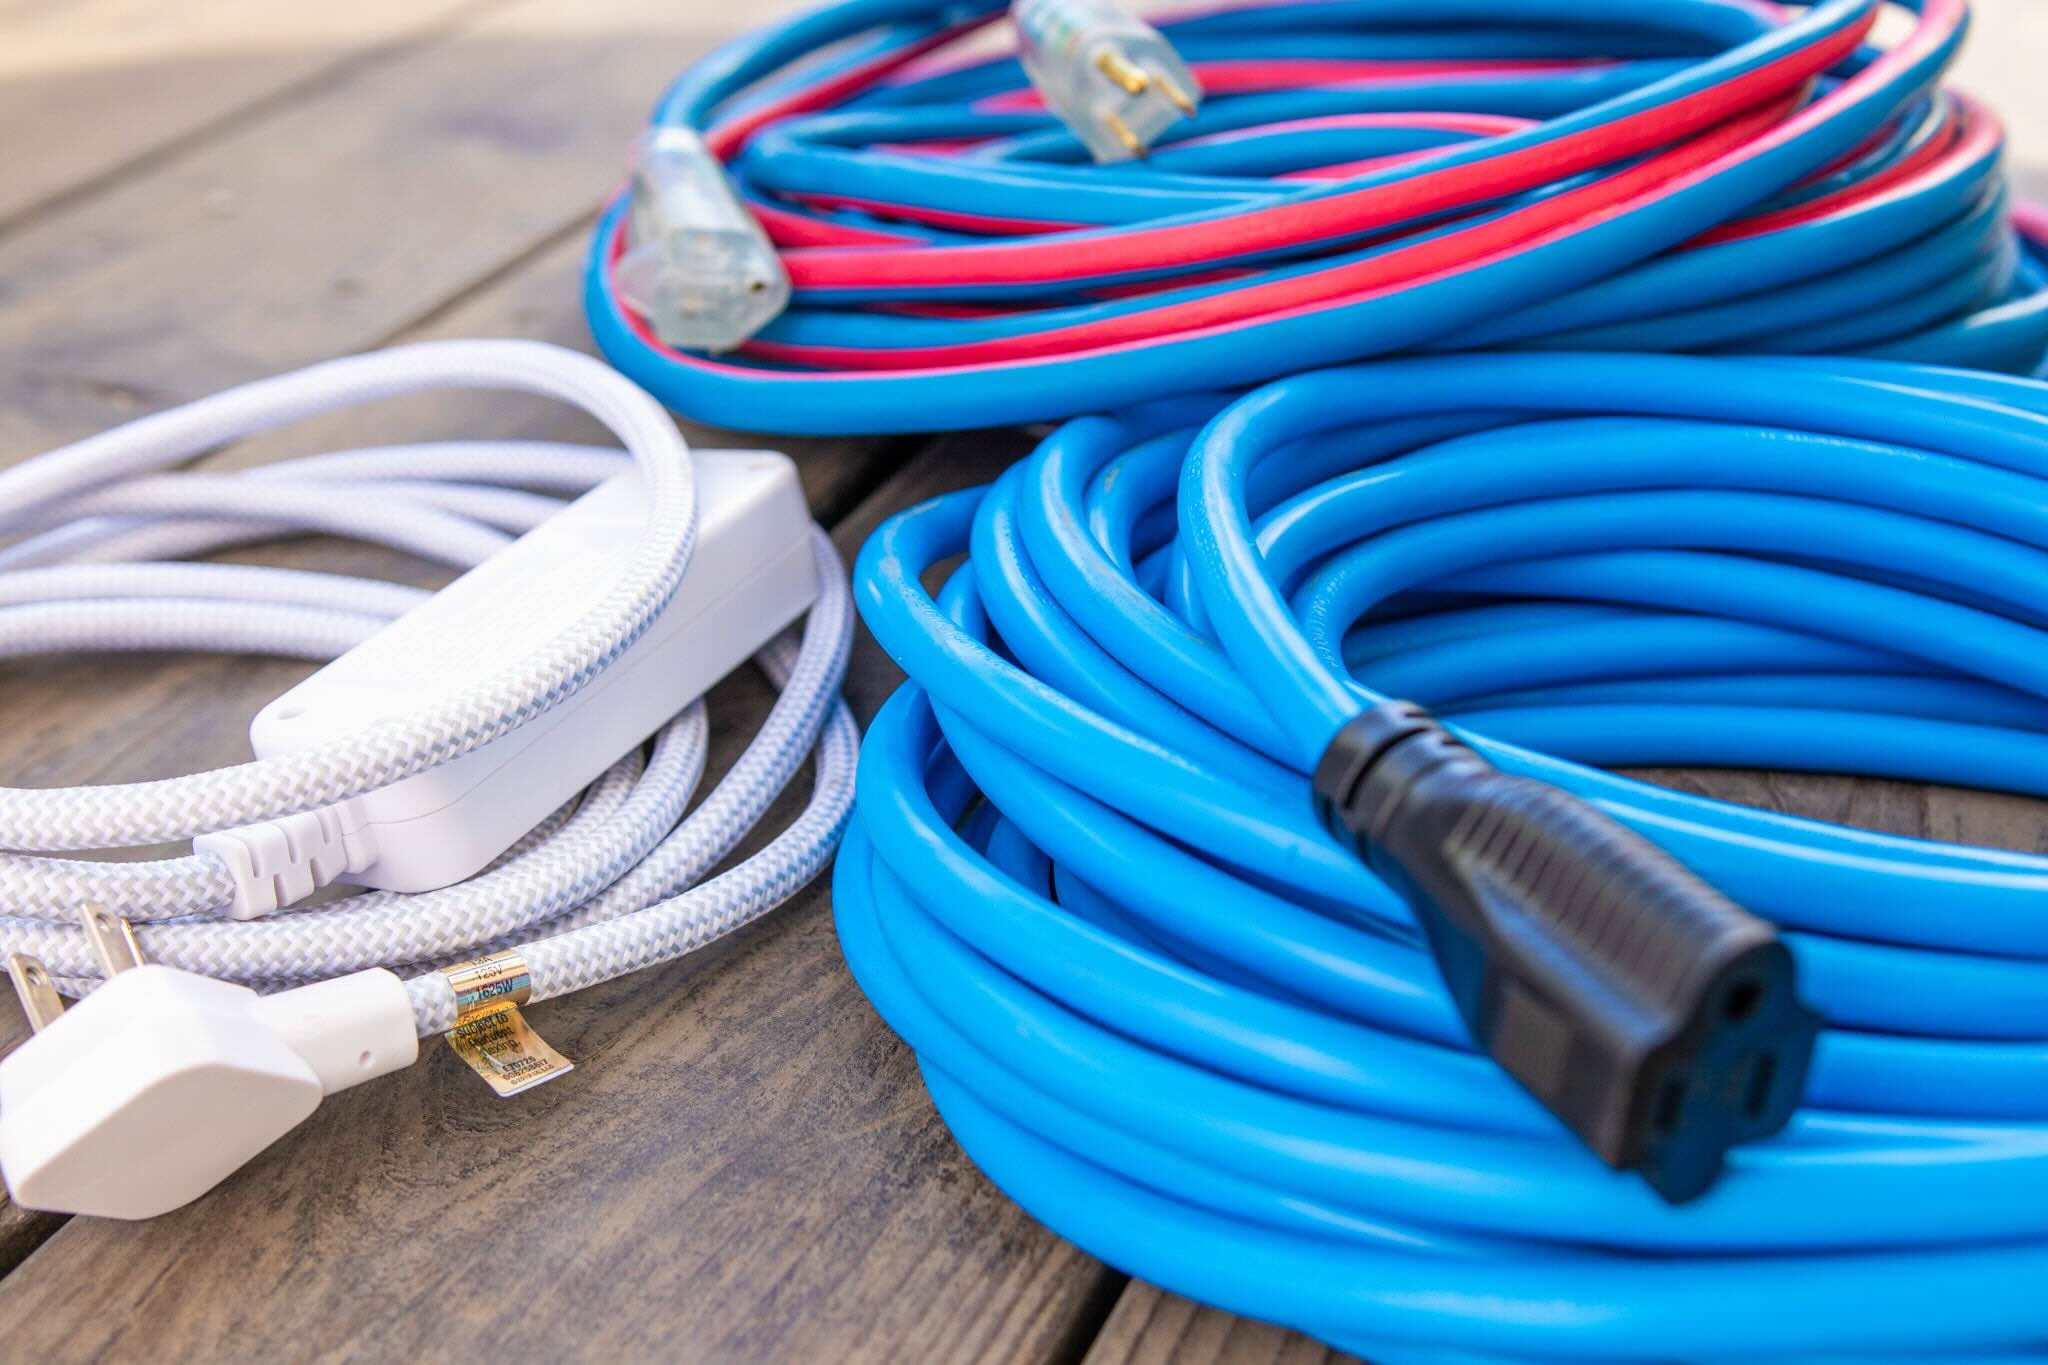
Another effective method for protecting outdoor plumbing from freezing is by installing heat tape or cable. Heat tape is an insulated electrical wire that produces heat when connected to a power source, helping to keep the pipes warm and prevent freezing.
To install heat tape or cable, start by measuring the length of the pipe you want to protect. Purchase a suitable length of heat tape or cable, ensuring that it is designed for outdoor use and capable of withstanding the low temperatures in your area.
Before proceeding with the installation, make sure the pipe is clean and dry. Wrap the heat tape or cable tightly around the pipe, following the manufacturer’s instructions. Pay extra attention to areas that are more prone to freezing, such as bends or areas where pipes meet.
Secure the heat tape or cable in place using electrical tape or zip ties. Be careful not to overlap or twist the tape/cable, as this can create hot spots or interfere with its functionality. Plug in the heat tape or connect it to a programmable thermostat for automatic operation.
It is important to periodically check the heat tape or cable to ensure it is working correctly and providing sufficient heat. Monitor the temperature of the pipes using a thermometer or touch them to confirm warmth. If you notice any issues with the heat tape, such as fraying or overheating, replace it immediately.
Remember to follow safety guidelines when installing heat tape or cable and consult a professional if you are unsure about the process. Improper installation or misuse of heat tape can pose fire hazards or electrical risks.
Installing heat tape or cable is an effective way to provide continuous heat to your outdoor pipes, preventing freezing and eliminating the need for frequent monitoring or manual heat application.
Using Insulated Pipe Sleeves
Insulated pipe sleeves are an excellent option for protecting outdoor plumbing from freezing. These sleeves provide insulation and thermal protection to the pipes, helping to maintain a stable temperature and prevent freezing.
Insulated pipe sleeves are typically made of foam or rubber and can easily be slipped onto the pipes. They come in various sizes to accommodate different pipe diameters. When selecting insulated pipe sleeves, ensure that they are specifically designed for outdoor use and can withstand extreme temperatures.
To use insulated pipe sleeves, start by measuring the length of the exposed pipe that needs protection. Cut the pipe sleeve to the appropriate length, allowing for a snug fit. Open the sleeve along the slit and slip it over the pipe, making sure it covers the entire exposed area.
Once the pipe sleeve is in place, secure it using duct tape or zip ties. Make sure there are no gaps or openings that could allow cold air to reach the pipe. If needed, use additional insulation materials, such as foam pipe insulation or heat-resistant tape, to seal any exposed areas.
Insulated pipe sleeves not only provide insulation but also act as a barrier against external elements, such as snow or debris. They help to maintain a consistent temperature within the pipes, reducing the risk of freezing and potential damage.
Regularly inspect the insulated pipe sleeves for any signs of wear or damage. Over time, the insulation may degrade, compromising its effectiveness. Replace any damaged sleeves promptly to ensure optimal protection.
Using insulated pipe sleeves is an affordable and straightforward solution for protecting outdoor plumbing from freezing temperatures. By providing a layer of insulation, these sleeves help to maintain the integrity of the pipes and prevent costly damage caused by freezing.
Insulate outdoor pipes with foam insulation sleeves to protect them from freezing temperatures. Disconnect and drain outdoor hoses to prevent water from freezing and causing damage to the plumbing system.
Read more: How To Protect Outside Faucet From Freezing
Draining and Disconnecting Outdoor Faucets
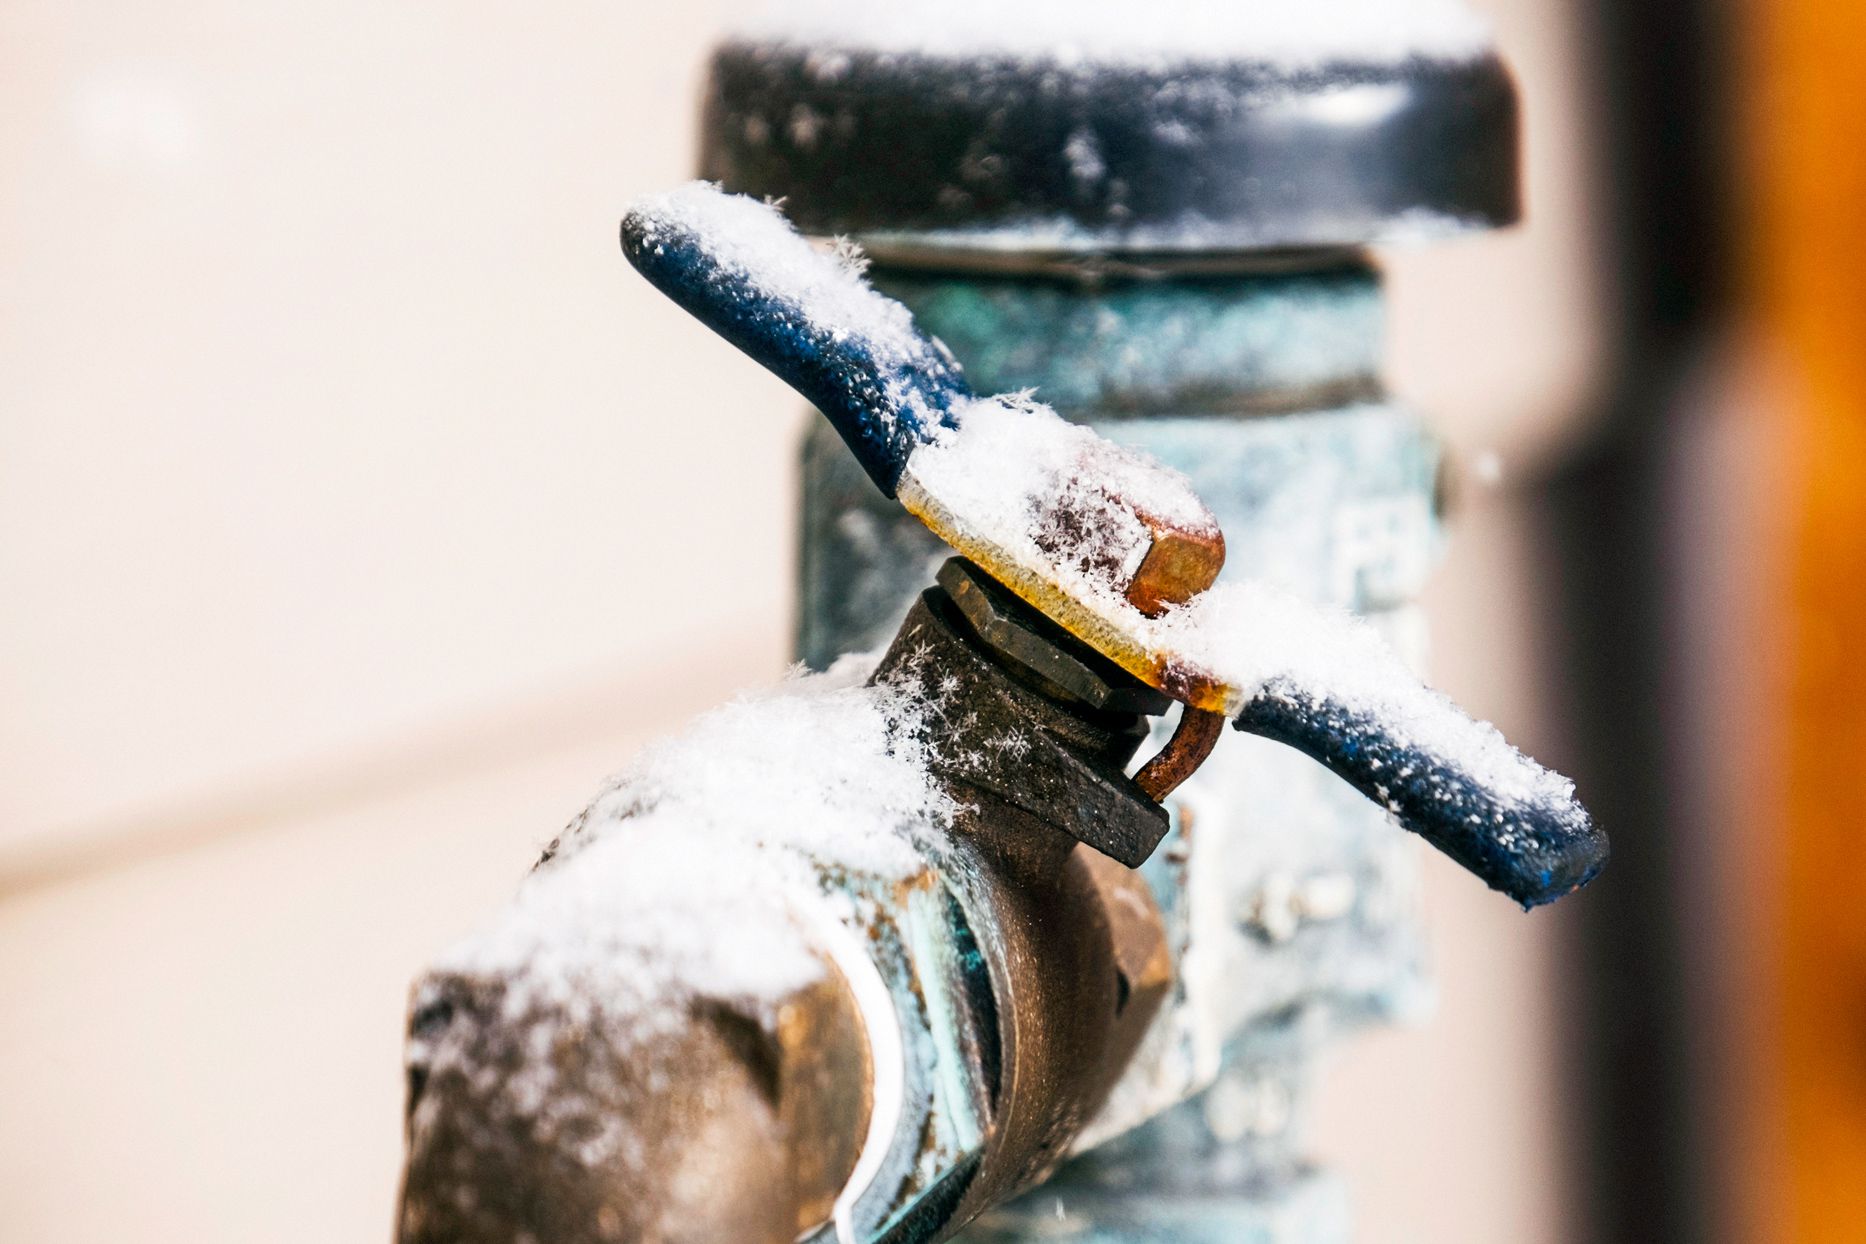
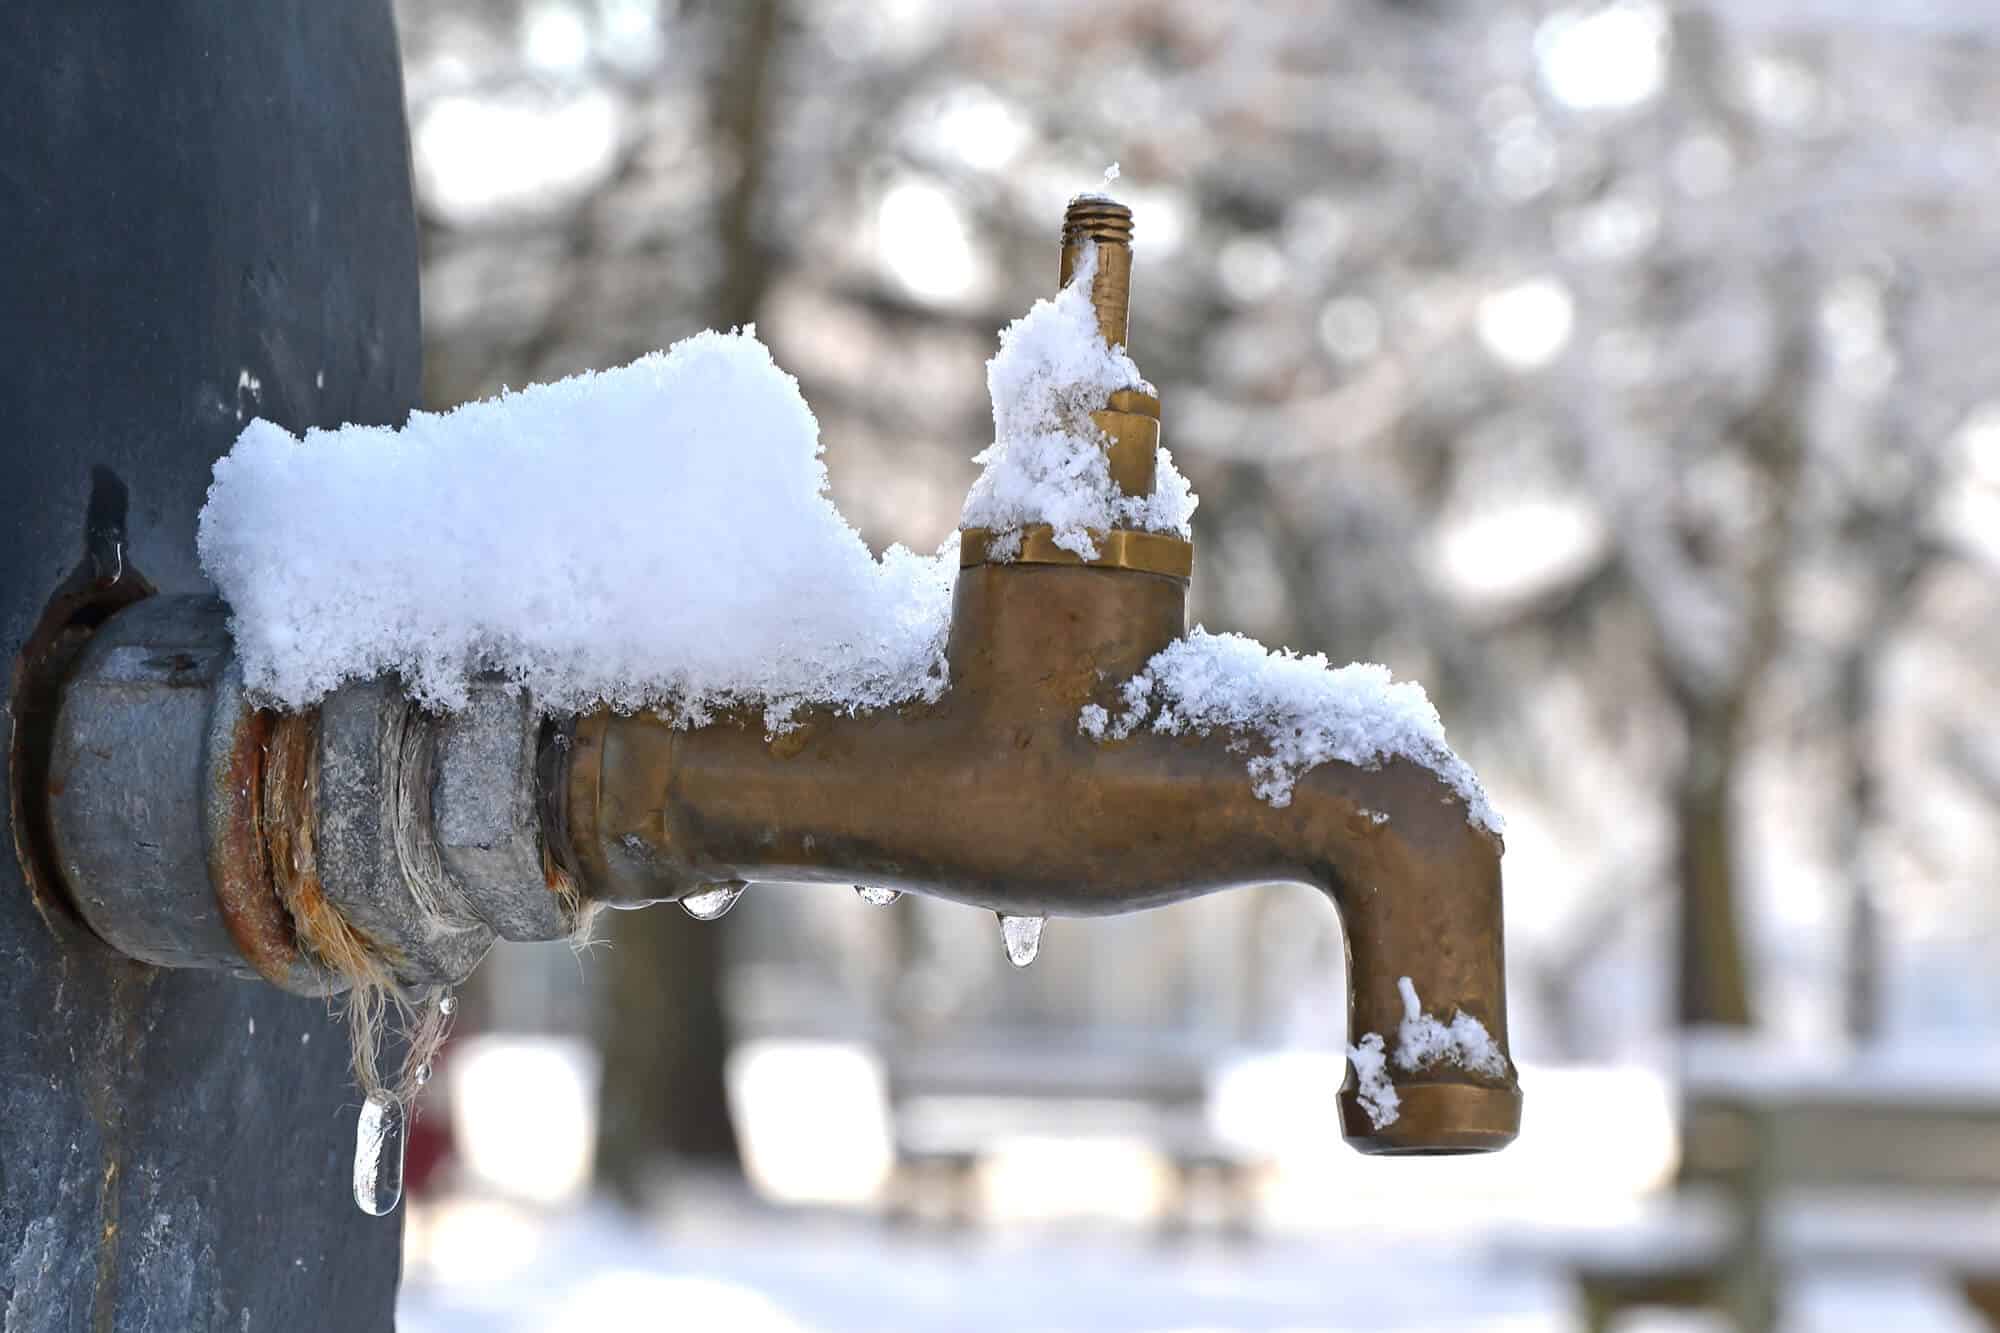
Draining and disconnecting outdoor faucets is a crucial step in protecting your plumbing from freezing during the winter months. Outdoor faucets are particularly vulnerable to freezing as they are exposed to the elements and may contain residual water.
To properly drain and disconnect outdoor faucets, start by turning off the water supply to the faucets. Locate the shut-off valve inside your home and close it to prevent any water from flowing to the outdoor faucets.
Next, go outside and open the outdoor faucet to release any remaining water. Allow the faucet to completely drain by keeping it open until no more water drips out. This step is essential as any remaining water in the pipes can freeze and cause damage.
Once the faucet is drained, disconnect any hoses or attachments connected to it. Hoses should be emptied of water, coiled, and stored indoors to prevent them from freezing and becoming damaged. Leaving hoses connected to the faucet can trap water and increase the risk of freezing within the pipes.
After disconnecting the hoses, you may want to consider installing a faucet cover or an insulated faucet sock. These covers are designed to provide extra protection from cold temperatures, preventing freezing and potential damage to the faucet.
Regularly inspect the faucet covers or socks throughout the winter to ensure they are intact and providing adequate insulation. Replace any damaged covers or socks promptly to maintain protection.
By draining and disconnecting outdoor faucets, you remove any potential sources of water that could freeze and cause damage to the plumbing system. This simple yet effective measure can help to prevent costly repairs and ensure the longevity of your outdoor plumbing.
Covering and Protecting Outdoor Plumbing Fixtures
In addition to insulating pipes and draining outdoor faucets, covering and protecting outdoor plumbing fixtures is essential for safeguarding them from freezing temperatures.
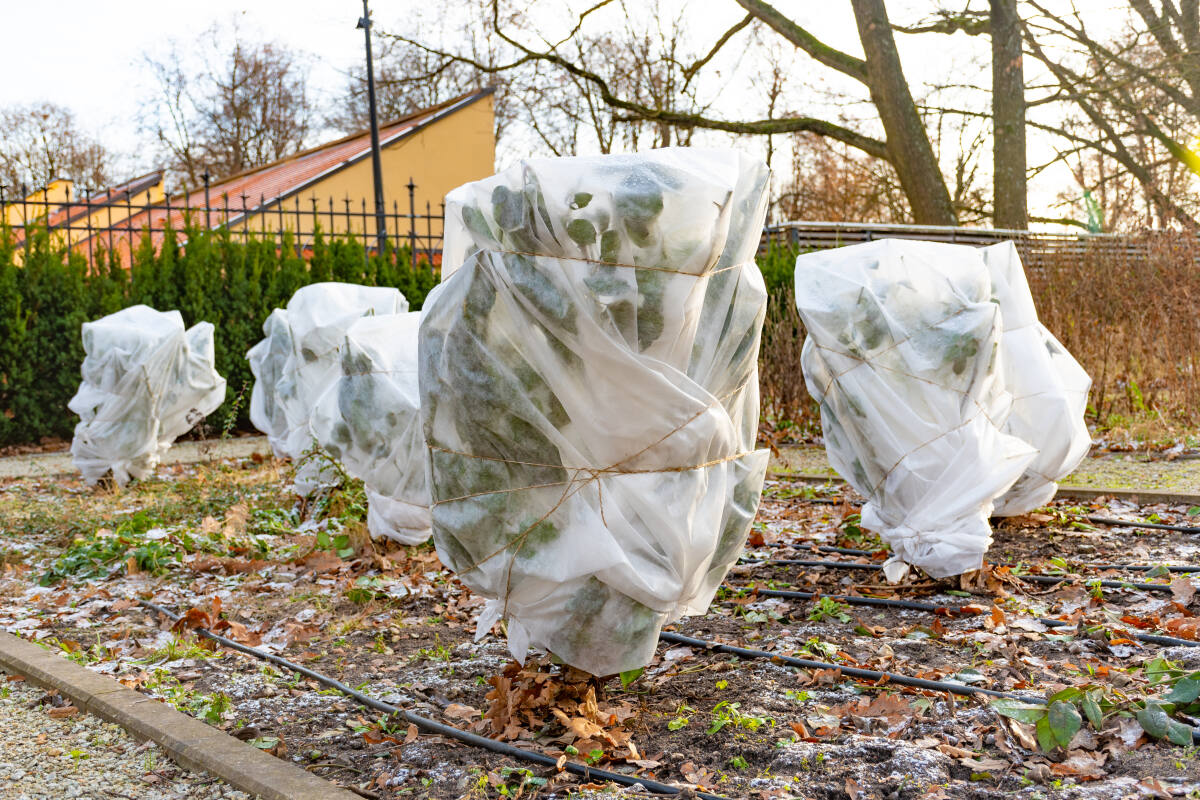
One effective method is to use specially designed covers for outdoor plumbing fixtures such as backflow preventers, sprinkler system components, and other exposed fixtures. These covers provide an extra layer of insulation and protection against cold weather.
When selecting covers, ensure they are made from durable materials that can withstand harsh outdoor conditions. Look for covers that are weather-resistant, UV-resistant, and specifically designed for the fixtures you need to protect.
To cover outdoor plumbing fixtures, start by cleaning and drying the area around the fixture to ensure a proper fit. Place the cover over the fixture and secure it according to the manufacturer’s instructions. This may involve using straps, ties, or built-in closures to ensure a snug and secure fit.
Pay close attention to any openings or vulnerabilities in the cover. Check for gaps, tears, or loose fittings that could let cold air in or allow moisture to accumulate. Repair or replace any damaged covers to maintain optimal protection.
It’s important to note that covers alone may not provide sufficient protection during extremely cold weather conditions. In such cases, consider using additional protective measures, such as adding insulation or installing portable heaters near the fixtures to provide supplementary heat.
Regularly inspect the covers throughout the winter season to ensure they remain intact and securely in place. Remove any debris, snow, or ice accumulation that may hinder the effectiveness of the covers.
By covering and protecting outdoor plumbing fixtures, you create a barrier against the elements, reducing the risk of freezing and potential damage. Taking these precautions ensures the longevity and proper functioning of your outdoor plumbing, even during the harshest winter conditions.
Monitoring and Maintaining Outdoor Plumbing in Winter
While implementing preventive measures goes a long way in protecting outdoor plumbing from freezing, it is important to consistently monitor and maintain your plumbing system throughout the winter. Regular inspections and maintenance can help detect any issues early on and prevent potential damage.
Here are some key steps to monitor and maintain your outdoor plumbing during the winter:
- Check for leaks: Inspect all outdoor pipes, faucets, and fixtures for any signs of leaks or dripping water. A small leak can quickly escalate into a major issue if left unaddressed.
- Clear snow and ice: Regularly remove snow and ice accumulation around outdoor plumbing fixtures to prevent them from freezing. Use a shovel or broom to clear the area, taking care not to damage any pipes or fixtures in the process.
- Monitor water flow: Pay attention to the water flow from outdoor faucets. If the water flow seems weak or inconsistent, it could be an indication of a frozen or partially frozen pipe. Take immediate action to prevent further freezing and potential damage.
- Keep outdoor areas warm: Maintain a consistent temperature in outdoor spaces where plumbing is exposed. Consider using insulation or portable heaters to provide additional warmth to vulnerable areas.
- Know the location of shut-off valves: Familiarize yourself with the location of shut-off valves for outdoor plumbing. In the event of a burst pipe or emergency, knowing how to quickly shut off the water supply can minimize potential damage.
- Address any potential issues: If you notice any signs of damage, such as cracked pipes, loose fittings, or water stains, it is crucial to address them promptly. Contact a professional plumber to assess the situation and make necessary repairs.
- Consider professional winterization: If you live in an area with extremely cold winters, you may want to consult a professional plumber for a comprehensive winterization service. They can assess your outdoor plumbing, make recommendations, and perform tasks such as adding extra insulation or installing freeze-resistant valves.
By diligently monitoring your outdoor plumbing and promptly addressing any issues, you can prevent more severe problems and ensure the smooth operation of your plumbing system throughout the winter.
Conclusion
Protecting your outdoor plumbing from freezing is crucial to avoid costly repairs and inconveniences during the winter months. By implementing a few simple preventive measures, you can safeguard your pipes and faucets from the damaging effects of freezing temperatures.
Insulating pipes and faucets, installing heat tape or cable, using insulated pipe sleeves, draining and disconnecting outdoor faucets, and covering and protecting outdoor plumbing fixtures are all effective strategies to prevent freezing. Each method adds an extra layer of insulation and creates a barrier against the cold.
Regular monitoring and maintenance are equally important. By conducting regular checks, clearing snow and ice, and addressing any issues promptly, you can catch problems early on and prevent potential damage before it becomes more severe.
While taking preventive measures is a proactive approach, it is also essential to know the location of shut-off valves and consider professional winterization services in extremely cold climates. Consulting a professional plumber can provide peace of mind and ensure that your outdoor plumbing is well-prepared for the winter.
By following these guidelines, you can rest assured that your outdoor plumbing will remain functional and intact, even amidst freezing temperatures. Protecting your outdoor plumbing not only saves you from the inconvenience and expense of repairs but also helps to maintain the value and longevity of your property.
Remember, prevention is key. Take the necessary steps to protect your outdoor plumbing, and enjoy a worry-free winter season with reliable and functional plumbing for all your outdoor needs.
Frequently Asked Questions about How To Protect Outdoor Plumbing From Freezing
Was this page helpful?
At Storables.com, we guarantee accurate and reliable information. Our content, validated by Expert Board Contributors, is crafted following stringent Editorial Policies. We're committed to providing you with well-researched, expert-backed insights for all your informational needs.





0 thoughts on “How To Protect Outdoor Plumbing From Freezing”