Articles
How To Move Sink Plumbing Over A Few Inches
Modified: August 31, 2024
Learn how to move sink plumbing over a few inches with our informative articles. Find step-by-step guides and expert tips for a successful plumbing relocation.
(Many of the links in this article redirect to a specific reviewed product. Your purchase of these products through affiliate links helps to generate commission for Storables.com, at no extra cost. Learn more)
Introduction
Welcome to our comprehensive guide on how to move sink plumbing over a few inches. Whether you’re remodeling your kitchen or bathroom, or simply rearranging your sink layout, moving the plumbing may be necessary. While it may seem like a daunting task, with the right tools and knowledge, you can successfully move your sink plumbing without any major issues.
In this article, we’ll walk you through the step-by-step process of moving sink plumbing, providing you with valuable tips and insights along the way. We’ll cover everything from the tools and materials you’ll need, to disconnecting and reconnecting the plumbing, and finally testing and ensuring the new plumbing functions properly.
So, if you’re ready to take on this DIY project and add some flexibility to your sink plumbing, let’s get started!
Key Takeaways:
- Moving sink plumbing over a few inches is a manageable DIY project with the right tools and preparation. From disconnecting the old plumbing to testing the new setup, this guide provides a comprehensive roadmap for success.
- By following this step-by-step guide, you’ll gain the confidence and skills needed to tackle sink plumbing relocation. Remember to prioritize safety, precision, and thorough testing to ensure a leak-free and functional outcome.
Read more: How To Move Toilet Plumbing
Tools and Materials Needed
To successfully move sink plumbing a few inches, you will need the following tools and materials:
- Pipe wrench: A pipe wrench is an essential tool for loosening and tightening pipe connections.
- Teflon tape: Teflon tape is used to create a watertight seal between threaded pipe connections.
- PVC pipes: PVC pipes are commonly used in sink plumbing as they are durable, lightweight, and resistant to corrosion.
- Adjustable pipe cutter: An adjustable pipe cutter is necessary for cutting through PVC pipes with precision.
- Plumber’s putty: Plumber’s putty is a sealing material that is used to create a tight seal around sink drains and faucet bases.
- Pipe fittings: Pipe fittings are used to connect different sections of plumbing pipes together.
- Pipe glue: Pipe glue, also known as PVC cement, is used to secure PVC pipe connections and create a permanent bond.
Having these tools and materials ready before starting the project will ensure a smoother and more efficient process.
Step 1: Preparation
Before you begin moving the sink plumbing, it’s important to properly prepare the area. This will ensure a safer and more efficient working environment. Follow these steps to get started:
1. Turn off the water supply: Locate the shut-off valves under the sink and turn them clockwise to shut off the water supply. This step is crucial to prevent any water leakage during the process.
2. Clear out the area under the sink: Remove all items stored under the sink, including cleaning supplies, buckets, and any other belongings. This will give you ample space to work and prevent any damages or obstructions to the plumbing.
By taking these simple preparatory steps, you’ll ensure a smooth and effective process as you move forward with the sink plumbing relocation.
Step 2: Measure and Mark
Once you’ve prepared the area, it’s time to measure and mark the new locations for the sink plumbing. Follow these steps to accurately determine the distance and create proper markings:
1. Measure the desired distance to move the sink plumbing: Using a tape measure, carefully measure the distance you want to move the sink’s plumbing. This could be a few inches in any direction, depending on your specific needs. Take multiple measurements to ensure accuracy.
2. Mark the new locations for the pipes and connections: With the measurements in mind, use a pencil or marker to mark the new locations for the pipes and connections. For example, if you are moving the sink drain, mark the new spot where the drain pipe should be. Similarly, mark the new locations for the hot and cold water supply lines.
It’s essential to be precise when marking the new locations as any inaccuracies can lead to plumbing problems down the line. Take your time and double-check your measurements before proceeding.
By measuring and marking the new locations beforehand, you’ll have a clear guide to follow as you disconnect the existing plumbing and install the new pipes and fittings.
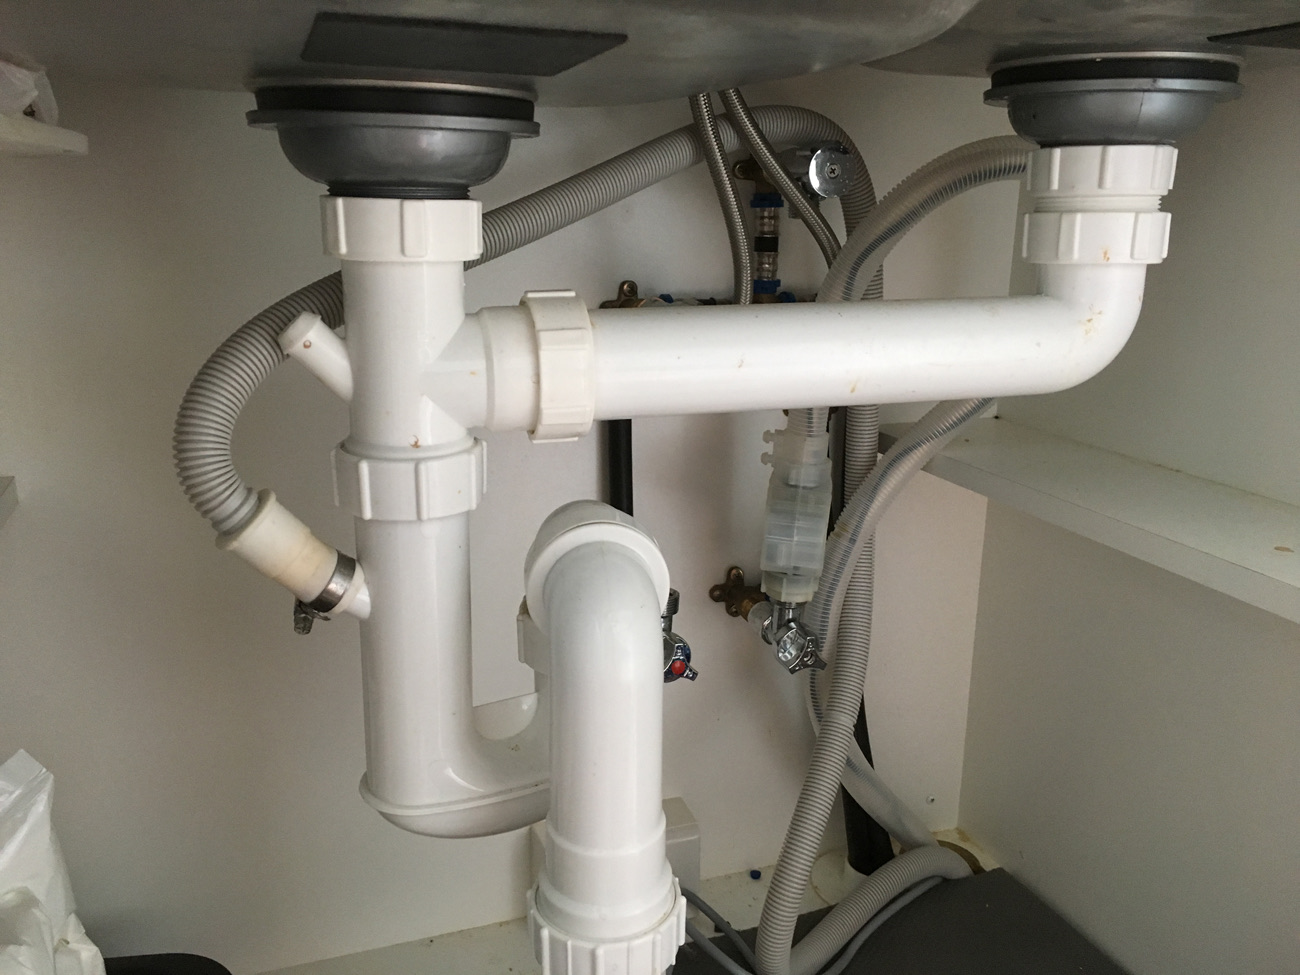
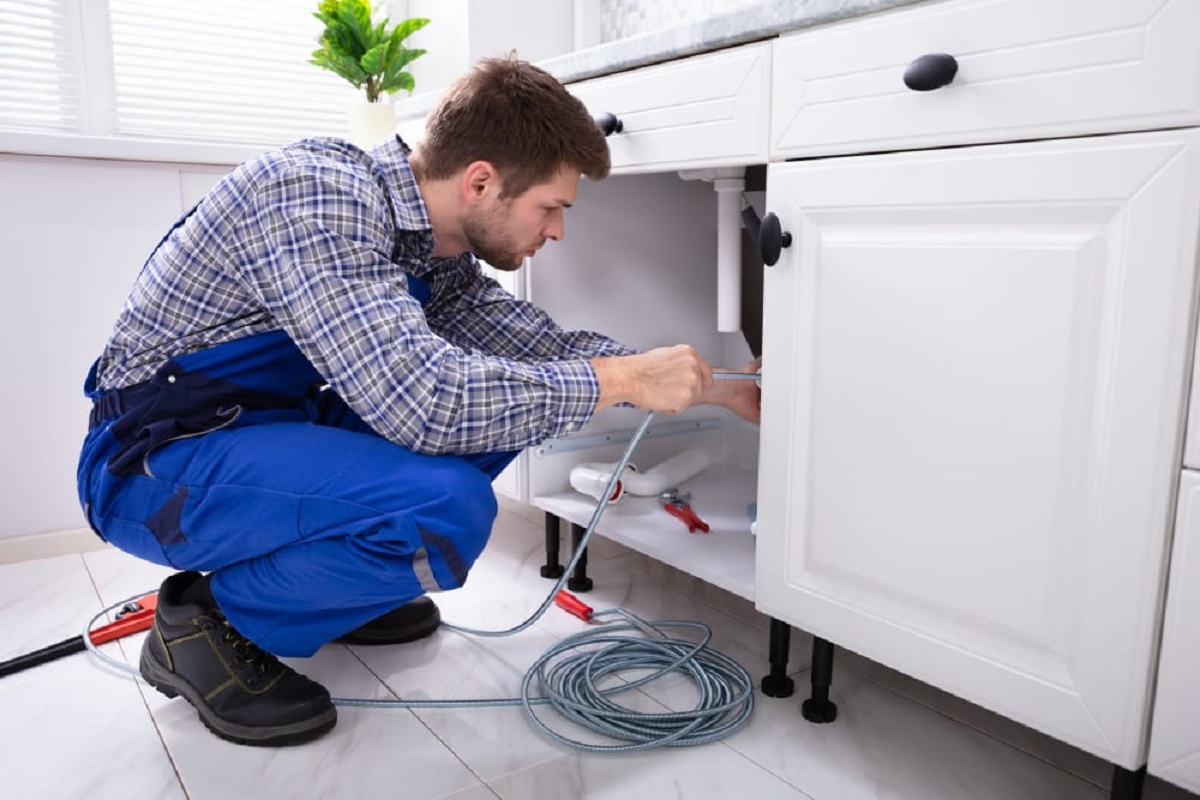
Step 3: Disconnect the Plumbing
With the new locations marked, it’s time to disconnect the existing plumbing to make way for the changes. Follow these steps to safely and effectively disconnect the plumbing:
1. Use a pipe wrench to loosen and disconnect the pipes and fittings: Start by locating the pipe connections that need to be disconnected. Use a pipe wrench to loosen the connections by turning them counterclockwise. Take care not to apply excessive force to avoid damaging the pipes or fittings. Repeat this process for all necessary connections.
2. Empty any remaining water from the pipes: Even after shutting off the water supply, there may be some water remaining in the pipes. Place a bucket or towel under the pipes to catch any excess water that may drain out when disconnecting. Be prepared for some water spillage and dispose of it appropriately.
By using a pipe wrench to carefully loosen and disconnect the pipes and fittings, you’ll be able to safely remove the existing plumbing and prepare the area for the installation of the new pipes and fittings.
When moving sink plumbing over a few inches, make sure to turn off the water supply and disconnect the pipes carefully. Measure and mark the new location accurately before making any adjustments. Always use the correct tools and materials for the job.
Read more: How To Disconnect Sink Plumbing
Step 4: Cut and Remove the Pipes
With the plumbing disconnected, it’s time to cut and remove the old pipes to accommodate the new layout. Follow these steps to effectively cut and remove the pipes:
1. Use an adjustable pipe cutter to cut the pipes at the marked locations: Take your adjustable pipe cutter and position it on the pipe at the marked location. Adjust the cutter to the appropriate size and grip the pipe firmly. Rotate the cutter around the pipe, gradually tightening it with each rotation until the pipe is cut. Repeat this step for all pipes that need to be removed.
2. Remove the old pipes and fittings: Once the pipes are cut, remove them by pulling them away from the fittings. You may need to apply a bit of force or twist the pipes slightly to loosen them. Gently wiggle and pull until the old pipes are completely removed. If there are any stubborn fittings or remnants left behind, use a pipe wrench to loosen and remove them.
It’s important to exercise caution while handling the old pipes, as they may be sharp or contain debris. Dispose of the old pipes and fittings responsibly.
By using an adjustable pipe cutter to make clean and precise cuts, and safely removing the old pipes and fittings, you’re ready to proceed with the installation of the new plumbing components.
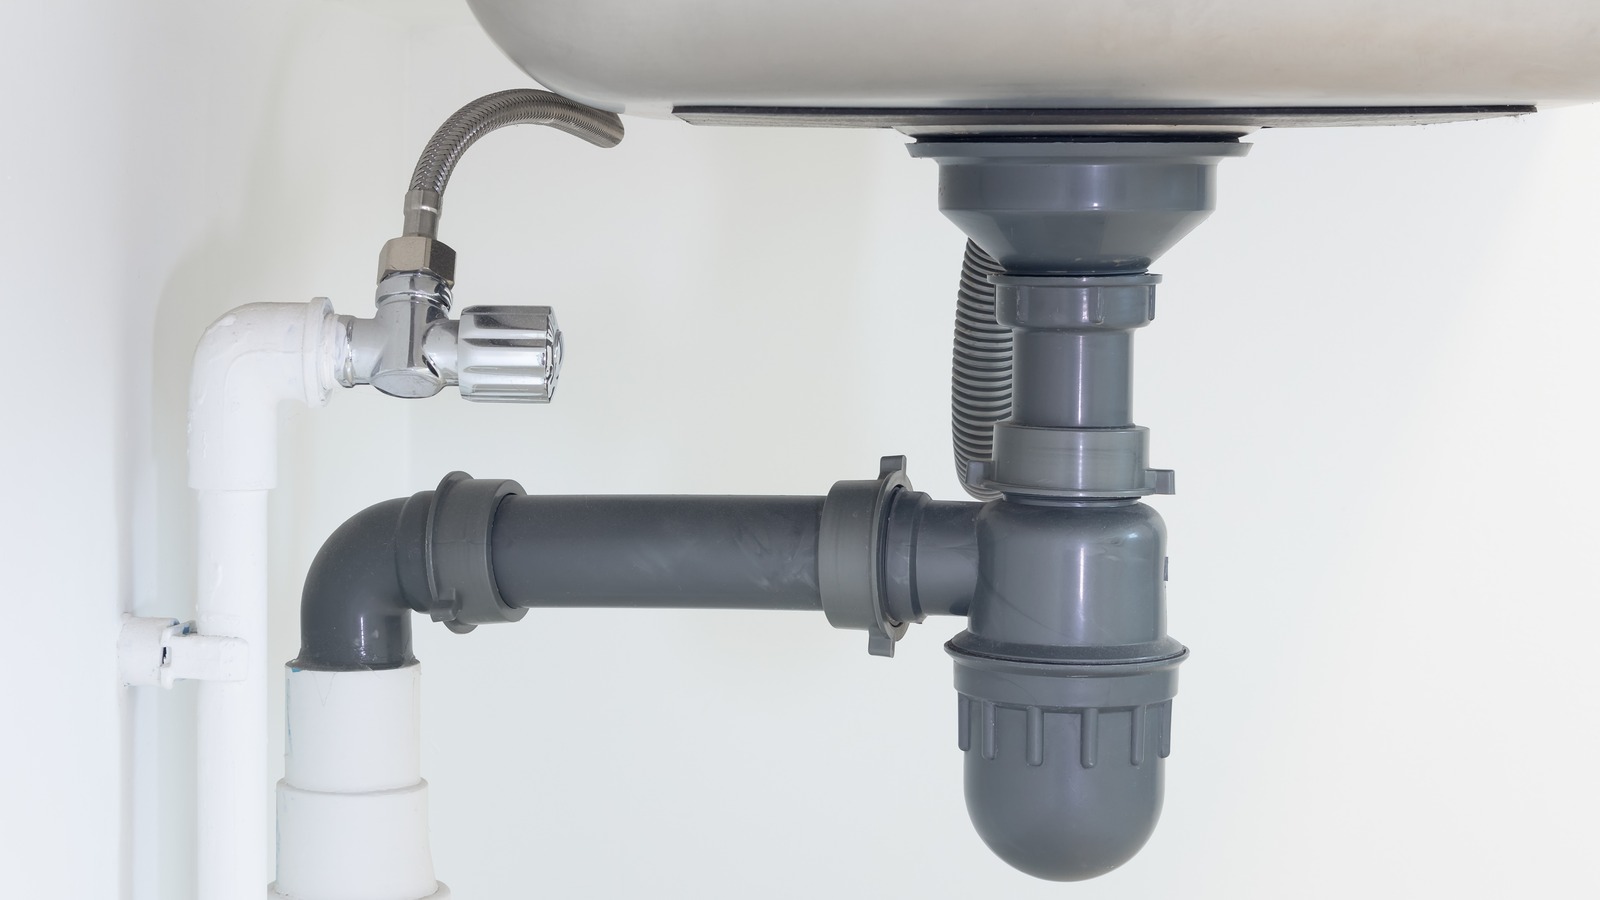
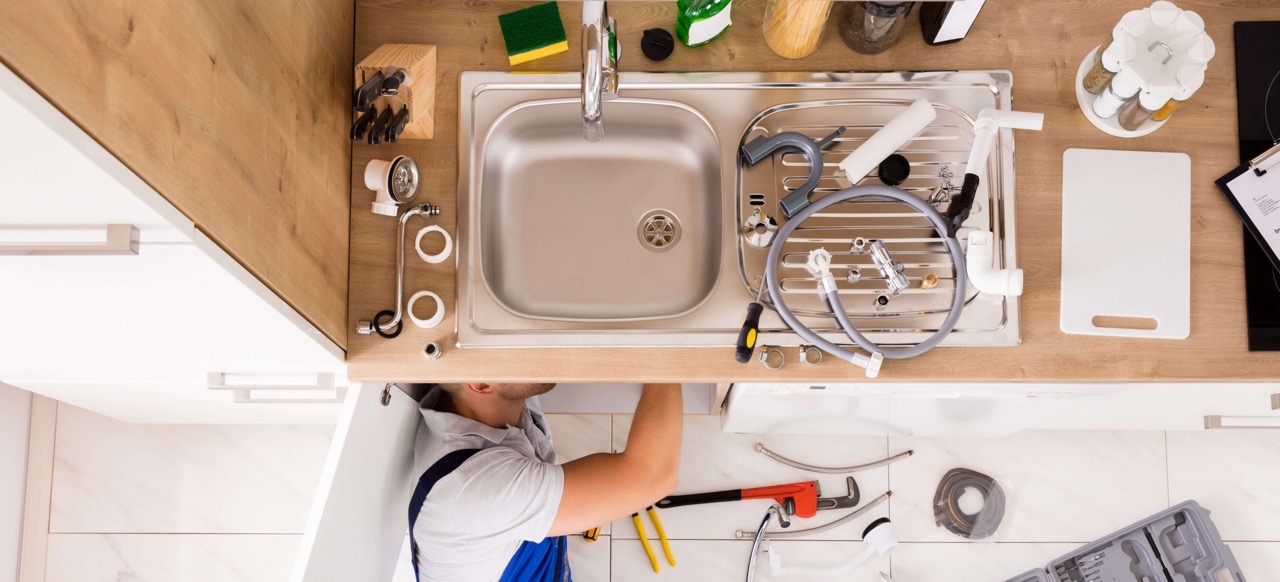
Step 5: Install New Pipes and Fittings
Now that the old pipes have been removed, it’s time to install the new pipes and fittings to create the updated sink plumbing layout. Follow these steps to effectively install the new components:
1. Apply plumber’s putty to the sink drain flange and install it in the new location: Take a small amount of plumber’s putty and roll it into a snake-like shape. Apply the putty around the underside of the sink drain flange, ensuring complete coverage. Insert the flange into the new location, aligning the holes with the drain opening. Press it firmly to create a secure seal.
2. Connect the new pipes and fittings using Teflon tape and pipe glue: Begin by wrapping Teflon tape clockwise around the threaded ends of the pipes and fittings that require a watertight seal. Make several wraps to ensure a tight fit. Next, apply a small amount of pipe glue to the outside of the pipe and inside of the fitting. Press the pipe and fitting together firmly and hold them in place for a few seconds to allow the glue to set. Repeat this process for all connections.
By applying plumber’s putty to create a seal around the sink drain flange, and using Teflon tape and pipe glue to connect the new pipes and fittings, you’ll ensure a secure and leak-free plumbing system.
Step 6: Test the New Plumbing
With the new pipes and fittings in place, it’s essential to test the plumbing to ensure everything is functioning properly. Follow these steps to effectively test the new plumbing:
1. Turn on the water supply and check for any leaks: Slowly turn on the water supply valves underneath the sink. As the water starts flowing, carefully inspect all the connections and joints for any signs of leaks. Look for drips, water pooling, or any dampness around the pipes. If you notice any leaks, turn off the water supply immediately and tighten the connections or replace any faulty components.
2. Run water through the sink to ensure proper drainage and function: Once you have confirmed that there are no leaks, let the water run through the sink for a few minutes. Monitor the drainage to ensure it is smooth and unhindered. Check for any gurgling sounds or slow drainage, which may indicate an issue. If everything appears to be functioning correctly, congratulations! You have successfully moved the sink plumbing.
If you encounter any problems during the testing phase, troubleshoot the issue by examining the connections and making any necessary adjustments or repairs. It’s crucial to ensure the new plumbing is in proper working order before completing the project.
Step 7: Clean Up
After successfully testing the new plumbing, it’s time to clean up the work area and finalize the project. Follow these steps to ensure a tidy and organized finish:
1. Secure any loose pipes or fittings: Inspect all the connections and make sure they are secure. Tighten any loose pipes or fittings using a pipe wrench. This will help prevent any future leaks or issues with the plumbing.
2. Clean the area under the sink and remove any debris: Use a damp cloth or sponge to clean the area under the sink. Wipe away any dust, dirt, or debris that may have accumulated during the installation process. Ensure that there are no loose pieces of pipe or fittings left behind.
By securing any loose pipes or fittings and leaving the work area clean and organized, you’ll have a professional-looking result.
With the completion of Step 7, you’ve successfully moved the sink plumbing over a few inches! Take a moment to appreciate your accomplishment and enjoy the newly updated layout. Remember to keep a close eye on the plumbing in the coming days to ensure there are no unexpected leaks or issues. If you encounter any problems, don’t hesitate to seek professional assistance. Well done!
Read more: How To Move A Hot Tub Over Grass
Conclusion
Congratulations on successfully moving your sink plumbing over a few inches! By following the step-by-step guide provided in this article, you have gained the knowledge and skills necessary to tackle this DIY project with confidence.
Throughout the process, you learned the importance of preparation, including shutting off the water supply and clearing the work area. The measuring and marking step allowed you to plan and visualize the new plumbing layout accurately. Disconnecting the existing plumbing and removing the old pipes and fittings required careful maneuvering and the proper use of tools.
Installing the new pipes and fittings involved applying plumber’s putty, using Teflon tape for a watertight seal, and securing connections with pipe glue. With the plumbing installed, testing became crucial to ensure proper functionality. By turning on the water supply and running water through the sink, you were able to check for any leaks and verify that the drainage was working effectively.
Lastly, the clean-up step allowed you to secure any loose connections and leave the area under the sink tidy and free of debris.
Remember, moving sink plumbing over a few inches is not only a practical solution for remodeling or rearranging your space, but it also offers the opportunity to enhance the functionality and aesthetics of your sink area. By taking on this DIY project, you have accomplished a significant accomplishment and gained valuable skills in plumbing.
If at any point during the process you encountered difficulties or felt uncertain, it’s always wise to seek the guidance of a professional plumber. They are trained to handle complex plumbing tasks and can provide expertise and assistance when needed.
Thank you for following our comprehensive guide on how to move sink plumbing over a few inches. We hope this article has empowered you to take on future DIY projects and improve your home with confidence. Enjoy your newly rearranged sink area!
Now that you've learned how to shift your sink plumbing, why not tackle more home improvement projects? If you're pondering a complete bathroom makeover, understanding how long a bathroom renovation takes is crucial. Or perhaps you're just looking to spruce up your current setup. In that case, mastering installing a new sink faucet could be your next step. Both guides provide practical advice to enhance your home's functionality and style without overwhelming you.
Frequently Asked Questions about How To Move Sink Plumbing Over A Few Inches
Was this page helpful?
At Storables.com, we guarantee accurate and reliable information. Our content, validated by Expert Board Contributors, is crafted following stringent Editorial Policies. We're committed to providing you with well-researched, expert-backed insights for all your informational needs.


0 thoughts on “How To Move Sink Plumbing Over A Few Inches”