Home>Articles>How To Remove Burn Marks From Formica Countertops

Articles
How To Remove Burn Marks From Formica Countertops
Modified: December 7, 2023
Learn effective techniques for removing burn marks from Formica countertops with the help of our informative articles. Discover expert tips and tricks to restore your countertops' pristine appearance.
(Many of the links in this article redirect to a specific reviewed product. Your purchase of these products through affiliate links helps to generate commission for Storables.com, at no extra cost. Learn more)
Introduction
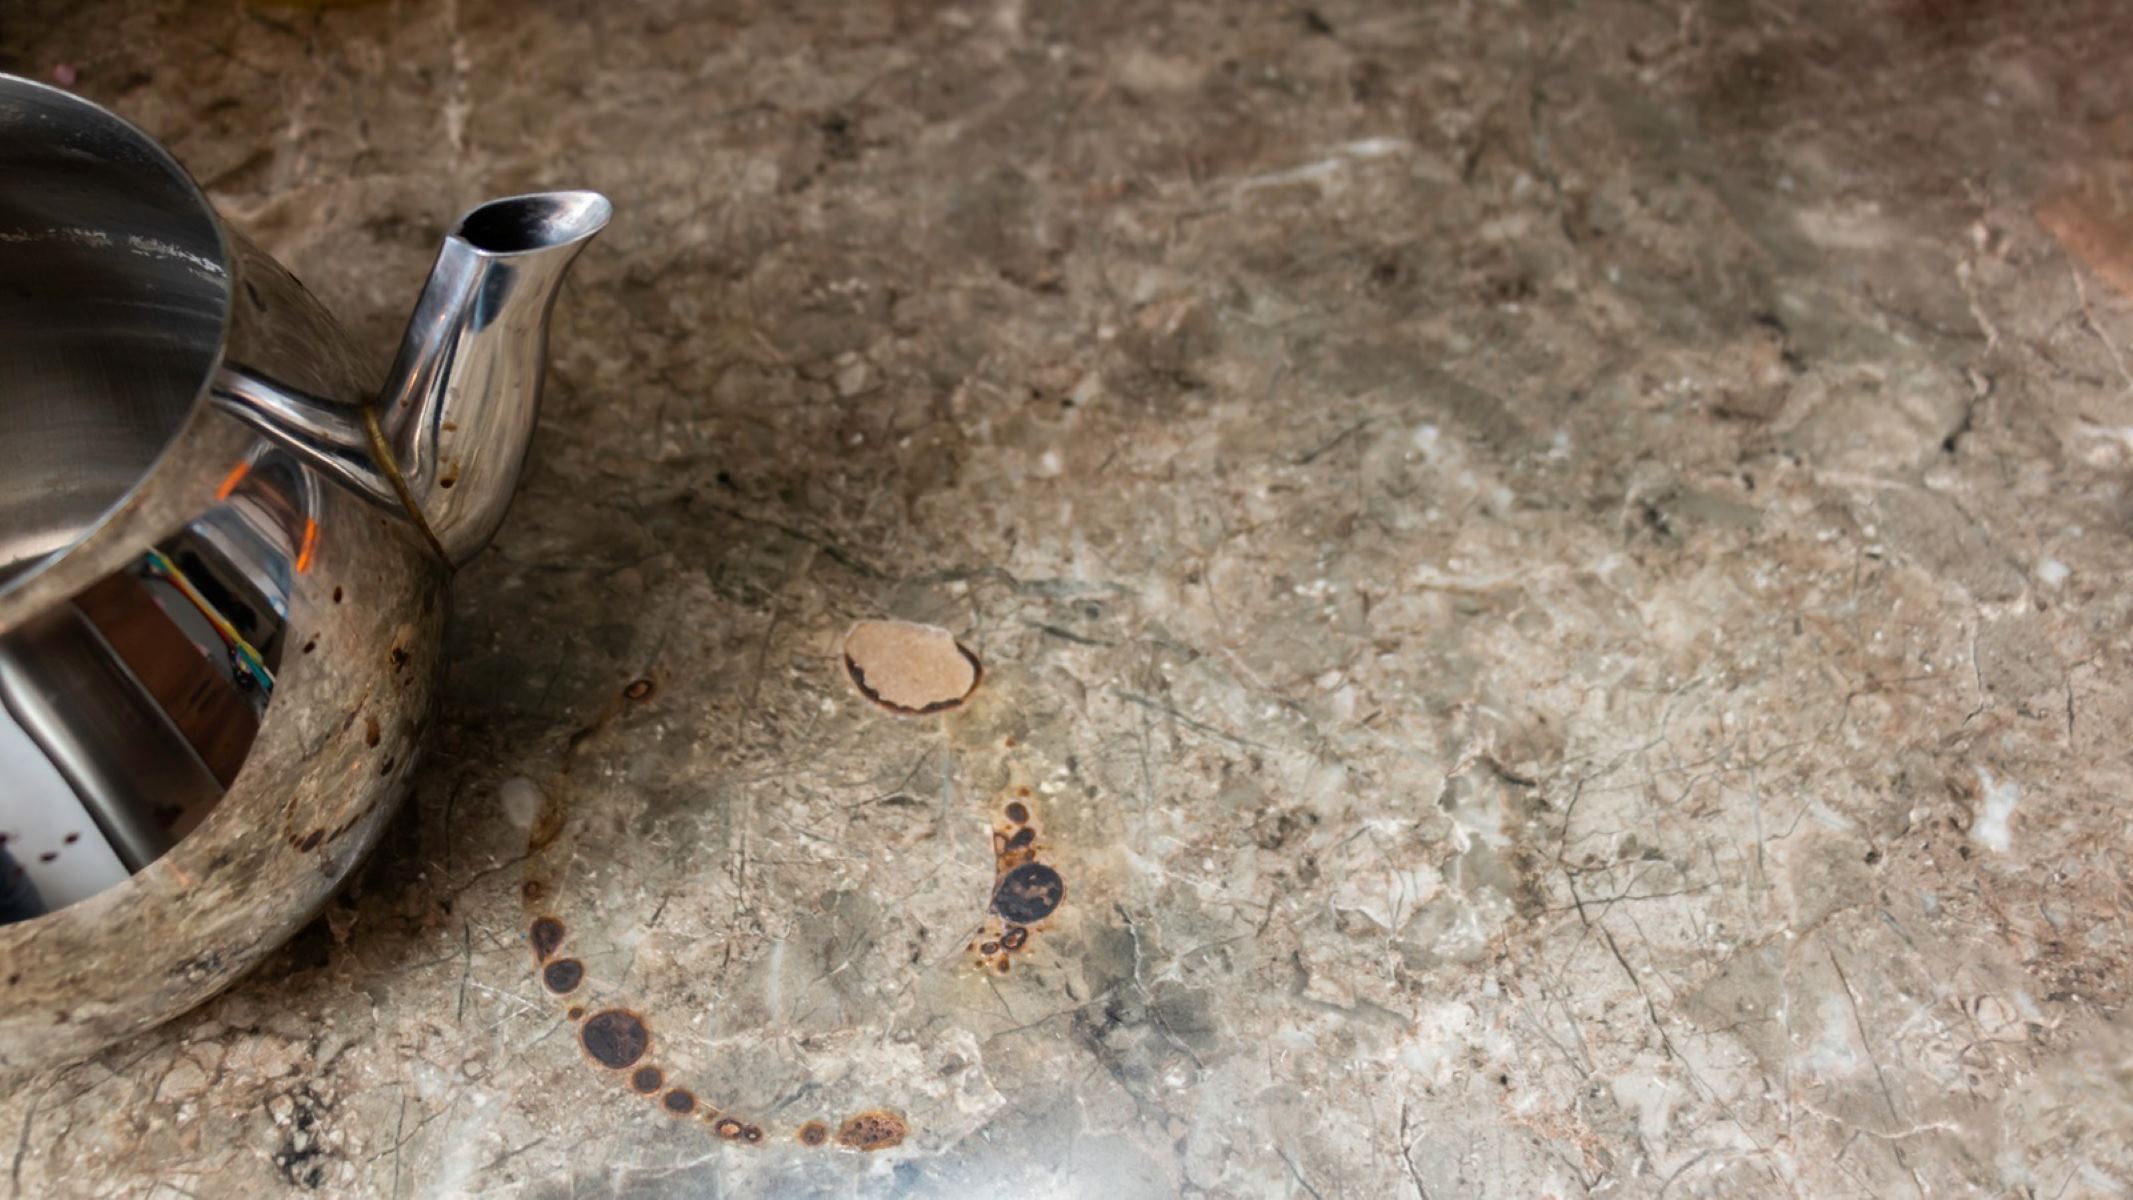
Formica countertops are a popular choice in many homes and kitchens. They are known for their durability, affordability, and easy maintenance. However, accidents happen, and sometimes burn marks can occur on the surface of Formica countertops. Whether it’s from a hot pan, a curling iron, or a misplaced candle, burn marks can be unsightly and mar the overall appearance of your countertops.
But fear not! With a few simple steps and materials, you can remove burn marks from Formica countertops and restore them to their former glory. In this article, we’ll guide you through the process of safely and effectively removing burn marks, leaving your countertops looking as good as new.
Key Takeaways:
- Say goodbye to unsightly burn marks on your Formica countertops with simple household materials like baking soda, vinegar, and laminate repair paste. Restore your countertops to their former glory with ease.
- Exercise caution and follow the step-by-step guide to effectively remove burn marks from Formica countertops. From cleaning to polishing, your countertops will look as good as new with the right techniques.
Materials Needed
Before getting started, gather the following materials:
- Baking soda
- Water
- Vinegar
- Clean cloth or sponge
- Fine-grit sandpaper
- Laminate repair paste
- Soft cloth
- Non-abrasive cleaner
- Plastic putty knife
- Protective gloves
These materials are readily available and should be enough to tackle most burn marks on Formica countertops. It’s crucial to have all the necessary supplies on hand before starting the process.
Step 1: Cleaning the Burn Mark
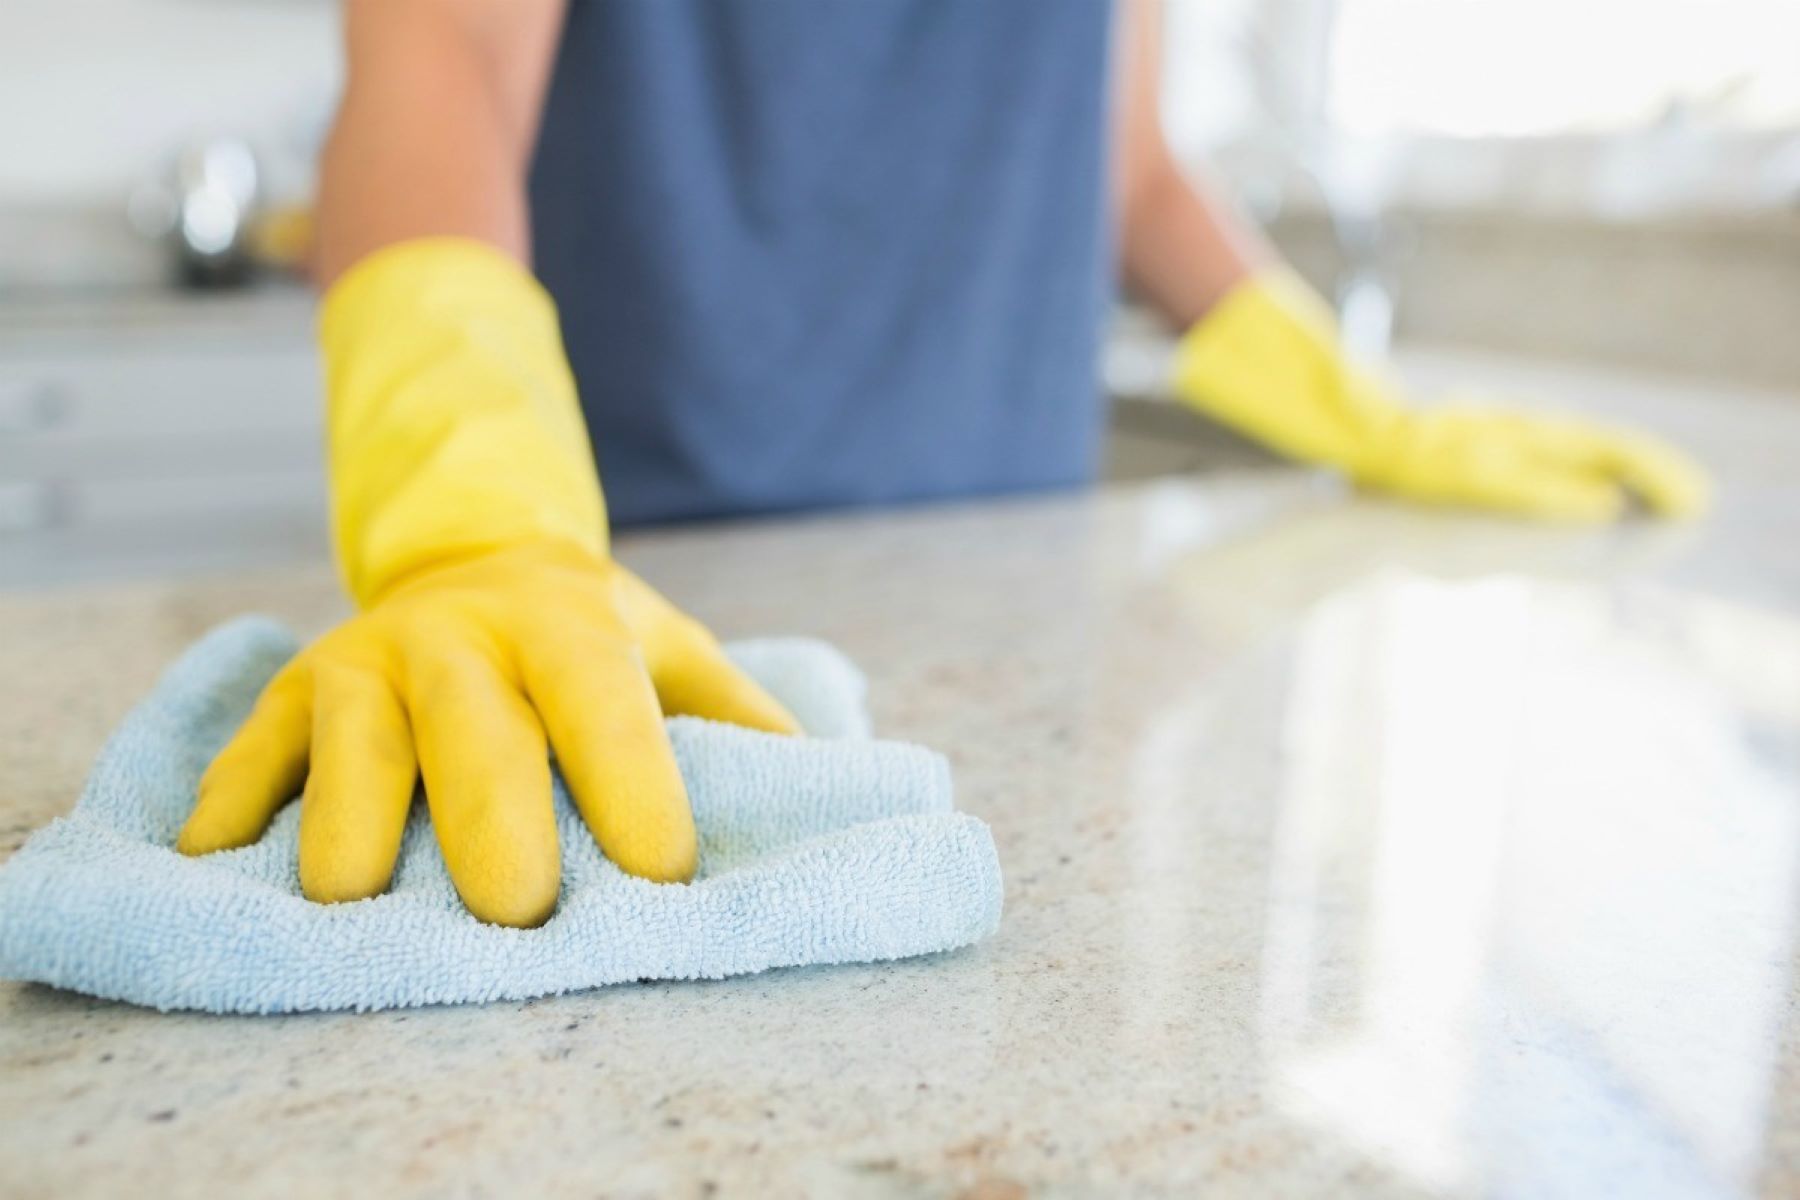
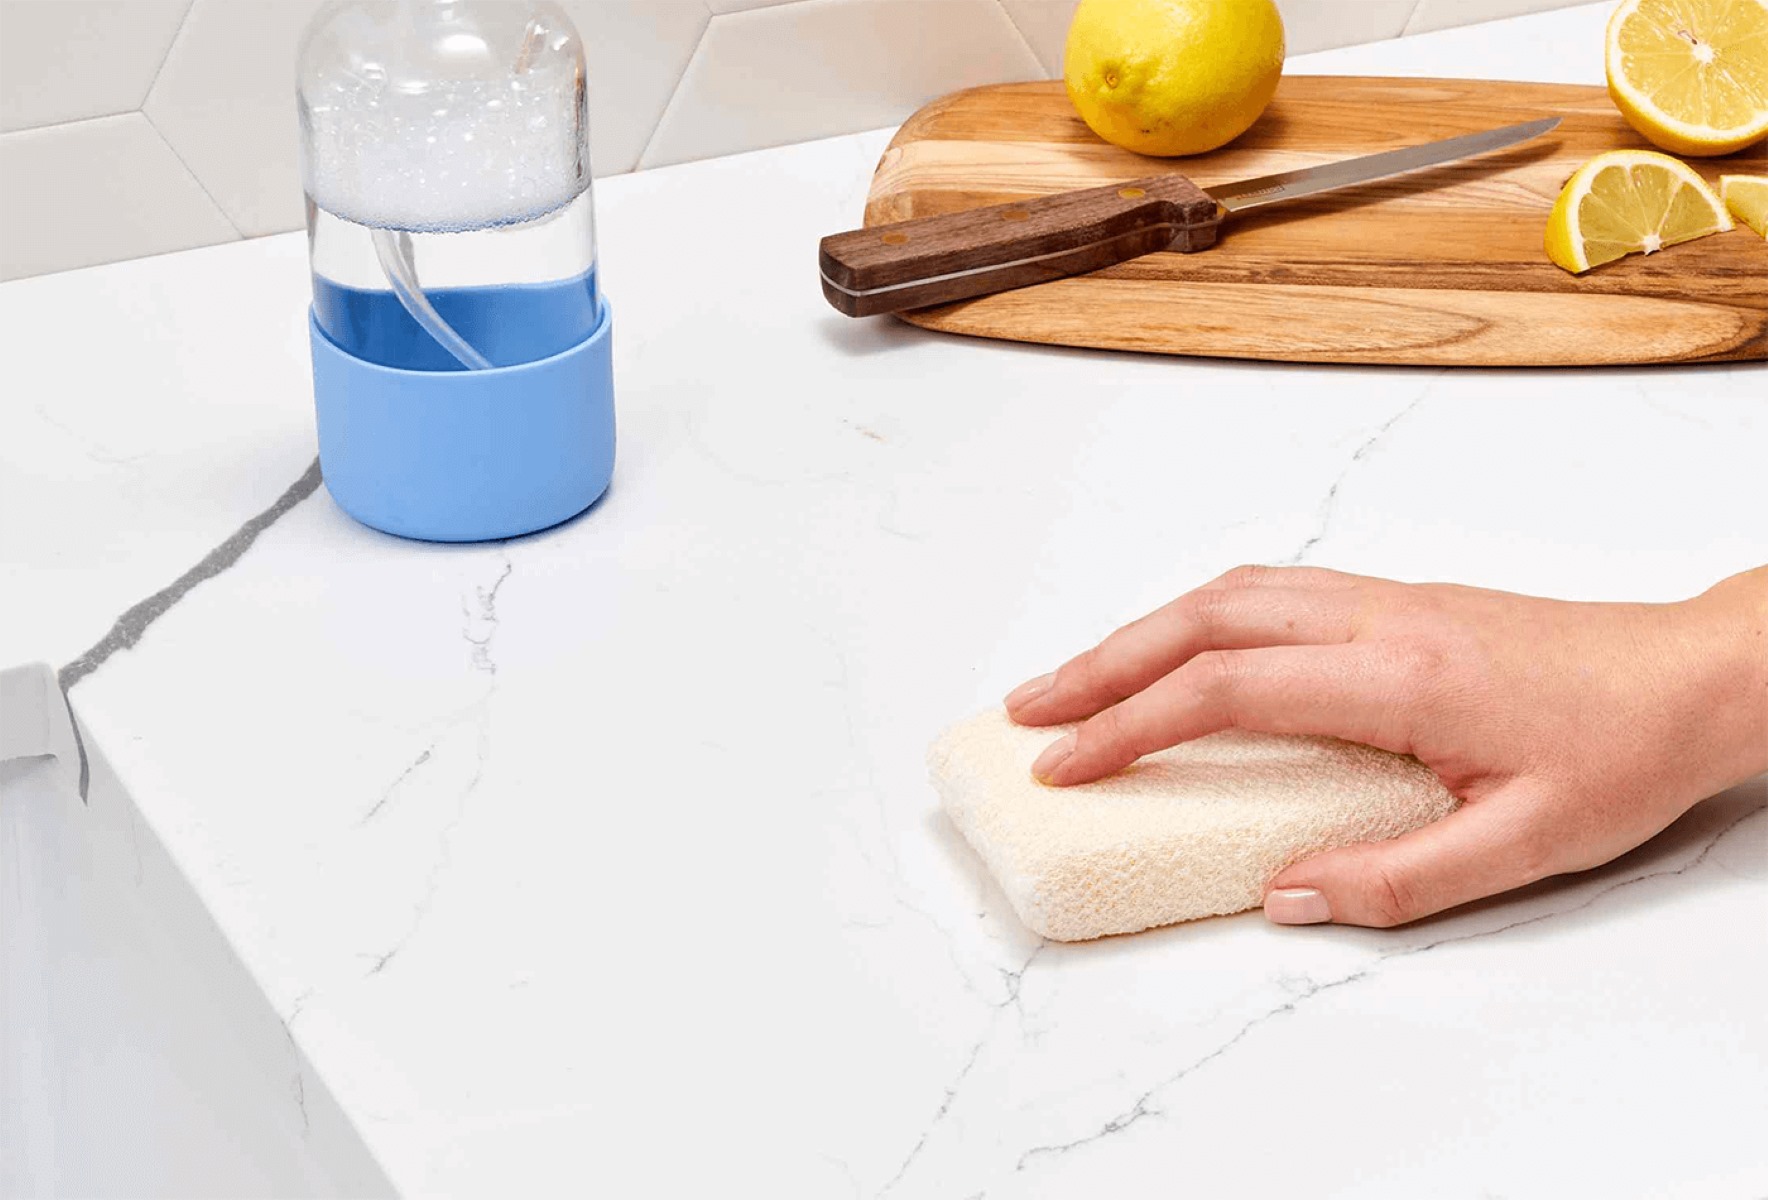
The first step in removing burn marks from Formica countertops is to thoroughly clean the affected area. Use a non-abrasive cleaner and a clean cloth or sponge to wipe down the countertop and remove any dirt or debris.
Next, wet the cloth or sponge with warm water and gently scrub the burn mark. Avoid using excessive force or abrasive materials, as this can further damage the countertop. The goal is to remove any surface residue or stains before proceeding to the next step.
If the burn mark is stubborn and doesn’t come off with regular cleaning, a mixture of baking soda and water can be used as a gentle abrasive. Create a paste by combining equal parts baking soda and water, then apply a small amount to the burn mark. Use a soft cloth or sponge to gently scrub the area in a circular motion. Rinse with warm water and pat dry.
Once the burn mark is clean and free from debris, move on to the next step to further treat the affected area.
Step 2: Applying Baking Soda Paste
In this step, we’ll utilize the power of baking soda to help remove the burn mark from your Formica countertop. Baking soda is a natural, mild abrasive that can effectively lift stains and restore the countertop’s appearance.
To begin, create a paste by mixing baking soda with enough water to form a thick consistency. The paste should be easy to spread but not too runny. Apply the baking soda paste directly onto the burn mark, ensuring that it covers the entire affected area.
Using a soft cloth or sponge, gently rub the baking soda paste into the burn mark using circular motions. Apply slight pressure to allow the baking soda to work its magic on the stain. Keep working the paste into the burn mark until you start to notice a lightening of the stain.
Once you’re satisfied with the results, rinse the countertop thoroughly with warm water to remove any residue from the baking soda paste. Wipe dry with a clean cloth to reveal the progress made in lifting the burn mark.
If the burn mark is still visible after this step, don’t worry. There are additional methods to try that can further diminish the appearance of the stain. Move on to step 3 to continue the process.
Step 3: Using Vinegar and Water Solution
If the burn mark on your Formica countertop persists after the previous steps, it’s time to bring out another powerful solution: vinegar. Vinegar is a versatile household ingredient that can effectively remove stains and disinfect surfaces.
Start by creating a vinegar and water solution. Mix equal parts of white vinegar and water in a spray bottle. Shake well to ensure the ingredients are thoroughly combined.
Spray the vinegar and water solution directly onto the burn mark, ensuring that the area is thoroughly saturated. Let the solution sit on the stain for a few minutes to allow the vinegar to penetrate and break down the stubborn burn marks.
Using a clean cloth or sponge, gently scrub the affected area in a circular motion. Apply firm but gentle pressure to avoid damaging the countertop. As you scrub, you should notice the burn mark gradually fading away.
Once satisfied with the results, rinse the countertop with warm water to remove any vinegar residue. Dry the area with a clean cloth.
If the burn mark is still visible after this step, don’t worry. There are more techniques to try. Move on to step 4 to continue the process of removing the burn mark from your Formica countertop.
Mix baking soda with a small amount of water to form a paste. Gently scrub the burn marks with the paste using a soft cloth or sponge. Rinse with water and dry the countertop thoroughly.
Read more: How Much Is Formica Countertops
Step 4: Sanding the Surface
If the burn mark on your Formica countertop is stubborn and resistant to previous cleaning methods, sanding the surface of the countertop can help remove the burn mark and restore its smooth appearance.
Before you begin, make sure to use fine-grit sandpaper, such as 220-grit or higher, to avoid causing further damage to the countertop. It’s important to note that this step should only be used on solid-color or non-textured Formica countertops.
First, ensure that the countertop is clean and free of any loose debris or residue. Then, wrap the sandpaper around a sanding block or use your hand to hold it securely.
Start sanding the burn mark gently, using light pressure and moving in a circular motion. Keep the sandpaper flat against the surface, and avoid applying too much force, as this can create unevenness or scratches.
Continue sanding until the burn mark is no longer visible. Be patient and take breaks if needed to avoid overheating the countertop. Remember to wipe away any dust or debris with a clean cloth as you go along.
Once you’re done sanding, clean the countertop thoroughly to remove any remaining dust particles. You can use a damp cloth or sponge to wipe down the surface, followed by a dry cloth to ensure it’s completely dry.
Sanding the surface of your Formica countertop can effectively remove stubborn burn marks, but it’s essential to exercise caution and use gentle sanding techniques to prevent any further damage to the surface.
If the burn mark is still visible after sanding, don’t worry. There are additional steps to help restore your countertop. Move on to step 5 to continue the process of removing the burn mark.
Step 5: Applying Laminate Repair Paste
If the burn mark on your Formica countertop remains visible after previous cleaning methods and sanding, applying a laminate repair paste can help to conceal and blend the damaged area.
Laminate repair paste is specially formulated to repair minor damage and blemishes on laminate surfaces like Formica countertops. It can be found at most home improvement stores and is available in a variety of colors to match your countertop.
Begin by selecting a laminate repair paste that closely matches the color of your countertop. It’s best to test the paste on a small, inconspicuous area of the countertop before applying it to the burn mark to ensure a proper color match and to familiarize yourself with the application process.
Once you have the correct color paste, carefully apply it to the burn mark using a plastic putty knife or a similar tool. Take small amounts of the paste at a time and apply it evenly to the area, ensuring that it covers the entire burn mark.
Smooth the paste over the burn mark, blending it into the surrounding countertop surface. Use the putty knife or a clean cloth to level the paste and create a seamless transition between the repaired area and the rest of the countertop.
Allow the laminate repair paste to dry according to the manufacturer’s instructions. This typically takes a few hours. Once dry, check the repaired area for any roughness or imperfections.
If necessary, lightly sand the repaired area with fine-grit sandpaper to achieve a smooth and uniform surface. Wipe away any dust or debris and evaluate the result.
If the burn mark is still visible, you may need to repeat the process of applying the laminate repair paste and sanding until you achieve the desired outcome.
Now that the burn mark has been concealed, it’s time to proceed to the final step of the process: buffing and polishing the countertop.
Step 6: Buffing and Polishing the Countertop
After successfully removing the burn mark from your Formica countertop and applying the laminate repair paste, the final step is to buff and polish the countertop to restore its shine and smooth finish.
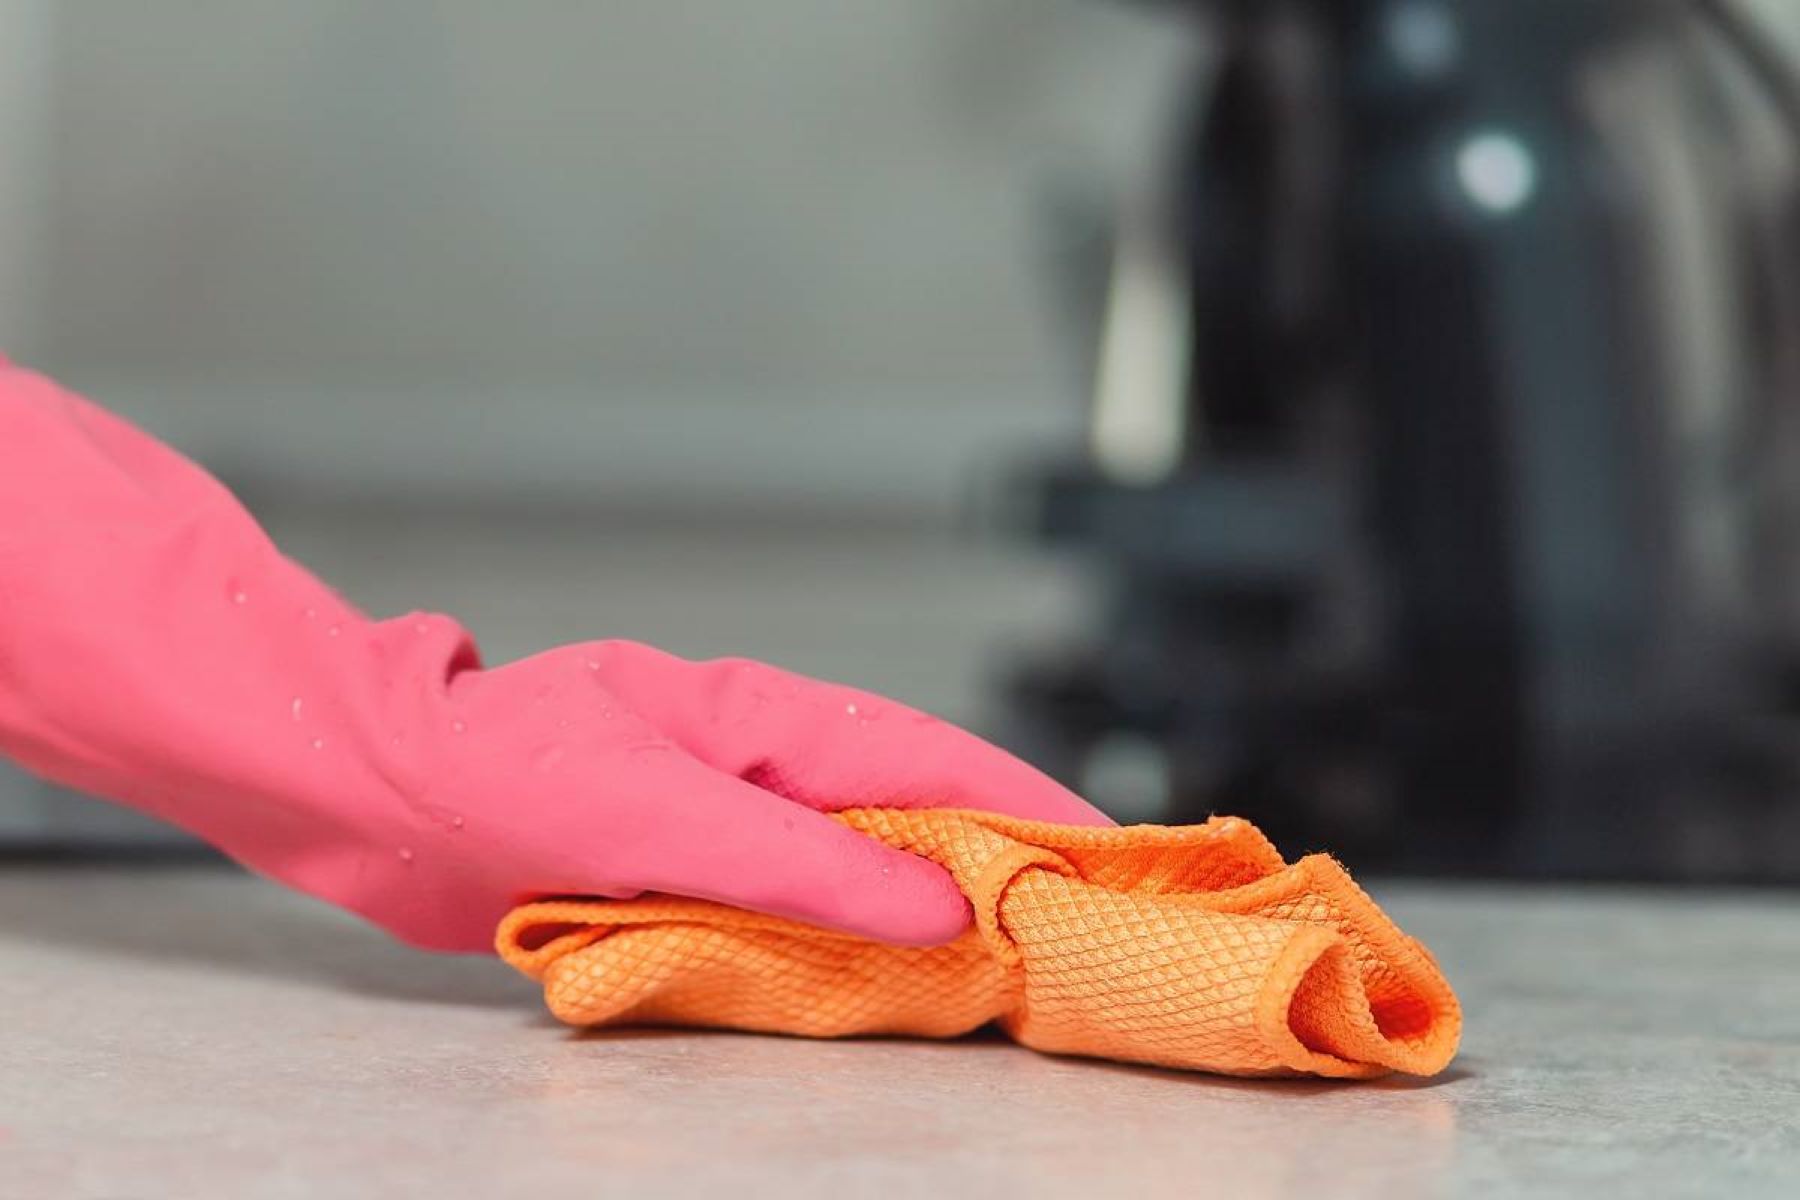
Start by cleaning the countertop with a non-abrasive cleaner to ensure that it is free from any residue or debris. Use a soft cloth or sponge to gently wipe down the entire surface, including the repaired area.
Next, dampen a soft cloth with warm water and wring out any excess moisture. Use the damp cloth to gently buff the countertop in circular motions. This will help to remove any remaining traces of the laminate repair paste and create a uniform appearance.
Once you’ve thoroughly buffed the countertop, use a dry, clean cloth to polish the surface. Apply light pressure and continue the circular motions until the countertop shines. This will help to enhance its overall appearance and give it a visually appealing finish.
Alternatively, you can use a countertop polish or a specialized laminate cleaner to achieve a glossy and polished look. Follow the instructions on the product label and use a soft cloth or sponge to apply the polish to the entire countertop, making sure to focus on the repaired area.
After applying the polish, use a separate clean and dry cloth to buff the countertop once again, ensuring that the polish is evenly distributed and the surface has a beautiful shine.
With the burn mark removed and the countertop buffed and polished, step back and admire your handiwork. Your Formica countertop should now look as good as new, with no visible trace of the previous burn mark.
Remember to follow the manufacturer’s instructions and precautions when using cleaning products, polish, or any other chemicals on your Formica countertop.
And there you have it – a step-by-step guide on how to remove burn marks from Formica countertops. By following these simple steps and using the right materials, you can effectively restore your countertops to their original beauty.
Always exercise caution and test any cleaning or repair methods on a small, inconspicuous area before applying them to the entire countertop.
Conclusion
Removing burn marks from Formica countertops is a manageable task if you follow the right steps and use the appropriate materials. By taking the time to clean the burn mark, apply baking soda paste, use a vinegar and water solution, sand the surface if necessary, apply laminate repair paste, and finally, buff and polish the countertop, you can effectively eliminate unsightly burn marks and restore the beauty of your Formica surface.
Remember to exercise caution throughout the process to avoid causing further damage to the countertop. It’s essential to select the right materials, such as non-abrasive cleaners, fine-grit sandpaper, and laminate repair paste that closely matches your countertop color.
Additionally, always test any cleaning or repair methods on a small, inconspicuous area before applying them to the entire countertop. This will help ensure that the results are as expected and prevent any potential damage.
Keep in mind that prevention is the best approach to avoid burn marks on your Formica countertops. Always use trivets or heat-resistant mats when placing hot items on the surface and exercise caution with heated appliances such as curling irons or hair straighteners.
By following the steps outlined in this article and practicing regular maintenance and care of your Formica countertops, you can prolong their lifespan and maintain their pristine appearance for years to come.
With a little effort and the right techniques, your Formica countertops can be free of burn marks and look as beautiful as the day they were installed. Enjoy your rejuvenated kitchen or bathroom space!
Frequently Asked Questions about How To Remove Burn Marks From Formica Countertops
Was this page helpful?
At Storables.com, we guarantee accurate and reliable information. Our content, validated by Expert Board Contributors, is crafted following stringent Editorial Policies. We're committed to providing you with well-researched, expert-backed insights for all your informational needs.



0 thoughts on “How To Remove Burn Marks From Formica Countertops”