Articles
How To Clean Burn Marks Off Toaster
Modified: October 18, 2024
Learn effective methods and tips for removing stubborn burn marks from your toaster with this informative article. Say goodbye to unsightly stains and enjoy a clean toaster again!
(Many of the links in this article redirect to a specific reviewed product. Your purchase of these products through affiliate links helps to generate commission for Storables.com, at no extra cost. Learn more)
Introduction
Having a toaster is a convenient way to enjoy warm and crispy toast in the morning or anytime you crave it. However, over time, your toaster may develop unsightly burn marks, which can not only affect its appearance but also impact its performance. Whether you accidentally left your toast in the toaster a little too long or had a minor mishap in the kitchen, knowing how to clean burn marks off your toaster can help restore its pristine condition.
When it comes to cleaning burn marks off your toaster, it’s essential to use the right materials and techniques to avoid damaging the appliance. In this article, we will guide you through a step-by-step process to clean the burn marks effectively and safely. So, grab your cleaning supplies and let’s get started!
Key Takeaways:
- Easily remove burn marks from your toaster using simple household items like mild dish soap, baking soda, and vinegar. Regular cleaning ensures a pristine toaster and perfectly toasted bread every time.
- Prioritize safety by unplugging and allowing the toaster to cool before cleaning. Thoroughly clean the exterior, slots, and test functionality to maintain a well-functioning and visually appealing appliance.
Read more: How To Get Burn Marks Off Glass Top Stove
Materials You’ll Need
Before you begin cleaning the burn marks off your toaster, it’s important to gather the necessary materials. Here’s a list of items you’ll need:
- Mild dish soap
- Baking soda
- Water
- Cloth or sponge
- Toothbrush or small brush
- Vinegar (optional)
Make sure to have these materials readily available before you start the cleaning process. This will ensure a smooth and efficient cleaning experience.
Step 1: Unplug and Cool Down the Toaster
Before you begin cleaning your toaster, it’s crucial to unplug it from the power source to ensure your safety. Cleaning an unplugged toaster prevents any electrical accidents or shocks. Additionally, give the toaster sufficient time to cool down completely. This will not only prevent any burn injuries but also make the cleaning process easier.
Allow your toaster to sit for at least 30 minutes after use before attempting to clean it. This will ensure that all the internal components and surfaces have cooled down to a safe temperature. Touching a hot toaster or trying to clean it while it’s still warm can result in burns or damage to the appliance.
Remember, safety should always be your top priority, so never attempt to clean a toaster that is still plugged in or hot. Taking these precautions will protect you from any potential hazards and ensure a successful cleaning process.
Step 2: Remove Crumbs and Debris
Now that your toaster is unplugged and cooled down, it’s time to remove any crumbs and debris that may have accumulated inside. Remove the crumb tray located at the bottom of the toaster, if applicable. Empty and clean it separately using warm, soapy water and a sponge or cloth.
If your toaster doesn’t have a removable crumb tray, gently tilt it over a sink or trash bin to allow the crumbs to fall out. Give it a few gentle taps to dislodge any stubborn crumbs that may be stuck. You can also use a pastry brush or a toothbrush to help loosen and remove any remaining debris.
Be thorough in your cleaning to ensure that all crumbs and debris are removed from the toaster. This step is important as it helps maintain proper airflow inside the appliance and prevents any potential fire hazards caused by accumulation.
Once you’ve removed the crumbs and debris, it’s time to move on to the next step in cleaning the burn marks off your toaster.
Step 3: Make a Cleaning Solution
To effectively clean the burn marks off your toaster, you’ll need to create a cleaning solution. Fortunately, this can easily be done using common household ingredients.
Start by filling a small bowl or container with warm water. Add a few drops of mild dish soap and stir until it is well mixed. The dish soap will help break down grease and grime, making it easier to remove the burn marks.
For an extra boost of cleaning power, you can also add a tablespoon of baking soda to the mixture. Baking soda is known for its abrasive properties, which can help lift stubborn stains and residue off the toaster’s surface.
Stir the cleaning solution gently until all the ingredients are incorporated. Avoid using harsh chemicals or abrasive cleaners, as they may damage the toaster’s finish.
Once your cleaning solution is ready, it’s time to move on to the next step in the process: scrubbing the burn marks.
Read more: How To Clean Water Marks Off Glass
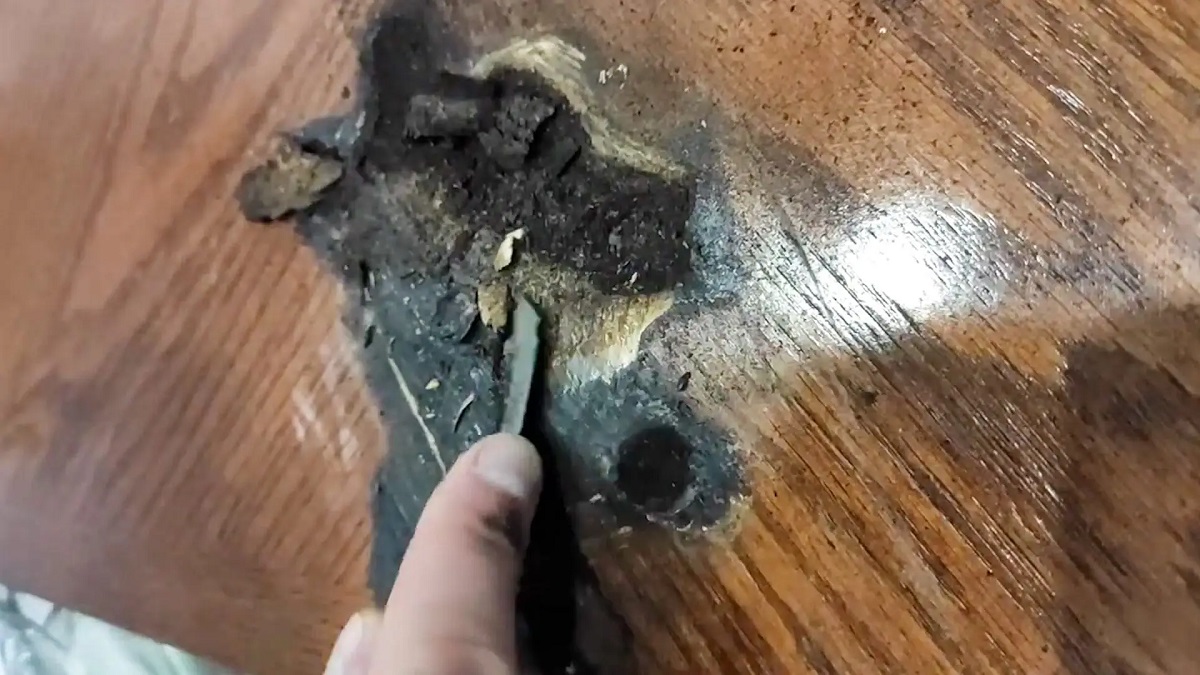
Step 4: Scrub the Burn Marks
Now that you have your cleaning solution prepared, it’s time to tackle the burn marks on your toaster. Dip a cloth or sponge into the solution, ensuring it is damp but not dripping. Gently scrub the burn marks on the toaster’s exterior using circular motions.
If the burn marks are stubborn and difficult to remove, you can use a toothbrush or a small brush to target those areas more effectively. The bristles of the toothbrush or brush will allow you to scrub the burn marks with more precision.
Continue to scrub until the burn marks start to fade and the surface begins to appear cleaner. If necessary, you can apply a bit more pressure, but be careful not to scrub too vigorously, as this may damage the toaster’s finish.
For particularly stubborn or deep burn marks, you can create a paste by mixing baking soda with a small amount of water. Apply the paste directly to the burn marks and let it sit for a few minutes before scrubbing. The abrasive nature of the baking soda will help lift the burn marks, making them easier to remove.
Take your time with this step and ensure that you’ve thoroughly scrubbed all the burn marks. Once you’re satisfied with the results, it’s time to move on to the next step: wiping the toaster’s exterior.
To clean burn marks off a toaster, unplug it and let it cool. Then, use a mixture of baking soda and water to scrub the marks, or a non-abrasive cleaner. Wipe with a damp cloth and dry thoroughly before use.
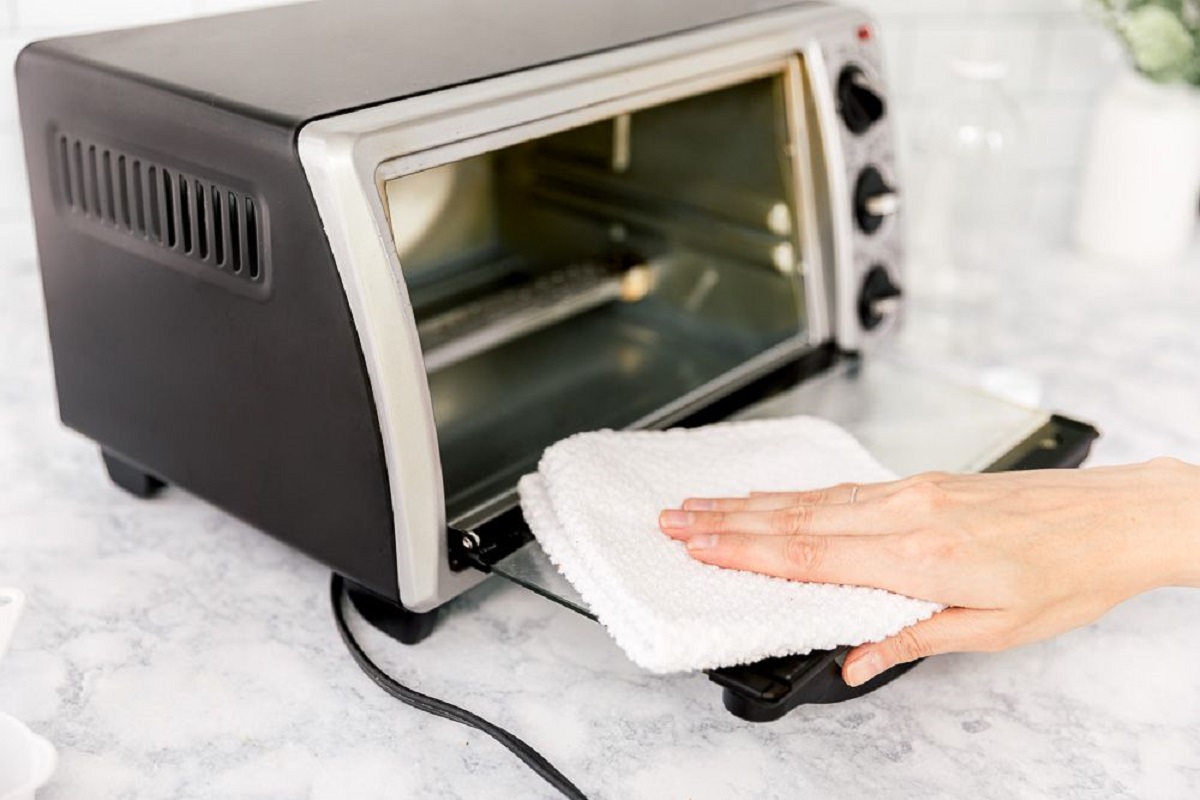
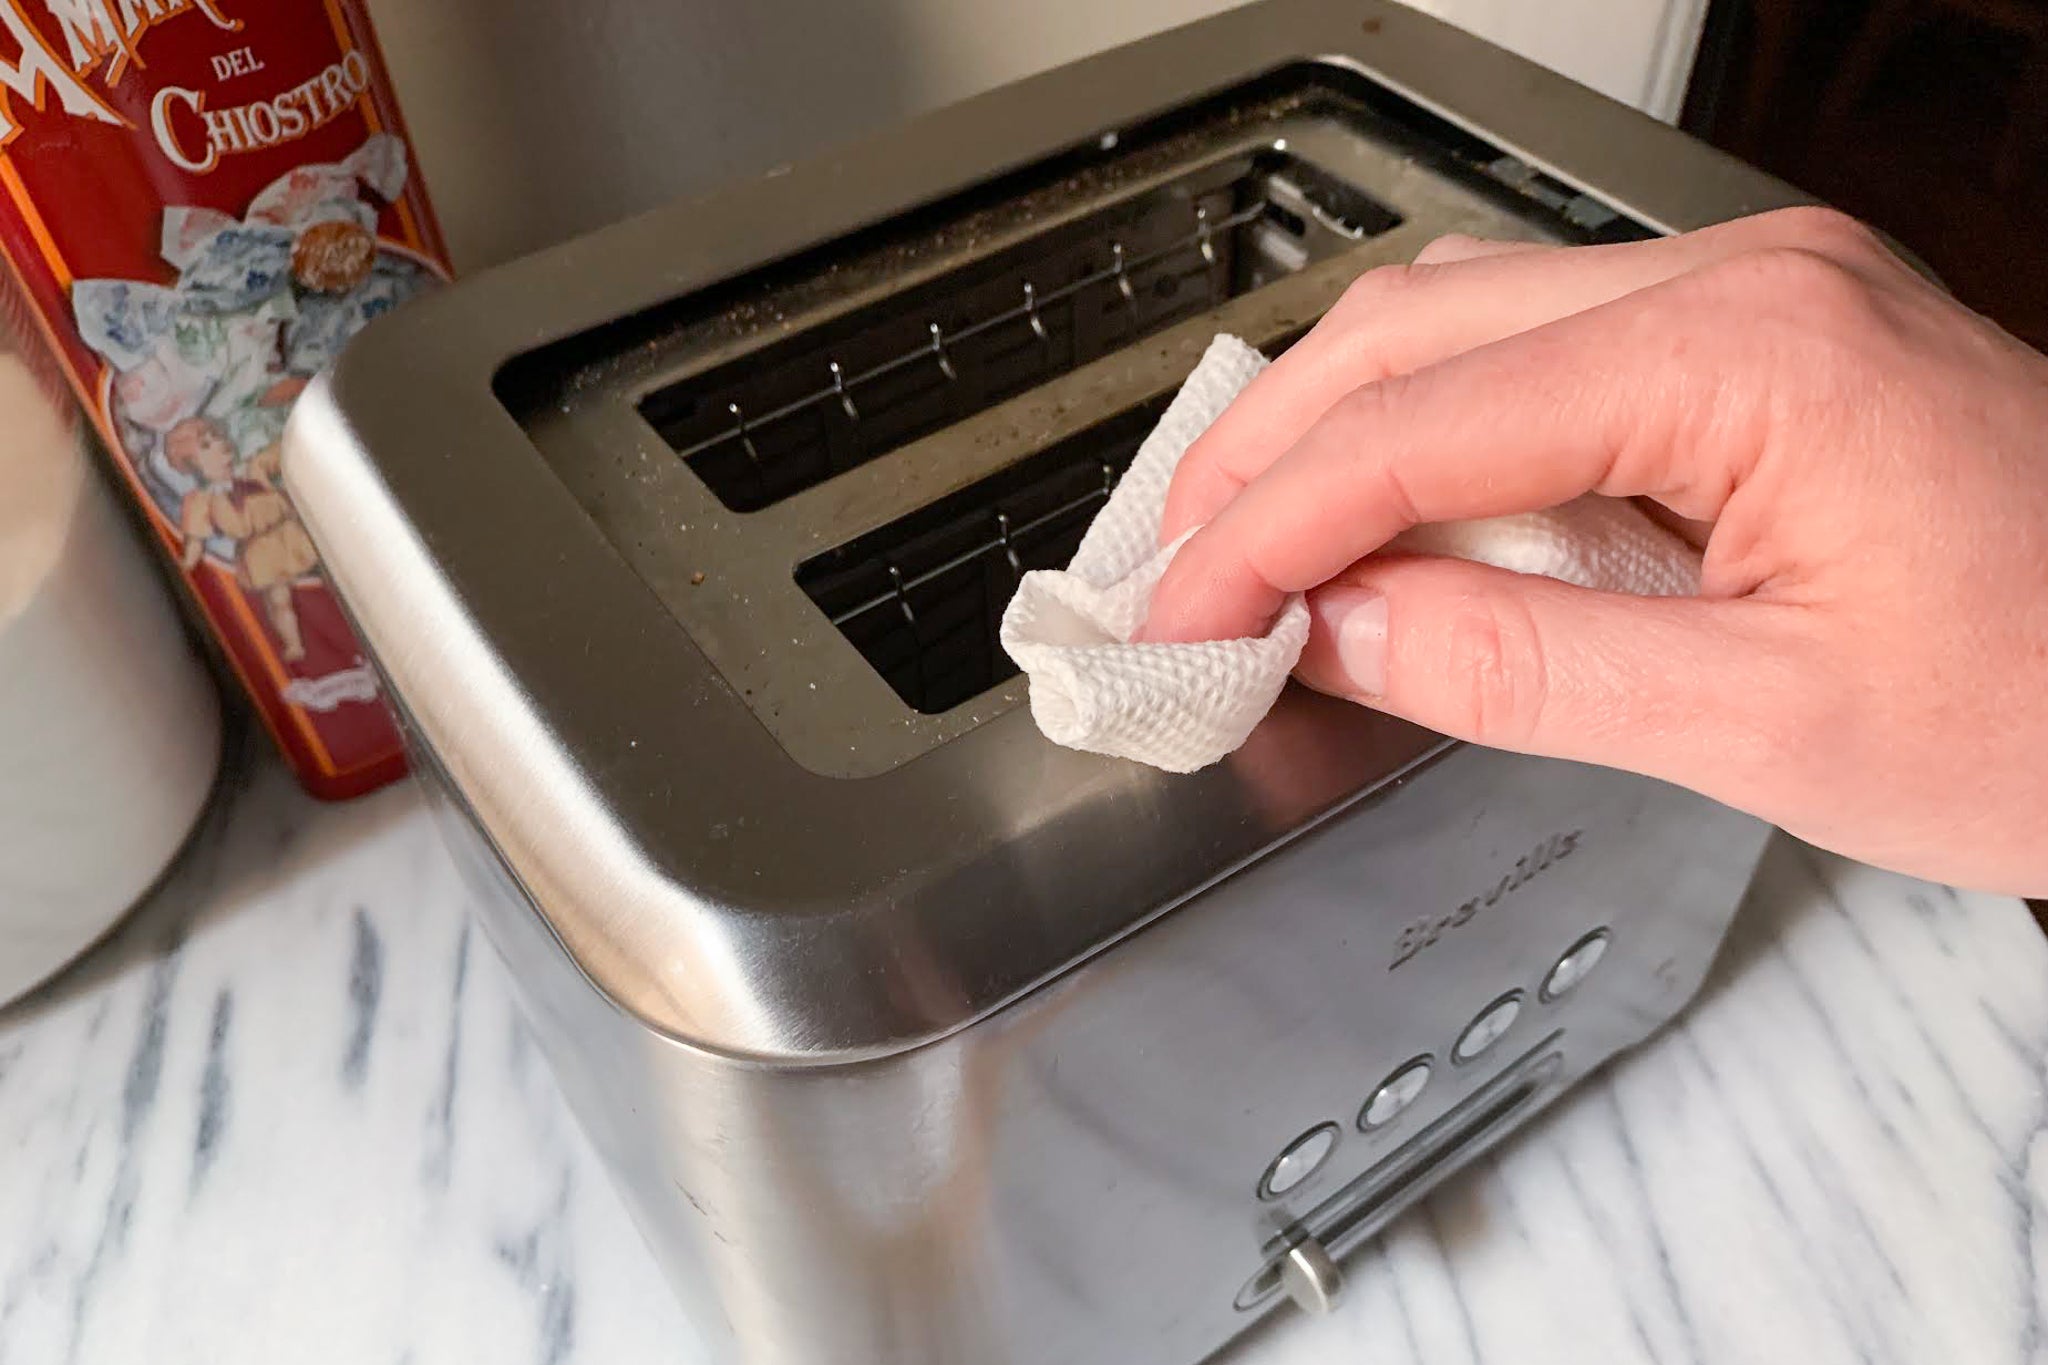
Step 5: Wipe the Toaster Exterior
After scrubbing the burn marks, it’s time to wipe down the exterior of your toaster to remove any remaining dirt or cleaning residue. Dampen a clean cloth or sponge with plain water and gently wipe the entire surface of the toaster.
Pay special attention to the areas where you scrubbed the burn marks, ensuring that all the cleaning solution and residue are removed. This will help prevent any damage or discoloration to the toaster’s surface.
If there are any stubborn stains or marks, you can add a small amount of vinegar to the damp cloth or sponge. The acidity of vinegar can help dissolve tough stains and leave your toaster looking sparkling clean.
Once you’ve wiped down the exterior of the toaster, don’t forget to clean the control knobs, buttons, and any other visible parts. Be gentle when cleaning these areas to avoid damaging or disrupting their functionality.
Finally, use a dry cloth or towel to wipe off any excess moisture from the toaster’s exterior. This will help prevent water spots and ensure a clean and streak-free finish.
With the exterior cleaned, it’s time to move on to the next step: cleaning the toaster slots.
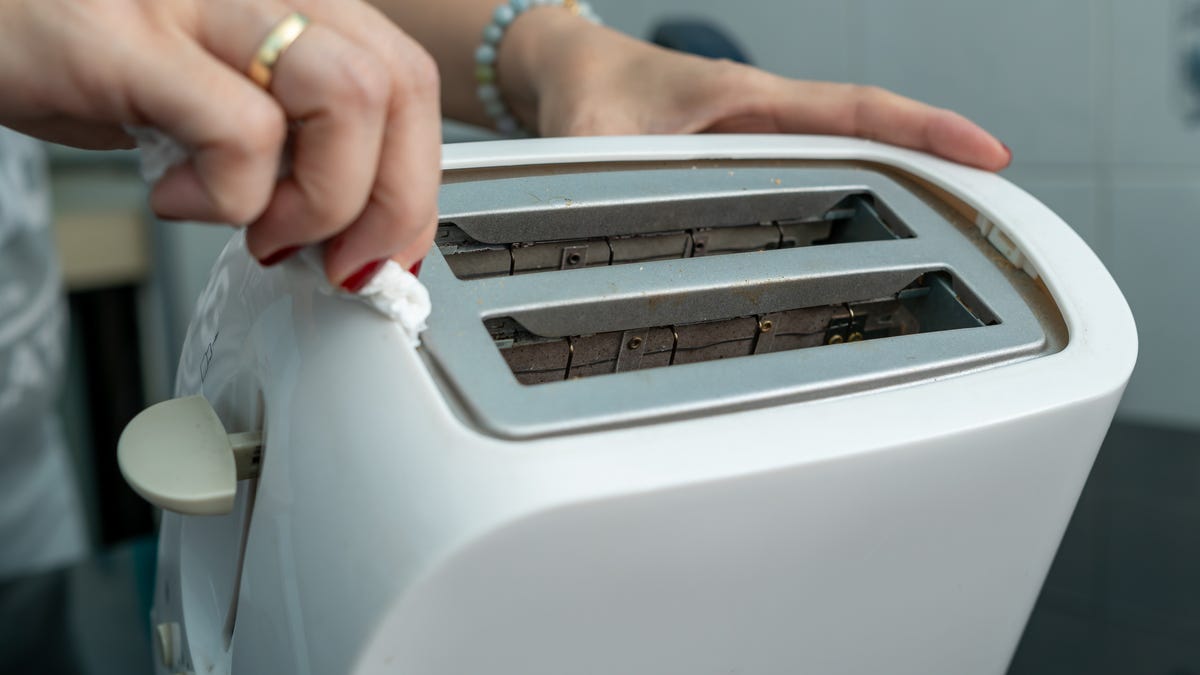
Step 6: Clean the Toaster Slots
Now that the exterior of your toaster is clean, it’s important to clean the toaster slots to ensure they are free from any lingering crumbs or debris. Cleaning the toaster slots not only improves its performance but also reduces the risk of burnt crumbs causing future burn marks.
Before cleaning the toaster slots, make sure the toaster is still unplugged to avoid any accidents. Tilt the toaster over a sink or trash bin and gently shake it to remove any loose crumbs that may be lodged inside the slots.
Next, take a small brush, such as a toothbrush or a specialized toaster cleaning brush, and carefully insert it into the toaster slots. Use back-and-forth motions and gentle pressure to dislodge any stubborn crumbs or debris that may be stuck.
Be thorough in cleaning the slots, as even small crumbs can potentially cause burn marks or affect the toaster’s performance. Additionally, clean the heating elements or wires that are visible inside the toaster slots. Use caution and do not touch the heating elements directly, as they can still retain heat and cause burns.
If the toaster slots are particularly dirty or have stubborn burnt residue, you can try using a vacuum cleaner with a narrow attachment to remove any loose debris. This will help ensure a clean and efficient toaster.
Once you’ve cleaned the toaster slots, give the toaster a gentle shake or tap to dislodge any remaining debris. This will ensure that the slots are clear and ready for use.
With the toaster slots cleaned, it’s time to move on to the next step: rinsing and drying.
Step 7: Rinse and Dry
After cleaning the toaster slots, it’s important to rinse off any cleaning solution or residue that may be present. Take a clean cloth or sponge and dampen it with plain water. Wipe down the toaster slots, making sure to remove any excess cleaning solution.
If your toaster has removable parts, such as a crumb tray or a toaster cover, rinse them under running water to ensure they are thoroughly cleaned. Use a gentle stream of water and a sponge or cloth to remove any remaining debris or residue.
Once rinsed, use a clean, dry cloth or towel to dry the toaster, including the slots and any removable parts. Ensure that all surfaces are completely dry before reassembling the toaster or plugging it back in. This will prevent any potential damage caused by moisture and ensure safe operation.
Take your time to ensure that the toaster is thoroughly dried, paying particular attention to the slots and any crevices where moisture may accumulate.
With the toaster cleaned, rinsed, and dried, it’s time for the final step: plugging in and testing.
Step 8: Plug in and Test
Now that your toaster is clean and dry, it’s time to plug it back in and test its functionality. Carefully insert the plug into a nearby power outlet and ensure that it is securely connected.
Before placing any bread or food into the toaster, it’s a good idea to do a quick test run to ensure that the toaster is working properly. Adjust the settings as you normally would and let the toaster run for a short cycle. This will help you verify that all functions, such as the heating elements and the temperature control, are working effectively.
Monitor the toaster closely during the test run, making sure that it heats up evenly and to the desired level of toasting. If you notice any issues, such as uneven toasting or unusual smells, unplug the toaster immediately and inspect it further.
If everything appears to be in proper working order, you can now confidently use your toaster to enjoy delicious and evenly toasted bread or other treats.
Remember to clean your toaster regularly to prevent the buildup of burn marks and prolong its lifespan. Routine cleaning also helps maintain the appliance’s performance and ensures that your toast is always perfectly toasted.
With these simple steps, you can easily clean burn marks off your toaster and restore its original shine. By following proper cleaning techniques, you can keep your toaster looking and functioning like new for years to come.
So, go ahead and give your toaster the attention it deserves. With a little cleaning and care, you’ll be enjoying perfectly toasted bread in no time!
That concludes our guide on how to clean burn marks off your toaster. We hope you found it informative and helpful. Happy toasting!
Conclusion
Cleaning burn marks off your toaster may seem like a daunting task, but with the right materials and techniques, it can be easily accomplished. By following the step-by-step guide outlined in this article, you can effectively remove burn marks and restore your toaster to its pristine condition.
Remember, safety should always be the first priority when cleaning your toaster. Always unplug the toaster and allow it to cool down before starting the cleaning process. Take your time and be gentle when scrubbing the burn marks to avoid damaging the toaster’s finish.
Using a mild dish soap, baking soda, water, a cloth or sponge, and a toothbrush or small brush, you can create a cleaning solution and scrub away the burn marks. Wipe down the toaster exterior and ensure that the slots are clean and free from debris. Rinse and dry the toaster thoroughly to avoid any moisture-related issues.
Once you’ve completed the cleaning process, plug in your toaster and do a test run to ensure that it’s working properly. If any issues arise, don’t hesitate to further inspect or seek professional assistance if necessary.
Regularly cleaning your toaster and taking care of it will not only extend its lifespan but also ensure that you enjoy delicious and evenly toasted bread every time. Make it a part of your routine to remove crumbs, wipe the exterior, and clean the toaster slots periodically to prevent the buildup of burn marks.
Now that you have the knowledge and tips to clean burn marks off your toaster, you can confidently tackle this task and keep your toaster looking and functioning like new. So, go ahead and give your toaster the attention it deserves, and enjoy perfectly toasted bread for years to come!
Frequently Asked Questions about How To Clean Burn Marks Off Toaster
Was this page helpful?
At Storables.com, we guarantee accurate and reliable information. Our content, validated by Expert Board Contributors, is crafted following stringent Editorial Policies. We're committed to providing you with well-researched, expert-backed insights for all your informational needs.


0 thoughts on “How To Clean Burn Marks Off Toaster”