Articles
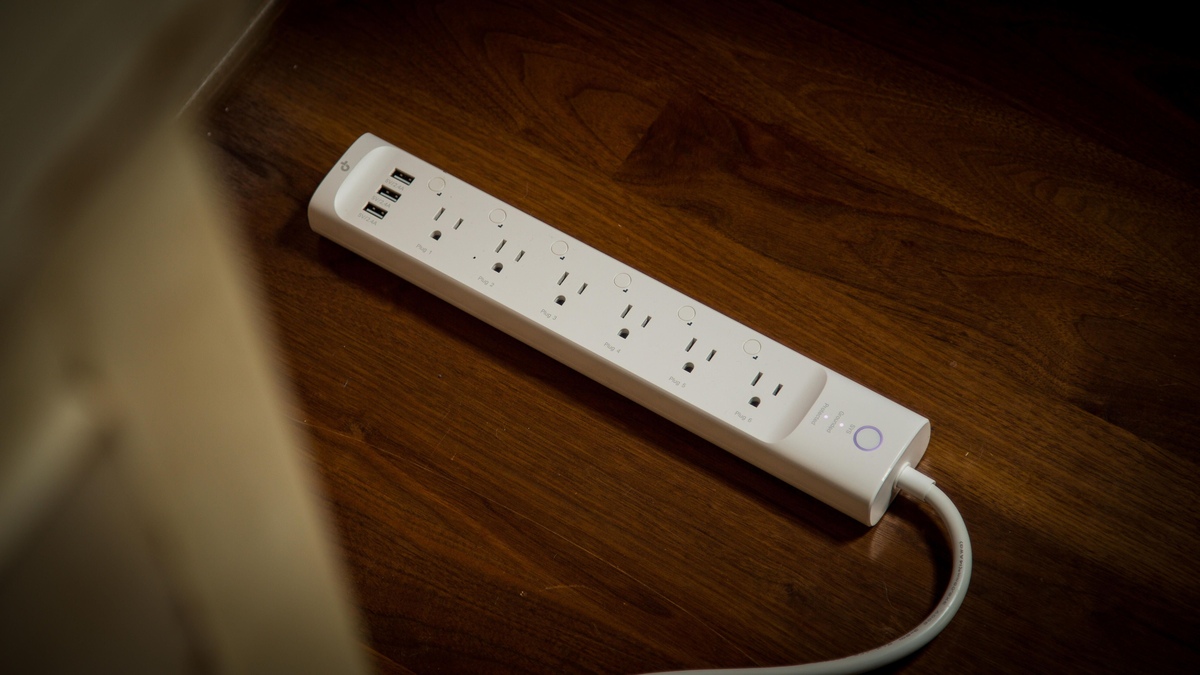
How To Reset Kasa Power Strip
Modified: August 28, 2024
Learn how to reset your Kasa Power Strip with these helpful articles. Discover step-by-step guides and troubleshooting tips to get your power strip working again.
(Many of the links in this article redirect to a specific reviewed product. Your purchase of these products through affiliate links helps to generate commission for Storables.com, at no extra cost. Learn more)
Introduction
Resetting your Kasa Power Strip can be a simple and effective way to troubleshoot any issues you may be experiencing with the device. Whether you’re encountering connectivity problems or need to start fresh with the power strip configuration, a reset can often provide a solution.
In this article, we will guide you through the process of resetting your Kasa Power Strip step by step. By following these instructions, you’ll be able to reset your power strip and ensure it’s functioning properly.
Before we begin, it’s important to note that resetting your power strip will erase all current settings and configurations. It will essentially return the device to its default state. So, if you have any specific configurations or customizations that you don’t want to lose, make sure to save them before proceeding with the reset.
Now, let’s get started with the step-by-step process of resetting your Kasa Power Strip.
Key Takeaways:
- Easily troubleshoot Kasa Power Strip issues by following a simple reset process. Gather tools, locate the reset button, and configure the strip for seamless functionality. Don’t forget to save your settings before resetting!
- Enjoy uninterrupted power and control over connected devices with a reset Kasa Power Strip. Follow the step-by-step guide, release the reset button, and personalize settings using the Kasa app or web interface. Reach out to TP-Link support for any assistance.
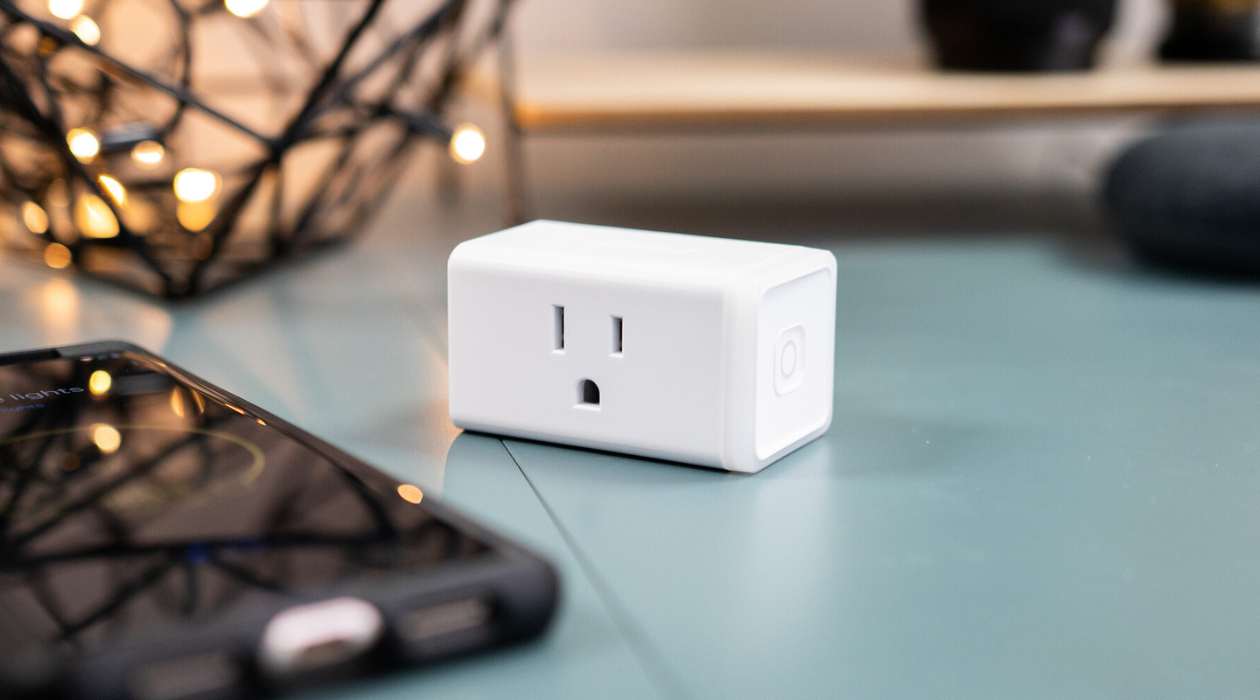
Read more: How To Reset Kasa Smart Plug
Step 1: Gather the necessary tools
Before you begin the reset process, it’s important to gather the necessary tools to ensure a smooth and successful reset. Here are the tools you’ll need:
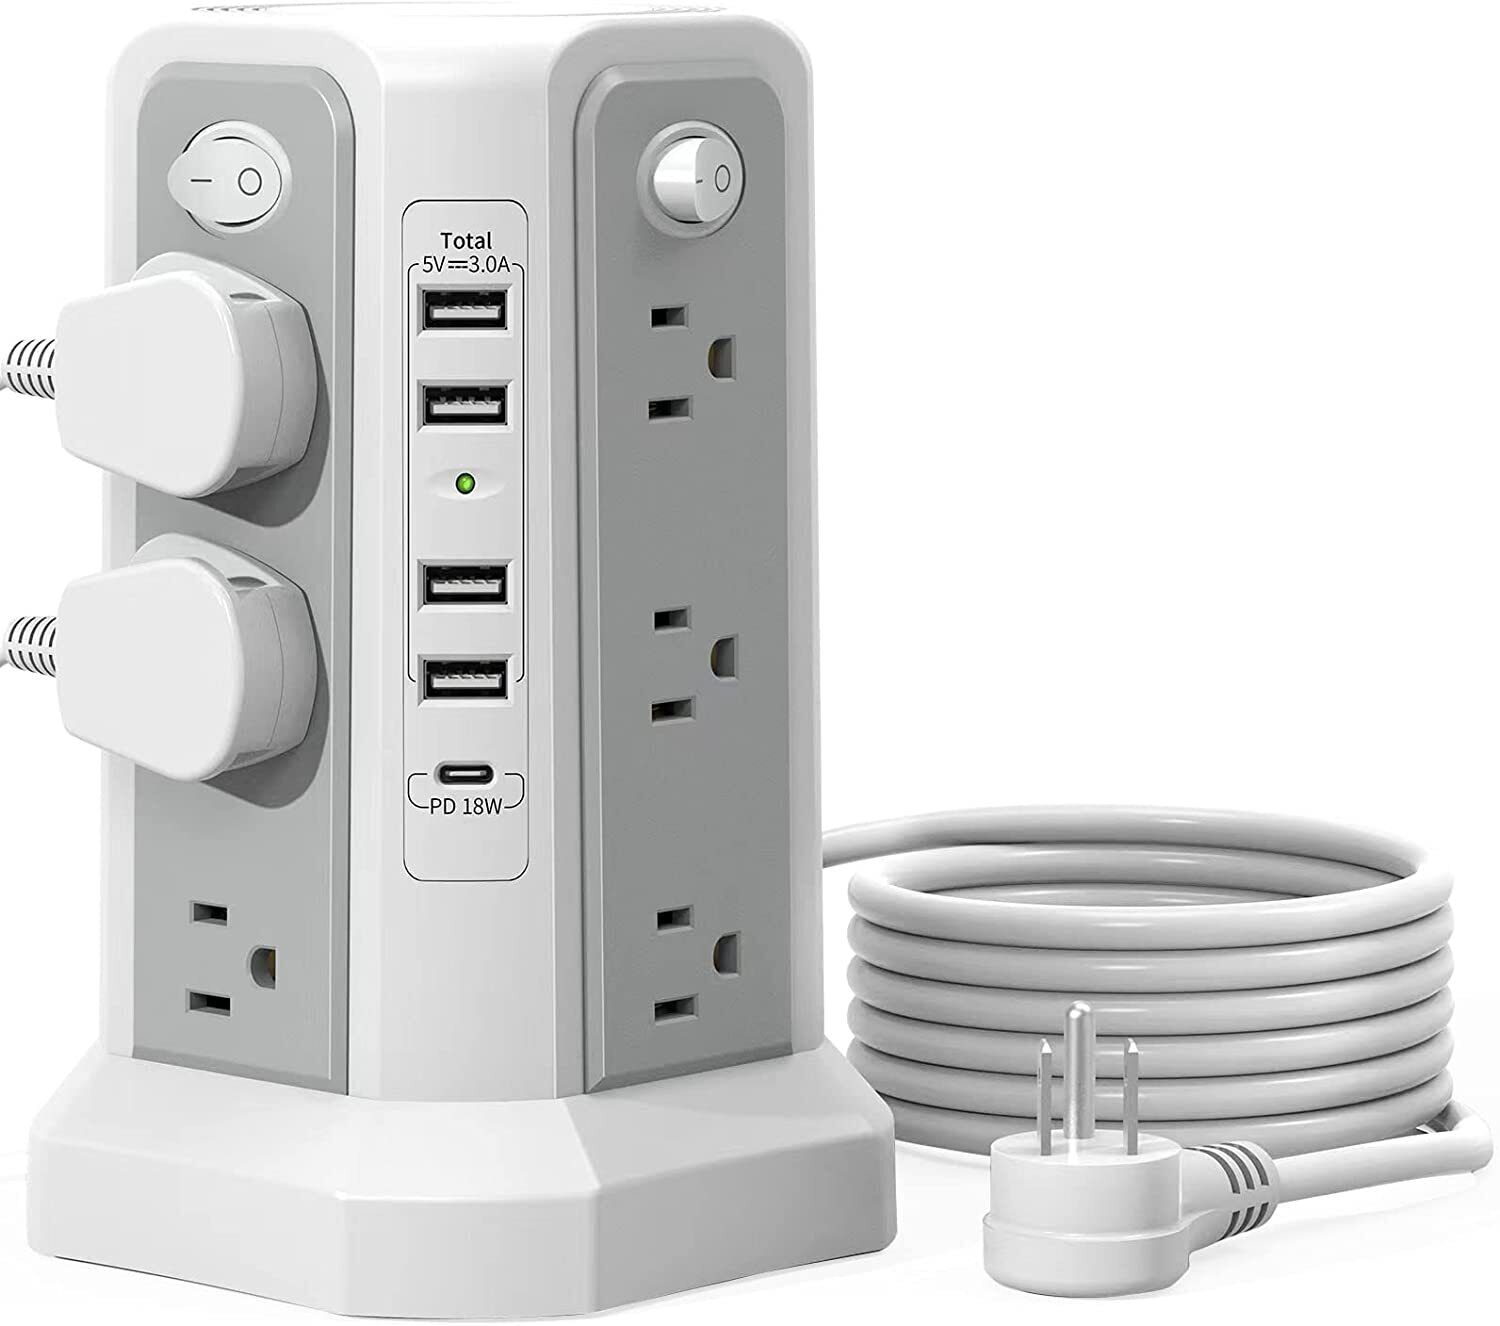
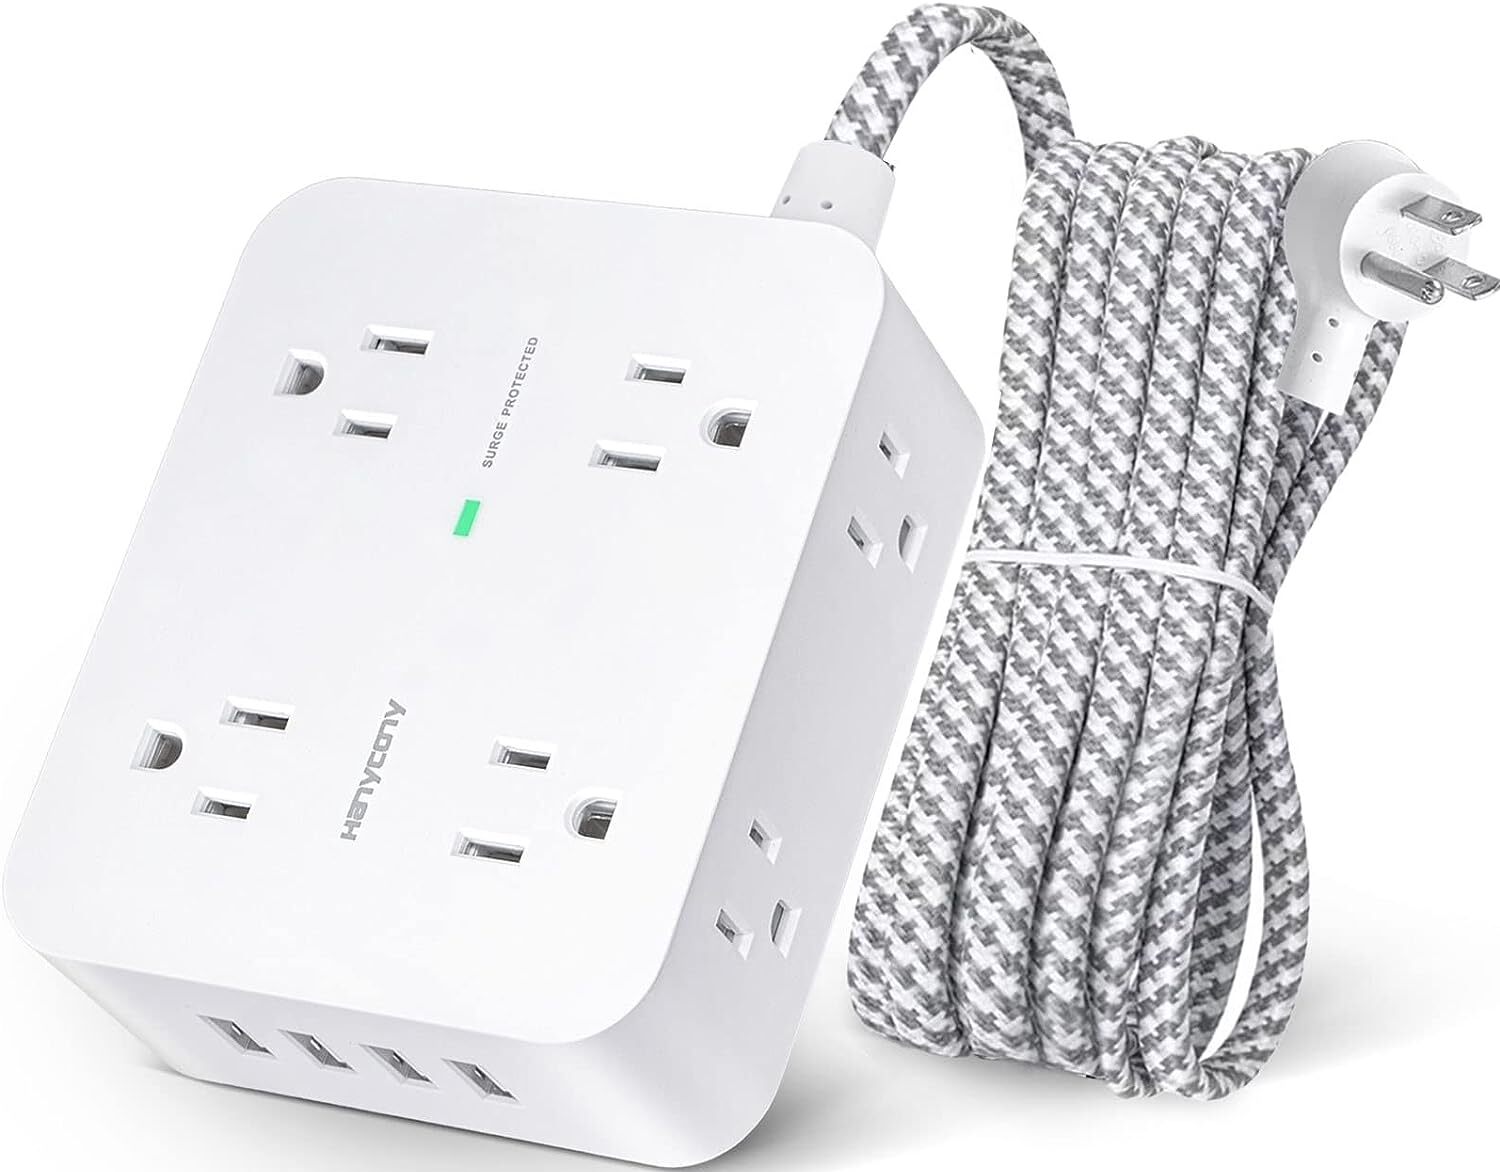
- Kasa Power Strip: Make sure you have the power strip that you want to reset.
- Power source: Ensure that the power strip is connected to a power source and receiving electricity.
- Internet connection: To complete the reset process and reconfigure the power strip, you’ll need a stable internet connection.
- Mobile device or computer: You’ll need a smartphone, tablet, or computer to access the Kasa app or web interface and configure the power strip after the reset.
- Internet browser or Kasa app: Depending on your preference, you can choose to use either an internet browser or the Kasa app to configure the power strip.
Once you have gathered these tools, you’re ready to move on to the next step of the reset process.
Step 2: Locate the reset button
The next step in resetting your Kasa Power Strip is to locate the reset button. The reset button is a small, usually recessed button that is designed to be pressed using a pointed object like a paperclip or a pen tip.
The location of the reset button may vary slightly depending on the specific model of your Kasa Power Strip, but it is typically found on the back or bottom of the device. Look for a small hole or a labeled button that indicates “Reset.”
Take a moment to carefully examine the power strip and locate the reset button. Once you have found it, you’re ready to proceed to the next step.
It’s essential to note that different models of the Kasa Power Strip may have different reset button locations or methods. If you’re having trouble finding the reset button on your specific device, consult the user manual or the manufacturer’s website for detailed instructions.
Step 3: Press and hold the reset button
Now that you have located the reset button on your Kasa Power Strip, it’s time to proceed with the reset process. Follow these instructions to press and hold the reset button:
- Use a pointed object like a paperclip or a pen tip.
- Insert the pointed object into the reset button hole or press the labeled reset button.
- Apply gentle and steady pressure to press and hold the reset button.
- Continue holding the reset button for about 5 to 10 seconds.
While pressing and holding the reset button, you may feel a slight resistance or hear a click. This is normal and indicates that the reset process is initiated.
It’s important to ensure that you press and hold the reset button for the specified duration to trigger the reset process successfully. Holding it for too short or too long may not yield the desired results.
Once you have held the reset button for the required amount of time, you can proceed to the next step of the reset process.
To reset a Kasa power strip, unplug it from the power source, wait for 10 seconds, then plug it back in. This will reset the power strip and can help resolve any issues.
Step 4: Wait for the LED indicators to flash
After pressing and holding the reset button on your Kasa Power Strip, you’ll need to wait for the LED indicators on the device to flash. These LED indicators are typically located on the front or top of the power strip and provide visual feedback during the reset process.
During this step, it’s crucial to be patient and allow the power strip sufficient time to complete the reset. The LED indicators will give you a signal when the reset process is in progress and when it is finished.
Here is what you can expect during this step:
- Upon pressing and holding the reset button, the LED indicators will start flashing.
- The flashing may vary in pattern and duration but usually lasts for around 10 to 20 seconds.
- As the reset completes, the LED indicators may stop flashing or change to a steady solid light.
It’s important to avoid interrupting the reset process by releasing the reset button or disconnecting the power strip during this step. Allow the power strip to complete the resetting procedure fully.
Once the LED indicators have stopped flashing or have transitioned to a steady solid light, you can move on to the next step in the reset process.
Read more: How To Reset APC Smart Surge Protector
Step 5: Release the reset button
Now that the LED indicators on your Kasa Power Strip have stopped flashing or have transitioned to a steady solid light, it’s time to release the reset button. Follow these instructions to release the reset button:
- Gently remove the pointed object that you used to press and hold the reset button.
- Take care not to accidentally press the reset button again while removing the object.
- Ensure that the reset button is no longer being pressed or held down.
Releasing the reset button indicates that the reset process has been successfully completed, and the power strip is now ready for configuration.
Keep in mind that if the reset button was not released properly, the power strip might not be reset, and you may need to repeat the previous steps.
With the reset button released, you can proceed to the next step and begin configuring your Kasa Power Strip anew.
Step 6: Configure the power strip
After successfully resetting your Kasa Power Strip, it’s time to configure it to your specific needs and preferences. Follow these instructions to configure the power strip:
- Ensure that the power strip is still connected to a power source and turned on.
- Connect your mobile device or computer to the same Wi-Fi network that you want the power strip to be connected to.
- If you haven’t done so already, download and install the Kasa app on your mobile device from the App Store or Google Play Store. Alternatively, you can access the Kasa web interface through a compatible internet browser on your computer.
- Open the Kasa app or the web interface and log in using your TP-Link account credentials. If you don’t have an account, you can create one for free.
- Follow the on-screen instructions to add a new device to your Kasa app or web interface.
- Select the Kasa Power Strip from the available devices and follow the prompts to complete the setup process.
- During the setup, you may be asked to provide the Wi-Fi network credentials for the power strip to connect to your home network.
- Once the setup is complete, you can customize the settings and preferences for your power strip within the Kasa app or web interface.
By configuring the power strip, you can set timers, create schedules, monitor energy usage, and control the connected devices from anywhere using your smartphone or computer.
Remember to save any desired settings and configurations within the Kasa app or web interface to avoid losing them in case of future reset or power loss.
With the power strip successfully reset and configured, you can now enjoy the convenience and control it offers for your connected devices.
Conclusion
Resetting your Kasa Power Strip can be a useful troubleshooting step when encountering issues or if you simply want to start fresh with the device. By following the step-by-step guide outlined in this article, you can easily reset your power strip and configure it according to your preferences.
Remember to gather the necessary tools before starting the reset process and locate the reset button on your specific model of the Kasa Power Strip. Press and hold the reset button until the LED indicators flash, and then release the button. Finally, configure the power strip using the Kasa app or web interface to personalize it to your needs.
Keep in mind that resetting the power strip will erase all current settings, so make sure to save any desired configurations beforehand. Additionally, consult the user manual or the manufacturer’s website if you need specific instructions for your model.
With your Kasa Power Strip successfully reset and configured, you can once again enjoy uninterrupted power and control over your connected devices. Whether it’s scheduling, energy monitoring, or remote control, the power strip offers convenience and flexibility for your daily routines.
Don’t hesitate to reach out to the TP-Link support team if you encounter any difficulties or have further questions about your Kasa Power Strip. They are there to assist you with any concerns and to ensure a seamless experience with your device.
Now, you’re ready to reset your Kasa Power Strip and get it back up and running like new. Enjoy the enhanced functionality and convenience that the power strip brings to your home or office!
Now that you've mastered resetting your Kasa Power Strip, why not dive deeper into smart home technology? Upgrading your living space with the latest in smart devices offers convenience and efficiency. For insights on essential gadgets that make life easier, check out our article on essential smart devices for your home. If you're curious about taking home automation to the next level, our guide on the best home automation systems for the upcoming year is perfect for you. Both articles are packed with useful tips and recommendations to ensure your home stays connected and cutting-edge.
Frequently Asked Questions about How To Reset Kasa Power Strip
Was this page helpful?
At Storables.com, we guarantee accurate and reliable information. Our content, validated by Expert Board Contributors, is crafted following stringent Editorial Policies. We're committed to providing you with well-researched, expert-backed insights for all your informational needs.


0 thoughts on “How To Reset Kasa Power Strip”