Articles
How To Mount A Power Strip Under A Desk
Modified: May 6, 2024
Learn how to mount a power strip under your desk with this helpful article. Stay organized and save space with these simple steps.
(Many of the links in this article redirect to a specific reviewed product. Your purchase of these products through affiliate links helps to generate commission for Storables.com, at no extra cost. Learn more)
Introduction
Having a clutter-free workspace is important for productivity and organization. One common source of desk clutter is the tangle of cables from various electronic devices. A power strip can be a useful tool to manage these cables and provide easily accessible power outlets. However, simply placing a power strip on the desk can still contribute to a messy appearance.
An effective solution is to mount the power strip under the desk. This not only keeps it out of sight but also maximizes desk space and provides a clean and organized look. In this article, we will guide you through the steps of how to mount a power strip under a desk.
Before we get started, you will need some tools and materials to complete the installation:
Key Takeaways:
- Mounting a power strip under your desk is a practical solution for managing cables, maximizing space, and creating a clean, organized workspace. It contributes to better productivity and functionality, allowing easy access to power outlets without dealing with tangled cables.
- By following the step-by-step guide provided in this article, you can successfully mount a power strip and achieve a clutter-free environment. Enjoy the benefits of a neatly organized setup, free from cable clutter and with easy access to power outlets for all your devices!
Read also: 11 Amazing Power Strip For Desk for 2025
Tools and Materials Needed
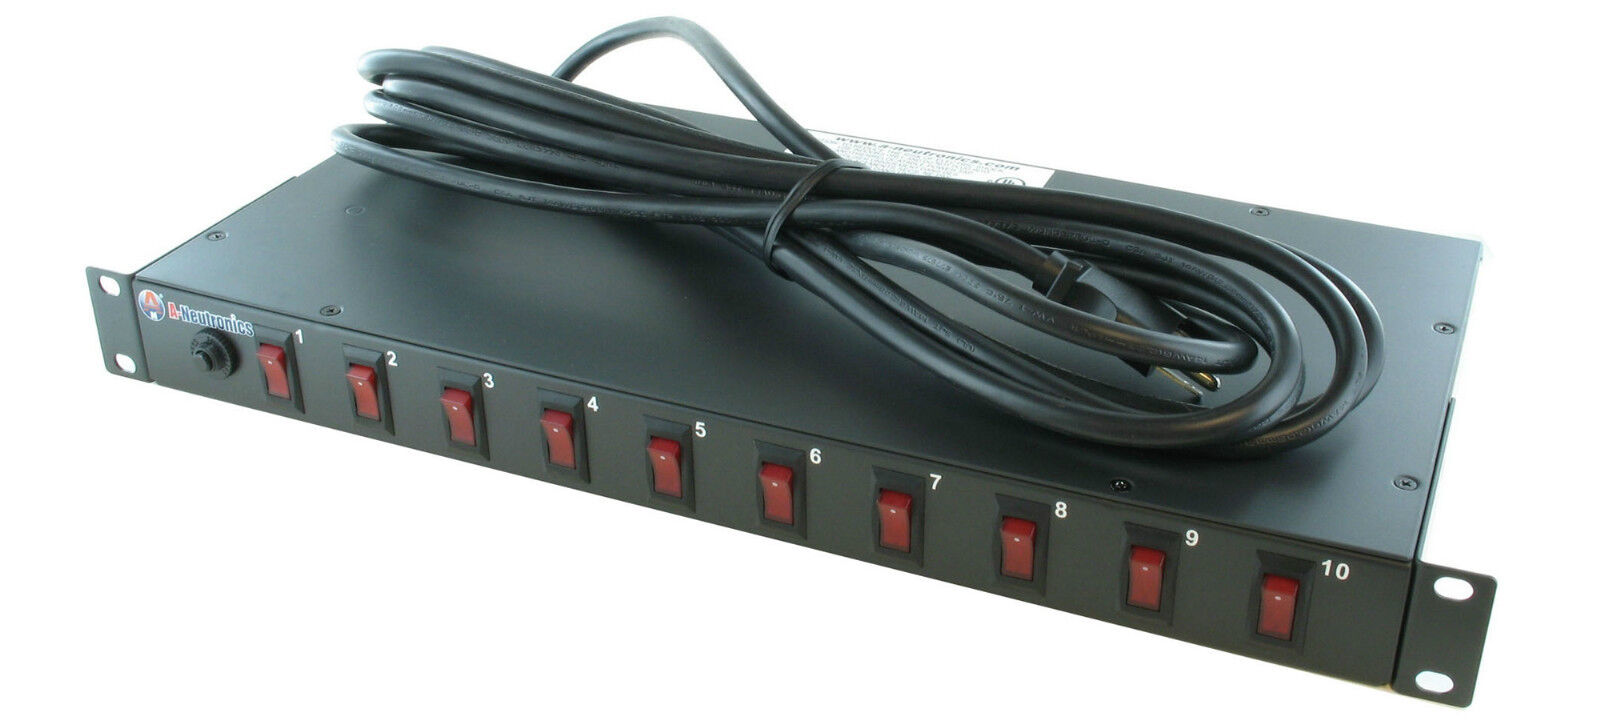
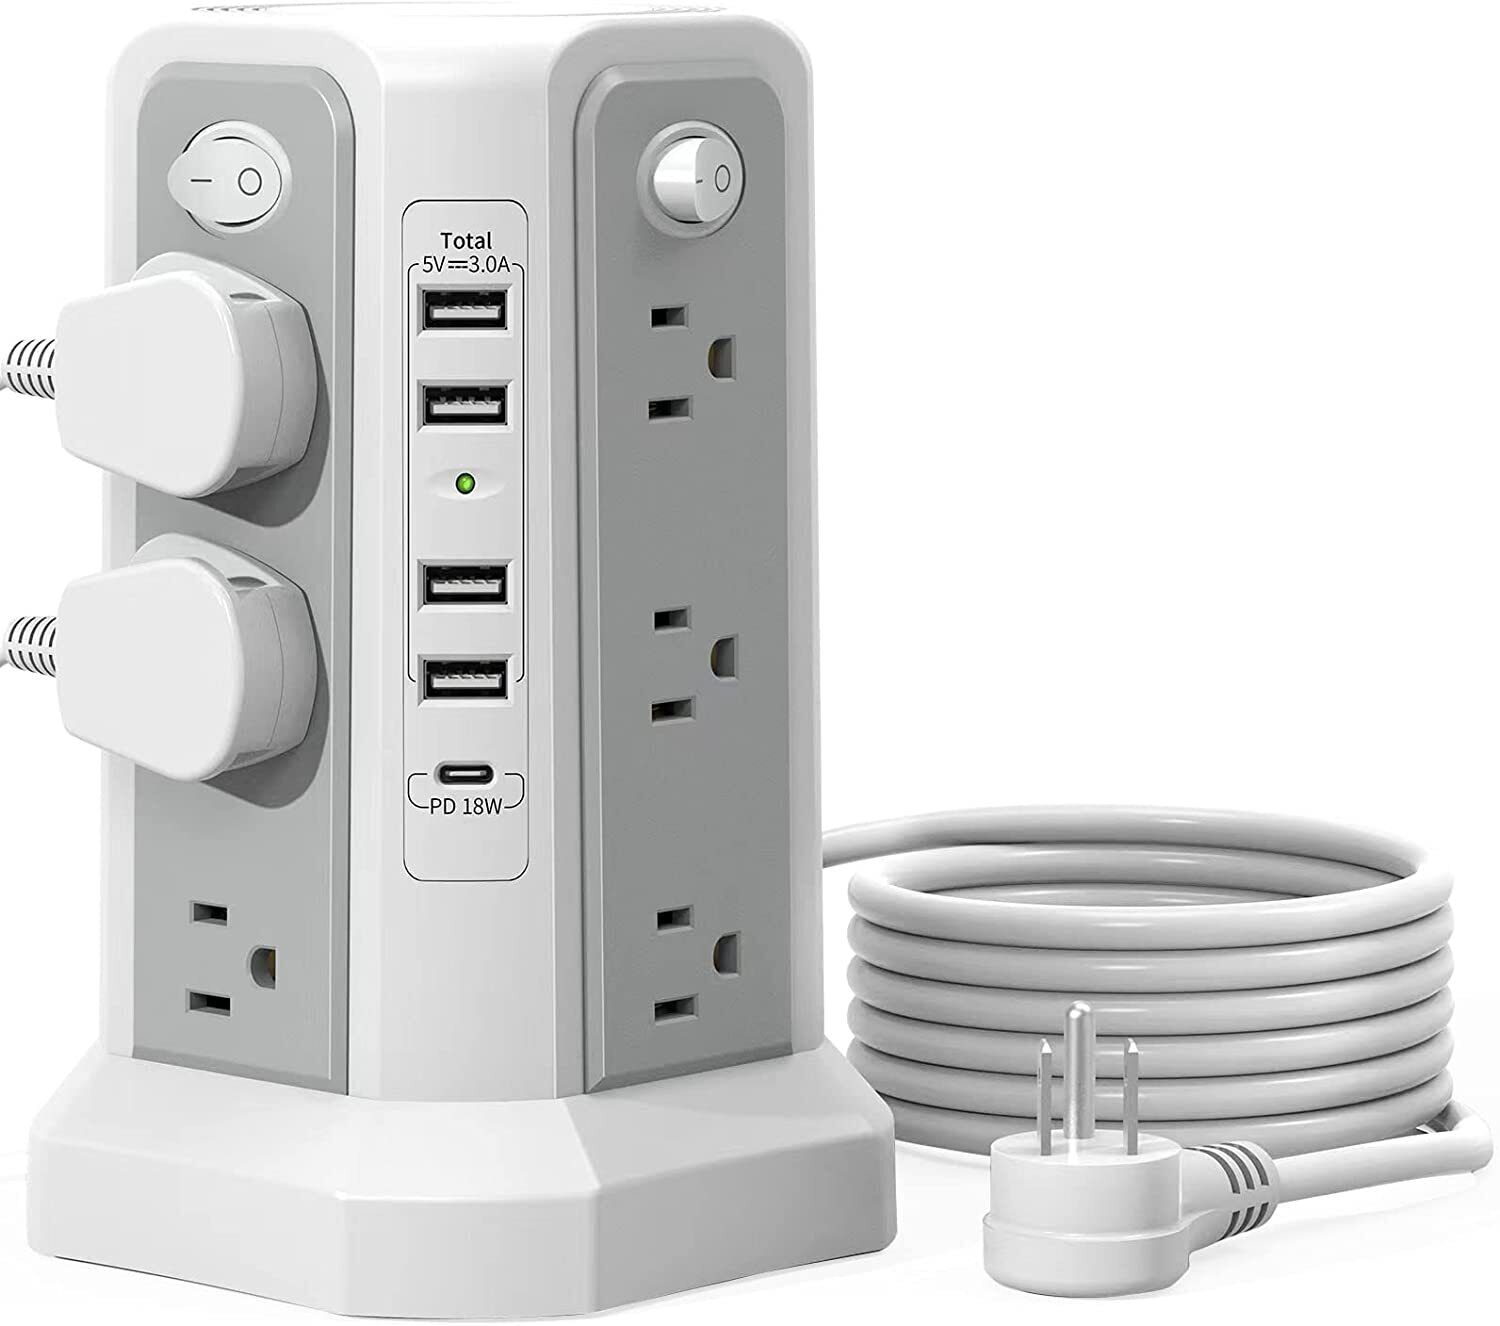
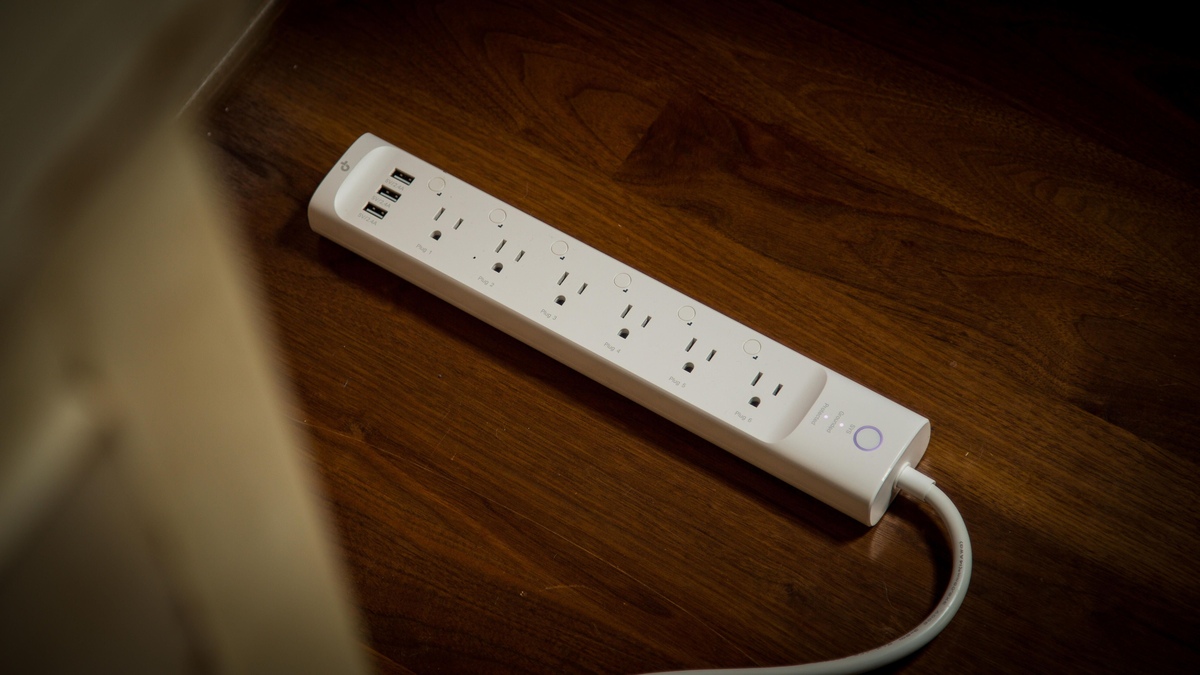
- Power strip
- Power strip bracket or mounting clips
- Measuring tape
- Pencil
- Drill and drill bits
- Screws
- Screwdriver
- Cable ties or cable management clips
Once you have gathered all the necessary tools and materials, you can proceed with mounting the power strip under your desk. Let’s move on to the first step.
Key Takeaways:
- Mounting a power strip under your desk is a practical solution for managing cables, maximizing space, and creating a clean, organized workspace. It contributes to better productivity and functionality, allowing easy access to power outlets without dealing with tangled cables.
- By following the step-by-step guide provided in this article, you can successfully mount a power strip and achieve a clutter-free environment. Enjoy the benefits of a neatly organized setup, free from cable clutter and with easy access to power outlets for all your devices!
Read also: 11 Amazing Power Strip For Desk for 2025
Tools and Materials Needed
Before you begin the process of mounting a power strip under your desk, it’s important to gather all the necessary tools and materials. Having everything prepared beforehand will ensure a smooth and efficient installation process. Here’s a list of what you’ll need:
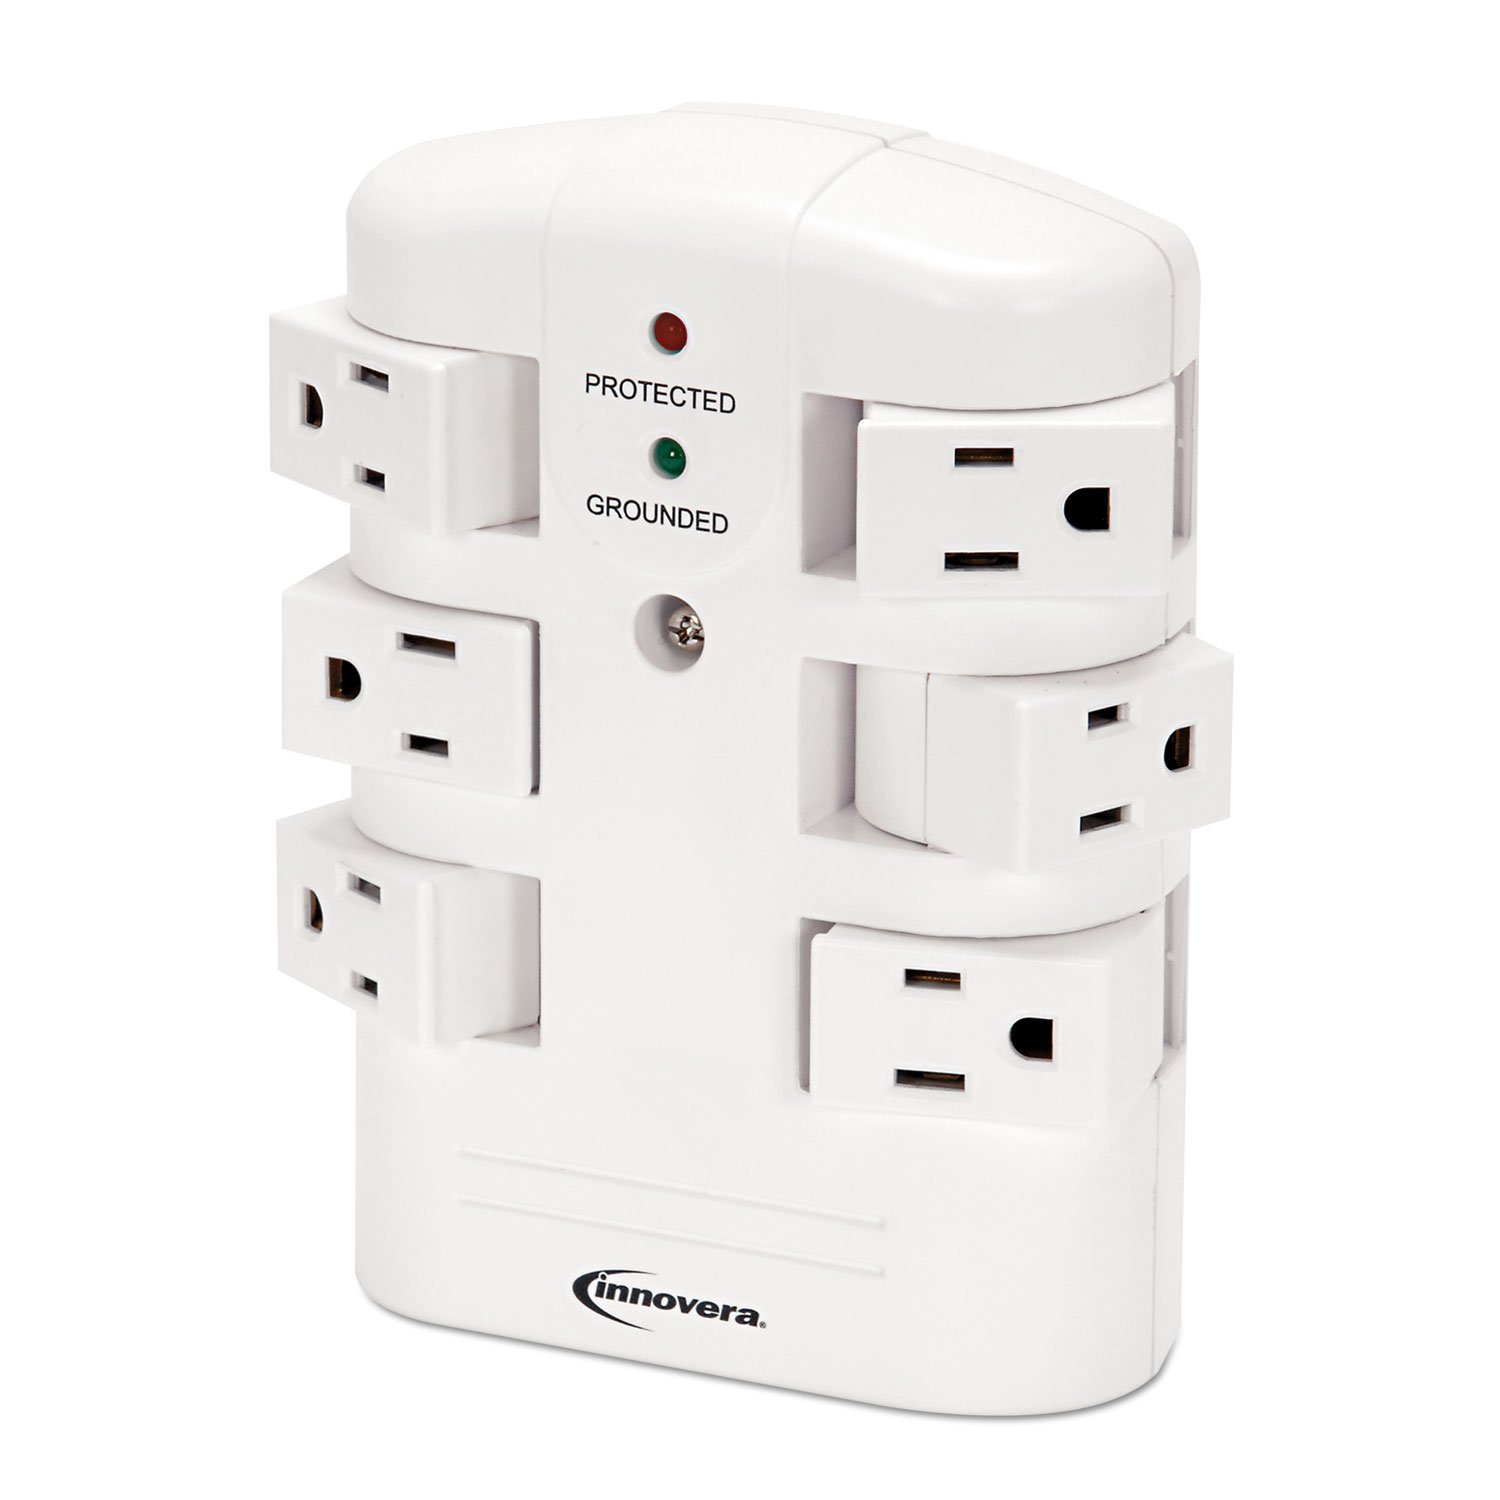
- Power strip: Choose a power strip that suits your needs and has enough outlets to accommodate your devices. Make sure it has a cord long enough to reach an electrical outlet.
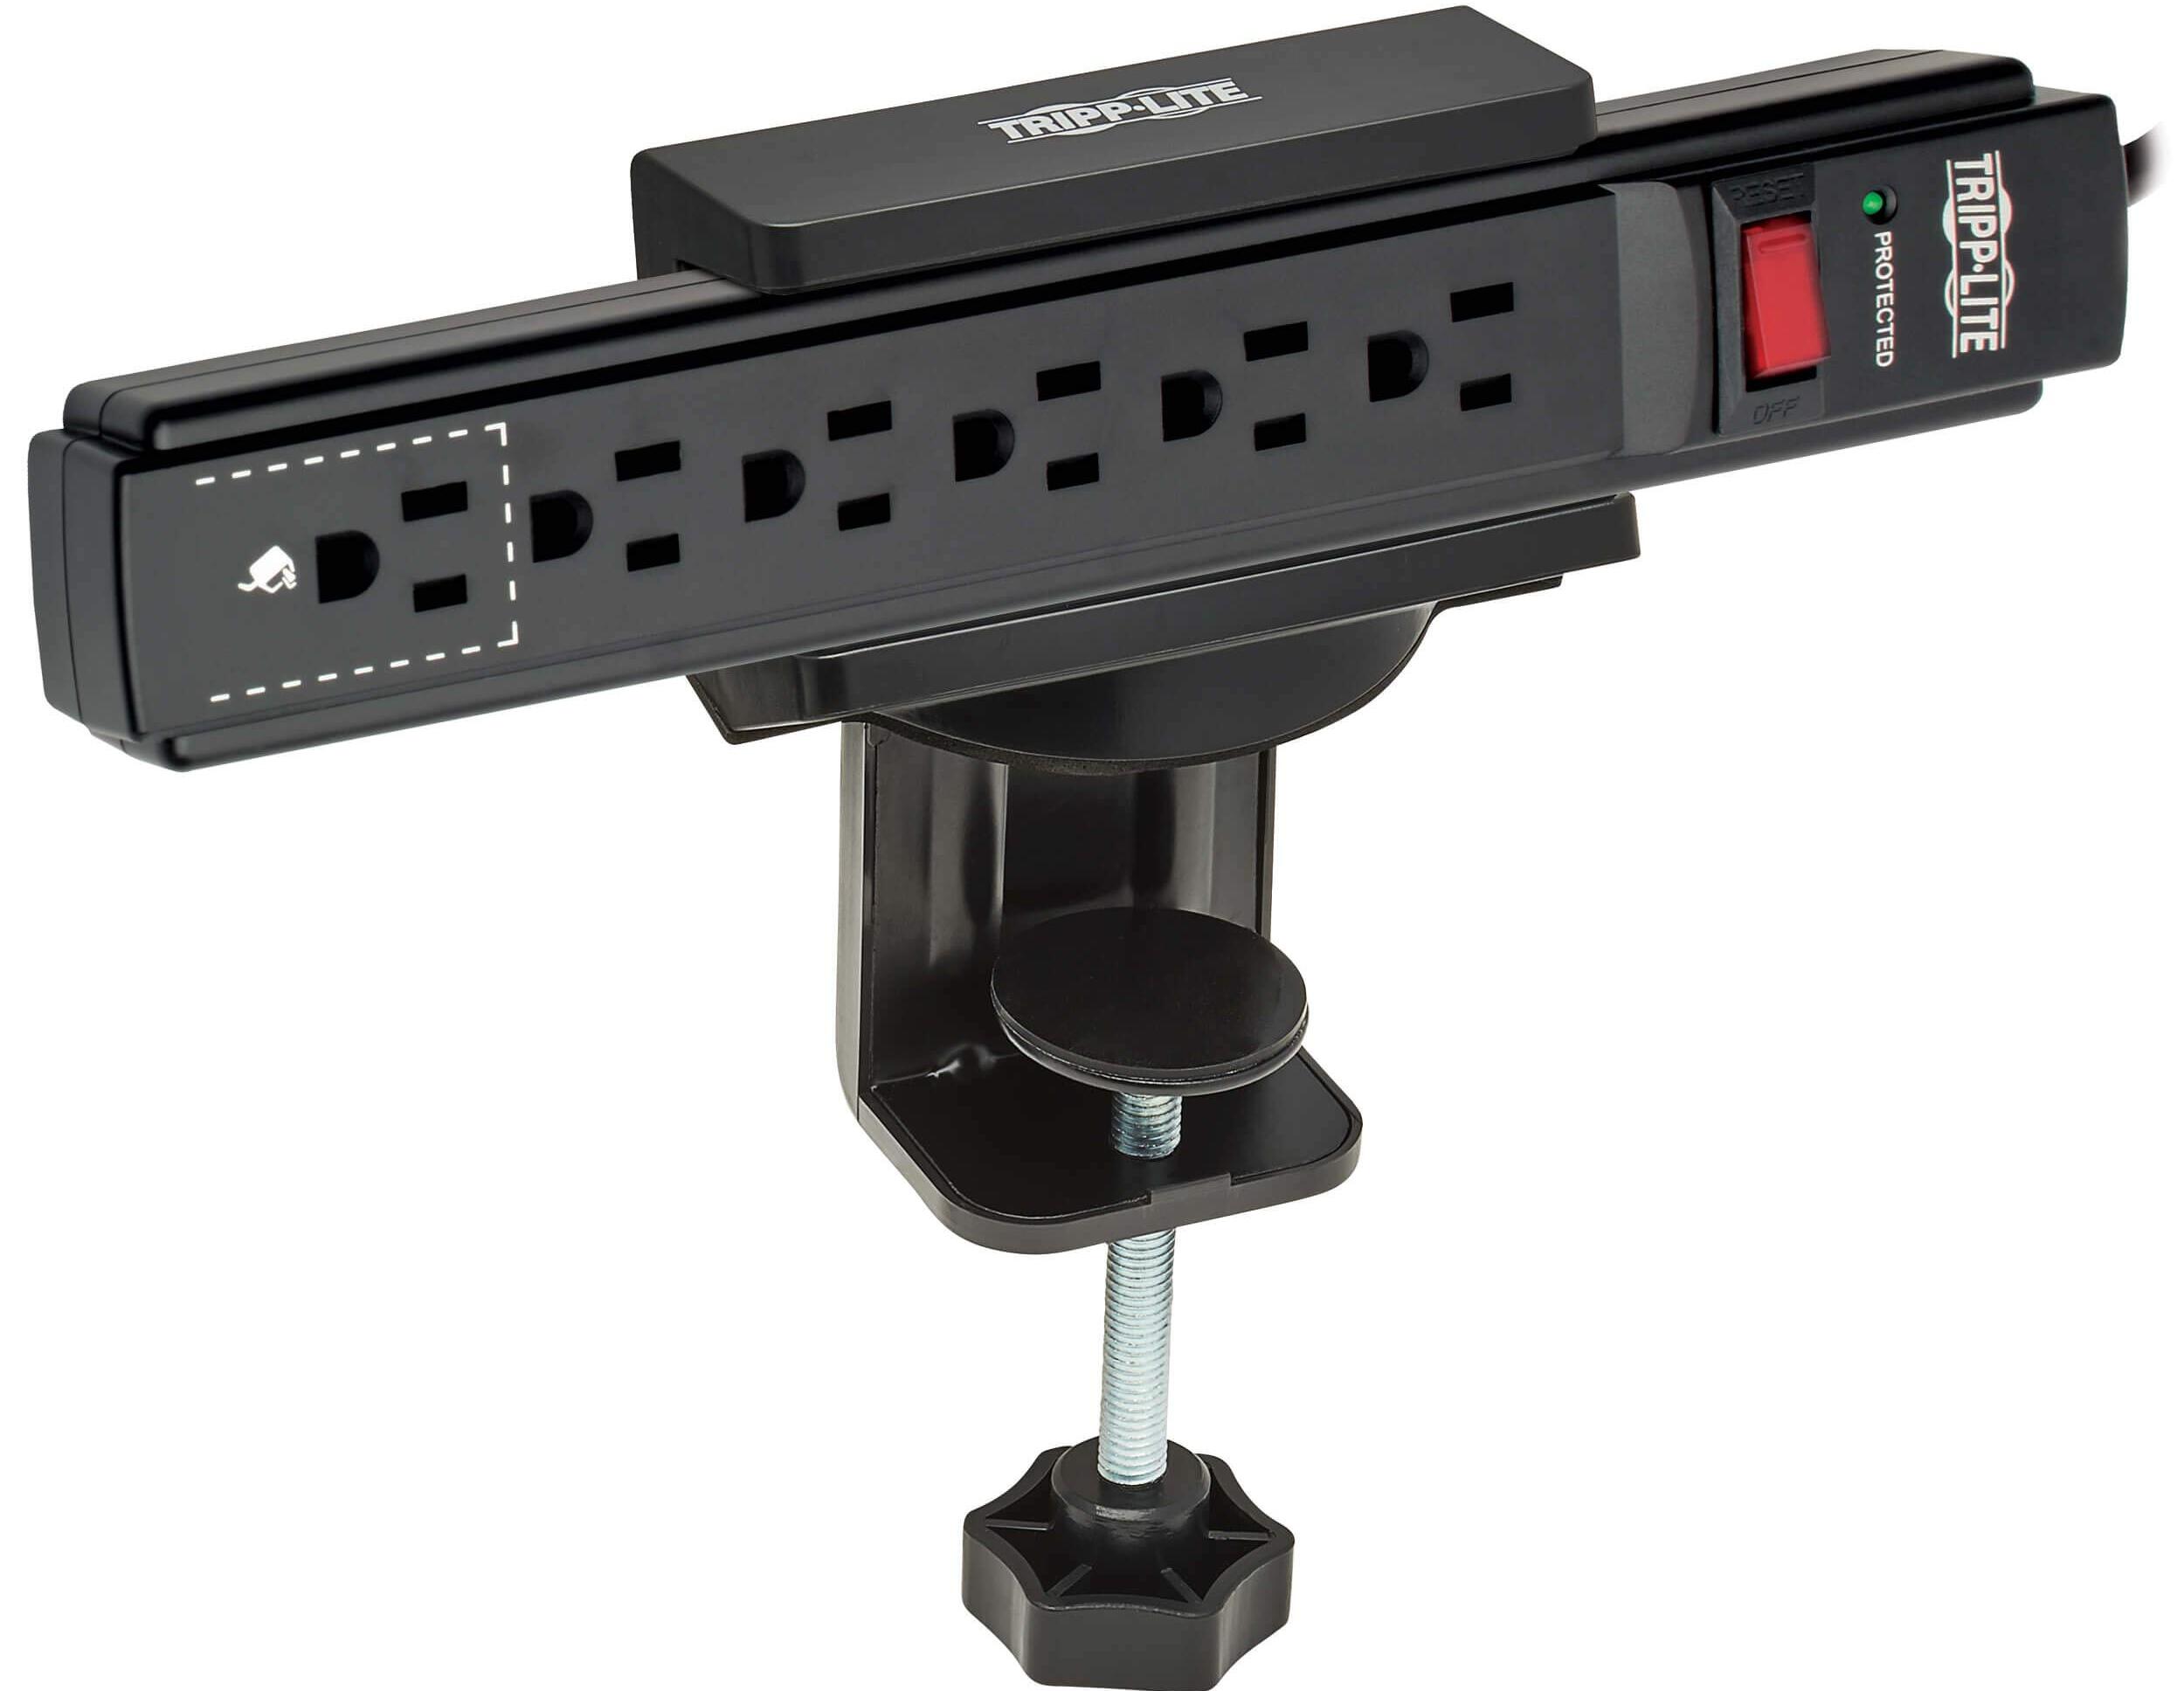
- Power strip bracket or mounting clips: You will need a bracket or mounting clips to securely attach the power strip to the underside of your desk. These can often be purchased separately or may come included with the power strip.
- Measuring tape: Use a measuring tape to measure the length and width of your power strip as well as the appropriate spacing for the mounting bracket or clips.
- Pencil: A pencil will come in handy for marking the positions of the mounting holes on the underside of your desk.
- Drill and drill bits: You’ll need a drill to create the necessary holes in the underside of your desk for mounting the bracket or clips. Make sure you have the appropriate drill bits for the size of the screws you’ll be using.
- Screws: Look for screws that are suitable for the thickness of your desk and the mounting bracket or clips. It’s recommended to use screws that are at least 1 inch long to ensure a secure attachment.
- Screwdriver: Depending on the type of screws you’re using, you may need a screwdriver or a drill with a screwdriver bit for tightening them.
- Cable ties or cable management clips: To keep your cables organized and prevent them from tangling, you can use cable ties or cable management clips. These will help you achieve a clean and tidy look.
By gathering these tools and materials before you start, you’ll have everything you need to successfully mount a power strip under your desk. Once you have them at hand, you can move on to the next step – measuring and planning the installation.
Step 1: Measure and Plan
The first step in mounting a power strip under your desk is to measure the appropriate placement and plan out the installation. Taking the time to measure and plan will ensure that your power strip is mounted in a convenient and accessible location.
Here’s how you can proceed with this step:
- Identify the ideal location: Consider where you want to mount the power strip. It should be easily accessible but not obstruct your leg space or interfere with any other components of your desk setup.
- Measure the length and width of the power strip: Use a measuring tape to measure the dimensions of your power strip. This will help you determine the spacing required for the mounting bracket or clips.
- Determine the mounting bracket or clip placement: Some power strips come with pre-drilled holes for mounting brackets. If this is the case, align the bracket holes with the holes on the power strip. If you’re using mounting clips, measure and mark the appropriate spacing on the underside of your desk.
- Mark the mounting hole positions: With a pencil, mark the positions for the mounting holes on the underside of your desk. Make sure the marks are accurate and visible.
By measuring and planning ahead, you can ensure that the power strip is mounted in the most convenient and functional location. This will make it easier to access the power outlets and manage the cables effectively. Once you have marked the mounting hole positions, you can move on to the next step – preparing the necessary holes.
Step 2: Prepare Necessary Holes
Once you have measured and planned the placement of your power strip, the next step is to prepare the necessary holes in the underside of your desk. These holes will allow you to securely mount the power strip bracket or clips.
Here’s how you can proceed with this step:
- Double-check your measurements: Before drilling any holes, double-check your measurements to ensure accuracy. Make sure the marked positions align with the intended placement of the power strip bracket or clips.
- Select the appropriate drill bit: Choose a drill bit that matches the size of the screws you’ll be using. It’s recommended to use a bit slightly smaller than the diameter of the screws to create a snug fit.
- Secure your desk: To ensure stability during the drilling process, make sure your desk is securely positioned. If necessary, use clamps or have someone assist you in holding the desk steady.
- Drill the mounting holes: Carefully drill the marked positions on the underside of your desk. Start with a slow speed and gradually increase as you go deeper into the wood. Be mindful of the depth to avoid drilling too far.
- Clean up the drilled holes: Once you have drilled the necessary holes, use a brush or cloth to remove any wood debris or dust from the holes. This will ensure a clean and precise installation.
By preparing the necessary holes, you’re one step closer to mounting the power strip under your desk. The holes will provide a secure attachment point for the bracket or clips, and ensure the stability of the power strip. Now that you have prepared the holes, you can move on to the next step – mounting the power strip bracket.
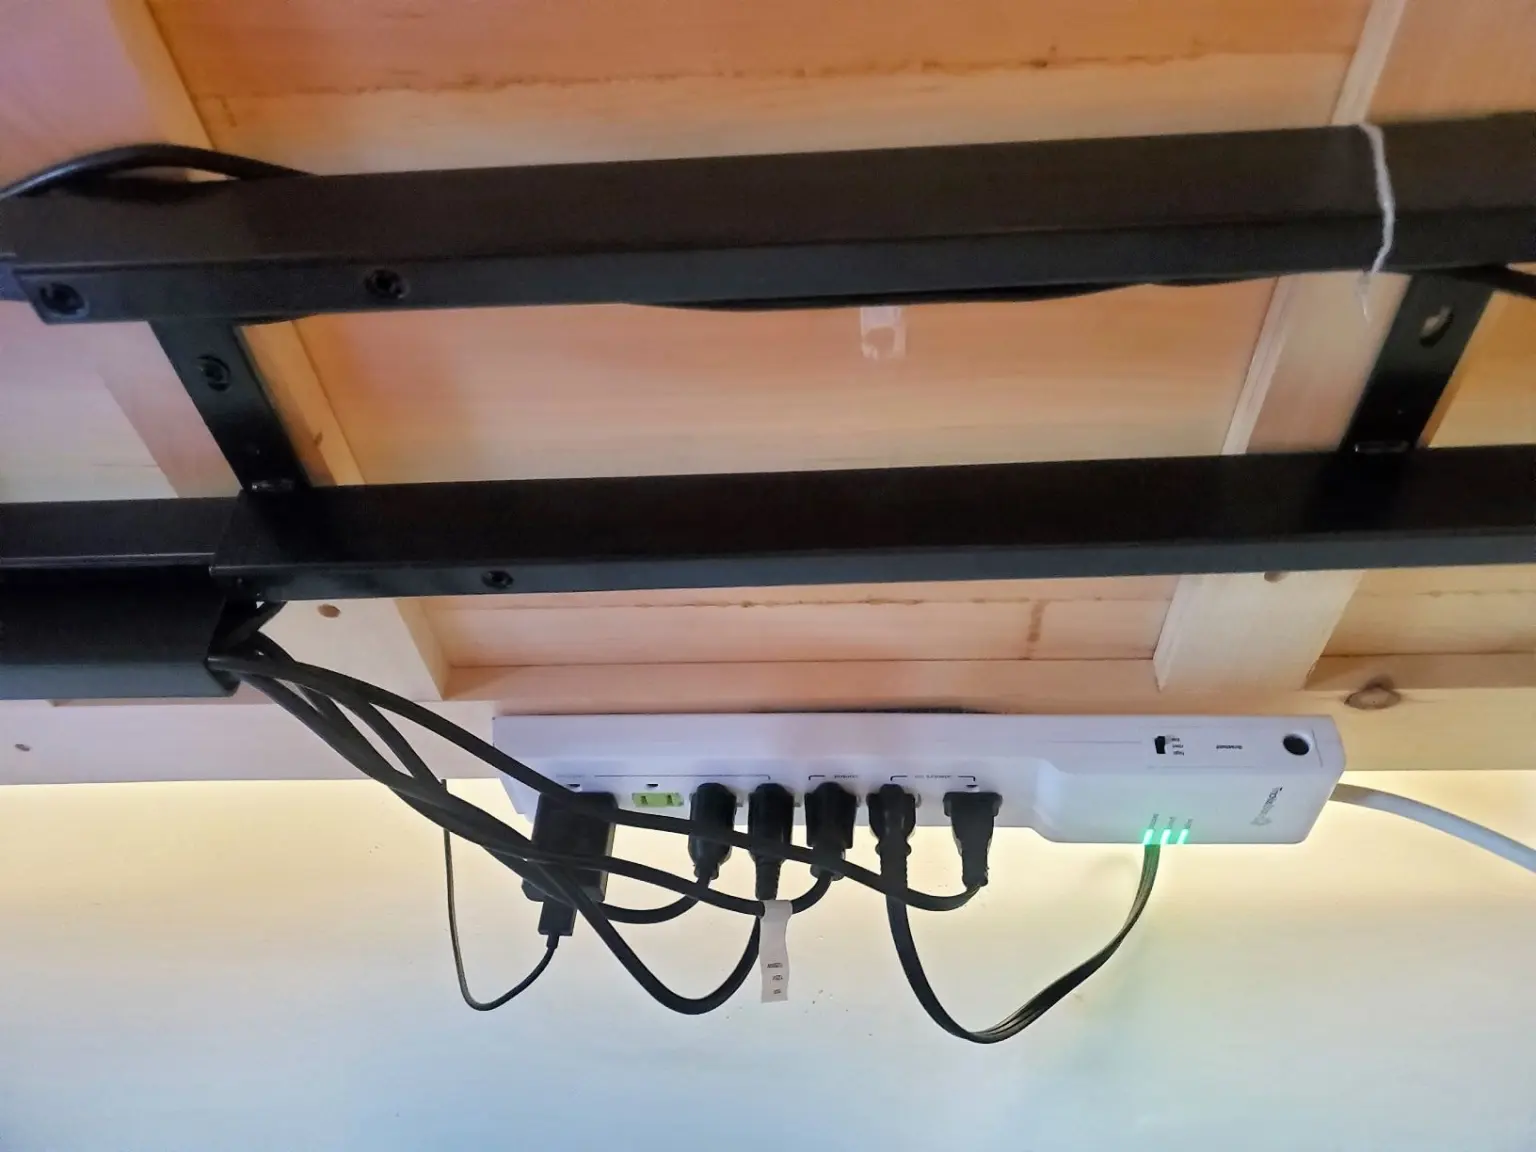
When mounting a power strip under a desk, use adhesive strips or cable clips to secure it in place. Make sure to leave enough slack in the power cord for easy access.
Read more: What Size Screws To Mount Power Strip
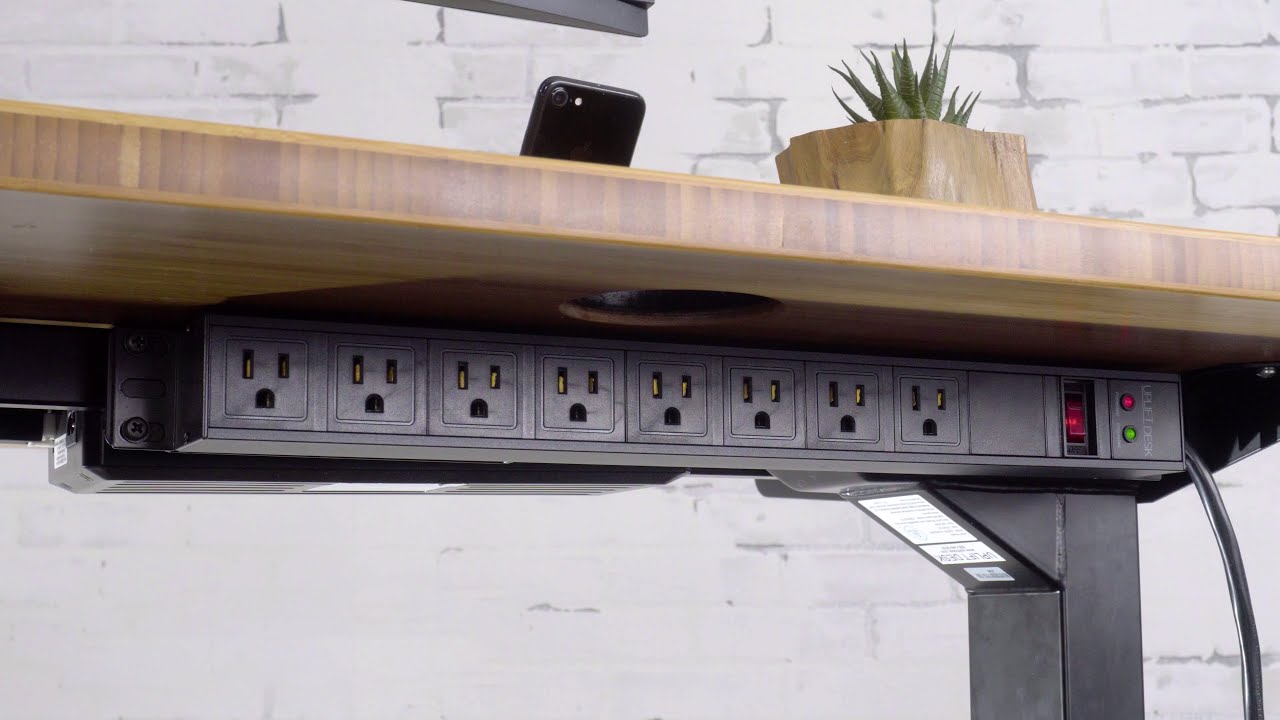
Step 3: Mount the Power Strip Bracket
With the necessary holes prepared, it’s time to mount the power strip bracket onto the underside of your desk. The bracket will provide a secure and stable platform for attaching the power strip.
Follow these steps to mount the power strip bracket:
- Align the bracket with the holes: Place the power strip bracket over the drilled holes on the underside of your desk. Make sure the bracket is aligned properly and the holes on the bracket match up with the holes on the desk.
- Insert the screws: With the bracket in position, insert the screws through the bracket holes and into the drilled holes on the underside of the desk. Use a screwdriver or drill with a screwdriver bit to tighten the screws securely. Ensure that the bracket is firmly attached to the desk.
- Test the stability: Once the bracket is mounted, gently shake and test the stability. The bracket should be securely attached and not wobble or move when pressure is applied. If needed, tighten the screws further to ensure a stable mount.
Mounting the power strip bracket is a crucial step in the installation process. It provides a strong foundation for attaching the power strip and ensures that it remains in place even when multiple devices are plugged in. With the bracket securely attached, you can now proceed to the next step – securing the power strip onto the bracket.
Step 4: Secure the Power Strip
Now that you have successfully mounted the power strip bracket, it’s time to securely attach the power strip onto the bracket. This step ensures that the power strip is firmly held in place and prevents it from accidentally falling or sliding off.
Follow these steps to secure the power strip:
- Position the power strip on the bracket: Place the power strip onto the mounted bracket, making sure that it aligns with the holes or slots on the bracket. The power strip should rest securely on the bracket without any wobbling.
- Secure the power strip: Depending on the design of the bracket and power strip, there may be different methods of securing it. This can include using screws, clips, or latches. Refer to the manufacturer’s instructions for your specific power strip to determine the appropriate method.
- Ensure a snug fit: Once the power strip is secured, check for any loose connections or gaps between the power strip and the bracket. If necessary, adjust the mounting or use additional screws or clips to achieve a snug and secure fit.
- Test the stability: Give the power strip a gentle tug or shake to test its stability. It should remain firmly attached to the bracket without any movement. If you notice any looseness, tighten the screws or adjust the mounting to ensure a stable connection.
By securely attaching the power strip onto the bracket, you can rest assured that it will stay in place even with multiple devices plugged in. This step is essential for providing a neat and organized workspace, free from the hassle of a sliding power strip. Once the power strip is securely attached, you can proceed to the next step – organizing and tidying up the cables.
Step 5: Organize and Tidy Up Cables
With the power strip securely mounted under your desk, the final step is to organize and tidy up the cables connected to the power strip. This will help maintain a clean and clutter-free workspace, and also make it easier to access and manage your devices.
Follow these steps to organize and tidy up the cables:
- Unplug the devices: Start by unplugging all the devices connected to the power strip. This will allow you to work with the cables more easily.
- Arrange the cables: Take each cable and carefully arrange them in a neat and organized manner. You can use cable ties, cable management clips, or even twist ties to bundle and secure the cables together.
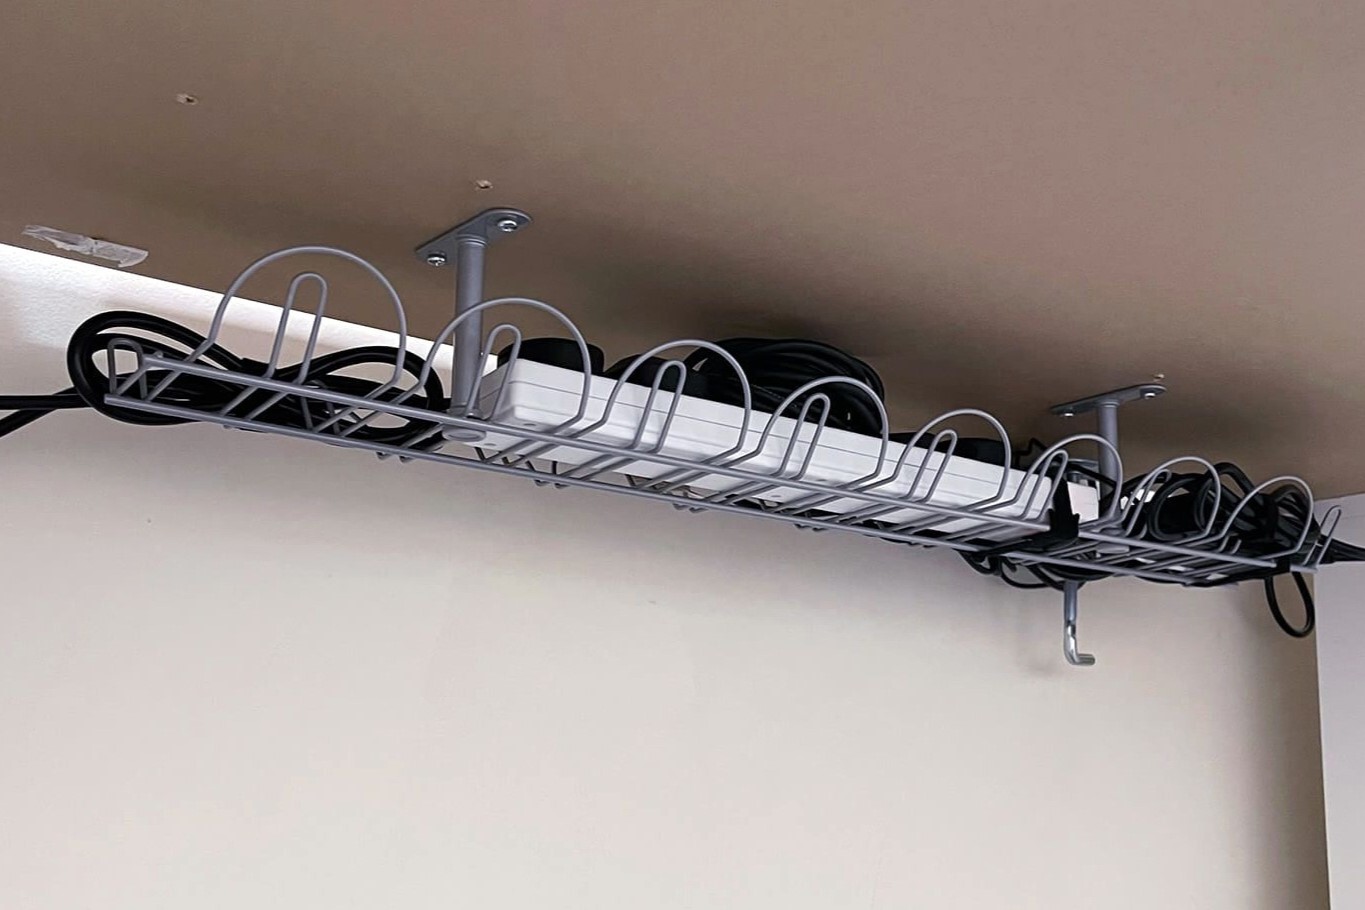
- Route the cables: Use cable management solutions, such as cable channels or cord sleeves, to route the cables along the underside of your desk. This will help keep them hidden and prevent them from tangling or getting in the way.
- Plug in the devices: Once the cables are organized and routed, plug in the devices back into the power strip. Ensure that each cable is connected securely and is not excessively strained or pulled.
- Adjust as needed: Take a moment to step back and observe the overall cable arrangement. If there are any cables that are still tangled or sticking out, make the necessary adjustments to achieve a clean and organized setup.
By organizing and tidying up the cables, you not only improve the aesthetics of your workspace but also make it easier to locate and manage your devices. Additionally, a well-organized cable setup can prevent accidents and minimize the risk of tripping over loose cables.
Congratulations! You’ve successfully mounted a power strip under your desk and organized your cables, creating a clean and efficient workspace. Enjoy the benefits of a clutter-free environment and easy access to power outlets for all your devices!
Remember to regularly check and maintain the cable organization to prevent any issues or complications in the future.
Wrap up your article with a concluding paragraph to summarize the key points and emphasize the overall importance of mounting a power strip under a desk.
Conclusion
Mounting a power strip under your desk is a practical and effective solution for managing cables and maximizing space on your workspace. By following the step-by-step guide provided in this article, you can successfully mount a power strip and achieve a clean and organized setup.
Starting with measuring and planning, you ensure that the power strip is located in a convenient and accessible spot. Preparing the necessary holes and mounting the power strip bracket securely onto the desk provide a stable foundation for the power strip. Securing the power strip onto the bracket ensures that it remains in place, even with multiple devices plugged in. Finally, organizing and tidying up the cables create a neat and clutter-free workspace.
The benefits of mounting a power strip under your desk go beyond appearance; it contributes to better productivity and functionality. You can easily access power outlets without having to search for them or deal with tangled cables. Plus, it frees up valuable desk space for other essentials.
Remember to regularly inspect the condition of the power strip and cables to maintain a safe working environment. Be mindful of cable management and ensure that the power strip is not overloaded with too many devices.
With a mounted power strip, you can enjoy a clean, organized, and efficient workspace. Say goodbye to cable clutter and enjoy the benefits of a neatly organized setup.
So why wait? Gather the necessary tools and materials, follow the steps outlined in this article, and start enjoying the benefits of a mounted power strip under your desk today!
Now that you've mastered mounting a power strip under your desk, why not take that knack for organization a step further? Our next guide covers office organization comprehensively, offering clever strategies and solutions to declutter your workspace effectively. Perfectly tailored for a productive 2024, this guide will transform your office into a model of efficiency and order. Don't miss out on creating a workspace that not only looks great but also boosts productivity.
Frequently Asked Questions about How To Mount A Power Strip Under A Desk
Was this page helpful?
At Storables.com, we guarantee accurate and reliable information. Our content, validated by Expert Board Contributors, is crafted following stringent Editorial Policies. We're committed to providing you with well-researched, expert-backed insights for all your informational needs.


0 thoughts on “How To Mount A Power Strip Under A Desk”