Articles
How To Store 12 Ft Skeleton
Modified: January 7, 2024
Learn how to properly store your 12 ft skeleton in this helpful article. Find tips and tricks for keeping it safe and protected until next Halloween.
(Many of the links in this article redirect to a specific reviewed product. Your purchase of these products through affiliate links helps to generate commission for Storables.com, at no extra cost. Learn more)
Introduction
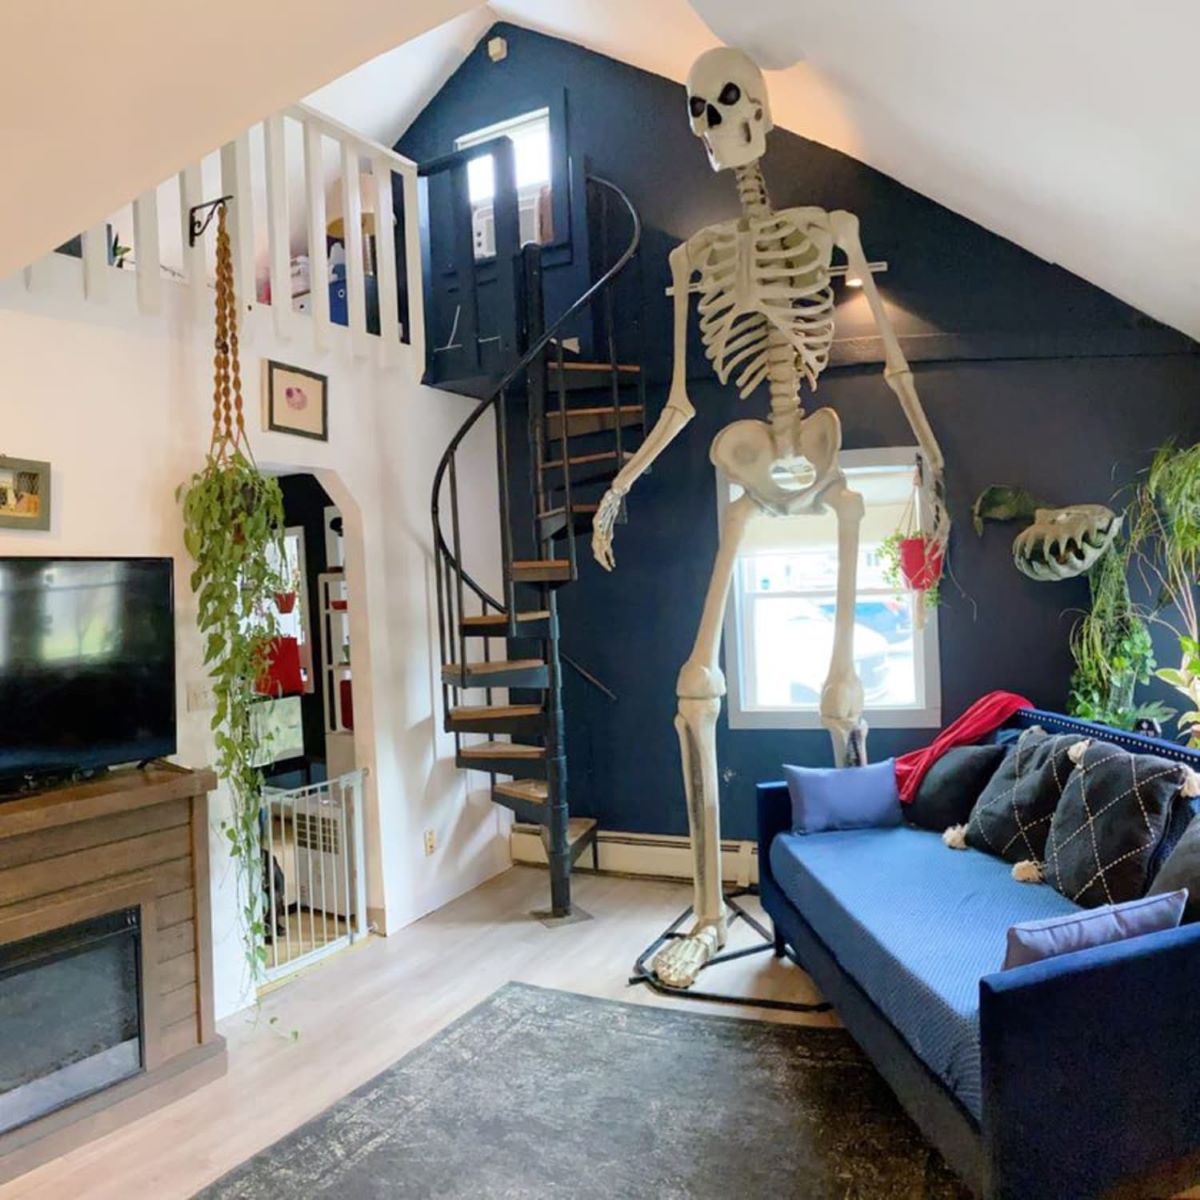
Welcome to the world of 12 ft skeletons! These towering and iconic Halloween decorations have taken the holiday season by storm, becoming a must-have item for many households. However, once the spooky festivities come to an end, the question arises: How do you store a 12 ft skeleton?
Proper storage is vital to ensure the longevity and preservation of your beloved 12 ft skeleton. With some careful planning and attention to detail, you can keep your skeleton in great shape and ready for the next Halloween season.
In this article, we will guide you through the process of storing your 12 ft skeleton effectively and safely. We will cover important safety precautions, choosing the right storage location, disassembling and cleaning the skeleton, proper wrapping and packaging techniques, storing in a dry area, organizing your storage space, protecting from extreme temperatures, and checking on the skeleton regularly.
So, let’s jump right in and discover how to store your 12 ft skeleton with ease!
Key Takeaways:
- Proper storage of a 12 ft skeleton is crucial for its preservation. Follow safety precautions, choose a suitable storage location, disassemble, clean, wrap, and store in a dry area to ensure its longevity.
- Regularly checking on the stored skeleton helps identify and address potential issues promptly, ensuring its condition is preserved for future use. Organize the storage space for easy access and maintenance.
Read more: How To Lock A Skeleton Key Door
Safety Precautions
Prior to embarking on the storage process, it is crucial to prioritize safety precautions. As you may imagine, handling a 12 ft skeleton requires some extra care due to its size and weight. Here are some safety tips to keep in mind:
- Enlist Help: 12 ft skeletons can be quite heavy and cumbersome to maneuver alone. Therefore, it is highly recommended to have a friend or family member assist you in the storage process. This will not only make the task easier but also reduce the risk of accidents or injuries.
- Use Proper Lifting Techniques: When lifting and carrying the skeleton, make sure to bend your knees and use your leg muscles instead of straining your back. Lift with your legs, keeping your back straight, and avoid any sudden or jerky movements.
- Protective Gear: Consider wearing gloves to protect your hands from any sharp edges or rough surfaces on the skeleton. If the skeleton has any movable parts, secure them with tape or other forms of temporary fixations to prevent accidental injuries.
- Clear Pathways: Prior to moving the skeleton, ensure that the intended pathway is clear of any obstacles or potential tripping hazards. This will help minimize the risk of accidents or damage to the skeleton.
- Secure the Area: If you are storing the skeleton in a shared space, such as a basement or storage unit, it is important to inform others of your activities to avoid any unexpected encounters or accidents. Additionally, ensure that the storage area is well-lit and free from any dangerous conditions.
By following these safety guidelines, you can ensure a smooth and secure storage process for your 12 ft skeleton. Now that we have covered the necessary precautions, let’s move on to choosing the right storage location!
Choosing a Storage Location
When it comes to storing your 12 ft skeleton, selecting the right storage location is crucial for its preservation. Here are some factors to consider when choosing a suitable storage area:
- Indoor vs. Outdoor: Ideally, it is best to store your 12 ft skeleton indoors to protect it from the elements. Exposure to rain, snow, or extreme temperatures can cause damage and deterioration over time. However, if indoor storage is not feasible, consider using a weatherproof cover or shelter to protect the skeleton in an outdoor setting.
- Space Availability: Assess the available space in your storage area to ensure it can accommodate the height and bulkiness of the 12 ft skeleton. Measure the dimensions of the skeleton and compare them to the available space to ensure a proper fit.
- Accessibility: Consider how easily you can access the storage area when you need to retrieve the skeleton. It is preferable to choose a location that offers easy access without obstacles or tight spaces. This will make it more convenient when it’s time to set up the skeleton again.
- Temperature and Humidity: Opt for a storage location that maintains relatively stable temperature and humidity levels. Extreme temperature fluctuations can cause the skeleton to expand or contract, potentially leading to damage. Try to avoid areas prone to high humidity, as it can promote the growth of mold or mildew.
- Safety and Security: Ensure that the storage location is secure and free from potential hazards. Choose a spot where the skeleton will be protected from accidental bumps, falls, or other physical damage. If storing in a shared space, consider using locks or other security measures to prevent unauthorized access.
Keeping these considerations in mind, evaluate the available options in your home, such as a basement, garage, or spare room, to find the best possible storage location for your 12 ft skeleton.
With the storage location sorted, the next step is to disassemble the skeleton properly. We will discuss this in detail in the next section.
Disassembling the Skeleton
Before storing your 12 ft skeleton, it is necessary to disassemble it properly. This will not only make it easier to pack and store but also help prevent any damage during the storage period. Here is a step-by-step guide on how to disassemble the skeleton:
- Remove Clothing and Accessories: Start by removing any clothing or accessories from the skeleton. This includes hats, capes, and any other decorative items. Set them aside in a safe place for storage.
- Detach the Limbs: Carefully detach the limbs from the main body of the skeleton. Most 12 ft skeletons come with joints or connectors that allow for easy disassembly. Follow the manufacturer’s instructions for removing the limbs to ensure you do it correctly.
- Separate the Spine: If the skeleton has a separate spine piece, detach it from the main body. Again, refer to the instructions provided by the manufacturer for proper disassembly.
- Remove the Skull: Gently remove the skull from the skeleton’s neck area. Take extra care to avoid any damage to the delicate features of the skull, such as the jaw or eye sockets.
- Label the Parts: To simplify the reassembly process in the future, label each disassembled part with a marker or sticky note. This will help you remember which limb or component goes where and save you time when setting up the skeleton again.
- Secure Loose Parts: If any parts of the skeleton are loose or detachable, such as hands or feet, secure them with tape or wrap them in bubble wrap to prevent them from getting lost or damaged during storage.
Following these steps will ensure a smooth and organized disassembly process for your 12 ft skeleton. Once the skeleton is disassembled, it’s time to move on to the next crucial step: cleaning and maintenance.
Cleaning and Maintenance
Before storing your 12 ft skeleton, it is essential to clean and maintain it properly. This will help remove any dirt, dust, or debris that may have accumulated during the Halloween season and ensure that it remains in good condition for future use. Here are some cleaning and maintenance steps to follow:
- Dust Off the Skeleton: Begin by gently dusting off the entire skeleton using a soft brush or cloth. Pay attention to all the nooks and crannies, including joints and crevices, to ensure thorough cleaning.
- Spot Clean Stains: If there are any noticeable stains or marks on the skeleton, use a mild detergent or soap solution and a soft cloth to spot clean the affected areas. Avoid using harsh chemicals or abrasive materials as they may cause damage.
- Check for Loose Parts: As you clean, inspect the skeleton for any loose or damaged parts. If you come across any, take the necessary steps to secure them or repair them before storing.
- Inspect Wiring and Lights: If your 12 ft skeleton has built-in lights or wiring, carefully examine them for any signs of damage or malfunction. Replace any burnt-out bulbs or faulty wiring to ensure proper functionality when you set up the skeleton again.
- Dry the Skeleton: Ensure that the skeleton is completely dry before packing it away. If any dampness remains, it can lead to mold or mildew growth, causing potential damage. Allow the skeleton to air dry in a well-ventilated area before moving on to the next step.
- Apply a Protective Sealant: For added protection, consider applying a light coat of clear sealant to the skeleton. This can help safeguard it against dust, moisture, and other environmental factors that may affect its condition while in storage.
By following these cleaning and maintenance steps, you can ensure that your 12 ft skeleton remains in pristine condition during its time in storage. Once cleaned, it’s time to move on to the next phase: wrapping and packaging.
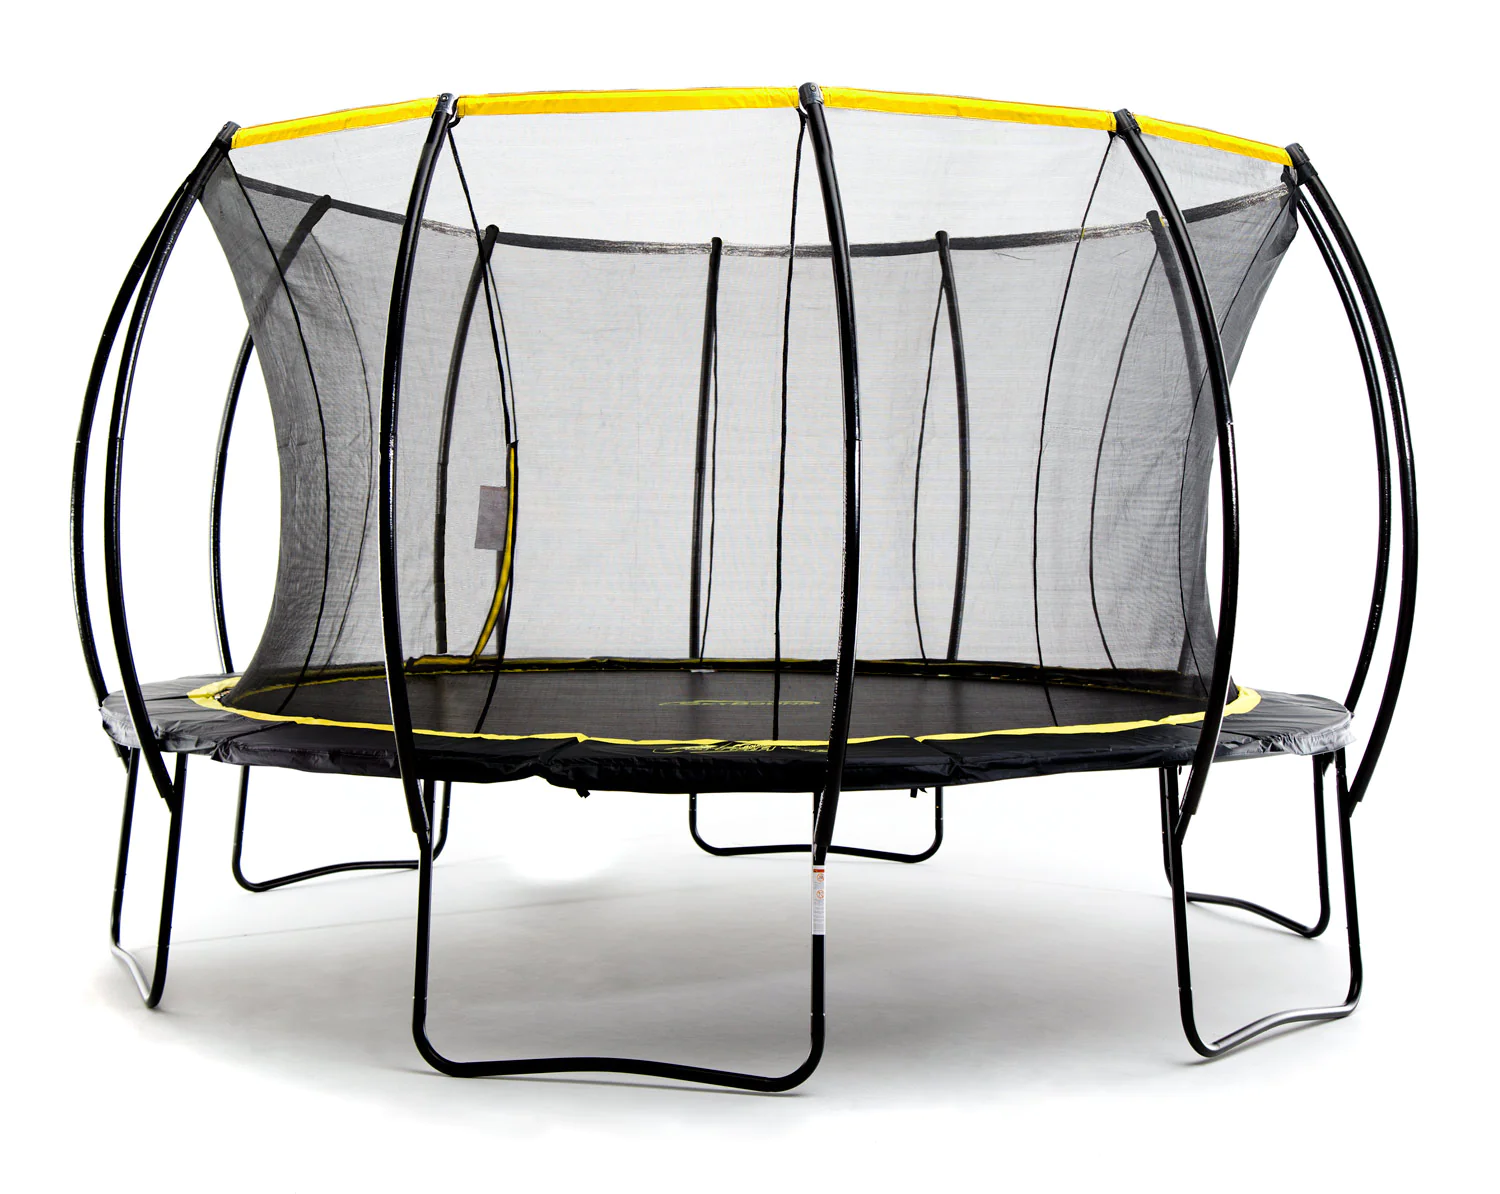
Read also: 8 Amazing 12 ft Trampoline For 2025
Wrapping and Packaging
Proper wrapping and packaging are essential to protect your 12 ft skeleton from any potential damage while in storage. By taking the time to wrap and package it carefully, you can ensure its longevity and preserve its appearance. Here’s a step-by-step guide on how to wrap and package your 12 ft skeleton:
- Use Bubble Wrap: Start by wrapping the disassembled parts of the skeleton in bubble wrap. This will provide cushioning and protection against any impact or jostling during storage.
- Secure with Tape: Use packing tape to secure the bubble wrap around each part of the skeleton. Make sure the tape is tight enough to keep the bubble wrap in place but not so tight that it causes any damage.
- Label Each Wrapped Part: As you wrap each part, label them with their corresponding labels from the disassembly step. This will make it easier to identify each piece when it comes time to set up the skeleton again.
- Group Parts Together: If possible, group related parts together and wrap them as a unit. For example, wrap the limbs together or the spine with the skull. This will help streamline the unpacking and setup process in the future.
- Use Plastic Storage Bags: Consider placing the wrapped parts in large plastic storage bags to provide an extra layer of protection against dust, moisture, and potential pests.
- Securely Pack the Parts in Containers: Place the wrapped and bagged parts in sturdy plastic containers or storage bins. Make sure the containers are large enough to accommodate the size of the skeleton and provide adequate space to prevent any compression or damage to the wrapped parts.
- Seal the Containers: Once all the parts are packed inside the containers, seal them securely with lids or plastic wrap. This will keep the skeleton protected from dust and moisture while in storage.
By following these wrapping and packaging guidelines, you can ensure that your 12 ft skeleton remains well-protected and organized during its time in storage. The next step is to find an appropriate storage area for your wrapped and packaged skeleton.
When storing a 12 ft skeleton, disassemble it into smaller parts for easier storage. Use a large, sturdy container to protect the pieces from damage and keep them together. Store in a dry, cool place to prevent any potential damage.
Storing in a Dry Area
Proper storage conditions play a vital role in preserving your 12 ft skeleton. It is crucial to store it in a dry area to prevent damage caused by moisture, such as mold, mildew, or corrosion. Here are some tips for storing your skeleton in a dry environment:
- Avoid Damp or Humid Areas: Choose a storage location that is dry and free from excessive humidity or moisture. Basements, garages, and attics are often prone to moisture problems, so it is best to avoid these areas if possible.
- Use Moisture Absorbers: Consider placing moisture-absorbing products, such as desiccant packs or moisture absorber containers, in the storage containers with your skeleton. These will help draw out any excess moisture and maintain a dry environment.
- Utilize Climate-Controlled Spaces: If available, opt for a climate-controlled storage area. These spaces maintain a consistent temperature and humidity level, ensuring optimal conditions for preserving your 12 ft skeleton.
- Elevate the Skeleton: Store the wrapped and packaged skeleton off the ground or floor to prevent potential moisture seepage. Use shelves, pallets, or other elevated platforms to keep it elevated and protected from any dampness or water accumulation.
- Monitor the Environment: Regularly check the storage area for signs of moisture or humidity. Look out for any leaks, condensation, or musty odors that could indicate a problem. If any issues are detected, address them promptly to preserve the condition of your skeleton.
By storing your 12 ft skeleton in a dry area, you can minimize the risk of damage caused by moisture and ensure its longevity. Proper storage organization is also essential to make the retrieval process easier when Halloween season rolls around again. Let’s delve into organizing your storage space in the next section.
Organizing Storage Space
Organizing your storage space is crucial to ensure easy access to your 12 ft skeleton and maintain its condition while in storage. By keeping your storage area tidy and well-structured, you can prevent any unnecessary damage or frustrations when you need to retrieve the skeleton. Here are some tips for organizing your storage space:
- Group Similar Items Together: Arrange your storage space in a way that groups related items together. For example, dedicate a section or shelf specifically for your Halloween decorations, including your 12 ft skeleton, so that everything is easily accessible.
- Create Dedicated Zones: Designate specific areas or zones for different types of items. For instance, have a zone for decorations, another for costumes, and perhaps a separate area for props or accessories. This will help keep things organized and make it easier to find what you need.
- Label Storage Containers: Use clear and prominently labeled storage containers for your 12 ft skeleton and other Halloween items. Clearly state the contents, such as “12 ft Skeleton” or “Halloween Decorations,” on each container to make identification effortless.
- Arrange Containers by Accessibility: Store the most frequently used items, including your skeleton, in containers that are easily accessible. Place them towards the front or at eye level to avoid the need for excessive shuffling or digging.
- Maximize Vertical Space: Utilize shelves, hooks, and wall-mounted storage solutions to make the most of your vertical storage space. This will allow you to store your skeleton and other items efficiently, saving valuable floor space.
- Keep a Storage Inventory: Maintain a detailed inventory list of all your stored Halloween items, including your 12 ft skeleton. Include descriptions, container locations, and any relevant notes. This will help you keep track of your inventory and make it easier to locate specific items when needed.
By organizing your storage space effectively, you can ensure easy access to your 12 ft skeleton and maintain a well-preserved and organized collection of Halloween items. However, it’s important to consider the impact of extreme temperatures on your stored skeleton. We’ll explore how to protect it from these conditions in the next section.
Protecting from Extreme Temperatures
Extreme temperatures can have a detrimental effect on the condition of your 12 ft skeleton while in storage. Whether it’s scorching heat or freezing cold, it’s important to take measures to protect your skeleton from these extreme temperatures. Here’s how you can safeguard your skeleton:
- Avoid Exposure to Direct Sunlight: Direct sunlight can cause fading and discoloration of the skeleton’s materials over time. Store your skeleton away from windows or any areas where it may be exposed to prolonged sunlight.
- Shield from Heat Sources: Avoid storing your skeleton near any heat sources such as heaters, furnaces, or appliances that generate high temperatures. Excessive heat can cause warping or damage to the skeleton’s components.
- Insulate from Cold Temperatures: If you live in an area prone to freezing temperatures, it’s crucial to protect your skeleton from extreme cold. Wrap the storage containers in blankets or insulating materials to provide an extra layer of protection against the cold.
- Consider Climate-Controlled Storage: If you have access to a climate-controlled storage facility, it’s highly recommended to store your skeleton there. These facilities maintain a consistent temperature, protecting your skeleton from extreme heat or cold.
- Check Storage Area for Insulation: If you are storing the skeleton in a garage or shed, ensure that the space is properly insulated. Insulate the walls and doors to regulate the temperature inside and prevent extreme temperature fluctuations.
- Regularly Monitor the Conditions: Keep an eye on the storage area’s temperature and humidity levels periodically. If you notice any significant changes, consider taking additional measures to protect your skeleton, such as relocating it to a more suitable environment if necessary.
By taking precautions to shield your 12 ft skeleton from extreme temperatures, you can preserve its quality and prevent any potential damage. However, it’s important to check on your stored skeleton regularly to ensure everything is in order. We’ll cover this in the next section.
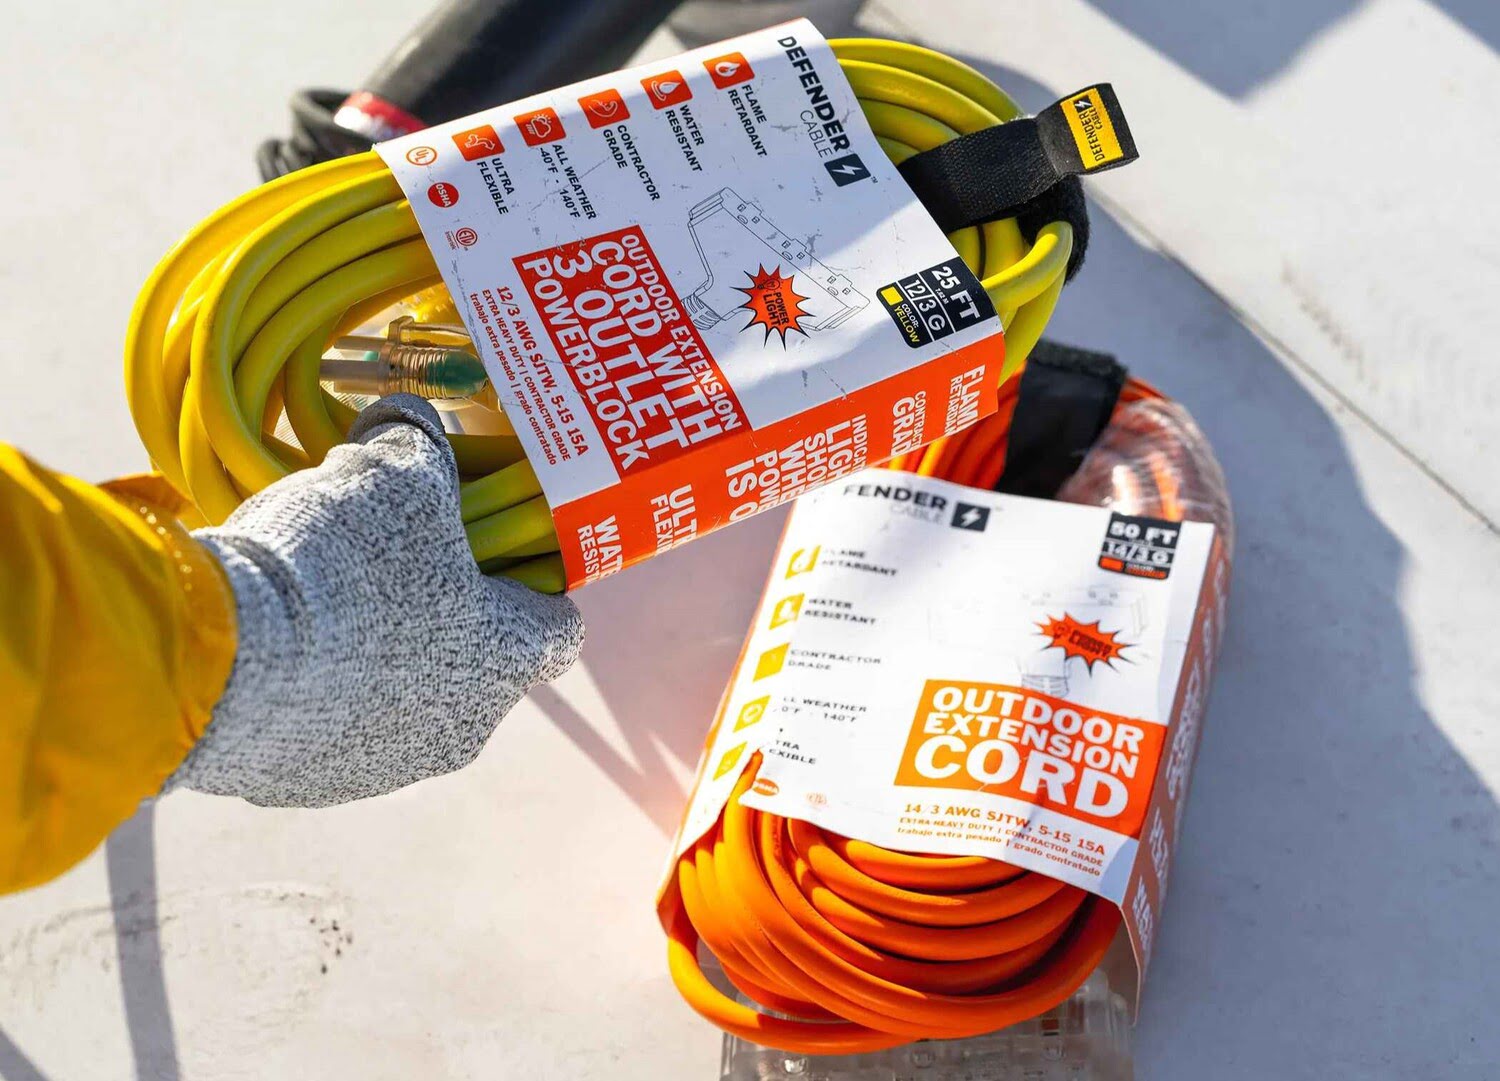
Read also: 12 Amazing 75 Ft Extension Cord for 2025
Checking on the Skeleton Regularly
While your 12 ft skeleton is in storage, it’s important to periodically check on it to ensure it remains in good condition. Regular inspections allow you to address any potential issues promptly and maintain the skeleton’s longevity. Here’s what you should do when checking on your stored skeleton:
- Inspect for Damage: Carefully examine the wrapped and packaged skeleton for any signs of damage, such as tears, cracks, or loose parts. If you come across any issues, take the necessary steps to repair or secure them to prevent further damage.
- Check for Pest Presence: Keep an eye out for any signs of pests, such as rodents or insects, that may be attempting to set up residence near or around the storage area. Look for droppings, gnaw marks, or any other indicators of pest activity. If you suspect pests, take appropriate measures to remove them and ensure your skeleton remains undamaged.
- Ensure Proper Sealing: Check the containers or storage bins to confirm they are properly sealed and there are no openings that could allow dust, moisture, or pests to access your skeleton. Re-seal any containers if needed and ensure a tight fit to maintain the integrity of the storage environment.
- Review Labeling and Inventory: Double-check the labeling on the storage containers to ensure they are accurate and easily readable. Update your inventory list if any changes have been made or if you have added or removed any items from storage.
- Adjust Storage Conditions if Necessary: Based on your inspections and monitoring, assess the storage conditions of your skeleton. If you notice any issues with temperature, humidity, or other environmental factors, consider making adjustments or relocating the storage area to better protect your skeleton.
- Maintain an Organized Storage Space: Use the check-in process as an opportunity to reorganize and tidy up your storage space. Ensure that containers are properly placed and stacked, and everything is in its designated area. This will help maintain an efficient and orderly storage system.
By checking on your skeleton regularly, you can identify and address any potential problems promptly, ensuring its longevity and preserving its condition for future use. Now that you understand the importance of regular inspections, let’s conclude our guide to storing your 12 ft skeleton.
Conclusion
Storing your 12 ft skeleton properly is essential for its preservation and future use. By following the steps outlined in this guide, you can ensure that your skeleton remains in great condition, ready to bring spooky joy to future Halloween seasons. Here’s a summary of the key points discussed:
We began by emphasizing the importance of safety precautions when handling and storing your 12 ft skeleton. Enlist help, use proper lifting techniques, and secure the storage area to prevent accidents or injuries.
Choosing a suitable storage location is crucial. Opt for an indoor space if possible, consider factors like space availability, accessibility, temperature, and security to find the best storage area for your skeleton.
Properly disassembling the skeleton ensures easier packing and prevents damage. Remove clothing and accessories, detach limbs, separate the spine and skull, and label each part for easy reassembly.
Cleaning and maintenance help keep the skeleton in excellent condition. Dust it off, spot clean stains, check for loose parts, inspect wiring and lights, and ensure it’s completely dry before storage.
Next, wrapping and packaging the skeleton with bubble wrap and securing it in plastic storage bags provides added protection against dust and moisture. Label each wrapped part and pack them in sturdy containers.
Storing the skeleton in a dry area is vital to prevent damage from moisture. Avoid damp or humid areas, use moisture absorbers, and consider climate-controlled storage if available.
Organizing your storage space is essential for easy access and preserving the skeleton’s condition. Group similar items together, label storage containers, and maximize vertical storage space.
Extreme temperatures can harm the skeleton, so protect it from direct sunlight, heat sources, and extreme cold. Monitor the storage area regularly and take necessary precautions.
Regularly checking on the skeleton allows you to address any issues promptly. Inspect for damage, pests, and proper sealing. Review labeling and inventory, and maintain an organized storage space.
By following these guidelines, you can ensure that your 12 ft skeleton remains well-preserved and ready for the next Halloween season. Whether it’s a spooky centerpiece for your yard or a focal point for your Halloween party, your skeleton will continue to bring joy and fright to all who encounter it. Happy storing!
Frequently Asked Questions about How To Store 12 Ft Skeleton
Was this page helpful?
At Storables.com, we guarantee accurate and reliable information. Our content, validated by Expert Board Contributors, is crafted following stringent Editorial Policies. We're committed to providing you with well-researched, expert-backed insights for all your informational needs.


0 thoughts on “How To Store 12 Ft Skeleton”