Articles
How To Store A Decorated Cake
Modified: August 16, 2024
Learn how to properly store a decorated cake to keep it fresh and beautiful for longer. Read our articles for storage tips and tricks.
(Many of the links in this article redirect to a specific reviewed product. Your purchase of these products through affiliate links helps to generate commission for Storables.com, at no extra cost. Learn more)
Introduction
Storing a decorated cake can be a challenging task, as you want to preserve its flavor, moisture, and appearance for as long as possible. Whether you have baked a cake for a special occasion or received one as a gift, proper storage is essential to ensure its freshness and prevent any damage to the delicate decorations.
In this article, we will guide you through the steps on how to store a decorated cake effectively. From preparing the cake for storage to choosing the right container, wrapping it properly, and storing it in the refrigerator or freezer, we will cover all the necessary information to keep your cake in optimal condition.
By following these expert tips and techniques, you can confidently store your decorated cake without compromising its taste or presentation. So, let’s dive into the details!
Key Takeaways:
- Properly preparing, wrapping, and choosing the right container are essential for storing a decorated cake. Whether in the refrigerator or freezer, following expert tips ensures the cake remains fresh and visually appealing.
- Thawing a frozen cake gradually in the refrigerator preserves its moisture and texture, ensuring it tastes as delicious as when it was first decorated. Proper storage and thawing techniques are key to enjoying a beautifully decorated cake for any occasion.
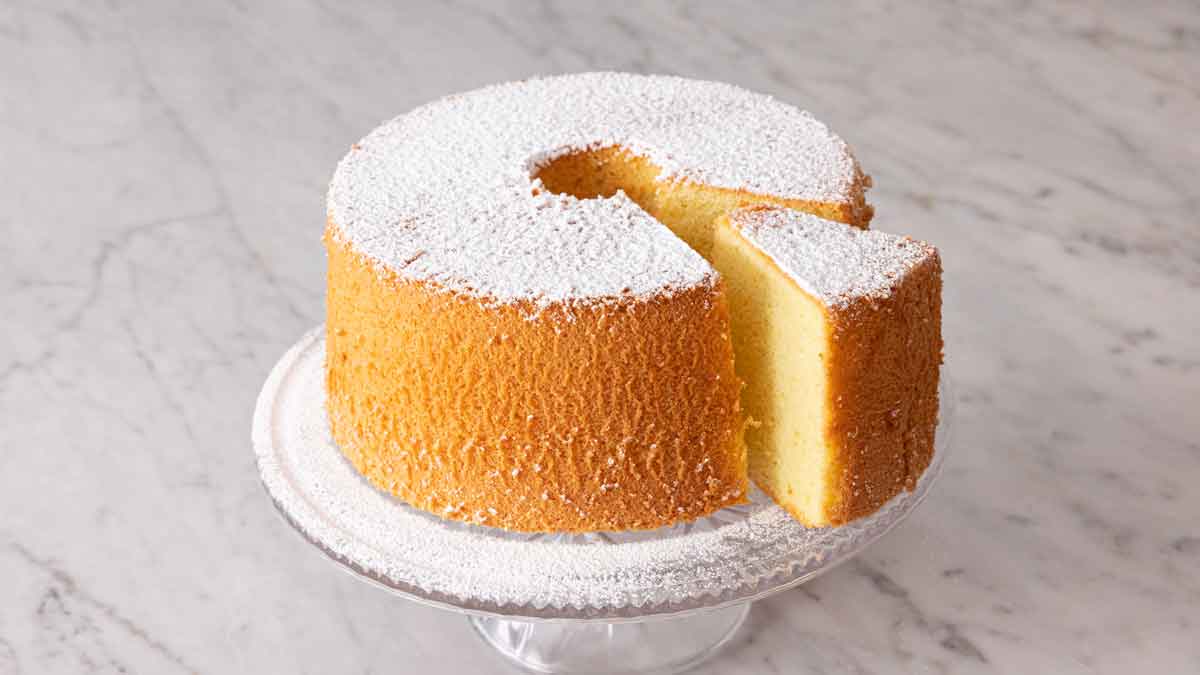
Read more: How To Store A Sponge Cake
Step 1: Preparing the Cake for Storage
Before you store a decorated cake, it’s important to prepare it properly to maintain its quality. Here are some essential steps to follow:
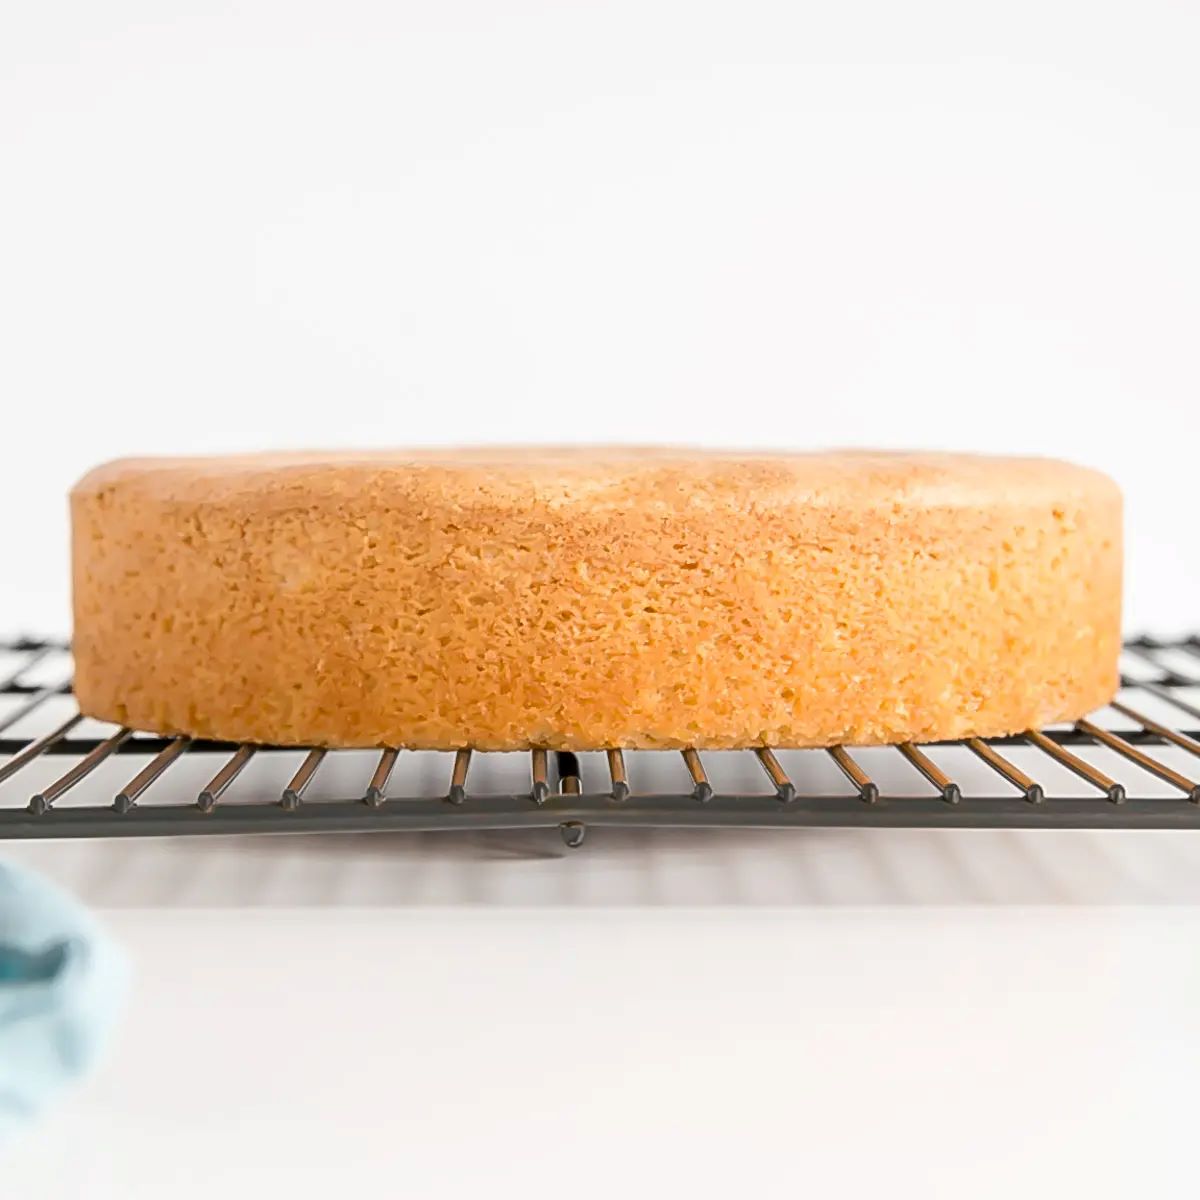
- Cool the cake completely: After baking, allow the cake to cool completely on a wire rack. This step is crucial as storing a warm cake can lead to condensation inside the container, resulting in a soggy texture.
- Level the cake: If the top of your cake has a dome-like shape, level it by using a serrated knife. This helps to create an even surface for stacking and prevents the cake from toppling over during storage.
- Remove any loose crumbs: Gently brush the cake’s surface with a pastry brush or clean hands to remove any loose crumbs. This helps to keep the cake’s decorations intact and prevents them from getting smudged.
- Consider a crumb coat: If you’re concerned about the cake’s stability during storage, you can apply a thin layer of frosting called a crumb coat. This acts as a barrier, sealing in any loose crumbs and providing a smooth surface for the final layer of frosting or fondant.
By following these preparation steps, you ensure that your cake is ready to be stored securely without any structural issues or crumbs affecting its presentation.
Step 2: Choosing the Right Container
The choice of container plays a crucial role in preserving the freshness and appearance of a decorated cake. Here are some factors to consider when selecting the right container:
- Airtightness: Opt for a container that is airtight to prevent air exposure, which can cause the cake to dry out or absorb unwanted odors from the surrounding environment.
- Size and shape: Choose a container that accommodates the size and shape of your cake without compressing or squashing the decorations. Ensure that there is enough space above the cake to avoid smudging the frosting or decorations when closing the lid.
- Sturdiness: Look for a container made from sturdy materials that can protect the cake from external pressure or accidental bumps. This is particularly important if you need to transport the cake.
- Transparent sides: Consider opting for a container with transparent sides to easily monitor the condition of the cake without having to open the container frequently.
- Separate compartments: If you plan to store multiple cakes or layers, consider choosing a container with separate compartments or adjustable dividers. This helps to prevent the cakes from touching, which can result in the transfer of flavors or damage to the decorations.
Keep in mind that selecting the right container is essential for preserving the freshness and appearance of your decorated cake. Take your time to find a container that meets these criteria, as it will ensure the best storage conditions for your cake.
Step 3: Wrapping the Cake Properly
Properly wrapping a decorated cake is key to preserving its moisture, flavor, and protecting it from external elements. Here’s how to wrap your cake effectively:
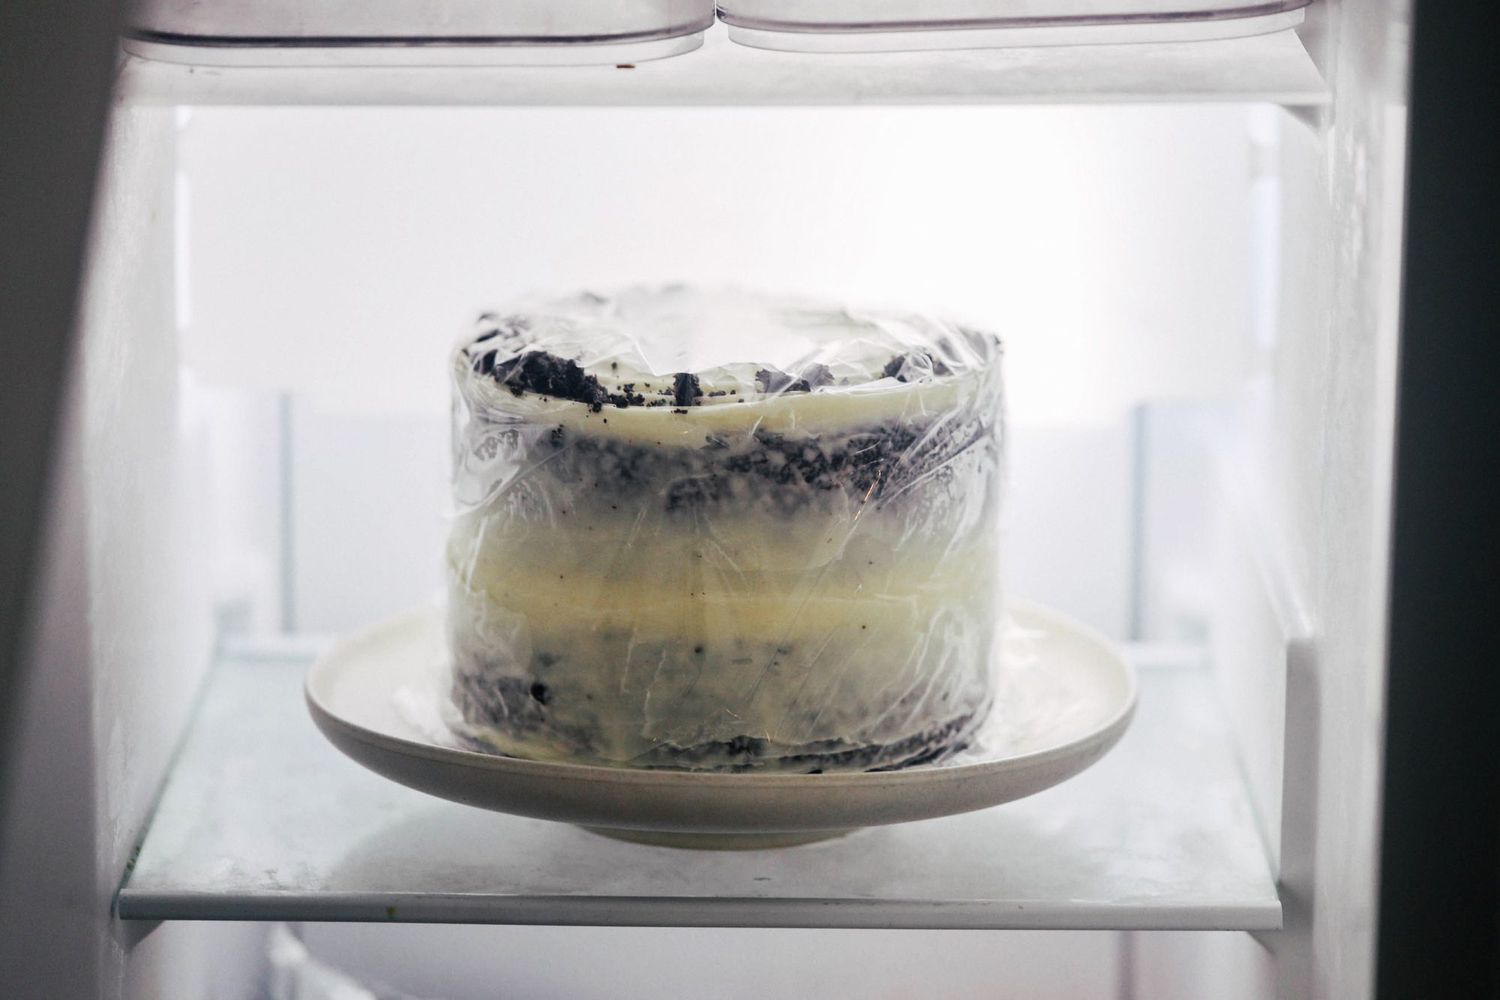
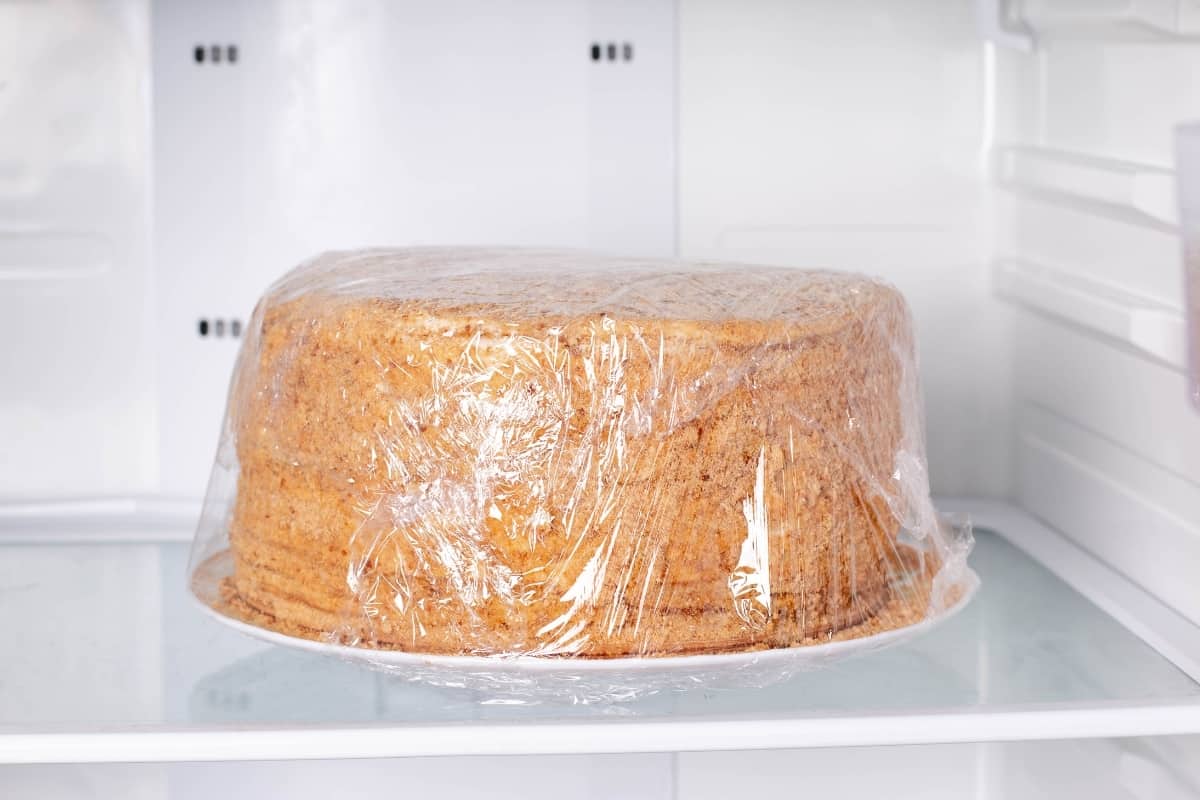
- Use plastic wrap or cling film: Start by covering the entire cake with a layer of plastic wrap or cling film. Ensure that the wrap is tight but not too tight to avoid damaging the decorations. This initial layer acts as a barrier and helps in keeping the moisture intact.
- Add an additional layer: For added protection, wrap the cake with an extra layer of aluminum foil. This will shield the cake from light, which can cause the colors of the decorations to fade over time.
- Secure with tape or twist ties: To keep the plastic wrap and aluminum foil securely in place, use tape or twist ties to seal the ends. This prevents air from entering the packaging and helps to maintain the cake’s freshness.
- Label the package: It’s a good practice to label the wrapped cake with the flavor, date, and any special instructions or decorations. This makes it easier to identify the cake later and ensures that it is consumed within its optimal freshness.
Remember to wrap the cake carefully, ensuring that it is tightly sealed to prevent any air exposure or moisture loss. Proper wrapping helps to maintain the cake’s quality and keeps it looking and tasting delicious.
To store a decorated cake, place it in an airtight container and store it in the refrigerator to keep it fresh. If the cake has perishable fillings or frosting, it should be consumed within 2-3 days.
Step 4: Storing the Cake in the Refrigerator
Once your decorated cake is properly prepared and wrapped, storing it in the refrigerator is an effective way to prolong its freshness. Here’s how to store your cake in the refrigerator:
- Find a designated space: Clear out a designated space in your refrigerator to accommodate the size of the cake container without any obstructions. This ensures that the cake remains undisturbed and maintains its shape during storage.
- Avoid strong-smelling foods: Keep the cake away from strong-smelling foods in the refrigerator, as cakes tend to absorb odors easily. This can affect the taste and aroma of the cake.
- Avoid placing the cake near cold air vents: Cold air vents can cause rapid temperature changes, leading to condensation on the cake. Place the cake away from these vents to maintain a consistent temperature inside the refrigerator.
- Check the freshness regularly: While refrigeration helps to extend the shelf life of the cake, it’s important to check its freshness regularly. If the cake shows any signs of spoilage, such as mold or an off smell, it’s best to discard it.
Storing your decorated cake in the refrigerator ensures that it stays fresh and maintains its quality for a longer period. Keep in mind these tips to optimize the storage conditions and enjoy your cake for days to come.
Read more: How To Store A Cake
Step 5: Freezing the Cake for Long-Term Storage
If you want to store your decorated cake for an extended period, freezing it is a great option. Freezing helps to maintain the freshness and flavor of the cake. Here’s how to freeze your cake properly:
- Ensure the cake is completely cooled: Before freezing, make sure your cake has fully cooled down. Freezing a warm cake can cause condensation, resulting in a soggy texture.
- Wrap the cake: As mentioned earlier, wrap the cake tightly with plastic wrap or cling film to protect it from freezer burn and moisture. Then, wrap it with a layer of aluminum foil for added insulation.
- Use an airtight container: Place the wrapped cake in an airtight container to provide an extra layer of protection and prevent any odors from seeping in.
- Label and date the container: It’s important to label the container with the cake’s flavor, date, and any additional instructions. This will help you identify the cake later on and ensure that it is consumed within a reasonable timeframe.
- Place in the freezer: Put the container in the freezer, making sure it is positioned upright to avoid any damage to the cake’s decorations.
- Store in a separate area: Designate a specific area in the freezer for storing the cake to prevent it from being accidentally bumped or crushed by other items.
- Thawing the cake: When you’re ready to enjoy the cake, transfer it from the freezer to the refrigerator and allow it to thaw slowly. This will help maintain its texture and prevent any moisture loss.
By following these steps, you can safely freeze and store your decorated cake for an extended period, allowing you to enjoy it at a later date while maintaining its delicious taste and appearance.
Step 6: Thawing and Serving the Cake
After freezing your decorated cake, it’s essential to properly thaw it before serving to ensure the best taste and texture. Here’s how to thaw and serve your cake:
- Transfer the cake to the refrigerator: Remove the cake from the freezer and place it in the refrigerator to thaw. This gradual thawing process helps maintain the cake’s moisture and prevents it from becoming mushy.
- Allow sufficient thawing time: The thawing time will depend on the size and thickness of the cake. As a general guideline, allow the cake to thaw in the refrigerator for 4-6 hours or overnight.
- Keep it wrapped during thawing: It’s important to keep the cake wrapped while thawing to prevent any condensation from forming on the surface and potentially smudging the decorations.
- Check for thawing completeness: Once the cake is thawed, gently touch the surface to ensure it is soft and pliable. If it still feels partially frozen, allow it to thaw for a bit longer.
- Remove the wrapping: Carefully unwrap the cake once it has thawed completely. This step should be done shortly before serving to keep the cake fresh and prevent it from drying out.
- Decorate if needed: If desired, you can add additional decorations or a fresh layer of frosting to enhance the presentation of the cake.
- Serve and enjoy: Slice and serve the thawed cake, savoring its flavors and enjoying the hard work put into its decoration. Store any leftovers properly to maintain their freshness.
Following these steps will ensure that your decorated cake is properly thawed and ready to be enjoyed with its original taste and appearance. Take your time during the thawing process to preserve the cake’s quality and make your serving a delightful experience.
Conclusion
Storing a decorated cake requires proper preparation, the right container, and careful wrapping techniques. Whether you need to store the cake for a few days or for long-term storage, following the steps outlined in this article will help maintain its freshness, flavor, and appearance.
Begin by preparing the cake properly, allowing it to cool completely and removing any loose crumbs or uneven surfaces. Choose a container that is airtight, the right size and shape, and provides adequate protection for the delicate decorations of the cake.
Wrap the cake tightly with plastic wrap and aluminum foil to create a barrier against air and prevent moisture loss. Store the cake in the refrigerator for short-term storage or in the freezer for long-term storage, making sure to label the package for easy identification.
When it’s time to serve the cake, thaw it in the refrigerator, allowing sufficient time for the cake to defrost while maintaining its texture. Once fully thawed, remove the wrapping, decorate if desired, and enjoy the cake with its original flavor and presentation.
Remember, the quality and freshness of the cake depend on proper storage techniques. By following these steps, you can ensure that your decorated cake remains delicious and visually appealing, making every slice a delight for your taste buds.
So, the next time you have a beautifully decorated cake, utilize these tips and tricks to keep it fresh and ready for any celebration or special occasion!
Frequently Asked Questions about How To Store A Decorated Cake
Was this page helpful?
At Storables.com, we guarantee accurate and reliable information. Our content, validated by Expert Board Contributors, is crafted following stringent Editorial Policies. We're committed to providing you with well-researched, expert-backed insights for all your informational needs.
0 thoughts on “How To Store A Decorated Cake”