Articles
How To Store A Veil
Modified: February 26, 2024
Discover effective ways to store your veil and protect it from damage. Read our articles for helpful tips and tricks on preserving the beauty and quality of your favorite accessory.
(Many of the links in this article redirect to a specific reviewed product. Your purchase of these products through affiliate links helps to generate commission for Storables.com, at no extra cost. Learn more)
Introduction
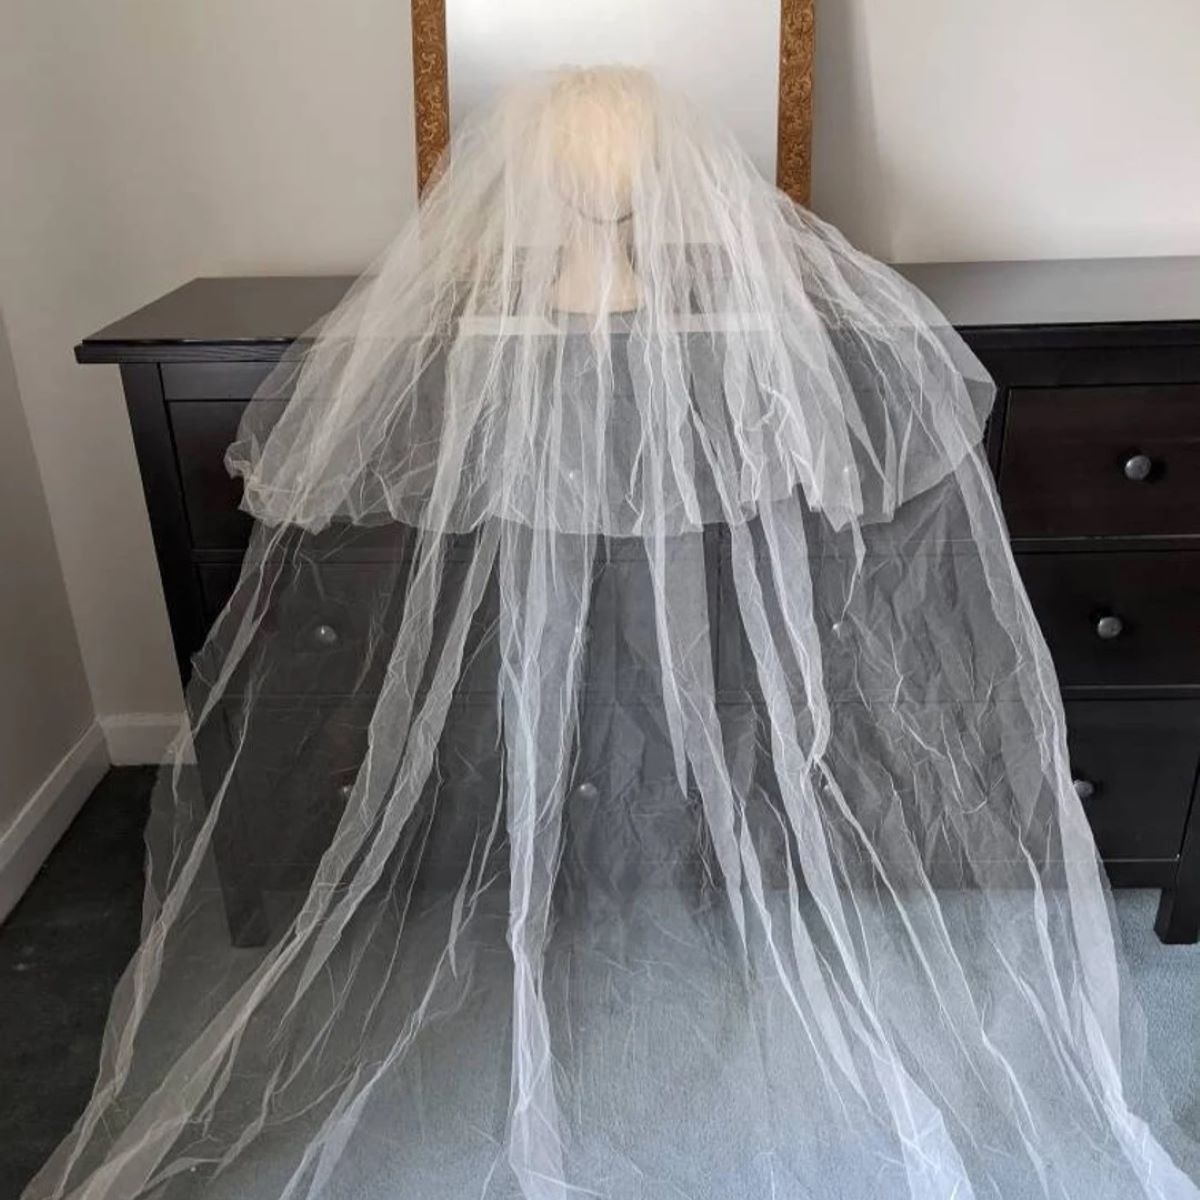
When it comes to preserving special garments and accessories, proper storage is key. This is especially true for delicate items like veils. Whether you have just walked down the aisle or are looking to store a family heirloom, knowing how to store a veil properly can ensure that it stays in pristine condition for years to come.
In this article, we will guide you through the step-by-step process of storing a veil to keep it safe from damage and maintain its beauty. From cleaning the veil to choosing the right storage container, we will cover everything you need to know to store your veil like a pro.
So, if you’re ready, let’s delve into the world of veil storage and learn how to preserve these timeless accessories.
Key Takeaways:
- Preserve the beauty of your veil by cleaning it before storage, choosing the right container, and storing it in a safe location away from sunlight and pests. Proper care ensures your veil remains stunning for years to come.
- Folding your veil properly and handling it gently when placing it in the storage container are crucial steps in preserving its beauty. Store it in a safe location and periodically check on it to maintain its elegance and charm.
Read more: How To Store Wedding Veil
Step 1: Cleaning the Veil
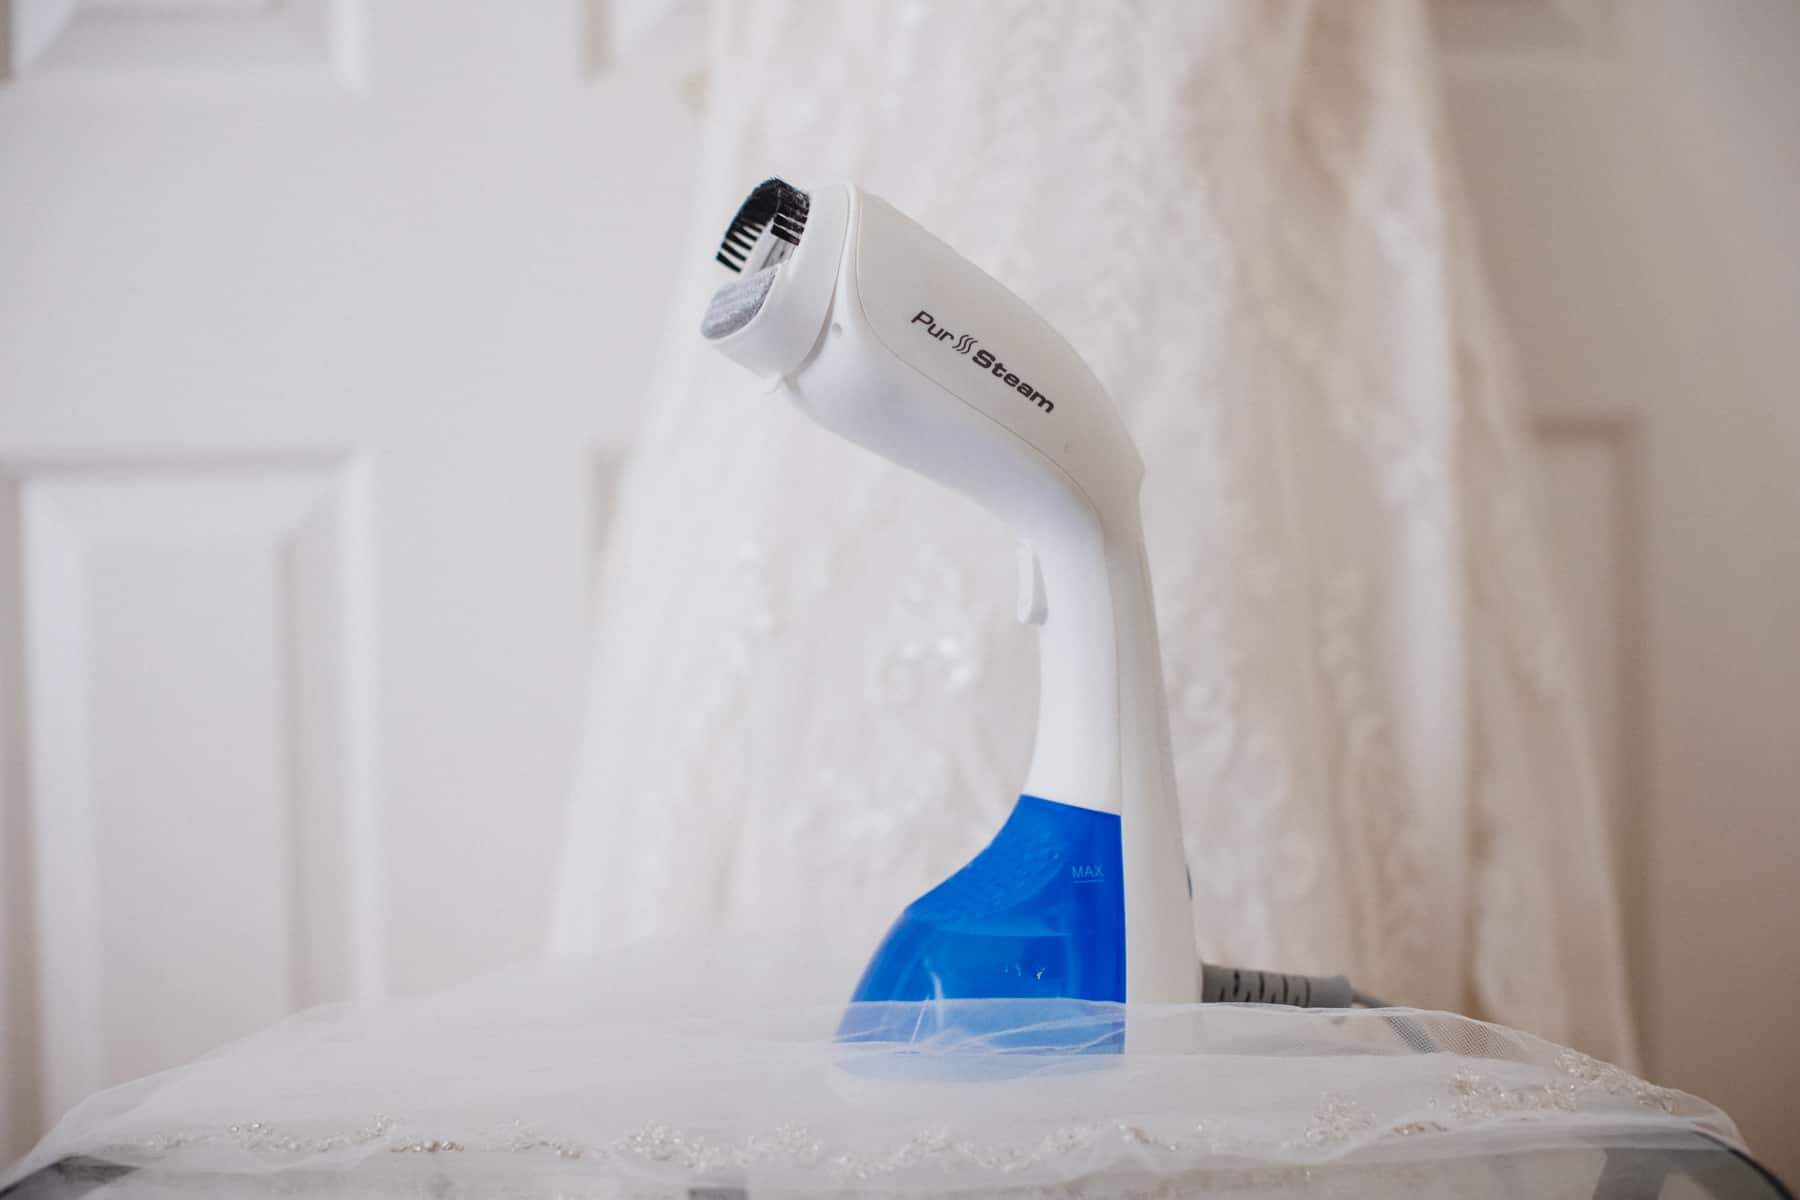
Before you start the process of storing your veil, it is essential to ensure that it is clean. Over time, veils can accumulate dirt, sweat, and other impurities that can cause discoloration or damage. Here’s how to properly clean your veil:
- Check the Care Label: Start by checking the care label on your veil for any specific cleaning instructions. Some veils may be hand-wash only, while others can be safely machine washed.
- Spot Clean: If there are any visible stains or marks on the veil, gently spot clean them using a mild detergent or stain remover. Test the cleaning solution on a small, inconspicuous area of the veil to ensure that it does not cause any damage or discoloration.
- Hand-Washing: If your veil is suitable for hand-washing, fill a basin with lukewarm water and a delicate fabric detergent. Gently submerge the veil and swish it around to loosen any dirt or buildup. Be careful not to rub or wring the fabric, as this can cause damage. After a few minutes, rinse the veil thoroughly with clean water until all the detergent is removed.
- Machine-Washing: If your veil can be machine washed, place it in a mesh laundry bag to prevent it from getting tangled. Set your washing machine to a delicate or gentle cycle using cold water and a mild detergent. Avoid using bleach or fabric softener, as these can damage the veil. Once the washing cycle is complete, remove the veil from the mesh bag and gently reshape it.
- Drying: To dry the veil, lay it flat on a clean towel or hang it on a non-metal hanger. Avoid using clothespins or clips, as they can leave creases or marks on the delicate fabric. Allow the veil to air dry completely before moving on to the next step.
Cleaning the veil before storing it ensures that any dirt or stains won’t set in over time. It also helps to maintain the integrity of the fabric, keeping it in its original condition.
Step 2: Choosing the Right Storage Container
Now that your veil is clean and dry, it’s time to select the appropriate storage container. The right container will help protect your veil from dust, moisture, and other potential damages. Here are a few options to consider:
- Veil Box: A veil box is specifically designed to store and protect veils. These boxes are usually made of acid-free and pH-neutral materials, which prevent yellowing and discoloration over time. Look for a box that is large enough to accommodate your veil without folding or crushing it.
- Garment Bag: If you don’t have a veil box, a garment bag is a suitable alternative. Look for a breathable garment bag made of fabric or non-acidic plastic. Avoid using plastic bags or covers made of vinyl or PVC, as they can trap moisture and promote mold or mildew growth.
- Acid-Free Tissue Paper: Regardless of the storage container you choose, it is essential to line it with acid-free tissue paper. This helps to prevent any direct contact between the veil and the container, reducing the risk of discoloration or damage. You can also wrap the veil in acid-free tissue paper before placing it in the storage container for an extra layer of protection.
When selecting a storage container, avoid using cardboard boxes or containers made of materials that can deteriorate over time and potentially transfer harmful chemicals to the veil. It’s crucial to choose a container that is designed for long-term storage and preservation.
Remember, the goal is to keep your veil safe from environmental factors, pests, and any potential damage that can occur during storage. By selecting an appropriate storage container, you can ensure that your veil remains in pristine condition for years to come.
Step 3: Folding the Veil Properly
Once you have chosen the right storage container, it’s time to fold your veil properly. Proper folding helps to minimize wrinkles and creases, ensuring that the veil retains its shape and beauty. Here’s how to fold your veil:
- Spread the Veil: Start by spreading your veil out on a flat and clean surface. Smooth out any wrinkles or folds gently with your hands.
- Accordion Fold: Fold the veil in an accordion-style fold. Begin by bringing the left edge of the veil towards the center, then fold the right edge towards the center as well. Continue folding the veil in this manner until you have a narrow strip of folded fabric.
- Roll the Veil: Once the veil is folded into a narrow strip, roll it carefully from one end to the other. This helps to further minimize any potential creases or wrinkles.
- Secure with a Ribbon: To keep the veil neatly folded and secure, tie a ribbon or elastic band around the rolled veil. Make sure the ribbon is not too tight to avoid damaging the delicate fabric.
It’s important to note that the folding technique may vary depending on the type and length of your veil. Some veils, such as cathedral or chapel length veils, may require different folding methods. If you are unsure, refer to any specific folding instructions that came with your veil or consult a professional.
By folding your veil properly, you can minimize the risk of wrinkles and creases, ensuring that it looks as beautiful as ever when you decide to wear it again.
Store your veil in a breathable garment bag to prevent it from yellowing or getting wrinkled. Hang it up in a cool, dry place away from direct sunlight.
Step 4: Placing the Veil in the Storage Container
Now that your veil is neatly folded, it’s time to place it in the chosen storage container. Proper placement ensures that the veil remains protected and avoids any potential damage during storage. Here’s how to do it:
- Open the Container: Carefully open the storage container or veil box. Ensure that the container is clean and free from any debris that could transfer to the veil.
- Line the Container: If you haven’t already done so, line the storage container with acid-free tissue paper. Gently place the tissue paper at the bottom and around the sides of the container.
- Position the Veil: Place the folded and rolled veil into the storage container. If you are using a veil box, make sure that the veil fits comfortably inside without any excess pressure or folding. If you are using a garment bag, carefully position the veil inside, ensuring that it hangs freely and does not get bunched up or tangled.
- Add Additional Tissue Paper: To provide extra protection and prevent any movement during storage, you can add additional layers of acid-free tissue paper in between the folds of the veil. This helps to cushion the veil and minimize any potential creasing or rubbing.
When placing the veil in the storage container, make sure to handle it gently and avoid pressing down on the fabric. The goal is to keep the veil securely in place while allowing it to retain its shape and beauty.
Once the veil is placed in the storage container, securely close the container to protect the veil from dust, light, and other environmental elements. This step brings us one step closer to ensuring that your veil remains in excellent condition until it’s time to use it again.
Read more: How To Store Veil Before Wedding
Step 5: Storing the Veil in a Safe Location
Now that your veil is neatly folded and placed in the storage container, it’s time to find a safe location to store it. The right storage location ensures that the veil is protected from potential damage and remains in optimal condition. Follow these guidelines to store your veil properly:
- Avoid Direct Sunlight: Choose a storage location away from direct sunlight. Sunlight can fade the colors and weaken the fabric of the veil over time. Opt for a cool, dry, and dark area, such as a closet or drawer, to preserve the veil’s beauty.
- Maintain Temperature and Humidity: Extreme temperatures and high humidity can be detrimental to delicate fabrics. Aim to store your veil in an environment with consistent temperature and humidity levels. This helps prevent the fabric from becoming brittle or developing mold and mildew.
- Avoid Extreme Conditions: Avoid storing your veil in attics, basements, or other areas prone to extreme temperature fluctuations or moisture. These conditions can cause damage to the fabric and compromise the overall quality of the veil.
- Protect from Pests: Take precautions to protect your veil from harmful pests such as moths. Place mothballs or lavender sachets in the storage container to repel these insects. However, make sure the mothballs or sachets do not come into direct contact with the veil, as they can leave a scent or residue.
- Regularly Check and Refold: While in storage, take the time to periodically check on your veil. Inspect for any signs of damage, discoloration, or pests. If necessary, refold the veil using the proper folding technique to redistribute any potential pressure points.
By storing your veil in a safe location, you ensure that it remains protected and preserved for years to come. Remember to handle the storage container with care, avoiding any sudden movements or rough handling that could potentially damage the veil.
When it’s time to use the veil again, carefully remove it from the storage container, unfold it gently, and inspect it thoroughly. If you notice any damage or significant discoloration, it may be necessary to seek professional restoration or cleaning services for the veil.
By following these steps and taking proper care of your veil, you can ensure that it maintains its beauty and elegance throughout its lifetime.
Conclusion
Congratulations! You have successfully learned how to store a veil properly to preserve its beauty and protect it from damage. By following the steps outlined in this article, you can ensure that your veil remains in pristine condition, whether it’s a cherished heirloom or a recently worn accessory.
Remember, proper cleaning is vital before storing the veil, ensuring that no dirt or stains set in over time. Choosing the right storage container, such as a veil box or garment bag, helps shield the veil from dust, moisture, and other potential hazards.
When folding the veil, proper technique is essential to minimize wrinkles and creases. Placing the veil gently in the storage container, lined with acid-free tissue paper, offers an extra layer of protection. Finally, storing the veil in a safe location away from direct sunlight, extreme temperatures, and pests ensures its longevity.
By taking these necessary steps and periodically checking on the stored veil, you can preserve its beauty and maintain its original condition. When the time comes to wear the veil once again, it will be just as stunning as it was on your special day.
So, whether the veil holds sentimental value or serves as a keepsake for future generations, proper storage ensures that its elegance and charm endure for years to come. Give your veil the attention it deserves, and enjoy the joy and memories it brings each time it is revealed.
Happy storing and preserving!
Frequently Asked Questions about How To Store A Veil
Was this page helpful?
At Storables.com, we guarantee accurate and reliable information. Our content, validated by Expert Board Contributors, is crafted following stringent Editorial Policies. We're committed to providing you with well-researched, expert-backed insights for all your informational needs.


0 thoughts on “How To Store A Veil”