
Articles
How To Store A Car
Modified: August 28, 2024
Learn the best methods and tips for storing a car with this informative articles. Keep your vehicle safe and protected with proper storage techniques.
(Many of the links in this article redirect to a specific reviewed product. Your purchase of these products through affiliate links helps to generate commission for Storables.com, at no extra cost. Learn more)
Introduction
Storing a car properly is essential to maintain its condition and value, especially if you don’t plan on using it for an extended period of time. Whether you’re preparing your car for the winter season, going on a long trip, or simply keeping it safe while you’re away, proper car storage is crucial.
In this article, we will provide you with a comprehensive guide on how to store a car efficiently. From preparing the vehicle to choosing the right storage location, we will cover all the essential steps to ensure your car remains in optimal condition throughout its storage period.
By following these steps, you can avoid potential damage to the car’s exterior and interior components. Additionally, proper storage techniques will help prevent issues such as battery drainage, tire damage, and fuel deterioration.
So, let’s dive in and explore the step-by-step process of storing a car like a pro!
Key Takeaways:
- Proper car storage involves thorough preparation, choosing the right location, and protecting the vehicle’s exterior and interior. Following these steps ensures the car remains in optimal condition and ready for use when needed.
- Regular maintenance checks, including fluid levels, tire pressure, and battery maintenance, are essential for preserving the car’s condition during storage. By investing time and effort in proper storage, the vehicle’s lifespan and value can be maintained.
Read more: How To Store A Car For A Year
Step 1: Preparation
Before storing your car, it’s crucial to ensure that it’s in good working condition. Start by giving it a thorough inspection to identify any pre-existing issues. Check for fluid leaks, mechanical problems, or any signs of damage that may require attention.
Next, perform regular maintenance tasks such as changing the oil and replacing the filters. This will help prevent any potential issues during the storage period and ensure that the car is ready for use once you retrieve it.
Another important aspect of preparation is to remove any personal belongings from the car. Make sure to take out any valuables, documents, or items that are sensitive to temperature changes. By doing so, you can prevent potential damage or theft.
Lastly, check if you have all the necessary documentation and paperwork for the car. Ensure that the registration, insurance, and any other necessary documents are up to date. It’s also a good idea to keep a copy of these documents in a safe place, separate from the vehicle.
By properly preparing your car before storage, you can minimize the risk of issues and ensure that it’s ready to be stored safely.
Step 2: Choose a Suitable Storage Location
When it comes to storing your car, selecting the right storage location is of utmost importance. Ideally, you should choose a dry and well-ventilated area that offers protection from extreme temperatures and weather conditions.
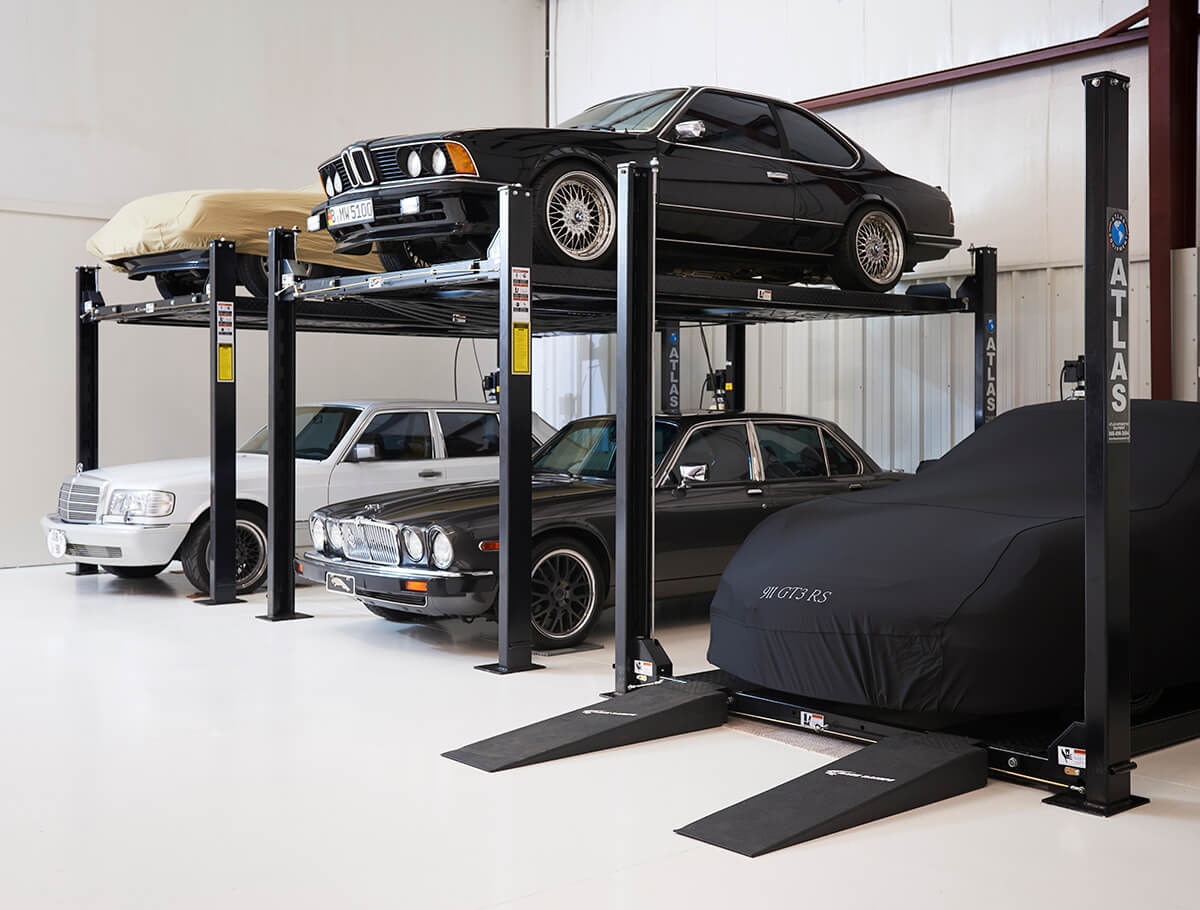
If you have access to a garage, that’s the ideal place to store your car. A garage provides shelter from external elements and offers additional security. Make sure the garage is clean and free from any potential hazards that could damage your vehicle, such as leaks, pests, or chemicals.
If a garage is not available, consider renting a storage unit specifically designed for car storage. These units are equipped with climate control systems to maintain a consistent temperature and humidity level. Look for a reputable facility that offers security measures such as surveillance cameras and restricted access.
In some cases, you may need to store your car outdoors. If that’s the case, choose a location that provides protection from the elements. Look for a covered parking spot or invest in a carport or car cover to shield the vehicle from sun, rain, snow, and debris.
Additionally, consider the security aspect when selecting a storage location. If storing your car at home, ensure that the area is well-lit and install additional security measures like outdoor cameras or an alarm system.
Remember, the chosen storage location should provide a safe and secure environment to prevent any potential damage or theft to your vehicle during its storage period.
Step 3: Clean and Inspect the Car
Before storing your car, it’s important to give it a thorough cleaning, both inside and out. Start by washing the exterior to remove any dirt, grime, or road salt that may have accumulated. Be sure to clean the wheels and tires as well. Use a high-quality car wash soap and a soft sponge or cloth to avoid scratching the paint.
After washing, dry the car thoroughly to prevent water spots. Pay attention to areas such as door jambs, trunk, and hood edges, where water can collect and cause corrosion over time. It’s also a good idea to apply a layer of wax to protect the paint and provide an extra barrier against dust and dirt.
Once the exterior is clean, move on to the interior. Remove all loose items, trash, and clutter. Vacuum the carpets, seats, and floor mats to remove any dirt or debris. Use appropriate cleaners to wipe down surfaces such as the dashboard, steering wheel, and door panels.
While cleaning, take the opportunity to inspect the car for any signs of damage or wear. Look for scratches, dents, or any issues with the upholstery or carpeting. Addressing these problems before storage will ensure that they don’t worsen while the car is not in use.
Don’t forget to clean the windows both inside and out for optimal visibility. Use a glass cleaner and a lint-free cloth to achieve streak-free results.
By thoroughly cleaning and inspecting your car before storage, you not only maintain its appearance but also identify any potential issues that may require attention. This will help you take the necessary steps to address them and keep your car in top condition.
Step 4: Protect the Exterior
Protecting the exterior of your car during storage is essential to prevent damage from various environmental factors. Follow these steps to ensure that your vehicle remains in pristine condition:
1. Apply a Coat of Wax: Before storing your car, apply a layer of wax to the exterior. Wax acts as a protective barrier against dust, dirt, and moisture. It also helps to prevent oxidation and fading of the paintwork.
2. Cover Scratches and Vulnerable Areas: If your car has any existing scratches or vulnerable areas, such as exposed metal or chipped paint, consider applying a touch-up paint or a protective film. This will help prevent further damage and deterioration during the storage period.
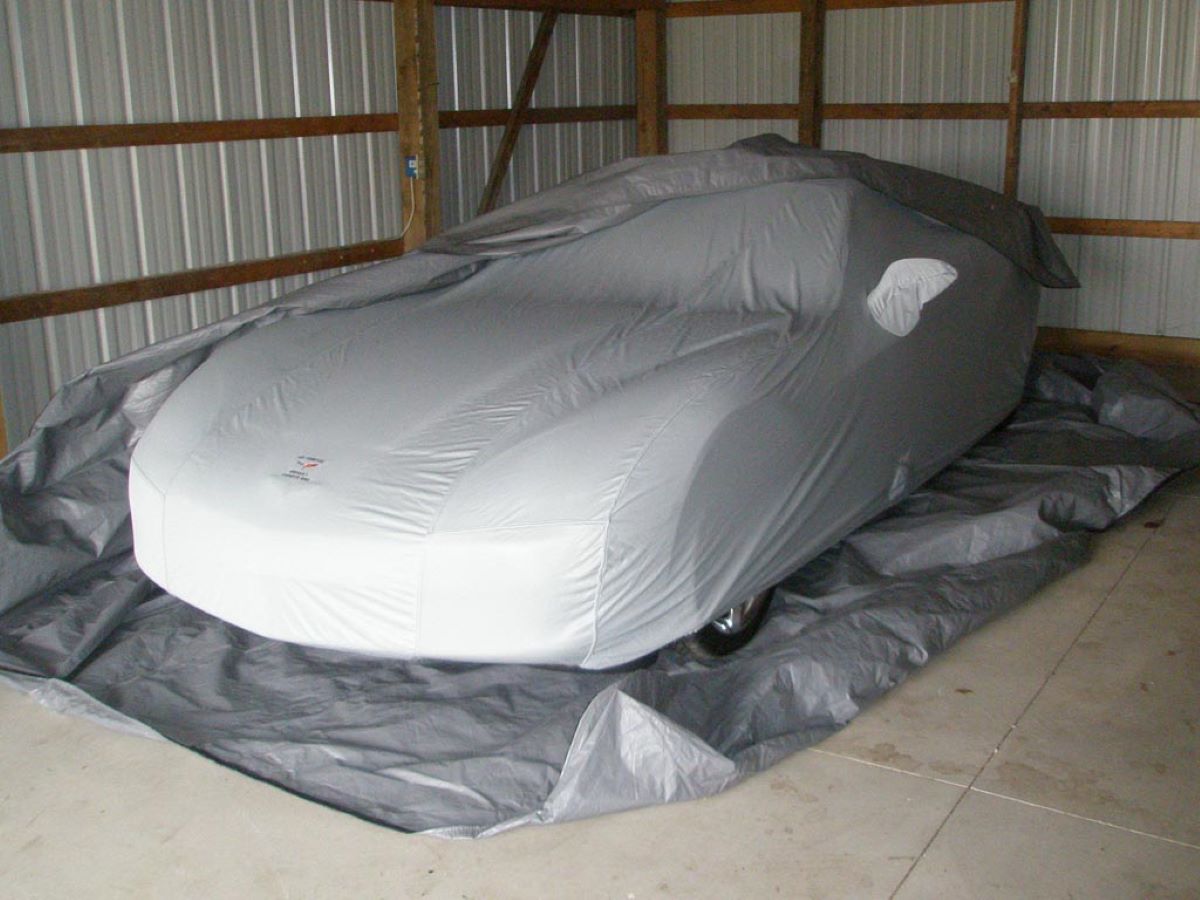
3. Use a Car Cover: Invest in a high-quality car cover that fits your vehicle properly. A car cover protects the exterior from dust, UV rays, and other elements that can cause fading and damage. Ensure that the car is clean and dry before covering it to prevent moisture buildup.
4. Remove Windshield Wipers: Windshield wipers can become stuck to the glass during long periods of storage, causing damage. Remove them carefully and store them separately to prevent any potential issues.
5. Consider Tire Protection: To avoid flat spots and tire damage, inflate the tires to their recommended pressure. If possible, use tire jacks or blocks to take the weight off the tires. This will help prolong their lifespan and ensure that they are ready for use once you retrieve the car.
6. Protect Against Rodents: Rodents can wreak havoc on a stored car, causing damage to wiring, upholstery, and other components. To prevent this, plug any openings or gaps with steel wool or use rodent repellent devices around the storage area.
By taking these steps to protect the exterior of your car, you can maintain its appearance and minimize the risk of damage during the storage period. This will ensure that your vehicle retains its value and is ready for you to enjoy when the time comes to retrieve it.
Read more: How To Store Gun In Car
Step 5: Prepare the Interior
Preparing the interior of your car is just as important as protecting the exterior. Follow these steps to ensure that the interior remains clean and well-maintained during the storage period:
1. Vacuum Thoroughly: Start by vacuuming the seats, carpets, and floor mats to remove any dirt, crumbs, or debris. Use a crevice tool to reach into the tight corners and crevices.
2. Clean and Condition Leather: If your car has leather seats or interior components, clean them using a leather cleaner and a soft brush or cloth. Follow up with a leather conditioner to keep the leather moisturized and prevent cracking during storage.
3. Remove Floor Mats: Take out the floor mats and store them separately to prevent any moisture buildup. Clean and dry them thoroughly before storage to avoid mold or mildew growth.
4. Place Moisture Absorbers: To prevent excess moisture and humidity in the interior, place moisture absorbers such as silica gel packs or desiccant bags inside the car. This will help prevent mold, mildew, and musty odors.
5. Close All Windows and Vents: Ensure that all windows, sunroofs, and vents are tightly closed to prevent dust, debris, and moisture from entering the car. This will help maintain a clean and controlled environment inside.
6. Consider Using Car Interior Covers: If you want an extra layer of protection, you can consider using car interior covers or seat covers to keep the upholstery and surfaces in good condition. Make sure they are clean and dry before installation.
By properly preparing the interior of your car, you can prevent dirt buildup, odors, and potential damage to the upholstery. This will help maintain a fresh and welcoming interior when you’re ready to use the car again.
To store a car, fill the gas tank, change the oil, and add a fuel stabilizer. Keep the tires inflated and use a car cover to protect it from dust and debris.
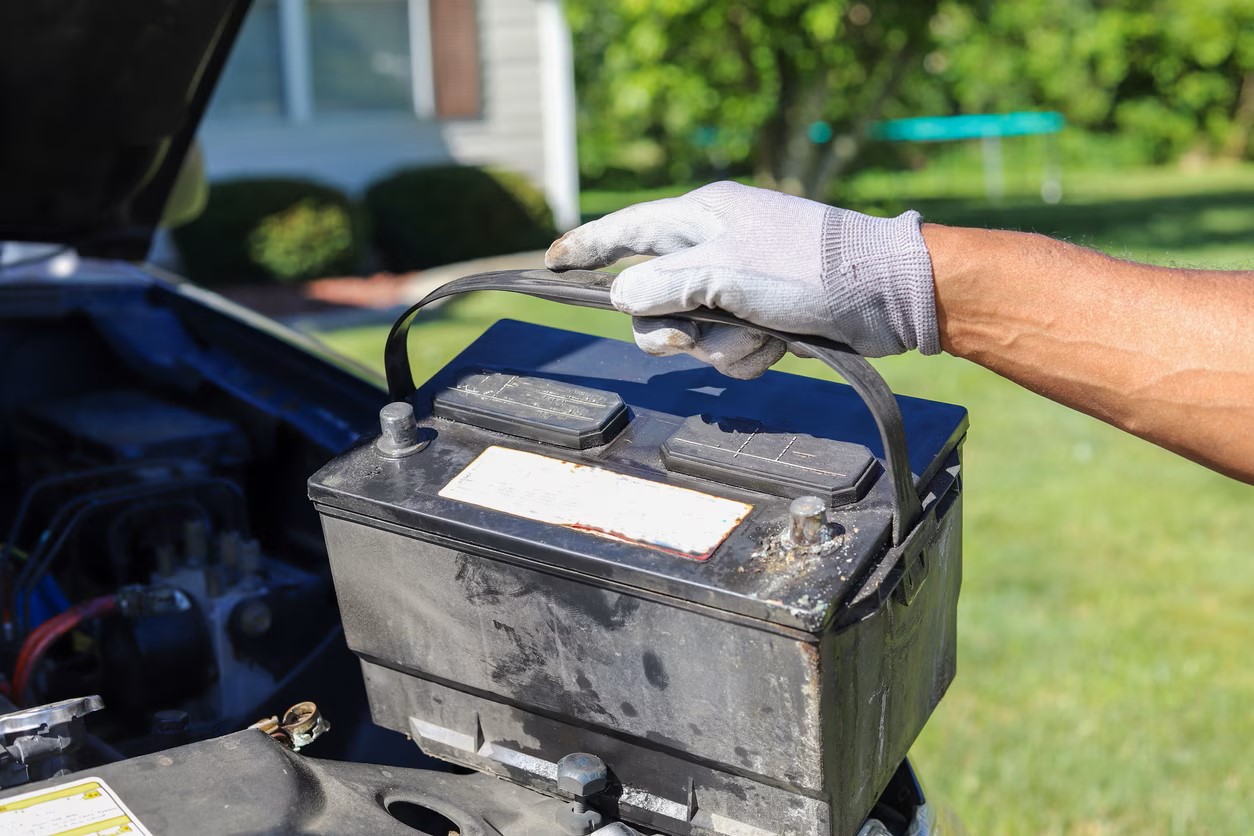
Step 6: Disconnect the Battery
One crucial step in storing your car is to disconnect the battery. When a car sits idle for an extended period, the battery can slowly drain, causing it to lose its charge and potentially get damaged. Follow these steps to properly disconnect the battery:
1. Locate the Battery: Depending on the make and model of your car, the battery can be found under the hood in the engine compartment or in the trunk. Refer to your car’s manual if you’re unsure of its location.
2. Gather Necessary Tools: To disconnect the battery, you’ll need a wrench or a socket set. Ensure that you have the correct size tool to remove the battery terminals.
3. Disconnect the Negative Terminal: Start by disconnecting the negative terminal (marked with a minus “-” sign or labeled “NEG”). Loosen the nut or bolt that secures the cable clamp and gently lift it off the battery terminal. Be careful not to touch the positive terminal with any metal objects.
4. Disconnect the Positive Terminal: After disconnecting the negative terminal, move on to the positive terminal (marked with a plus “+” sign or labeled “POS”). Follow the same steps as before, loosening the nut or bolt and lifting the cable clamp off the battery terminal.
5. Secure the Battery Cables: Once the battery terminals are disconnected, securely tuck away the battery cables to prevent accidental contact with the terminals or any metal surfaces. You can use zip ties or tape to secure them in place.
6. Store the Battery: If you’re storing the car for an extended period, it’s a good idea to remove the battery entirely and store it in a cool, dry place. This will help prolong its lifespan and prevent any potential damage due to extreme temperature fluctuations.
By disconnecting the battery, you can avoid potential electrical issues and ensure that it remains in optimum condition for future use. Just remember to reconnect the battery when you’re ready to use the car again, following the reverse order (positive terminal first, then negative terminal).
Step 7: Maintain Proper Tire Pressure
Proper tire pressure is essential for maintaining the condition of your car’s tires during storage. When a vehicle sits idle for an extended period, the weight of the car can cause flat spots on the tires. Follow these steps to maintain proper tire pressure during storage:
1. Check the Recommended Pressure: Refer to your car’s manual or the door jamb sticker to determine the recommended tire pressure. It’s important to inflate the tires to the correct pressure before storage.
2. Inflate the Tires: Use a high-quality tire pressure gauge to check the current pressure of each tire. If the pressure is below the recommended level, inflate the tires to the specified psi (pounds per square inch) using an air compressor or a manual pump.
3. Lift the Car: If possible, use tire jacks or blocks to take the weight off the tires. This helps to prevent flat spots from occurring during the storage period. Place the jacks or blocks under the car’s frame or designated jacking points, following the instructions in your car’s manual.
4. Regularly Rotate the Tires: To further prevent flat spots, consider rotating the tires every few weeks. This involves swapping the front and rear tires to distribute the weight evenly. If you’re not comfortable doing this yourself, you can have a professional mechanic perform the rotation for you.
5. Inspect the Tires: While maintaining proper tire pressure, it’s also important to regularly inspect the tires for any signs of damage or wear. Look for cuts, bulges, or uneven tread wear. If you notice any issues, it may be necessary to replace the tires before storing the car.
By maintaining proper tire pressure and taking precautions to prevent flat spots, you can prolong the life of your tires and ensure that they are in good condition when you’re ready to use the car again.
Step 8: Use Fuel Stabilizer
Using a fuel stabilizer is an important step in properly storing your car, especially if it will be sitting idle for an extended period. Fuel can deteriorate over time, leading to engine issues and difficulties starting the car when you’re ready to use it again. Follow these steps to use a fuel stabilizer:
1. Choose a High-Quality Fuel Stabilizer: Look for a reputable fuel stabilizer product from a trusted brand. Make sure it is designed for long-term storage and suitable for the type of fuel used in your car (whether gasoline, diesel, or ethanol-blend).
2. Fill the Gas Tank: Fill up the gas tank to its maximum capacity. This helps to minimize air space inside the tank, reducing the risk of moisture buildup. It also prevents the formation of rust inside the fuel tank during storage.
3. Add the Fuel Stabilizer: Follow the instructions provided by the fuel stabilizer manufacturer to determine the correct amount of stabilizer to use based on the size of your gas tank. Pour the recommended amount directly into the tank.
4. Run the Engine: Start the engine and let it idle for a few minutes to allow the stabilized fuel to circulate throughout the fuel system. This ensures that the stabilizer reaches all parts of the engine that come into contact with fuel.
5. Take a Short Drive: If possible, take a short drive after adding the fuel stabilizer to ensure that the treated fuel is distributed throughout the engine system. This will help prevent any potential issues caused by untreated fuel remaining in the fuel lines.
By using a fuel stabilizer, you can prevent fuel deterioration and associated problems such as engine gumming, varnish buildup, and difficulty starting the car. This step ensures that your car’s fuel system remains in good condition during the storage period.
Read more: How To Store Car Battery
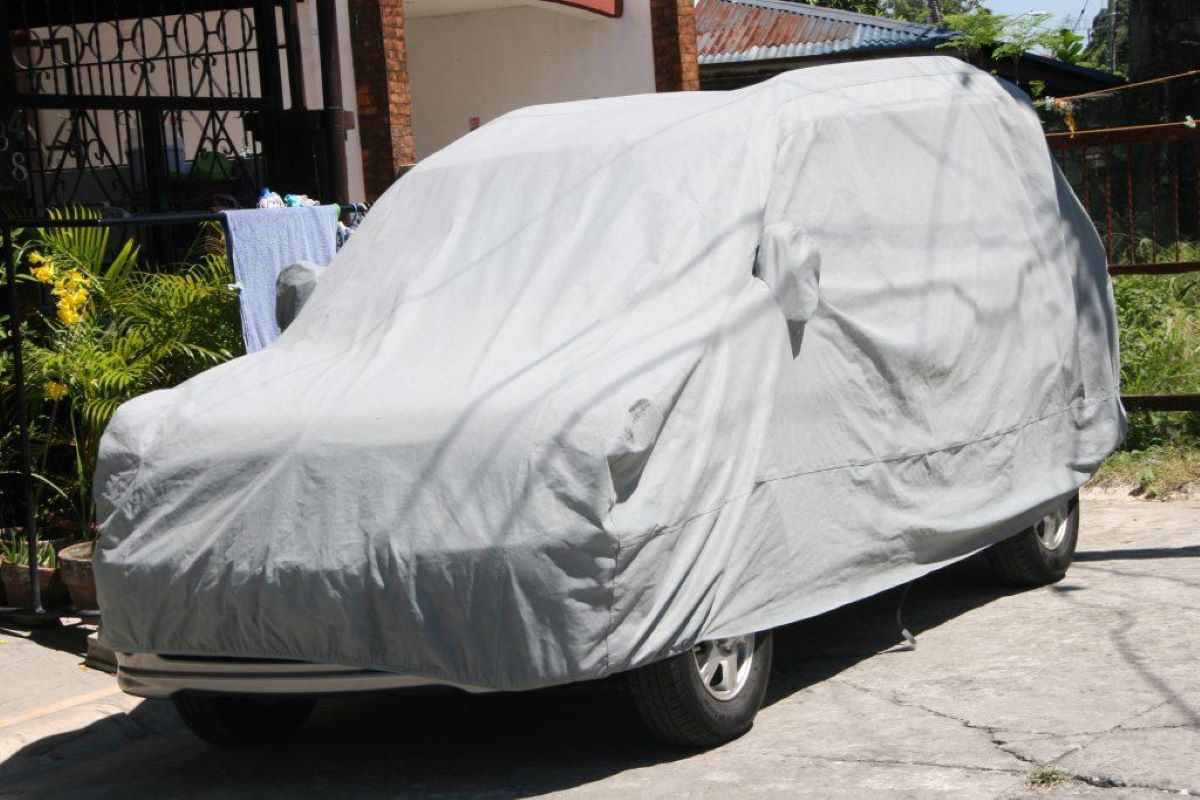
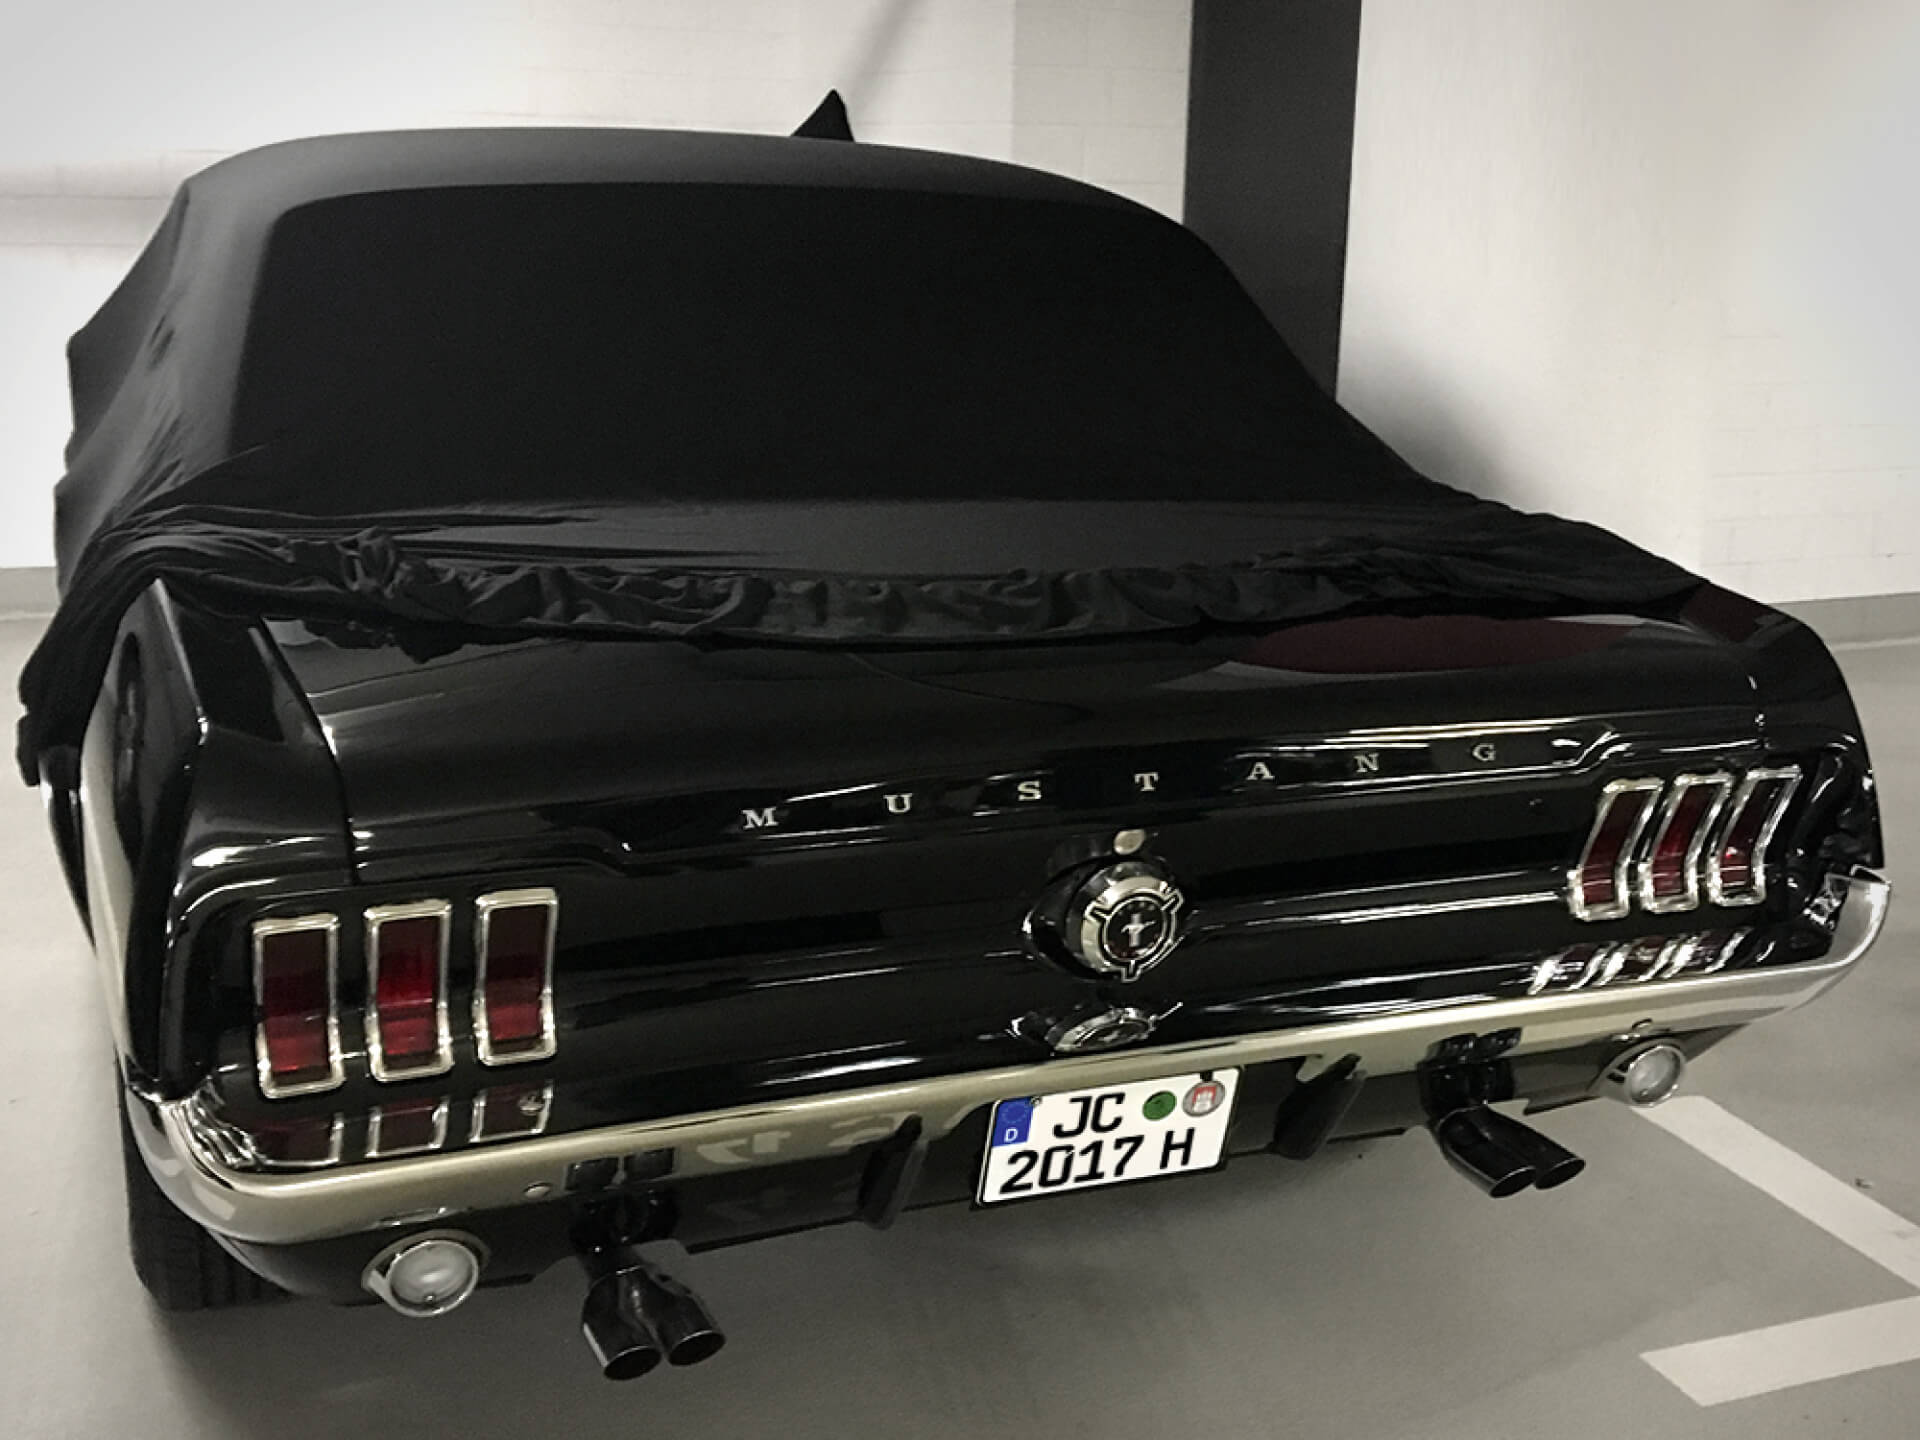
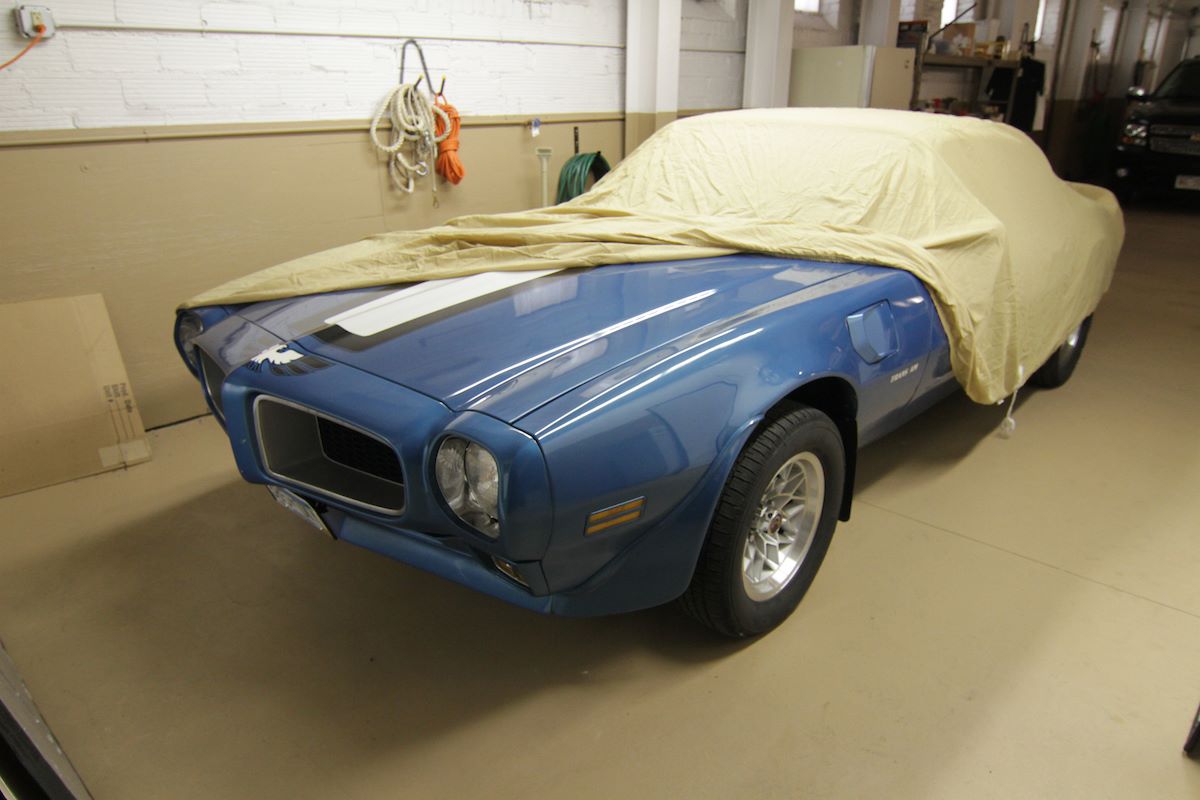
Step 9: Cover the Car
Covering your car is an important step to protect it from dust, dirt, and other potential hazards during storage. A proper car cover provides an extra layer of defense against the elements and helps maintain the condition of the exterior. Follow these steps to cover your car effectively:
1. Choose a Suitable Car Cover: Select a car cover that fits your vehicle properly. Look for a cover made from breathable, high-quality material that provides UV protection. Consider factors such as weather conditions, storage location, and the specific needs of your car.
2. Clean and Dry the Car: Ensure that your car is clean and dry before covering it. Any dirt or moisture on the surface can potentially cause scratches or mildew growth. Give the car a final wash and allow it to thoroughly dry before proceeding.
3. Position the Car Cover: Carefully position the car cover over the car, starting from the front to the back. Make sure the cover fits snugly and evenly over the entire exterior, including the bumpers, mirrors, and antenna (if applicable).
4. Secure the Cover: Most car covers come with tie-down straps or elastic hems to secure them in place. Follow the manufacturer’s instructions to properly secure the cover. Ensure that it is tight enough to avoid flapping in the wind but not so tight that it puts unnecessary strain on the cover or the car’s exterior.
5. Check for Ventilation: Depending on the climate and storage conditions, proper ventilation is essential to prevent moisture buildup. Some car covers include vents to allow air circulation. Ensure that these vents are not obstructed and that there is a proper flow of air underneath the cover.
6. Periodically Check and Maintain: It’s important to periodically check on the condition of the car cover during the storage period. Remove the cover and inspect the car for any signs of moisture, pests, or damage. Clean and dry the cover if necessary before placing it back on the car.
By covering your car, you provide an additional layer of protection against dust, debris, UV rays, and potential scratches. This step helps preserve the exterior of your car and keeps it looking fresh when you’re ready to get back on the road.
Step 10: Regular Maintenance Checks
Performing regular maintenance checks on your stored car is crucial to ensure that it remains in optimal condition throughout its storage period. Here are some important maintenance tasks to keep in mind:
1. Check Fluid Levels: Regularly inspect and top up all essential fluids, including engine oil, coolant, brake fluid, and power steering fluid. If the storage period is prolonged, consider changing the fluids before storing the vehicle.
2. Start the Engine: It’s recommended to start the engine periodically, about once a month, and run it for a few minutes. This helps to keep the engine components lubricated and prevents dry seals and gaskets. However, avoid prolonged idling as it may cause additional moisture buildup in the exhaust system.
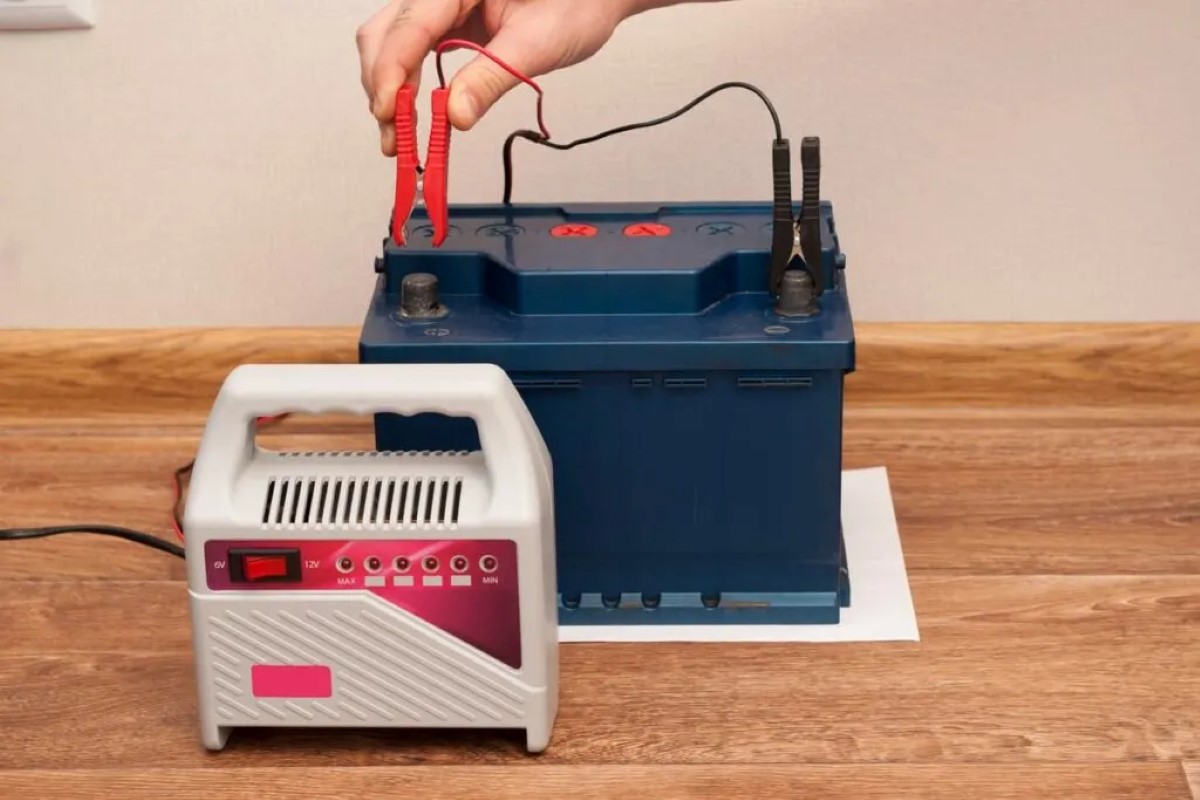
3. Invest in a Battery Maintainer: If you’re storing the car for an extended period, consider using a battery maintainer or trickle charger to keep the battery charged. This will help prevent power loss and extend the life of the battery.
4. Inspect the Belts and Hoses: Check the condition of the belts and hoses under the hood. Look for any signs of wear, cracking, or damage. If any issues are detected, have them repaired or replaced as necessary.
5. Maintain Tire Pressure: Regularly check and maintain the proper tire pressure to prevent flat spots and ensure that the tires are in good condition. Inflate the tires to the recommended level if needed.
6. Protect Against Pests: Monitor for any signs of pests, such as rodents or insects, in the storage area. Take preventive measures by using rodent repellent devices and checking for any entry points where pests can access the car.
7. Periodically Remove the Cover: Every few weeks, remove the car cover and inspect the exterior for any signs of damage, moisture, or mold. Clean and dry the cover before putting it back on.
By performing these regular maintenance checks, you can address any issues early on and keep your car in excellent condition during its storage period. It ensures that the vehicle is ready to hit the road when you’re ready to retrieve it.
Conclusion
Properly storing your car is essential to keep it in optimal condition, whether you’re preparing for the winter season, going on a long trip, or simply keeping it safe while you’re away. By following the steps outlined in this comprehensive guide, you can ensure that your car remains protected and ready for use when you retrieve it.
From the initial preparation to choosing a suitable storage location, cleaning the car, and protecting its exterior and interior, every step plays a crucial role in maintaining the vehicle’s condition. Disconnecting the battery, maintaining proper tire pressure, using a fuel stabilizer, and covering the car provide additional layers of protection against potential issues. Regular maintenance checks help address any problems early on and ensure that the car is ready for the road when the storage period ends.
Remember to follow safety precautions and consult your car’s manual for specific instructions, as each vehicle may have its unique storage needs. Additionally, it’s essential to maintain the storage environment, keeping it clean, well-ventilated, and secure.
By investing time and effort in properly storing your car, you can prolong its lifespan, minimize potential damage, and maintain its value. When the time comes to retrieve your vehicle, you’ll find it in excellent condition, ready to provide you with many more miles of enjoyment.
Frequently Asked Questions about How To Store A Car
Was this page helpful?
At Storables.com, we guarantee accurate and reliable information. Our content, validated by Expert Board Contributors, is crafted following stringent Editorial Policies. We're committed to providing you with well-researched, expert-backed insights for all your informational needs.


0 thoughts on “How To Store A Car”