
Articles
How To Store And Reuse Frying Oil
Modified: October 19, 2024
Learn how to properly store and reuse frying oil with this informative collection of articles. Discover the best methods for extending the life of your cooking oil and reducing waste.
(Many of the links in this article redirect to a specific reviewed product. Your purchase of these products through affiliate links helps to generate commission for Storables.com, at no extra cost. Learn more)
Introduction
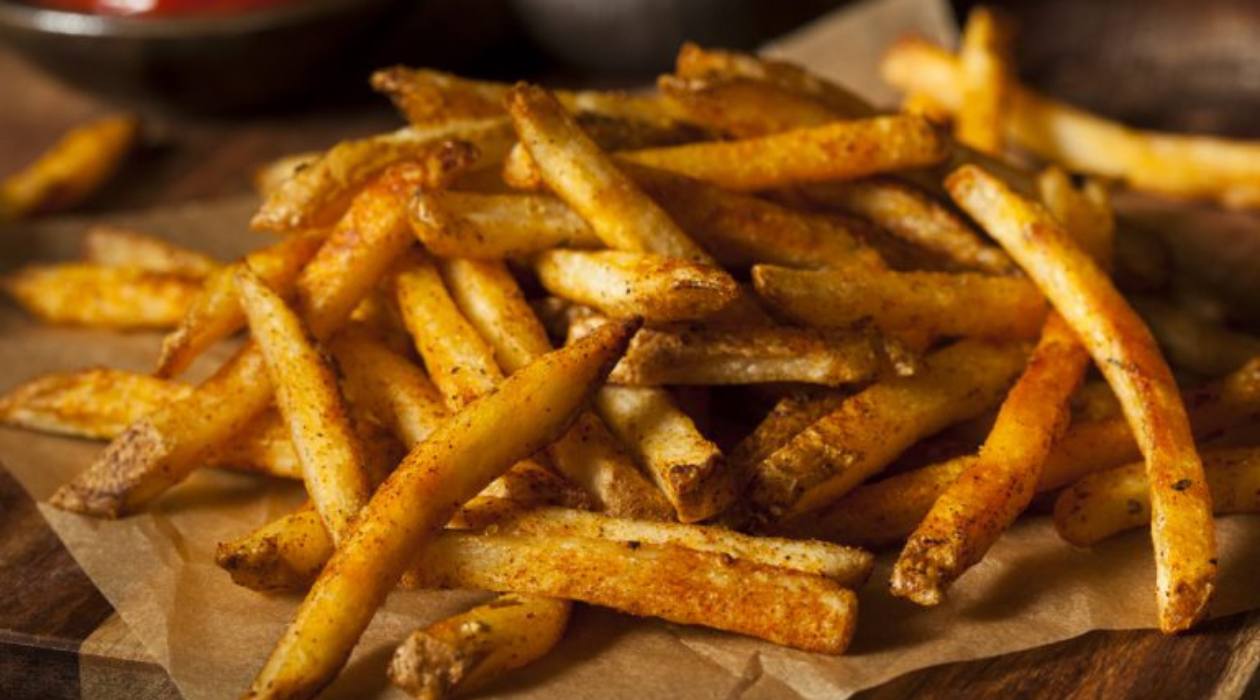
Fried foods are a delicious indulgence that many of us enjoy. From crispy French fries to mouthwatering fried chicken, nothing quite compares to the satisfying crunch and flavorful taste that frying can bring. However, one aspect that often gets overlooked is what to do with the leftover frying oil. Instead of discarding it after each use, storing and reusing frying oil can be a practical and economical solution.
In this article, we will explore the benefits of storing and reusing frying oil, the importance of choosing the right oil, the process of filtering and removing residue and food particles from the oil, proper storage methods, how to check for rancidity, and helpful tips for reusing frying oil. By following these steps, you can reduce waste, save money, and ensure that your fried foods are just as delicious as the first time.
Key Takeaways:
- Storing and reusing frying oil not only saves money but also enhances the flavor of fried foods. By following proper filtration and storage methods, you can enjoy delicious crispy dishes while reducing waste.
- Choosing the right oil, filtering out impurities, and monitoring for rancidity are essential for safe and economical oil reuse. With careful handling and attention to quality, you can enjoy the benefits of reusing frying oil without compromising on taste.
Read more: How To Store Used Peanut Oil For Reuse
Benefits of Storing and Reusing Frying Oil
Storing and reusing frying oil offers several advantages that go beyond just saving money. Here are some of the key benefits:
- Economical: One of the main advantages of reusing frying oil is the cost savings. By properly storing and filtering the oil, you can extend its lifespan and avoid the need for frequent oil replacements.
- Enhanced Flavor: As you reuse frying oil, it develops a unique flavor profile that can enhance the taste of your fried foods. This is especially true for certain types of cooking oils, such as peanut oil, which tend to impart a desirable nutty flavor.
- Convenient: Storing and reusing frying oil eliminates the hassle of having to dispose of it after each use. Instead, you can simply keep it on hand for future cooking sessions, ensuring that you always have oil readily available.
- Reduced Waste: By reusing frying oil, you are contributing to a more sustainable approach in the kitchen. Instead of generating excess waste by regularly discarding oil, you can minimize your environmental impact by extending the lifespan of the oil.
- Consistent Cooking Results: When you reuse frying oil, it becomes seasoned over time, resulting in more consistent cooking results. The oil develops a patina that helps to distribute heat evenly and achieve a crispy exterior while retaining moisture inside the food.
- Preserved Nutritional Value: Contrary to popular belief, reusing frying oil does not significantly impact the nutritional value of foods. While some nutrients may be lost during the frying process, the oil itself retains its fat-soluble vitamins and other beneficial compounds.
These benefits make storing and reusing frying oil a worthwhile practice for both home cooks and professional chefs alike. Now let’s move on to the next important step – choosing the right oil for frying.
Choosing the Right Oil
When it comes to frying, not all oils are created equal. The type of oil you choose can greatly impact the taste, texture, and overall quality of your fried foods. Here are some factors to consider when selecting the right oil for frying:
- Smoke Point: The smoke point of an oil refers to the temperature at which it starts to break down and produce smoke. It is important to choose an oil with a high smoke point to prevent it from burning and imparting an unpleasant taste to your food. Some oils with high smoke points include peanut oil, canola oil, and vegetable oil.
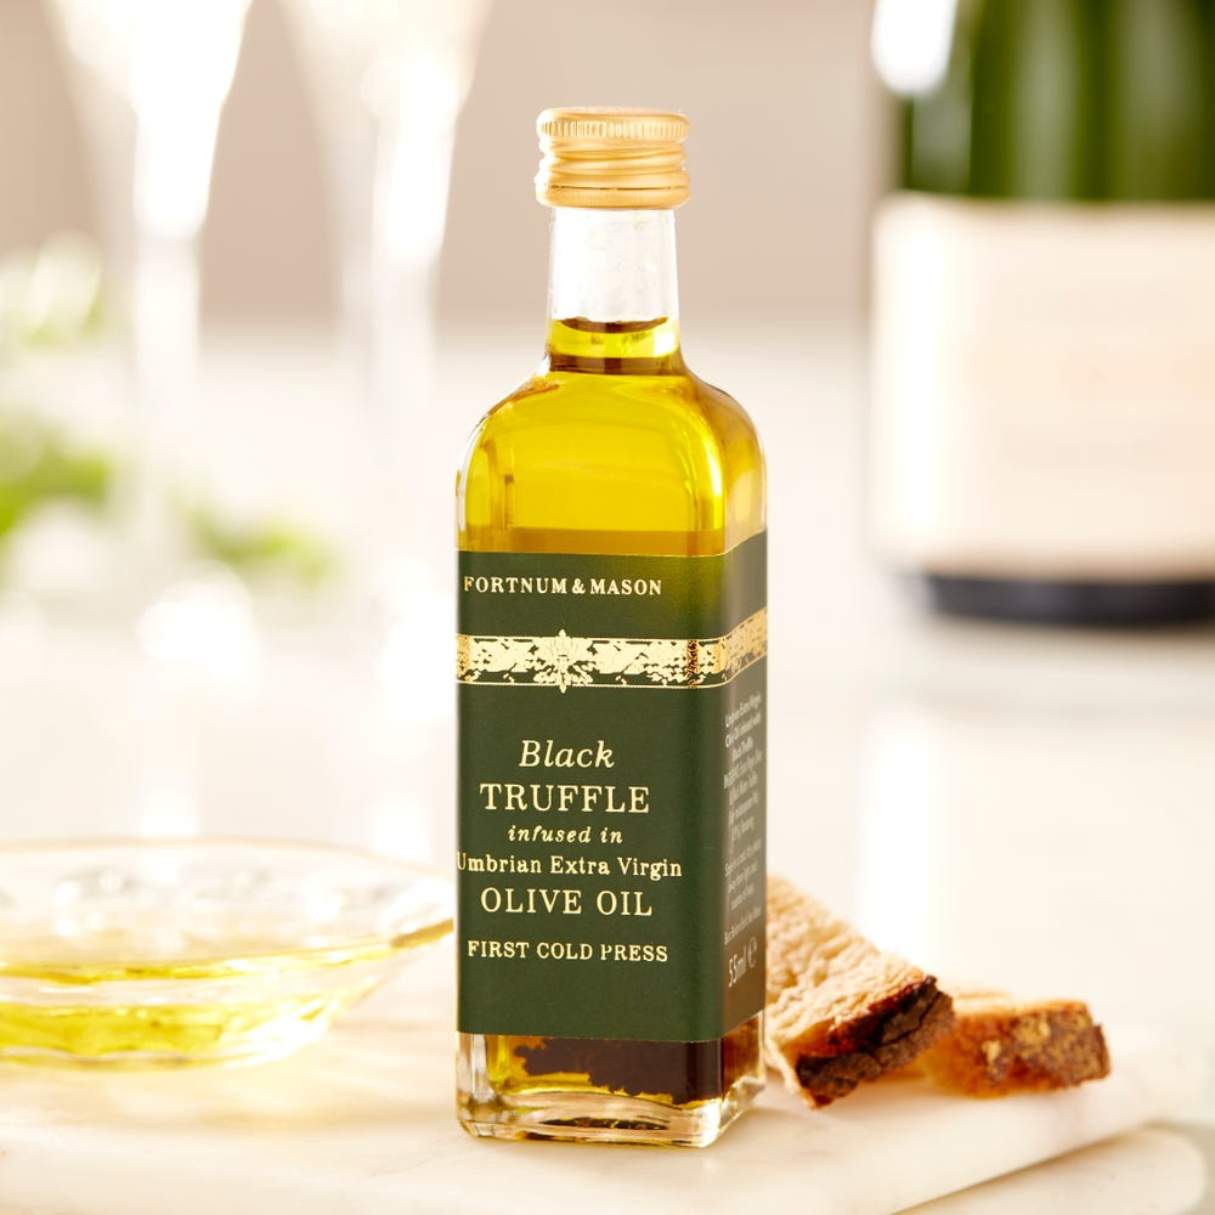
- Flavor: Different oils have distinct flavors that can enhance or alter the taste of your fried dishes. For example, peanut oil adds a nutty flavor, while olive oil imparts a fruity and herbal taste. Consider the flavor profile you desire and choose an oil that complements your recipe.
- Health Considerations: Health-conscious individuals may opt for oils that are lower in saturated fats and rich in unsaturated fats, like olive oil or avocado oil. These oils provide a healthier alternative without compromising on taste.
- Budget: The cost of the oil is another factor to consider, especially if you plan on reusing it multiple times. Some oils may be more expensive than others, so choose an option that fits within your budget without sacrificing quality.
- Availability: Check the availability of the oil in your local grocery store or supermarket. It’s best to choose an oil that you can easily find, ensuring that you can replenish your supply whenever needed.
Keep in mind that different oils have different properties, so it’s important to read the manufacturer’s guidelines and recommendations for frying. Experimenting with different oils can also add a unique touch to your culinary creations. Once you have selected the right oil, it’s time to move on to the next step – filtering the frying oil.
Filtering the Frying Oil
Filtering the frying oil is a crucial step in maintaining its quality and prolonging its usability. Over time, the oil can accumulate residue, food particles, and impurities that can affect the taste and texture of your fried foods. Here’s how you can effectively filter your frying oil:
- Cooling and Settling: Allow the frying oil to cool down completely before filtering. This will help the impurities to settle at the bottom of the container, making them easier to remove.
- Use a Fine Mesh Strainer or Cheesecloth: Place a fine mesh strainer or cheesecloth over a clean container or bowl. Slowly pour the cooled oil through the strainer to separate any larger debris or food particles. This will help remove any unwanted solids from the oil.
- Double-Line the Strainer: For finer filtration, consider double-lining your strainer with a coffee filter or several layers of cheesecloth. This will help catch smaller particles and sediment, resulting in a cleaner oil.
- Discard Sediment: Once the filtration process is complete, carefully discard the collected sediment and debris from the strainer or cheesecloth. It’s important to dispose of these materials properly as they can clog drains.
- Repeat if Necessary: If the oil still appears cloudy or contains visible impurities, you may need to repeat the filtration process to achieve a cleaner result. This will ensure that your oil is free from any potential off-flavors or odors.
By filtering your frying oil, you can remove unwanted particles and ensure a smoother cooking experience. However, it’s important to note that filtration can only achieve so much. Eventually, the oil will start to degrade and lose its quality even with proper filtration. It’s essential to monitor the condition of the oil over time and dispose of it once it becomes rancid or starts producing off-flavors.
Now that you’ve filtered the frying oil, the next step is to remove any remaining residue and food particles. Let’s explore how to do this effectively.
Removing Residue and Food Particles
After filtering the frying oil, it’s important to remove any remaining residue and food particles to ensure optimal quality and taste. Here are some effective methods to accomplish this:
- Skimming: Using a fine-mesh skimmer or slotted spoon, carefully skim the surface of the oil to remove any floating debris or food particles. This will help prevent them from burning and affecting the flavor of your fried foods.
- Straining Through Coffee Filters: For a more thorough removal of finer particles, strain the oil again using a coffee filter or layers of cheesecloth. This will help capture any remaining sediment and ensure a cleaner frying oil.
- Using Potato Slices: Another effective method is to add a few potato slices to the heated oil. The potatoes will absorb some of the impurities and food particles, making it easier to remove them. Discard the potato slices after use.
- Using Eggshells: Place clean and dry eggshells into the oil and stir gently. The eggshells will act as magnets, attracting smaller particles and residue. Remove the eggshells and discard them along with the debris.
- Letting Settle Overnight: If time allows, after removing any visible residue, let the oil sit undisturbed overnight. This will allow any remaining particles to settle at the bottom of the container, making them easier to discard.
Remember, even with proper filtering and removal of residue and food particles, frying oil has a limited lifespan. It is essential to be mindful of signs of rancidity, such as a strong odor, off-flavors, or a darkened color. When in doubt, it’s better to err on the side of caution and replace the oil to ensure the best cooking results.
Now that you have removed residue and food particles, it’s time to learn about the proper storage methods to maintain the quality of the frying oil.
After frying, strain the oil through a fine-mesh sieve to remove any food particles. Store in a cool, dark place in a sealed container. Reuse up to 3 times for best results.
Read more: How To Store Tea Leaves For Reuse
Storing Frying Oil Properly
Proper storage is key to maintaining the quality and usability of frying oil. Follow these guidelines to ensure that your oil stays fresh and ready for future use:
- Cool the Oil: Allow the oil to cool completely before transferring it to a storage container. Hot oil can cause condensation, which can introduce moisture and promote spoilage.
- Choose the Right Container: Use a clean, airtight container made of glass or metal to store the oil. Avoid using plastic or reactive materials, as they can interact with the oil and affect its quality.
- Label and Date: It’s essential to label the container with the type of oil and the date it was used. This will help you keep track of the oil’s age and ensure that you use it within a reasonable timeframe.
- Store in a Cool, Dark Place: Prevent exposure to heat, light, and air by storing the oil in a cool, dark pantry or cupboard. Sunlight and warm temperatures can accelerate the oil’s degradation process.
- Avoid Contaminants: Keep the container tightly sealed to prevent contaminants, such as dust, moisture, or odors, from entering the oil. This will help maintain its freshness and prevent any off-flavors.
- Minimize Oxygen Exposure: If possible, consider using smaller containers to minimize the amount of air in contact with the oil. Oxygen can contribute to the oxidation process, leading to rancidity.
- Rotate and Use within a Reasonable Timeframe: While properly stored frying oil can last for several months, it is recommended to use it within three to six months for optimal taste and quality. Rotating your oil supply ensures that you always use the oldest oil first.
By following these storage practices, you can maximize the lifespan of your frying oil and maintain its quality for longer periods. However, it’s important to note that even with proper storage, frying oil will eventually degrade due to repeated heating and exposure to air. Regularly inspect the oil for any signs of rancidity and dispose of it if it is no longer suitable for use.
Now that you know how to store the frying oil properly, let’s move on to the next step – checking for rancidity.
Checking for Rancidity
Checking for rancidity is a crucial step to ensure the safety and quality of frying oil. Rancid oil not only affects the taste and aroma of your fried foods but can also pose potential health risks. Here are some methods to check for rancidity:
- Smell Test: Rancid oil has a distinct, unpleasant odor. Take a whiff of the oil – if it smells off, sour, or rancid, it is no longer suitable for use.
- Visual Examination: Inspect the color and appearance of the oil. Rancid oil may appear darker or have a cloudy or hazy look. Any significant discoloration indicates degradation.
- Taste Test: While not recommended, if you’re comfortable doing so, you can conduct a taste test. Rancid oil will have an unpleasant and bitter taste that is noticeable even in small amounts.
- Texture Test: In some cases, rancid oil may develop a greasy or sticky texture. If the oil feels slimy or tacky to the touch, it has likely undergone spoilage.
- Expiration Date: If you stored the oil properly and labeled it with the date of use, check the expiration date. If the oil has surpassed the recommended timeframe for storage, it is advisable to discard it.
It’s important to note that rancidity can occur even in properly stored oil due to the repeated heating and exposure to air. Regularly check your frying oil for any signs of rancidity and dispose of it if it exhibits any of the above characteristics. It’s always better to be safe and use fresh oil for frying.
Now that you know how to check for rancidity, let’s move on to the final step – reusing the frying oil.
Reusing Frying Oil
Reusing frying oil requires careful consideration to ensure the best possible results. Here are some tips and guidelines for reusing frying oil:
- Inspect the Oil: Before reusing the oil, inspect it for any signs of rancidity or degradation. If the oil smells off, looks discolored, or has a bad taste, it’s best to discard it and use fresh oil for frying.
- Filter the Oil: Prior to reuse, filter the oil again to remove any residual food particles or impurities. This helps to maintain the cleanliness and quality of the oil.
- Manage Temperature: Keep an eye on the frying temperature. Overheating the oil can lead to faster degradation and affect the quality of your fried foods. Follow the temperature recommendations for the specific oil you are using.
- Monitor Oil Usage: Each time you reuse the oil, take note of the number of times it has been used. Experts recommend reusing frying oil for no more than three to four times to ensure optimal taste and quality.
- Store Properly Between Uses: If you plan to reuse the oil within a short period, you can store it in a clean, airtight container in a cool, dark place. Avoid storing used oil for an extended period, as it can lead to faster degradation and spoilage.
- Use for Similar Foods: When reusing frying oil, it’s best to use it for similar types of foods. For example, if you initially fried seafood, reuse the oil for frying other seafood dishes to preserve flavors. Mixing different flavors can result in off-tastes.
- Consider Oil Blending: Blending used frying oil with fresh oil can help improve its performance and extend its usability. Adding a small amount of fresh oil can enhance the flavor and maintain the desired frying qualities.
Remember, while reusing frying oil can be convenient and economical, it is important to prioritize safety and quality. If at any point the oil becomes questionable or shows signs of degradation, it’s best to err on the side of caution and replace it with fresh oil for frying.
Now that you are equipped with the knowledge of reusing frying oil, you can enjoy crispy and delicious fried foods while being mindful of waste reduction and cost-effectiveness.
Finally, let’s wrap up with some final thoughts.
Final Thoughts
Storing and reusing frying oil can be a practical and economical solution that allows you to enjoy crispy and delicious fried foods while minimizing waste and saving money. By following the tips and guidelines provided in this article, you can make the most out of your frying oil and ensure optimal taste and quality.
Choosing the right oil, filtering out impurities, and storing the oil properly are essential steps in maintaining the freshness and usability of the frying oil. Regularly checking for rancidity and using fresh oil when needed is crucial for both the taste of your fried foods and your overall health.
Remember to exercise caution and practice safe handling when reusing frying oil. Keep an eye on the temperature, manage oil usage, and pay attention to any signs of degradation. By being mindful of these factors, you can enjoy the benefits of reusing frying oil without compromising on quality or taste.
Lastly, it’s worth mentioning that while reusing frying oil can be beneficial, there comes a point when the oil reaches the end of its usable life. When in doubt, it’s always best to err on the side of caution and replace the oil with fresh supplies.
So, next time you find yourself with leftover frying oil, consider storing and reusing it using the techniques outlined in this article. Not only will you reduce waste and save money, but you’ll also create an opportunity to enhance the flavors of your fried dishes while minimizing your environmental impact.
Happy frying!
Frequently Asked Questions about How To Store And Reuse Frying Oil
Was this page helpful?
At Storables.com, we guarantee accurate and reliable information. Our content, validated by Expert Board Contributors, is crafted following stringent Editorial Policies. We're committed to providing you with well-researched, expert-backed insights for all your informational needs.


0 thoughts on “How To Store And Reuse Frying Oil”