Home>Interior Design>How To Reuse Wall Decals
Interior Design
How To Reuse Wall Decals
Modified: March 16, 2024
Learn how to reuse wall decals in your interior design. Discover creative ways to repurpose and rearrange wall decals to update your space without breaking the bank.
(Many of the links in this article redirect to a specific reviewed product. Your purchase of these products through affiliate links helps to generate commission for Storables.com, at no extra cost. Learn more)
Introduction
Welcome to the world of interior design, where creativity meets functionality and every element in a space plays a crucial role in defining its ambiance. One such element that has gained immense popularity in recent years is wall decals. These versatile adhesive decorations offer a quick and easy way to transform any room, adding a touch of personality and style.
While many may view wall decals as a one-time use item, they can actually be reused and repurposed, allowing you to experiment with different designs and arrangements without the fear of damaging your walls. Reusing wall decals not only gives you the opportunity to save money, but it also allows you to minimize waste and contribute to a more sustainable approach to interior design.
In this article, we will explore the benefits of reusing wall decals, provide tips for choosing the right ones for reuse, and guide you through the process of properly removing, cleaning, storing, and reapplying wall decals. We will also delve into creative ways to repurpose decals and extend their lifespan in your home. So, let’s dive in and discover how to give your walls a fresh look without breaking the bank!
Key Takeaways:
- Save money and reduce waste by reusing wall decals. They offer a sustainable and flexible way to update your space, allowing for design experimentation and easy application.
- Get creative with reused wall decals! From creating gallery walls to revamping furniture, the possibilities are endless. Reusing decals adds a personal touch and enhances your home decor.
Read more: What Are Wall Decals
Benefits of Reusing Wall Decals
When it comes to interior design, flexibility and cost-effectiveness are always top considerations. Reusing wall decals can offer several benefits that make them a worthwhile investment. Let’s explore some of the advantages:
- Cost Savings: By reusing wall decals, you can avoid the need to purchase new ones every time you want to change the look of your space. This can save you a significant amount of money, especially if you enjoy updating your decor regularly.
- Sustainability: Reusing wall decals is an eco-friendly choice as it reduces waste. Instead of disposing of old decals, which may end up in landfills, repurposing them allows you to adopt a more sustainable approach to interior design.
- Design Experimentation: Reusing wall decals gives you the freedom to experiment with different design ideas and arrangements without the fear of damaging your walls or committing to a permanent look. You can easily swap out decals to create new visual focal points in your space.
- Easy Application: Since wall decals are designed to be easily applied and removed, reusing them is a hassle-free process. You can simply peel off the decal from its original location and reapply it to a new spot, saving time and effort.
- Flexibility in Space: Whether you move to a new home or want to rearrange your existing space, reusing wall decals offers the flexibility to adapt your decor to different rooms and layouts. You can transform a bedroom decal into a living room accent or vice versa, adding a personal touch to each space.
These benefits highlight the value of reusing wall decals. Not only do they offer a budget-friendly option for updating your decor, but they also allow you to embrace sustainability and express your creativity in a versatile and effortless way. So, let’s move on to the next step and learn how to choose the right wall decals for reuse.
Choosing the Right Wall Decals for Reuse
When it comes to reusing wall decals, it’s important to select ones that are durable and in good condition. Here are some tips to help you choose the right wall decals for reuse:
- Quality Material: Look for wall decals made from high-quality vinyl or fabric material. These materials are known for their durability and longevity, making them ideal for reuse.
- Adhesive Strength: The adhesive backing on wall decals should be strong enough to securely stick to your walls but also allow for easy removal without causing damage. Avoid decals with weak adhesives that may not hold up well for reuse.
- Design Versatility: Select wall decals that offer design flexibility and can be easily incorporated into different spaces or themes. Decals with simple and neutral designs can be more versatile and adaptable to various styles.
- Size and Scalability: Consider the size of the wall decals and how easily they can be scaled up or down. This will allow you to reuse the decals in different-sized rooms or even on furniture and other surfaces.
- Ease of Cleaning: Wall decals that are easy to clean and maintain will withstand the reuse process better. Look for decals that can be wiped or gently washed to keep them looking fresh and vibrant.
- Compatibility with Surfaces: Ensure that the wall decals you choose are suitable for the type of surface you plan to reuse them on. Different decals may work better on painted walls versus textured surfaces, so be mindful of compatibility.
By considering these factors, you can make informed decisions when selecting wall decals for reuse. It’s important to invest in quality decals that are built to withstand multiple uses and maintain their adhesive properties over time. Now that you have chosen your wall decals, let’s move on to the next step and learn how to properly prepare your walls for decal reapplication.
Preparing the Wall for Decal Reapplication
Before you can reuse wall decals, it’s essential to properly prepare the walls to ensure optimal adhesion and a smooth application. Follow these steps to prepare your walls for decal reapplication:
- Clean the Surface: Start by cleaning the wall surface where the decal will be applied. Use warm water and mild soap to remove any dirt, dust, or grease. Make sure the surface is completely dry before proceeding.
- Remove any Residue: If there are any leftover adhesive residue from the previous decal, gently scrape it off using a plastic scraper or your fingernail. You can also use a small amount of rubbing alcohol to dissolve the residue.
- Smooth out Imperfections: Inspect the wall for any bumps, dents, or uneven textures. If necessary, fill in any holes or cracks with spackling paste and sand down the surface to create a smooth and even base for the decal.
- Prime the Wall (if needed): In some cases, it may be beneficial to apply a primer to the wall before reapplying the decal. This is especially recommended if you have a highly porous or textured wall surface. The primer will create a smoother surface and improve adhesive performance.
- Allow for Proper Drying Time: If you have applied spackling paste or primer, make sure to follow the manufacturer’s instructions for drying time. It’s crucial to allow the wall surface to completely dry before attempting to apply the decal to prevent peeling or bubbling.
By following these steps, you can ensure that your wall surface is clean, smooth, and ready for decal reapplication. Properly preparing the wall will enhance the adhesion and longevity of the reused wall decals. Now that your walls are prepped, let’s move on to the next step and learn how to effectively remove wall decals for reuse.
Removing Wall Decals Properly
When it comes to reusing wall decals, proper removal is key. Follow these steps to remove wall decals without damaging them:
- Start from a Corner: Begin by gently peeling off a corner of the decal. Use your fingernail or a plastic scraper to lift the edge of the decal away from the wall slowly.
- Work Slowly and Carefully: Gradually peel back the decal, applying even and gentle pressure. Take your time to avoid tearing or stretching the decal.
- Apply Heat (if needed): If the decal is not easily peeling off, you can use a hairdryer on a low-to-medium heat setting to warm the adhesive. The heat will help loosen the decal, making it easier to remove.
- Use Adhesive Remover (if necessary): If there is residue left on the wall after removing the decal, you can apply a small amount of adhesive remover to a cloth and gently rub the area to dissolve the remaining adhesive. Be sure to follow the instructions on the adhesive remover product.
- Clean the Area: After removing the decal and any remaining adhesive, clean the wall surface using warm water and mild soap. Remove any traces of adhesive remover and ensure the surface is dry before reapplying the decal.
It’s important to be patient and gentle when removing wall decals to avoid any damage. By following these steps, you can safely remove decals and prepare them for reuse. Now that you know how to remove the decals, let’s move on to the next step and learn about cleaning and storing wall decals properly.
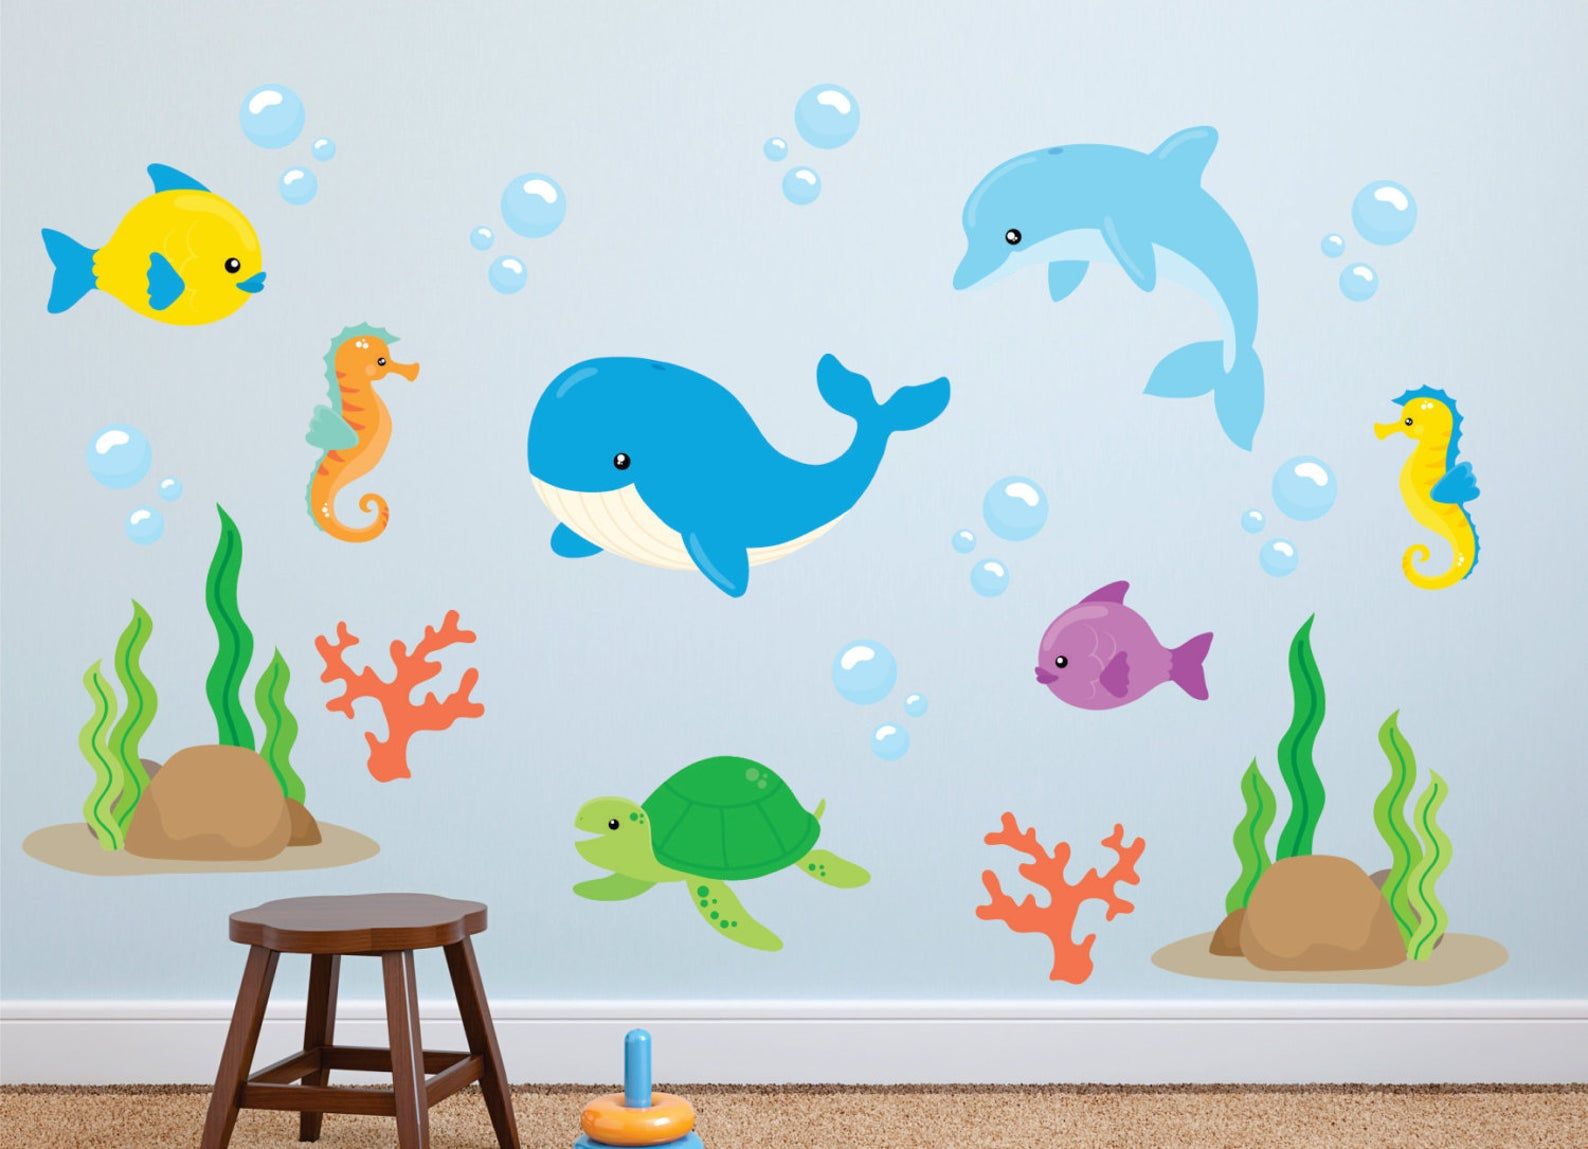
To reuse wall decals, carefully peel them off the wall and place them on wax paper to prevent sticking. Clean the back of the decal with a damp cloth to remove any residue before reapplying to a new surface.
Read more: How To Store Wall Decals
Cleaning and Storing Wall Decals
To ensure the longevity and reusability of wall decals, proper cleaning and storage are essential. Follow these guidelines to clean and store your wall decals:
- Gently Clean the Decals: Use a soft, damp cloth or sponge to clean the surface of the wall decals. Avoid using harsh chemicals or abrasive materials that can damage the decals. If needed, you can add a small amount of mild soap to the water for a deeper clean.
- Pat Dry: After cleaning, gently pat the decals dry with a clean towel or allow them to air dry completely. Avoid rubbing the decals vigorously, as this can cause color fading or damage.
- Remove Dust and Debris: Regularly remove any dust or debris that may accumulate on the surface of the wall decals. Use a soft brush or a microfiber cloth to gently wipe away any particles.
- Store Flat and Protected: When not in use, store the wall decals flat in a clean, dry, and dust-free area. Avoid folding or creasing the decals, as this can damage them. Consider using a plastic sleeve or a sheet protector to keep the decals protected and prevent any accidental damage or moisture exposure.
- Avoid Extreme Temperatures: Store the wall decals in an environment with moderate temperature and humidity levels. Extremes of heat or cold can potentially affect the adhesive properties and overall quality of the decals.
- Label and Organize: If you have multiple wall decals, consider labeling each one and organizing them by size, style, or theme. This will make it easier to find and reuse the decals in the future.
By following these cleaning and storage tips, you can ensure that your wall decals remain in good condition and are ready for reuse whenever you desire. Now that you know how to clean and store wall decals, let’s move on to the process of applying reused wall decals.
Applying Reused Wall Decals
Once you have properly cleaned and prepared both your walls and wall decals, it’s time to apply the reused decals. Follow these steps for a smooth and successful application:
- Choose the Placement: Determine the desired location for the decal on your wall. Take into consideration the overall design and layout of the room, as well as any existing decor or furniture.
- Measure and Align: Use a measuring tape or a level to ensure accurate placement of the decal. Take into account any wall dimensions or patterns to ensure proper alignment with the surrounding space.
- Peel off the Backing: Slowly peel off the backing paper from the decal, starting from one of the corners. Take care not to touch the adhesive surface with your fingers to avoid transferring oil or dirt.
- Apply the Decal: Align the decal with the desired location on the wall and gently press it onto the surface, starting from one end and working your way towards the other to minimize air bubbles. Use a soft cloth or squeegee to smooth out any wrinkles or bubbles as you go.
- Press Firmly and Smooth: Once the decal is in place, apply firm pressure along the entire surface to ensure proper adhesion. Pay extra attention to the edges and corners to prevent them from lifting over time.
- Allow for Dry Time: Give the decal sufficient time to adhere to the wall properly. Avoid touching or disturbing the decal for at least 24 hours to allow the adhesive to set and bond securely.
By following these steps, you can successfully apply reused wall decals to refresh your space with minimal effort. Remember to be patient and take your time to ensure proper alignment and adhesion. Now that you know how to apply the decals, let’s explore ways to enhance their lifespan in your home.
Enhancing the Lifespan of Reused Wall Decals
To maximize the lifespan of your reused wall decals and keep them looking great for years to come, consider the following tips:
- Avoid Direct Sunlight: Prolonged exposure to direct sunlight can cause fading and discoloration of wall decals. If possible, place the decals away from windows or use curtains or blinds to protect them from harsh sunlight.
- Avoid High Humidity Areas: Excessive humidity can affect the adhesive properties of wall decals. Avoid placing decals in areas prone to moisture, such as bathrooms or kitchens, unless they are specifically designed for high humidity environments.
- Regularly Dust and Clean: Dust and clean your wall decals regularly to maintain their appearance. Use a soft brush or a microfiber cloth to gently remove any dust or debris. If necessary, clean them with a mild soap and warm water solution.
- Avoid Harsh Cleaning Agents: When cleaning wall decals, avoid using harsh or abrasive cleaning agents as they can damage the decals. Stick to mild soap and water or specialized vinyl cleaning solutions to protect the integrity of the decals.
- Be Mindful of Wall Texture: If your walls have a textured surface, be aware that the texture can affect the adhesion of wall decals. Smooth, flat walls provide the best surface for long-lasting adhesion.
- Handle with Care: When removing, cleaning, or reapplying wall decals, handle them gently to avoid tears or stretching. Follow the recommended guidelines provided by the manufacturer to prevent any damage to the decals.
- Keep the Original Backing: When not in use, store the wall decals with their original backing paper. This will help protect the adhesive side from dust or damage and ensure that the decals are ready for reuse in the future.
By following these tips, you can extend the lifespan of your reused wall decals and keep them looking vibrant and fresh for years to come. Remember to be mindful of the environment and conditions in which the decals are placed to ensure optimal adhesion and longevity. Now, let’s explore some creative ways to repurpose wall decals.
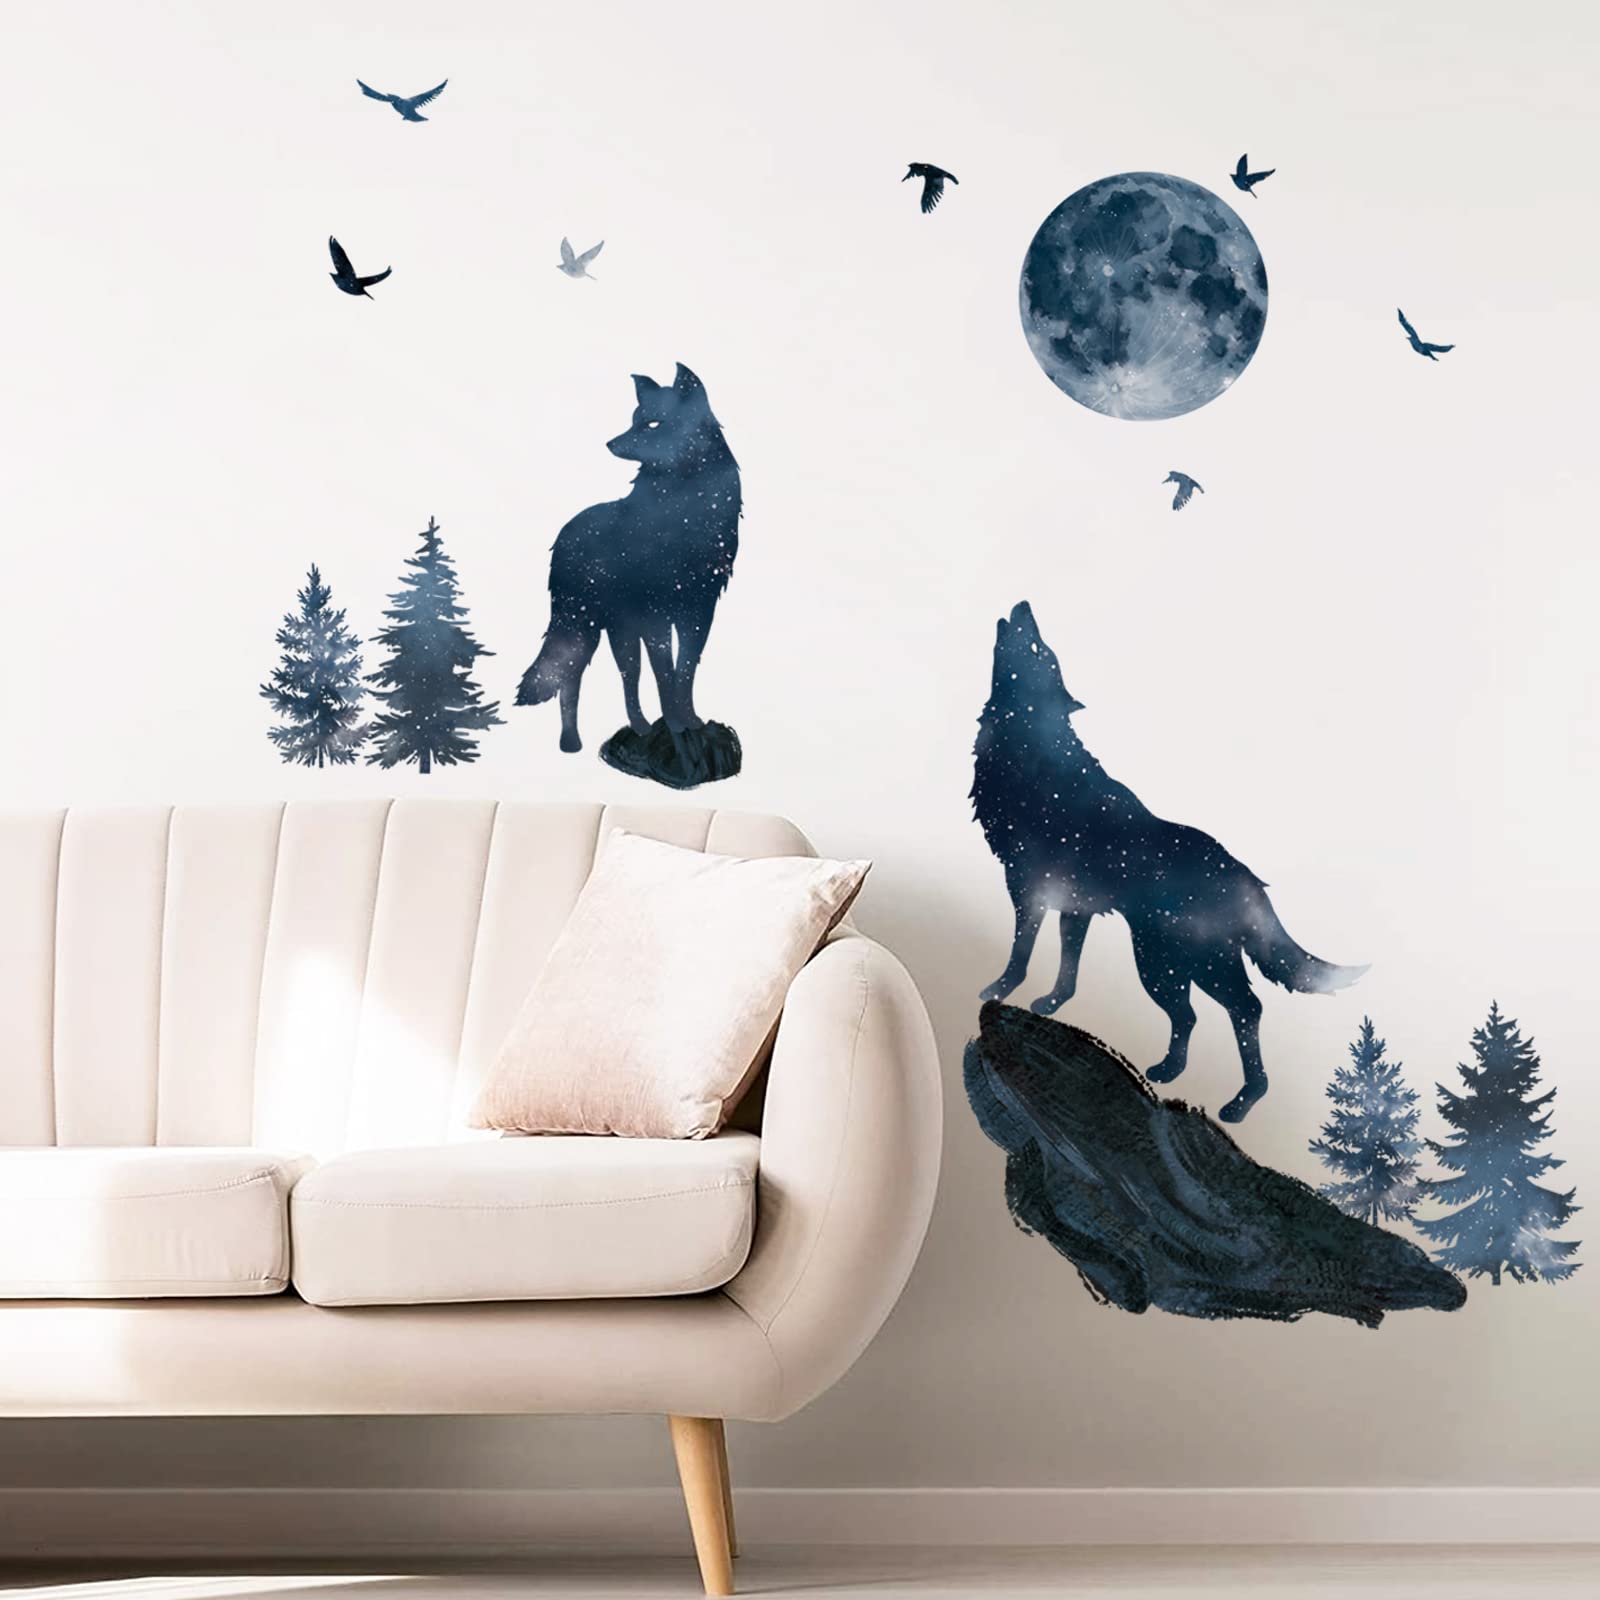
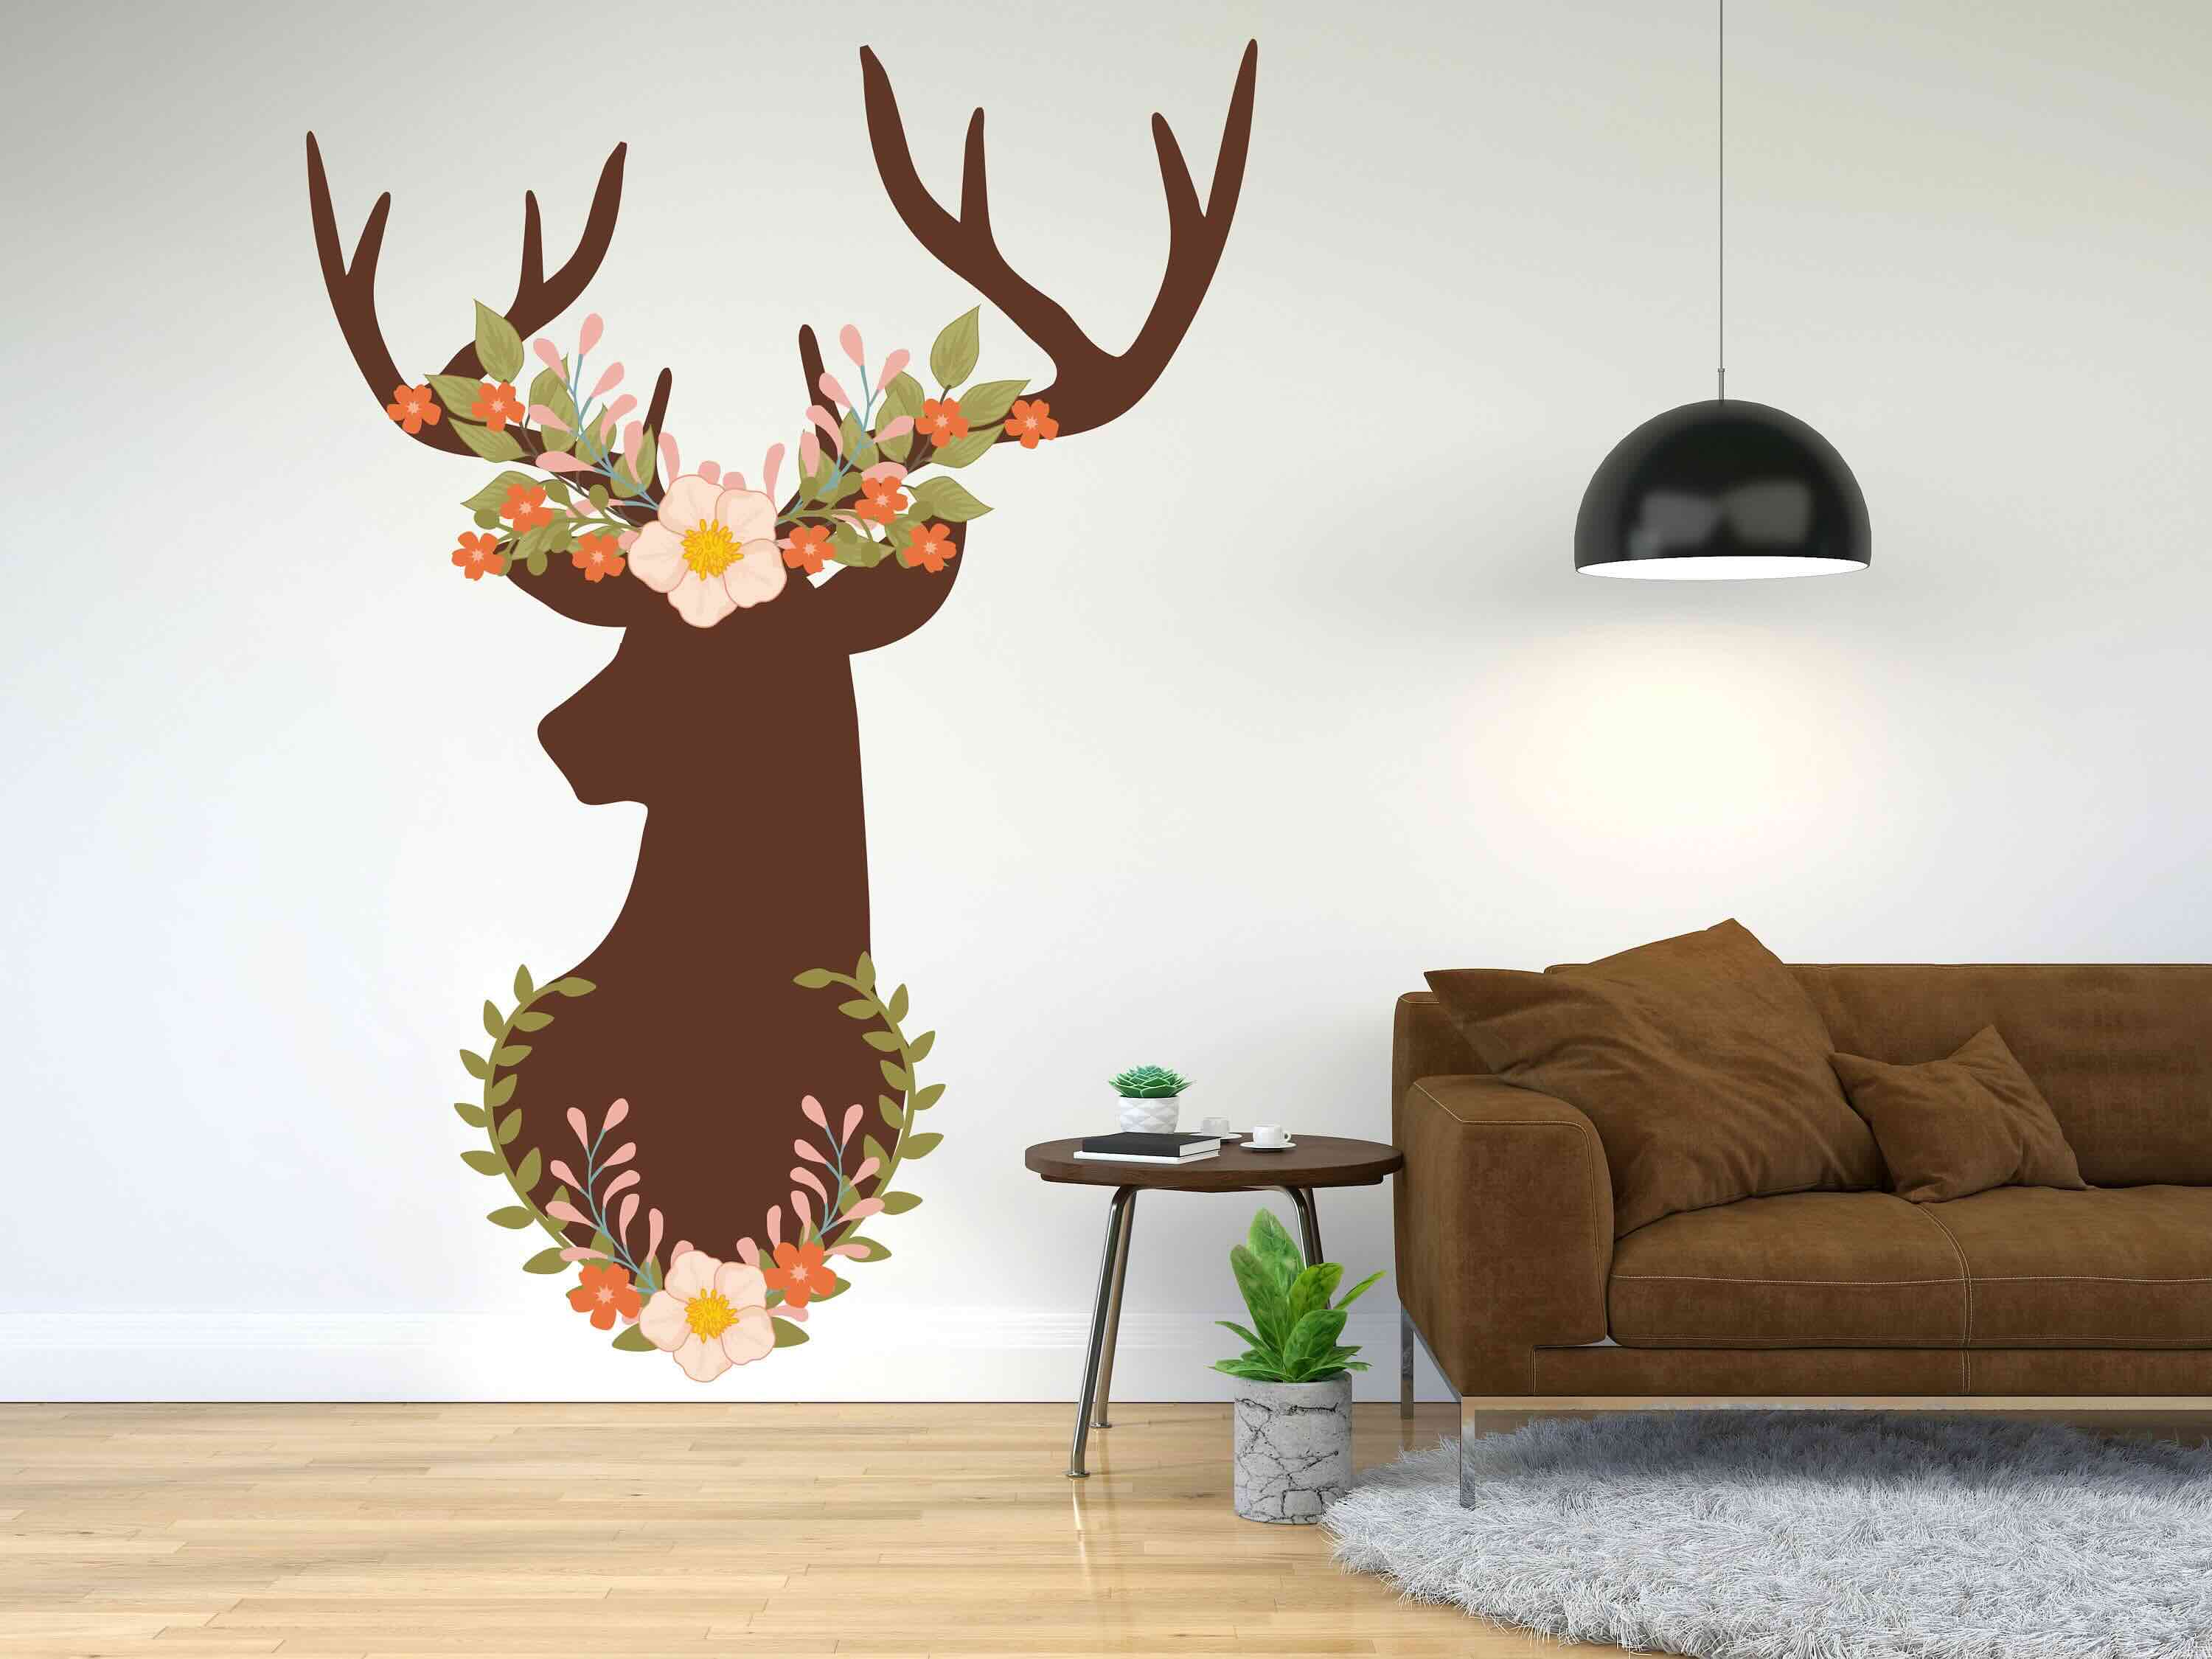
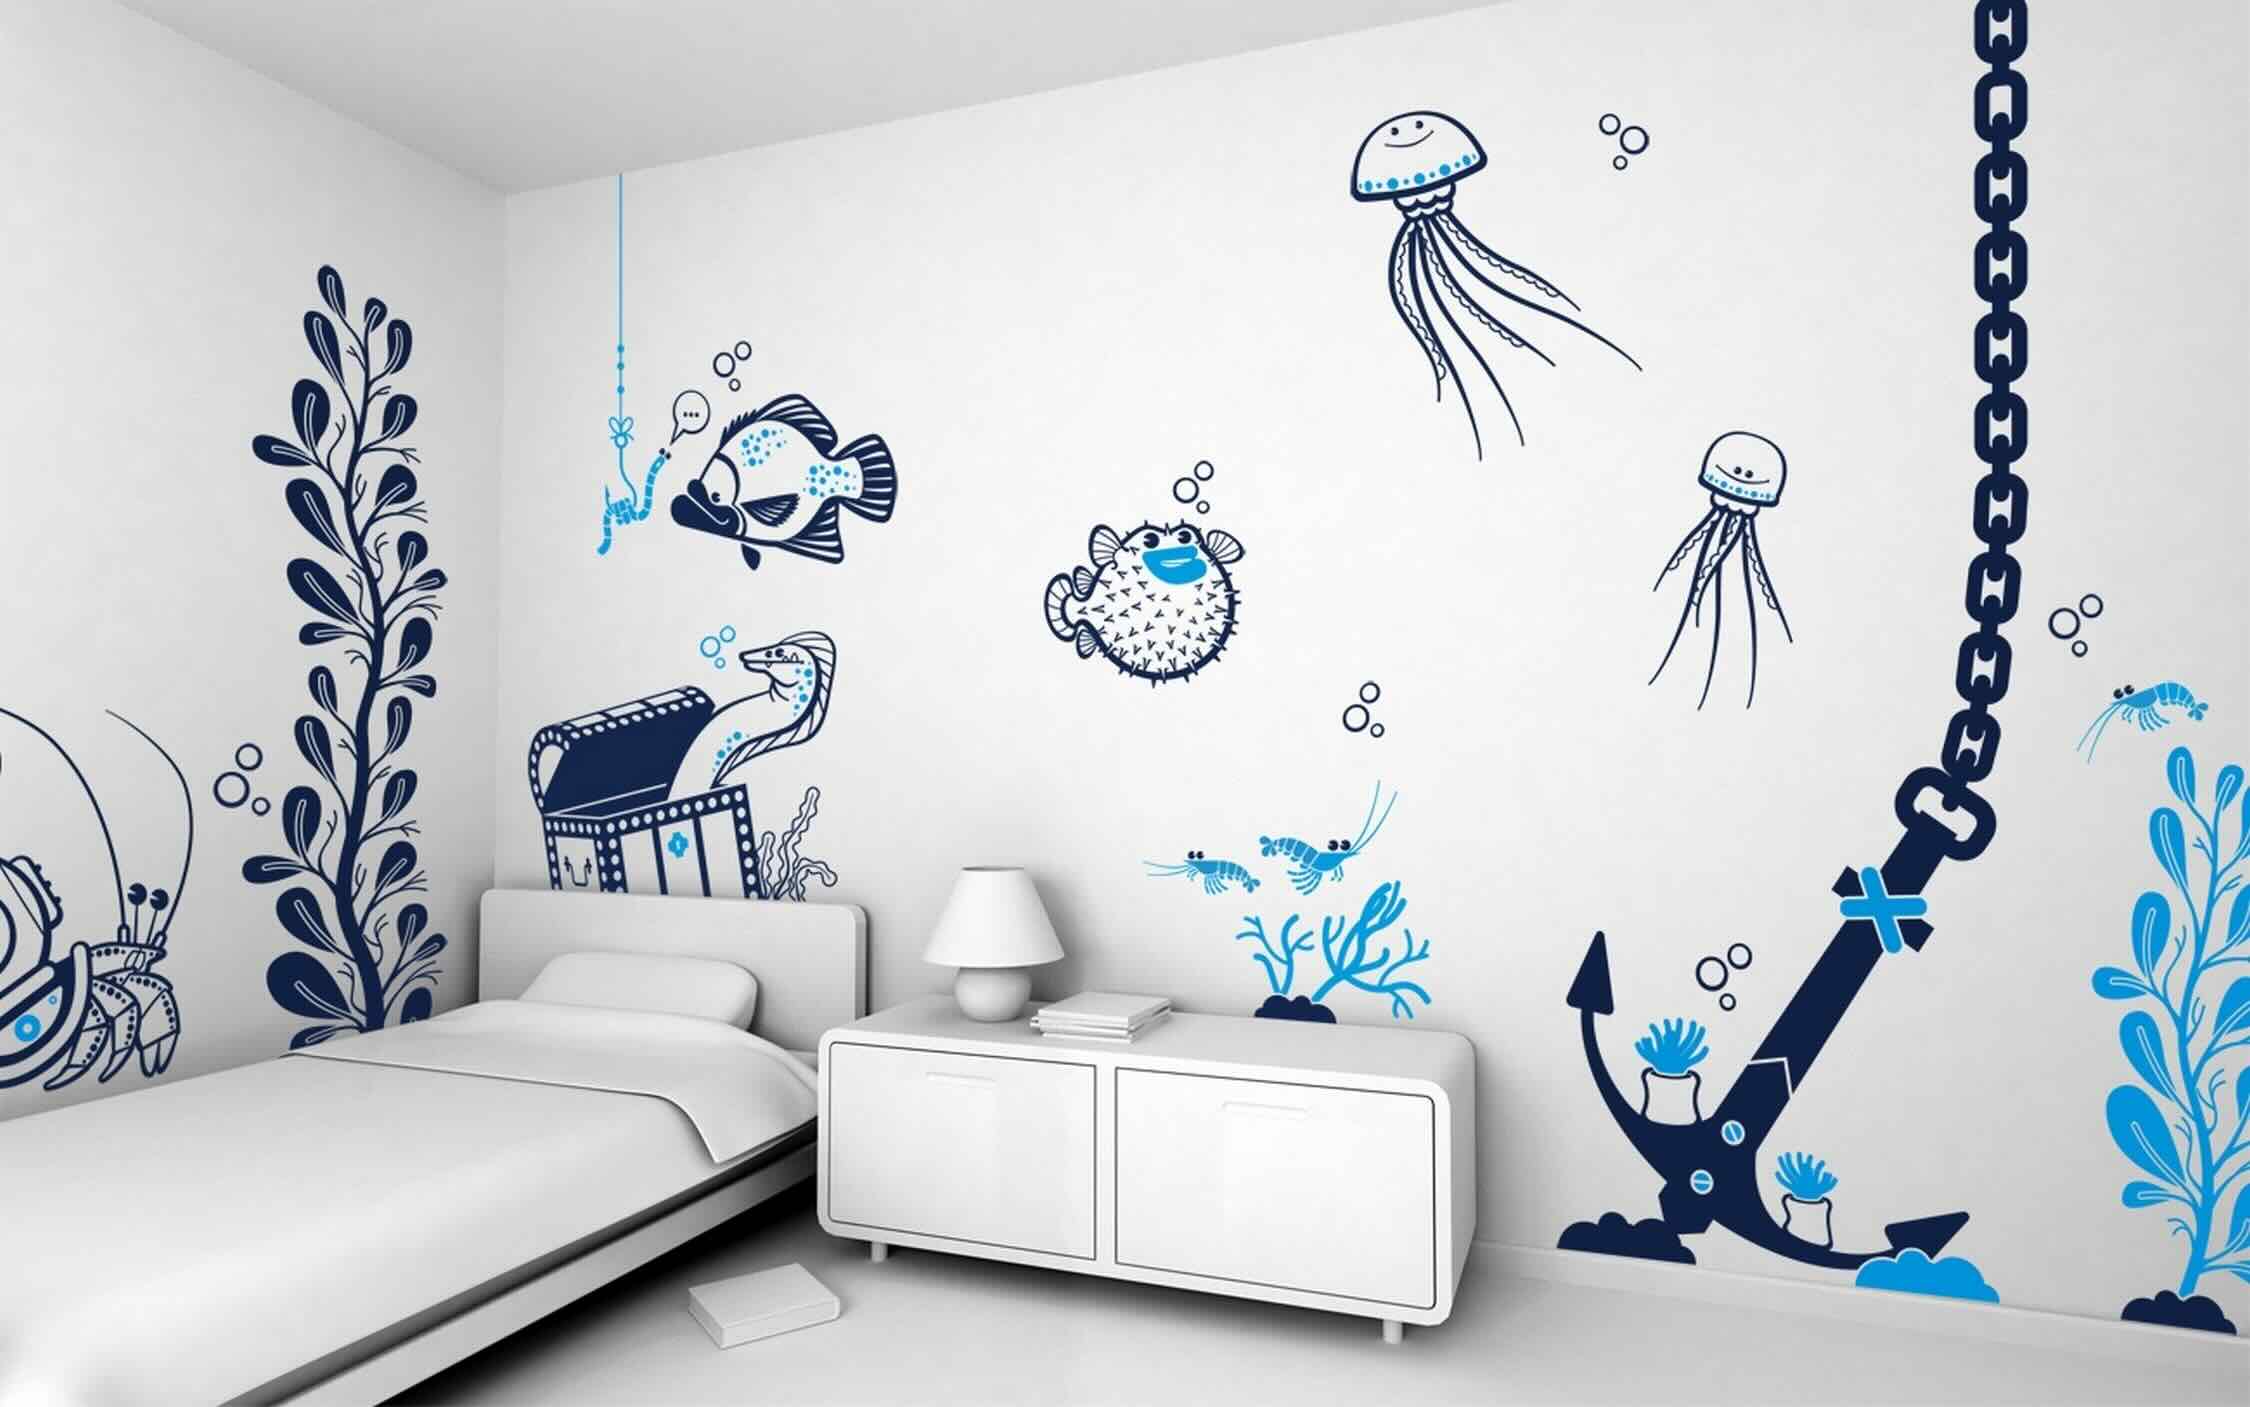
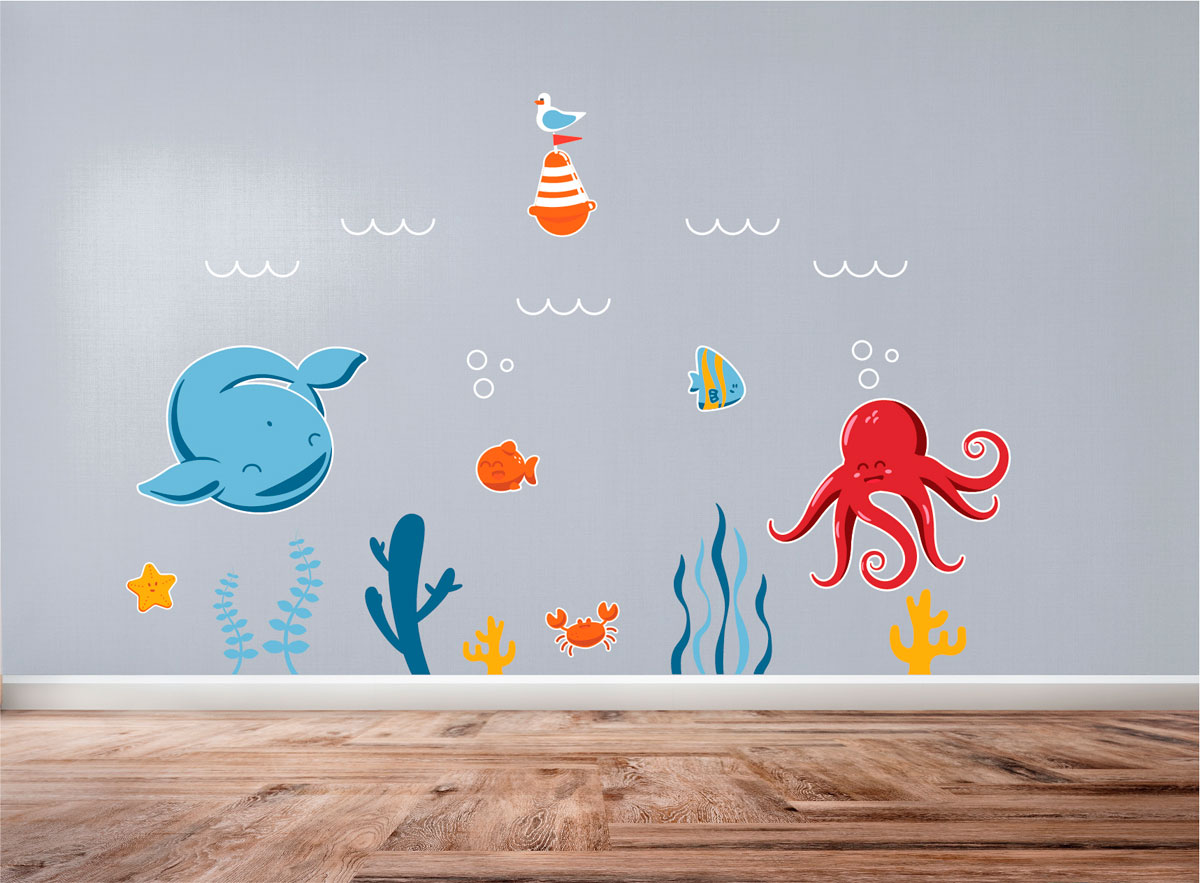
Creative Ways to Reuse Wall Decals
Wall decals offer endless possibilities for creative expression and can be repurposed in various ways. Here are some innovative ideas to inspire you:
- Create a Gallery Wall: Use your reused wall decals to create a stunning gallery wall. Arrange different decals in various sizes and designs to showcase your favorite artwork or family photos. This adds a personalized touch to any space.
- Revamp Furniture: Give new life to old furniture by applying reused wall decals to their surfaces. Dress up a plain dresser or nightstand by adhering small decals to drawer fronts or side panels. This adds a unique and playful element to your furniture.
- Decorate Household Items: Apply wall decals to everyday household items such as laptops, tablets, mugs, or storage boxes to add a touch of personal style and flair. This not only enhances their appearance but also makes them easily identifiable.
- Create a Chalkboard: Paint a section of your wall or a small wooden board with chalkboard paint. Then, apply reusable decals in fun shapes and designs around the chalkboard area. This creates a whimsical and functional chalkboard space for notes, artwork, or reminders.
- Design a Headboard: Repurpose wall decals to create a unique and customizable headboard for your bed. Arrange different decals in intricate patterns or create a focal point with a single large decal. This adds visual interest and a touch of elegance to your bedroom.
- Personalize Home Accessories: Customize plain home accessories such as lampshades, mirrors, or vases by applying wall decals to their surfaces. This instantly transforms them into eye-catching pieces that reflect your personal style.
- Add Flair to Plant Pots: Spruce up your indoor or outdoor plant pots by adorning them with reused wall decals. Choose nature-inspired designs or playful patterns to complement the plants and add a pop of color to your greenery.
- Design a Playful Space for Kids: Use reusable wall decals to create a fun and interactive space for children. Apply decals in the shape of animals, stars, or their favorite characters to walls, furniture, or even the ceiling. This sparks their imagination and adds a playful touch to their room.
These are just a few ideas to get your creative juices flowing. The possibilities with reused wall decals are endless. Experiment, have fun, and let your imagination guide you in finding unique ways to repurpose them throughout your home.
With these tips and ideas in mind, you are now equipped to reuse and repurpose wall decals in creative and inventive ways. Not only will this save you money and contribute to a more sustainable approach to interior design, but it will also give your space a fresh and personalized look. So, let your creativity soar and enjoy the endless possibilities of reusing wall decals!
NOTE: Remember to always refer to the specific instructions provided by the manufacturer for your wall decals to ensure proper application, removal, and reusability.
Read more: How To Put Up Wall Decals
Conclusion
Wall decals offer endless possibilities for transforming the look and feel of your space, and reusing them takes their value to a whole new level. Throughout this article, we’ve explored the benefits of reusing wall decals, provided tips for choosing the right ones, and guided you through the processes of preparing, removing, cleaning, storing, and applying the decals. We’ve also delved into creative ways to repurpose wall decals and enhance their lifespan.
By choosing to reuse wall decals, you not only save money but also contribute to a more sustainable approach to interior design. Reusing decals allows you to easily update and experiment with different designs, giving your space a fresh new look without the need for constant purchasing and wastefulness.
Remember to choose high-quality decals that are durable and in good condition for reuse. Properly prepare your walls, gently remove the decals, and clean and store them carefully to maintain their longevity. When reapplying the decals, take your time to align them correctly and ensure proper adhesion.
Get creative with your reused wall decals! Whether it’s creating a gallery wall, revamping furniture, or adding personal touches to household items, let your imagination guide you to find unique and inventive ways to repurpose the decals throughout your home. The possibilities are only limited by your creativity.
Reusing wall decals is not only a practical and cost-effective choice but also a way to infuse your space with your personal style and reflect your unique personality. So go ahead, have fun, and enjoy the process of transforming your home with reused wall decals!
Remember, always refer to the specific instructions provided by the manufacturer to ensure the best results when reusing wall decals. Now, it’s time to let your creativity shine and embark on your journey of reusing and repurposing wall decals.
Frequently Asked Questions about How To Reuse Wall Decals
Was this page helpful?
At Storables.com, we guarantee accurate and reliable information. Our content, validated by Expert Board Contributors, is crafted following stringent Editorial Policies. We're committed to providing you with well-researched, expert-backed insights for all your informational needs.


0 thoughts on “How To Reuse Wall Decals”