Articles
How To Store Baked By Melissa Cupcakes
Modified: December 7, 2023
Learn the best techniques for storing your delicious Baked By Melissa cupcakes in this informative article. Keep your treats fresh and irresistibly tasty!
(Many of the links in this article redirect to a specific reviewed product. Your purchase of these products through affiliate links helps to generate commission for Storables.com, at no extra cost. Learn more)
Introduction
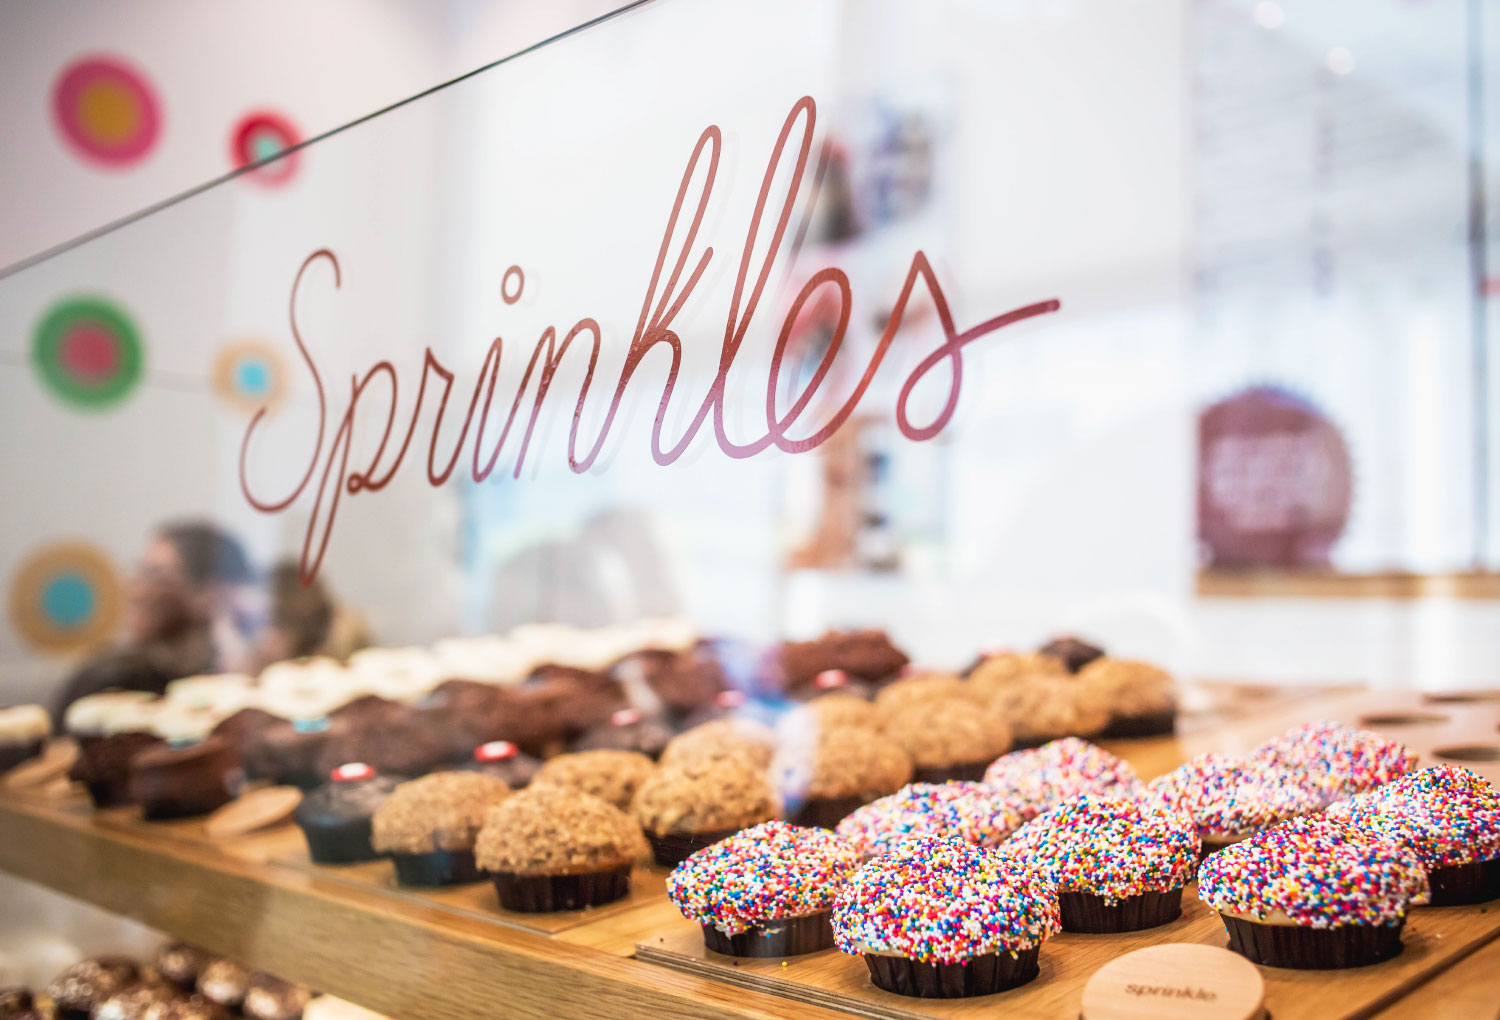
When it comes to enjoying the delicious treats from Baked by Melissa, ensuring that your cupcakes stay fresh and tasty is key. Whether you have a surplus of cupcakes or simply want to enjoy them later, proper storage is essential to maintain their flavor and texture. In this article, we will explore step-by-step instructions on how to store Baked by Melissa cupcakes to keep them fresh and delectable for longer periods.
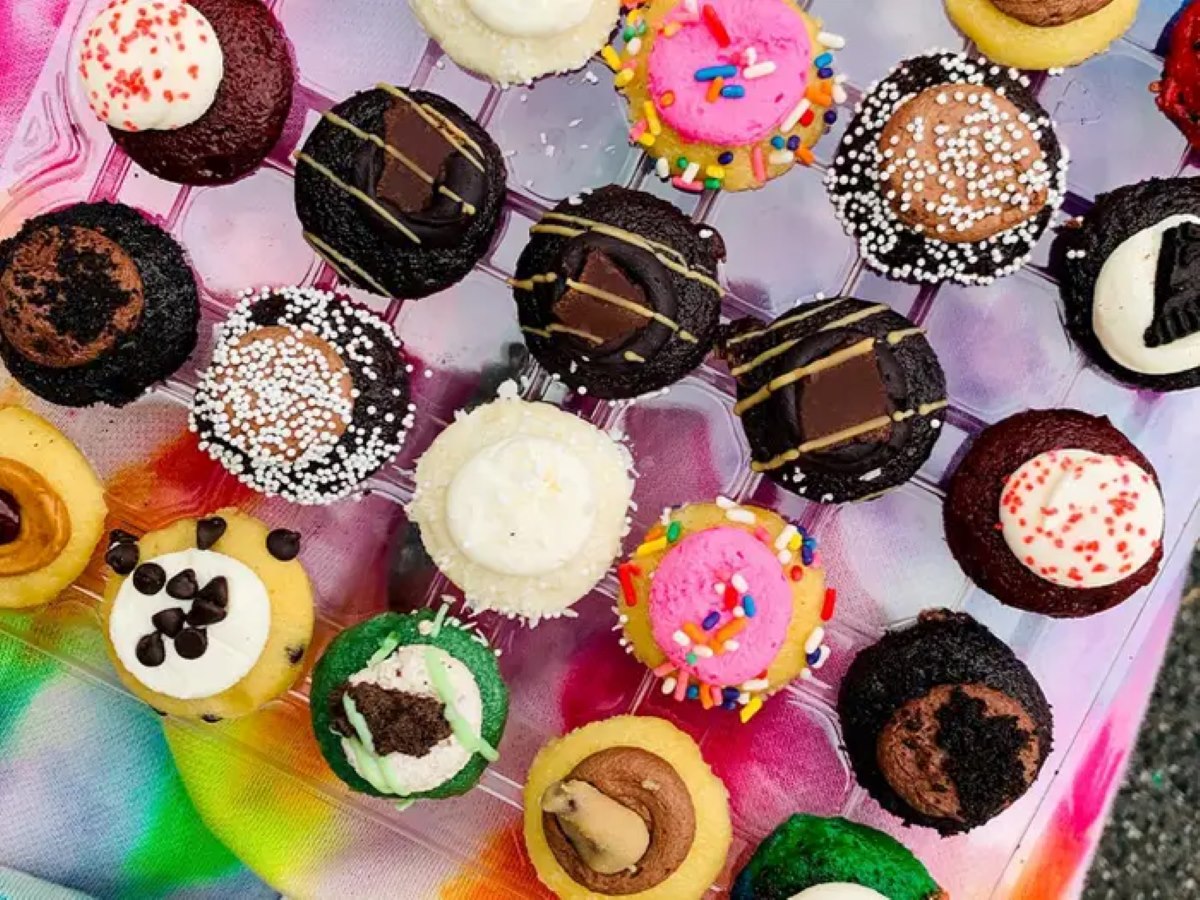
Baked by Melissa is renowned for its bite-sized cupcakes that come in a variety of flavors, making them a delightful indulgence for any occasion. However, since these cupcakes are small and delicate, it’s important to handle them with care and follow the right storage techniques to prevent them from drying out or losing their signature moistness.
Whether you receive an assortment of cupcakes as a gift, have leftovers from a party, or simply want to save some for later enjoyment, knowing how to properly store Baked by Melissa cupcakes will ensure that they maintain their quality and taste.
In the following sections, we will walk you through the step-by-step process of choosing the right container, cooling and preparing the cupcakes, wrapping them properly, and storing them at room temperature, in the refrigerator, or even freezing them for longer shelf life. Let’s dive in and explore the best methods for storing your Baked by Melissa cupcakes!
Key Takeaways:
- Preserve the Delight
Properly store Baked by Melissa cupcakes in airtight containers at room temperature, in the refrigerator, or freezer to maintain their delectable flavors and textures for short or extended periods. - Enjoy Anytime, Anywhere
Whether freshly baked or stored for later, follow the steps to thaw and savor the sweetness of Baked by Melissa cupcakes, ensuring every bite is a moment of pure bliss.
Read more: How To Store Cupcakes
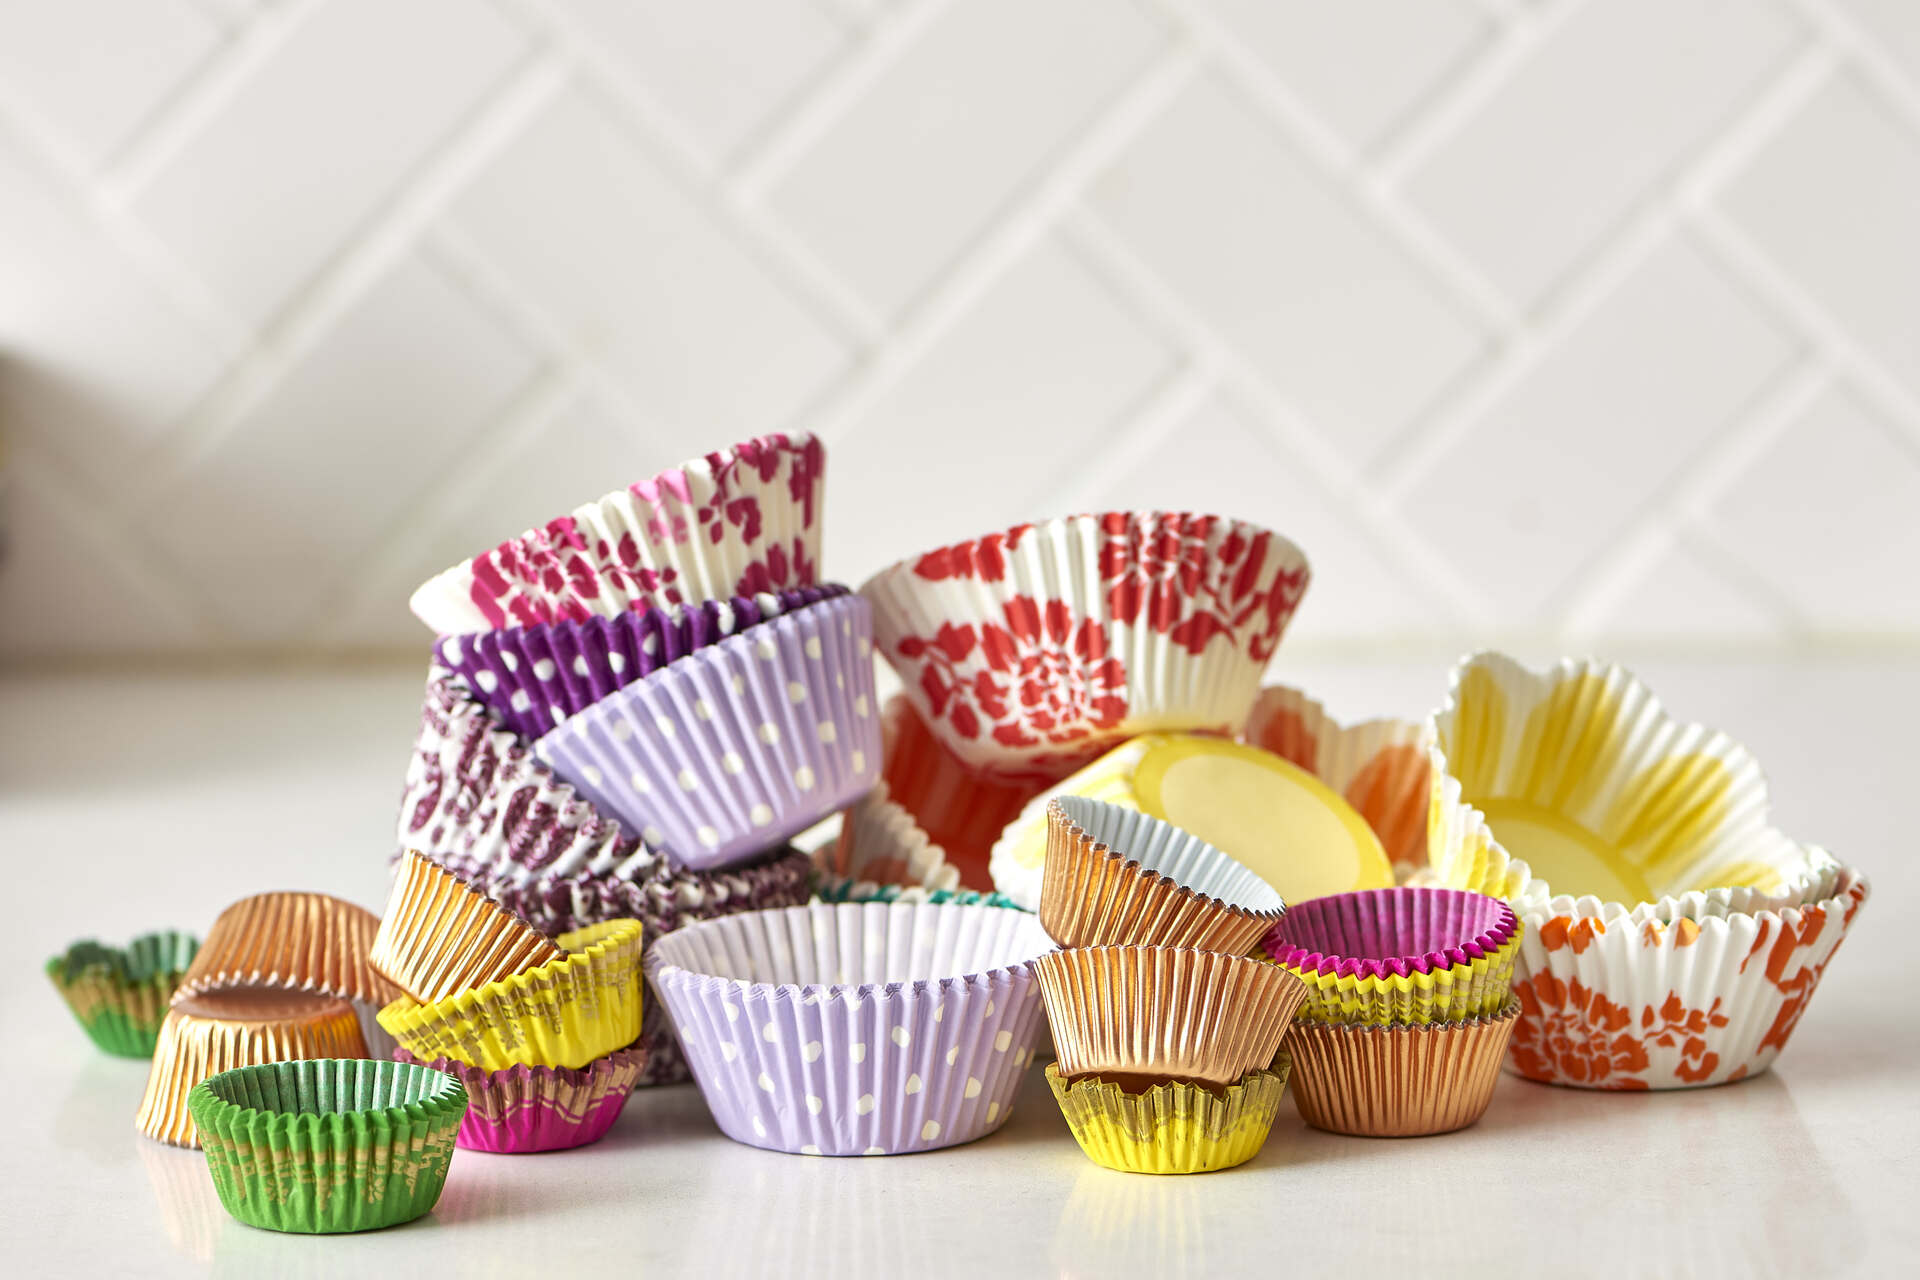
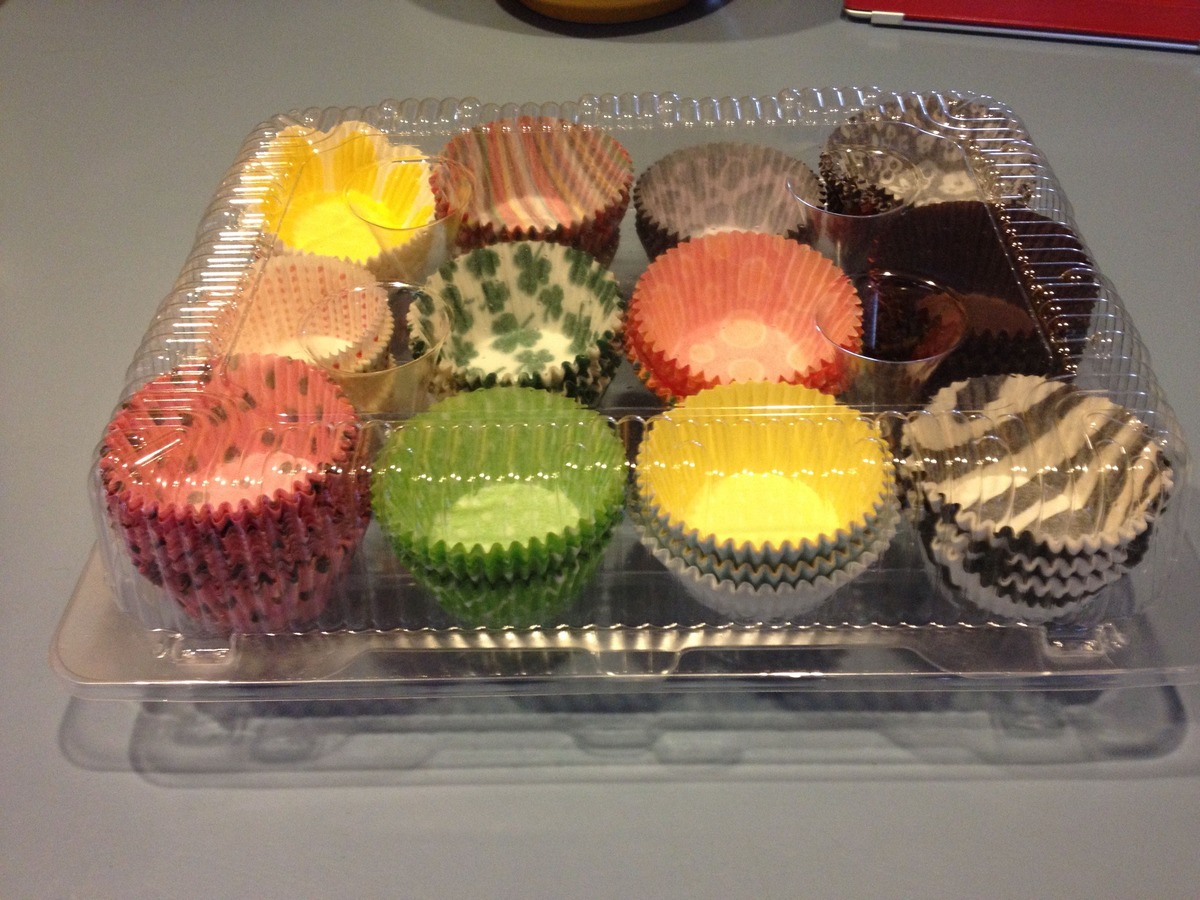
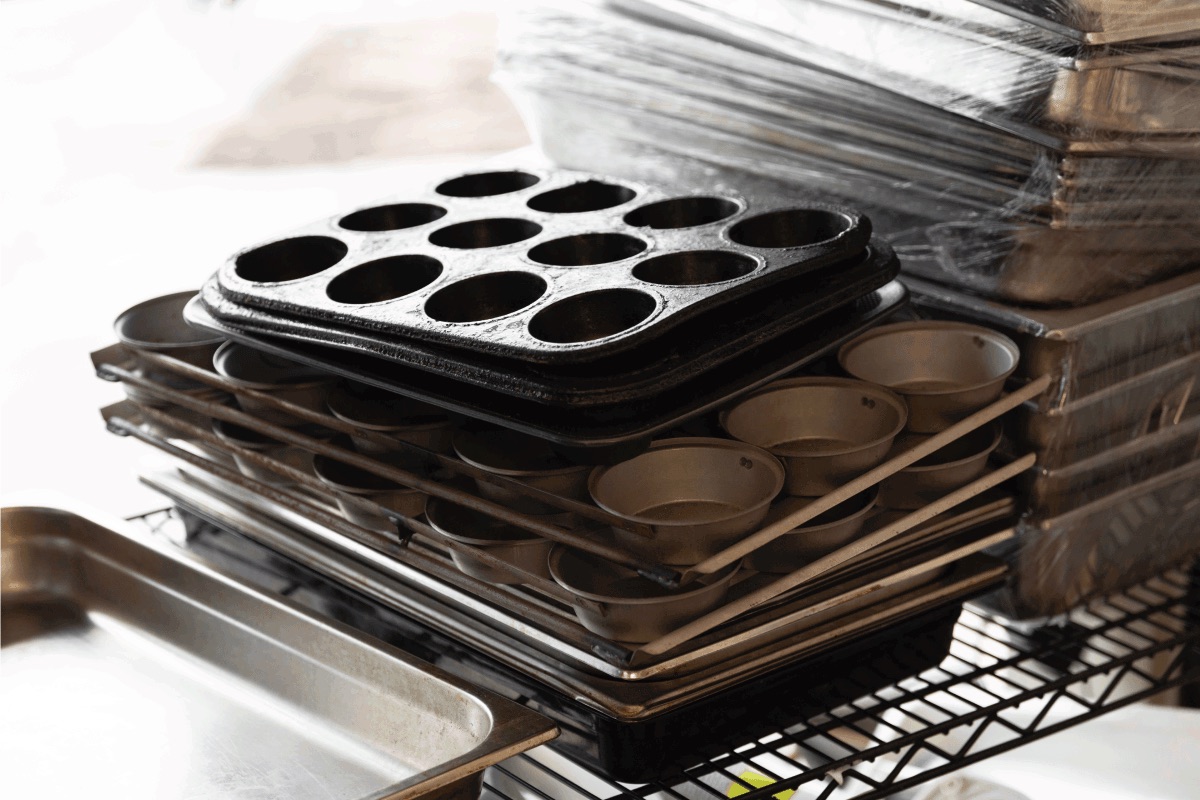
Step 1: Choosing the Right Container
Choosing the right container to store your Baked by Melissa cupcakes is crucial in maintaining their freshness and preventing them from getting squished or damaged. Here are some considerations to keep in mind when selecting a container:
- Air-tightness: Opt for an air-tight container that will keep the cupcakes fresh by preventing moisture loss. This will help preserve their texture and flavor.
- Size: Ensure that the container is spacious enough to hold the cupcakes without them touching the sides or each other, which could cause them to become misshapen or stick to the container.
- Material: Choose a container that is made of food-grade material, such as plastic or glass, that is safe for storing cupcakes and won’t affect their taste.
Additionally, if you want to transport the cupcakes, consider using a sturdy cupcake carrier or a container with inserts to keep the cupcakes secure during transit.
Once you have chosen the appropriate container, make sure it is clean and dry before placing the cupcakes inside. Any residue or moisture in the container could affect the quality of the cupcakes and cause them to spoil more quickly. Taking a few minutes to select the right container will ensure that your cupcakes stay fresh and delicious until you’re ready to enjoy them!
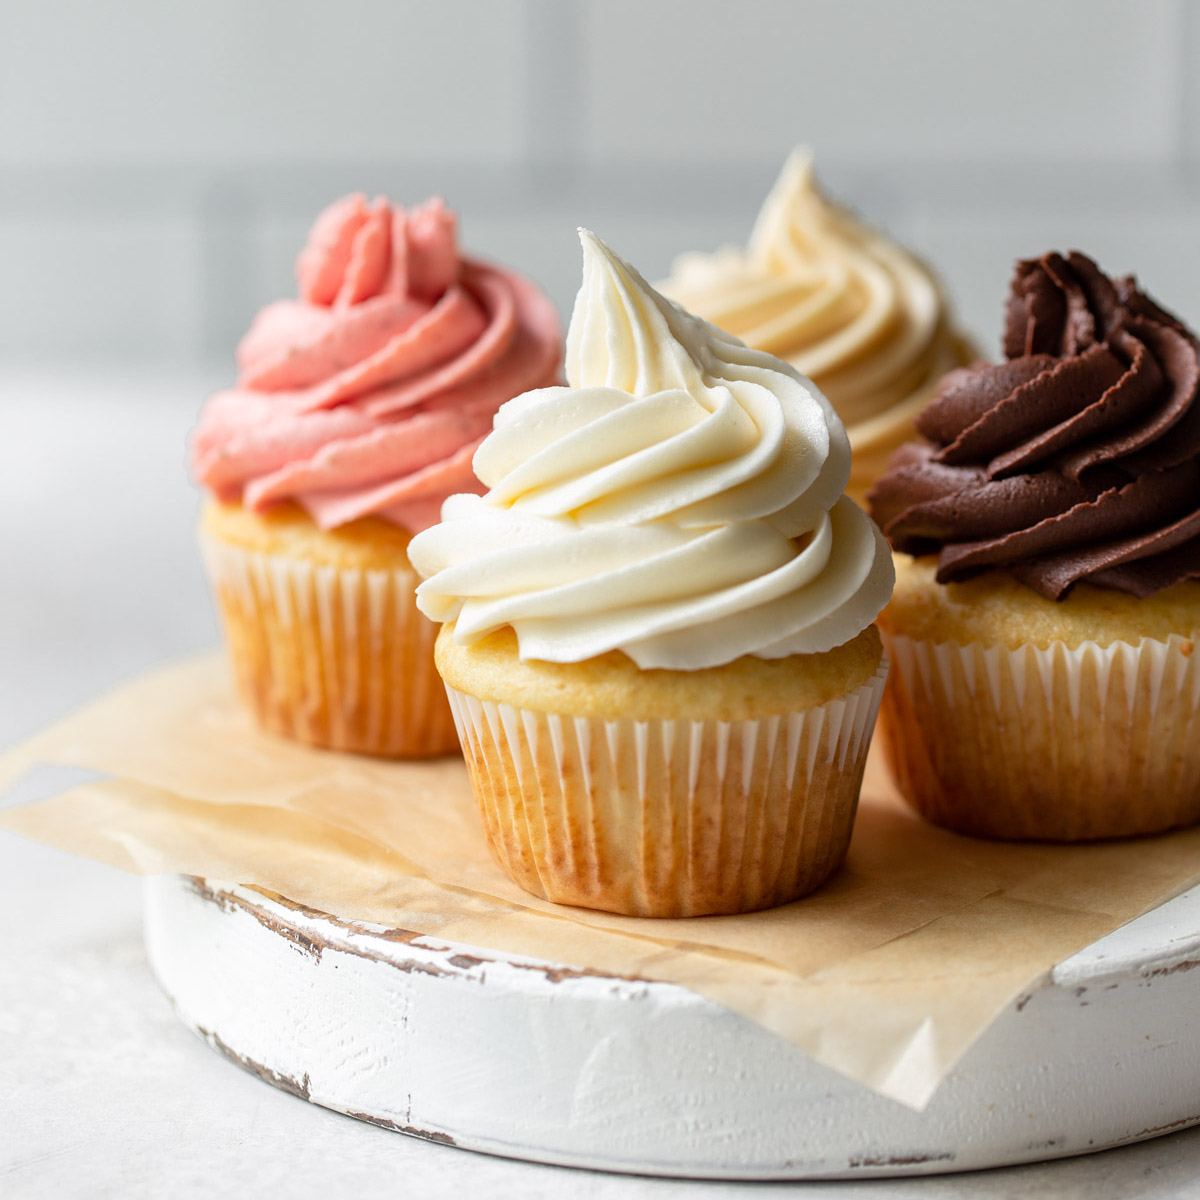
Step 2: Cooling and Preparing the Cupcakes
Before you can store your Baked by Melissa cupcakes, it’s important to allow them to cool completely. This step is crucial in ensuring that the cupcakes maintain their texture and don’t become soggy when stored.
Here’s how you can properly cool and prepare your cupcakes for storage:
- Cooling: After removing the cupcakes from the oven, let them cool in the baking tray or on a wire rack. This allows the heat to dissipate and prevents condensation from forming inside the container.
- Removing liners: Once the cupcakes have cooled, gently remove the liners. This step is optional, but it can prevent the cupcakes from sticking to the liner and simplify the wrapping process.
- Cleaning the cupcakes: Check the cupcakes for any frosting or crumbs that may have stuck to the top. Gently brush off any loose crumbs or excess frosting to keep the cupcakes neat and tidy.
By ensuring that your cupcakes are thoroughly cooled and prepared before storing them, you’ll maintain their freshness and prevent them from becoming mushy or sticky inside the container.
Now that your cupcakes are cooled and ready, it’s time to move on to the next step: wrapping them properly to keep them fresh for longer periods.
Step 3: Wrapping the Cupcakes
Properly wrapping your Baked by Melissa cupcakes is essential in preserving their freshness and preventing them from drying out. Follow these steps to ensure your cupcakes are well-protected:
- Individual wrapping: It’s best to wrap each cupcake individually to maintain their shape and prevent them from sticking together. Consider using plastic wrap, aluminum foil, or cupcake wrappers to wrap each cupcake securely.
- Tight wrapping: Make sure the wrapping is tight enough to protect the cupcakes, but not so tight that it compromises their shape. Avoid pressing too hard on the tops of the cupcakes as it can cause deformation.
- Sealing: Seal the wrapping securely to prevent air from entering and moisture from escaping. This will help maintain the cupcakes’ moisture and prevent them from drying out.
When wrapping the cupcakes, be gentle to avoid damaging the delicate frosting or decorations. Remember, the goal is to protect the cupcakes and keep them in their best condition during storage.
Once all the cupcakes are individually wrapped, you can either place them in a single container or arrange them in a cupcake carrier, making sure they have enough space to avoid getting squished.
Now that your cupcakes are securely wrapped and ready to be stored, let’s move on to exploring different storage options, depending on your preference and the desired shelf life of your cupcakes.
Step 4: Storing at Room Temperature
If you plan to consume your Baked by Melissa cupcakes within a day or two, storing them at room temperature is a convenient option. Here’s how you can ensure your cupcakes stay fresh and delicious:
- Choose the right spot: Find a cool, dry area in your kitchen or pantry to store the cupcakes. Avoid placing them near a source of heat or direct sunlight, as it can cause them to spoil more quickly.
- Place in a container: If your cupcakes are already in a container, make sure the lid is securely closed. If not, transfer them to an airtight container to prevent air from entering and moisture from escaping.
- Avoid refrigerating: Room temperature storage is ideal for short-term preservation as refrigeration can cause the cupcakes to dry out and affect their taste and texture.
- Check for freshness: Before serving, check the cupcakes for any signs of spoilage, such as mold or an off smell. If you notice any, discard the cupcakes immediately.
It’s important to note that storing cupcakes at room temperature is suitable for a short duration. If you plan to store them for longer periods, consider alternative storage methods such as refrigeration or freezing, which we will explore in the following steps.
Now that you know how to store your cupcakes at room temperature, let’s move on to the next step: storing them in the refrigerator for extended shelf life.
Store Baked by Melissa cupcakes in an airtight container at room temperature for up to 2 days, or in the refrigerator for up to 5 days. If storing in the refrigerator, bring to room temperature before serving for best taste and texture.
Read more: How To Store Frosted Cupcakes
Step 5: Storing in the Refrigerator
If you want to extend the shelf life of your Baked by Melissa cupcakes beyond a couple of days, storing them in the refrigerator is a great option. Here’s how you can do it effectively:
- Cool the cupcakes: Allow the cupcakes to cool completely before placing them in the refrigerator. This will prevent condensation from forming inside the container.
- Transfer to an airtight container: Place your cupcakes in an airtight container, ensuring that the lid is tightly sealed. This will help maintain the cupcakes’ moisture and prevent them from absorbing any odors from other foods in the refrigerator.
- Refrigerator placement: Find a designated spot in your refrigerator where the cupcakes won’t get squished or disturbed. Avoid placing them near any strongly flavored or pungent foods that could affect their taste.
- Storage duration: Cupcakes stored in the refrigerator can stay fresh for up to 5-7 days. However, the longer they are stored, the more chance they have of drying out.
- Bringing to room temperature before serving: When you’re ready to enjoy your refrigerated cupcakes, it’s best to let them sit at room temperature for about 30 minutes before serving. This will allow them to regain their softness and flavor.
Storing cupcakes in the refrigerator is a good option when you need to preserve them for a longer period. However, keep in mind that refrigeration can slightly alter the texture of the cupcakes, making them denser. Nevertheless, they will still be delicious!
Now that you know how to store your cupcakes in the refrigerator, let’s move on to the next step: freezing them for prolonged storage.
Step 6: Freezing the Cupcakes
Freezing your Baked by Melissa cupcakes is an excellent option if you want to enjoy them at a later time or preserve them for an extended period. Follow these steps to freeze your cupcakes effectively:
- Cool the cupcakes: Allow the cupcakes to cool completely before freezing them. This will help retain their quality and prevent moisture buildup.
- Wrap individually: Individually wrap each cupcake with plastic wrap or aluminum foil. This will protect the cupcakes from freezer burn and help maintain their texture.
- Double bagging: After wrapping the cupcakes individually, place them in a zip-top freezer bag or airtight container to provide an additional layer of protection against freezer odors.
- Label and date: Don’t forget to label the bags or containers with the date of freezing. This will help you keep track of their freshness.
- Freezer placement: Find a spot in your freezer where the cupcakes won’t be disturbed or crushed. Avoid placing them near the freezer door, as it tends to be subject to temperature fluctuations.
- Storage duration: When stored properly, Baked by Melissa cupcakes can typically be frozen for up to 2-3 months without compromising their taste and quality.
Freezing your cupcakes is a fantastic option for long-term storage, whether you want to save them for a special occasion or have a stash of cupcakes on hand for impromptu cravings.
Now that you’ve successfully frozen your cupcakes, let’s move on to the final step: thawing them and enjoying their deliciousness!
Step 7: Thawing and Enjoying your Cupcakes
After freezing your Baked by Melissa cupcakes, it’s time to thaw them and savor their scrumptiousness. Follow these steps to properly thaw and enjoy your cupcakes:
- Slow thawing: For the best results, it’s recommended to thaw your cupcakes slowly in the refrigerator. Place the frozen cupcakes in the refrigerator overnight or for a few hours until they are completely thawed.
- Room temperature thawing: If you’re short on time, you can let the cupcakes thaw at room temperature. Simply remove them from the freezer and allow them to sit at room temperature for 1-2 hours until they are fully thawed.
- Unwrapping: Once the cupcakes are thawed, remove the wrappings carefully without damaging the cupcakes. Be gentle with any decorations or frosting on top.
- Bringing to room temperature: Before serving, let the cupcakes sit at room temperature for about 30 minutes to regain their softness and flavor. This will enhance the overall experience.
- Checking for freshness: Before indulging in your thawed cupcakes, check for any signs of spoilage. If the cupcakes have an off smell or appear moldy, discard them immediately.
Now that your cupcakes are thawed and at their best, it’s time to enjoy the delectable flavors and celebrate the joy of Baked by Melissa cupcakes. Pair them with a hot cup of coffee or share them with loved ones for a delightful treat!
Remember, proper storage and thawing techniques are essential in maintaining the quality and taste of your cupcakes. By following these steps, you can enjoy your Baked by Melissa cupcakes at their finest, whether they were freshly baked or stored for later consumption.
With these comprehensive steps, you now have the knowledge to store, freeze, and enjoy your Baked by Melissa cupcakes to the fullest extent. So go ahead, savor the sweetness, and make every bite a moment of pure bliss!
Conclusion
Properly storing your Baked by Melissa cupcakes is essential to ensure that they stay fresh, moist, and delicious for as long as possible. By following the step-by-step instructions outlined in this article, you can confidently store your cupcakes and enjoy them at a later time without compromising their quality.
From choosing the right container to cooling and preparing the cupcakes, wrapping them properly, and selecting the right storage method, each step plays a crucial role in maintaining the cupcakes’ taste and texture.
Whether you opt for storing at room temperature for short-term enjoyment, refrigeration for a few extra days, or freezing for long-term preservation, each method has its advantages and considerations. Understanding these options allows you to choose the best storage method based on your needs and preferences.
Remember, taking the time to cool the cupcakes, wrapping them individually, and using airtight containers or bags are key steps in preserving their freshness. Thawing the cupcakes properly before enjoying them ensures that they regain their optimal taste and texture.
Whether you have leftover cupcakes, receive them as a gift, or simply want to save some for later, the ability to store and preserve Baked by Melissa cupcakes is a valuable skill. With the right knowledge and techniques, you can always have a sweet treat on hand whenever the craving strikes.
So next time you indulge in Baked by Melissa cupcakes, follow these steps to store and enjoy them to the fullest extent. Your taste buds will thank you as you savor each delightful bite of these iconic bite-sized treats!
Frequently Asked Questions about How To Store Baked By Melissa Cupcakes
Was this page helpful?
At Storables.com, we guarantee accurate and reliable information. Our content, validated by Expert Board Contributors, is crafted following stringent Editorial Policies. We're committed to providing you with well-researched, expert-backed insights for all your informational needs.

0 thoughts on “How To Store Baked By Melissa Cupcakes”