Articles
How To Store Banana Pudding
Modified: May 6, 2024
Learn the best way to store banana pudding for long-lasting freshness and deliciousness. Get expert tips and advice in our informative articles.
(Many of the links in this article redirect to a specific reviewed product. Your purchase of these products through affiliate links helps to generate commission for Storables.com, at no extra cost. Learn more)
Introduction
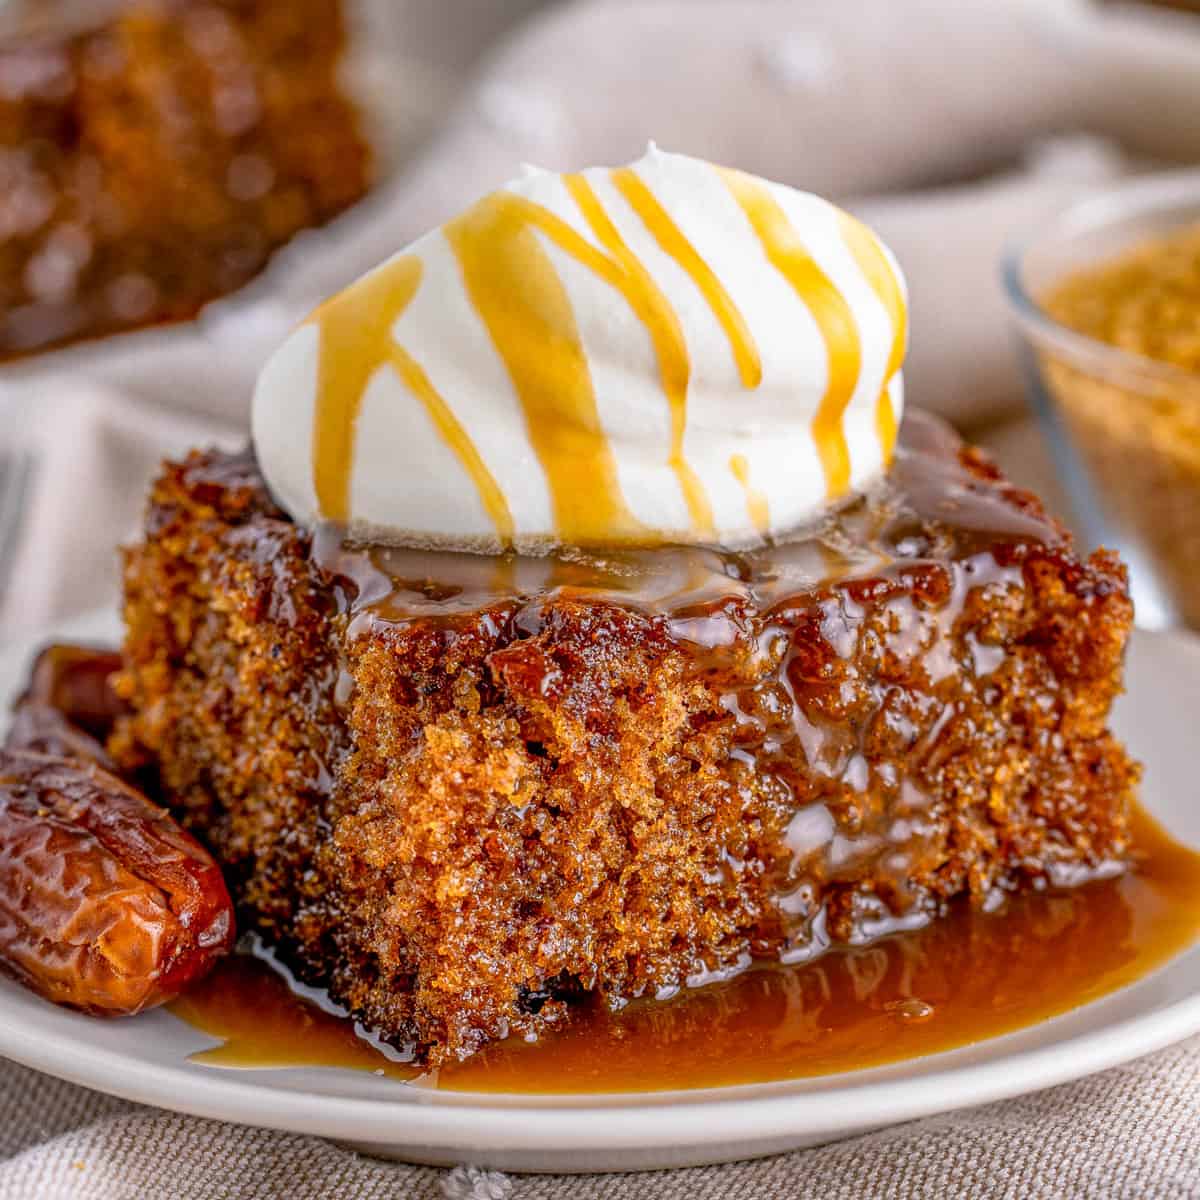
When it comes to indulging in a classic dessert, banana pudding always hits the spot. With its layers of creamy vanilla pudding, fresh bananas, and a generous topping of whipped cream, this dessert is a fan favorite for all ages. Whether you’re making it for a gathering or just treating yourself, banana pudding is sure to satisfy your sweet tooth.
However, one common question that arises is how to properly store banana pudding to ensure its freshness and deliciousness for as long as possible. In this article, we will take you through the steps on how to store banana pudding so that you can enjoy it even after it’s been made.
By following these simple guidelines and tips, you can prolong the shelf life of your homemade banana pudding without compromising its taste and texture. So, let’s dive into the details and find out how to keep your banana pudding fresh and mouthwatering!
Key Takeaways:
- Properly store banana pudding by tightly wrapping it in plastic wrap and refrigerating for up to 3-4 days. For longer storage, freeze it for up to 1 month and thaw in the refrigerator before serving.
- Enhance the serving experience by letting the pudding sit at room temperature, adding caramel or chocolate sauce, and garnishing with whipped cream and crushed wafers. Serve in individual glasses for an elegant touch.
Read more: How To Store A Banana
Step 1: Ingredients
Before you start making your banana pudding, gather all the necessary ingredients. Here’s a list of what you’ll need:
- 2-3 ripe bananas
- 1 packet of vanilla pudding mix
- 2 cups of milk
- 1/2 cup of granulated sugar
- 1 teaspoon of vanilla extract
- 1 1/2 cups of whipped cream
- Vanilla wafers
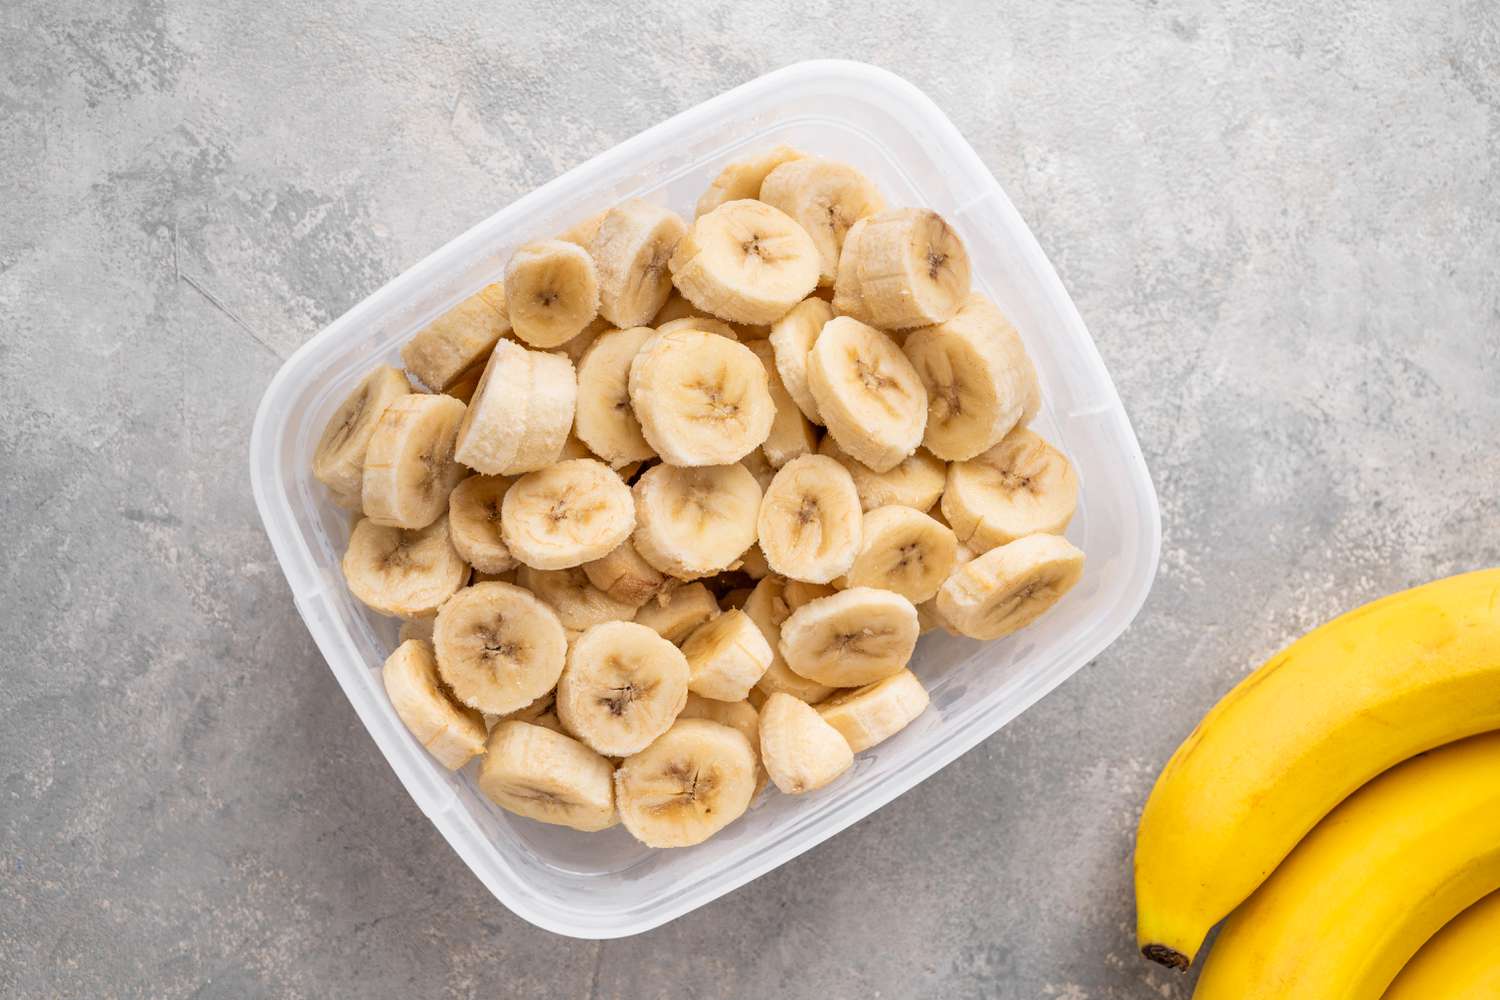
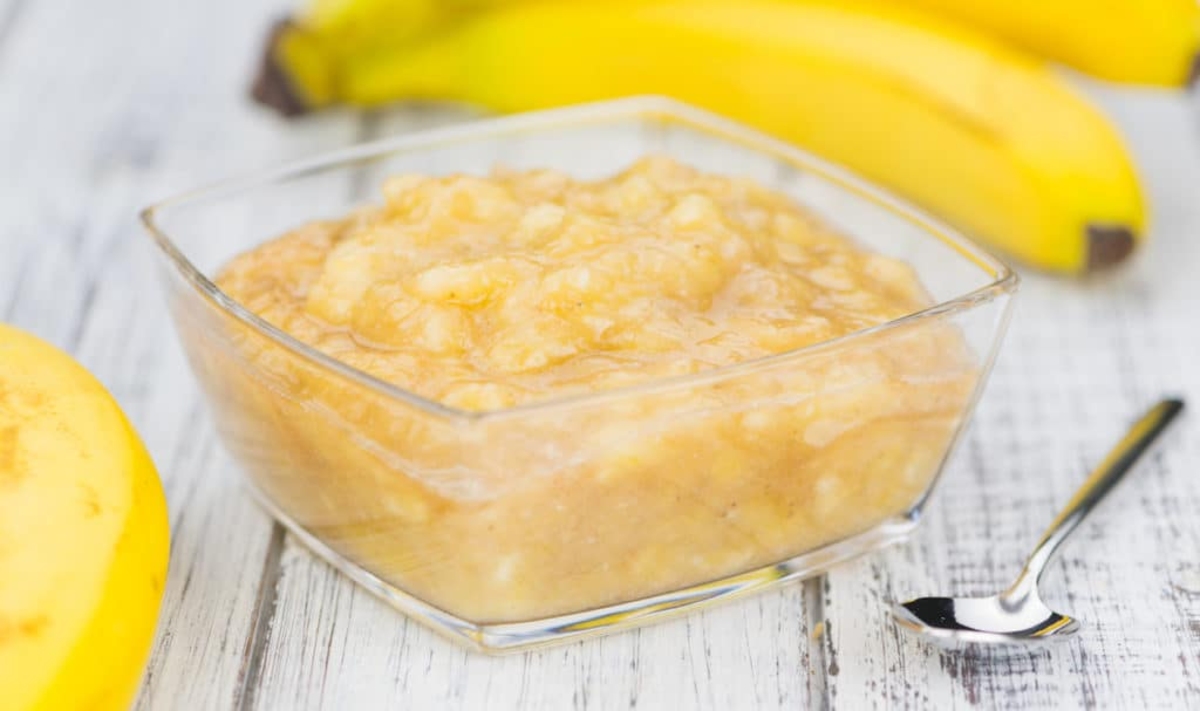
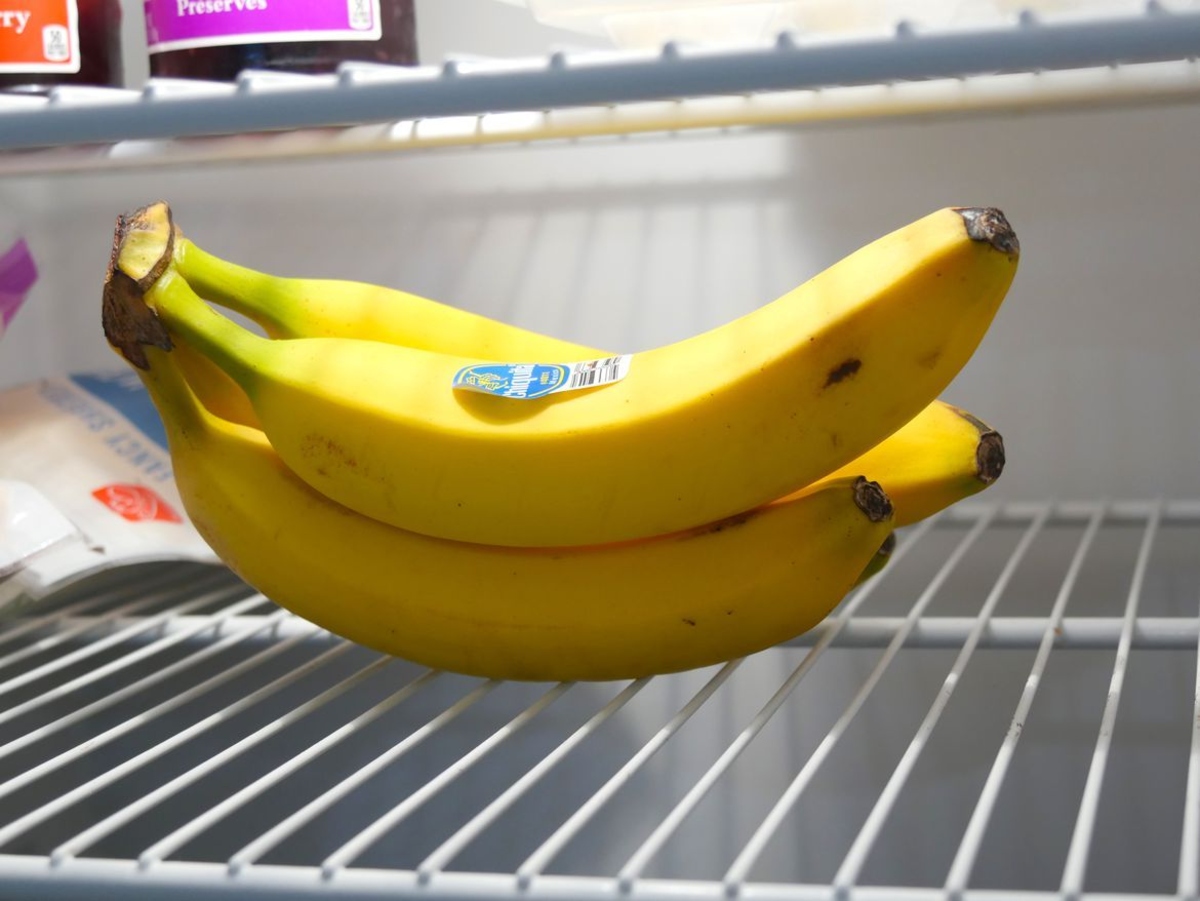
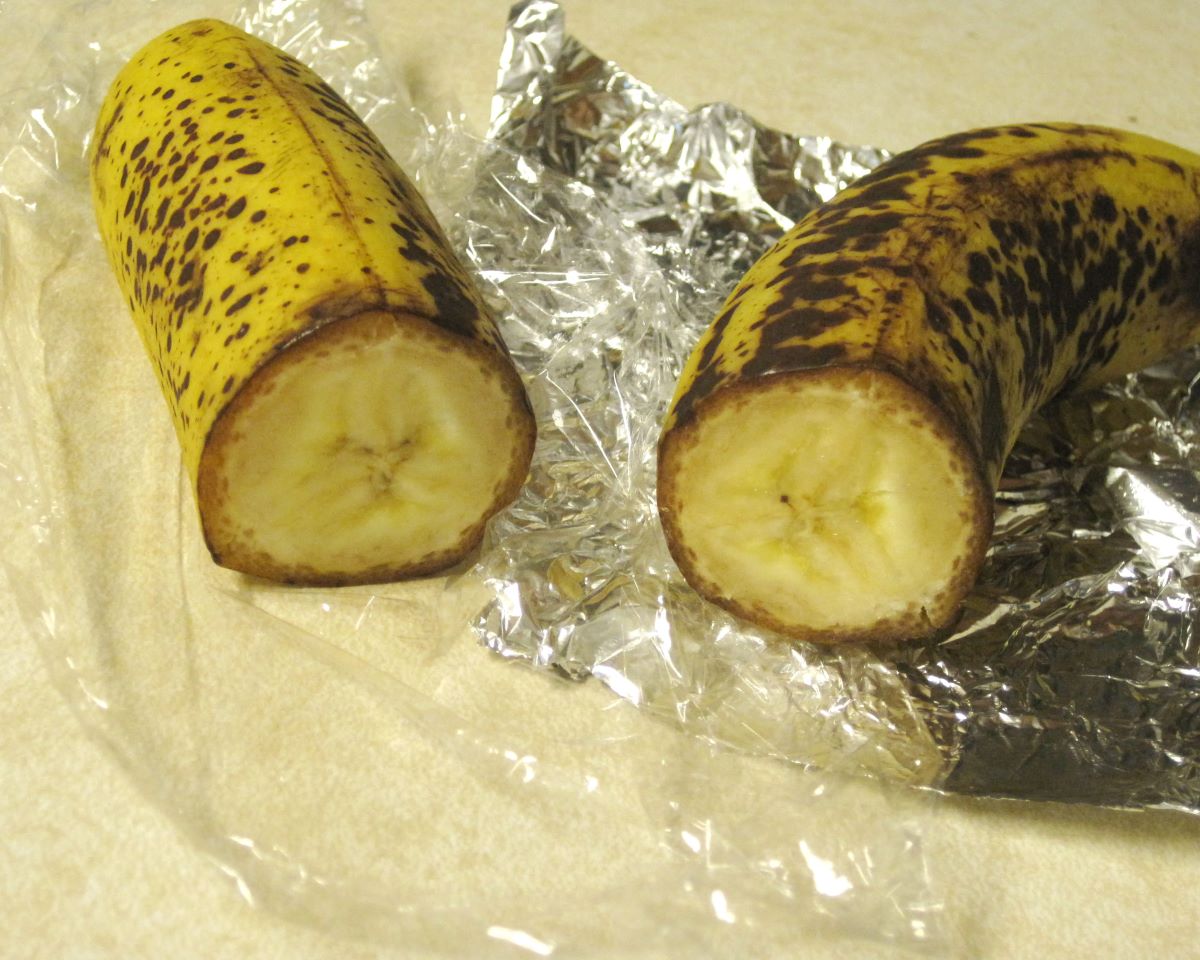
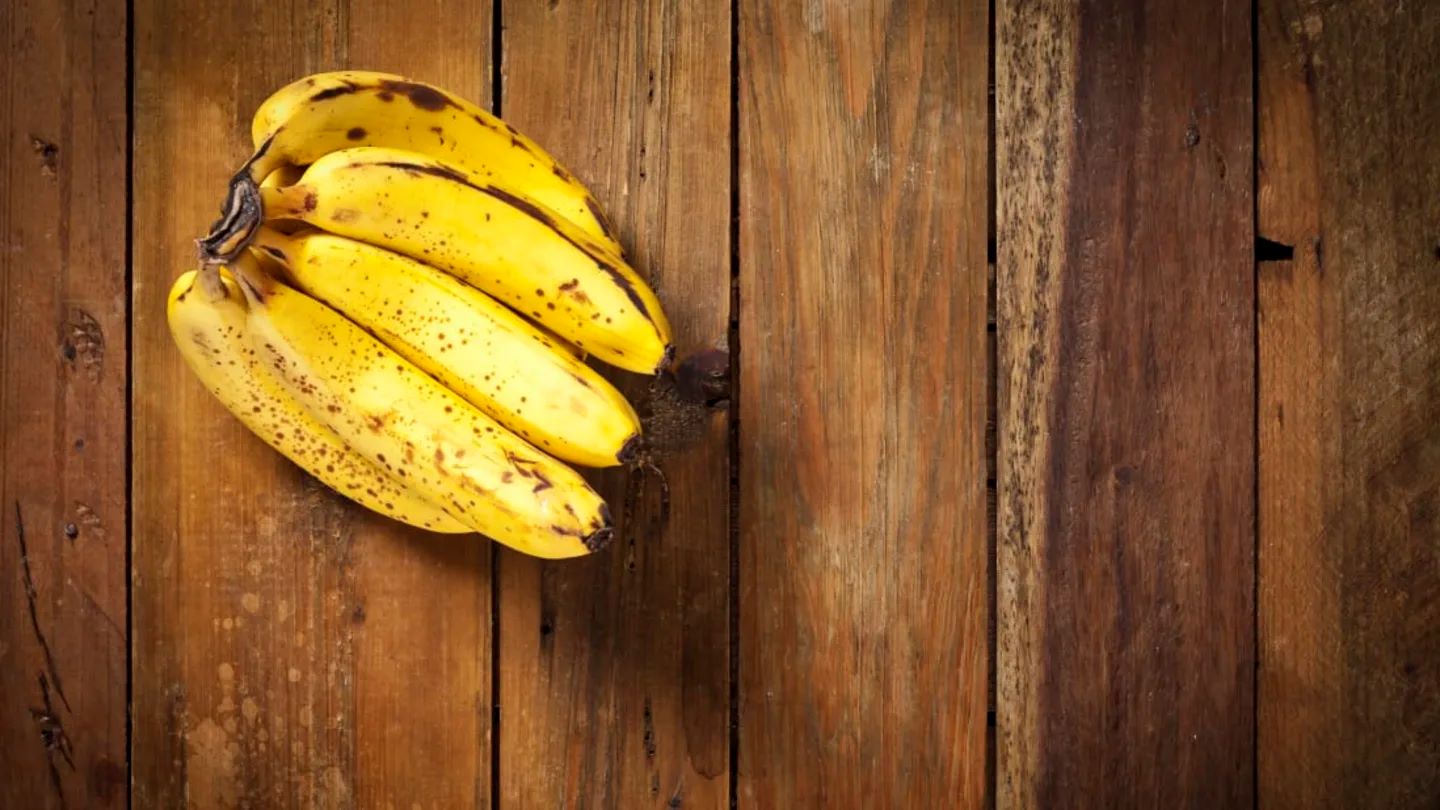
The number of ingredients may vary depending on the size of the pudding you want to make, so feel free to adjust the quantities accordingly. It’s important to choose ripe bananas for the best flavor and texture. Overripe bananas work particularly well as they add a natural sweetness to the pudding.
You can use store-bought vanilla pudding mix or make your own from scratch. Whichever option you choose, follow the instructions on the packet or recipe to prepare the pudding mixture. You’ll also need whipped cream, either homemade or store-bought, to add a light and creamy element to the dessert.
Don’t forget to have some vanilla wafers handy as they’re a classic addition to banana pudding. They provide a satisfying crunch and pair perfectly with the creamy layers of the pudding. Ensure you have enough to layer between the pudding and bananas and for garnishing the top.
Now that you have all the ingredients ready, it’s time to move on to the next step – making the pudding!
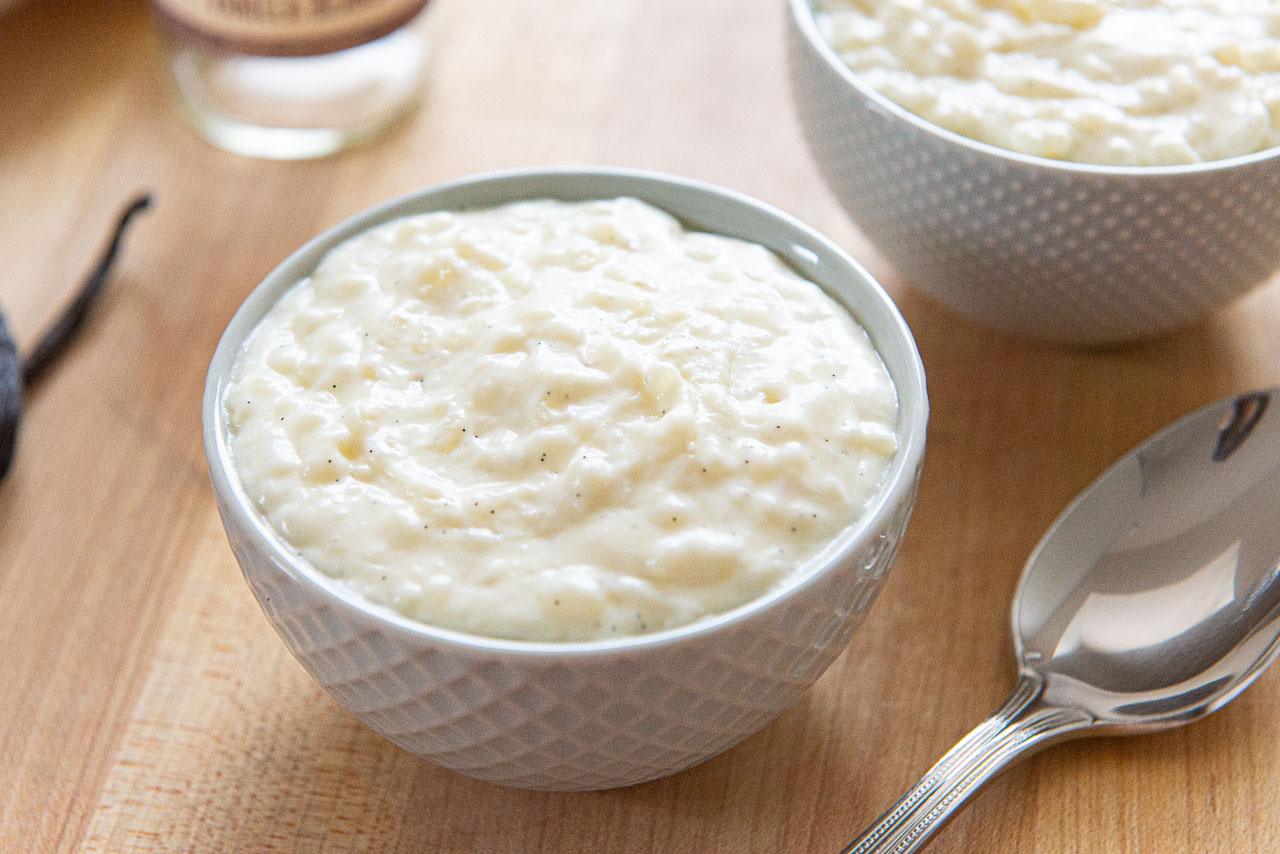
Step 2: Making the Pudding
Making the pudding for your banana pudding is a straightforward process. Just follow these simple steps:
- In a saucepan, combine the vanilla pudding mix, milk, sugar, and vanilla extract. Stir well to ensure all the ingredients are fully incorporated.
- Place the saucepan over medium heat and bring the mixture to a gentle boil, stirring constantly. This will help the pudding thicken and reach its desired consistency.
- Once the pudding starts to boil, reduce the heat to low and continue stirring for an additional 2-3 minutes. This will help to ensure that the pudding is smooth and creamy.
- Remove the saucepan from heat and let the pudding cool completely. You can speed up the cooling process by transferring the pudding to a bowl and placing it in the refrigerator for about 30 minutes.
While the pudding is cooling, it’s time to move on to the next step – assembling the banana pudding.
Tip: If you want to add an extra flavor to your pudding, you can incorporate some mashed bananas into the pudding mixture before letting it cool. This will intensify the banana flavor and add a lovely texture to the dessert.
Step 3: Assembling the Banana Pudding
Now that your pudding is cooled, it’s time to assemble the layers of deliciousness. Follow these simple steps to create a beautiful and tantalizing banana pudding:
- Take a deep dish or individual serving bowls and start by spreading a layer of vanilla wafers at the bottom. This will form the base of your pudding.
- Slice the ripe bananas and arrange a layer of banana slices on top of the wafers. Make sure to cover the entire surface with banana slices for an even distribution of flavor.
- Next, ladle a generous amount of the cooled vanilla pudding over the banana slices, ensuring that it completely covers them. Use a spatula or the back of a spoon to spread the pudding evenly.
- Repeat the layering process by adding another layer of vanilla wafers, followed by banana slices, and then another layer of pudding. Continue this pattern until all the ingredients are used, ending with a layer of pudding on top.
- Lastly, carefully spread a thick layer of whipped cream over the top of the pudding. This will add a creamy and airy texture to the dessert.
Once the banana pudding is fully assembled, you can choose to garnish it with additional vanilla wafers or even sprinkle some crushed wafers on top for an extra crunch.
Now that your banana pudding is beautifully layered and assembled, it’s time to store it properly to maintain its freshness and flavor. Continue reading to learn how to store your banana pudding for the best results.
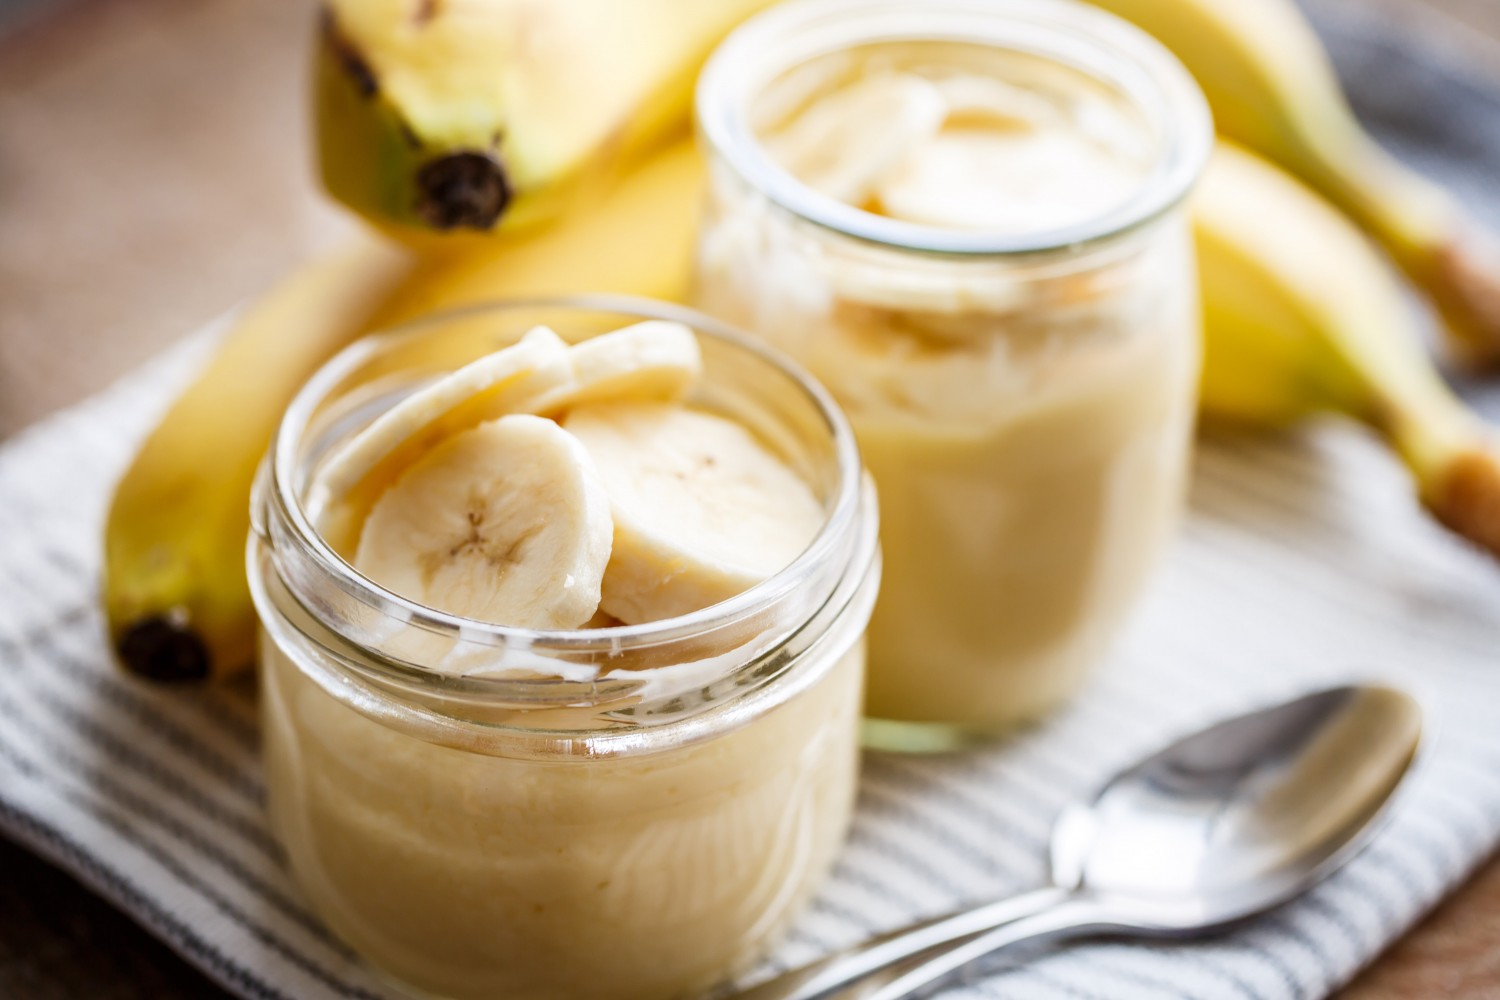
Store banana pudding in an airtight container in the refrigerator to keep it fresh. It’s best to consume within 2-3 days to maintain the best taste and texture.
Step 4: Storing the Banana Pudding
After taking the time to prepare and assemble your delicious banana pudding, you’ll want to make sure it stays fresh and enjoyable for as long as possible. Follow these steps to store your banana pudding:
- First, cover the dish or individual serving bowls tightly with plastic wrap. This will create a seal and prevent any air from getting in, which can cause the pudding to dry out.
- Next, place the covered pudding in the refrigerator. The cool temperature will help to preserve the pudding and prevent any bacterial growth.
- Store the banana pudding in the refrigerator for up to 3-4 days. However, it is best enjoyed within 2 days for optimal taste and texture.
While refrigeration is the most common method of storing banana pudding, you can also freeze it if you’d like to enjoy it at a later time. Simply follow these additional steps:
- Transfer the banana pudding to a freezer-safe container or wrap it tightly with aluminum foil.
- Label the container with the date and place it in the freezer.
- Frozen banana pudding can be stored for up to 1 month. To thaw, transfer it to the refrigerator and let it defrost overnight.
When ready to serve, remove the plastic wrap or foil and give the pudding a gentle stir to ensure it’s well-mixed. You can garnish it with fresh banana slices or a sprinkle of cocoa powder for an extra touch.
Now that your banana pudding is properly stored, let’s move on to some tips for serving it to make it even more delightful!
Read more: How To Store Bread Pudding
Step 5: Tips for Serving
Now that your banana pudding is stored and ready to be served, here are some tips to make the experience even more enjoyable:
- Before serving, let the banana pudding sit at room temperature for about 10-15 minutes. This will allow the flavors to meld together and the pudding to soften slightly.
- For an extra touch of decadence, drizzle some caramel or chocolate sauce over the top of the pudding. This adds a delightful sweetness and visual appeal.
- Consider garnishing each serving with a dollop of whipped cream and a sprinkle of crushed vanilla wafers. This adds a lovely texture contrast and enhances the overall presentation.
- You can also get creative with your presentation by serving the banana pudding in individual dessert glasses or mason jars. This makes it easier for guests to enjoy their own portion and adds a touch of elegance to the dessert.
- If you’re serving the banana pudding after it has been refrigerated, give it a gentle stir before serving to ensure that the layers are well-incorporated.
Remember to savor each bite of the creamy pudding, the velvety bananas, and the crunchy vanilla wafers. This classic dessert is meant to be enjoyed slowly, allowing the flavors to dance on your taste buds.
Now that you have all the tips for serving your delectable banana pudding, it’s time to gather your family and friends and indulge in this timeless treat!
Conclusion
Banana pudding is a classic and beloved dessert that never fails to delight. Whether you’re making it for a special occasion or just as a sweet treat for yourself, knowing how to store and serve banana pudding is essential to maintaining its freshness and flavor.
By following the steps outlined in this article, you can ensure that your banana pudding remains delicious for days to come. From carefully selecting ripe bananas to layering them with vanilla wafers and luscious pudding, every step in the process contributes to creating a mouthwatering dessert.
Remember to cover your banana pudding tightly with plastic wrap, store it in the refrigerator, and consume it within a few days for optimal taste. Alternatively, freezing the pudding allows you to enjoy it at a later time.
When it’s time to serve, let the pudding come to room temperature, add some extra toppings or garnishes, and savor the delightful combination of flavors and textures. Whether enjoyed with family and friends or savored as a personal indulgence, banana pudding is sure to bring smiles and satisfy even the most discerning sweet tooth.
So go ahead, follow these steps, and enjoy the creamy, dreamy goodness of banana pudding at any time. Happy indulging!
Now that you've mastered storing banana pudding, why not tidy up more spaces around your home? For those eager to declutter, our article on organizing cleaning closets offers clever storage tips guaranteed to transform chaos into order. Dive into practical advice that makes keeping every inch of your space neat a breeze.
Frequently Asked Questions about How To Store Banana Pudding
Was this page helpful?
At Storables.com, we guarantee accurate and reliable information. Our content, validated by Expert Board Contributors, is crafted following stringent Editorial Policies. We're committed to providing you with well-researched, expert-backed insights for all your informational needs.


0 thoughts on “How To Store Banana Pudding”