
Articles
How To Store Boiled Pasta
Modified: August 25, 2024
Learn how to store boiled pasta to keep it fresh and prevent it from sticking together. Follow our step-by-step guide for long-lasting pasta storage.
(Many of the links in this article redirect to a specific reviewed product. Your purchase of these products through affiliate links helps to generate commission for Storables.com, at no extra cost. Learn more)
Introduction
Welcome to the wonderful world of pasta! Whether you’re a seasoned chef or a cooking novice, knowing how to store boiled pasta properly can save you time and effort in the kitchen. There’s nothing worse than preparing a big batch of pasta only to have leftovers go to waste. By following a few simple steps, you can ensure that your boiled pasta stays fresh and tasty for future meals.
There are various reasons why you might want to store boiled pasta. Perhaps you made too much for your meal and want to save it for another day. Or maybe you want to prepare a few meals in advance for the week. Whatever the reason, learning how to store boiled pasta correctly will help maintain its texture and flavor.
In this article, we will guide you through the process of storing boiled pasta effectively. We’ll cover the steps to properly cool and drain your pasta, as well as the best methods for storing and reheating it. By the end, you’ll be equipped with the knowledge to ensure your pasta dishes remain delicious and enjoyable even when stored.
So, let’s jump right in and discover the secrets to storing boiled pasta!
Key Takeaways:
- Master the art of storing boiled pasta to enjoy fresh, flavorful meals anytime. Cool, drain, and store pasta properly to prevent waste and elevate your culinary skills.
- Reheat stored pasta with ease using stovetop, microwave, or oven methods. Enjoy delicious, perfectly heated pasta by following simple reheating steps.
Read more: How To Store Boiled Chicken
Step 1: Cooling the Pasta
Once your pasta is perfectly cooked al dente, it’s important to cool it down quickly to prevent overcooking and to halt the cooking process. This step is crucial in maintaining the desired texture of the pasta when you reheat it later.
To cool your pasta effectively, follow these simple steps:
- Drain your boiled pasta: Using a colander or a strainer, drain the pasta thoroughly to remove excess water. Shake the colander gently to ensure that all the water is drained.
- Rinse with cold water: Transfer the drained pasta into a large bowl or basin filled with cold water. Swirl the pasta around with your hands to help cool it down faster. The cold water will stop the cooking process and prevent the pasta from becoming mushy.
- Continue swirling: Keep swirling the pasta in the cold water for a couple of minutes until it feels cool to the touch. You can also add a few ice cubes to the water to speed up the cooling process.
- Drain the pasta again: Once the pasta has cooled down, drain it thoroughly once more to remove any excess moisture. It’s essential to remove as much water as possible to prevent the pasta from clumping together when stored.
Now that your pasta is cooled and properly drained, it’s ready to be stored for later use. Let’s move on to the next step: draining the pasta.
Step 2: Draining the Pasta
After cooling your pasta, the next step is to ensure proper draining. This step is crucial as excess moisture can lead to the pasta becoming soggy or clumpy when stored.
Follow these steps to drain your pasta effectively:
- Shake off excess water: Before transferring the cooled pasta to a storage container, give it a shake in the colander or strainer to remove any residual water. This will prevent the pasta from becoming too wet and sticking together.
- Pat dry if necessary: If you notice any excess moisture on the surface of the pasta, gently pat it dry with a clean kitchen towel or paper towels. This will help further remove any lingering water and ensure the pasta maintains its proper texture.
- Avoid over-drying: While it’s important to remove excess moisture, be careful not to over-dry the pasta, as this can cause it to become too dry and lose its desired texture. A slightly damp pasta is preferred over a completely dry one.
- Transfer to a storage container: Once the pasta is drained and slightly dried, transfer it to a suitable airtight container for storage. Choose a container that is large enough to hold the pasta without squishing or breaking it.
Now that your pasta is properly drained, it’s time to move on to the next step: storing the pasta for future use.
After boiling pasta, rinse it with cold water to stop the cooking process and prevent it from sticking together. Toss it with a little oil to prevent it from drying out, then store it in an airtight container in the refrigerator for up to 5 days.
Step 3: Storing the Pasta
Properly storing your boiled pasta is essential to maintain its freshness and flavor. By following these steps, you can ensure that your pasta stays in excellent condition for future meals.
Here’s how to store your pasta effectively:
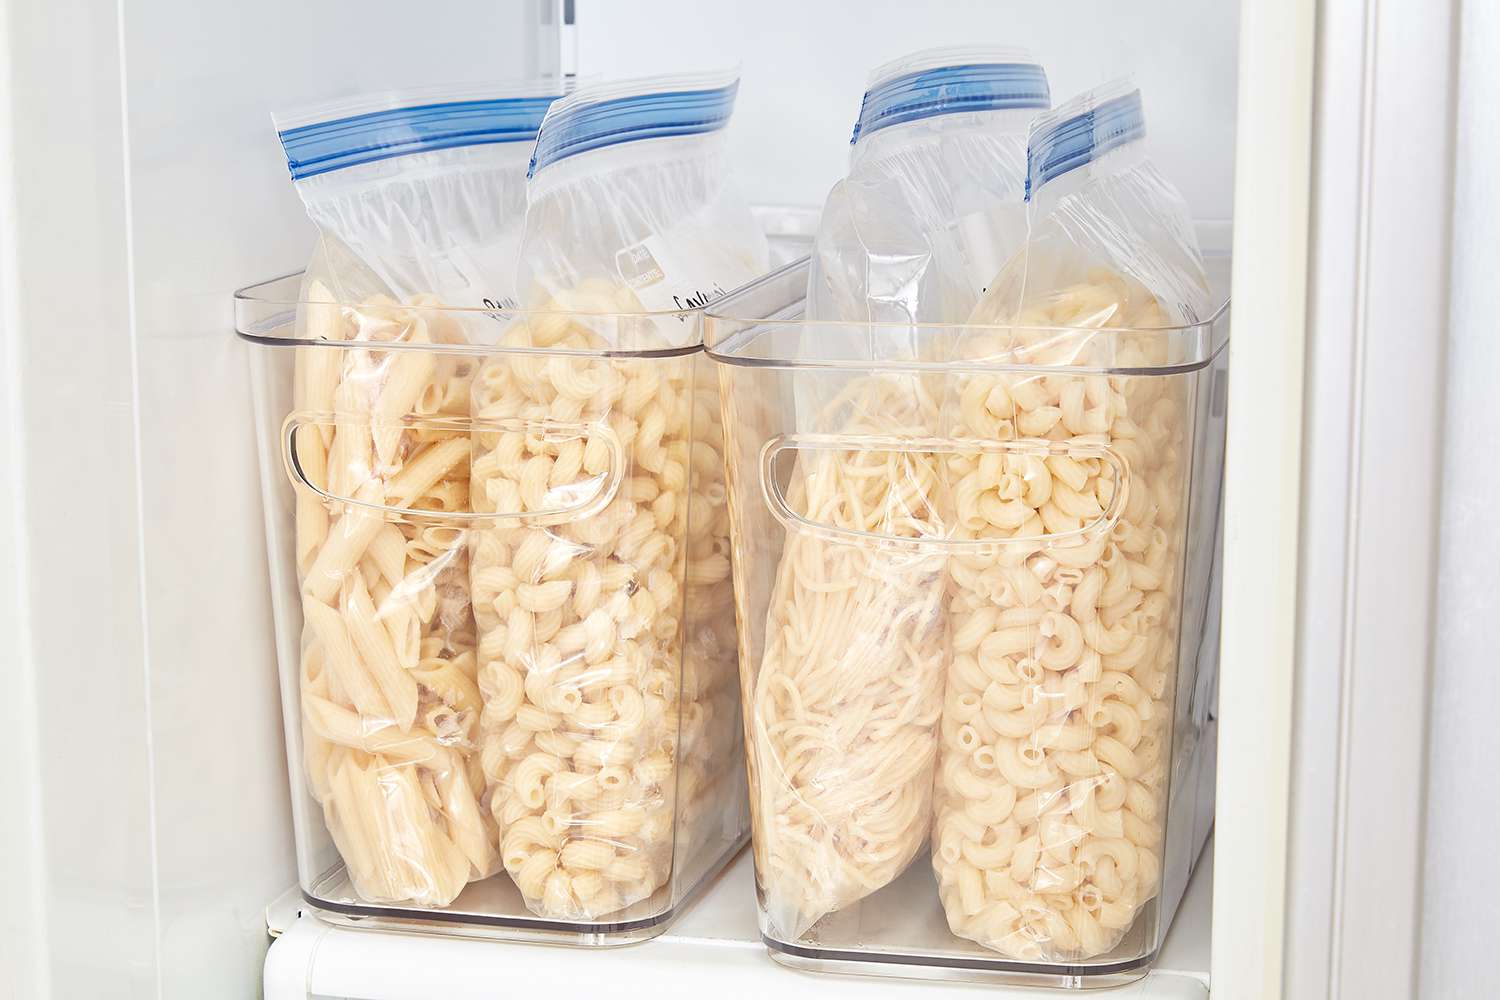
- Airtight container: Transfer the drained and dried pasta into an airtight container. This will help keep the pasta fresh and prevent it from absorbing any unwanted odors from the fridge.
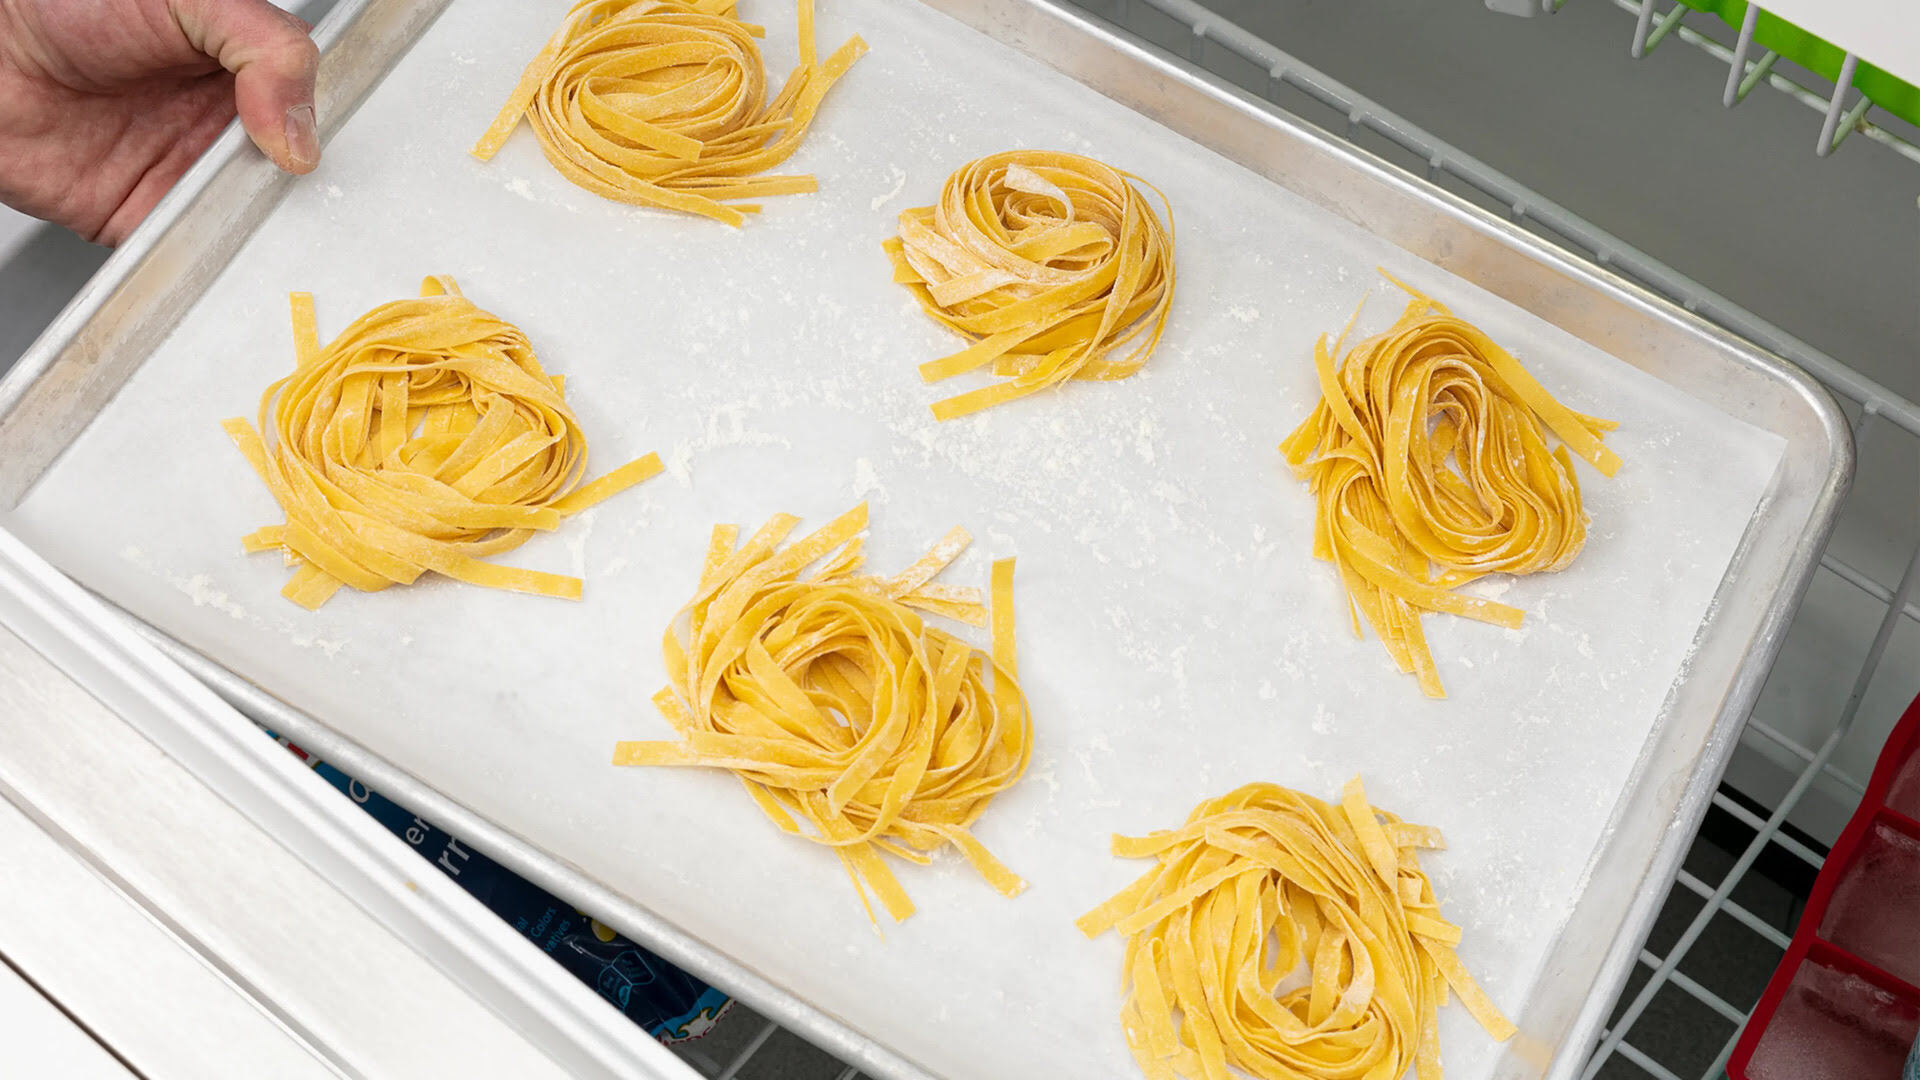
- Portion sizes: Consider dividing the pasta into individual or family-sized portions, depending on your needs. This makes it easier to thaw and reheat only the amount you require for each meal, minimizing waste.
- Label and date: To keep track of the storage time, it’s crucial to label the container with the date of storage. Pasta typically stays fresh for up to five days in the refrigerator.
- Refrigerate promptly: Place the airtight container of pasta in the refrigerator as soon as possible after cooling and draining. Keeping it at a consistently low temperature will help prevent bacterial growth and maintain its quality.
- Keep separate from sauce: It’s advisable to store the pasta and sauce separately. This allows you to customize your meal by reheating the pasta separately and then adding the desired amount of sauce when serving.
Remember that it’s important to store your pasta in the refrigerator and not at room temperature. This helps to prevent the growth of harmful bacteria and ensures its safety for consumption.
Now that your pasta is properly stored, let’s move on to the next step: reheating the pasta for a delicious meal.
Step 4: Reheating the Pasta
When it’s time to enjoy your stored boiled pasta, proper reheating is essential to restore its delicious texture and flavor. Follow these steps to reheat your pasta effectively:
- Remove from the fridge: Take out the container of stored pasta from the refrigerator and allow it to come to room temperature for about 10-15 minutes. This helps prevent the pasta from becoming too cold and unevenly heated when reheating.
- Choose a reheating method: There are a few different methods you can choose from to reheat your pasta, depending on your preference and time available:
- Stovetop: Heat a small amount of oil or sauce in a pan over medium heat. Add the pasta to the pan and sauté for a few minutes, stirring occasionally, until heated through.
- Microwave: Transfer a portion of the pasta to a microwave-safe dish and cover it with a microwave-safe lid or microwave-safe plastic wrap. Heat in the microwave on high for 1-2 minutes, stirring halfway through, until the pasta is heated evenly.
- Oven: Preheat your oven to around 350°F (175°C). Transfer the pasta to an oven-safe dish and cover it with aluminum foil. Place it in the preheated oven for 15-20 minutes, or until heated through.
- Check for doneness: Regardless of the reheating method you choose, it’s important to check that the pasta is heated through before serving. Taste a small portion to ensure it’s hot all the way through.
- Add sauce or toppings: Once the pasta is heated, you can add your preferred sauce, toppings, or additional ingredients to enhance the flavors. Stir well to combine everything evenly.
With these steps, you can enjoy perfectly reheated pasta that tastes just as delicious as freshly cooked. Remember to exercise caution when handling hot dishes or using kitchen appliances for reheating.
Now that you know how to properly reheat your pasta, it’s time to put your knowledge into practice and enjoy your tasty meal!
Read more: How To Store Dry Pasta
Conclusion
Storing boiled pasta doesn’t have to be a complicated process. By following the steps outlined in this article, you can ensure that your pasta stays fresh, flavorful, and enjoyable for future meals.
Remember to cool the pasta quickly, drain it thoroughly, and store it in an airtight container in the refrigerator. Keeping the pasta separate from the sauce and labeling it with the storage date will help you maintain organization and maximize its shelf life.
When it’s time to reheat the stored pasta, choose a reheating method that works best for you, whether it’s on the stovetop, in the microwave, or in the oven. Just make sure the pasta is heated through before serving.
By mastering the art of storing boiled pasta, you can save time in the kitchen and enjoy delicious pasta dishes whenever you please. Whether it’s a quick weeknight meal or a well-planned dinner party, having pre-cooked pasta on hand will be a game-changer.
So, take these steps to heart and never waste leftover pasta again. With a little knowledge and preparation, you can make the most out of your boiled pasta and elevate your culinary skills.
Now, go forth and conquer the world of pasta storage!
Frequently Asked Questions about How To Store Boiled Pasta
Was this page helpful?
At Storables.com, we guarantee accurate and reliable information. Our content, validated by Expert Board Contributors, is crafted following stringent Editorial Policies. We're committed to providing you with well-researched, expert-backed insights for all your informational needs.


0 thoughts on “How To Store Boiled Pasta”