Home>Home Maintenance>How Do You Clean A Portable Air Conditioner
Home Maintenance
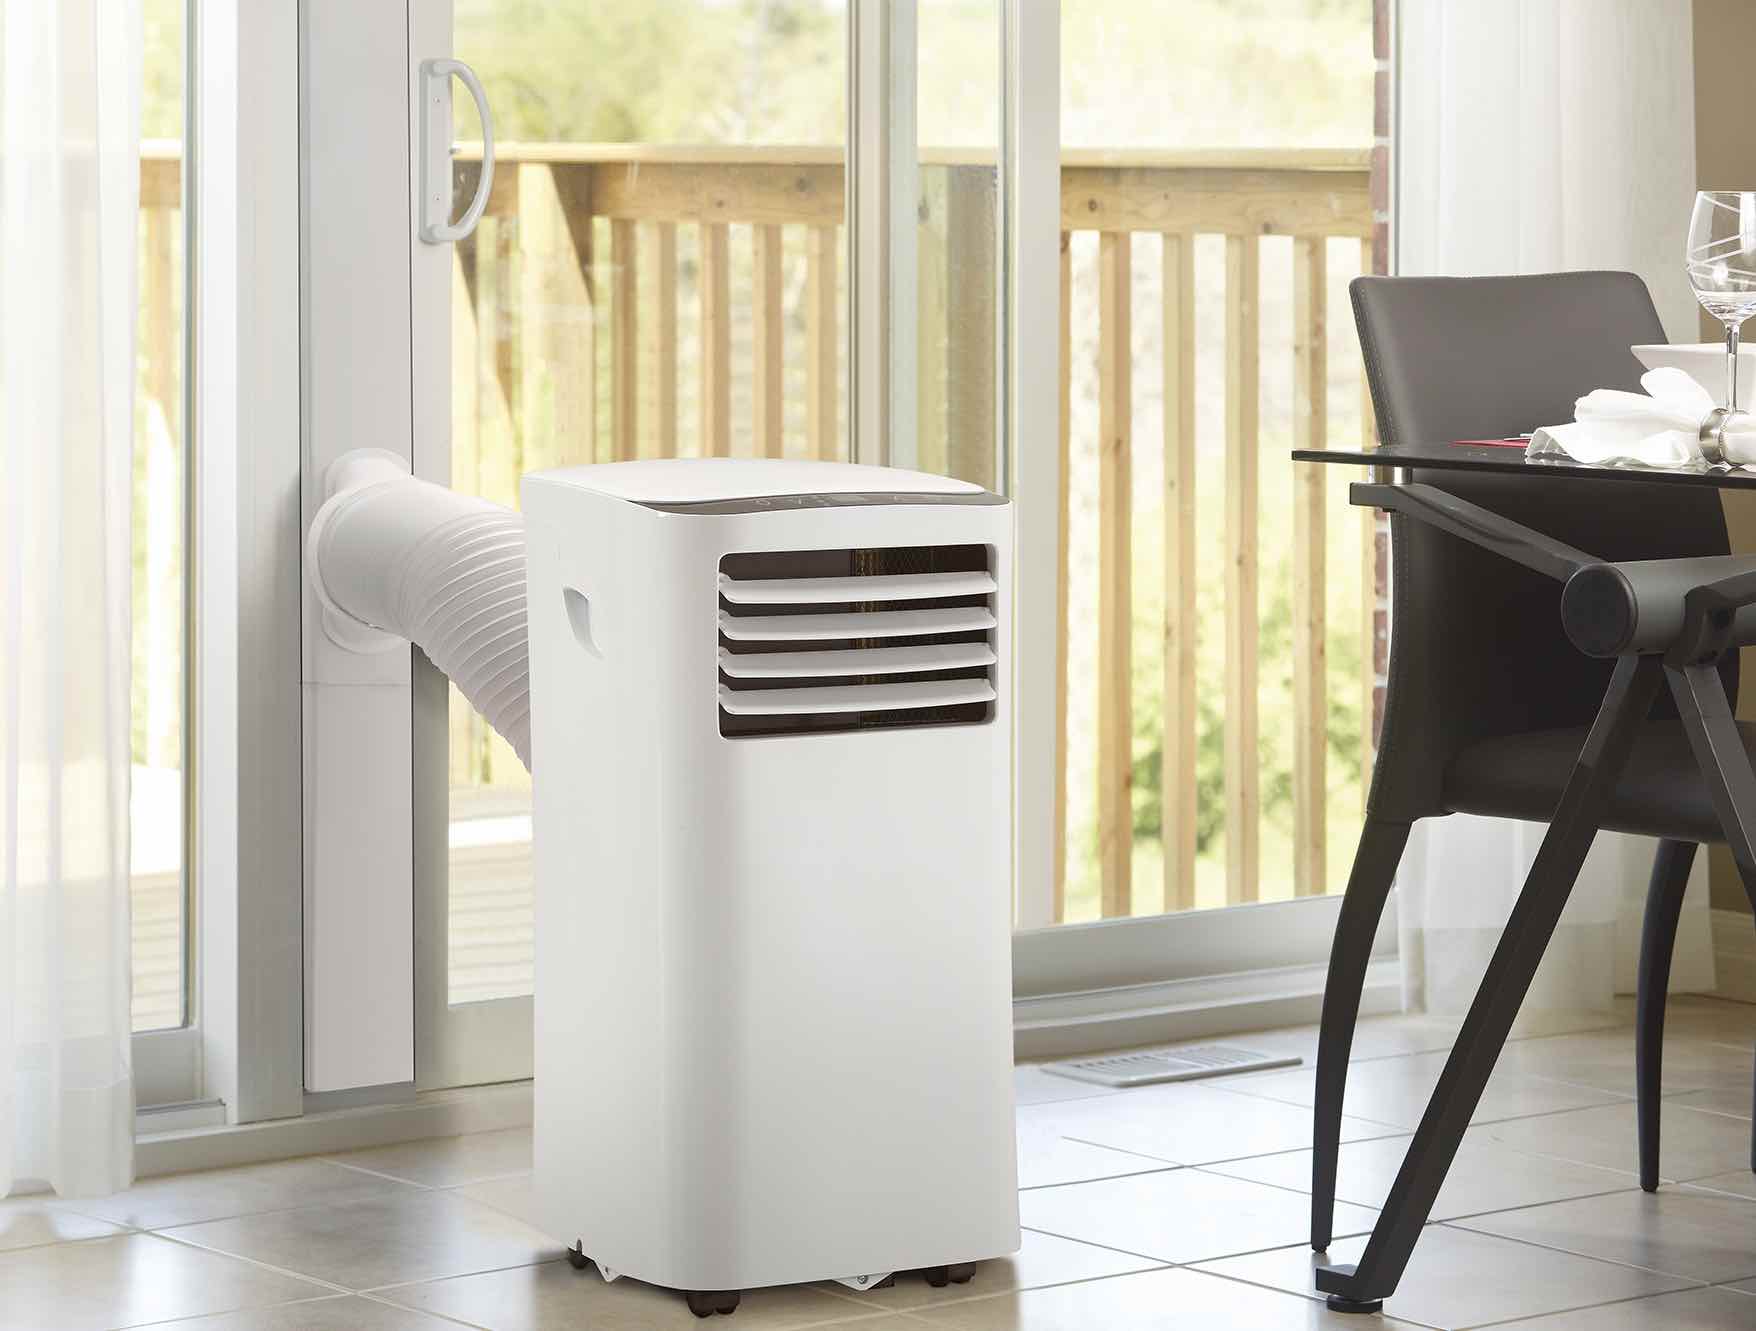
How Do You Clean A Portable Air Conditioner
Modified: March 7, 2024
Learn the best techniques for cleaning a portable air conditioner at home. Keep your unit running smoothly and efficiently with these home maintenance tips.
(Many of the links in this article redirect to a specific reviewed product. Your purchase of these products through affiliate links helps to generate commission for Storables.com, at no extra cost. Learn more)
Introduction
Welcome to our comprehensive guide on how to clean a portable air conditioner. As the temperature rises, your portable air conditioner becomes an essential part of keeping your home cool and comfortable. However, like any piece of equipment, it needs proper care and maintenance to continue functioning efficiently. Regular cleaning of your portable air conditioner is crucial to ensure optimal performance and longevity.
In this article, we will walk you through the step-by-step process of cleaning your portable air conditioner, from removing and cleaning the air filter to cleaning the cooling coils and condensate drain pan. We will also provide you with some essential safety precautions to keep in mind during the cleaning process.
By following this guide, you can improve the air quality in your home, prevent clogged filters, enhance the cooling efficiency of your portable air conditioner, and prolong its lifespan. So, let’s dive in and learn how to clean your portable air conditioner effectively and safely.
Key Takeaways:
- Regularly cleaning your portable air conditioner, from the air filter to the cooling coils, ensures optimal performance, cleaner air, and a longer lifespan for the unit.
- Prioritize safety by following precautions, such as turning off and unplugging the air conditioner, wearing protective gear, and working in a well-ventilated area, to clean your portable air conditioner effectively and safely.
Read more: How Do You Clean An Air Conditioner
Necessary Tools and Materials
Before you start cleaning your portable air conditioner, it’s essential to gather the necessary tools and materials. Having everything prepared beforehand will make the cleaning process much more efficient. Here are the tools and materials you’ll need:
- Screwdriver: A screwdriver is necessary to remove any screws or panels that may be holding the air conditioner together.
- Cleaning solution: You’ll need a mild detergent or air conditioner cleaner specifically designed for cleaning air conditioner components. Avoid using harsh chemicals or abrasive cleaners as they can damage the unit.
- Microfiber cloth: Microfiber cloths are great for cleaning delicate surfaces and will help remove dirt and grime without scratching the air conditioner.
- Soft-bristle brush: A soft-bristle brush or a toothbrush can be used to scrub away dust and debris from hard-to-reach areas.
- Garden hose or bucket of water: You’ll need either a garden hose or a bucket of water to rinse off the cleaning solution and remove any remaining dirt.
- Vacuum cleaner with a brush attachment: A vacuum cleaner with a brush attachment can be used to remove loose debris and dirt from the air filter and cooling coils.
- Protective gloves: It’s recommended to wear protective gloves to protect your hands while handling cleaning solutions.
- Protective goggles: Safety goggles are essential to protect your eyes from any splashes or debris during the cleaning process.
Make sure you have all these tools and materials readily available before you begin cleaning your portable air conditioner. Having everything prepared will make the process smoother and more efficient, allowing you to get the job done effectively.
Safety Precautions
Before you start cleaning your portable air conditioner, it’s important to prioritize your safety. Follow these safety precautions to avoid any accidents or injuries:
- Turn off and unplug the air conditioner: Before you begin cleaning, ensure that the air conditioner is turned off and unplugged. This will prevent any electrical accidents or shock hazards.
- Allow the air conditioner to cool down: Give the unit some time to cool down after turning it off. The internal components can still be hot, so it’s best to wait for at least 30 minutes before starting the cleaning process.
- Wear protective gloves and goggles: Protect your hands by wearing a pair of sturdy gloves. Additionally, wear safety goggles to shield your eyes from any cleaning solutions or debris.
- Work in a well-ventilated area: Make sure you clean the portable air conditioner in a well-ventilated area. Open windows or use fans to ensure proper air circulation and prevent the accumulation of cleaning fumes.
- Follow manufacturer’s instructions: While the general cleaning process for portable air conditioners is similar, it’s important to consult the manufacturer’s instructions specific to your unit. They may provide additional guidelines or precautions.
- Avoid using excessive force: When cleaning the air filter, cooling coils, or any other component, avoid using excessive force or aggressive scrubbing. Gentle cleaning is usually sufficient to remove dirt and debris.
- Avoid getting electrical components wet: While cleaning the exterior surfaces, be cautious not to get any of the electrical components wet. Water can damage the unit and pose an electrical hazard.
- Double-check before reassembling: After cleaning, double-check that all components are dry before reassembling the unit. Moisture can lead to mold growth and damage the air conditioner.
By following these safety precautions, you can ensure a safe and accident-free cleaning process. Prioritizing your safety will allow you to clean your portable air conditioner with confidence and peace of mind.
Step 1: Turn off and Unplug the Air Conditioner
The first step in cleaning your portable air conditioner is to turn it off and unplug it from the power source. This is crucial to ensure your safety and prevent any electrical mishaps during the cleaning process.
Start by locating the power button on the air conditioner control panel. Press the power button to turn off the unit. Once the air conditioner is turned off, unplug it from the electrical outlet.
It’s important to allow the air conditioner some time to cool down before proceeding with the cleaning. Air conditioners generate heat, and the internal components may still be hot even when the unit is turned off. Wait for at least 30 minutes to ensure that the air conditioner is cool to the touch.
Taking the time to turn off and unplug the air conditioner not only protects you from any electrical hazards but also prevents any accidental changes in settings or operation during the cleaning process.
Now that you’ve safely turned off and unplugged the air conditioner, you’re ready to move on to the next step: removing the air filter.
Step 2: Remove the Air Filter
Now that the portable air conditioner is turned off and unplugged, it’s time to remove the air filter. The air filter is an essential component of the air conditioner that traps dust, dirt, and other particles, preventing them from circulating in your home.
To remove the air filter, locate the filter compartment, which is usually located behind a front panel or grille. Use a screwdriver or follow the manufacturer’s instructions to remove any screws or fasteners holding the panel in place.
Gently slide out the air filter from the compartment. Take a moment to inspect the filter for any visible signs of dirt, dust, or debris. Over time, the air filter can become clogged, reducing airflow and the efficiency of the air conditioner.
If the air filter is reusable and washable, you can proceed to clean it. However, if the filter is disposable, it’s recommended to replace it with a new one. Check the manufacturer’s guidelines or the filter itself to determine if it can be washed or needs replacement.
Removing the air filter allows you to access other components for cleaning and ensures that the air conditioner continues to run smoothly. With the air filter in hand, you can move on to the next step: cleaning the air filter.
Read more: How Do You Say Air Conditioner In Spanish
Step 3: Clean the Air Filter
Cleaning the air filter is a crucial step in maintaining the efficiency and performance of your portable air conditioner. A dirty or clogged air filter can hinder airflow, reduce cooling capacity, and strain the unit’s motor.
If your air filter is washable and reusable, follow these steps to clean it:
- Fill a sink or bucket with warm water and a mild detergent or air conditioner cleaner. Avoid using harsh chemicals or abrasive cleaners, as they can damage the filter.
- Submerge the air filter in the soapy water and gently agitate it to loosen any dirt or debris. Use a soft-bristle brush or toothbrush to scrub away stubborn stains or buildup.
- Rinse the filter thoroughly under running water to remove any soap residue. Make sure to rinse both sides of the filter until the water runs clear.
- Gently shake off any excess water and allow the filter to air dry completely before reinstalling it. Avoid using a hairdryer or any heat source to speed up the drying process, as it can potentially warp or damage the filter.
If your air filter is disposable and not reusable, it’s best to replace it with a new one. Make sure to have a compatible replacement filter ready before removing the old one.
Cleaning or replacing the air filter on a regular basis, ideally every 2-3 months or as recommended by the manufacturer, helps maintain optimal airflow, improves indoor air quality, and prevents the accumulation of dust and allergens in your home.
With the air filter now cleaned or replaced, you’re ready to move on to the next step: cleaning the cooling coils of your portable air conditioner.
Regularly clean the air filter and the condenser coils of your portable air conditioner to ensure efficient operation and prevent the buildup of dust and debris. Use a vacuum or a soft brush to remove any dirt and grime.
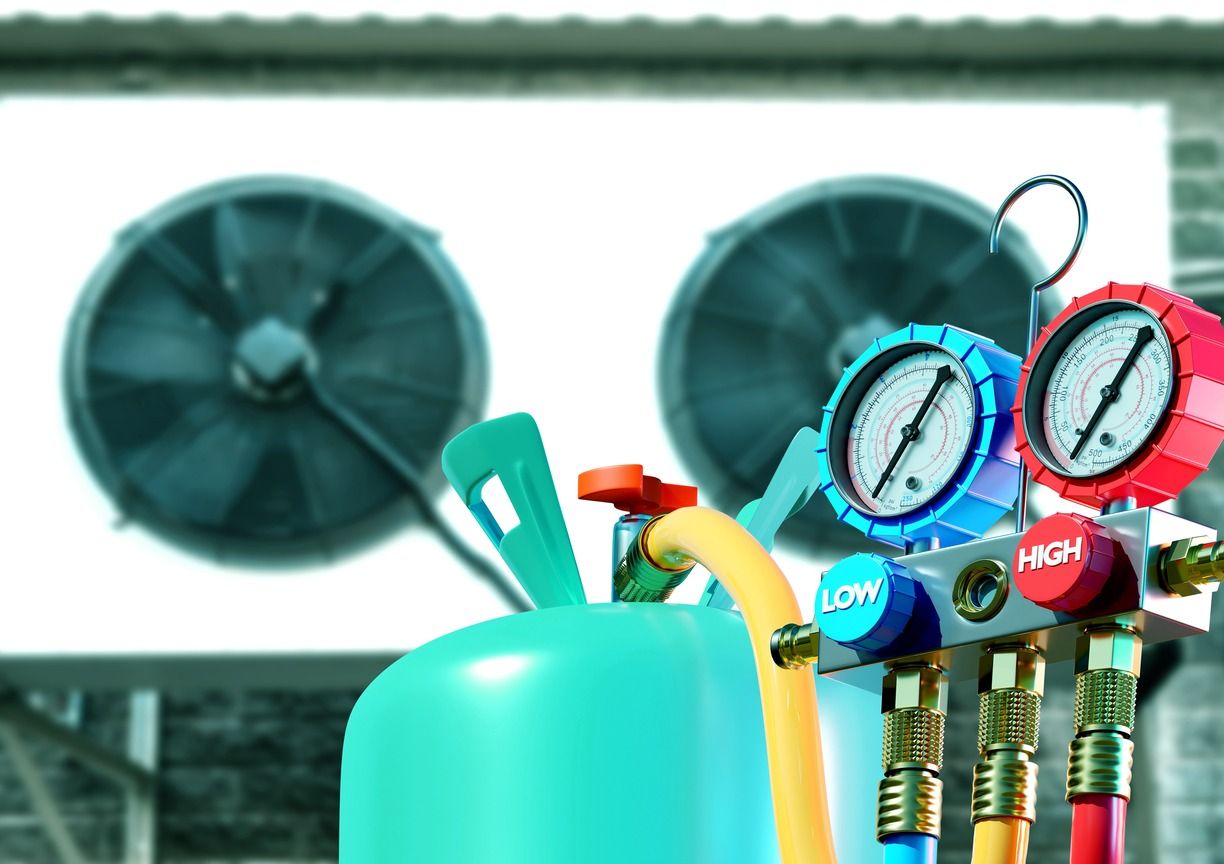
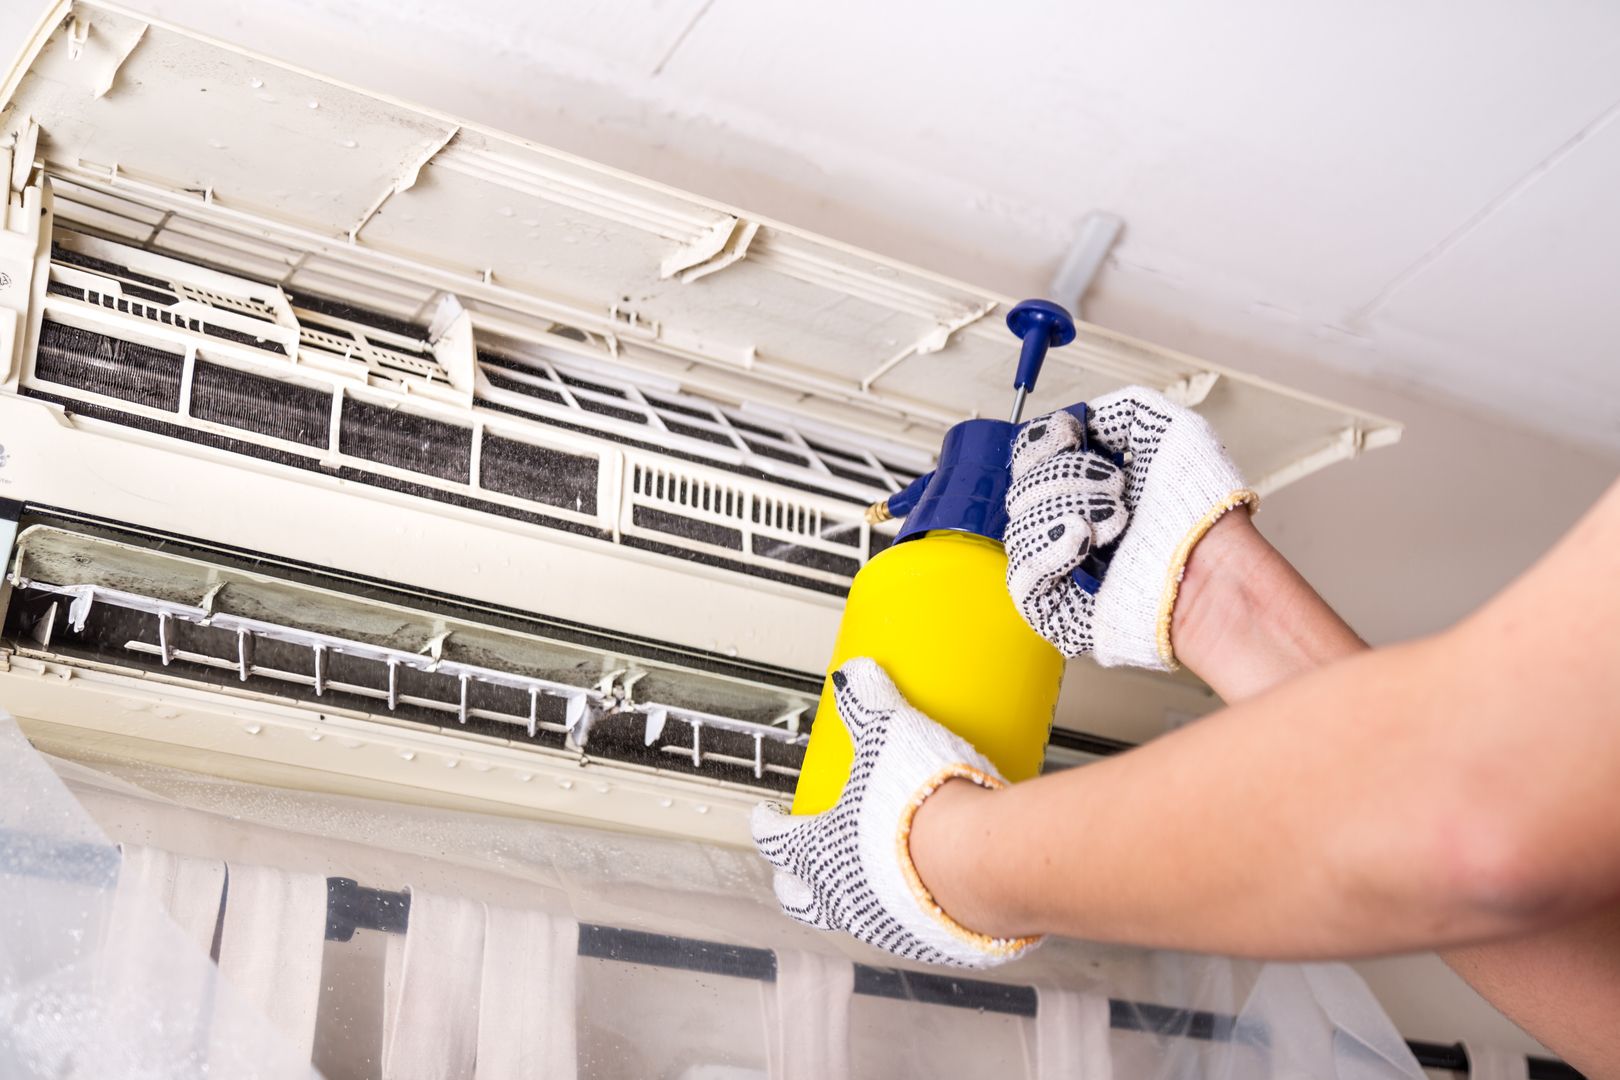
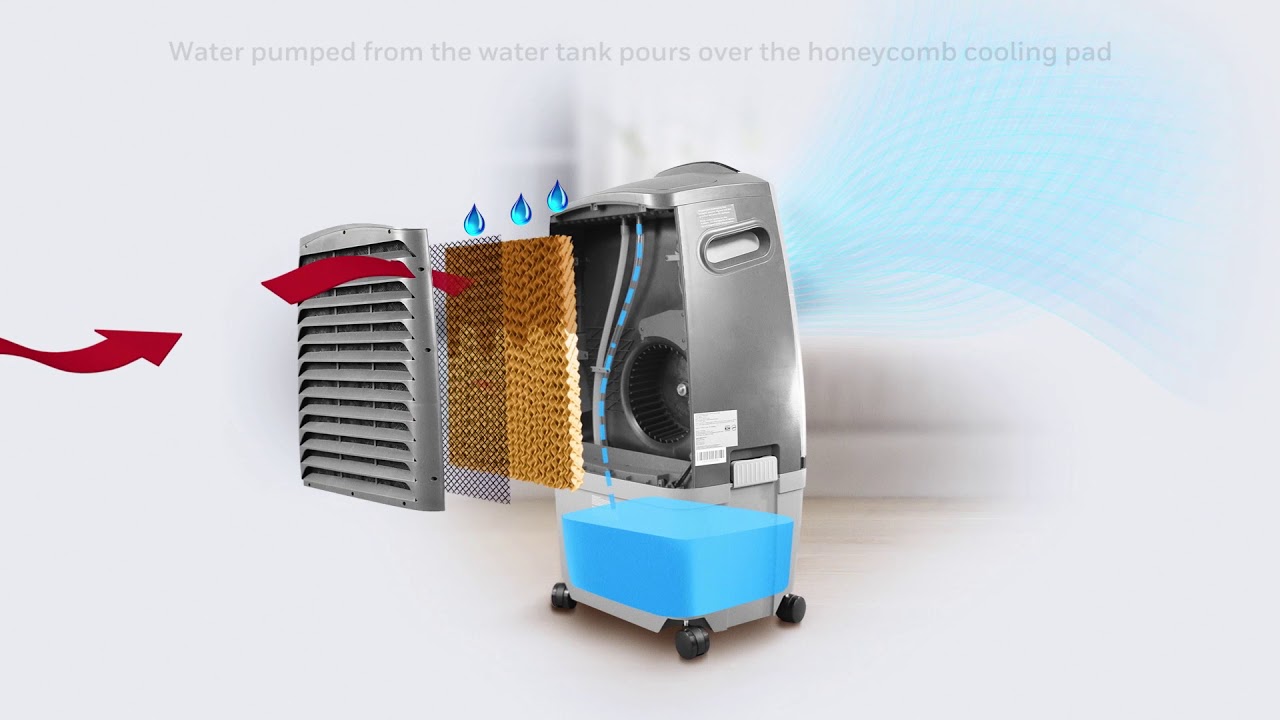
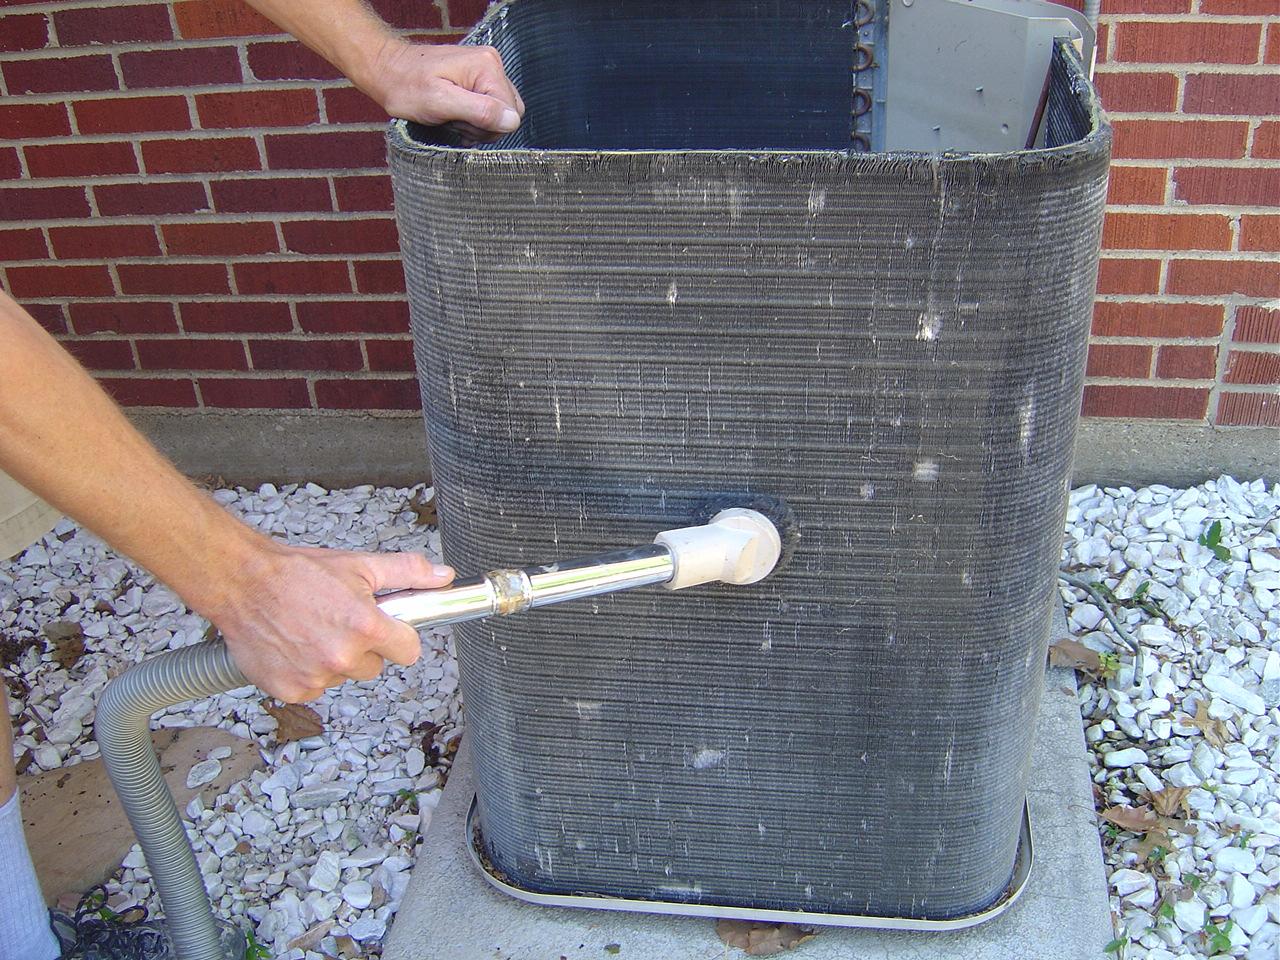
Step 4: Clean the Cooling Coils
The cooling coils in your portable air conditioner play a crucial role in removing heat from the air, allowing the unit to cool your space effectively. Over time, these coils can accumulate dirt, dust, and debris, reducing their efficiency and hindering the air conditioner’s performance.
To clean the cooling coils, follow these steps:
- Locate the cooling coil compartment. Depending on the model of your portable air conditioner, the compartment may be located behind a front panel or grille.
- Use a screwdriver or follow the manufacturer’s instructions to remove any screws or fasteners holding the panel in place.
- Carefully inspect the cooling coils for any visible signs of dirt or debris. If you notice significant buildup, it’s time to clean them.
- Using a soft-bristle brush or a vacuum cleaner with a brush attachment, gently remove the dirt and debris from the cooling coils. Be cautious not to apply too much pressure or damage the delicate fins.
- If stubborn dirt or debris persists, you can use a coil cleaner specifically designed for air conditioners. Follow the instructions on the cleaner and apply it to the coils, allowing it to sit for the recommended time.
- Rinse the coils with water to remove any remaining residue or cleaner. Ensure that the water flow is gentle and avoid directly spraying the electrical components.
- Allow the cooling coils to dry completely before reassembling the unit. You can use a soft cloth or towel to soak up any excess water.
Cleaning the cooling coils helps improve the cooling efficiency of your portable air conditioner and prolongs its lifespan. It is recommended to perform this cleaning process annually or as needed, depending on the operating conditions and the level of dirt accumulation.
With the cooling coils now clean and free from debris, you’re ready to move on to the next step: cleaning the condensate drain pan.
Step 5: Clean the Condensate Drain Pan
The condensate drain pan in your portable air conditioner collects the excess moisture that is generated as a result of the cooling process. Over time, this drain pan can accumulate dirt, mold, and algae, leading to blockages and potential water leakage.
To clean the condensate drain pan, follow these steps:
- Locate the condensate drain pan, which is typically located at the bottom of the air conditioner.
- Using a screwdriver or following the manufacturer’s instructions, remove any screws or fasteners that may be holding the drain pan in place.
- Gently lift the drain pan and empty any sitting water or debris into a bucket or sink.
- Mix a solution of equal parts water and vinegar or use a mild detergent. This will help to disinfect and remove any mold or algae present in the drain pan.
- Using a sponge or cloth, thoroughly clean the inside of the drain pan with the vinegar or detergent solution. Pay close attention to any stubborn stains or buildup.
- Rinse the drain pan with clean water to remove any remaining residue.
- Allow the drain pan to air dry completely before reassembling it back into the portable air conditioner.
Cleaning the condensate drain pan regularly helps prevent blockages and water leakage issues. By keeping the drain pan clean, you ensure that the excess moisture is properly drained and does not cause any damage to your air conditioner or surrounding area.
After you’ve cleaned the condensate drain pan, you’re ready to move on to the next step: cleaning the exterior surfaces of your portable air conditioner.
Step 6: Clean the Exterior Surfaces
Keeping the exterior surfaces of your portable air conditioner clean not only improves its appearance but also helps in maintaining its overall efficiency. Dust, dirt, and grime can accumulate on the exterior, obstructing airflow and reducing the unit’s cooling performance. Follow these steps to clean the exterior surfaces:
- Prepare a solution of mild detergent or air conditioner cleaner mixed with warm water.
- Dampen a microfiber cloth or sponge with the cleaning solution. Avoid saturating the cloth or sponge, as excess moisture can seep into the air conditioner.
- Gently wipe down the exterior surfaces of the air conditioner, including the front panel, top, sides, and any visible vents. Pay attention to areas with visible dirt or stains.
- If there are any stubborn stains or grime, use a soft-bristle brush or toothbrush to scrub the affected areas. Be careful not to apply excessive pressure or scratch delicate components.
- Rinse the cloth or sponge with clean water and wipe down the surfaces again to remove any detergent residue.
- Allow the exterior surfaces to air dry thoroughly before reassembling the air conditioner.
Cleaning the exterior surfaces not only helps in maintaining the aesthetics of your portable air conditioner but also ensures that dirt and debris do not hinder the unit’s performance. By keeping the exterior clean, you promote airflow, enhance cooling efficiency, and contribute to the longevity of the unit.
Now that you have cleaned the exterior surfaces, you’re ready for the next step: reinstalling the air filter.
Read more: How Do You Fix A Leaking Air Conditioner
Step 7: Reinstall the Air Filter
After thoroughly cleaning the air filter and allowing it to dry, it’s time to reinstall it back into the portable air conditioner. The air filter plays a crucial role in maintaining good indoor air quality and ensuring the unit operates efficiently. Follow these steps to reinstall the air filter:
- Locate the air filter compartment, which is usually behind a front panel or grille.
- Slide the clean or new air filter back into the compartment, ensuring that it fits securely and aligns with any guides or grooves.
- If there are any clips or fasteners, use them to secure the air filter in place.
- Double-check that the air filter is properly installed and sits flush against the compartment.
- Replace the front panel or grille and secure it with any screws or fasteners that were previously removed.
Reinstalling the air filter completes the cleaning process and ensures that your portable air conditioner continues to operate efficiently. It’s important to clean or replace the air filter on a regular basis to maintain optimum airflow, prevent dust and debris from entering the unit, and improve the indoor air quality of your home.
With the air filter back in place, you’re ready for the final step: plugging in and turning on the portable air conditioner.
Step 8: Plug in and Turn on the Air Conditioner
After completing the cleaning process and reinstalling the air filter, it’s time to plug in and turn on your portable air conditioner. Follow these simple steps to get your air conditioner up and running:
- Ensure that the portable air conditioner is positioned in a suitable location with proper clearance around it for optimal airflow.
- Plug the air conditioner back into the electrical outlet.
- Set your desired temperature and fan speed on the control panel of the unit.
- Switch on the power button to turn on the air conditioner.
- Listen for the sound of the compressor kicking in and feel for cool air coming from the unit.
- Allow the portable air conditioner a few minutes to reach your desired temperature and adjust the settings as needed.
With the air conditioner plugged in and turned on, you can now enjoy the cool and comfortable environment it provides, knowing that it has been properly cleaned and maintained.
Remember to keep an eye on the air conditioner’s performance and take note of any unusual noises or issues. If you notice any problems, refer to the manufacturer’s guide or consult a professional for further assistance.
Regular maintenance, including cleaning the air filter, cooling coils, and condensate drain pan, will help ensure that your portable air conditioner operates efficiently and lasts longer.
Congratulations! You have successfully completed the cleaning process for your portable air conditioner. By following these guidelines and regularly maintaining your air conditioner, you can enjoy optimal cooling performance for years to come.
Remember to refer back to this guide whenever it’s time for your next round of cleaning and maintenance.
Stay cool and comfortable!
Conclusion
Cleaning your portable air conditioner is an essential task that should not be overlooked. Regular maintenance and proper cleaning help maintain the efficiency and performance of your unit, ensuring that it continues to keep your space cool and comfortable.
In this comprehensive guide, we have walked you through the step-by-step process of cleaning your portable air conditioner. From turning off and unplugging the unit to cleaning the air filter, cooling coils, condensate drain pan, and exterior surfaces, each step plays a vital role in maintaining optimal airflow and preventing issues caused by dirt and debris buildup.
Remember to follow necessary safety precautions throughout the cleaning process to protect yourself and to consult the manufacturer’s instructions for your specific model. While the general process is similar, there may be slight variations in cleaning techniques and recommendations.
By cleaning your air conditioner regularly, you can enjoy a cleaner and healthier indoor environment, improved cooling efficiency, and potentially lower energy consumption. It is recommended to clean your portable air conditioner every few months or as needed, depending on usage and operating conditions.
We hope that this guide has provided you with the knowledge and confidence to effectively clean your portable air conditioner. Remember, a well-maintained air conditioner not only keeps you cool but also extends the lifespan of your unit, saving you money in the long run.
Thank you for taking the time to read this article. Stay cool and enjoy the benefits of a clean and efficient portable air conditioner!
Frequently Asked Questions about How Do You Clean A Portable Air Conditioner
Was this page helpful?
At Storables.com, we guarantee accurate and reliable information. Our content, validated by Expert Board Contributors, is crafted following stringent Editorial Policies. We're committed to providing you with well-researched, expert-backed insights for all your informational needs.