Articles
How To Store Bras In Closet
Modified: May 6, 2024
Discover the best way to store bras in your closet with these helpful and practical articles. Keep your bras organized and easily accessible while maximizing space.
(Many of the links in this article redirect to a specific reviewed product. Your purchase of these products through affiliate links helps to generate commission for Storables.com, at no extra cost. Learn more)
Introduction
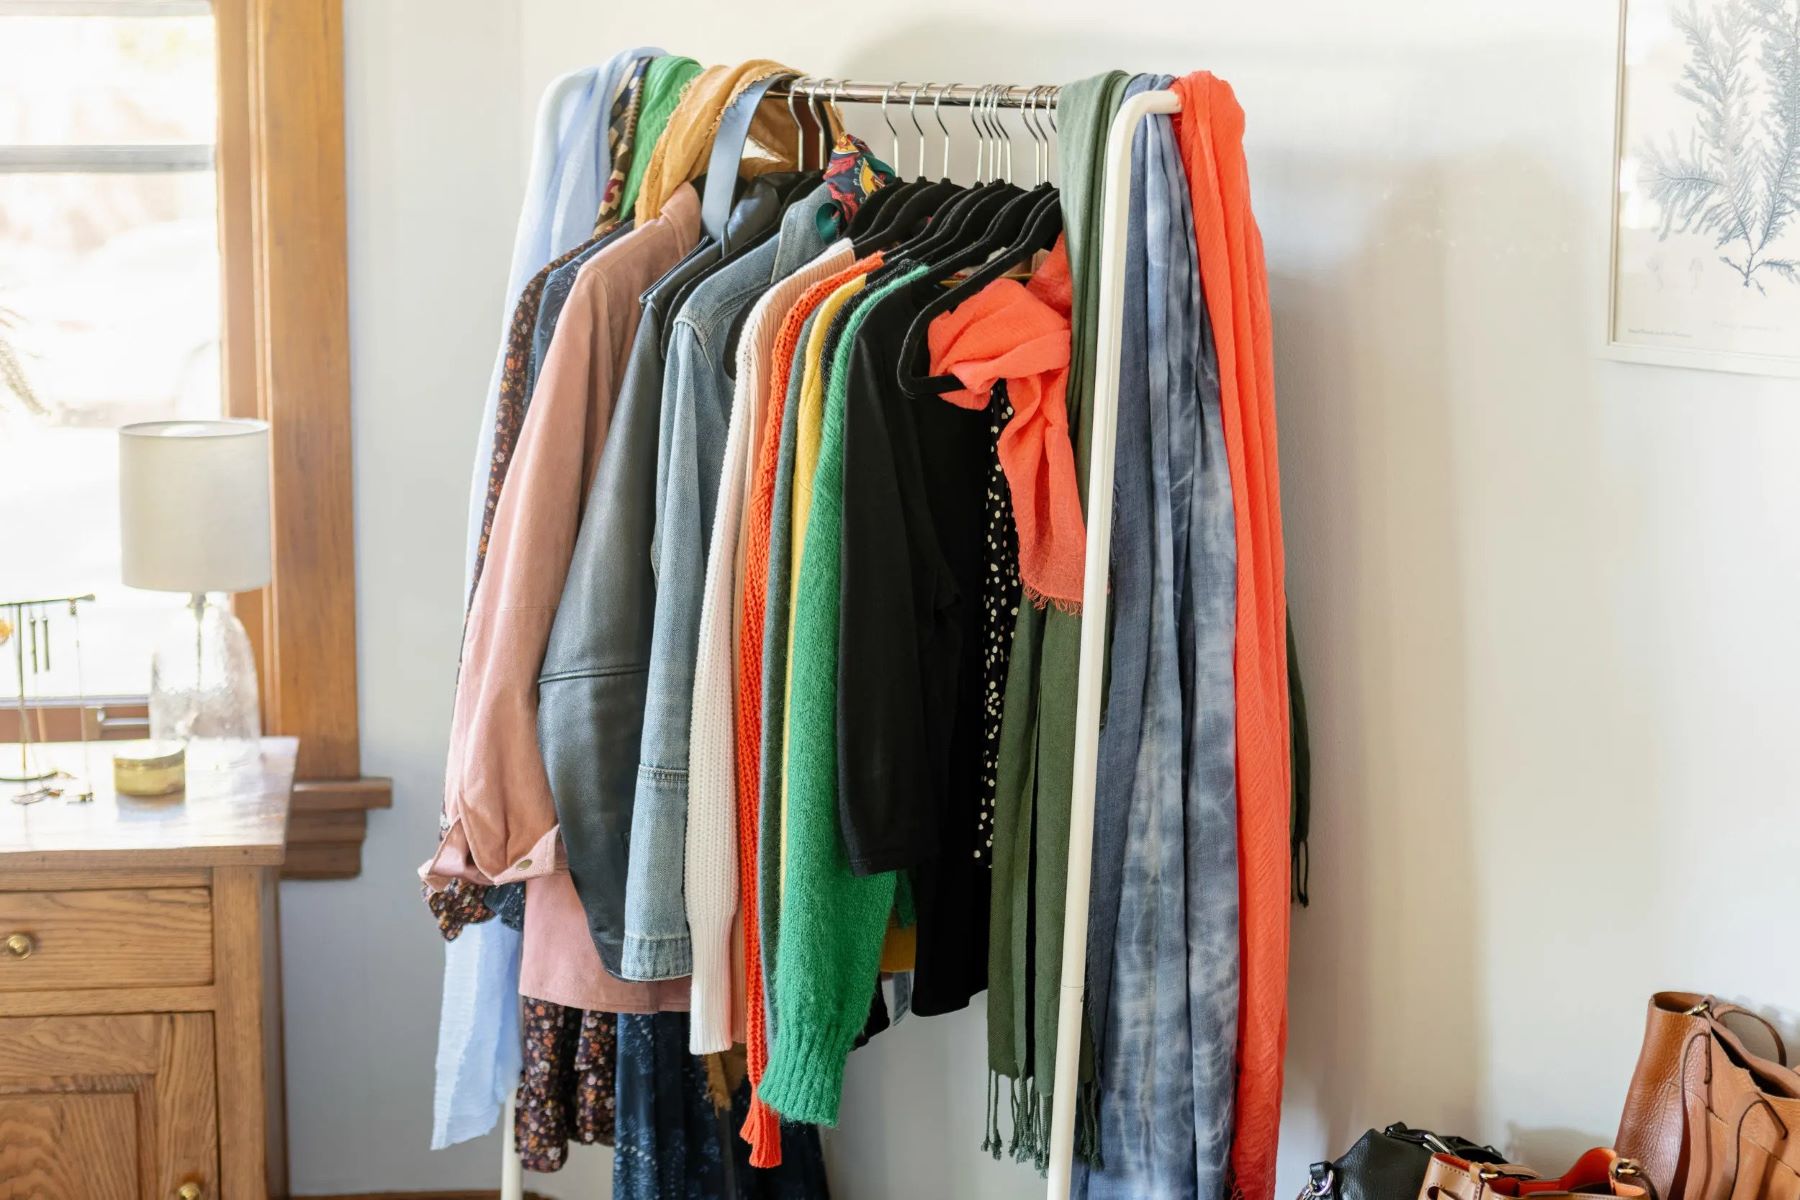
Having a well-organized closet not only saves you time and frustration when getting dressed, but it also extends the lifespan of your clothing and accessories. When it comes to storing bras in your closet, it’s essential to have a system in place to keep them in good condition and easily accessible. In this article, we will provide you with step-by-step instructions on how to store bras in your closet, ensuring that they remain in top shape and ready to wear at any time.
Whether you have a small collection or an extensive assortment of bras, taking care of them will not only prolong their lifespan but also contribute to your overall comfort and confidence. From sorting and separating to choosing the right storage method, we will guide you through each step of the process. So, let’s dive in and learn how to organize and store your bras effectively!
Key Takeaways:
- Properly organizing and storing your bras in your closet not only preserves their quality and lifespan but also streamlines your morning routine, ensuring easy access to the perfect bra for any occasion.
- Regularly rotating your bras, creating a designated space for them, and utilizing specialized hangers or organizers are essential steps in maintaining a functional and stylish bra collection that will last for years to come.
Read more: How To Store Sports Bras
Step 1: Sort and Separate
The first step in storing your bras effectively is to sort and separate them. Begin by emptying your entire collection of bras onto a clean and flat surface, such as your bed or a table. This will allow you to assess the quantity and condition of your bras, making it easier to determine the best storage method for each.
Start by separating your everyday bras from your special occasion or delicate bras. Everyday bras are typically those that you wear frequently, while special occasion or delicate bras may be reserved for events or require extra care due to their materials or embellishments.
Next, sort your bras by similar styles or types. Arrange them into categories such as sports bras, T-shirt bras, plunge bras, balconette bras, and so on. This will help you quickly locate the specific bra you need without rummaging through a jumbled mess.
As you sort, take a moment to evaluate the condition of each bra. Discard any bras that are damaged, have broken underwires, or show excessive signs of wear and tear. Holding onto bras that are beyond repair will only take up valuable space in your closet.
Once you’ve sorted and separated your bras, it’s time to move on to the next step: choosing the right storage method.
Step 2: Choose the Right Storage Method
Now that you’ve sorted and separated your bras, it’s time to choose the right storage method for each type. There are several options available, depending on your preference and the space available in your closet.
One common and convenient method is to fold your bras and stack them in a drawer. This works well for everyday bras and those made with soft cup materials. To fold a bra, stack the cups on top of each other and tuck the straps neatly inside. Place the folded bras in a drawer with dividers or separators to keep them organized and prevent them from getting misshapen.
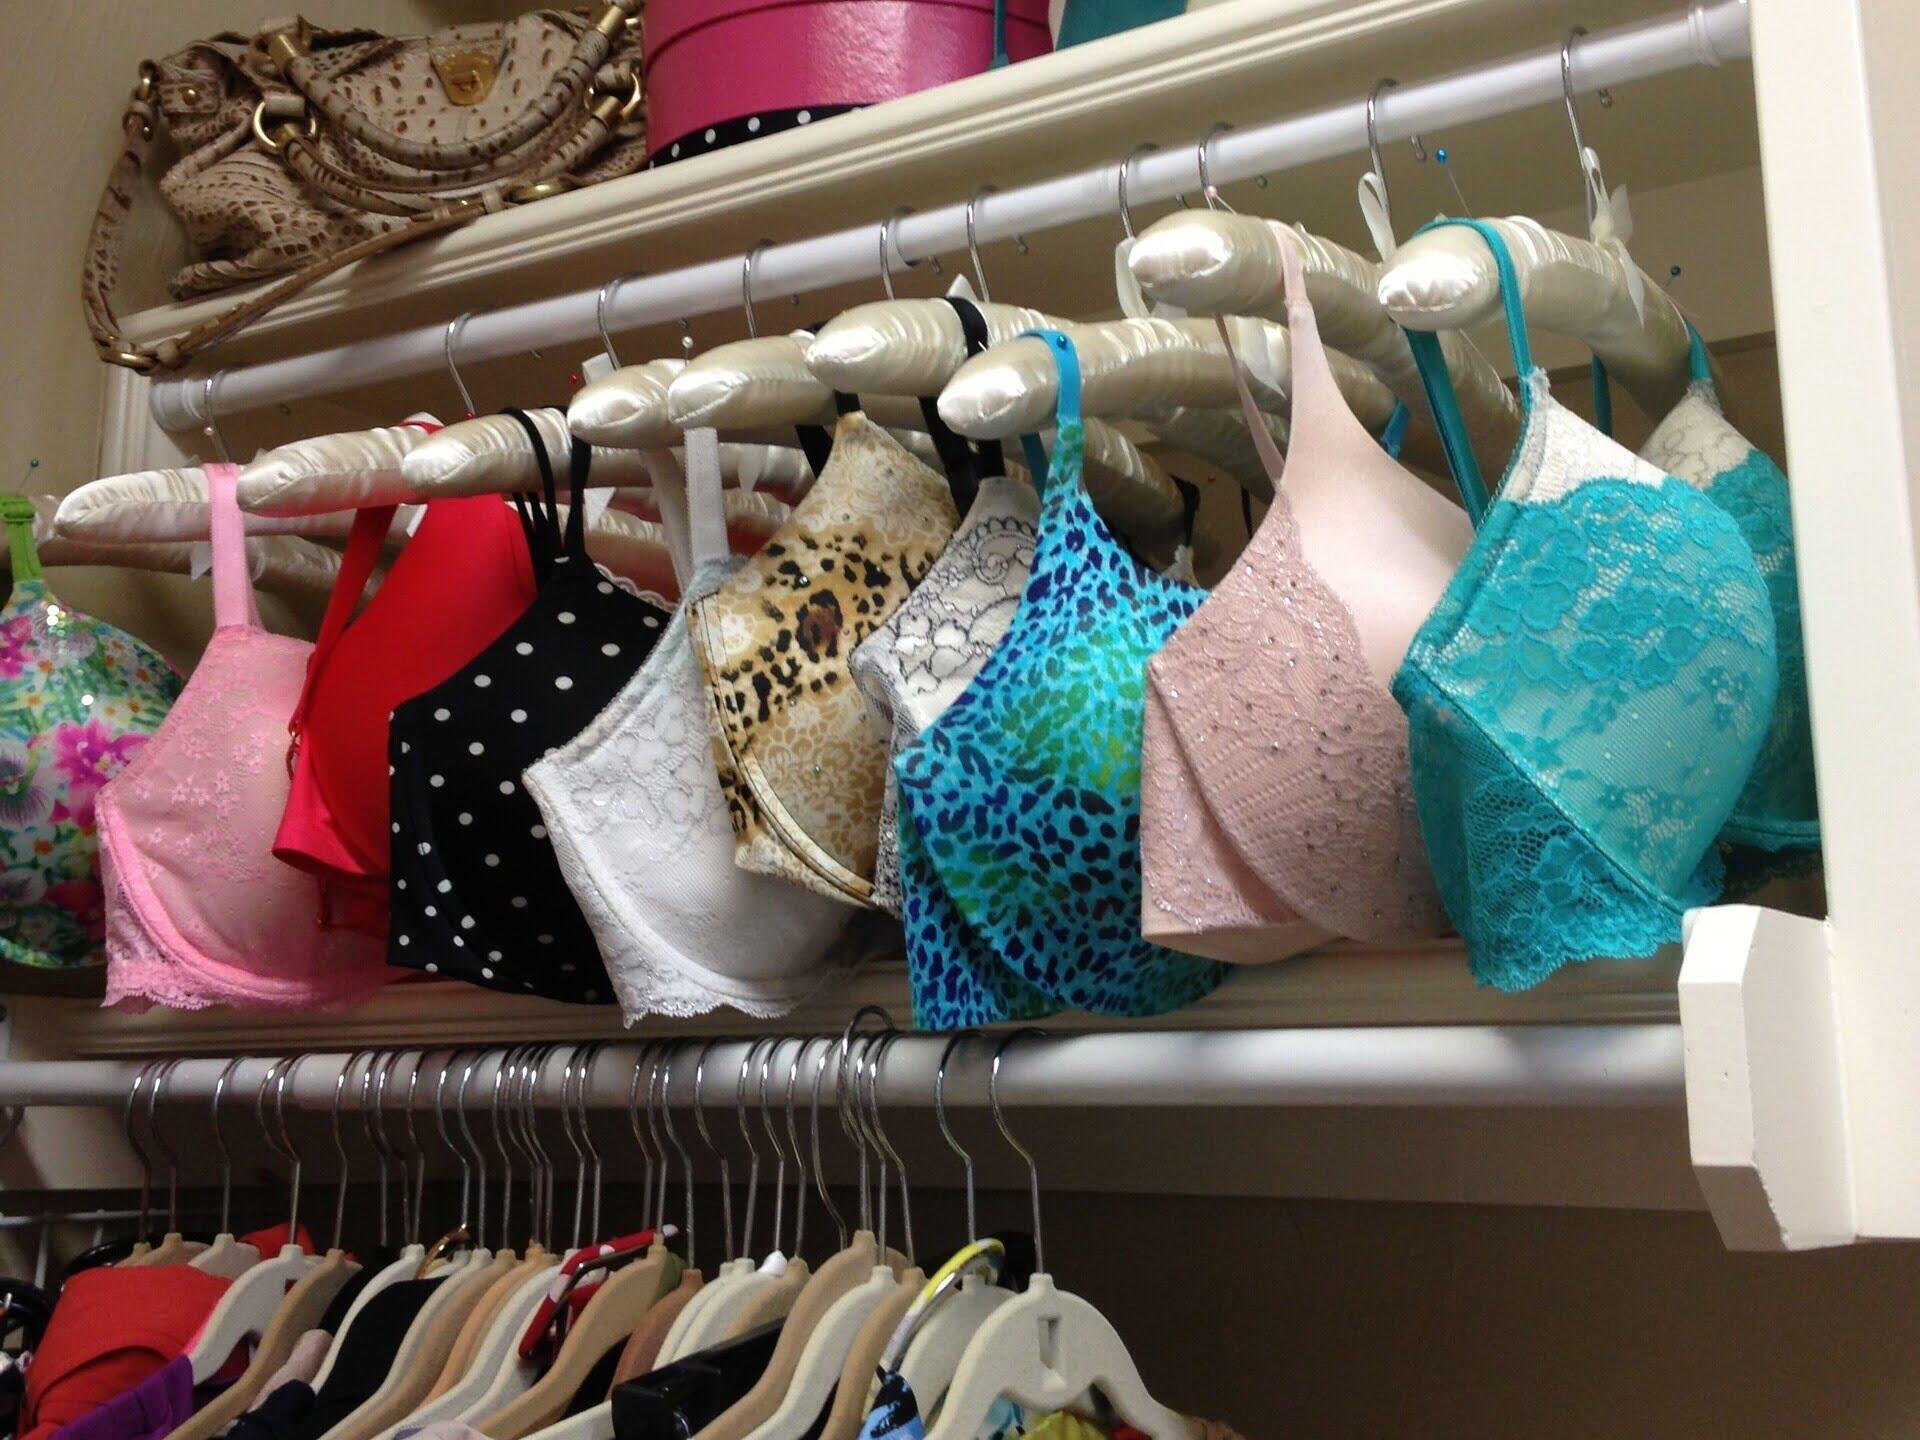
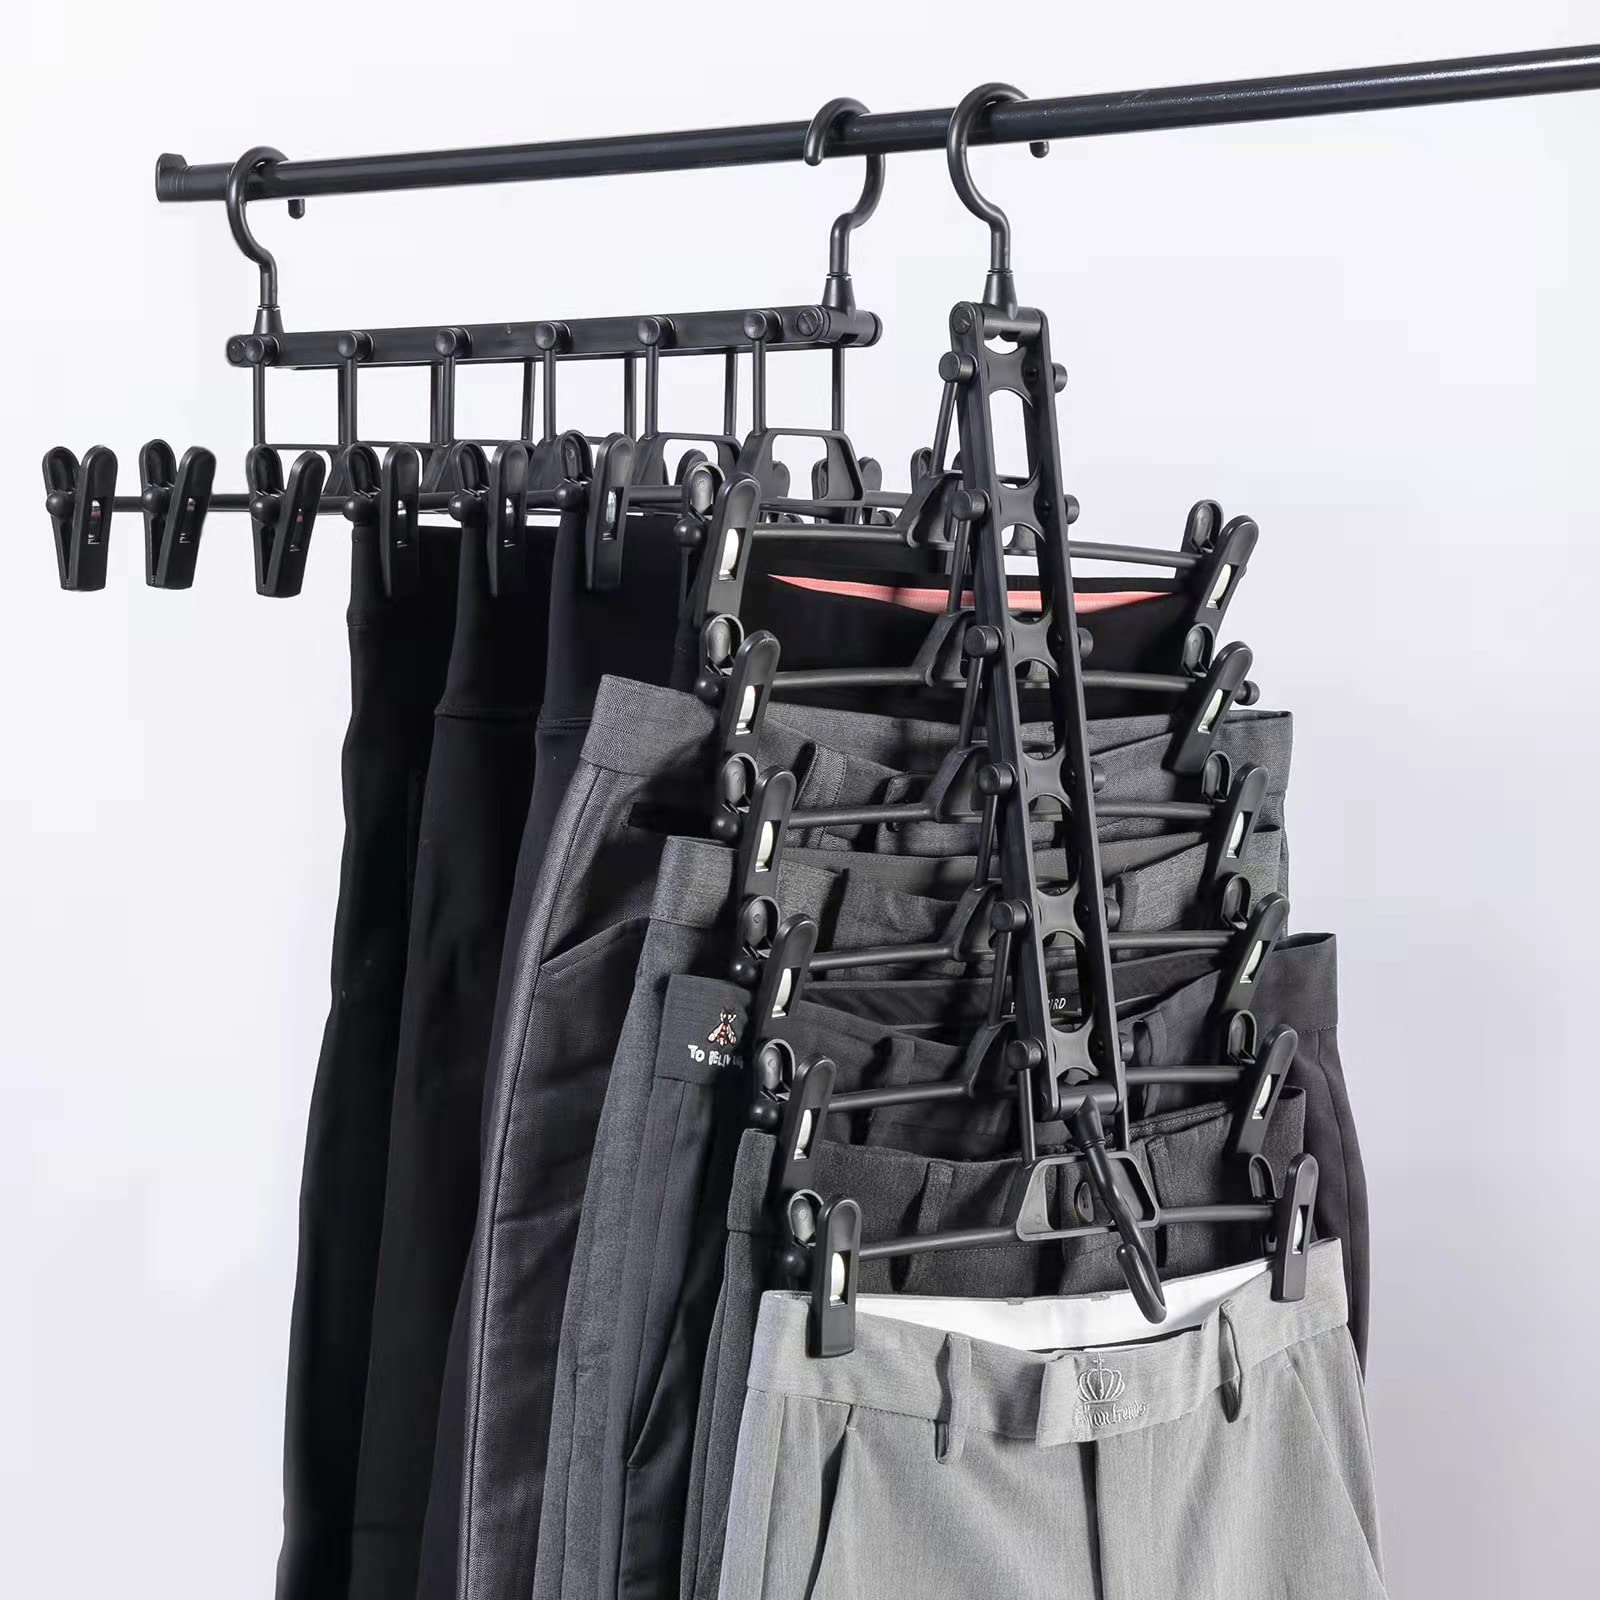
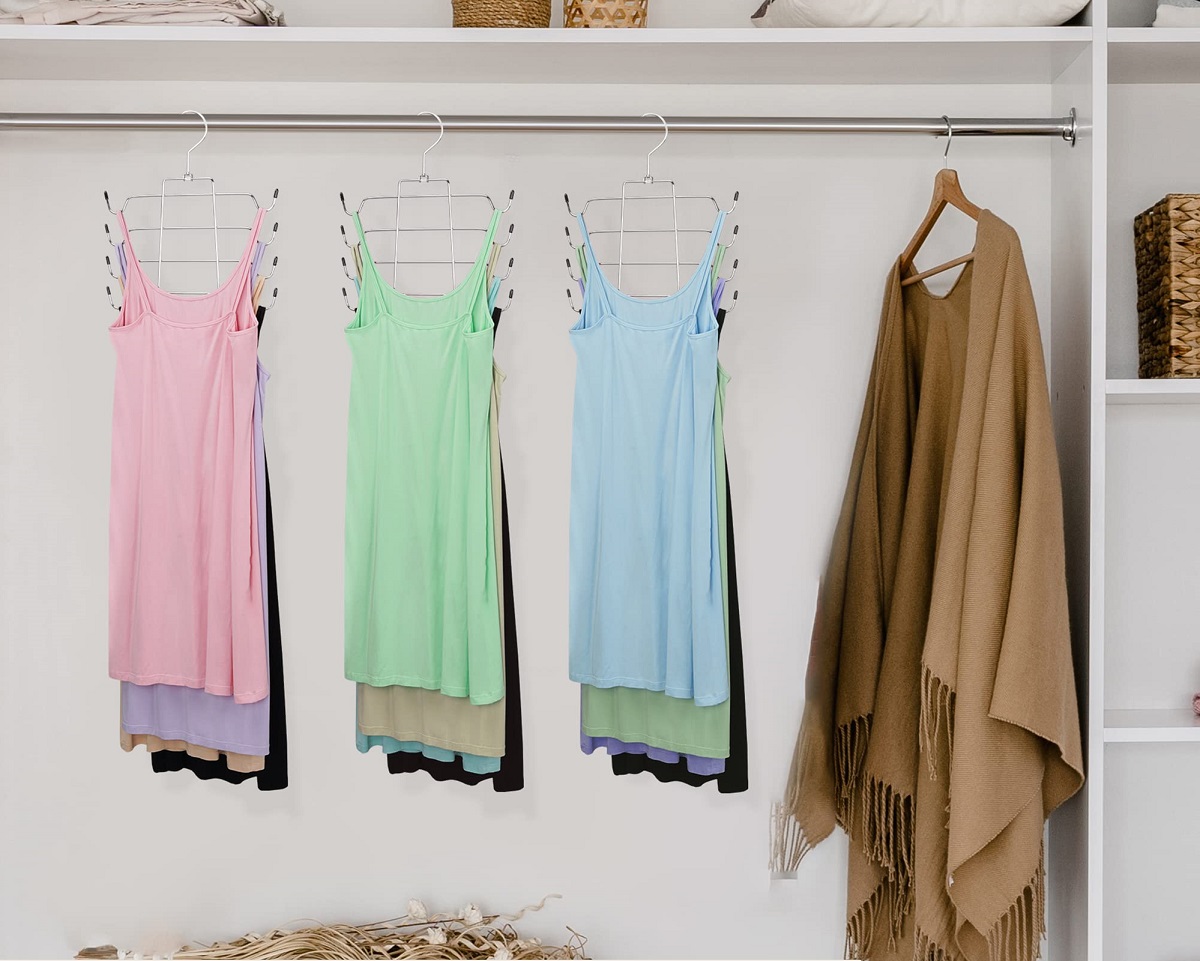
If you have limited drawer space or prefer to hang your bras, consider using a bra hanger. A bra hanger typically has multiple clips or loops that securely hold each bra. Hang your bras in a row, using one clip or loop for each bra. This method works well for padded bras or those with molded cups, as it helps to maintain their shape and prevent creasing.
Another option is to use a bra organizer. These specialized organizers have individual compartments that hold each bra separately, so they don’t get tangled or damaged. The organizers can be placed in a drawer or hung on a closet rod for easy access. This method is particularly useful for bras with delicate lace or intricate designs.
Consider the available space and accessibility when choosing your storage method. If you have limited closet space, maximizing drawer storage may be the best option. On the other hand, if you have spare rod space or prefer hanging your bras, a bra hanger or organizer might be the ideal choice.
Now that you’ve selected the appropriate storage method, let’s move on to the next step: utilizing drawer dividers.
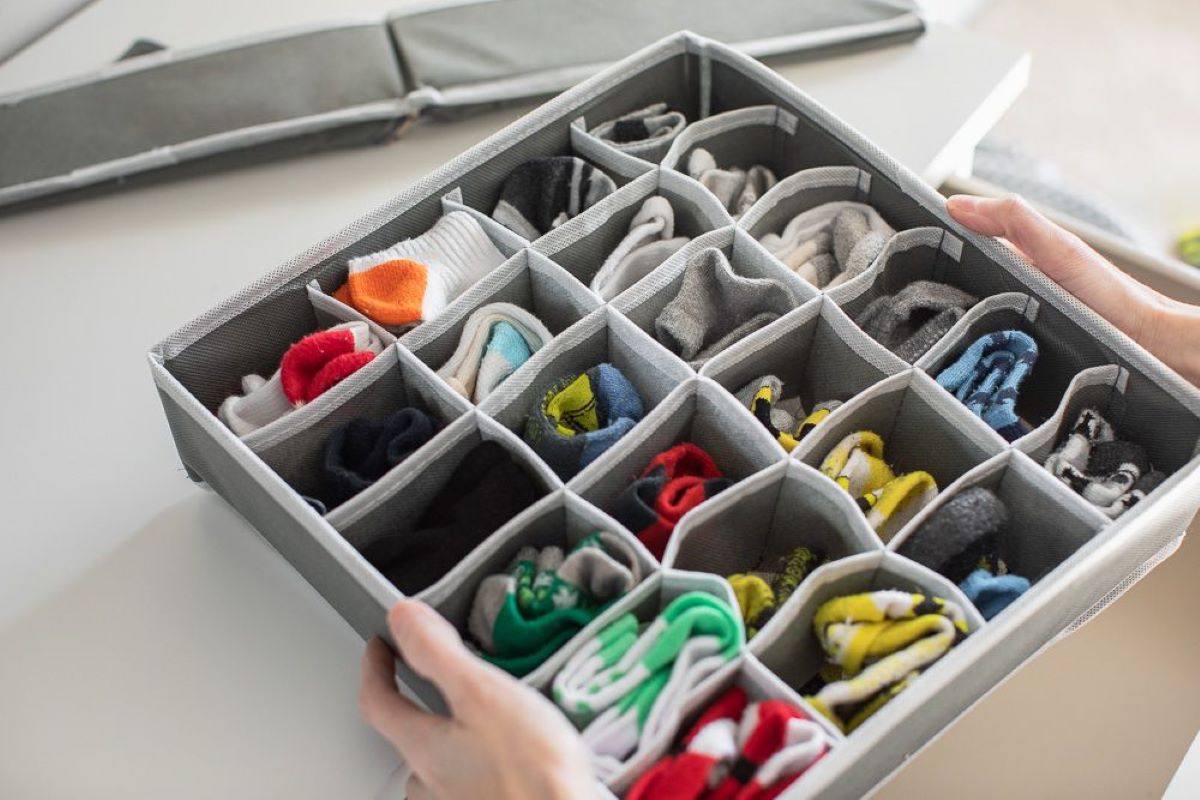
Step 3: Utilize Drawer Dividers
Drawer dividers are a game-changer when it comes to organizing and storing bras in your closet. They help maximize space, prevent bras from getting tangled or damaged, and make it easy to find the bra you need. Here’s how you can effectively utilize drawer dividers:
1. Measure your drawer: Start by measuring the dimensions of your drawer to determine the size of the dividers you need. This ensures a perfect fit and allows you to make the most of the available space.
2. Choose the right dividers: There are various types of drawer dividers available, including adjustable ones that can be resized to fit your specific needs. Consider investing in dividers with padding or fabric lining to provide extra protection for your bras.
3. Divide by category: Once you have your dividers, divide your drawer into sections based on bra categories. For example, you can have separate sections for sports bras, T-shirt bras, bralettes, and so on. This makes it easy to locate the type of bra you want without digging through a cluttered drawer.
4. Arrange neatly: Within each section, arrange your folded bras, stacking them neatly on top of each other. Make sure to align the cups to prevent them from losing their shape. If you have padded bras, place them with the cups facing up to maintain their padding.
5. Utilize back-to-front stacking: To maximize space and visibility, stack bras from back to front within each section. This allows you to see all the bras at a glance and prevents the ones at the back from getting forgotten or neglected.
By utilizing drawer dividers, you can keep your bras organized, easily accessible, and in excellent condition. Now that you’ve learned how to utilize drawer dividers, it’s time to move on to the next step: hanging your bras properly.
Step 4: Hang Them Properly
Hanging your bras properly is another important aspect of storing them in your closet. This method is ideal for bras that have molded cups or padding, as it helps maintain their shape and prevents them from getting creased. Here’s how to hang your bras properly:
1. Choose the right hanger: Opt for a sturdy, non-slip hanger with a shape that is suitable for bras. Avoid using wire hangers or hangers with sharp edges, as they can cause damage to the delicate fabrics and straps of your bras.
2. Hook the clasps: First, hook the clasps of each bra to prevent them from getting tangled or stretched. This ensures that your bras stay in place and remain securely attached to the hanger.
3. Hang one bra per hanger: To prevent overcrowding and maintain the shape of your bras, hang only one bra per hanger. This also makes it easier to locate and access the specific bra you want to wear.
4. Hang them with care: Gently drape the bra over the hanger, being mindful of the straps and cups. Avoid pushing or forcing the bra onto the hanger, as this can distort the cups and compromise the fit of the bra.
5. Evenly distribute weight: If you have multiple bras hanging on one closet rod, make sure to evenly distribute the weight. This prevents the rod from sagging and ensures that your bras remain in good shape.
6. Hang in a cool and dry area: Choose a location in your closet that is cool and dry to hang your bras. Avoid hanging them near heat sources or in damp areas, as excessive heat or moisture can damage the fabrics and elasticity of the bras.
By hanging your bras properly, you not only maintain their shape and condition but also make them easily visible and accessible in your closet. Now that you know how to hang your bras properly, let’s move on to the next step: considering the use of specialized bra hangers or organizers.
To store bras in a closet, use a drawer organizer or hanging organizer to keep them neatly separated and prevent damage to the cups and straps.
Read more: How To Store Large Bras
Step 5: Consider Using Specialized Bra Hangers or Organizers
If you want to take your bra organization to the next level, consider using specialized bra hangers or organizers. These accessories are designed specifically for storing bras and offer unique features to keep them in excellent shape. Here are some options to consider:
1. Bra hangers with multiple hooks: These hangers have multiple hooks or loops where you can hang multiple bras at once. They are a great space-saving solution, especially if you have a large bra collection. The hooks keep the bras neatly separated, preventing them from getting tangled.
2. Bra organizers with individual compartments: These organizers have separate compartments for each bra, allowing you to store them in an upright position. The individual compartments help maintain the shape of the bras, prevent them from getting crushed, and make it easy to grab the bra you want without disturbing the others.
3. Hanging bra storage bags: These bags are designed to protect your bras while also providing convenient storage. They typically have individual compartments or pockets for each bra and a hanger attachment for easy hanging in your closet. The bags keep your bras free from dust, lint, and other potential damage, making them a great option for special occasion bras.
4. Drawer organizers with bra dividers: If you prefer to store your bras in a drawer, consider using drawer organizers with built-in bra dividers. These organizers have sections specifically designed to hold and protect your bras. They help maximize drawer space, keep the bras neatly separated, and prevent them from becoming tangled or misshapen.
When choosing specialized bra hangers or organizers, consider your specific needs, available space, and the types of bras you own. These accessories can be a worthwhile investment, providing both functionality and aesthetic appeal to your closet.
Now that you’re acquainted with the various options available for specialized bra hangers or organizers, let’s move on to the next step: storing your bras in a clean and dry condition.
Step 6: Store Bras in Clean and Dry Condition
Proper storage of bras involves keeping them in a clean and dry condition. This step ensures that your bras remain fresh, hygienic, and ready to wear whenever you need them. Here’s how to store your bras in a clean and dry condition:
1. Wash your bras regularly: Before storing your bras, make sure they are clean. Follow the care instructions on the label to wash them properly. Use a gentle detergent and hand wash or use a lingerie bag to protect delicate fabrics and prevent damage. Avoid using bleach or fabric softeners, as they can weaken the elasticity of the bras.
2. Air-dry your bras: After washing, avoid using a dryer to dry your bras. The heat from the dryer can cause shrinkage and damage delicate materials. Instead, lay your bras flat or hang them to air dry in a well-ventilated area. This will help maintain their shape and prevent any moisture from being trapped, which can lead to mold or mildew.
3. Store bras in breathable bags or pouches: Once your bras are completely dry, store them in breathable bags or pouches. Avoid using plastic bags, as they can trap moisture and lead to mold or mildew growth. Opt for cotton or mesh bags that allow air circulation. These bags will protect your bras from dust and lint while also preserving their freshness.
4. Avoid storing near fragrances: Do not store your bras near fragrances or perfumes. Some fragrances contain alcohol or other ingredients that can damage the fabric or alter the color. Keep your bras away from direct contact with any scented products to maintain their quality.
5. Check for moisture regularly: As you store your bras, periodically check for any signs of moisture or dampness in the storage area. If you spot any moisture, move your bras to a different location or consider using a dehumidifier to control the humidity levels in your closet.
By storing your bras in a clean and dry condition, you ensure that they remain in pristine condition and ready to wear whenever you need them. Now that you know how to store your bras in a clean and dry condition, let’s move on to the next step: creating a designated space for bras in your closet.
Step 7: Create a Designated Space for Bras in Your Closet
Creating a designated space for your bras in your closet is essential for easy access and effective organization. By dedicating a specific area to your bras, you can keep them neatly arranged and prevent them from getting mixed up with other clothing items. Here’s how to create a designated space for your bras:
1. Evaluate your closet space: Take a look at your closet and identify a section or area where you can allocate space specifically for your bras. This can be a shelf, a drawer, a hanging rod, or a combination of these depending on the available space and your storage preferences.
2. Clear out the area: Clear out any items that currently occupy the chosen area in your closet. This provides a clean slate to organize and arrange your bras effectively.
3. Install dividers or shelves: If needed, install dividers or shelves to maximize the utilization of the designated space. Dividers can help separate different bra categories or sizes, ensuring each bra has its designated spot. Shelves can provide additional storage for folded bras or bra organizers.
4. Assign a spot for each category: Once you have your dividers or shelves in place, assign a specific spot for each category of bras. For example, reserve one section for sports bras, another for T-shirt bras, and so on. This makes it easier to locate the type of bra you need without any hassle.
5. Arrange by color or preference: Within each category, consider arranging your bras by color or personal preference. This adds an aesthetic touch to your closet and allows you to find the desired bra quickly. Additionally, organizing by preference can ensure that your favorite bras are always within easy reach.
6. Label or tag if desired: To further enhance organization, you can consider labeling or tagging each section or drawer. This adds clarity and helps maintain the arrangement even when you’re in a rush.
By creating a designated space for your bras, you’ll streamline your morning routine, save time searching for the right bra, and maintain the overall orderliness of your closet. Now that you know how to create a designated space for your bras, let’s move on to the next step: rotating your bras regularly.
Step 8: Rotate Your Bras Regularly
Rotating your bras regularly is an important step in maintaining their quality and longevity. By regularly wearing different bras in your collection, you can prevent excessive wear and tear on a single bra and ensure that all of your bras are being utilized. Here’s how to effectively rotate your bras:
1. Create a rotation schedule: It’s a good idea to create a rotation schedule to ensure that all of your bras are given equal wear. You can assign specific days or weeks to different bras, depending on your collection size and how often you wear bras of a particular style.
2. Follow the “one-day break” rule: After wearing a bra, give it a one-day break before wearing it again. This allows the bra to regain its shape, elasticity, and freshness. It also helps to prevent any moisture buildup that may have occurred during wear.
3. Store worn bras separately: After wearing a bra, store it separately from your other bras until it’s time for its next rotation. This way, you can easily identify which bras have been worn and avoid mistakenly wearing the same bra too frequently.
4. Assess and retire worn-out bras: As you rotate your bras, take the opportunity to assess their condition. If you notice any visible signs of wear and tear, such as stretched-out bands, sagging straps, or faded color, it may be time to retire that particular bra. Replace it with a new one to maintain a well-rounded rotation.
5. Wash and air-dry between rotations: Between each rotation, be sure to wash the bras that have been worn. Follow the recommended care instructions and allow them to air-dry before storing or wearing them again. This ensures that your bras are clean, fresh, and ready for the next rotation.
By regularly rotating your bras, you distribute the wear evenly, prolong the lifespan of your bras, and ensure that you have a well-functioning and comfortable collection. Now that you know how to rotate your bras regularly, it’s time to wrap up our guide to storing bras in your closet.
Read more: How To Store Bras Without Drawers
Conclusion
Organizing and storing your bras in your closet doesn’t have to be a daunting task. By following these eight steps, you can ensure that your bras remain in excellent condition, easily accessible, and ready for you to wear whenever you need them.
From sorting and separating your bras to choosing the right storage method, utilizing drawer dividers, and hanging them properly, each step plays a crucial role in maintaining the shape, comfort, and longevity of your bras. Considering the use of specialized hangers or organizers, storing bras in a clean and dry condition, creating a designated space in your closet, and rotating your bras regularly are all key components of an effective bra storage system.
By taking care of your bras and organizing them properly in your closet, you not only protect your investment but also streamline your morning routine. No more searching for a specific bra or dealing with tangled straps and misshapen cups. With a well-organized collection, you’ll have easy access to the bra you need, allowing you to start your day with confidence and comfort.
Remember to assess your bras periodically for any signs of wear and tear and retire those that have reached the end of their lifespan. By regularly rotating your bras and maintaining their cleanliness, you can enjoy a functional and stylish bra collection that will last for years to come.
So, take the time to implement these steps and transform your closet into a well-organized haven for your bras. Your future self will thank you for the hassle-free mornings and the extended life of your beloved bras.
Now that you've mastered bra storage in your closet, why stop there? Dive deeper into organizing your intimate apparel with our guide on top bra storage solutions, perfect for keeping everything tidy and within reach. Or, if you're keen to overhaul your entire closet, check out our recommendations for efficient shirt folding boards. These tools simplify closet organization, ensuring your garments look crisp without the hassle of ironing.
Frequently Asked Questions about How To Store Bras In Closet
Was this page helpful?
At Storables.com, we guarantee accurate and reliable information. Our content, validated by Expert Board Contributors, is crafted following stringent Editorial Policies. We're committed to providing you with well-researched, expert-backed insights for all your informational needs.


0 thoughts on “How To Store Bras In Closet”