Articles
How To Store Yeast Dough
Modified: August 16, 2024
Discover effective methods for storing yeast dough in this informative article. Keep your dough fresh and ready for baking with these helpful tips.
(Many of the links in this article redirect to a specific reviewed product. Your purchase of these products through affiliate links helps to generate commission for Storables.com, at no extra cost. Learn more)
Introduction
Welcome to the world of baking! If you’ve ever dabbled in the art of bread-making, you know that yeast dough is the heart and soul of many delicious recipes. Whether you’re making fluffy dinner rolls, crusty baguettes, or mouth-watering cinnamon buns, properly storing yeast dough is essential to maintain its freshness and quality.
In this article, we’ll dive into the ins and outs of storing yeast dough, exploring the importance of proper storage techniques and the factors to consider. We’ll also discuss different options for containers, temperature considerations, freezing methods, refrigeration techniques, and tips for storing rolled dough. So, let’s get started and ensure your yeast dough stays fresh and ready for baking whenever you’re ready!
Key Takeaways:
- Proper storage of yeast dough is crucial to maintain freshness, control fermentation, prevent bacterial growth, and extend shelf life. Choose the right container, consider temperature, and follow proper freezing and thawing methods for optimal results.
- Understanding yeast dough, choosing suitable containers, considering temperature variations, and following proper freezing and thawing techniques are essential for effective yeast dough storage. By following these guidelines, you can ensure your homemade bread and baked goods are always fresh and ready to be enjoyed.
Read more: How To Store Instant Yeast
Understanding Yeast Dough
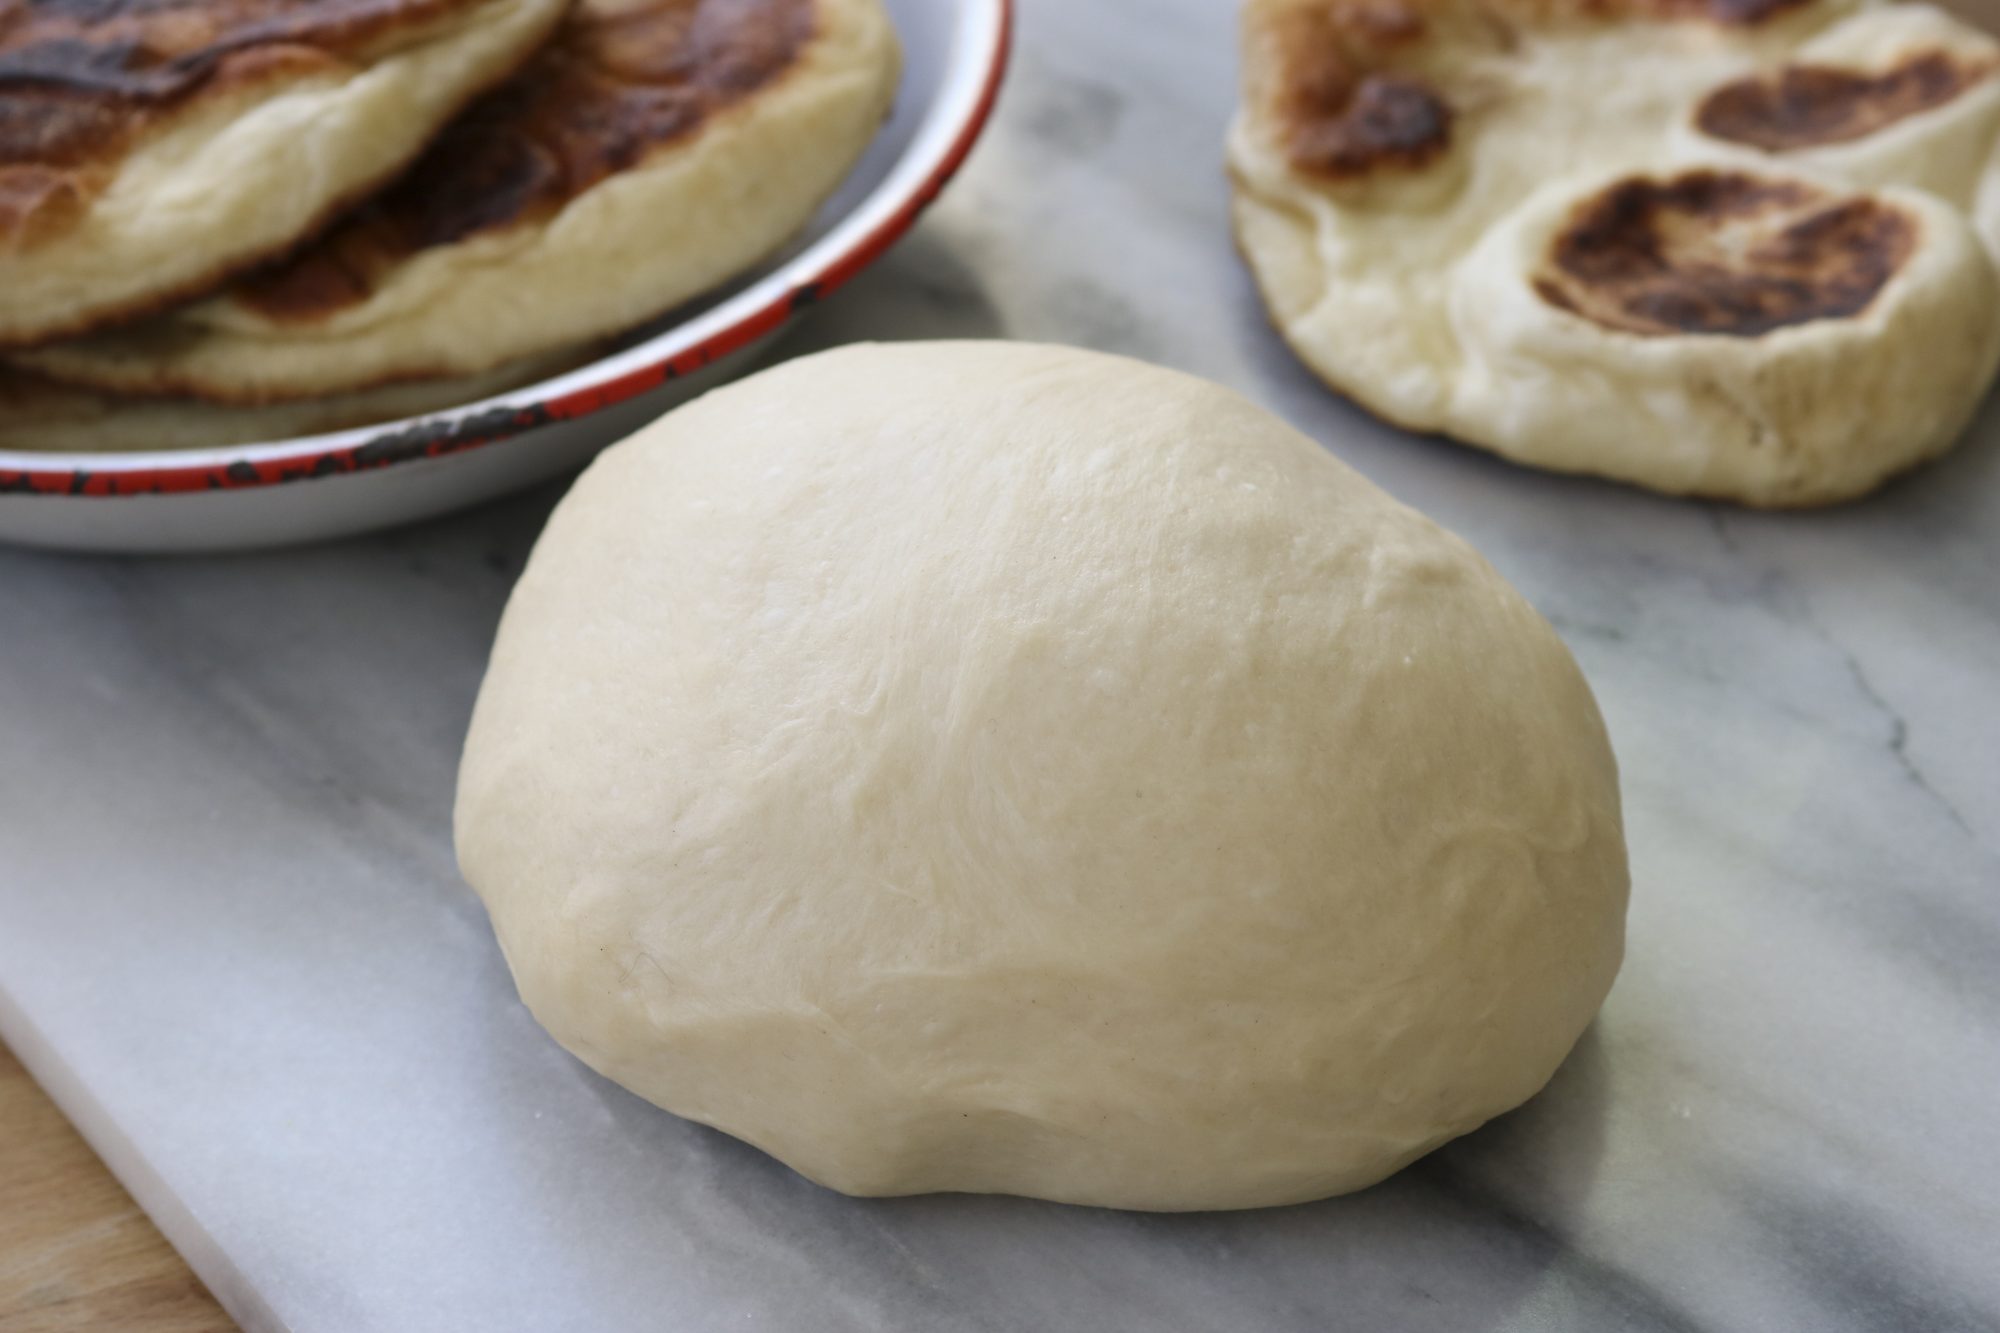
Before we delve into the intricacies of storing yeast dough, let’s take a moment to understand what yeast dough actually is. Yeast dough is a mixture of flour, water, yeast, and other ingredients, such as sugar, salt, and fats. The yeast is responsible for the dough’s rise and gives bread its airy texture.
When yeast comes into contact with warm liquid, it activates and starts to feed on the sugars present in the dough. As it consumes the sugars, it produces carbon dioxide gas, causing the dough to expand and rise. This process, known as fermentation, gives bread its fluffy and light structure.
Yeast dough can be a bit temperamental and requires the right storage conditions to maintain its freshness and maintain its rising power. Improper storage can lead to over-fermentation, which results in dense and deflated baked goods.
Now that we have a basic understanding of yeast dough, let’s explore the importance of proper storage to optimize its potential.
Importance of Proper Storage
Proper storage of yeast dough is crucial for several reasons. Firstly, it helps to maintain the dough’s freshness and flavor. When yeast dough is left exposed to air or stored incorrectly, it can quickly dry out, leading to a stale taste and texture. By storing the dough properly, you can ensure that it remains moist and delicious.
In addition, proper storage helps to control the yeast’s fermentation process. Yeast is a living organism, and it continues to feed and produce carbon dioxide even after the dough has been initially mixed. If left at room temperature for too long, the yeast can become overactive and cause the dough to over-rise. This can result in a collapsed texture or a dough that is difficult to handle.
Furthermore, proper storage prevents the growth of unwanted bacteria and molds. Yeast dough provides an ideal environment for microbial growth, especially in warmer temperatures. Storing the dough in the right conditions, such as a cool and dry place, helps to inhibit the growth of harmful microorganisms, ensuring the safety of the dough and your health.
Lastly, proper storage extends the shelf life of your yeast dough. By slowing down the fermentation process through proper temperature control, you can store the dough for longer periods, allowing you to bake fresh bread whenever you desire. This is especially useful when you want to prepare ahead of time or when you have leftover dough from a previous baking session.
Now that we understand the significance of proper storage, let’s move on to exploring the different options for containers to keep your yeast dough safe and flavorful.
Choosing the Right Container
When it comes to storing yeast dough, choosing the right container is essential to maintain its freshness and quality. The ideal container should provide a seal to keep the dough protected from air and moisture, while also allowing enough space for the dough to expand as it rises.
Here are some suitable container options for storing yeast dough:
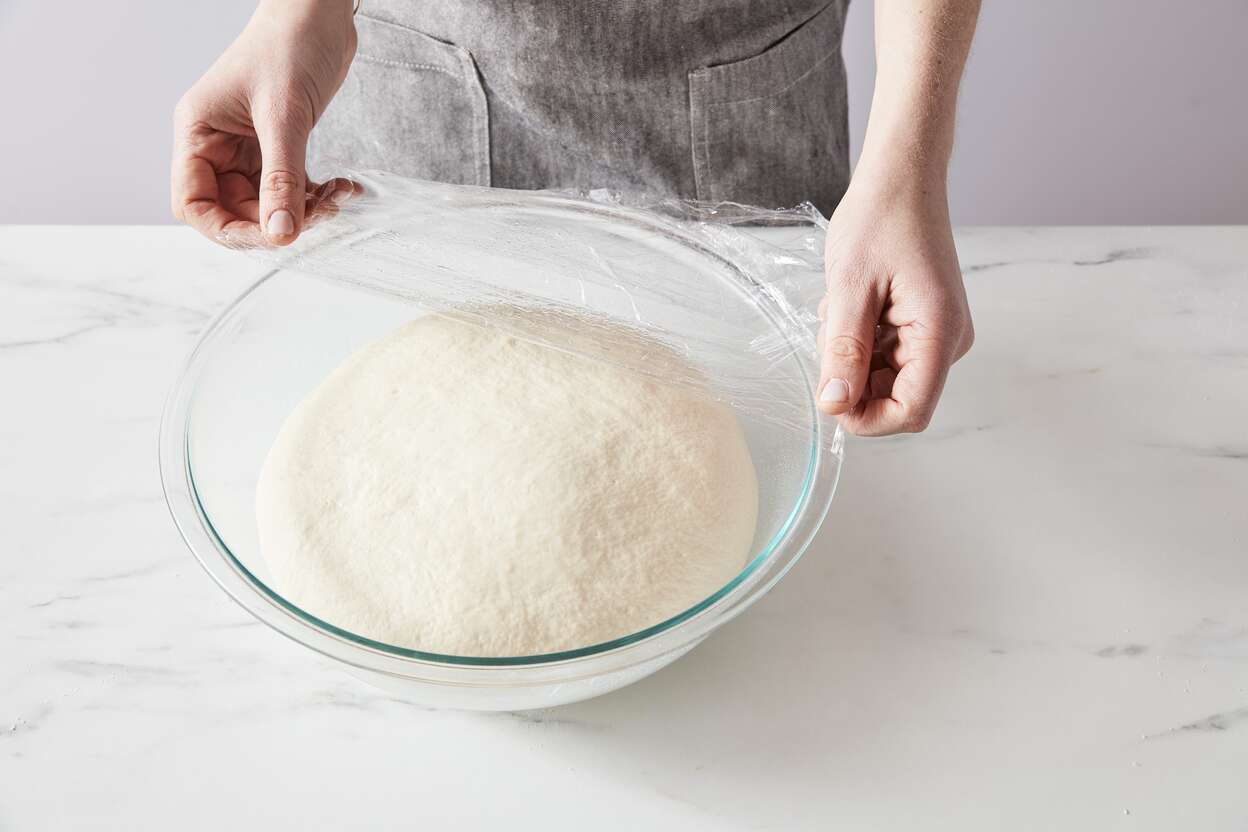
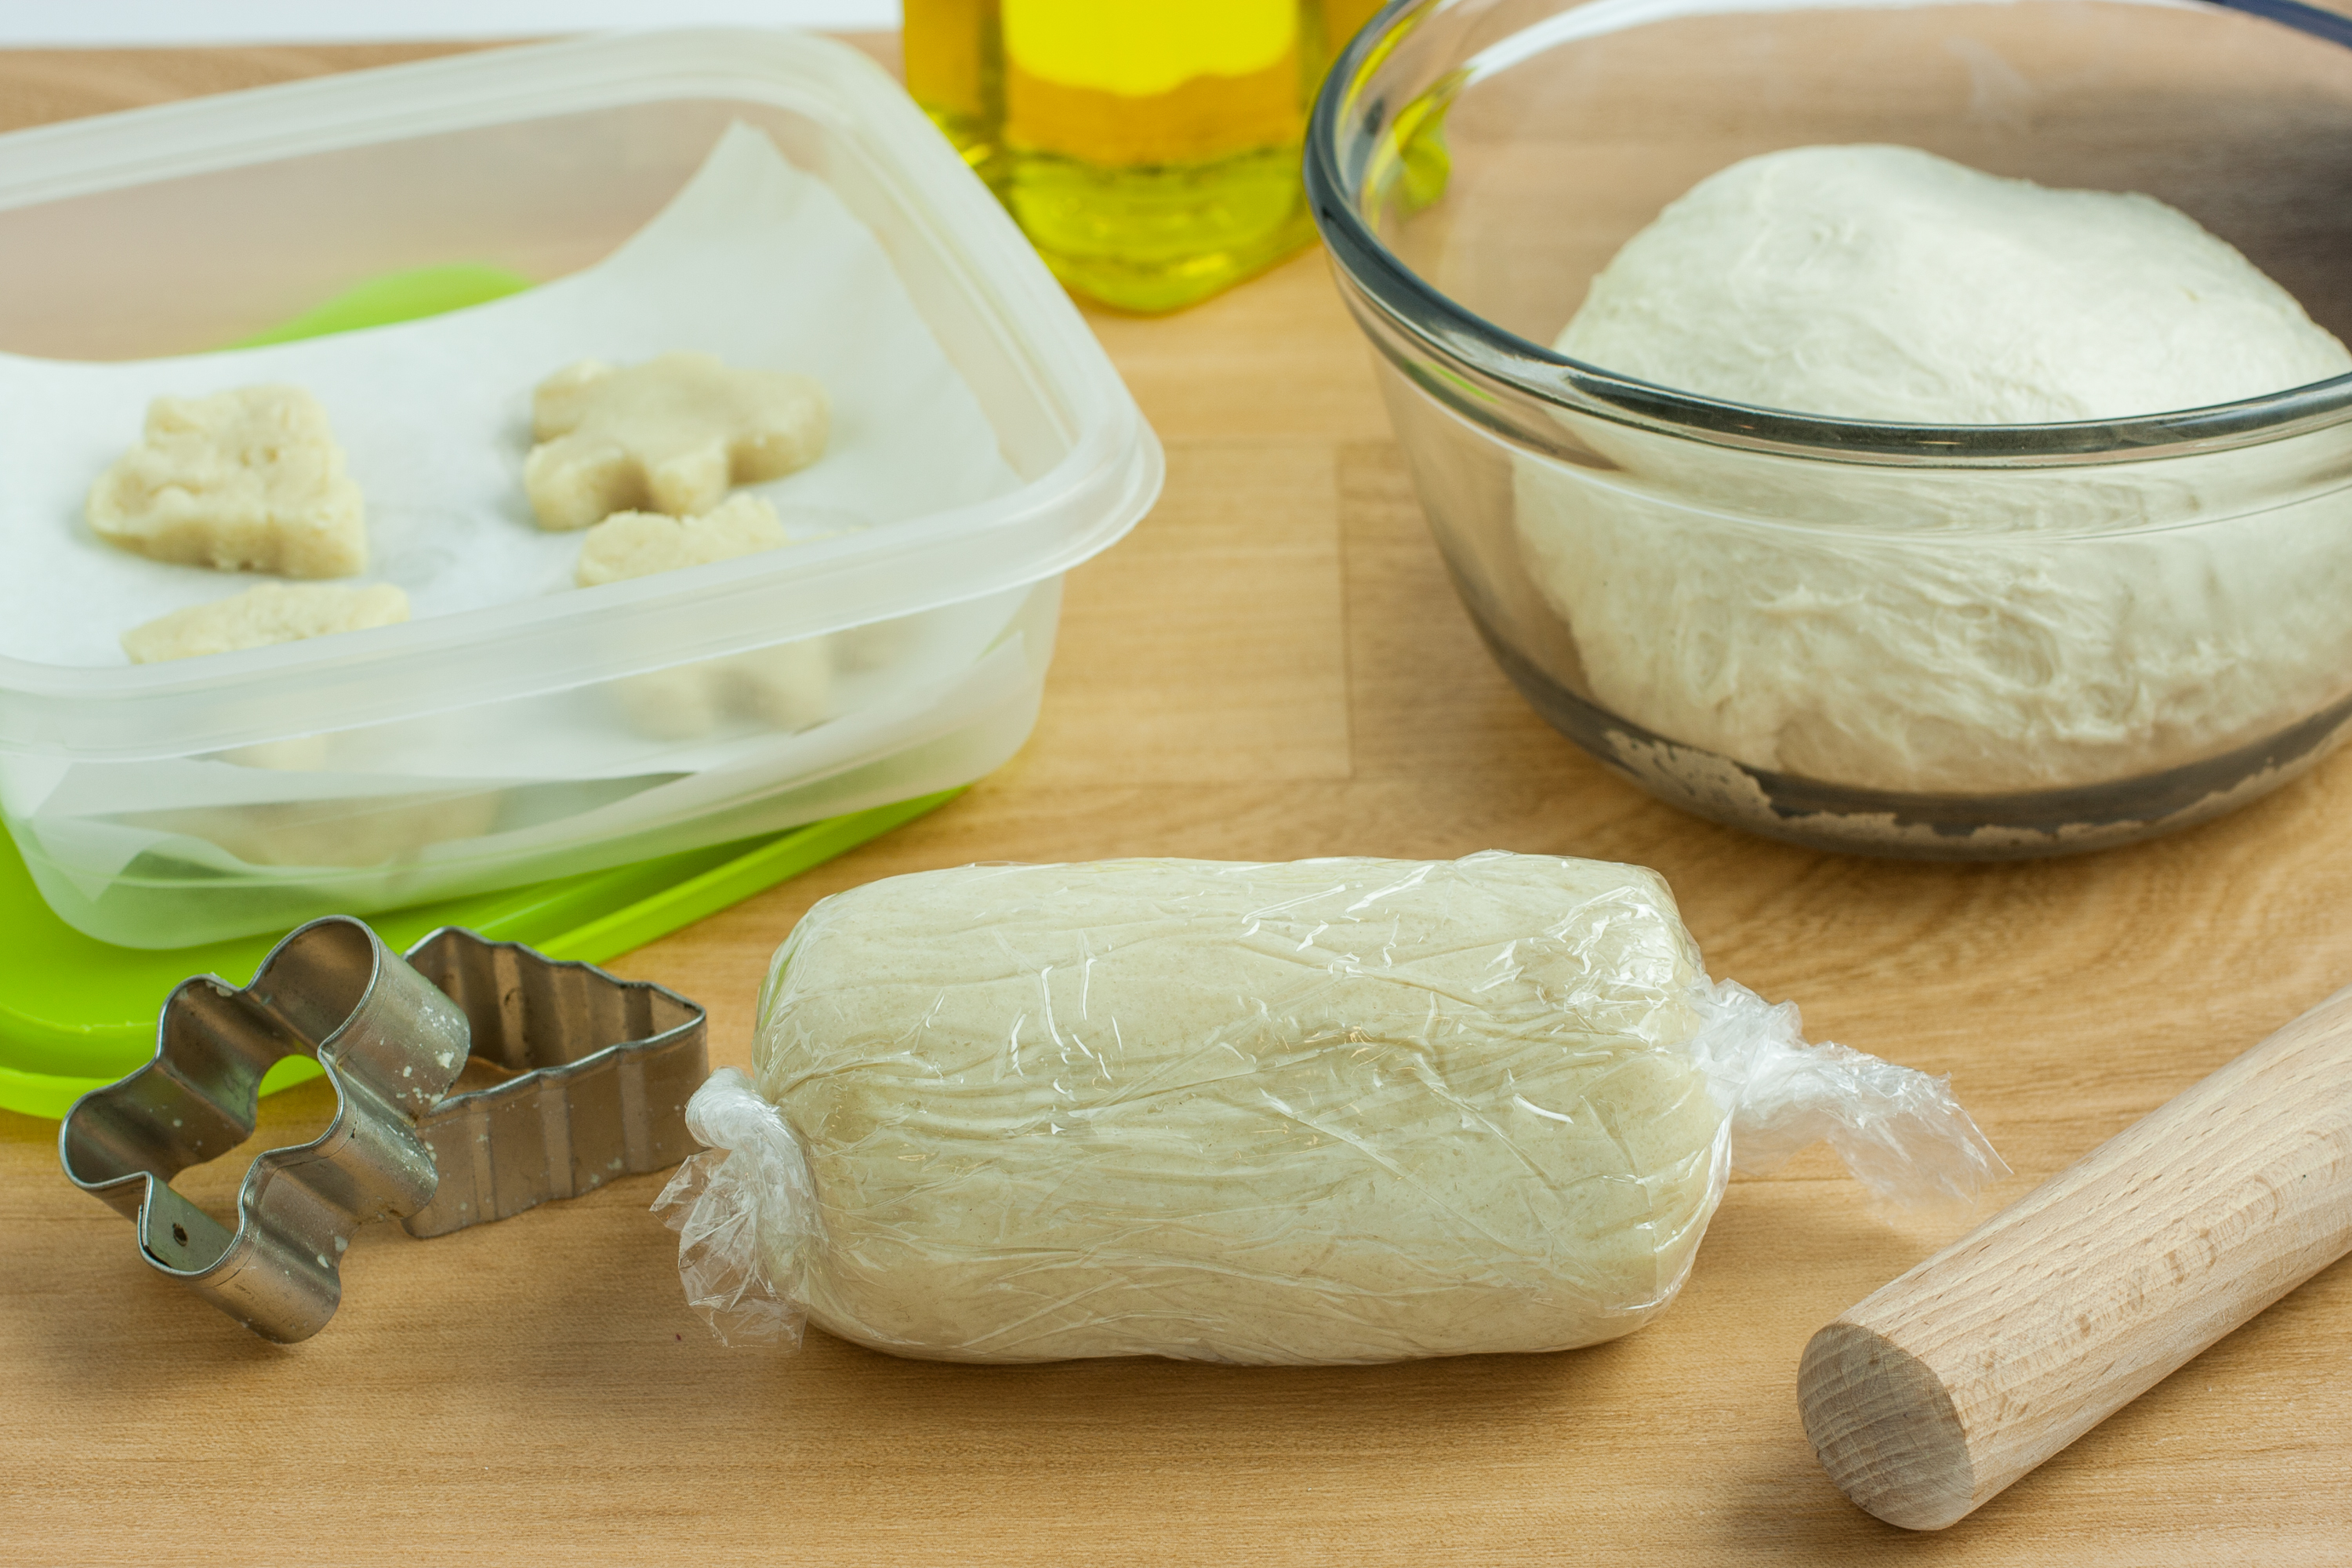
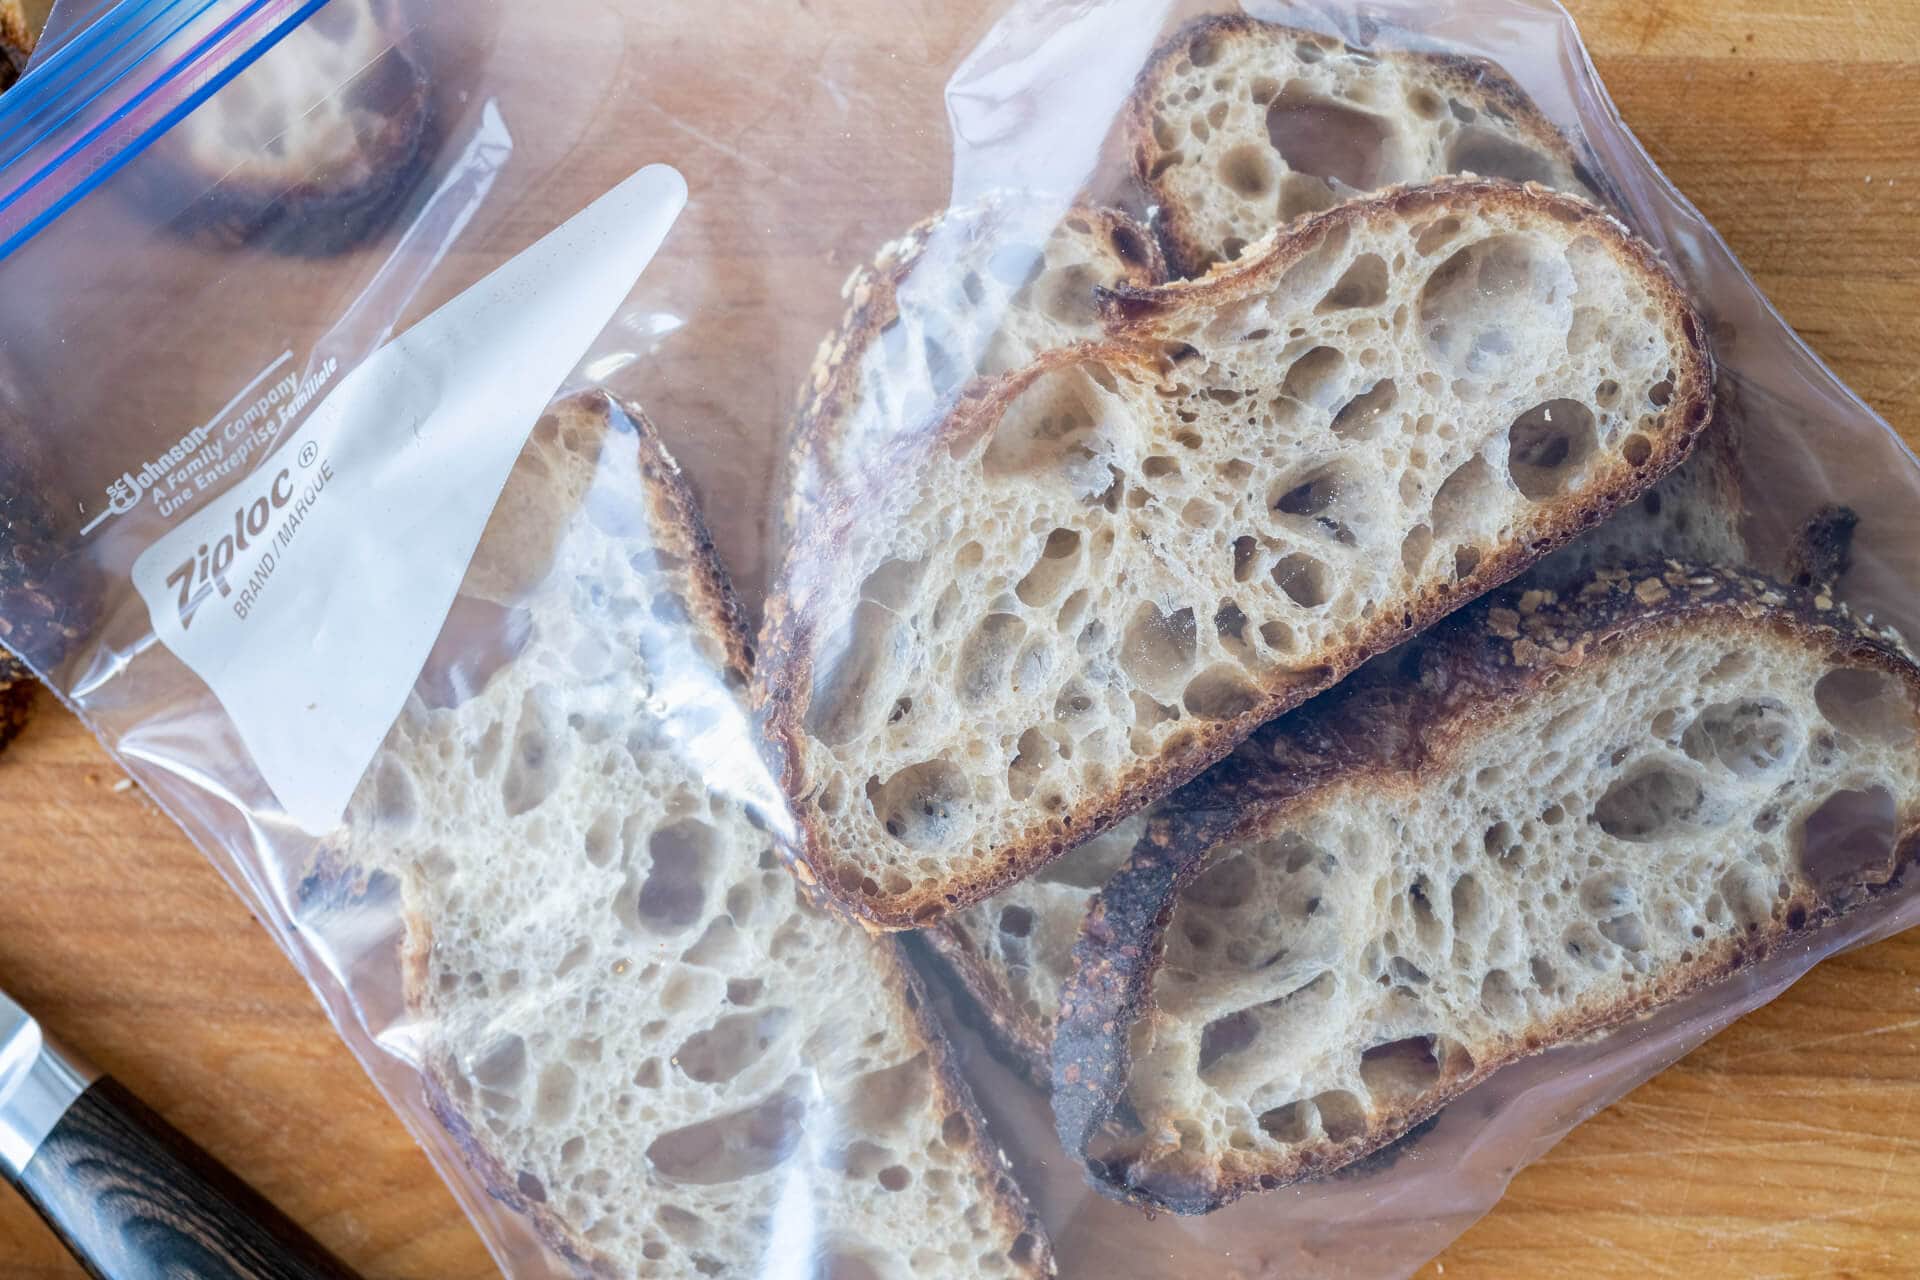
- Plastic Wrap or Plastic Bag: One of the simplest and most accessible options is to tightly wrap the dough in plastic wrap or place it in a resealable plastic bag. Ensure that all sides are tightly sealed to prevent air from entering and drying out the dough.
- Food-Grade Plastic Containers: Food-grade plastic containers with secure lids are another excellent choice. These containers provide airtight seals, keeping the dough from drying out while also protecting it from any potential contamination.
- Glass Containers: Glass containers with tight-fitting lids can also be used to store yeast dough. Make sure the container is clean and airtight to maintain the dough’s freshness.
- Metal or Stainless Steel Containers: Metal or stainless steel containers can be used to store yeast dough but make sure they are food-safe and have a tight-fitting lid to prevent any metallic flavors from leaching into the dough.
Whichever container you choose, make sure it is clean and free from any lingering odors or residue that could affect the flavor of the dough. Additionally, label the container with the date of storage to keep track of its freshness.
Now that we have covered the container options, let’s move on to discussing the temperature considerations for storing yeast dough.
Temperature Considerations
The temperature at which you store yeast dough plays a significant role in its preservation and overall quality. Yeast is highly sensitive to temperature, and different temperatures can affect the dough’s fermentation process and shelf life.
Here are some temperature considerations to keep in mind when storing yeast dough:
- Room Temperature: Yeast dough can be stored at room temperature for a short period, usually a couple of hours, to allow it to rise. However, leaving the dough at room temperature for an extended period can lead to over-fermentation and a collapsed texture. It is best to proceed with baking or move the dough to a cooler storage option.
- Refrigeration: Storing yeast dough in the refrigerator is a common practice. The cool temperature of the refrigerator slows down the fermentation process, giving you more time to work with the dough. It is recommended to place the dough in an airtight container to prevent it from drying out. Keep in mind that refrigeration can slightly slow down the yeast activity, so allow the dough to come to room temperature before baking.
- Freezing: Freezing yeast dough is an excellent option for long-term storage. The extremely low temperatures in the freezer effectively halt the yeast’s fermentation, preserving the dough for a later time. Before freezing, shape the dough into the desired form, such as rolls or loaves, and wrap it tightly in plastic wrap or place it in a freezer bag. When ready to use, thaw the dough in the refrigerator overnight and bring it to room temperature before baking.
It’s important to note that while refrigeration and freezing are effective methods for storing yeast dough, they do have limitations. The longer the dough is stored, the more its rising power may be affected. It is best to use refrigerated dough within a few days and frozen dough within a few weeks for optimal results.
Now that we understand the temperature considerations, let’s explore the techniques for freezing yeast dough in more detail.
Read more: How To Store Yeast Rolls
Freezing Yeast Dough
Freezing yeast dough is a fantastic way to store it for an extended period, allowing you to have freshly baked bread whenever you desire. However, proper freezing techniques are crucial to maintain the dough’s quality and ensure successful results.
Here’s a step-by-step guide on how to freeze yeast dough:
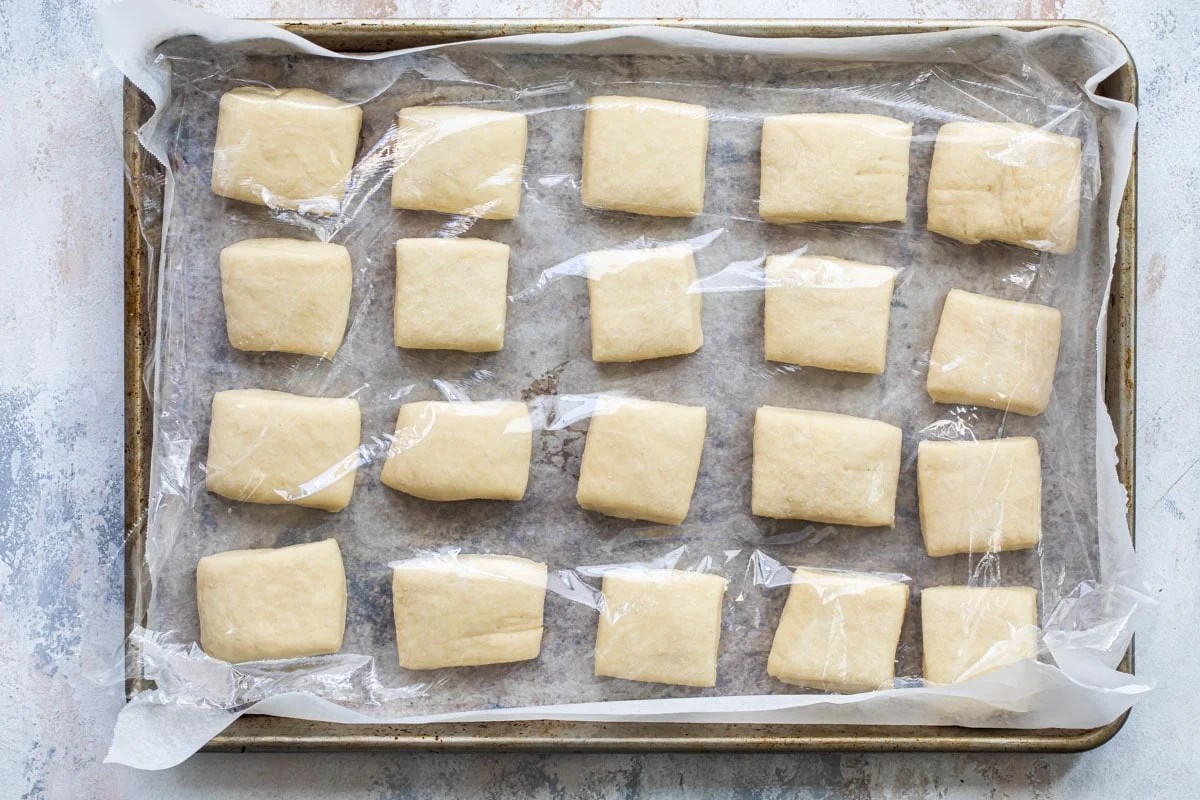
- Shape the Dough: Begin by shaping the yeast dough into the desired form, such as rolls, loaves, or other shapes. You can also freeze the dough in individual portions for convenience.
- Wrap Tightly: Wrap the shaped dough tightly in plastic wrap. Make sure it is completely sealed to prevent any air from entering and freezer burn from occurring. Alternatively, you can place the dough in airtight freezer bags.
- Label and Date: It’s important to label each wrapped dough package with the date of freezing. This will help you keep track of the dough’s storage time.
- Place in Freezer: Put the wrapped yeast dough in the freezer, making sure it is stored in a flat position to maintain its shape. If you have multiple packages, you can stack them neatly to save space.
- Thawing the Dough: When you’re ready to use the frozen dough, transfer it to the refrigerator and let it thaw overnight. Thawing in the refrigerator helps to control the temperature and ensures an even thawing process. Once thawed, allow the dough to come to room temperature before baking.
It’s worth mentioning that the texture and rising power of the dough might be slightly affected after freezing. It is normal for the dough to be slightly less airy compared to freshly made dough. However, with proper thawing and baking methods, you can still achieve delicious results.
Now that we’ve covered freezing techniques, let’s move on to discussing refrigeration techniques for yeast dough storage.
After kneading the yeast dough, place it in a lightly oiled bowl, cover with plastic wrap, and let it rise in a warm, draft-free place until doubled in size. Then, punch down the dough, shape it, and let it rise again before baking.
Refrigeration Techniques
Refrigeration is a common method for storing yeast dough, especially when you want to bake it within a few days. By placing the dough in the refrigerator, you can slow down the fermentation process and keep the dough fresh and ready to use.
Here are some refrigeration techniques to ensure proper storage of yeast dough:
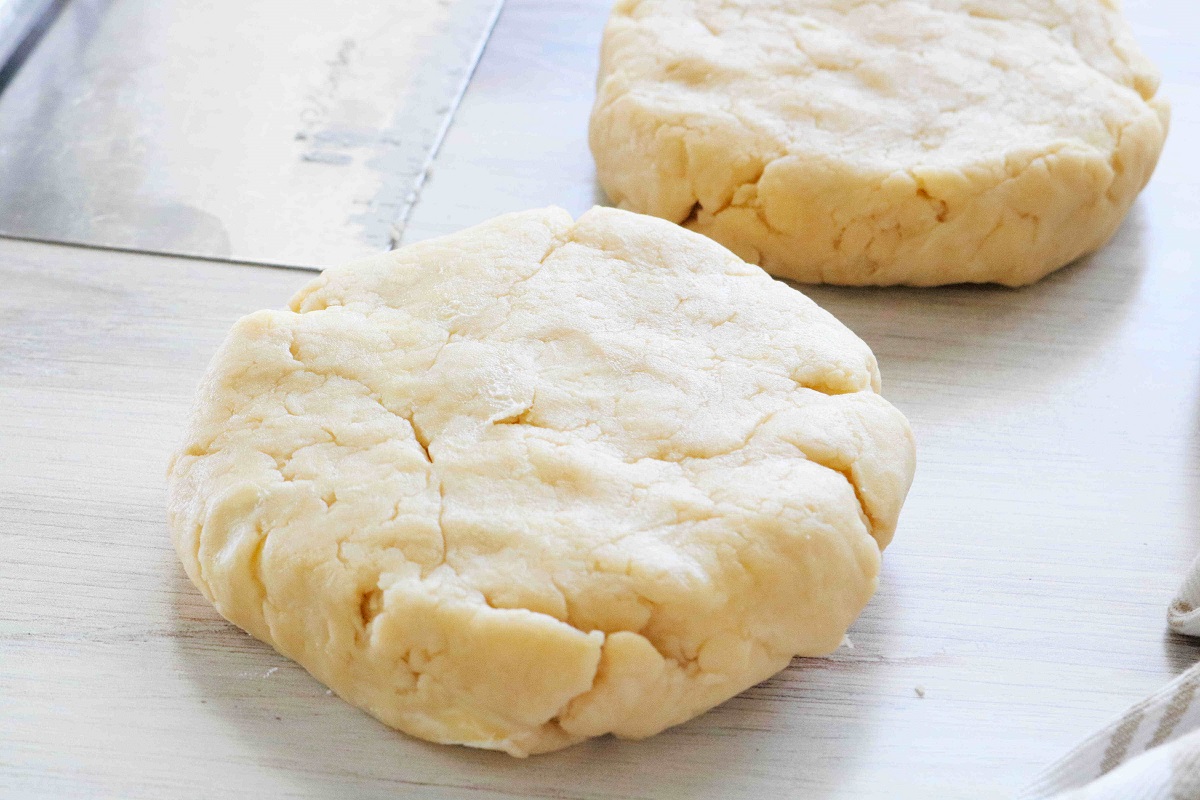
- Shape the Dough: Begin by shaping the yeast dough into the desired form, such as rolls, loaves, or other shapes. Ensure that the dough is well-kneaded and has gone through its initial rise before refrigerating.
- Grease and Wrap: Grease a bowl or container with a thin layer of oil to prevent the dough from sticking. Place the shaped dough in the greased container and cover it tightly with plastic wrap or a clean kitchen towel. Make sure there is no room for air to enter and dry out the dough.
- Refrigerator Placement: Find a suitable spot in your refrigerator to place the dough. The temperature should be between 35°F and 40°F (1.7°C to 4.4°C) to slow down the fermentation process without freezing the dough.
- Duration of Refrigeration: Yeast dough can typically be refrigerated for up to 3-4 days. It’s best to use the dough within this time frame for optimal results. If you’ll be storing the dough longer, freezing it is a better option.
- Bring to Room Temperature: When ready to bake, remove the dough from the refrigerator and let it come to room temperature. This step is crucial as it allows the dough to relax and rise properly during baking.
It’s important to note that refrigeration slows down the yeast’s activity but doesn’t completely stop it. Therefore, if you leave the dough in the refrigerator for an extended period, it may continue to rise slowly. Be mindful of this when planning your baking schedule.
Now that we’ve covered refrigeration techniques, let’s move on to discussing tips for storing rolled yeast dough.
Tips for Storing Rolled Dough
Storing rolled yeast dough requires a slightly different approach compared to storing regular dough. Rolled dough refers to dough that has been shaped and rolled out, such as for pastries, cinnamon rolls, or pizza crusts. Proper storage of rolled dough ensures that it maintains its shape and texture until you’re ready to bake.
Here are some helpful tips for storing rolled yeast dough:
- Wrap Securely: After rolling out the dough into the desired shape, make sure to wrap it tightly in plastic wrap or place it in an airtight container. This prevents the dough from drying out and losing its shape.
- Use Parchment Paper: If you’re stacking multiple layers of rolled dough, place parchment paper between each layer to prevent them from sticking together. This makes it easier to separate the dough when you’re ready to bake.
- Chill before Storing: Before storing rolled dough, it’s beneficial to chill it in the refrigerator for about 15-30 minutes. This helps the dough firm up, making it easier to handle and less likely to lose its shape during storage.
- Consider Individual Portions: If you’re making individual pastries or rolls, it’s helpful to separate them before storing. This way, you can take out the desired portion without having to thaw or manipulate the entire batch of dough.
- Label and Date: As with any type of dough storage, labeling the wrapped or containerized dough with the date of storage is essential. This ensures that you use the dough within a reasonable timeframe for optimal results.
By following these tips, you can store rolled yeast dough efficiently and maintain its shape, flavor, and texture until you’re ready to bake.
Now that we’ve covered tips for storing rolled dough, let’s address a common question: How long can yeast dough be stored?
How Long Can Yeast Dough Be Stored?
The shelf life of yeast dough depends on the storage method and conditions. Properly stored yeast dough can be kept for different durations, ranging from a few hours to several months.
Here’s a breakdown of the typical storage durations for yeast dough:
- Room Temperature: When left at room temperature, yeast dough can be stored for a short period, usually a couple of hours, to allow it to rise. It is best to proceed with baking or move the dough to a cooler storage option to avoid over-fermentation and a collapsed texture.
- Refrigerated: Yeast dough can be refrigerated for up to 3-4 days. Within this timeframe, the dough will maintain its quality and rise potential. After 4 days, the dough may start to lose its rising power, resulting in denser baked goods.
- Frozen: Freezing yeast dough extends its shelf life significantly. Properly frozen dough can be stored for up to 3 months without a significant loss in quality. However, for the best results, it’s recommended to use the frozen dough within a few weeks.
It’s important to note that while yeast dough can be stored for these durations, the texture and rising power of the dough may be slightly affected over time. This is especially true for refrigerated and frozen dough. Therefore, it’s always best to use the dough as soon as possible for the freshest results.
Now that we have an understanding of how long yeast dough can be stored, let’s move on to discussing the proper thawing methods for frozen dough.
Read more: How To Store Brewers Yeast
Proper Thawing Methods
Thawing frozen yeast dough correctly is essential to ensure optimal results when it’s time to bake. Improper thawing can lead to uneven rising, texture changes, and poor baking performance. Here are the proper thawing methods for frozen yeast dough:
- Refrigerator Thawing: The best method for thawing frozen yeast dough is to transfer it from the freezer to the refrigerator. Place the wrapped dough or dough container in the refrigerator and let it thaw slowly overnight or for at least 8-12 hours. This gradual thawing allows the dough to retain its moisture and rise potential without compromising its quality.
- Room Temperature Thawing: If you’re short on time, you can also thaw the frozen dough at room temperature. Unwrap the dough and place it on a lightly greased or parchment-lined tray. Allow it to thaw for approximately 1-2 hours, depending on the size and thickness of the dough. Keep a close eye on the dough to prevent it from becoming too soft or overproofed.
- Microwave Thawing (if necessary): In cases where you need to thaw the frozen dough quickly, you can use the microwave. However, microwave thawing can be tricky and requires careful monitoring to avoid partially baking the dough or causing it to become tough. Use the defrost setting on your microwave and thaw the dough in short intervals, turning it periodically to ensure even thawing. Be cautious and watch the dough closely to prevent any cooking or overheating.
Once the dough has thawed, it’s crucial to let it come to room temperature before baking. This resting period allows the gluten to relax and the yeast to activate properly, resulting in a better rise and texture during baking.
Now that we’ve covered proper thawing methods, it’s time to conclude our journey on how to store yeast dough.
Conclusion
Properly storing yeast dough is essential to maintain its freshness, flavor, and quality. By following the right storage techniques, you can enjoy delicious homemade bread, rolls, and pastries whenever you desire. Here’s a summary of what we’ve discussed:
Understanding yeast dough is the first step in effective storage. It is a mixture of flour, water, yeast, and other ingredients that undergo fermentation to rise and create light, airy baked goods.
Proper storage is important for several reasons. It helps maintain the dough’s freshness, controls fermentation, prevents bacterial growth, and extends the dough’s shelf life.
When choosing a container for storing yeast dough, options such as plastic wrap, plastic bags, food-grade containers, glass containers, and metal or stainless steel containers are suitable choices.
Temperature considerations are crucial. Room temperature is suitable for short-term storage, while refrigeration slows down fermentation and is ideal for storing dough for up to 3-4 days. Freezing is a great long-term storage option, allowing dough to be kept for up to 3 months.
Properly freezing yeast dough involves shaping it, wrapping it tightly, labeling it, and placing it in the freezer. Thawing frozen dough can be done in the refrigerator overnight or at room temperature for a shorter time.
For rolled dough, wrapping it securely, chilling before storage, and using parchment paper between layers are important to maintain its shape and texture.
Yeast dough can be stored for various durations depending on the storage method. Room temperature storage lasts a few hours, refrigerated storage lasts for 3-4 days, and frozen storage can extend up to 3 months.
Thawing frozen dough properly ensures even rising and optimum baking results. The recommended methods are refrigerator thawing, room temperature thawing, or careful microwave thawing if necessary.
By following these guidelines, you can store yeast dough effectively, ensuring that your homemade breads and baked goods are always fresh, flavorful, and ready to be enjoyed.
Now that you have a comprehensive understanding of how to store yeast dough, it’s time to put your knowledge into practice and savor the joy of baking! So roll up your sleeves, gather your ingredients, and let your creativity run wild in the realm of yeast dough.
Frequently Asked Questions about How To Store Yeast Dough
Was this page helpful?
At Storables.com, we guarantee accurate and reliable information. Our content, validated by Expert Board Contributors, is crafted following stringent Editorial Policies. We're committed to providing you with well-researched, expert-backed insights for all your informational needs.


0 thoughts on “How To Store Yeast Dough”