
Articles
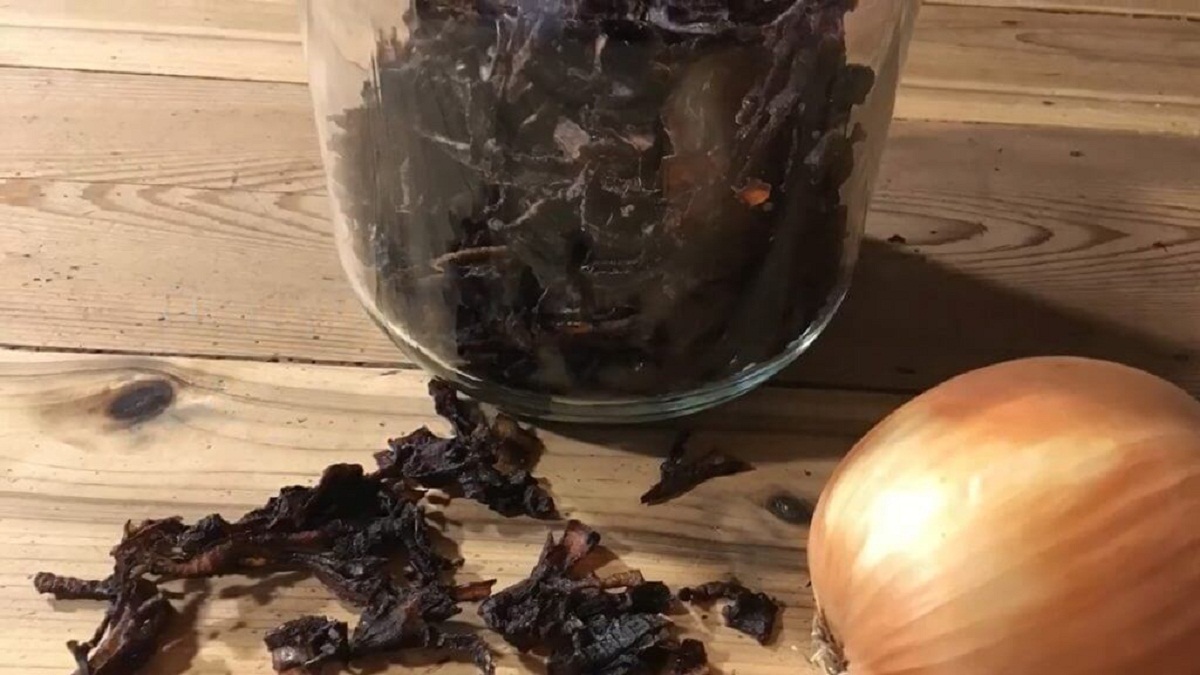
How To Store Caramelized Onions
Modified: December 7, 2023
Learn the best method to store caramelized onions in this informative article. Preserve their rich flavor for later use.
(Many of the links in this article redirect to a specific reviewed product. Your purchase of these products through affiliate links helps to generate commission for Storables.com, at no extra cost. Learn more)
Introduction
Welcome to our guide on how to store caramelized onions! Caramelized onions are a delicious and versatile ingredient that can elevate the flavor of numerous dishes. Whether you’re planning to use them in a savory stew, a sandwich, or as a topping for a pizza, having a stash of caramelized onions on hand can save you time in the kitchen and add a rich depth of flavor to your meals.
Caramelizing onions is a process that involves slowly cooking them until their natural sugars are released and they turn a deep golden brown color. This cooking technique intensifies their sweetness and creates a complex, savory taste that can enhance a wide range of dishes. But what do you do when you have more caramelized onions than you need for an immediate recipe?
In this article, we will guide you through the process of storing caramelized onions properly, including selecting the right onions, caramelizing them to perfection, and ensuring they remain fresh and flavorful for future use. Whether you have an excess amount of caramelized onions or simply want to make a large batch in advance, our step-by-step instructions will help you store them in a way that maintains their taste and texture.
So let’s dive in and learn how to store caramelized onions, so you can have this irresistible ingredient readily available whenever you need it!
Key Takeaways:
- Elevate your dishes with caramelized onions by selecting the right onions, caramelizing them to perfection, and storing them for up to 3 months in the freezer. Enjoy the rich, savory flavor in soups, stews, sandwiches, and more!
- Save time in the kitchen and add depth of flavor to your meals by mastering the art of storing caramelized onions. With proper preparation, storage, and reheating, you can always have this irresistible ingredient on hand to impress your guests and enhance your culinary creations.
Read more: How To Store Caramel
Step 1: Selecting and Preparing the Onions
The first step in storing caramelized onions is to select the right type of onions and prepare them properly. Here are some tips to help you choose and prepare your onions:
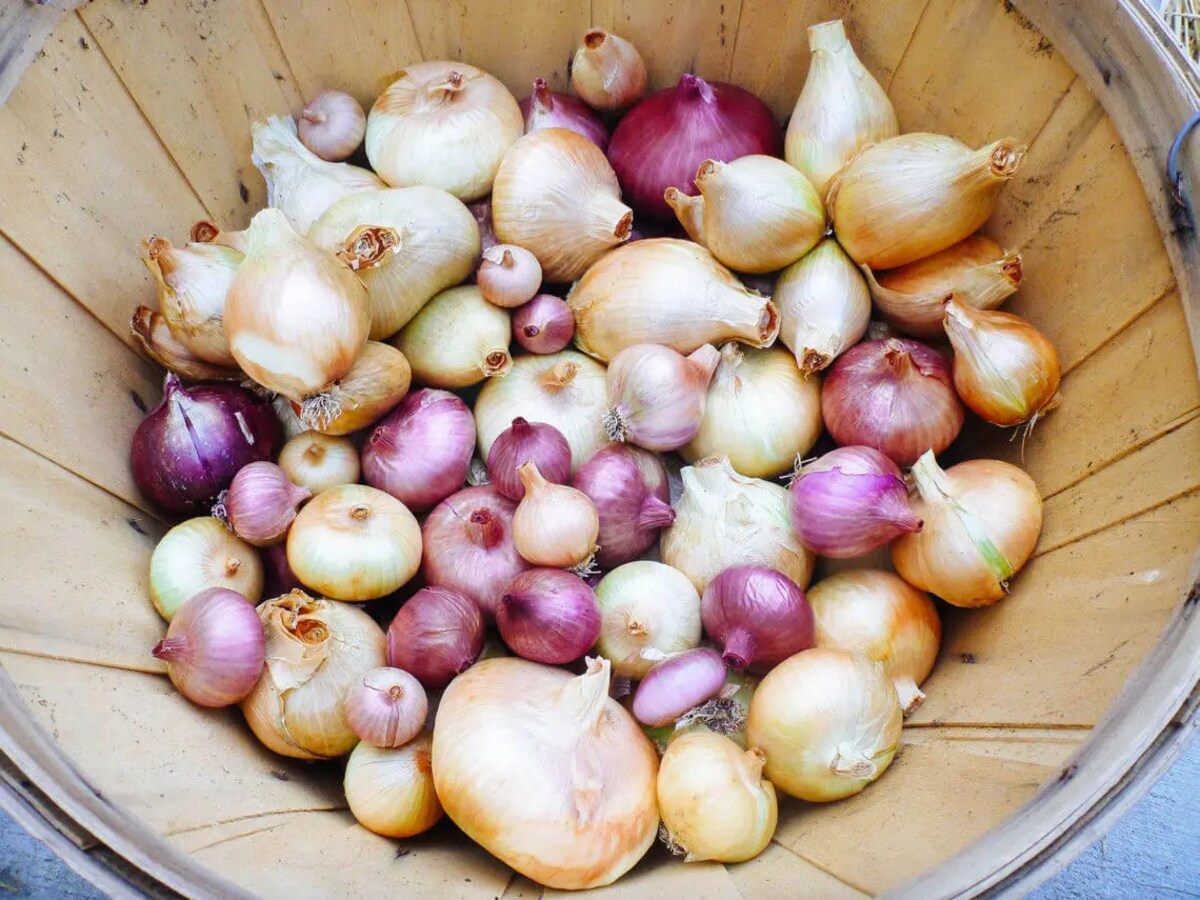
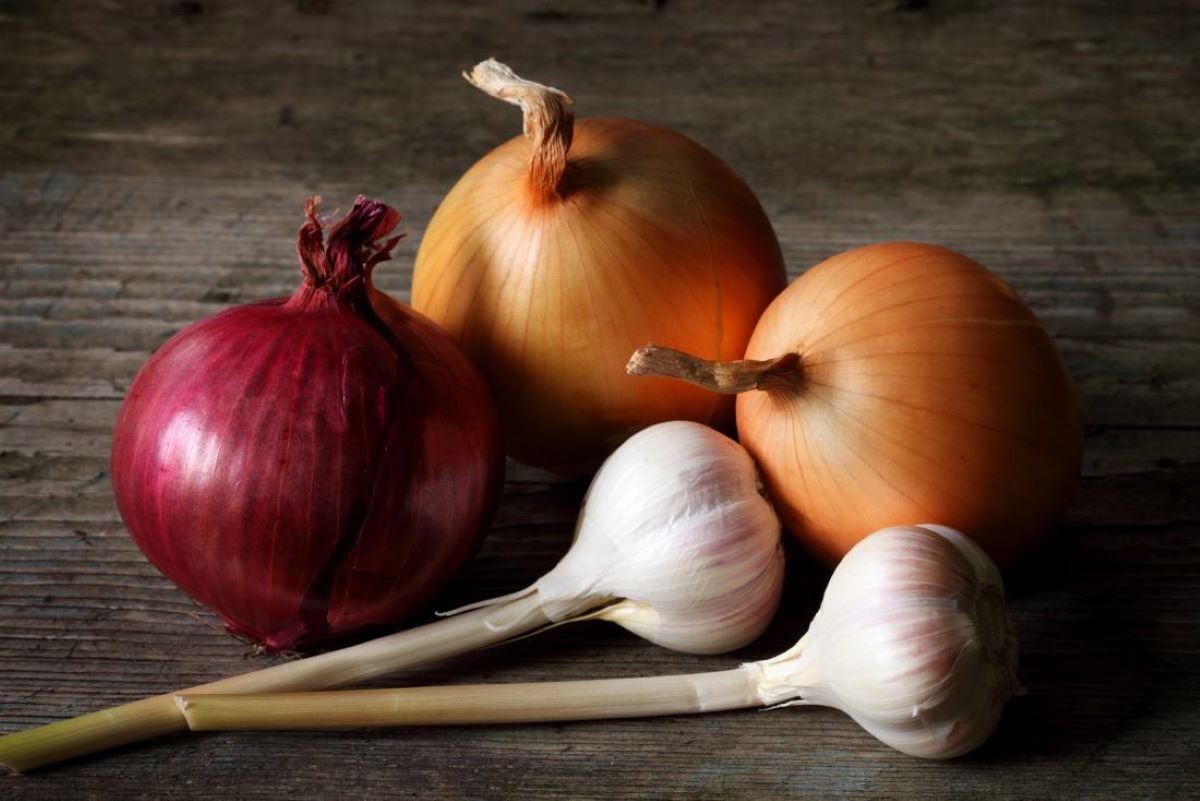
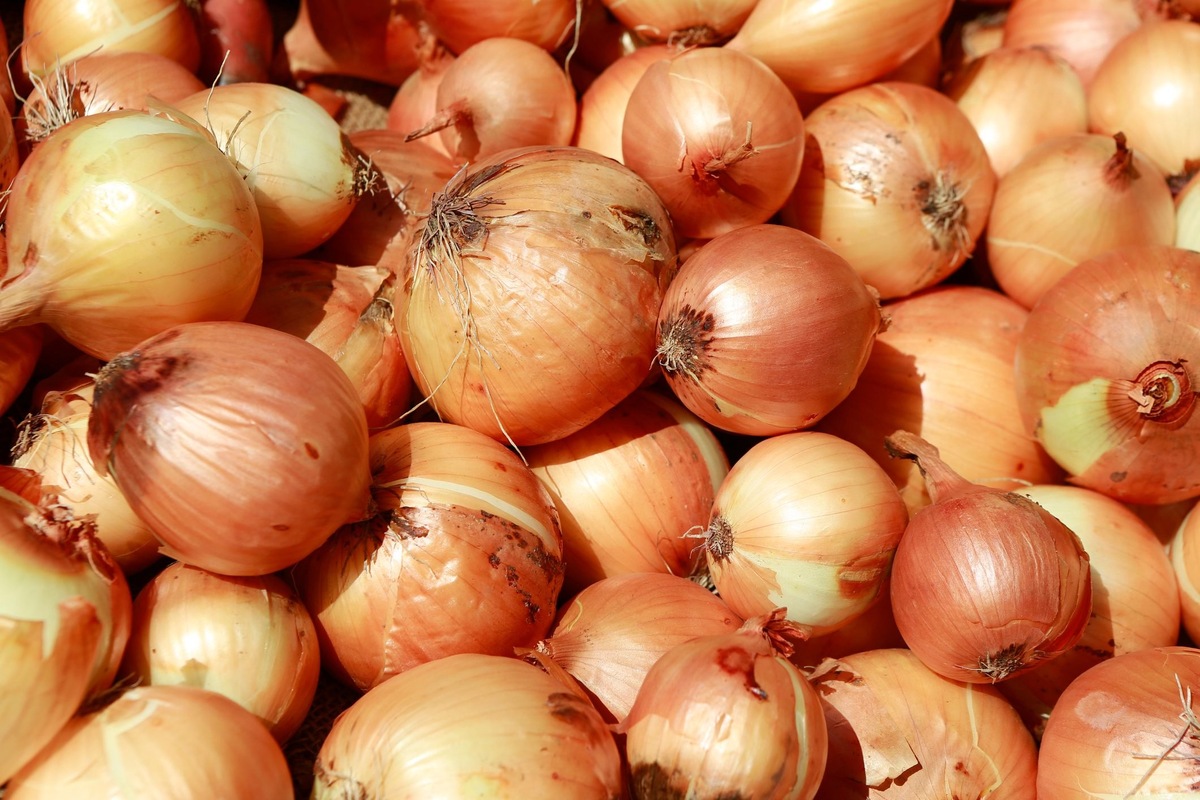
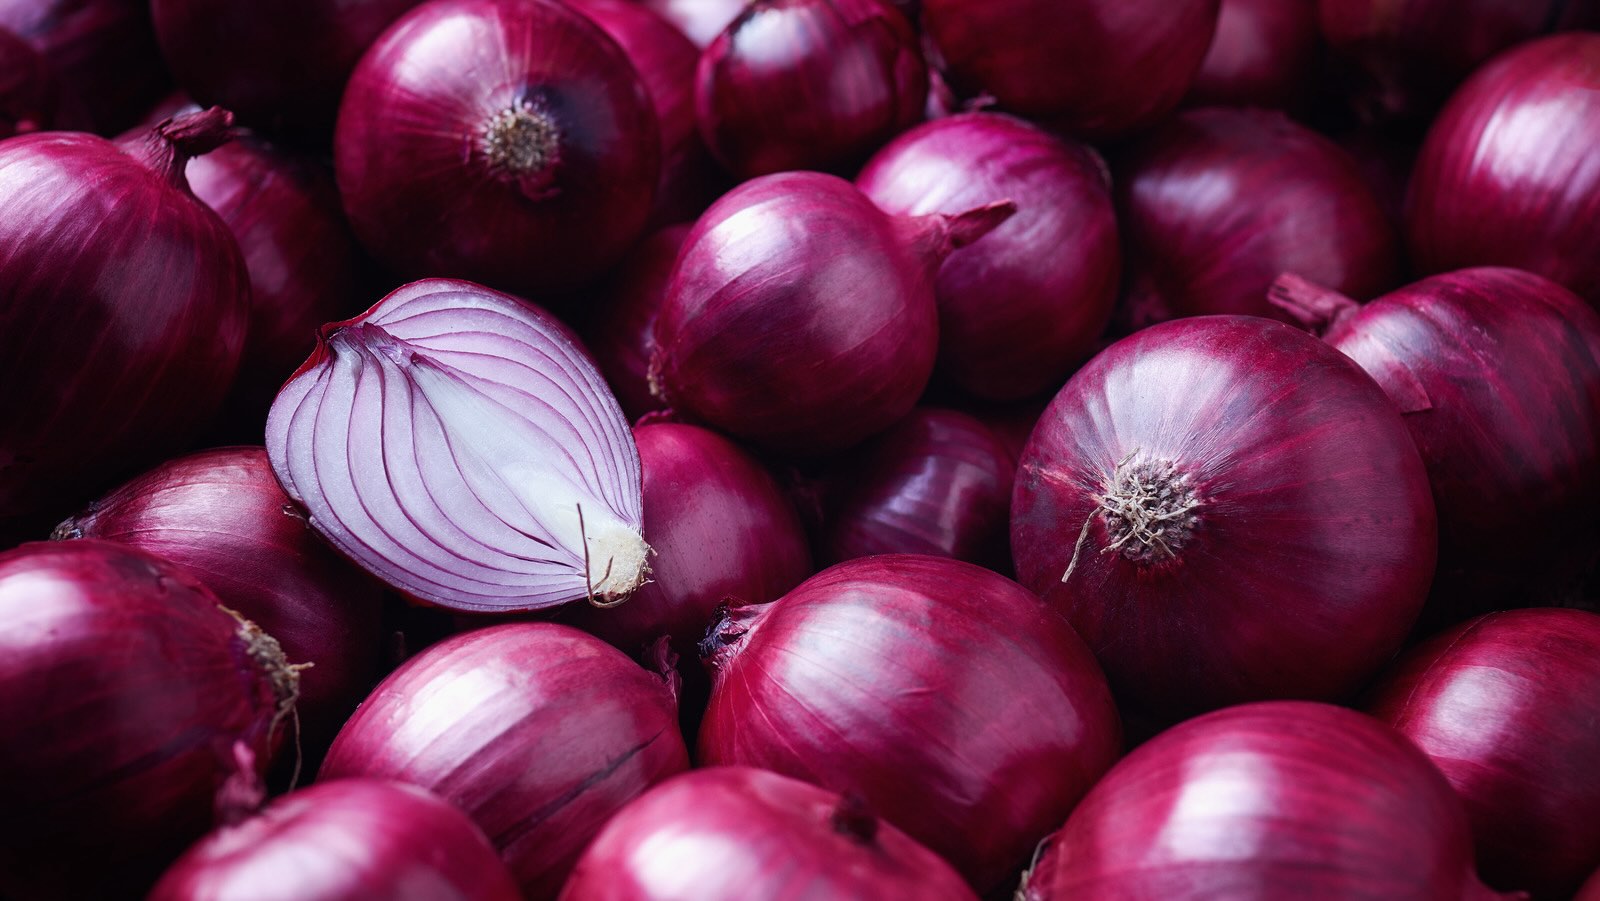
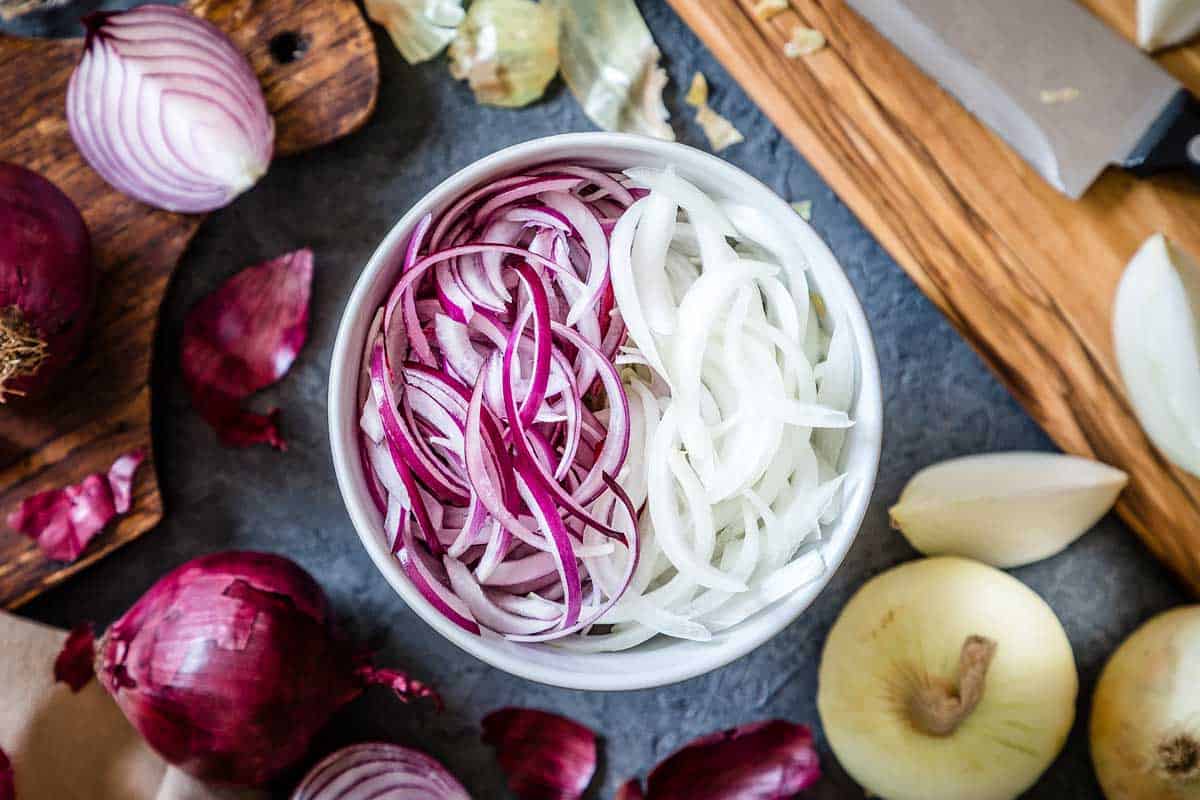
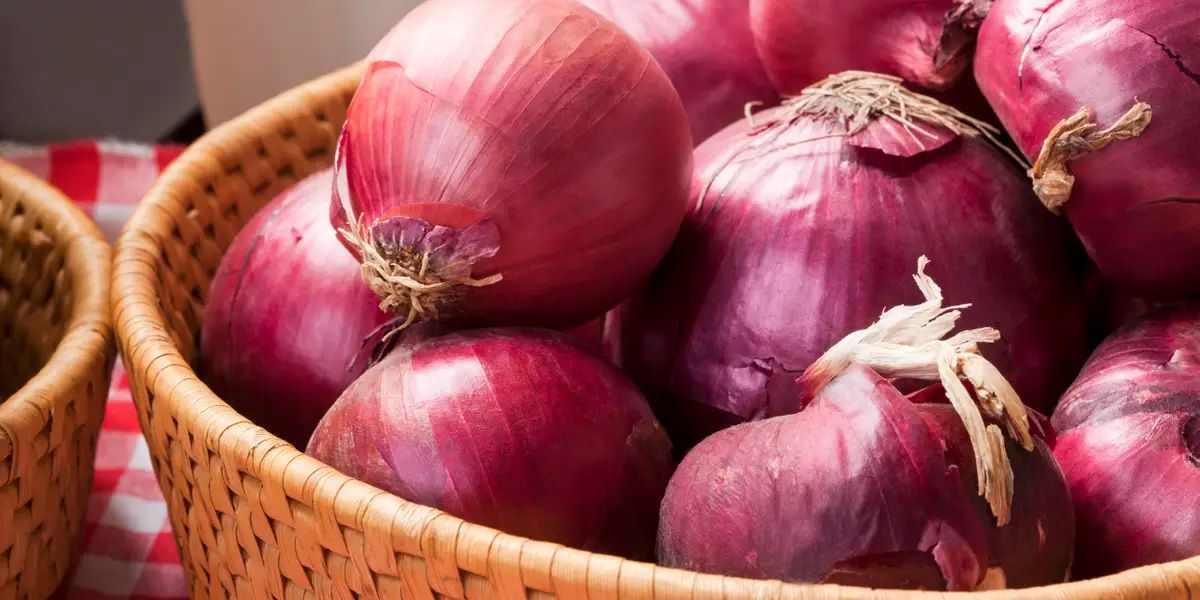
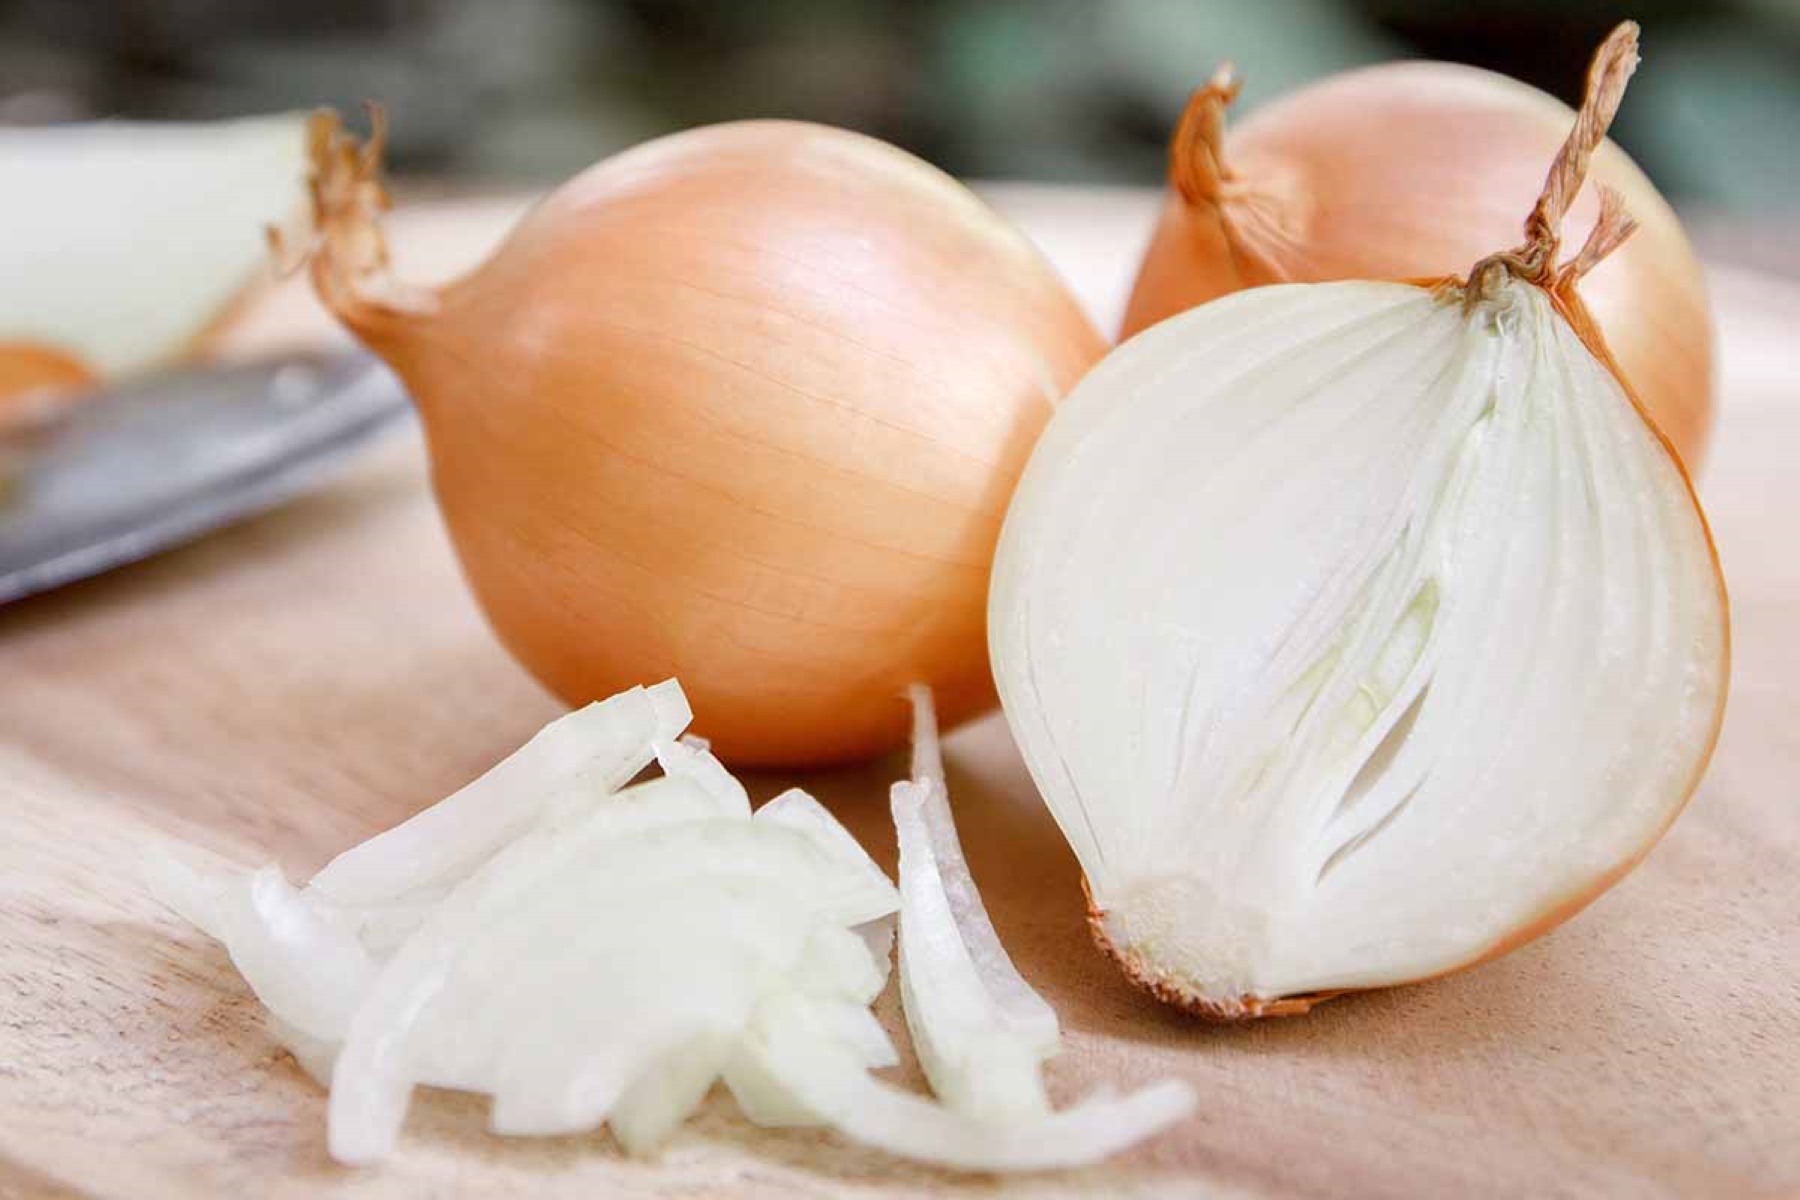
- Choose the right onions: When it comes to caramelizing onions, opt for varieties that have a high sugar content and lower water content. Sweet onions like Vidalia, Walla Walla, or Spanish onions are ideal choices. Avoid using red onions, as they can turn bitter when caramelized.
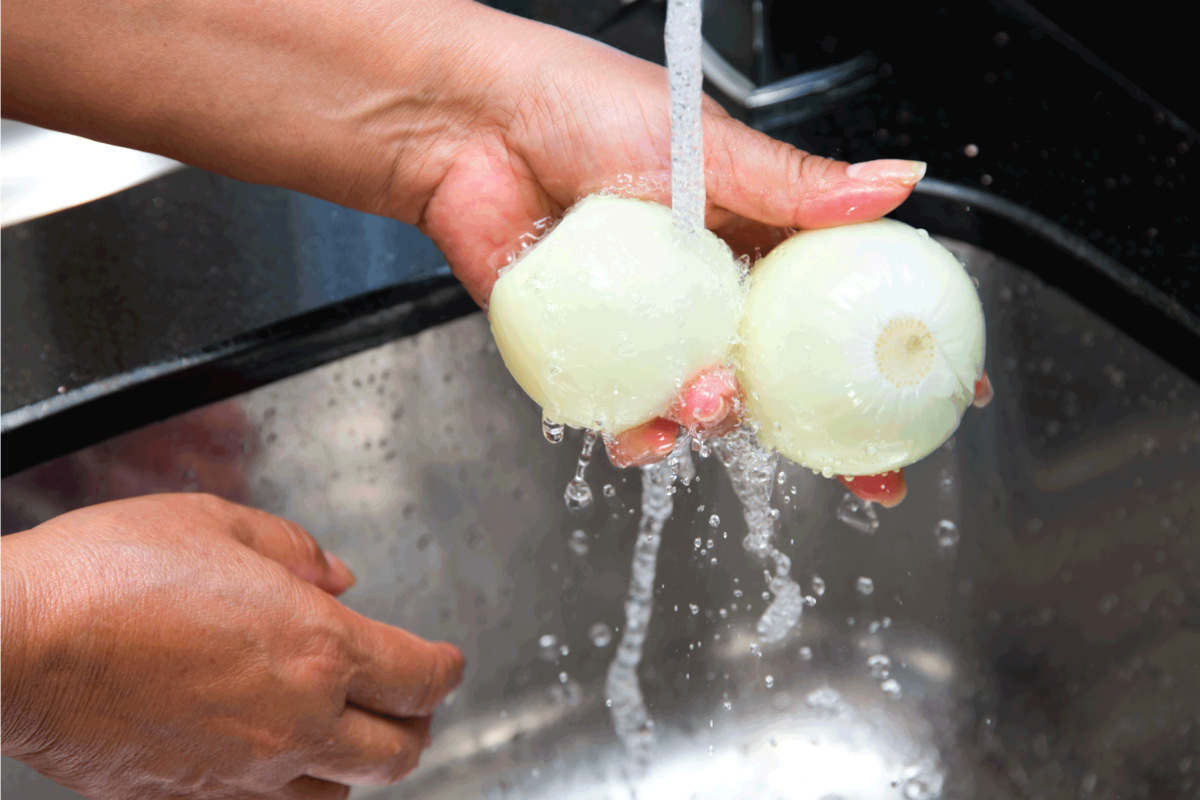
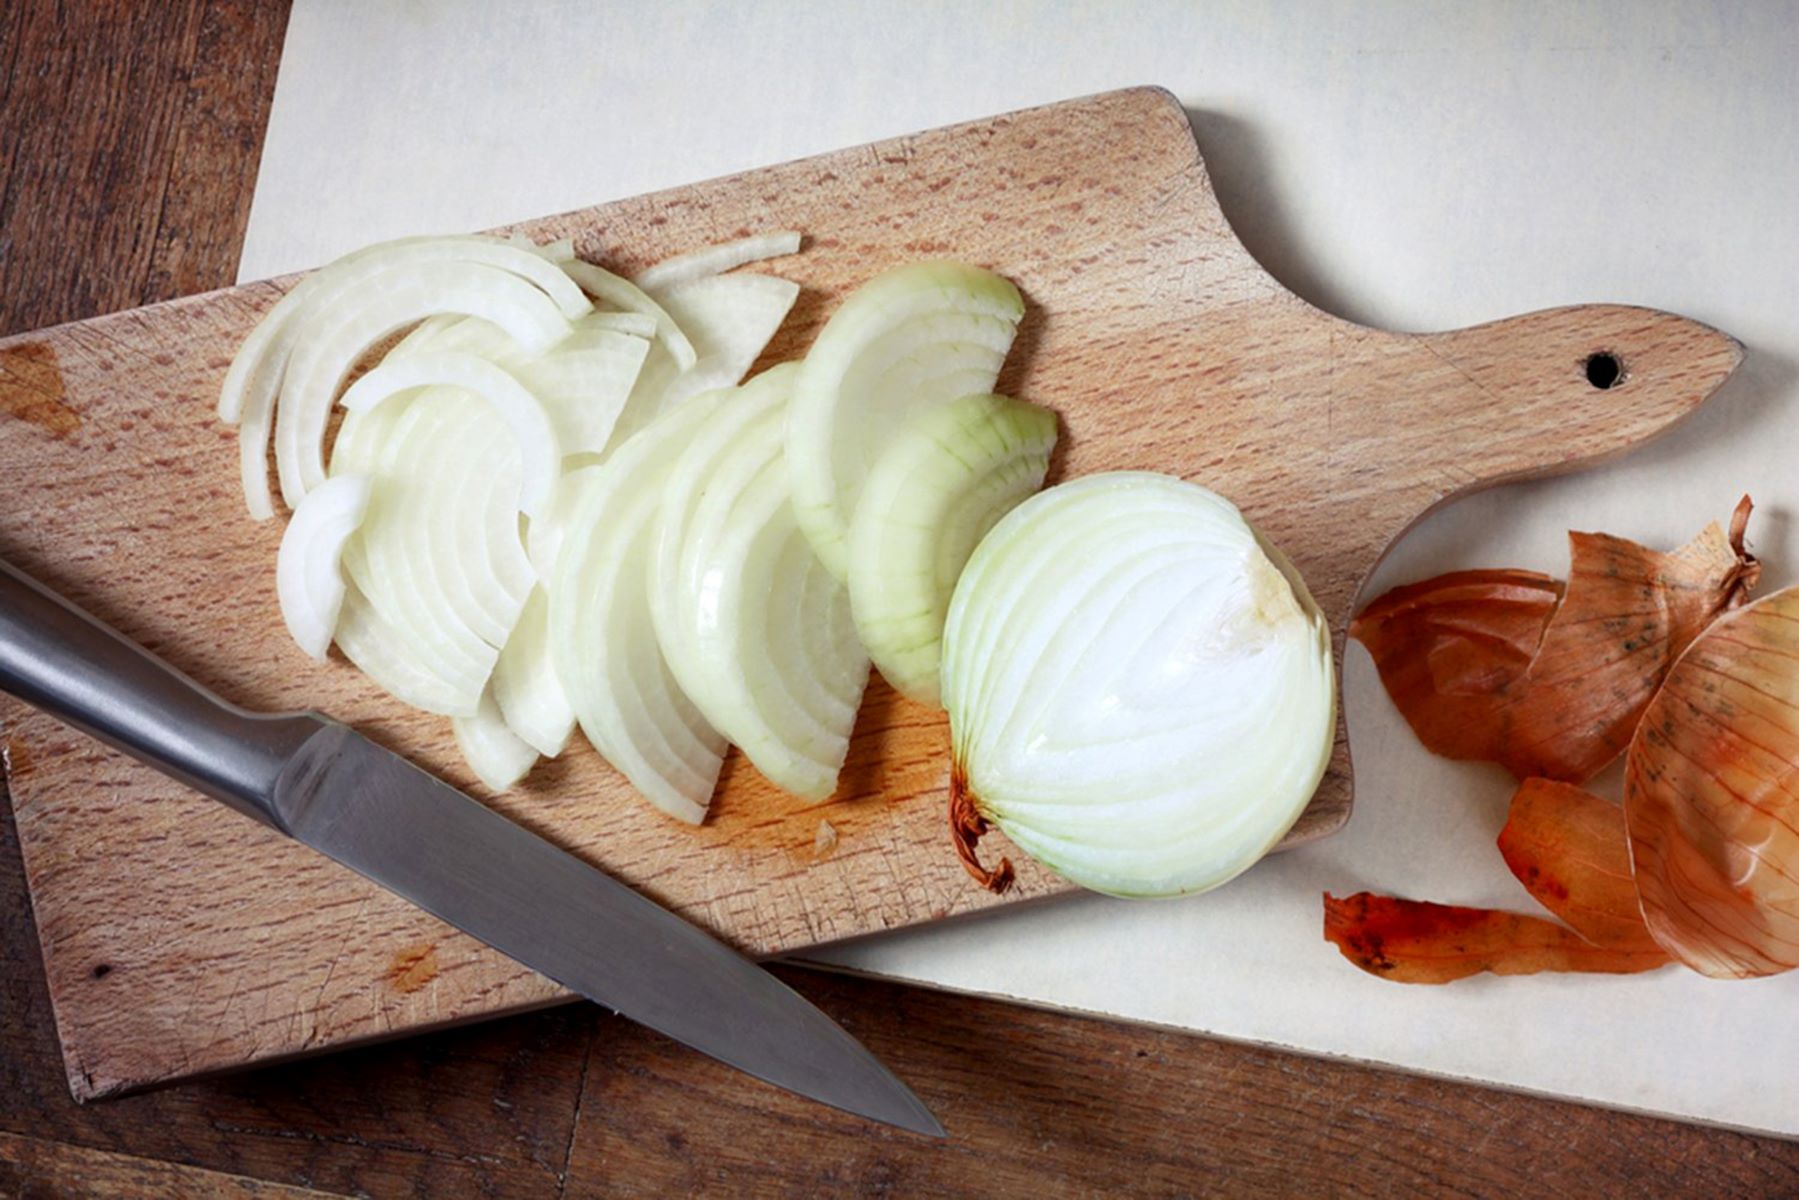
- Peel and slice the onions: Start by peeling the onions and removing the outer layer. Then, slice the onions thinly to ensure even cooking and caramelization. You can use a sharp knife or a mandoline slicer for this step.
- Separate the onion slices: After slicing the onions, separate the rings to encourage even cooking. This will help prevent any clumping and ensure that each onion slice gets evenly caramelized.
- Salt the onions: Sprinkling a pinch of salt over the sliced onions before cooking can help draw out their natural moisture, which aids in caramelization. This step is optional but can enhance the flavor and caramelization process.
By selecting the right onions and preparing them properly, you set the foundation for successful caramelization and storing of your onions. Once you have your onions ready, it’s time to move on to the next step: caramelizing them.
Step 2: Caramelizing the Onions
Caramelizing onions is a slow and gentle cooking process that requires patience and attention to detail. Follow these steps to achieve perfectly caramelized onions:
- Heat the pan: Use a wide, heavy-bottomed skillet or sauté pan to ensure even heat distribution. Heat the pan over medium-low heat.
- Add oil and butter: Add a combination of oil and butter to the heated pan. The oil prevents the butter from burning while adding flavor.
- Add the onions: Once the butter has melted, add the sliced onions to the pan. Make sure they are spread out in an even layer to promote even cooking.
- Sauté the onions: Cook the onions slowly over medium-low heat, stirring occasionally. The key here is to allow the onions to slowly release their moisture and caramelize without burning. This process can take anywhere from 30 to 60 minutes, depending on the quantity of onions and desired level of caramelization.
- Adjust the heat: If you notice the onions are browning too quickly or starting to stick to the pan, reduce the heat slightly. On the other hand, if the onions are not browning after a while, increase the heat slightly. Finding the right heat level is crucial for achieving perfectly caramelized onions.
- Monitor and stir: Keep an eye on the onions as they cook, stirring occasionally to prevent sticking and ensure even caramelization. As the onions cook, they will reduce in volume and develop a rich, brown color.
- Taste and adjust seasoning: Once the onions have reached your desired level of caramelization, taste them and adjust the seasoning if necessary. You can add a pinch of salt, pepper, or other spices to enhance the flavor of the caramelized onions.
Caramelizing onions requires time and attention, but the result is well worth it. The slow and gentle cooking process transforms the onions into a sweet and savory delight. Once your onions are perfectly caramelized, it’s time to move on to the next step: cooling and storing them.
Store caramelized onions in an airtight container in the refrigerator for up to 1 week. You can also freeze them in a freezer-safe container for up to 3 months.
Step 3: Cooling and Storing the Caramelized Onions
After you have caramelized your onions to perfection, it’s important to cool and store them properly to maintain their flavor and texture. Follow these steps to cool and store your caramelized onions:
- Cool the onions: Remove the caramelized onions from the heat and let them cool to room temperature. This step is essential to prevent moisture buildup and ensure the onions don’t become mushy.
- Divide into portions: Once the onions have cooled, divide them into portion sizes that you typically use in your recipes. This will make it easier to thaw and use them later without having to defrost the entire batch.
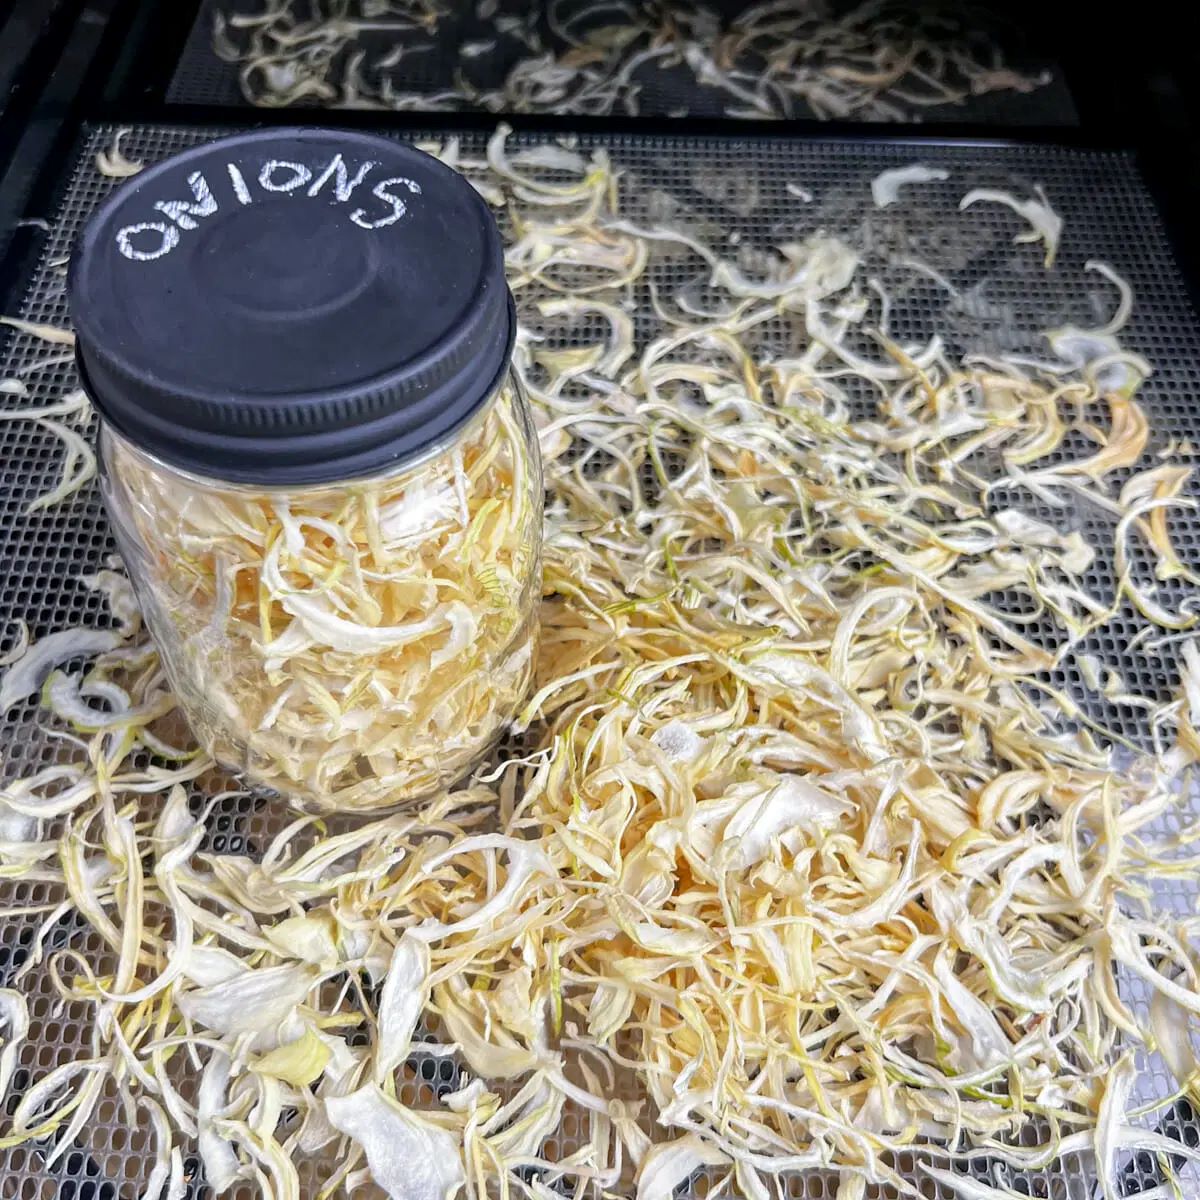
- Transfer to airtight containers: Place the portioned caramelized onions into airtight containers or resealable bags. Make sure to remove any excess air from the containers to prevent freezer burn.
- Label and date: Use labels or markers to indicate the contents of the container and the date they were stored. This will help you keep track of their freshness and avoid confusion in the future.
- Freeze the caramelized onions: Place the containers of caramelized onions in the freezer. They can be stored for up to 3 months, maintaining their flavor and quality when properly frozen.
By cooling and storing your caramelized onions promptly, you can enjoy their sweet and savory goodness even when you don’t have the time to caramelize them from scratch. Now that you have successfully stored your caramelized onions, let’s move on to the final step: reheating and using them in your recipes.
Step 4: Reheating and Using the Caramelized Onions
When it comes time to use your stored caramelized onions, there are a few simple steps to follow to ensure they are reheated properly and incorporated seamlessly into your recipes:
- Thaw the onions: If your caramelized onions are stored in the freezer, transfer the desired portion to the refrigerator and let them thaw overnight. Thawing in the refrigerator helps maintain the onions’ texture and flavor.
- Reheat on the stovetop: To reheat the caramelized onions, heat a skillet or sauté pan over medium heat. Add a small amount of oil or butter to the pan and sauté the thawed onions until heated through. Stir occasionally to prevent sticking.
- Use them in recipes: Once the caramelized onions are reheated, you can use them in a variety of recipes. They add depth and sweetness to soups, stews, sandwiches, pastas, and more. Get creative and experiment with different dishes to enjoy the rich flavor of caramelized onions.
- Store leftovers properly: If you have any leftover caramelized onions from your recipe, let them cool to room temperature and store them in an airtight container in the refrigerator. Use them within 3-4 days.
By following these reheating and usage tips, you can enjoy the caramelized onions you’ve stored and add them to your favorite recipes without compromising on flavor or texture. Now that you’re well-versed in storing and using caramelized onions, let’s wrap up this guide.
Read more: How To Store Caramel Apples
Conclusion
Congratulations! You have learned how to store caramelized onions properly and enjoy their sweet and savory goodness in a variety of dishes. By following the steps outlined in this guide, you can ensure that your caramelized onions remain fresh, flavorful, and ready to use whenever inspiration strikes.
Remember to start by selecting the right onions and preparing them properly. Choose sweet onions with a high sugar content and slice them thinly for even caramelization. Take the time to sauté the onions slowly over medium-low heat, stirring occasionally to prevent burning and achieve that rich, golden brown color.
After caramelizing the onions, allow them to cool to room temperature before dividing them into portion sizes and storing them in airtight containers or resealable bags. Label and date the containers for easy identification and keep them in the freezer for up to 3 months.
When you’re ready to use the caramelized onions, thaw them in the refrigerator overnight and reheat them on the stovetop. Incorporate these delicious onions into your favorite recipes, whether it’s soups, stews, sandwiches, or pastas, and enjoy the enhanced flavors they bring to your dishes.
Storing caramelized onions not only saves you time in the kitchen but also allows you to add a depth of flavor to your meals at any time. It’s a versatile ingredient that can elevate your culinary creations and impress your guests with its richness and complexity.
So why not take advantage of this handy technique? Start caramelizing onions, storing them, and incorporating them into your recipes to experience the wonderful taste they can bring to your dishes. With a little preparation and planning, you can always have a stash of caramelized onions ready to enhance the flavor of your meals.
Enjoy the convenience and deliciousness of stored caramelized onions, and happy cooking!
Frequently Asked Questions about How To Store Caramelized Onions
Was this page helpful?
At Storables.com, we guarantee accurate and reliable information. Our content, validated by Expert Board Contributors, is crafted following stringent Editorial Policies. We're committed to providing you with well-researched, expert-backed insights for all your informational needs.

0 thoughts on “How To Store Caramelized Onions”