Articles
How To Store Caramel Apples
Modified: February 27, 2024
Learn how to store caramel apples with these helpful articles. Keep your delicious treats fresh and tasty for longer.
(Many of the links in this article redirect to a specific reviewed product. Your purchase of these products through affiliate links helps to generate commission for Storables.com, at no extra cost. Learn more)
Introduction
There’s something truly irresistible about biting into a sweet and sticky caramel apple. The combination of tart apple, rich caramel, and a touch of crunch is pure bliss for your taste buds. Whether you’ve purchased caramel apples from a store or made them yourself, proper storage is key to preserving their freshness and flavor.
In this article, we will guide you through the process of storing caramel apples to ensure they stay delicious for as long as possible. From choosing the right apples to preparing the caramel coating, we’ll cover all the essential steps. So let’s dive in and learn how to keep your caramel apples fresh and mouthwatering!
Before we get into the specifics of storage, it’s important to note that caramel apples are best enjoyed within a few days of making or purchasing them. The longer they sit, the more likely the apples will lose their crispness and the caramel may become sticky or grainy. That being said, with proper storage techniques, you can extend the shelf life of your caramel apples by a few extra days.
Now, let’s explore the key factors to consider when it comes to storing caramel apples.
Key Takeaways:
- Choose firm, juicy apples like Granny Smith, Honeycrisp, or Gala for the perfect caramel apple. Size, color, and flavor all play a role in creating the ultimate caramel apple experience.
- Whether refrigerated or stored at room temperature, proper wrapping and airtight containers are essential for preserving the freshness and texture of caramel apples. Consider additional tips for extended storage options.
Read more: How To Store Caramel
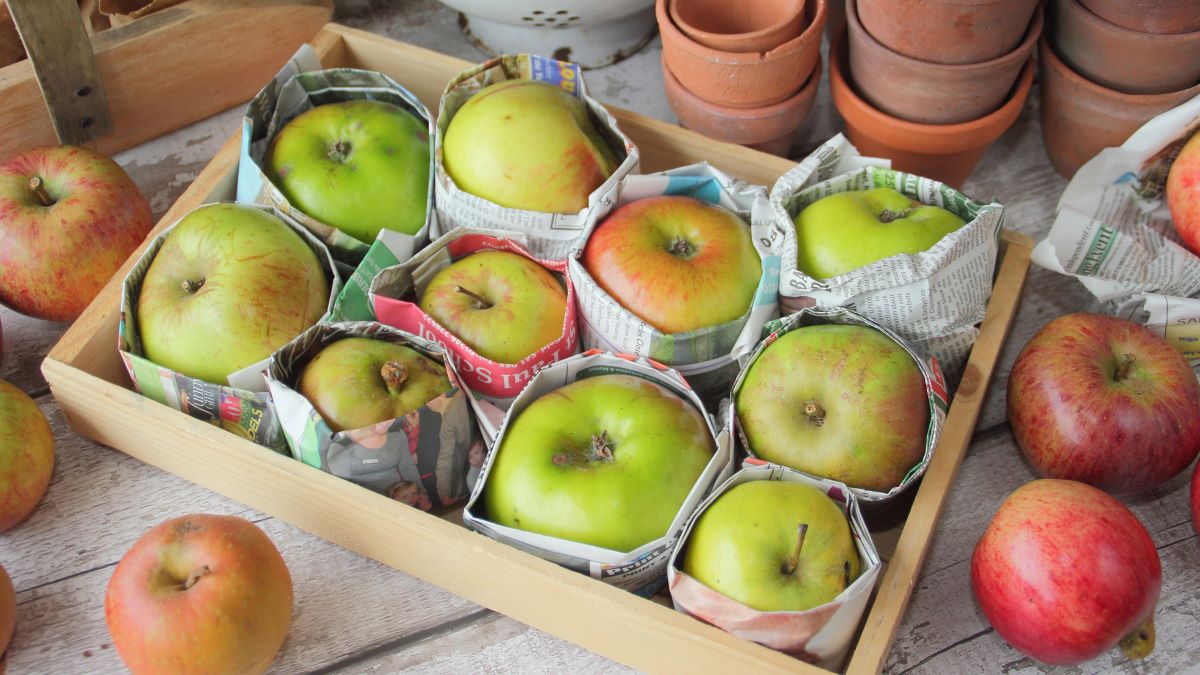
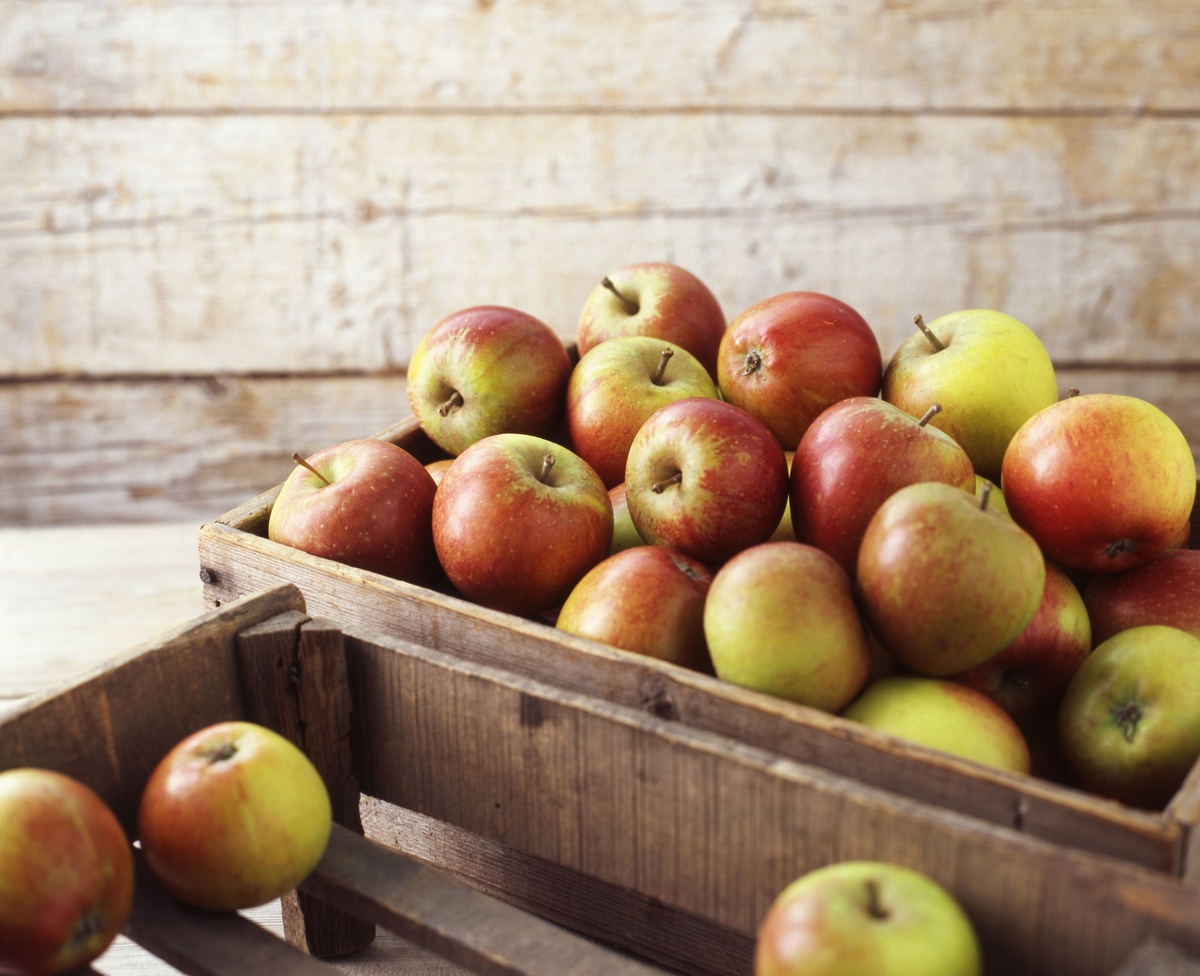
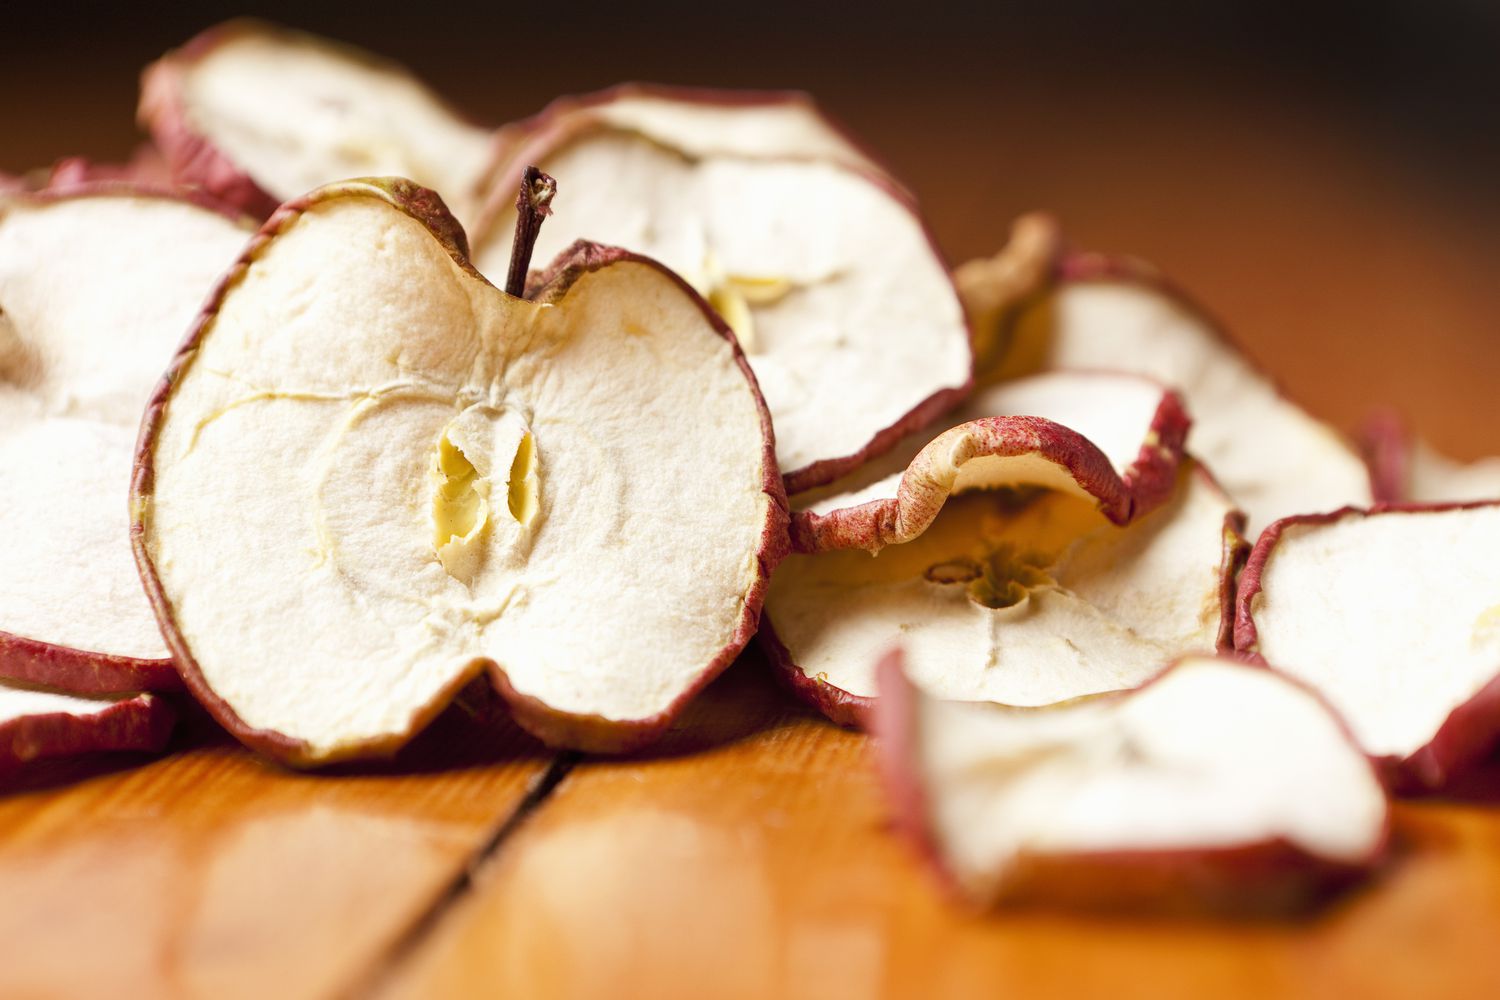
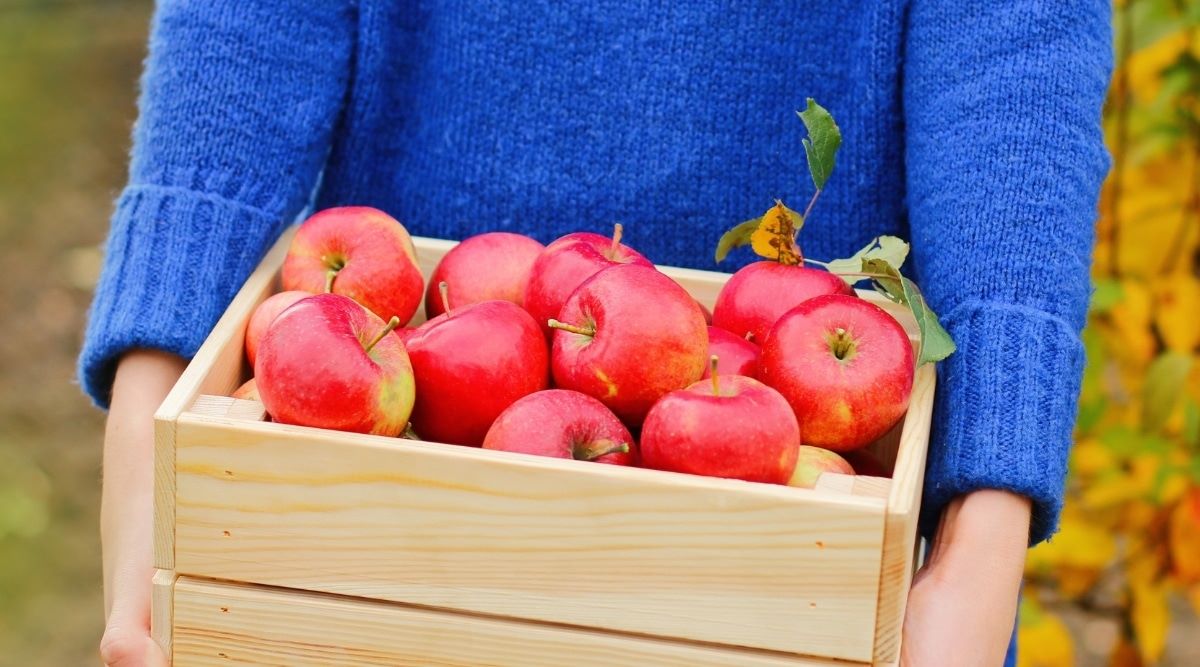
Choosing the Right Apples
When it comes to making caramel apples, choosing the right type of apple is essential. Not all apples are created equal, and selecting the right variety can make a big difference in both taste and texture.
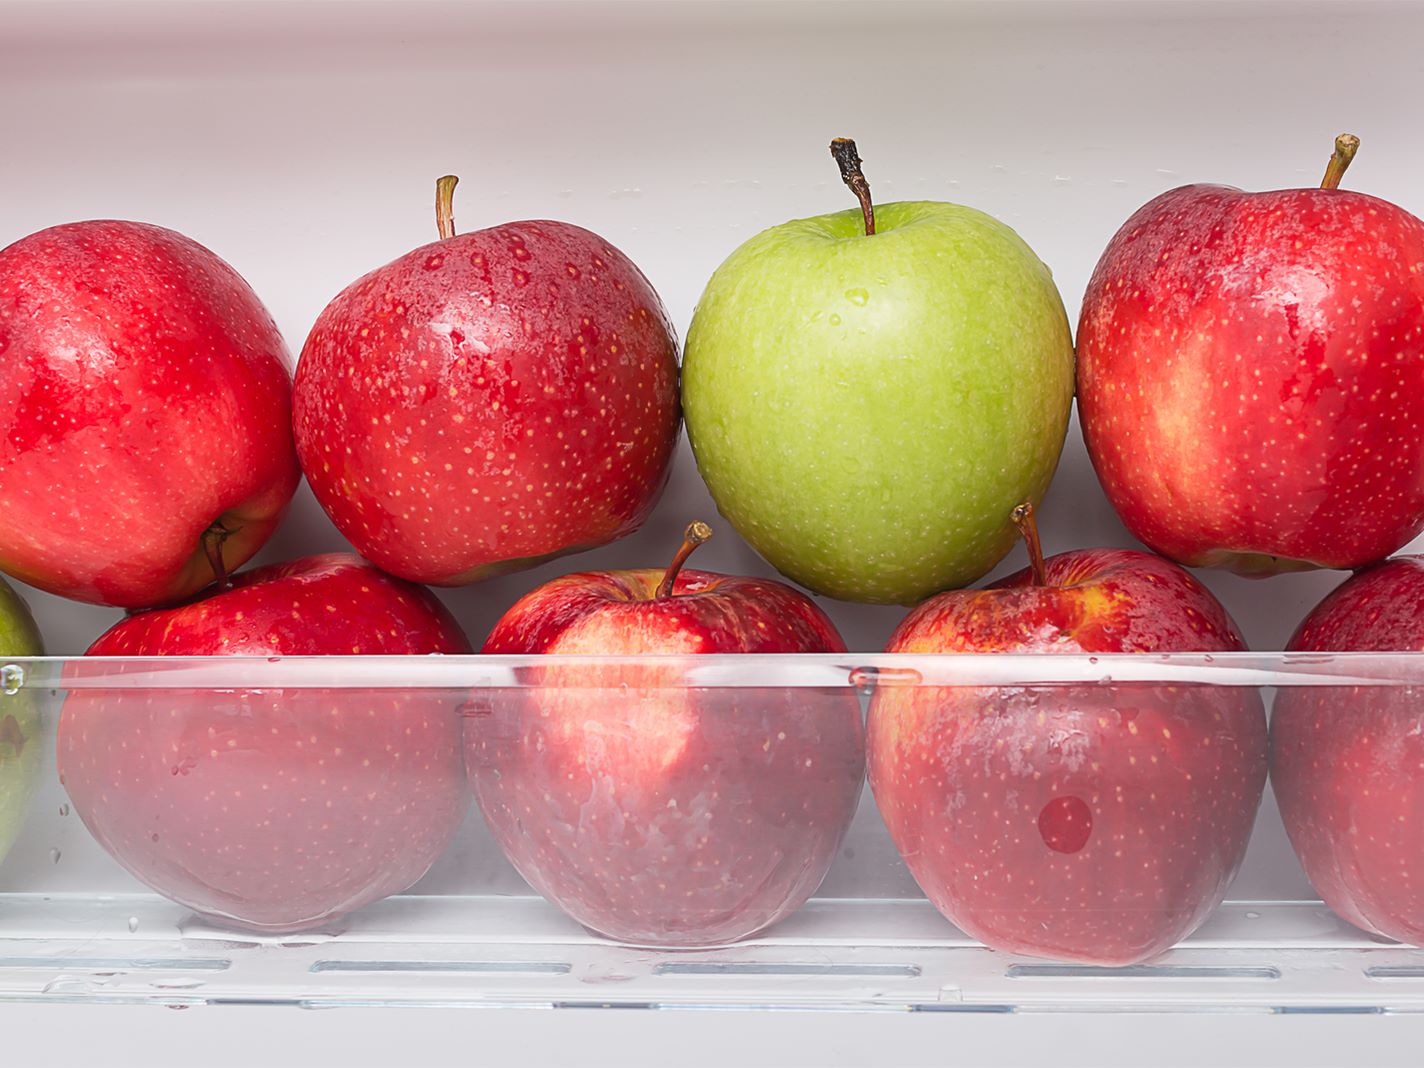
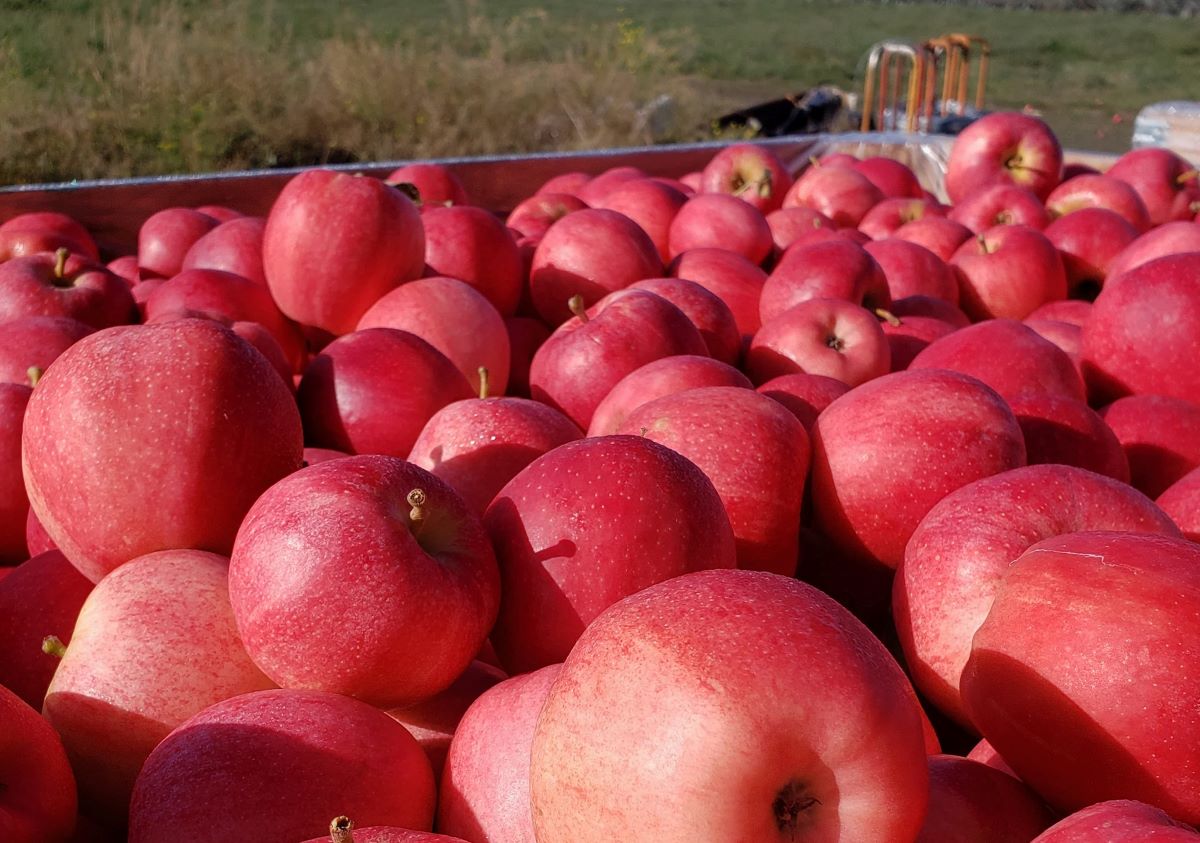
One important factor to consider is the apple’s crispness. You want to choose apples that are firm and juicy, as they will provide a satisfying crunch when you bite into them. Some popular apple varieties that work well for caramel apples include Granny Smith, Honeycrisp, and Gala. These apples have a sturdy texture and a slightly tart flavor that pairs beautifully with the sweet caramel coating.
In addition to crispness, it’s important to consider the size and shape of the apples. Smaller, medium-sized apples are generally easier to dip and coat with caramel, as they fit well on sticks and allow for a generous caramel coating. Avoid overly large apples, as they can be difficult to handle and may result in a disproportionate caramel-to-apple ratio.
Another factor to keep in mind is the color of the apple’s skin. While caramel apples look visually appealing with a glossy caramel coating, the natural color of the apple’s skin can affect the overall aesthetic. If you want a vibrant and eye-catching appearance, choose apples with bright and unblemished skin. However, if the appearance is not a major concern, you can opt for apples with a slightly duller skin tone.
Lastly, consider the apple’s flavor profile. The tartness of the apple should complement the sweetness of the caramel. Take into account your personal preference and the taste preferences of those who will be enjoying the caramel apples. Experiment with different apple varieties to find the perfect balance of flavors that suits your taste.
By carefully selecting the right apples, you’ll set yourself up for caramel apple success. So head to your local orchard or grocery store and choose the freshest and most suitable apples for your caramel apple creation!
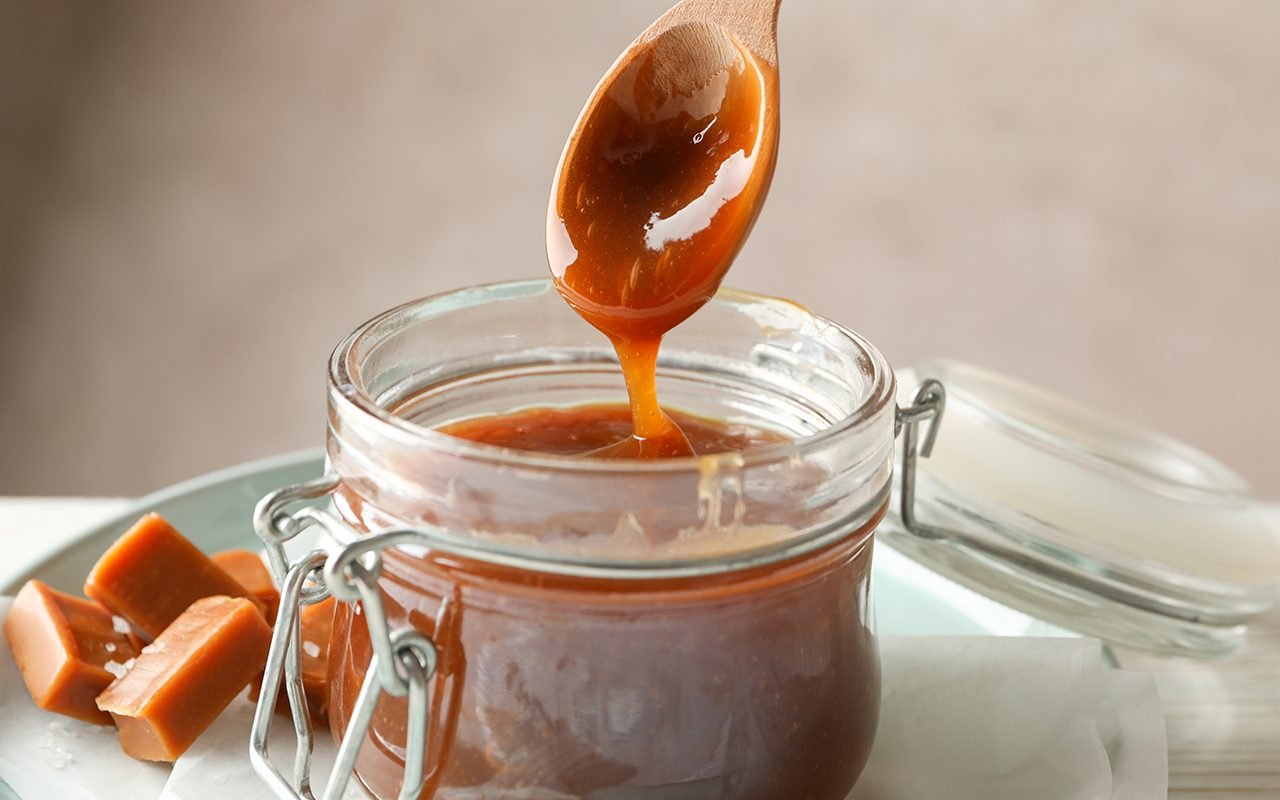
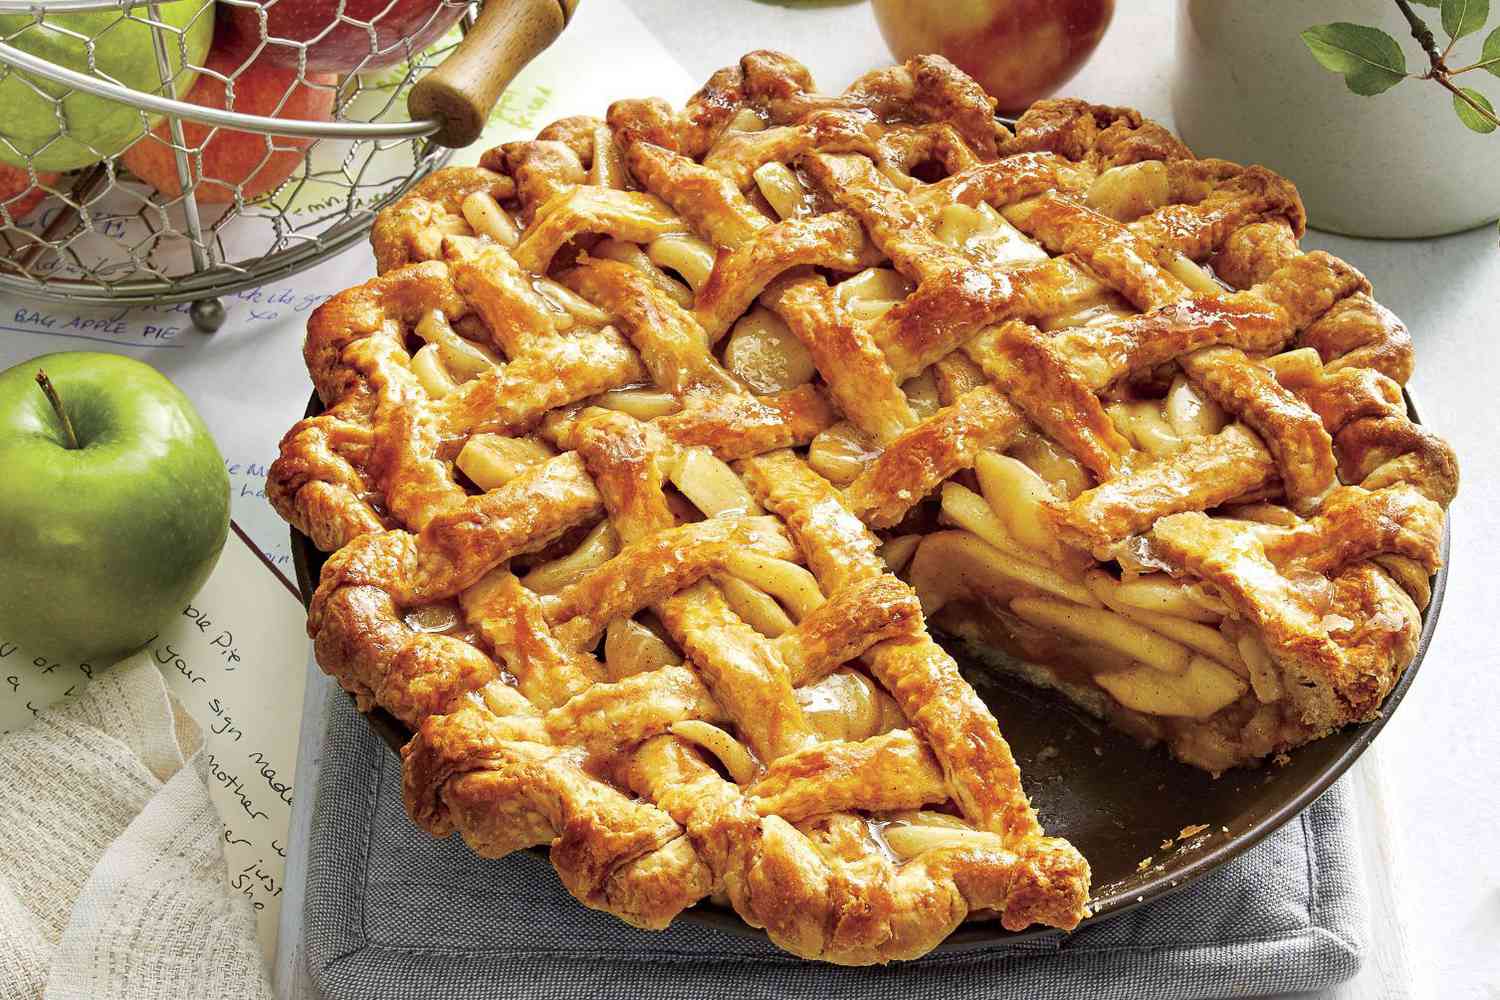
Preparing the Caramel
The caramel coating is the star of the show when it comes to caramel apples. It’s what gives them that luscious, gooey sweetness that we all love. Preparing the caramel properly is essential to ensure a smooth and delectable coating for your apples.
There are various methods to make caramel, but for caramel apples, the stovetop method is typically used. Here’s a step-by-step guide to preparing the caramel:
- Start by gathering your ingredients. You will need sugar, butter, heavy cream, vanilla extract, and a pinch of salt. Having all the ingredients ready and measured out beforehand will make the process smoother.
- In a heavy-bottomed saucepan, melt the butter over medium heat. Once the butter has fully melted, add the sugar and stir continuously until it dissolves and turns into a smooth liquid. Be cautious as the mixture will be extremely hot.
- Slowly pour in the heavy cream while stirring constantly. Be careful, as the mixture will bubble and steam. Continue stirring until the cream is fully incorporated into the sugar and butter mixture.
- Add a pinch of salt for flavor enhancement and a splash of vanilla extract for a touch of sweetness. Stir well to combine.
- Continue to cook the caramel over medium heat until it reaches a temperature of around 240°F (115°C). You can use a candy thermometer to monitor the temperature, ensuring that the caramel reaches the desired consistency. This temperature will result in a soft-set caramel that is perfect for coating apples.
- Once the caramel has reached the desired temperature, remove it from the heat and let it cool for a few minutes. This will allow the caramel to thicken slightly, making it easier to coat the apples.
Now that your caramel is prepared and ready, it’s time to move on to dipping and coating the apples. But first, let’s discuss the importance of setting up the right storage containers for your caramel apples.
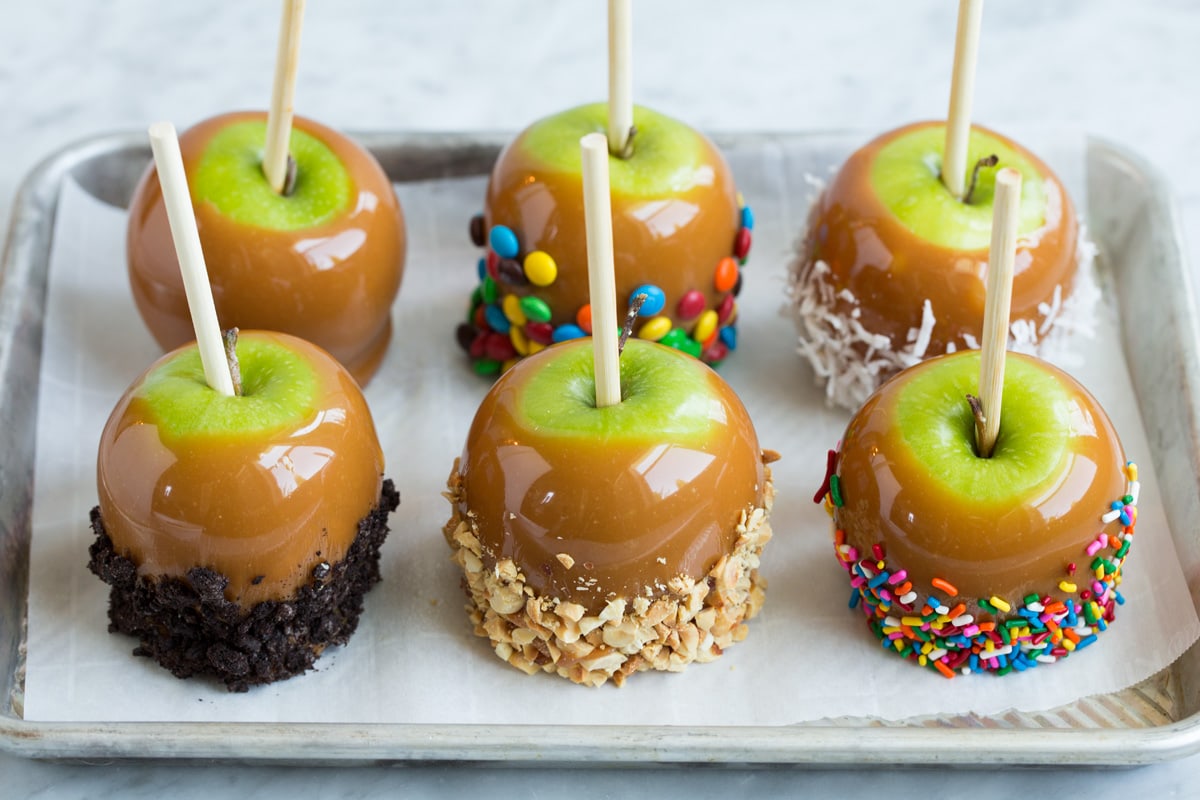
Coating the Apples
With the caramel prepared and the apples selected, it’s time to start coating them with that irresistible caramel goodness. Properly coating the apples will not only make them visually appealing but also ensure a balanced caramel-to-apple ratio.
Here’s a step-by-step guide on how to coat your apples with caramel:
- First, wash and dry the apples thoroughly. This will remove any dirt or wax from the apple skins, allowing the caramel to adhere better.
- Remove any stems or leaves from the apples, as they can interfere with the dipping process.
- Insert a wooden stick or lollipop stick into the stem end of each apple. Make sure the stick is securely inserted into the apple, as this will be your handle for dipping and eating.
- Place a sheet of parchment paper or a silicone baking mat on a baking sheet to prevent the caramel from sticking and to make clean-up easier.
- Dip each apple into the prepared caramel, tilting the saucepan or using a spoon to coat the apple evenly. Rotate the apple to ensure all sides are covered with caramel. Allow any excess caramel to drip off back into the saucepan.
- Hold each dipped apple over the saucepan for a few seconds to let the excess caramel further drain off, then gently place it onto the prepared baking sheet.
- Repeat the dipping process until all the apples are coated with caramel.
- Let the caramel-coated apples cool and harden completely. This may take around 30 minutes to an hour, depending on the thickness of the caramel coating and the ambient temperature.
Now you have beautifully coated caramel apples ready to be enjoyed. But before indulging in these sweet treats, it’s important to set up the right storage containers to keep them fresh for as long as possible.
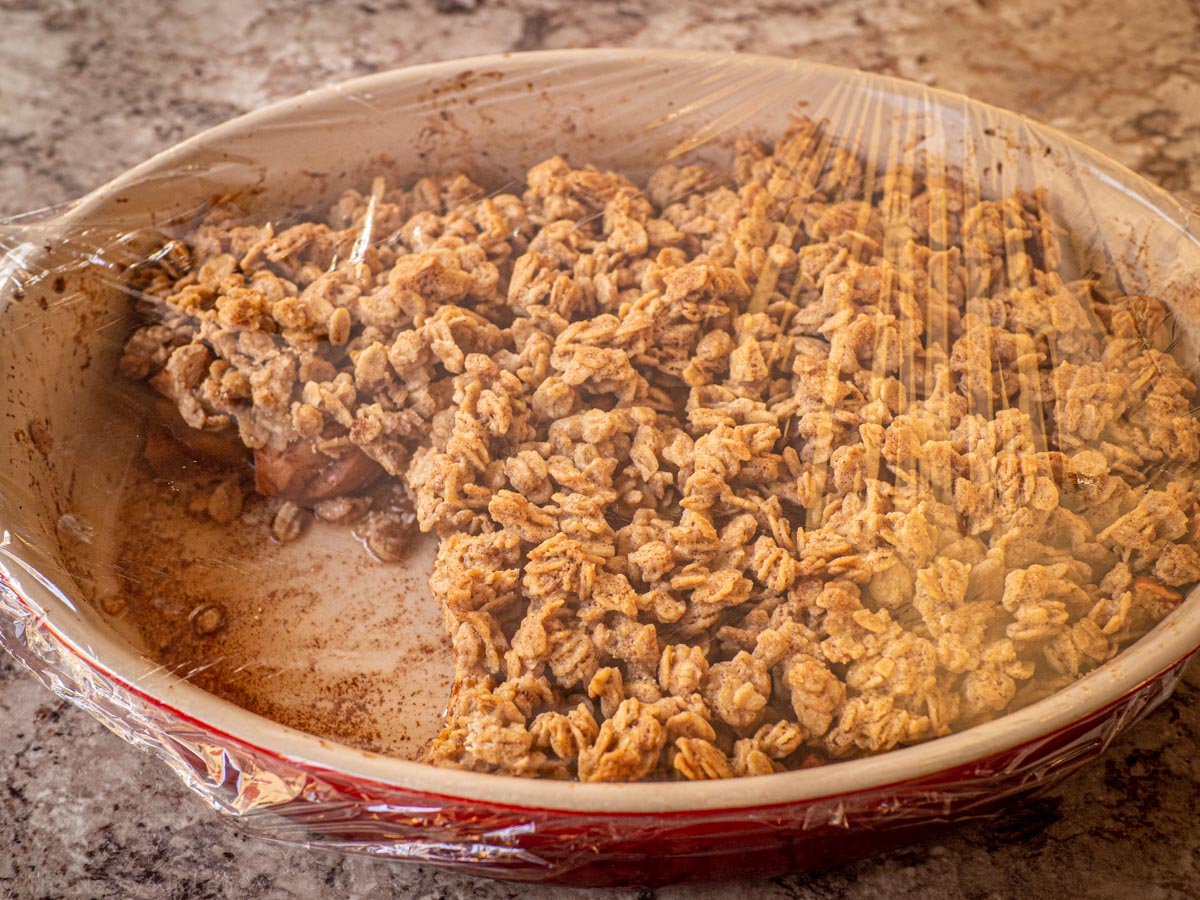
Setting up the Storage Containers
Proper storage containers are crucial for maintaining the freshness and quality of your caramel apples. By choosing the right containers and creating suitable storage conditions, you can ensure that your caramel apples stay delicious for an extended period of time.
Here are some tips for setting up the ideal storage containers for your caramel apples:
- Choose containers that are durable and airtight. This will help protect the caramel apples from moisture, which can cause the caramel to become sticky and the apples to become mushy.
- Consider using individual plastic or cellophane bags for each caramel apple. This will provide a barrier against external elements and prevent the caramel from sticking to other surfaces.
- If you prefer to store multiple caramel apples together, opt for a larger airtight container or a cake carrier with a tight-fitting lid. Make sure the container is clean and dry before placing the caramel apples inside.
- If you’re planning to transport the caramel apples, choose containers that provide cushioning and prevent movement during transit. This will help protect the delicate caramel coating.
Remember to label the storage containers with the date of preparation to track the freshness of the caramel apples. Properly stored caramel apples can typically be enjoyed for up to 4 to 5 days, though it’s best to consume them within the first few days for optimal taste and texture.
Next, we will explore the different storage options available for caramel apples, including refrigeration and room temperature storage. Let’s find out which method works best for preserving the quality of your caramel apples.
After dipping caramel apples, place them on a parchment-lined baking sheet and refrigerate for at least 1 hour to set the caramel before wrapping or serving.
Read more: How To Store Caramelized Onions
Storing in the Refrigerator
Refrigeration is one of the most common methods for storing caramel apples, as it helps to preserve their freshness and prevent the caramel from melting or becoming too soft. Follow these guidelines to store your caramel apples in the refrigerator:
- Ensure that the caramel coating on the apples has fully set and hardened before placing them in the refrigerator. This will prevent any smudging or sticking during storage.
- Individually wrap each caramel apple in plastic wrap or place them in individual plastic or cellophane bags. This will protect them from any odors or flavors in the fridge and prevent cross-contamination.
- Place the wrapped or bagged caramel apples in an airtight container or a cake carrier with a tight-fitting lid. This will offer an additional layer of protection and help maintain the freshness of the apples.
- Store the container of caramel apples in the refrigerator, preferably on a shelf rather than in the door where temperatures may fluctuate.
- Keep the caramel apples away from strong-smelling foods, such as onions or garlic, to avoid any flavor transfer.
When ready to enjoy your refrigerated caramel apples, remove them from the fridge and let them sit at room temperature for a few minutes to take the chill off. This will allow the caramel to soften slightly, making it easier to bite into.
It’s important to note that refrigeration can alter the texture of the apple, causing it to lose some of its crispness. Therefore, it’s best to consume refrigerated caramel apples within 2 to 3 days for the best texture and flavor.
Now that you know how to store caramel apples in the refrigerator, let’s explore another option for storage: keeping them at room temperature.
Storing at Room Temperature
If you prefer to store your caramel apples at room temperature, there are a few considerations to keep in mind. While this method doesn’t require refrigeration, it’s important to create the right environment to ensure the caramel apples remain fresh and safe to consume.
Here’s how you can store your caramel apples at room temperature:
- Ensure that the caramel coating on the apples has fully set and hardened before storing them at room temperature.
- Individually wrap each caramel apple in plastic wrap or place them in individual plastic or cellophane bags. This will protect them from dust, insects, and other contaminants.
- Store the wrapped caramel apples in a cool, dry place away from direct sunlight and heat sources. Excessive heat can cause the caramel to melt, while direct sunlight can lead to discoloration and spoilage.
- If possible, place the caramel apples on a tray or in a shallow container to prevent them from rolling or touching each other.
- Check on the caramel apples periodically for any signs of spoilage, such as mold or an off smell. If you notice any issues, discard the affected apples immediately.
When stored properly, caramel apples can typically be kept at room temperature for up to 2 to 3 days. Be mindful of the ambient temperature and humidity levels in your area, as these factors can affect the shelf life of the caramel apples.
It’s important to note that room temperature storage may lead to a slightly softer texture of the caramel coating over time. If you prefer a firmer caramel texture, storing the apples in the refrigerator is recommended.
Now that you know how to store caramel apples at room temperature, let’s explore some additional tips to help you extend their freshness and enjoy them to the fullest.
Additional Tips for Storing Caramel Apples
To maximize the shelf life and quality of your caramel apples, consider the following additional tips for storage:
- Keep caramel apples away from fruits and vegetables that release ethylene gas, such as bananas and apples. This gas can accelerate the ripening process and cause the caramel apples to deteriorate more quickly.
- If you’re making homemade caramel apples, consider opting for a slightly firmer caramel consistency. This will help the caramel coating hold its shape and prevent it from becoming too runny during storage.
- If your caramel apples have any decorative toppings, such as nuts or sprinkles, store them in a single layer to prevent the toppings from sticking to each other.
- If you’re planning to store caramel apples for a longer period, you can freeze them. Individually wrap each caramel apple tightly in plastic wrap, then place them in a freezer-safe bag or container. Frozen caramel apples can typically be stored for up to 2 to 3 months. Thaw them in the refrigerator overnight before enjoying.
- Consider storing caramel apples in airtight containers with a desiccant sachet or packet. These packets can help absorb excess moisture and keep the caramel apples fresher for longer.
- If you notice that the caramel coating has become slightly sticky or less firm, you can roll the caramel apples in some finely chopped nuts or crushed cookies. This will add an extra layer of texture and help prevent the caramel from sticking to the packaging during storage.
Remember, the key to storing caramel apples is to keep them in a controlled environment, protecting them from moisture, temperature fluctuations, and other contaminants.
By following these tips, you can extend the shelf life and maintain the deliciousness of your caramel apples, ensuring that they’re enjoyable for as long as possible.
Before we wrap up, let’s summarize the key points we’ve covered so far.
Conclusion
Caramel apples are a delightful treat that combines the crispness of apples with the sweetness of caramel. To ensure that your caramel apples stay fresh and delicious, proper storage techniques are crucial.
When it comes to storing caramel apples, it’s important to choose the right apples, prepare the caramel coating correctly, and coat the apples evenly. Once the caramel apples are ready, setting up suitable storage containers is essential. Whether you choose to store them in the refrigerator or at room temperature, following the proper guidelines will help maintain their quality.
For refrigeration, wrap each caramel apple individually and place them in an airtight container. This method helps preserve their freshness and prevents the caramel from melting. Refrigerated caramel apples should be consumed within 2 to 3 days for the best texture and flavor.
If you prefer room temperature storage, individually wrap the caramel apples and store them in a cool, dry place away from direct sunlight and heat sources. Room temperature storage is suitable for shorter periods, typically up to 2 to 3 days.
Additional tips, such as keeping caramel apples away from ethylene-producing fruits, opting for firmer caramel consistency, and using desiccant sachets, can further enhance their storage life.
Remember to periodically check the caramel apples for any signs of spoilage and discard any affected ones immediately.
Now that you’re equipped with the knowledge of how to store caramel apples properly, you can indulge in these delicious treats with confidence. Just a little care and attention to storage will ensure that your caramel apples retain their mouthwatering flavor and texture.
So go ahead, savor the sweetness, and enjoy every bite of your perfectly stored caramel apples!
Frequently Asked Questions about How To Store Caramel Apples
Was this page helpful?
At Storables.com, we guarantee accurate and reliable information. Our content, validated by Expert Board Contributors, is crafted following stringent Editorial Policies. We're committed to providing you with well-researched, expert-backed insights for all your informational needs.
0 thoughts on “How To Store Caramel Apples”