Articles
How To Store Clarified Butter
Modified: December 7, 2023
Learn how to store clarified butter properly with our informative articles. Keep your clarified butter fresh and flavorful for longer with our expert tips.
(Many of the links in this article redirect to a specific reviewed product. Your purchase of these products through affiliate links helps to generate commission for Storables.com, at no extra cost. Learn more)
Introduction
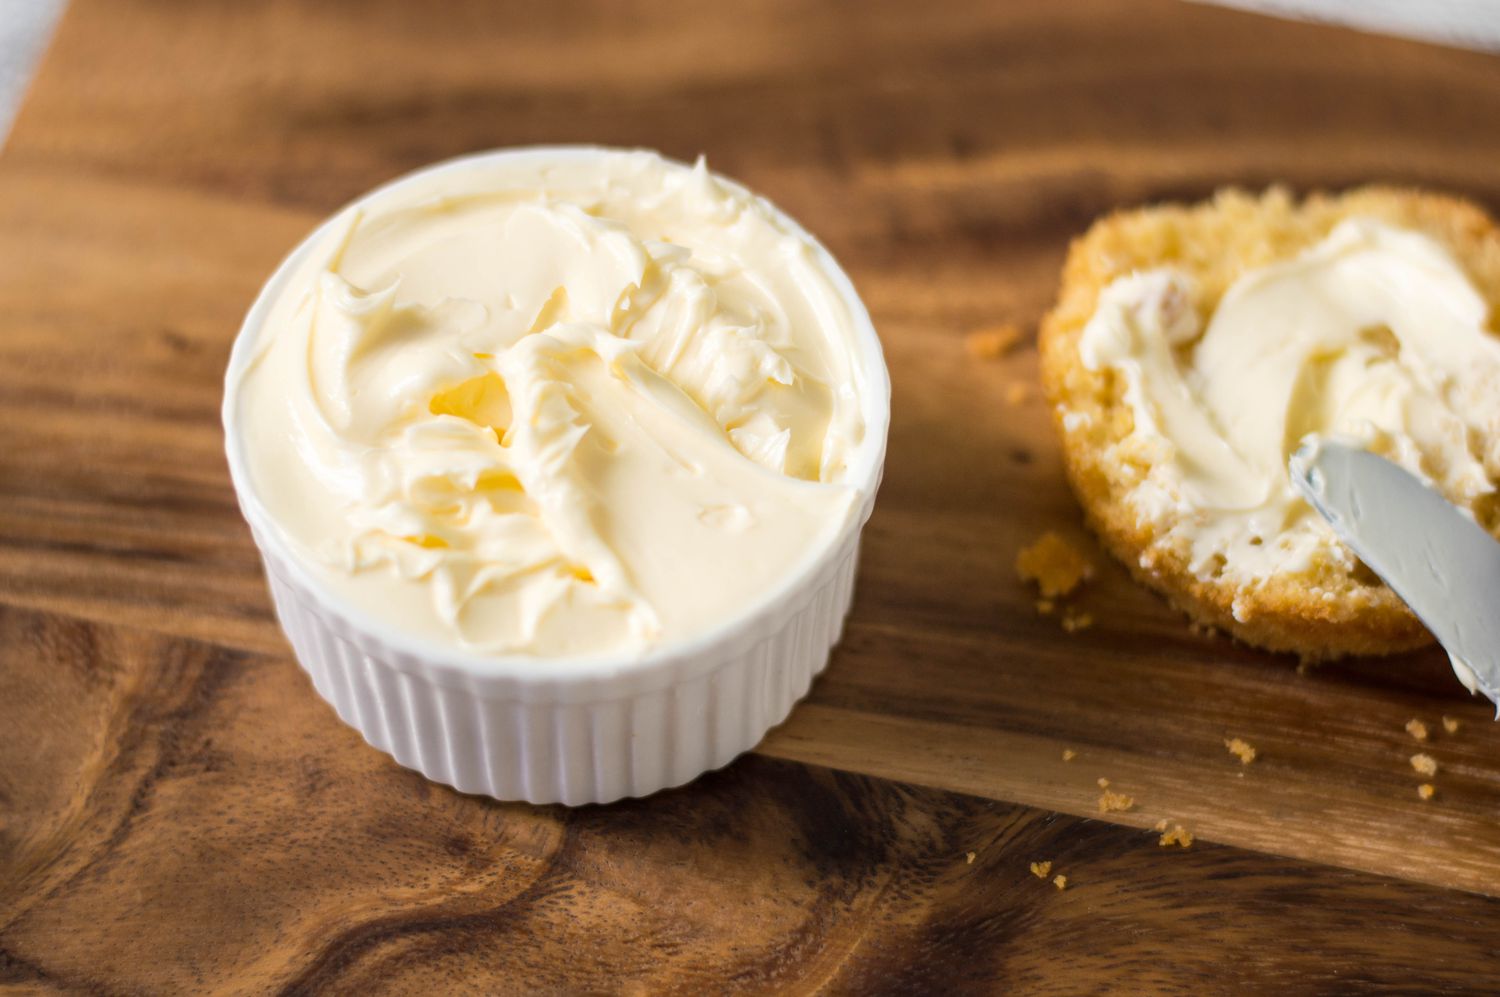
Welcome to our guide on how to store clarified butter! Clarified butter, also known as ghee, is a type of butter that has been melted and had its milk solids and water removed. This process not only extends its shelf life but also enhances its flavor and versatility in cooking. Whether you’ve made your own clarified butter or bought it from a store, knowing how to properly store it is essential to maintain its freshness and quality.
In this article, we will explore the benefits of clarified butter, the process of clarifying butter, and, most importantly, how to store it to ensure it remains in optimal condition for an extended period. We will also discuss the different container options available and provide tips on maintaining the freshness of your clarified butter. So, let’s dive in and learn the best practices for storing this delicious and versatile ingredient!
Key Takeaways:
- Store clarified butter in airtight glass, stainless steel, or porcelain containers in a cool, dark place. Avoid refrigeration and moisture to maintain its rich flavor and quality for an extended period.
- Use clarified butter for high-heat cooking, baking, and as a finishing touch. Reheat gently on the stovetop and enjoy its rich, nutty flavor in various culinary applications.
Read more: How To Store Brown Butter
Benefits of Clarified Butter
Clarified butter offers numerous benefits that make it a popular choice for cooking and baking. Here are some of the key advantages:
- High smoke point: One of the major benefits of clarified butter is its high smoke point. The removal of milk solids and water from butter increases its smoke point, which means it can withstand higher temperatures without burning. This makes clarified butter ideal for sautéing, frying, and deep frying, where a higher heat is required.
- Rich and nutty flavor: Clarified butter has a distinct rich and nutty flavor, adding a delightful touch to various dishes. The process of clarifying butter gives it a unique taste, making it a flavorful addition to sauces, roasted vegetables, and baked goods.
- Lactose-free: The clarification process removes lactose, making clarified butter suitable for those with lactose intolerance. It can be a great alternative for individuals who are unable to consume traditional dairy products due to lactose sensitivity.
- Longer shelf life: Due to the removal of milk solids and water, clarified butter has a longer shelf life compared to regular butter. Its low moisture content and absence of impurities make it less prone to spoilage, allowing it to be stored for an extended period without refrigeration.
- Rich in vitamins: Clarified butter is a good source of fat-soluble vitamins such as vitamin A, D, E, and K. These vitamins play important roles in supporting the immune system, maintaining healthy skin, and aiding in the absorption of minerals.
Overall, the benefits of clarified butter make it a versatile and valuable ingredient in the kitchen. Its high smoke point, rich flavor, lactose-free nature, long shelf life, and nutritional content make it an excellent choice for various cooking and baking needs.
How to Clarify Butter
Clarifying butter is a simple process that involves separating the milk solids and water from the butter. Here’s a step-by-step guide on how to clarify butter:
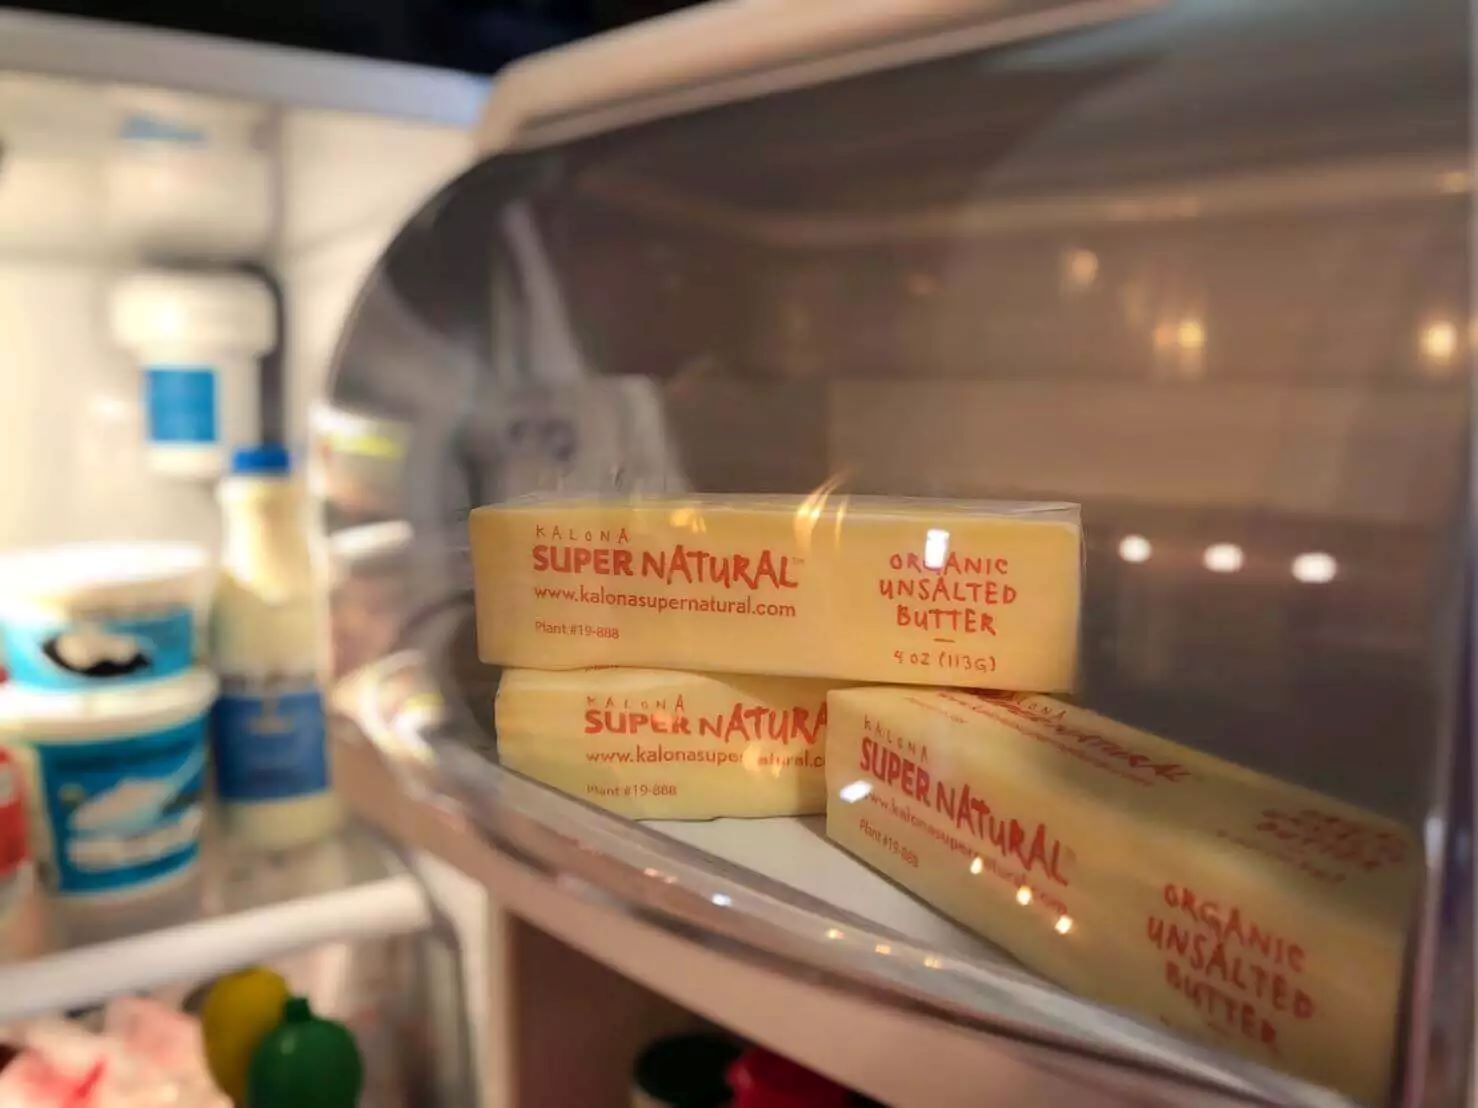
- Start with unsalted butter: It’s best to use unsalted butter for clarifying as it allows you to have full control over the salt content in your final product.
- Cut the butter into cubes: Cut the butter into small cubes to help it melt more evenly and quickly.
- Melt the butter: Place the butter cubes in a saucepan or a heavy-bottomed pot and heat it over low to medium heat.
- Skim off the foam: As the butter melts, a foam will start to form on the surface. Use a spoon to skim off the foam and discard it. This foam consists of the milk solids and impurities that you want to remove.
- Separate the clarified butter: After skimming off the foam, you’ll notice a clear, golden liquid beneath it. Carefully pour this liquid into a heatproof container, leaving the milk solids and any sediment behind.
- Strain the clarified butter: To ensure no solids remain in the clarified butter, strain it through a fine-mesh sieve or cheesecloth into another container. This step helps achieve a smooth and pure clarified butter.
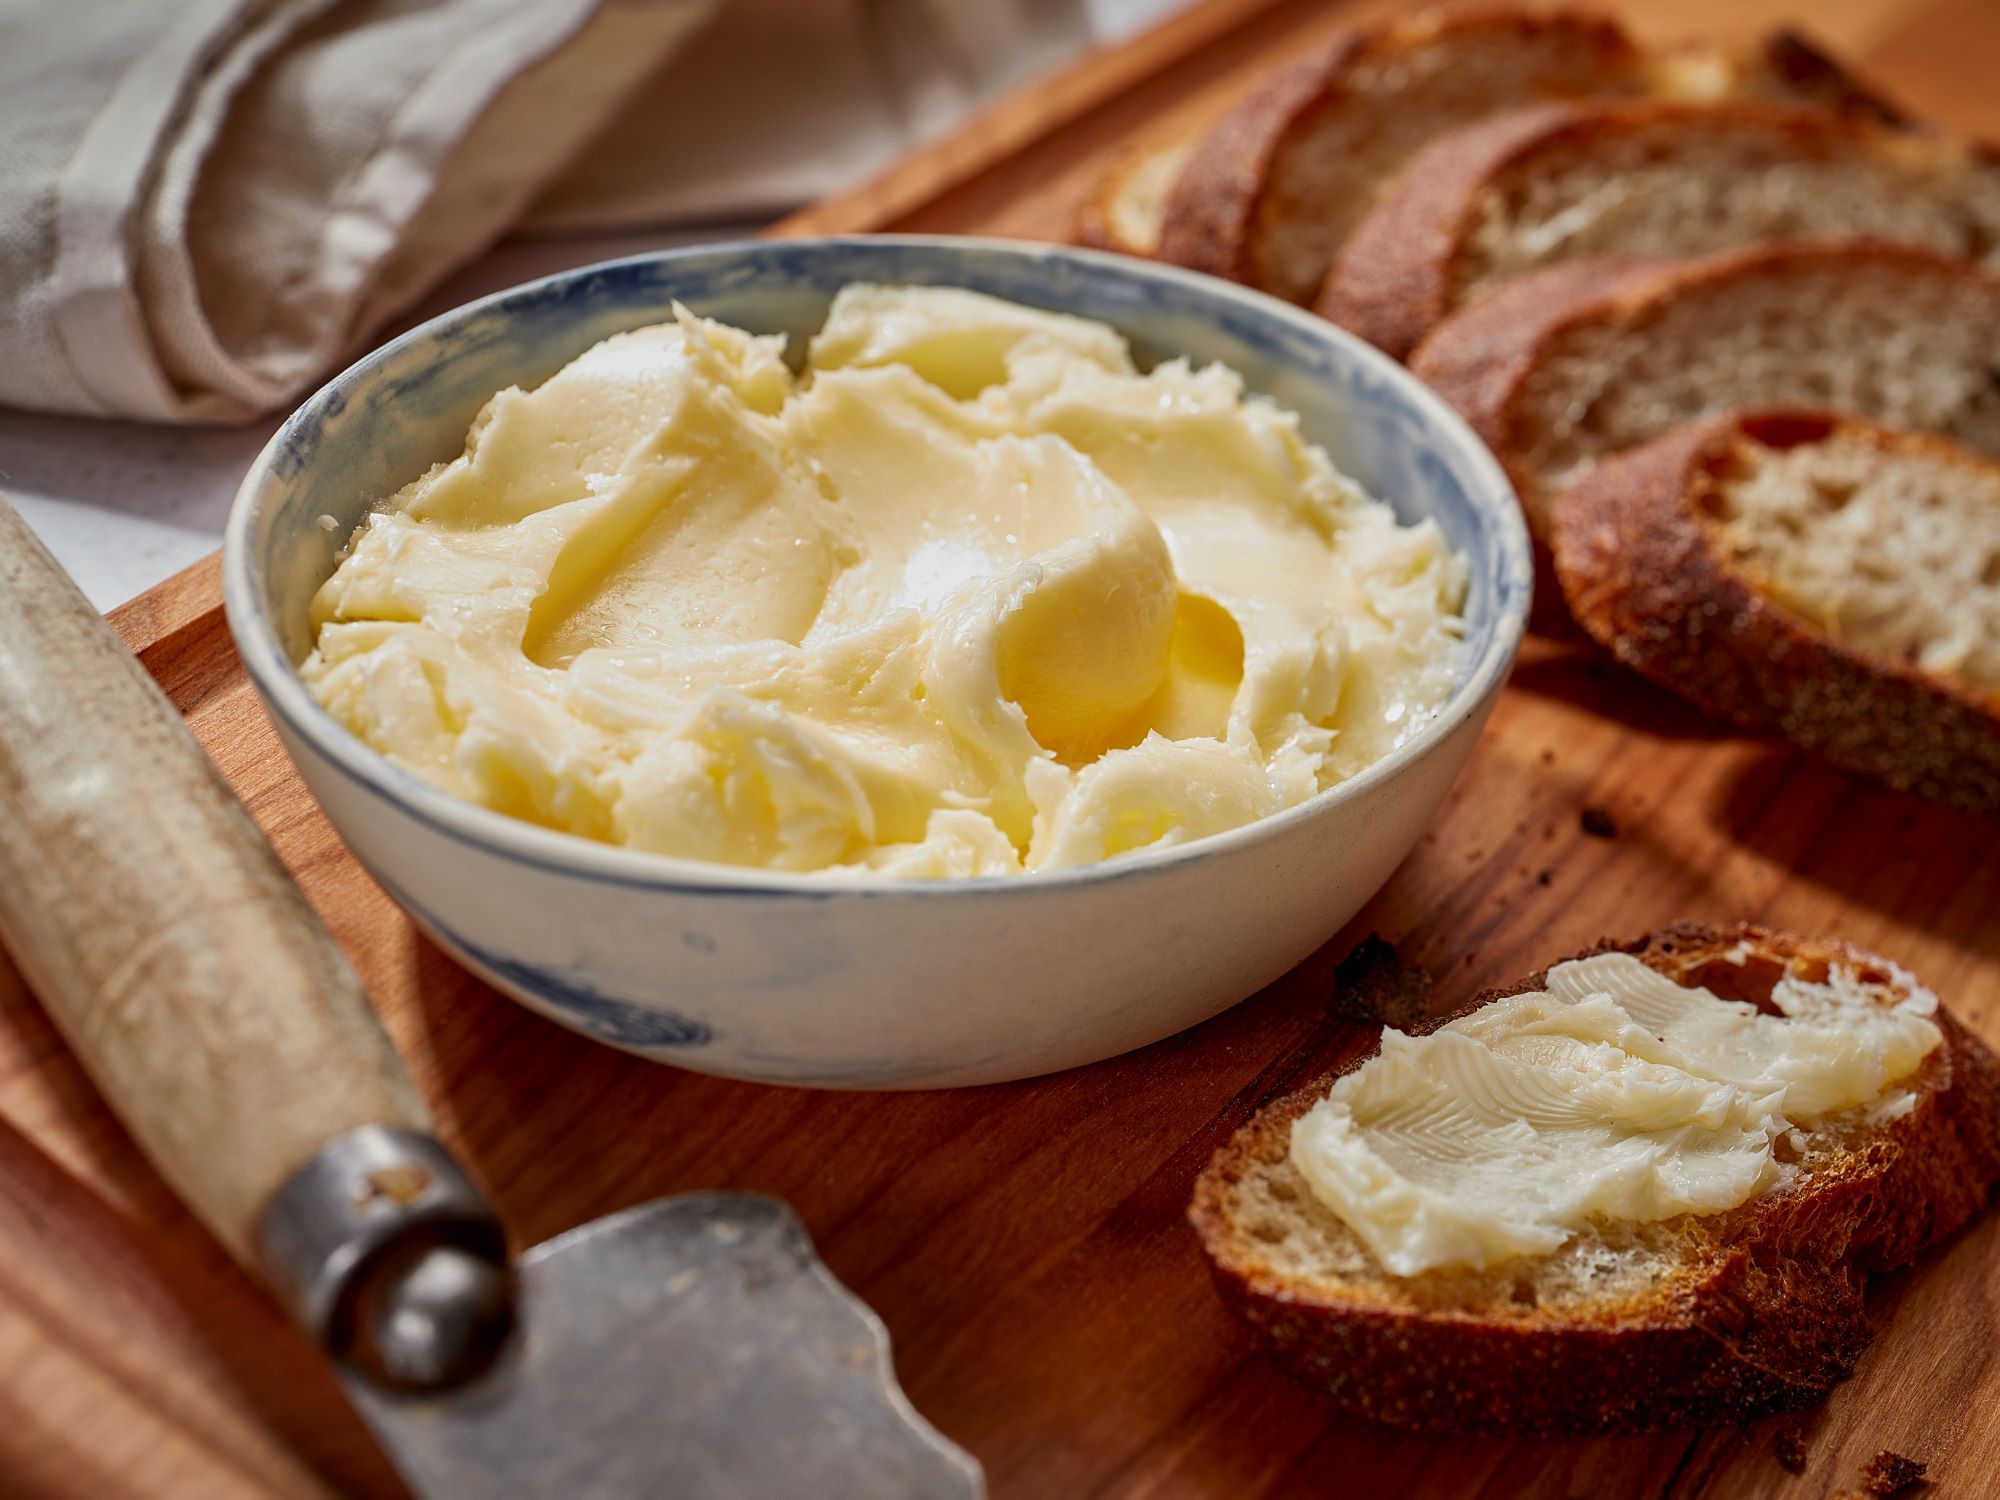
- Cool and solidify: Allow the clarified butter to cool completely at room temperature. It will solidify and have a creamy texture.
That’s it! You now have clarified butter ready to be used in your culinary creations. Remember to store it properly to maintain its freshness, which we will discuss in the next section.
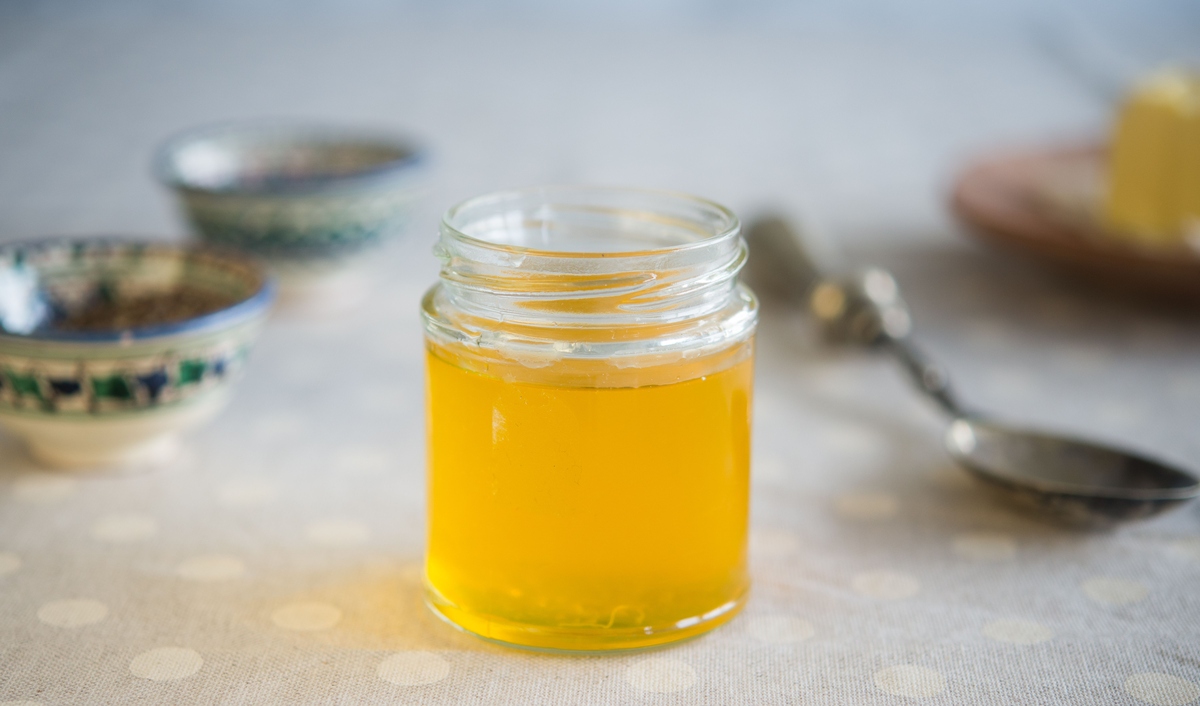
Storing Clarified Butter
Proper storage is key to maintaining the freshness and quality of clarified butter. Here are some guidelines to follow when storing clarified butter:
Container Options
- Choose a clean, airtight container: Clarified butter should be stored in a container that is clean and airtight to prevent oxidation and exposure to other flavors in the surroundings.
- Glass jars or containers with a tight-fitting lid: Glass containers are an excellent choice as they do not retain odors and are easy to clean. Ensure the lid seals tightly to keep air out.
- Stainless steel or porcelain containers: These materials also work well for storing clarified butter, as they won’t impart any unwanted taste or react with the butter.
Read more: How To Store Shea Butter
Best Storage Practices
- Store in a cool, dark place: Clarified butter should be stored in a cool and dark place, away from direct sunlight and heat sources like stovetops or ovens. Excessive heat or light can cause the butter to spoil more quickly.
- Avoid storing in the refrigerator: Since clarified butter has a very low moisture content and no milk solids, it doesn’t require refrigeration. Storing it at room temperature is sufficient.
- Keep away from moisture: Moisture can lead to the growth of bacteria and spoil the butter. Ensure the container is dry and there is no condensation inside before storing the clarified butter.
Tips for Maintaining Freshness
- Use a clean utensil: Always use a clean and dry spoon or knife when scooping out clarified butter to prevent contamination.
- Avoid introducing moisture: Be cautious when using wet utensils or storing the clarified butter in a humid environment, as moisture can lead to spoilage.
- Seal the container properly: Make sure the container is tightly sealed after each use to keep out air and prevent the butter from absorbing any odors.
- Observe for signs of spoilage: Clarified butter can last for several months if stored properly. However, if you notice any off smells or changes in texture or color, it’s best to discard it to avoid any health risks.
By following these storage guidelines and maintaining proper hygiene practices, you can ensure that your clarified butter stays fresh and flavorful for an extended period.
Container Options
Choosing the right container for storing clarified butter is important to maintain its freshness and quality. Here are some container options to consider:
- Glass jars or containers: Glass containers are an ideal choice for storing clarified butter. They are non-reactive and do not retain odors, ensuring that the butter remains pure and unaffected by external factors. Look for jars or containers with airtight lids to prevent air and moisture from entering.
- Stainless steel containers: Stainless steel containers are another excellent option for storing clarified butter. They are durable, easy to clean, and do not react with the butter, preserving its flavor and quality.
- Porcelain containers: Porcelain containers offer a stylish and practical solution for storing clarified butter. They are non-porous, which means that they do not absorb flavors or odors, keeping the butter fresh. Look for containers with tight-fitting lids to maintain an airtight seal.
When choosing a container, consider the size that best suits your needs. If you use clarified butter frequently, opt for a larger container that can comfortably hold a sufficient amount. If you only use it occasionally, a smaller container may be more suitable to prevent excessive exposure to air and maintain freshness.
Ensure that the container you choose is clean and free from any residues that could contaminate the butter. Wash it thoroughly with warm, soapy water and dry it completely before transferring the clarified butter into it. Additionally, label the container with the date of clarification to keep track of its freshness.
Remember, the key is to choose a container that is airtight and non-reactive to maintain the quality and flavor of the clarified butter for an extended period.
Best Storage Practices
Proper storage is essential to maintain the freshness and quality of clarified butter. Here are some best storage practices to follow:
- Store in a cool, dark place: Clarified butter should be stored in a cool and dark place, away from direct sunlight and heat sources. Excessive heat can cause the butter to spoil more quickly. A pantry or a cupboard away from the stove or oven is an ideal location.
- Avoid storing in the refrigerator: Unlike regular butter, clarified butter does not require refrigeration. Its low moisture content and absence of milk solids make it less prone to spoilage. Storing it at room temperature is perfectly fine.
- Keep away from moisture: Moisture can lead to the growth of bacteria, which can spoil the butter. Ensure that the container is dry and free from any water droplets before storing the clarified butter.
- Use an airtight container: To prevent oxidation and exposure to air, store clarified butter in an airtight container. This helps to maintain its freshness and prevents the absorption of any external odors or flavors.
- Label and date the container: To keep track of the freshness of your clarified butter, label the container with the date of clarification. This will help you monitor its shelf life and ensure that you are using it within a reasonable timeframe.
It’s important to note that clarified butter can last for several months when stored properly. However, it’s always a good idea to inspect the butter before use. If you notice any signs of spoilage such as odd smells, discoloration, or the presence of mold, it’s best to discard it to prevent any potential health risks.
By following these best storage practices, you can ensure that your clarified butter remains fresh and of high quality, ready to enhance the flavors of your favorite dishes.
Read more: How To Store Cocoa Butter
Tips for Maintaining Freshness
Maintaining the freshness of clarified butter is crucial to ensure its quality and flavor. Here are some tips to help you keep your clarified butter fresh:
- Use a clean utensil: Whenever you scoop out clarified butter from the container, make sure to use a clean and dry utensil. This helps prevent contamination and the introduction of any bacteria or other impurities.
- Avoid introducing moisture: Moisture can lead to spoilage of clarified butter. When using it, avoid using wet utensils or placing them in a humid environment. Additionally, make sure the container is tightly sealed after each use to prevent the entry of moisture.
- Keep away from direct sunlight and heat: Clarified butter should be stored in a cool and dark place, away from direct sunlight and heat sources. Exposure to heat and sunlight can accelerate the process of oxidation and adversely affect the quality and flavor of the butter.
- Seal the container properly: After each use, ensure that the container is tightly sealed to prevent the entry of air. Oxygen can cause the butter to go rancid more quickly. Using a container with an airtight lid or covering it tightly with cling wrap is recommended.
- Inspect for signs of spoilage: Regularly check the clarified butter for any signs of spoilage. This includes the presence of mold, off smells, discoloration, or a “off” taste. If any of these signs are present, it’s best to discard the butter to avoid any potential health risks.
By following these tips and maintaining proper hygiene practices, you can extend the shelf life of your clarified butter and ensure that it remains fresh and flavorful. It’s always better to be cautious and prioritize food safety when it comes to storing and using any ingredient in your kitchen.
Store clarified butter in an airtight container in the refrigerator to extend its shelf life. This will help prevent it from going rancid and maintain its quality.
Using and Reheating Clarified Butter
Clarified butter is a versatile ingredient that can be used in a variety of culinary applications. Here are some tips for using and reheating clarified butter:
Using Clarified Butter
- In cooking: Clarified butter is perfect for sautéing, frying, and grilling due to its high smoke point. Its rich flavor adds depth to dishes, making it a great choice for stir-fries, roasted vegetables, and pan-seared proteins.
- In baking: Clarified butter can be used as a substitute for regular butter or oil in baking recipes. It adds a unique flavor and can enhance the texture of baked goods like cookies, cakes, and pastries.
- In sauces and dressings: Clarified butter can be used as a base for sauces, such as Hollandaise or Béarnaise sauce. It adds a luscious richness and depth of flavor to creamy dressings and sauces.
- As a finishing touch: Drizzle a small amount of clarified butter over cooked vegetables, steaks, or seafood to add a buttery and flavorful finishing touch to your dishes.
Reheating Clarified Butter
When it comes to reheating clarified butter, there are a few things to keep in mind:
- Gently heat on low heat: Clarified butter has a lower water content than regular butter, so it can easily burn if exposed to high heat. When reheating, use low heat to preserve the flavor and prevent scorching.
- Avoid microwaving: Clarified butter can separate and become oily when microwaved, so it’s best to reheat it on the stovetop using a gentle heat source.
- Stir occasionally: While reheating, stir the clarified butter occasionally to ensure even warming and to prevent any parts from overheating.
Remember that clarified butter provides a wonderful depth of flavor, so use it judiciously in your recipes to enhance the overall taste. Enjoy the versatility and richness that clarified butter brings to your favorite dishes!
Read more: How To Store Butter Mochi
Conclusion
Congratulations! You’ve now learned valuable information about how to store clarified butter to maintain its freshness and quality. By following the best storage practices, using the right containers, and implementing the tips for maintaining freshness, you can ensure that your clarified butter stays delicious and usable for an extended period.
Clarified butter offers a wide range of benefits, including a high smoke point, rich flavor, longer shelf life, and being a suitable option for those with lactose intolerance. Its versatility in cooking and baking makes it an essential ingredient in your culinary repertoire.
Remember, when clarifying butter, strive for a clean and pure end product by removing the milk solids and skimming off the foam. Use airtight containers made of glass, stainless steel, or porcelain for storage, keeping the clarified butter in a cool, dark place away from moisture and heat sources.
Whether you’re using clarified butter in sautéing, frying, baking, or as a finishing touch to your dishes, it will add a rich and nutty flavor to elevate the taste of your creations. When reheating clarified butter, maintain a gentle heat and avoid microwaving to avoid separation and loss of flavor.
By implementing these practices and integrating clarified butter into your culinary adventures, you can unlock new dimensions of flavor and enjoy the many benefits it offers.
So, go ahead and store your clarified butter properly, and savor the deliciousness it brings to your favorite recipes! Happy cooking!
Frequently Asked Questions about How To Store Clarified Butter
Was this page helpful?
At Storables.com, we guarantee accurate and reliable information. Our content, validated by Expert Board Contributors, is crafted following stringent Editorial Policies. We're committed to providing you with well-researched, expert-backed insights for all your informational needs.


0 thoughts on “How To Store Clarified Butter”