Articles
How To Store Homemade Butter
Modified: October 19, 2024
Discover the best way to store homemade butter with our helpful articles. Learn the essential tips and tricks to keep your butter fresh and flavorful.
(Many of the links in this article redirect to a specific reviewed product. Your purchase of these products through affiliate links helps to generate commission for Storables.com, at no extra cost. Learn more)
Introduction
Homemade butter is a delicious and versatile ingredient that can be used in a variety of dishes. Whether you enjoy it on freshly baked bread, use it to add creaminess to sauces, or even as a base for baking, there’s no denying the rich and flavorful taste of homemade butter. Making your own butter at home is not only cost-effective but also allows you to have control over the quality and ingredients used. In this article, we will guide you through the process of making homemade butter and provide tips on how to store it properly for long-lasting freshness.
When making homemade butter, the process involves churning cream to separate the butterfat from the buttermilk. This can be done using an electric mixer, a hand mixer, or even by shaking a jar vigorously. The result is a creamy, spreadable butter that is free from any additives or preservatives.
Before we dive into the process of storing homemade butter, it’s important to start with high-quality ingredients. Opt for high-fat cream, preferably heavy cream or whipping cream, as this will yield the best results. Look for cream that is free from any additives, as these can affect the taste and texture of the butter.
Now that we have covered the basics, let’s move on to the step-by-step process of making homemade butter.
Key Takeaways:
- Enjoy the rich, creamy goodness of homemade butter by using high-quality cream, separating the butterfat from the buttermilk, and following proper storage techniques. Experiment with flavors and savor the satisfaction of creating this delicious ingredient from scratch.
- Connect with traditional cooking methods and elevate your culinary creations by making homemade butter. Shape, wrap, and store it properly to maintain its rich flavor and creamy texture for an extended period.
Read more: How To Store Homemade Nut Butter
Choosing the Right Ingredients
When it comes to making homemade butter, selecting the right ingredients is crucial for achieving the best results. Here are a few tips to keep in mind when choosing the ingredients for your homemade butter:
- Quality of Cream: Start with high-quality cream that has a high fat content. Look for heavy cream or whipping cream, as they typically have a fat content of around 35-40%. Avoid using cream that has any additives, as this can affect the taste and texture of your butter.
- Freshness: Ensure that the cream you use is fresh and hasn’t passed its expiration date. Fresh cream will yield better results and result in a tastier homemade butter.
- Organic and Grass-Fed: If possible, opt for organic cream from grass-fed cows. Not only is this a more sustainable choice, but it also provides a richer and more flavorful butter. Grass-fed cows produce cream that is higher in nutrients and healthier fats.
- Salt or No Salt: Decide whether you want to make salted or unsalted butter. If you prefer a touch of salt in your butter, you can add it later during the churning process or during the shaping and salting stage.
By considering these factors, you can ensure that you have the best ingredients to create delicious homemade butter. Once you’ve gathered your ingredients, you’re ready to move on to the next step – churning the butter!
Churning the Butter
Churning the cream is the key step in making homemade butter. This process helps separate the butterfat from the buttermilk, resulting in creamy and spreadable butter. Here’s how you can churn your own butter:
- Prepare Your Equipment: Start by ensuring that all your equipment is clean and dry. You will need a mixing bowl, an electric mixer or a hand mixer, and a spatula for scraping down the sides of the bowl.
- Pour the Cream: Pour the desired amount of cream into the mixing bowl. It’s essential not to overfill the bowl, as the cream will increase in volume as it turns into butter.
- Start Mixing: Turn on your mixer and begin whipping the cream at a low speed. Gradually increase the speed to medium-high as the cream thickens.
- Observe the Stages: As you mix, you will notice that the cream goes through different stages. At first, it will become whipped cream, then it will develop a grainy texture. Keep mixing until the butterfat separates from the buttermilk.
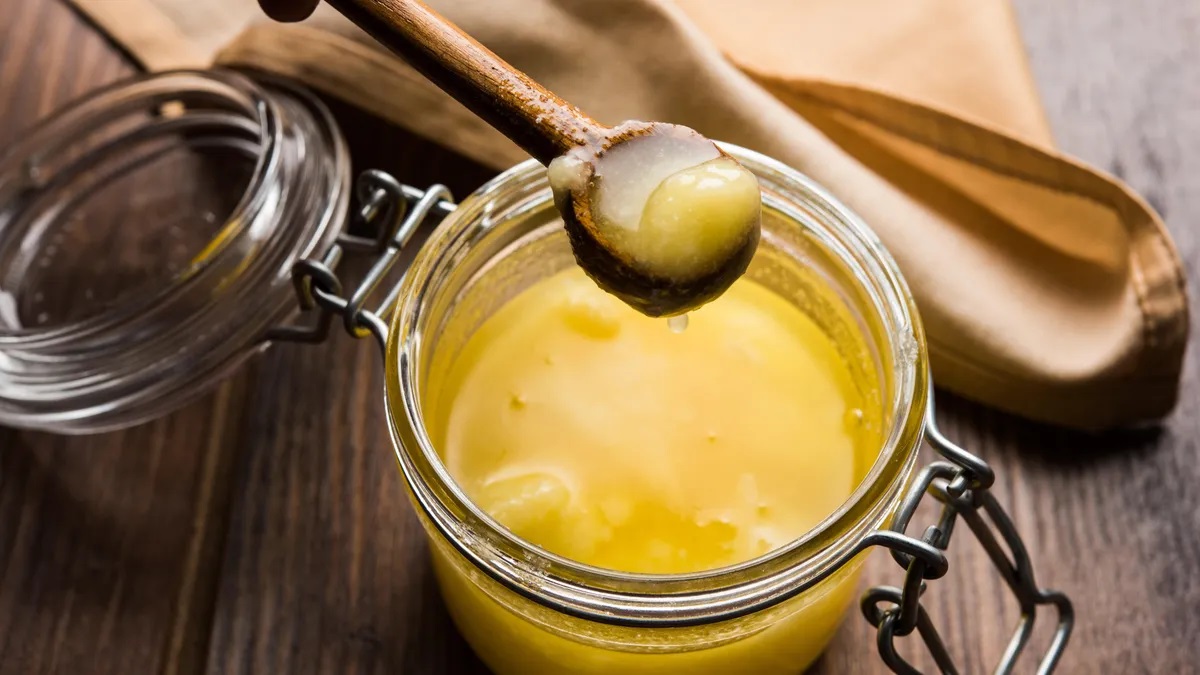
- Separate the Buttermilk: Once the butterfat has fully separated, you will notice a distinct clumping of butter. At this point, stop mixing and carefully pour off the buttermilk into a separate container. This buttermilk can be used in various recipes.
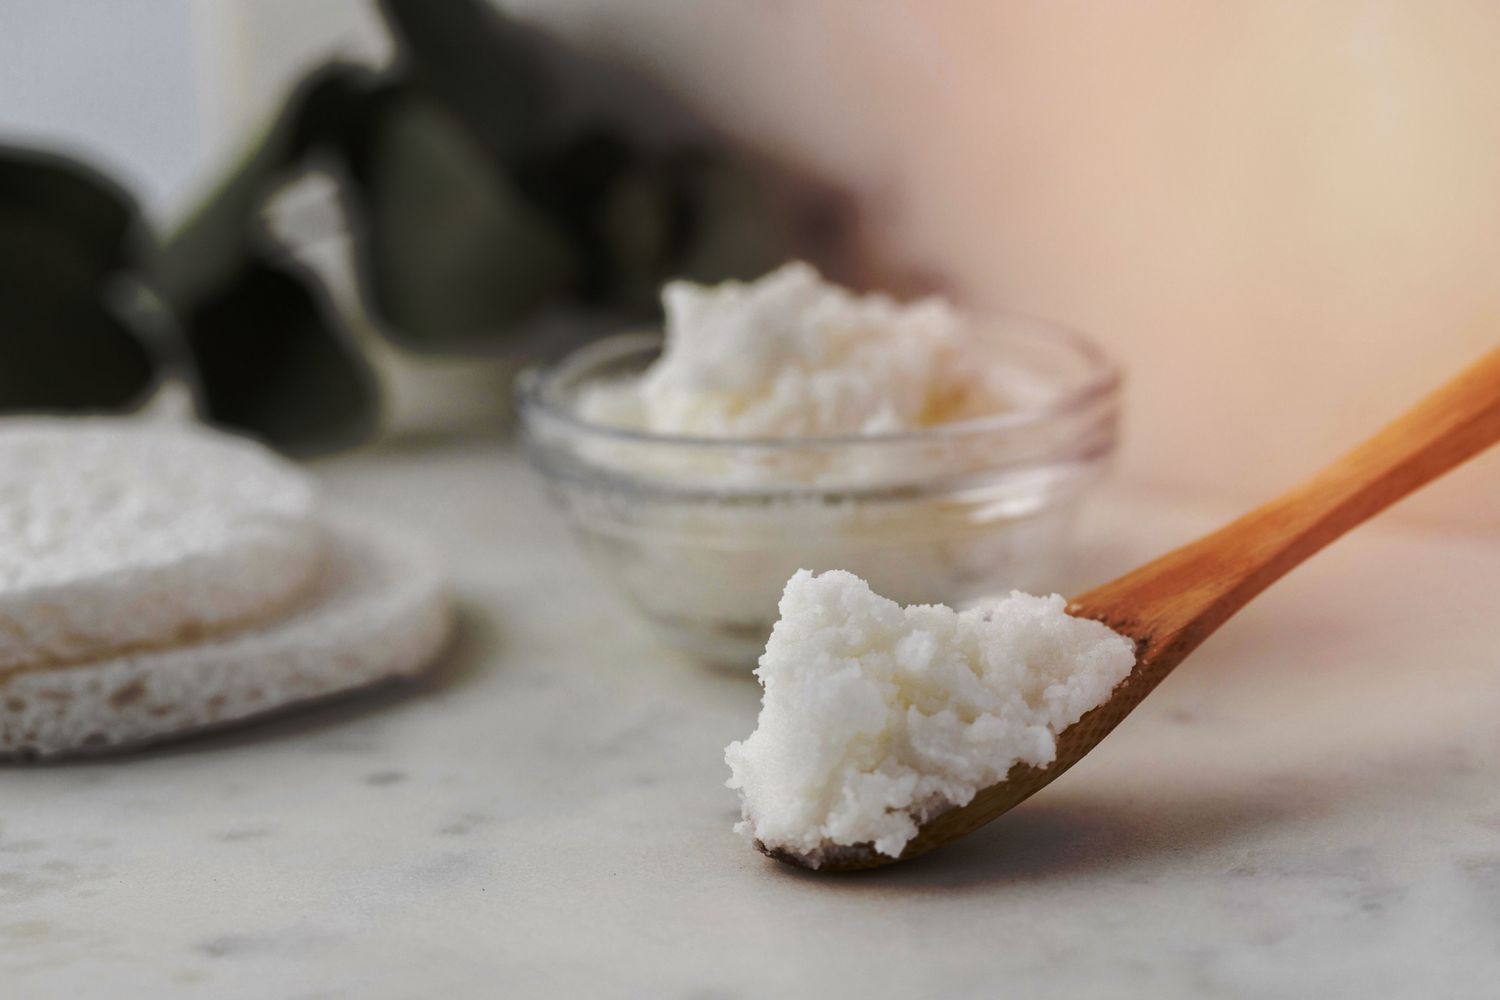
- Rinse the Butter: To remove any excess buttermilk and improve the shelf life of your homemade butter, rinse it under cold running water. Gently knead and squeeze the butter to ensure that all the remaining buttermilk is removed.
- Squeeze Out Excess Water: After rinsing, use a clean and dry kitchen towel or cheesecloth to squeeze out any remaining water from the butter. This step is vital as excess moisture can lead to spoilage.
- Your homemade butter is now ready to be shaped, salted, and stored. Read on to the next sections to learn how to complete the process.
Churning your own butter can be a satisfying and enjoyable experience. Not only will you have delicious homemade butter, but you’ll also gain a better understanding and appreciation for the process. Now that your butter is separated from the buttermilk, it’s time to move on to the next step – separating the buttermilk.
Separating the Buttermilk
After churning the cream, you will have a clump of butter that needs to be separated from the buttermilk. This step is essential to ensure the quality and preservation of your homemade butter. Here’s how you can easily separate the buttermilk from the butter:
- Using a wooden spoon or a spatula, gently press and squeeze the clump of butter to remove any excess liquid.
- Transfer the clump of butter to a clean and dry bowl, ensuring that there are no traces of buttermilk clinging to it.
- Fill another bowl or container with cold water.
- Submerge the clump of butter in the cold water and start kneading it gently. This will help to release any remaining buttermilk trapped within the butter.
- As you knead the butter, you will notice the water becoming cloudy. This is the buttermilk being released from the butter.
- Drain the cloudy water and repeat the process of submerging the butter in fresh cold water. Continue to knead and rinse the butter until the water remains clear, indicating that most of the buttermilk has been removed. This usually takes about 2-3 rinses.
- Once the butter is completely rinsed, squeeze out any excess water using a clean kitchen towel or cheesecloth. Ensure that the butter is as dry as possible to prevent spoilage.
By following these steps, you can effectively separate the buttermilk from your homemade butter, improving its shelf life and preventing any unwanted flavors or spoilage. Once you have separated the buttermilk, it’s time to move on to the next step – washing and salting the butter.
After shaping your homemade butter, wrap it tightly in wax paper or plastic wrap to prevent it from absorbing other flavors in the fridge. This will help maintain its freshness and flavor.
Washing and Salting the Butter
Washing and salting the butter is an important step in the process of making homemade butter. This step helps to remove any remaining buttermilk and adds flavor and preservation to the butter. Here’s how you can effectively wash and salt your homemade butter:
- Place the clump of butter on a clean surface or in a bowl.
- Pour a small amount of cold water over the butter.
- Using a clean wooden spoon or spatula, begin to mash and knead the butter. This process helps to release any remaining buttermilk in the butter.
- As you mash and knead the butter, you will notice the water becoming cloudy. This is a sign that the buttermilk is being washed out of the butter.
- Drain the cloudy water and repeat the process of pouring fresh cold water over the butter. Continue to mash and knead the butter until the water remains clear.
- Once the butter is thoroughly washed, it’s time to add salt (if desired). You can use either fine sea salt or kosher salt.
- Start by adding a small amount of salt (approximately 1/4 teaspoon per stick of butter) and gradually add more according to your taste preference. Remember, you can always add more salt later if needed, so it’s better to start with a smaller amount.
- Continue to mash and knead the butter, ensuring that the salt is evenly distributed. Taste the butter and adjust the salt level if necessary.
By washing and salting the butter, you remove any residual buttermilk and help to prolong its shelf life. The salt also acts as a natural preservative and enhances the flavor of the butter. Once you have washed and salted the butter, it’s time to shape and wrap it for storage.
Read more: How To Store Brown Butter
Shaping and Wrapping the Butter
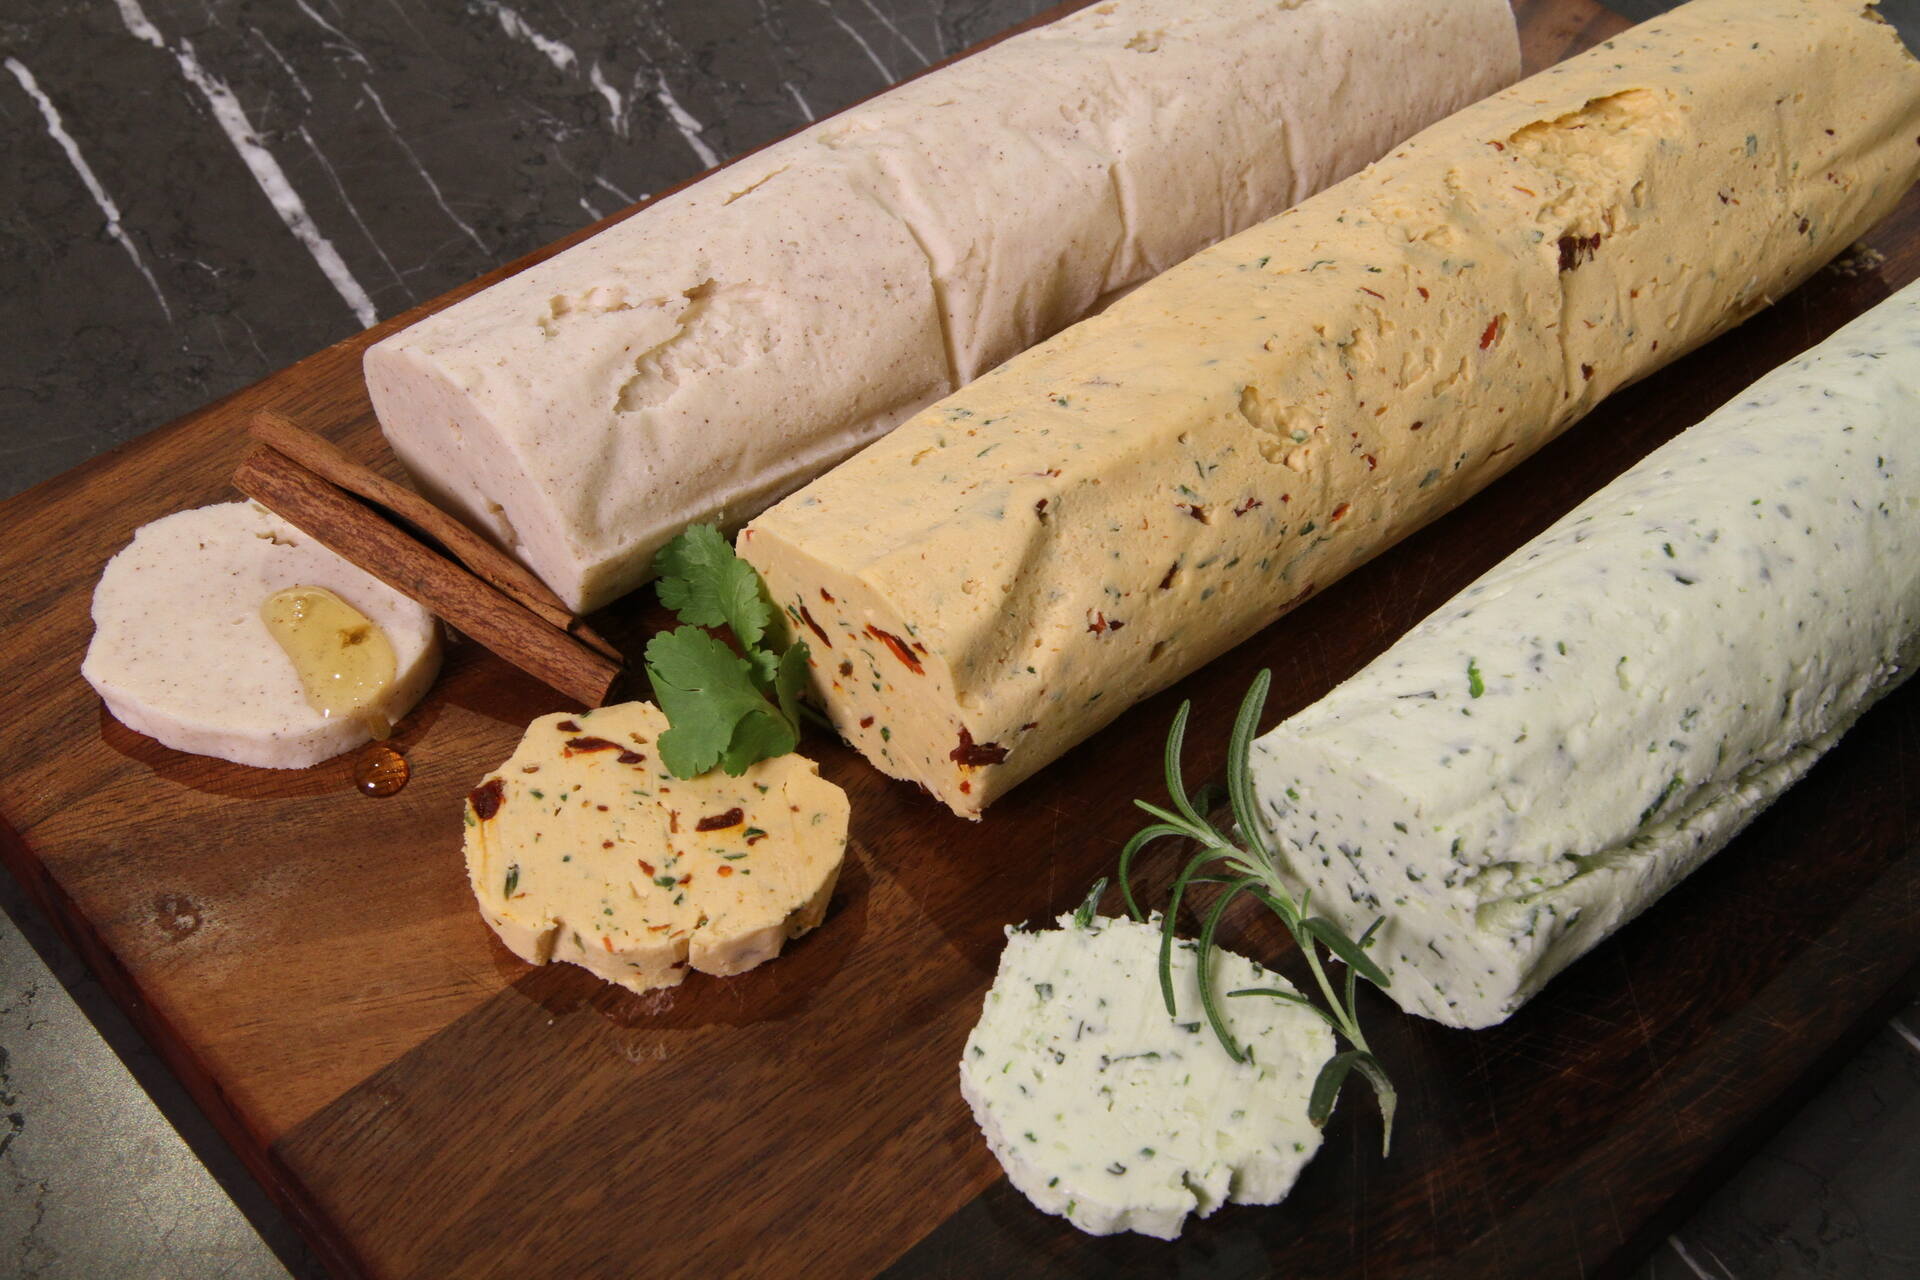
After washing and salting your homemade butter, the next step is to shape and wrap it for storage. Shaping the butter not only makes it more visually appealing but also helps to preserve its freshness. Here’s how you can shape and wrap your homemade butter:
- Place the butter on a clean surface or in a bowl.
- If you prefer, you can divide the butter into smaller portions depending on your needs. This allows you to easily use and store the butter as desired.
- Using a spatula or your hands, shape the butter into your desired form. You can create a traditional rectangular block or get creative and shape it into a decorative design.
- Once the butter is shaped, wrap it tightly in wax paper or parchment paper. This helps to protect the butter from exposure to air and potential odors in the refrigerator.
- If you prefer, you can also use plastic wrap or aluminum foil to wrap the butter. However, ensure that the butter is completely sealed and protected.
- Label the wrapped butter with the date of preparation, especially if you plan to store it for an extended period. This way, you can keep track of its freshness.
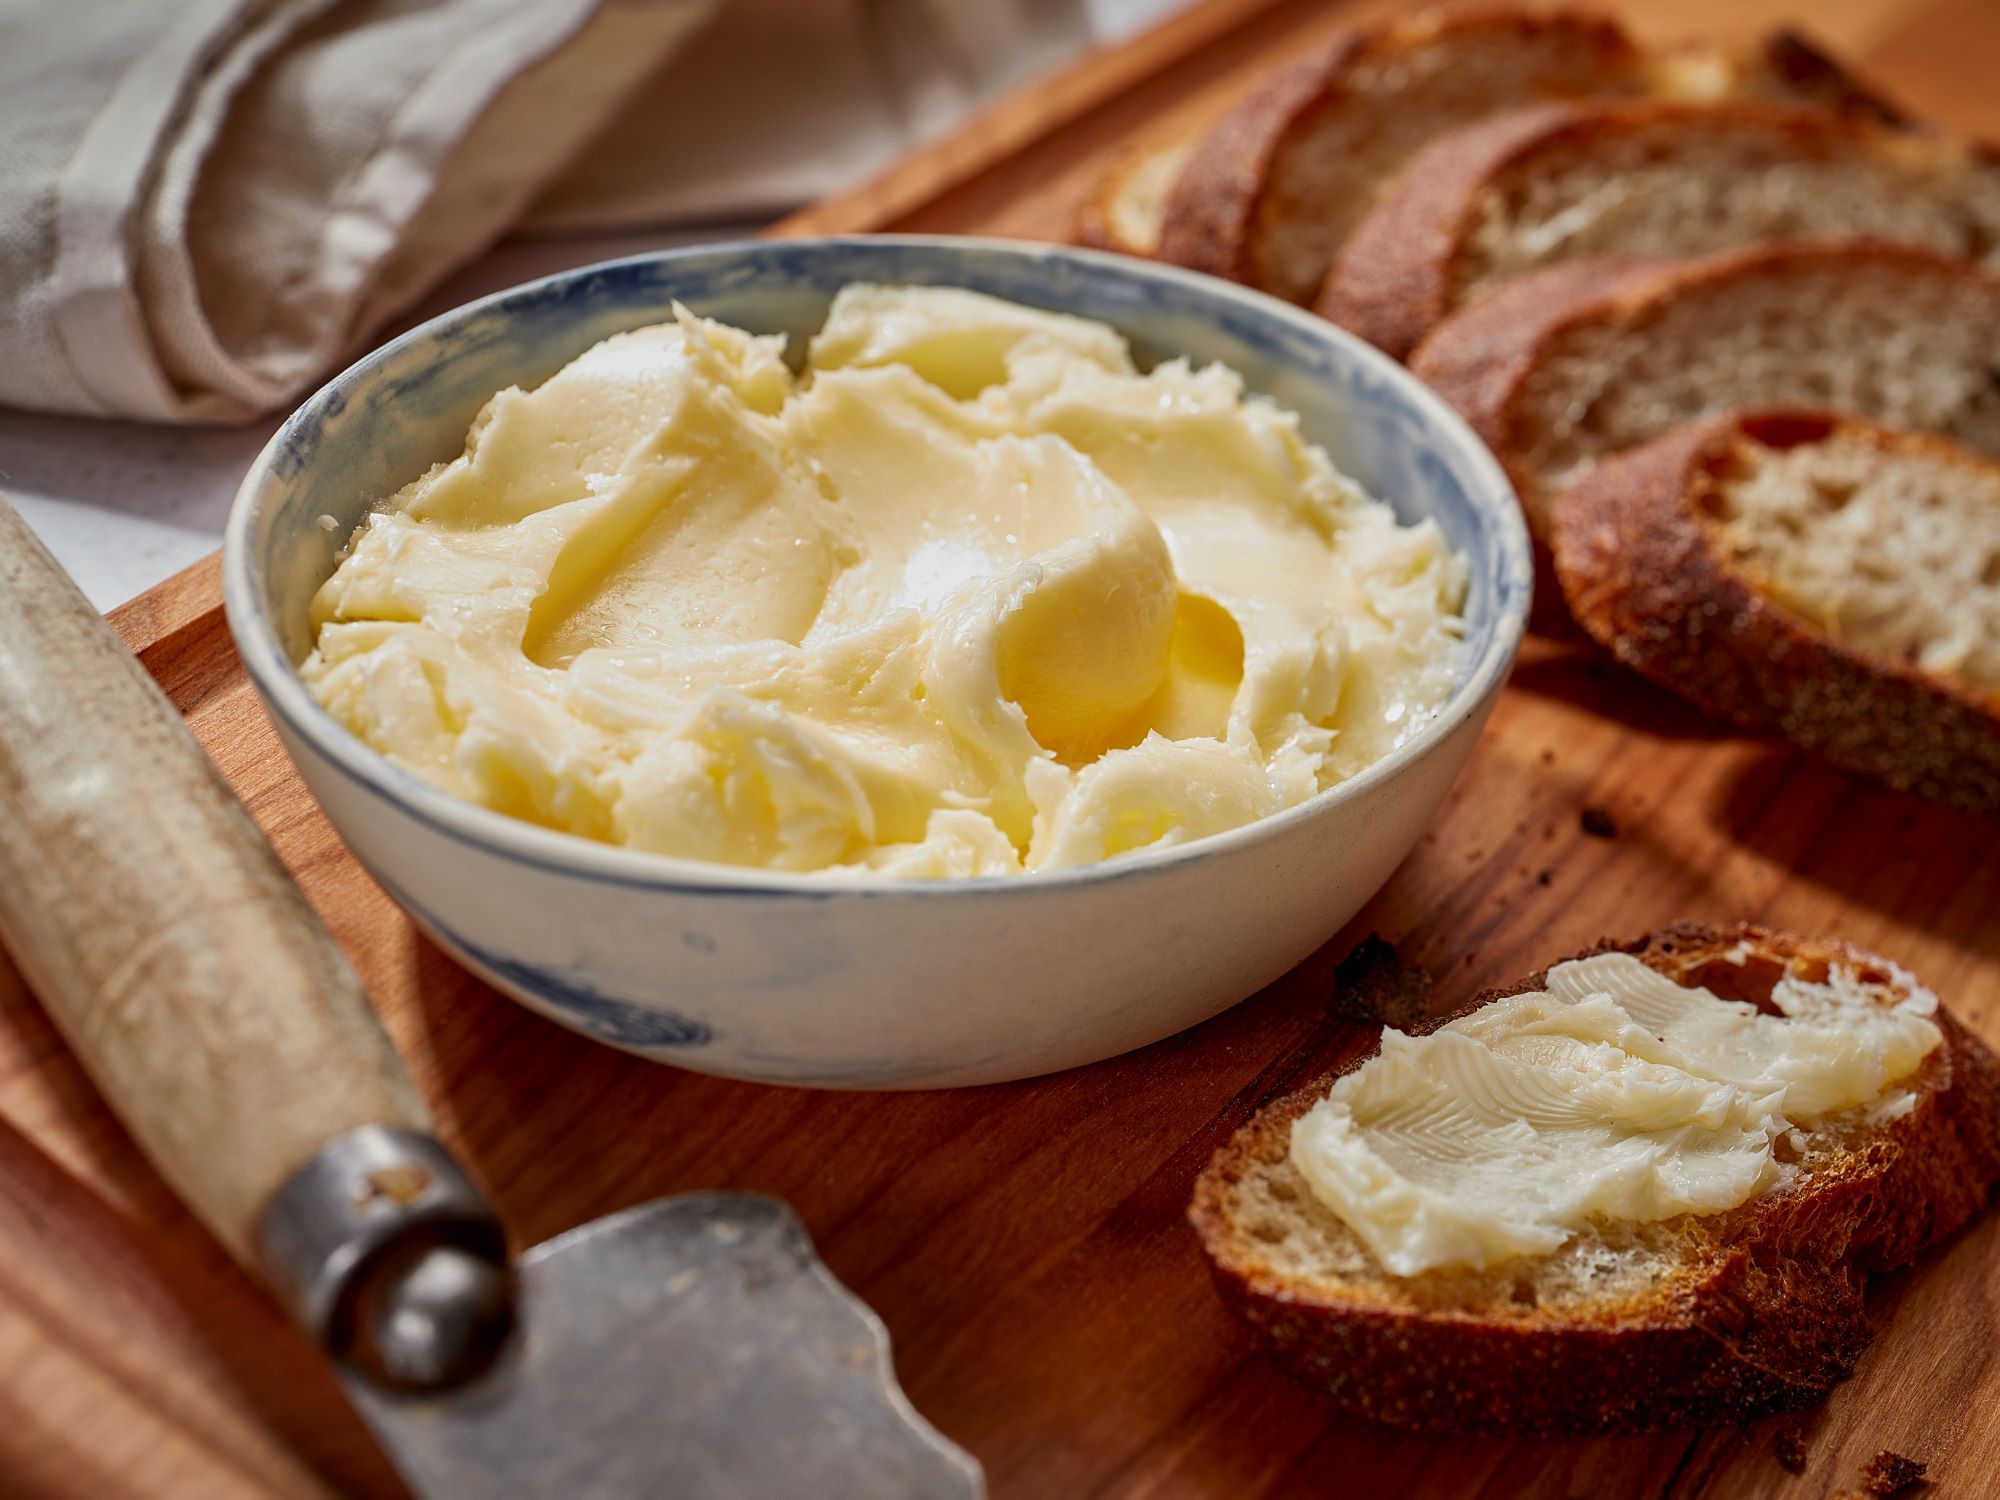
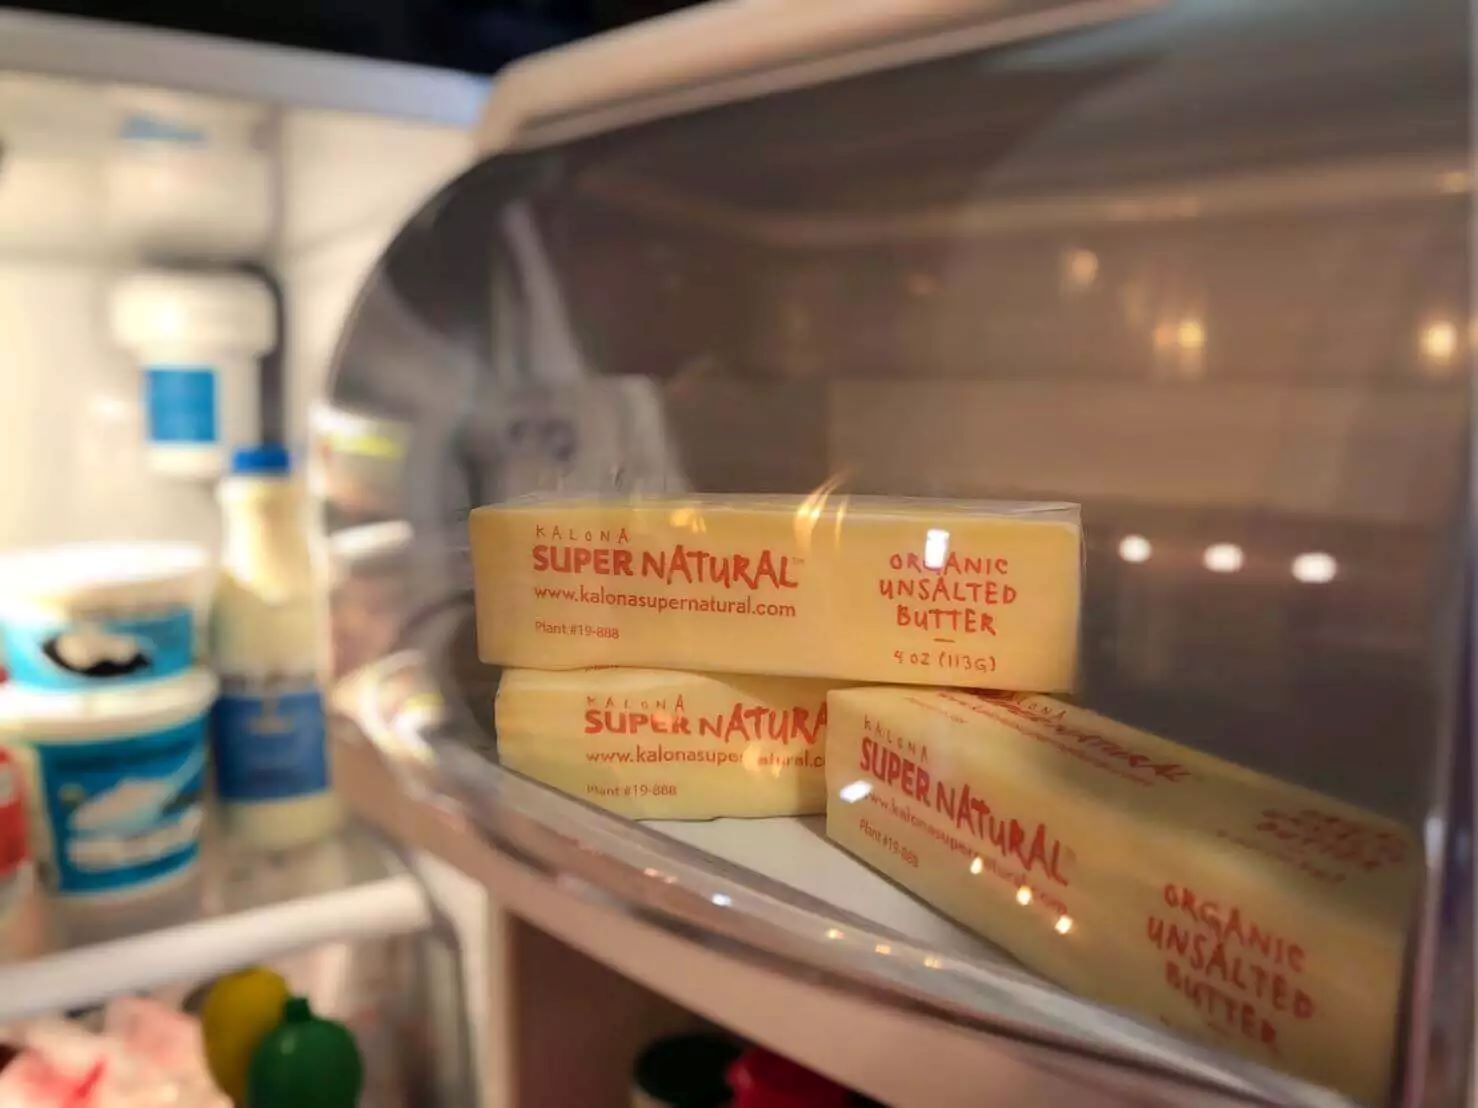
- Store the wrapped butter in the refrigerator to keep it firm and fresh. It can be stored for up to several weeks, depending on the freshness of the cream used.
By shaping and wrapping your homemade butter properly, you can maintain its quality and prevent it from absorbing any unwanted flavors from the refrigerator. This will ensure that your butter stays fresh and delicious for longer. Remember to store it in a cool and dry place in the refrigerator to preserve its texture and taste.
Storing Homemade Butter
Proper storage is crucial for maintaining the freshness and quality of your homemade butter. When stored correctly, homemade butter can stay fresh and flavorful for an extended period. Here are some tips on how to store your homemade butter:
- Refrigeration: Homemade butter should always be stored in the refrigerator. The cool temperature helps to preserve the texture and prevent the butter from melting or becoming rancid.
- Airtight Container: Store the wrapped butter in an airtight container or a butter dish with a tight-fitting lid. This provides an additional layer of protection against air, moisture, and odors in the refrigerator.
- Avoid Exposing to Air: Exposure to air can cause the butter to oxidize and develop off-flavors. Make sure that the container is sealed tightly to prevent air from entering.
- Away from Odorous Foods: Butter easily absorbs odors from strong-smelling foods. Keep the butter away from items like onions, garlic, and strong cheeses to maintain its natural flavor.
- Freezer Storage: If you have made a large batch of homemade butter or won’t be using it within a few weeks, you can freeze it for long-term storage. Wrap the butter tightly in freezer-safe wrap or place it in a freezer bag to protect it from freezer burn and maintain its flavor.
- Label and Date: Always label your homemade butter with the date of preparation. This way, you can keep track of its age and use the oldest ones first.
- Butter Keeper: If you prefer to keep your butter at room temperature for spreading, you can use a butter keeper or a butter dish with a lid that keeps the butter covered. However, take care to replenish the butter and clean the dish regularly to avoid any risks of contamination.
By following these storage tips, you can enjoy your homemade butter at its best for an extended period. Remember to check the freshness of the butter regularly and discard any butter that shows signs of spoilage or off-flavors.
Now that you know how to store your homemade butter properly, you can enjoy the rich and creamy goodness for a long time. Experiment with different flavors and recipes using your homemade butter, and savor the satisfaction of creating this delicious ingredient from scratch.
Conclusion
Making homemade butter is a rewarding and enjoyable process that allows you to have control over the quality and taste of this versatile ingredient. By following the step-by-step guide outlined in this article, you can churn your own butter using high-quality cream and easily separate the butterfat from the buttermilk. Washing and salting the butter adds flavor and improves its shelf life, while shaping and wrapping it ensures its freshness and protection. By storing your homemade butter in the refrigerator and following proper storage techniques, you can enjoy its rich and creamy goodness for longer periods.
Homemade butter not only tastes better than store-bought alternatives, but it is also free from any additives or preservatives. Plus, the process of making butter at home is a great way to connect with traditional cooking methods and develop a deeper appreciation for the food you consume.
So why not give homemade butter a try? Experience the satisfaction of creating a delicious ingredient from scratch and elevate your culinary creations to new heights. Whether you use it in baking, as a spread, or to add richness to your favorite dishes, homemade butter will undoubtedly enhance the flavors and make each bite a delight.
Remember, experimenting with different ingredients, flavors, and shapes is part of the fun. So, get creative and have fun in your butter-making journey. Enjoy the process, savor the results, and spread the homemade goodness with family and friends.
Frequently Asked Questions about How To Store Homemade Butter
Was this page helpful?
At Storables.com, we guarantee accurate and reliable information. Our content, validated by Expert Board Contributors, is crafted following stringent Editorial Policies. We're committed to providing you with well-researched, expert-backed insights for all your informational needs.


0 thoughts on “How To Store Homemade Butter”