Articles
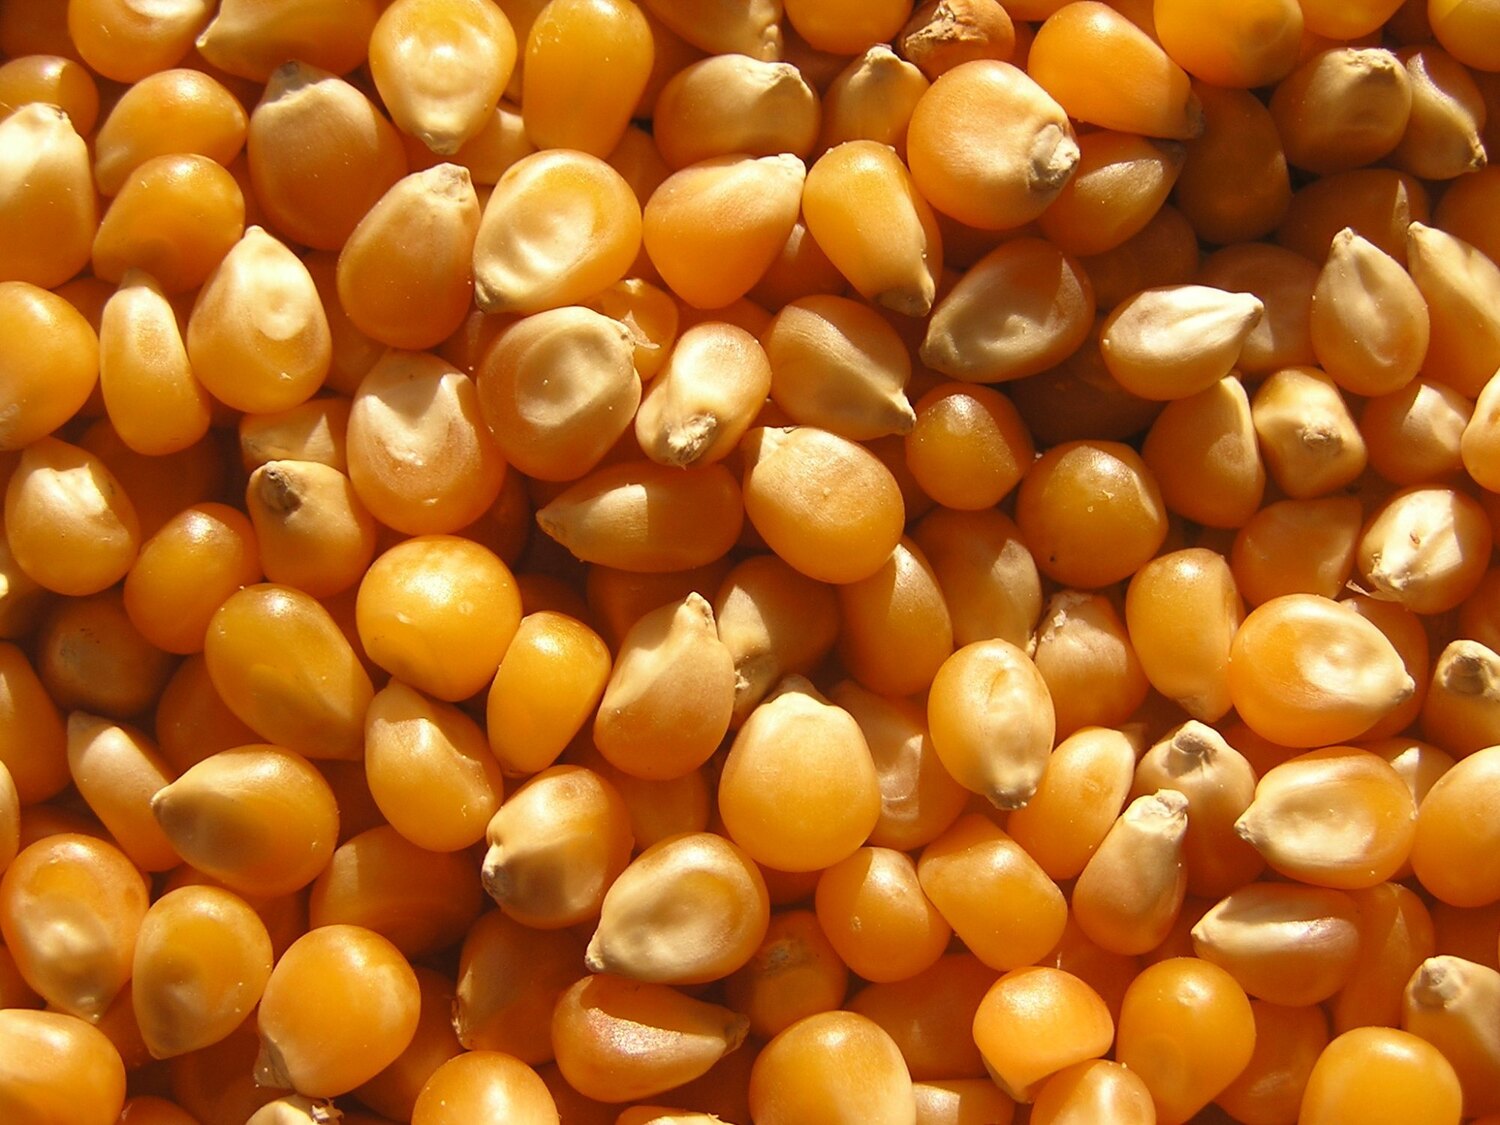
How To Store Corn Kernels
Modified: December 7, 2023
Learn the best methods for storing corn kernels to keep them fresh and flavorful. Read our informative articles and keep your corn tasting delicious all year round.
(Many of the links in this article redirect to a specific reviewed product. Your purchase of these products through affiliate links helps to generate commission for Storables.com, at no extra cost. Learn more)
Introduction
Welcome to our guide on how to store corn kernels! Whether you have a bountiful harvest from your backyard garden or you simply couldn’t resist picking up a large bag of fresh corn from the local farmers market, knowing how to properly store corn kernels is crucial to preserving their freshness and flavor.
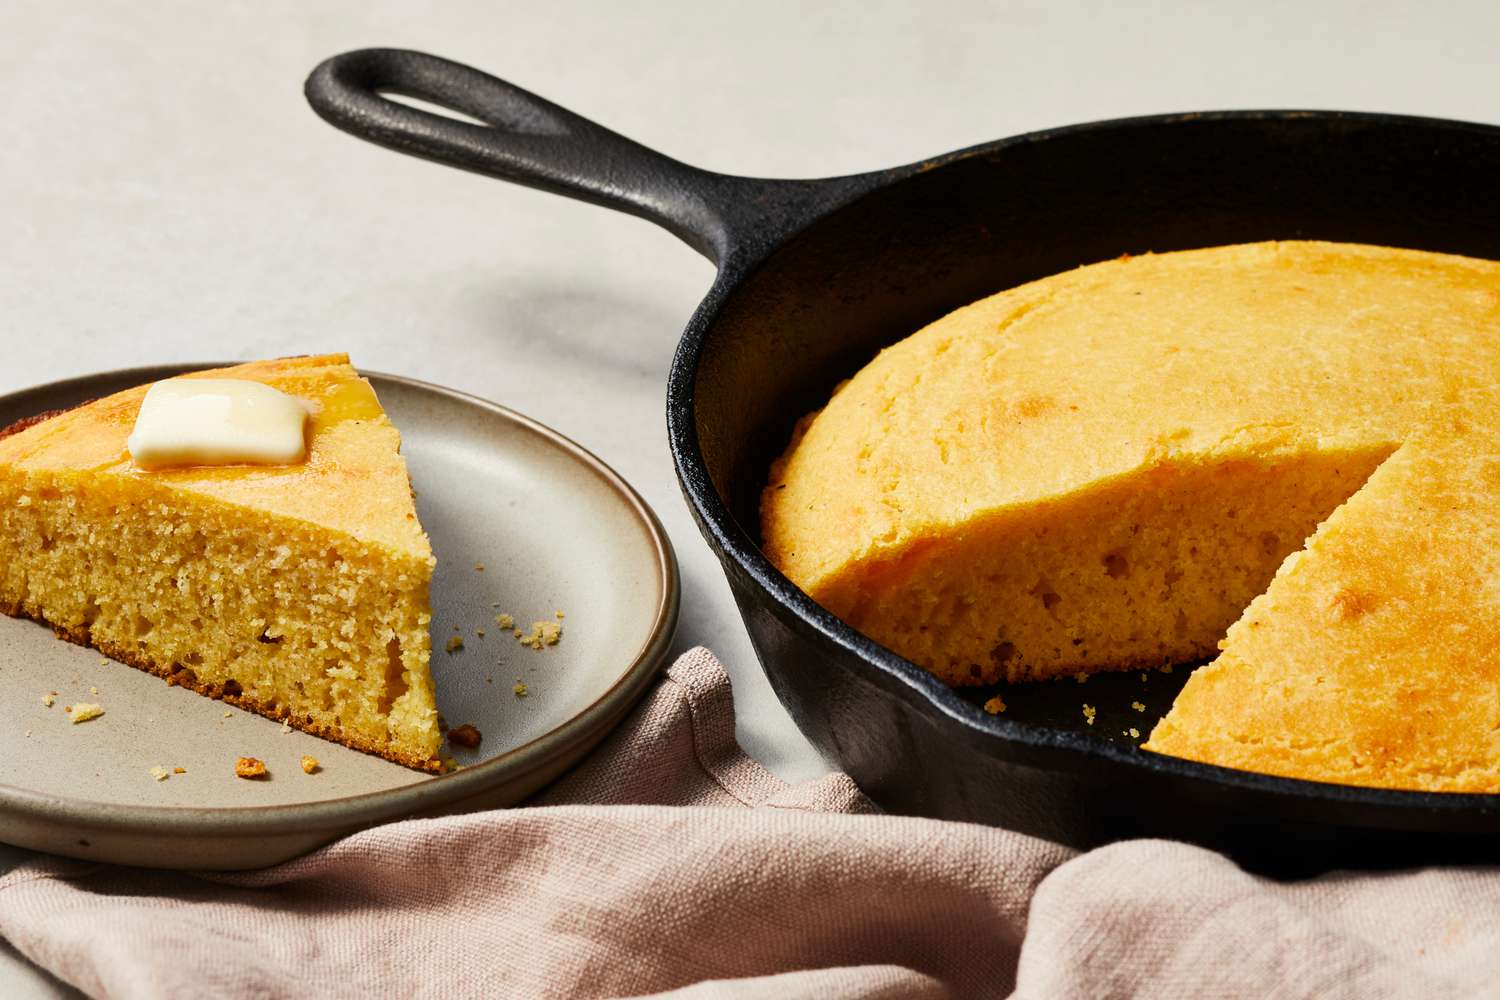
Corn is a versatile and delicious vegetable that can be enjoyed in a variety of dishes, from salads and stir-fries to soups and casseroles. By properly storing corn kernels, you can ensure that you have a ready supply of this tasty ingredient throughout the year.
In this comprehensive article, we will walk you through the step-by-step process of storing corn kernels, from harvesting to freezing and packaging. By following our expert tips and techniques, you can prolong the shelf life of your corn kernels and enjoy them for months to come.
So, let’s get started on preserving the goodness of corn!
Key Takeaways:
- Preserve the Freshness: Harvest, shuck, blanch, and freeze corn kernels to lock in their flavor and texture. Proper packaging and labeling ensure easy access for delicious recipes year-round.
- Long-Term Enjoyment: Store frozen corn kernels in a well-maintained freezer, rotating stock and monitoring temperature. Enjoy the convenience of having homegrown or farm-fresh corn available for up to 12 months.
Read more: How To Store Corn
Step 1: Harvesting Corn
The first step in storing corn kernels is to harvest them at the right time. Timing is crucial to ensure that the corn is at its peak freshness and flavor. Here’s how to properly harvest your corn:
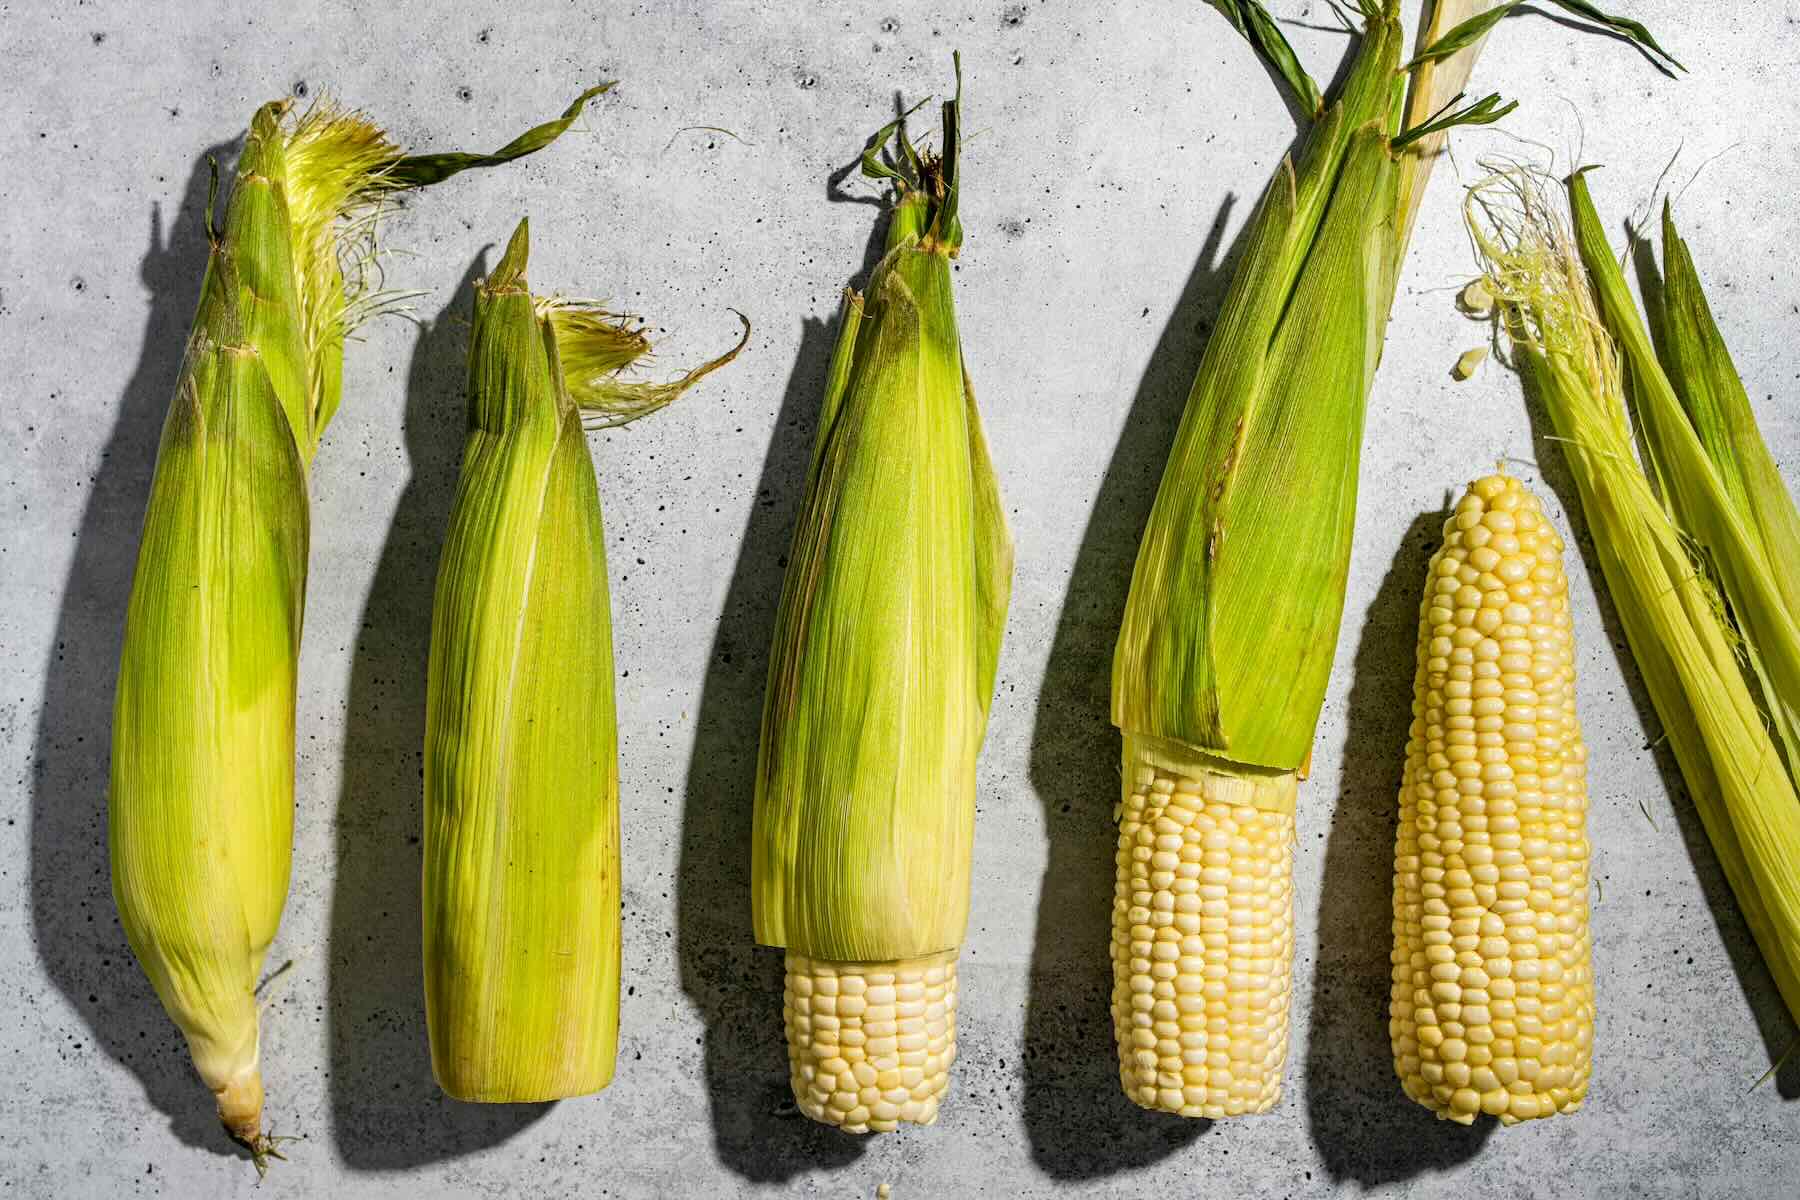
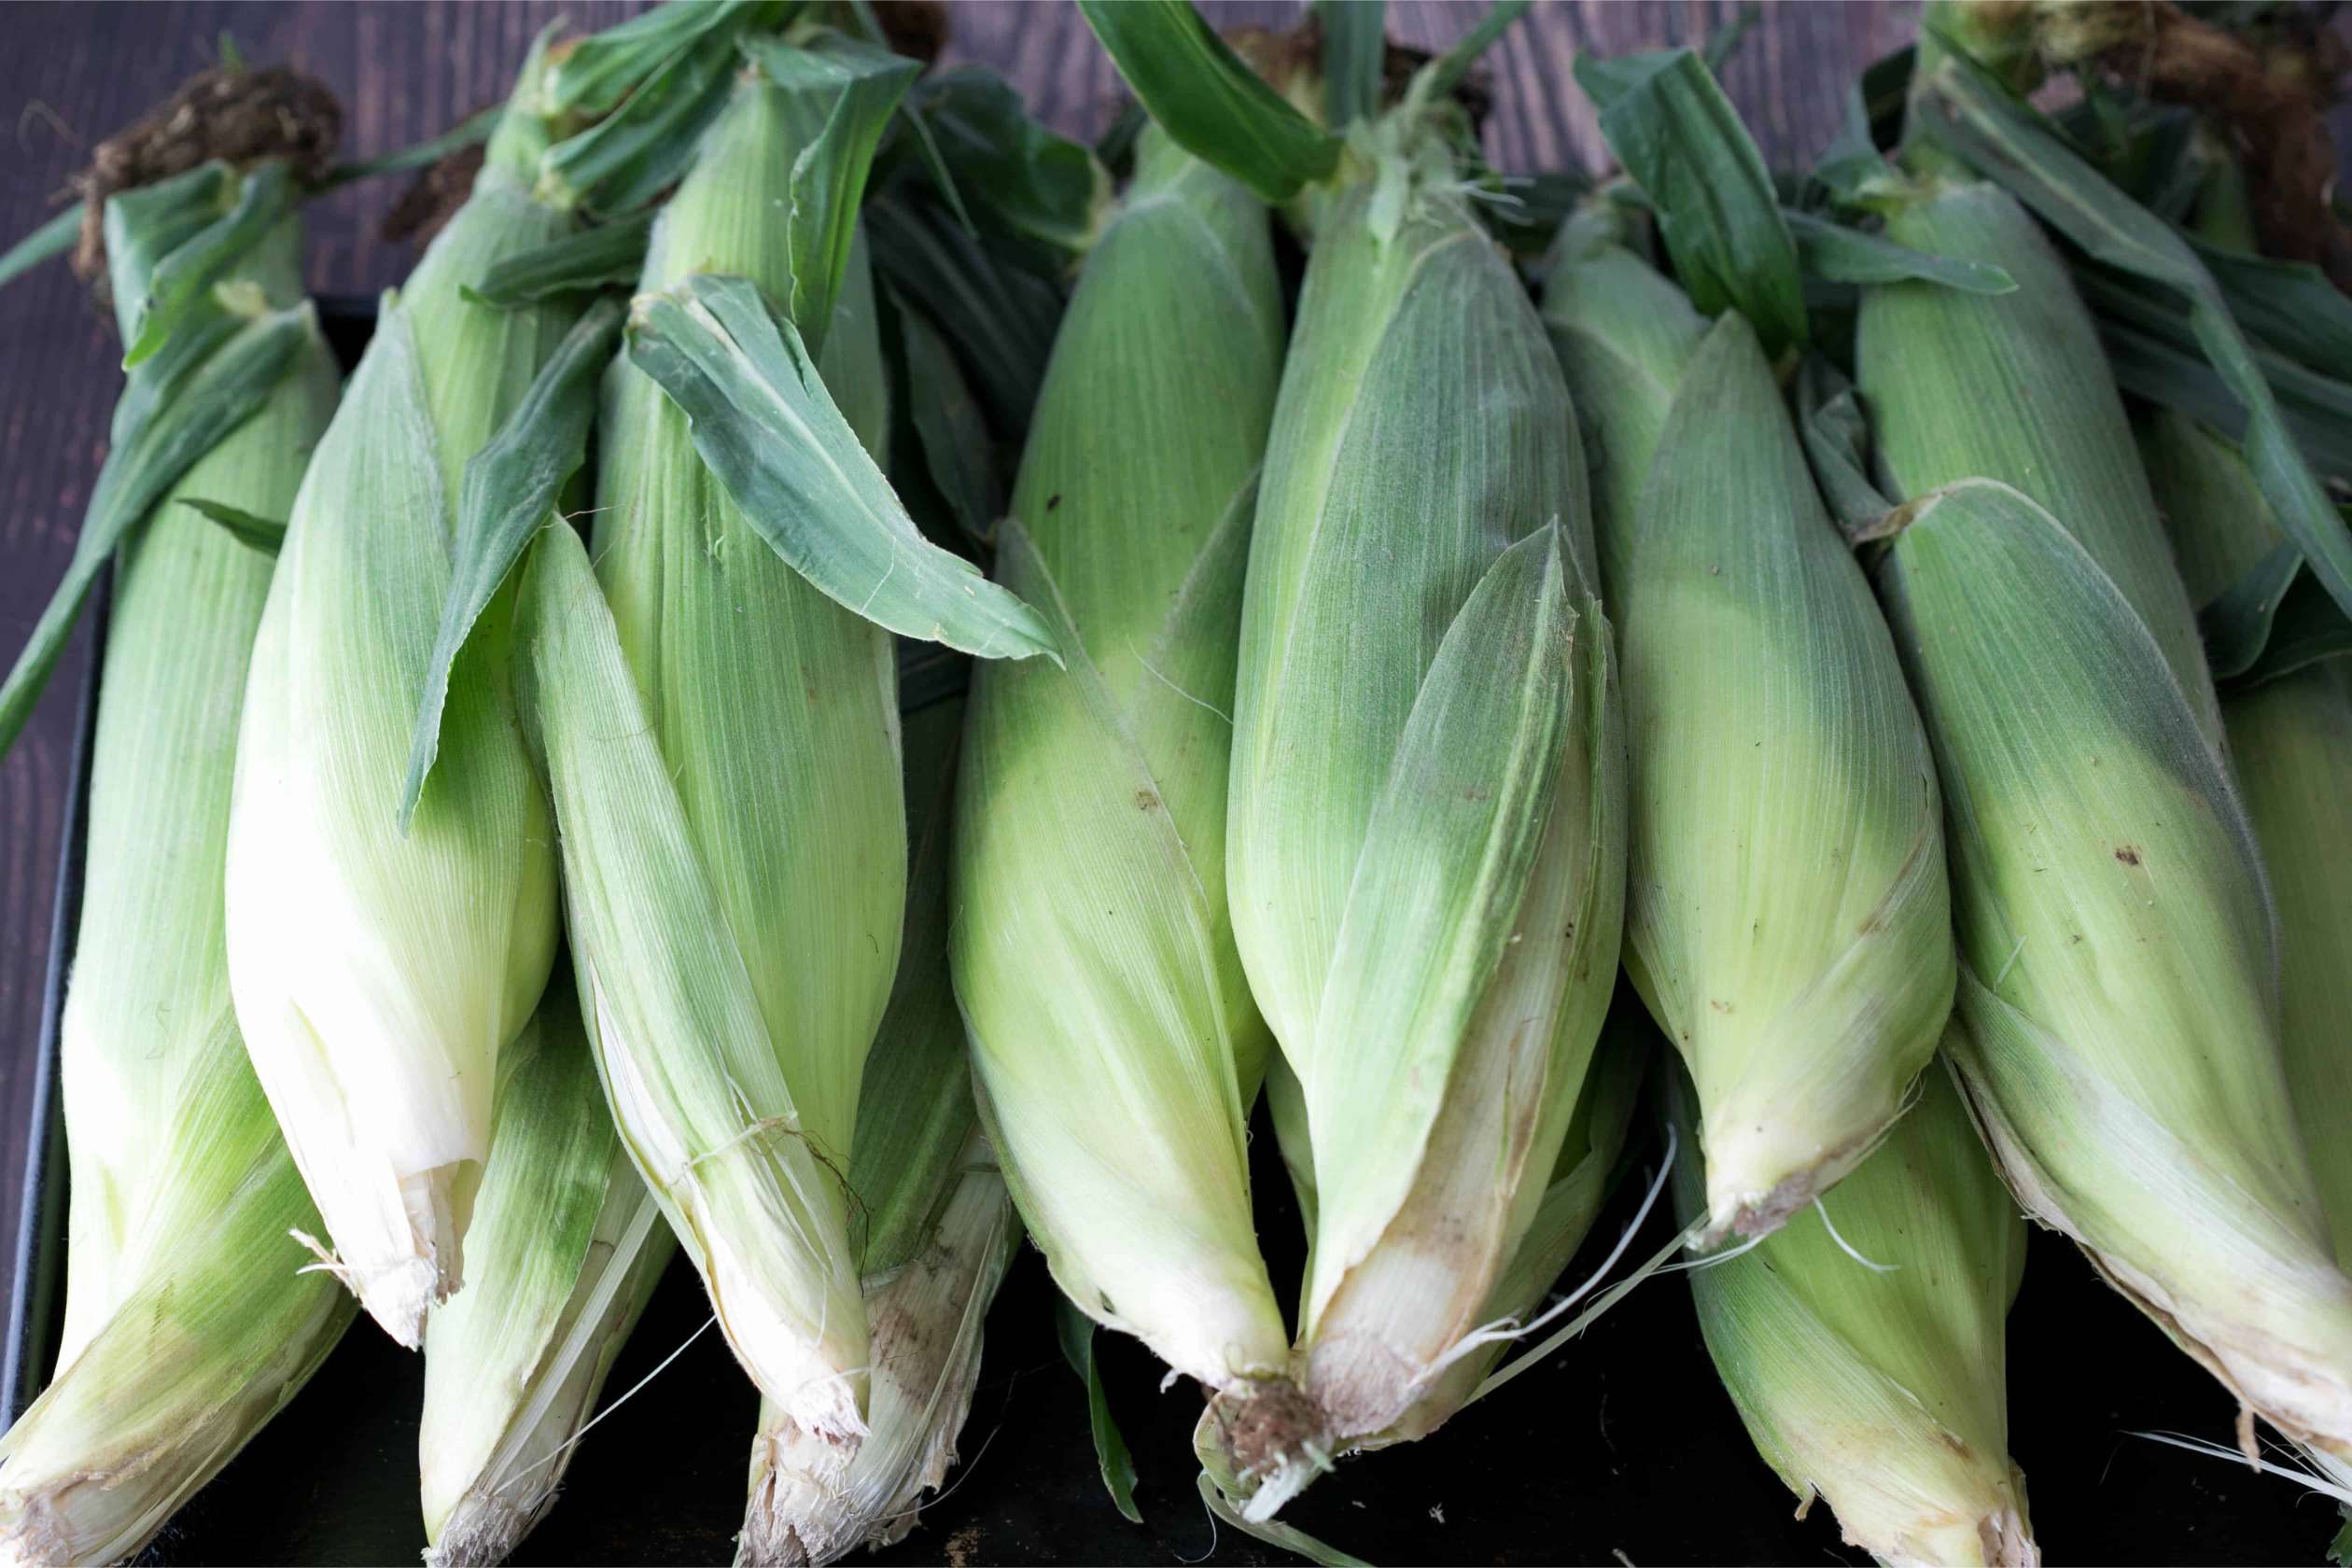
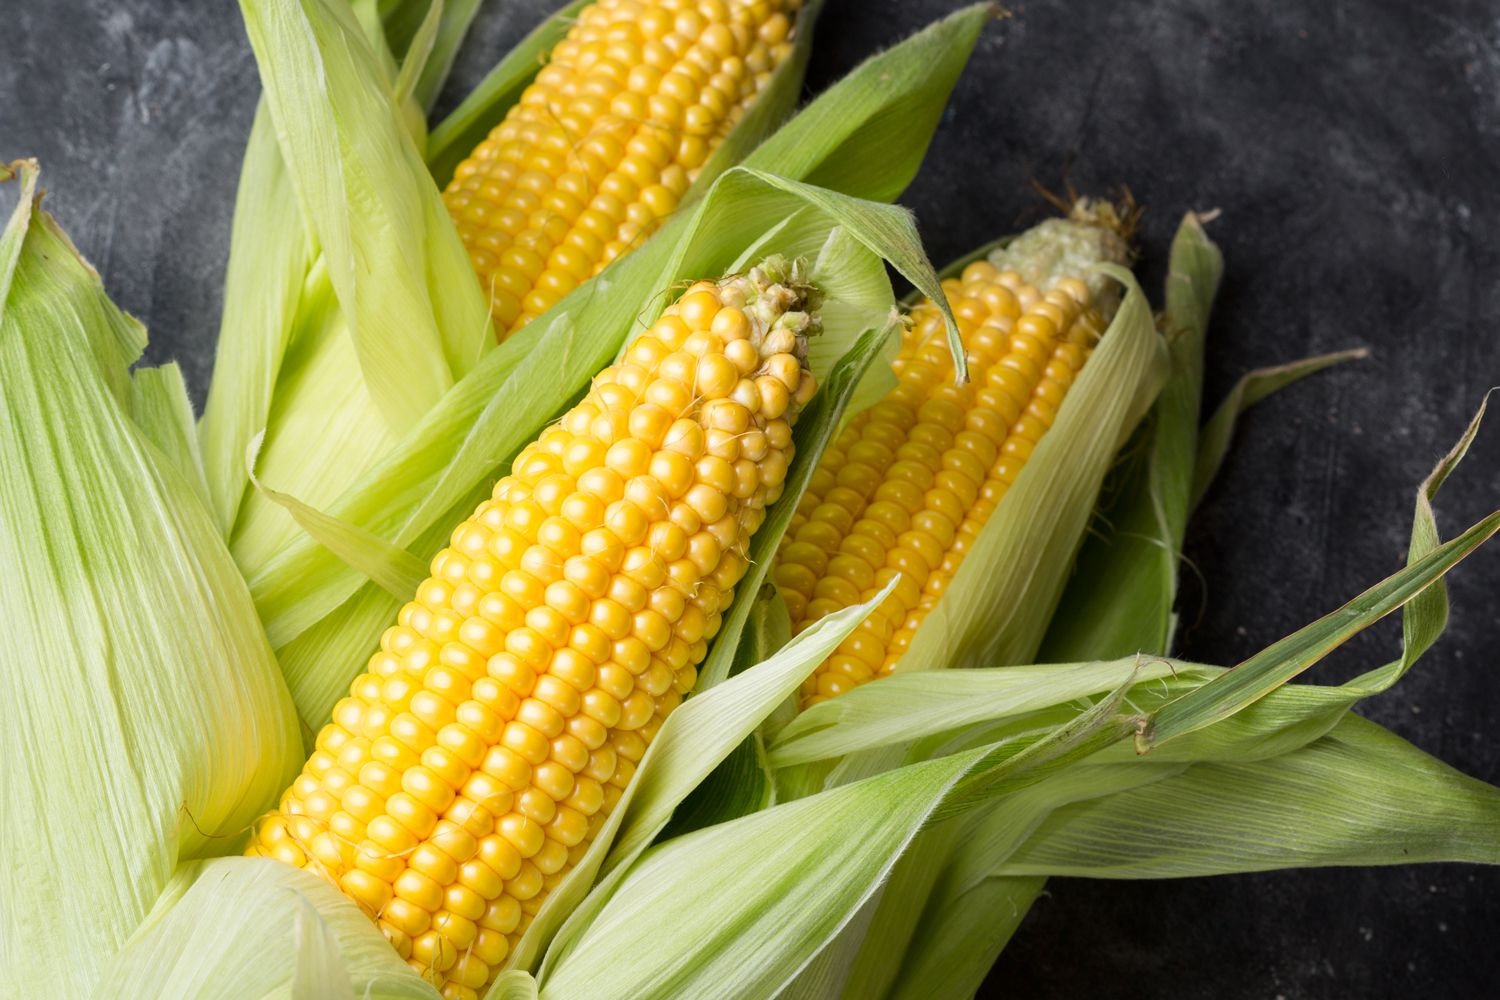
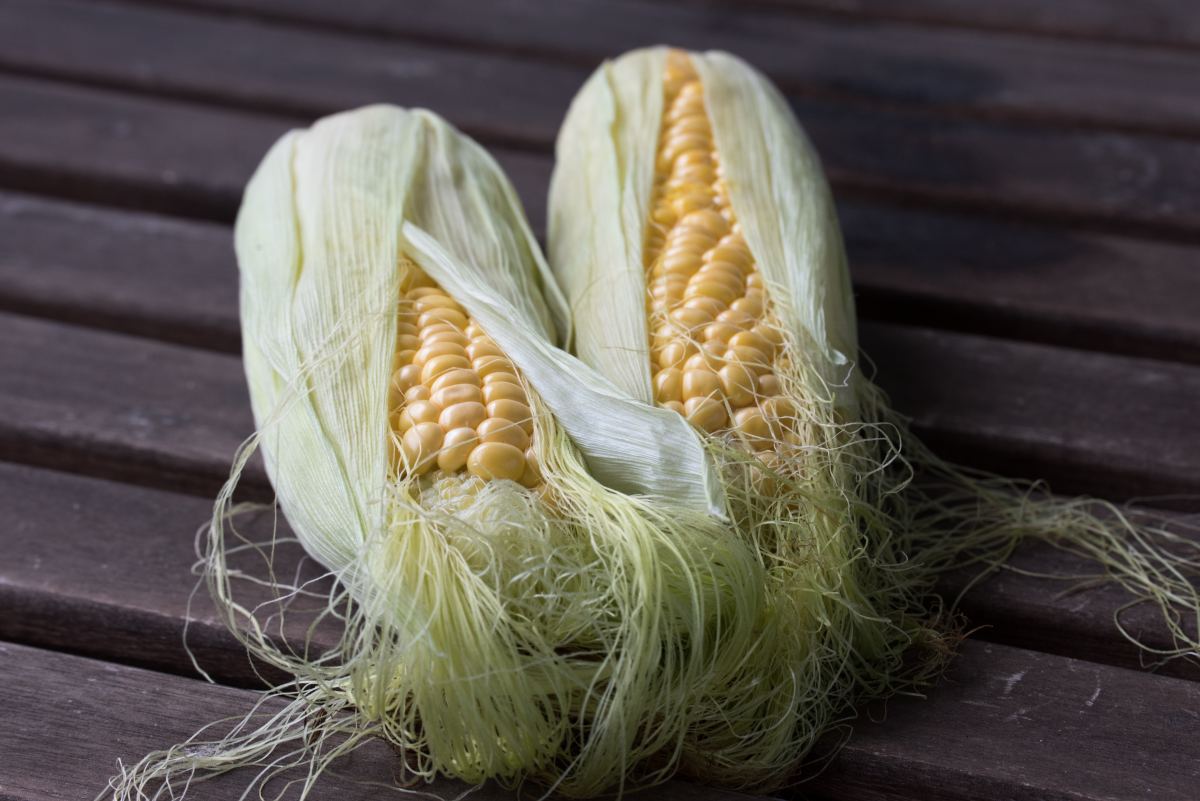
- Check for maturity: Corn is ready to be harvested when the husks are fully filled out and the kernels are plump and milky. You can also do a thumbnail test by pressing your thumbnail into a kernel – if the juice is creamy and milky, the corn is ripe.
- Choose the best time: It’s best to harvest corn early in the morning when the temperatures are cooler. This helps to preserve the quality of the corn and prevent it from drying out.
- Use a sharp knife: When harvesting corn, use a sharp knife to cut the stalks about 1 inch above the base of the ears. Make sure to cut straight across to avoid damaging the kernels.
- Harvest selectively: If some ears of corn are not fully matured, leave them on the stalks and harvest them later when they are ready. This way, you can ensure that you have the best quality corn for storage.
- Remove the husks: Once you have harvested the corn, carefully remove the husks and silks. Make sure to remove any damaged or spoiled kernels as well.
By following these steps, you can harvest your corn at the optimum time and ensure that you have the best quality kernels for storage. Now that you have harvested your corn, it’s time to move on to the next step: shucking and cleaning!
Step 2: Shucking and Cleaning
After harvesting your corn, the next step in the storage process is shucking and cleaning the ears. This helps to remove any dirt, debris, and unwanted husks, ensuring that your corn kernels are clean and ready for storage. Follow these steps:
- Find a suitable workspace: Choose a clean and spacious area where you can comfortably work on shucking the corn. A table or countertop covered with a clean towel or newspaper works well.
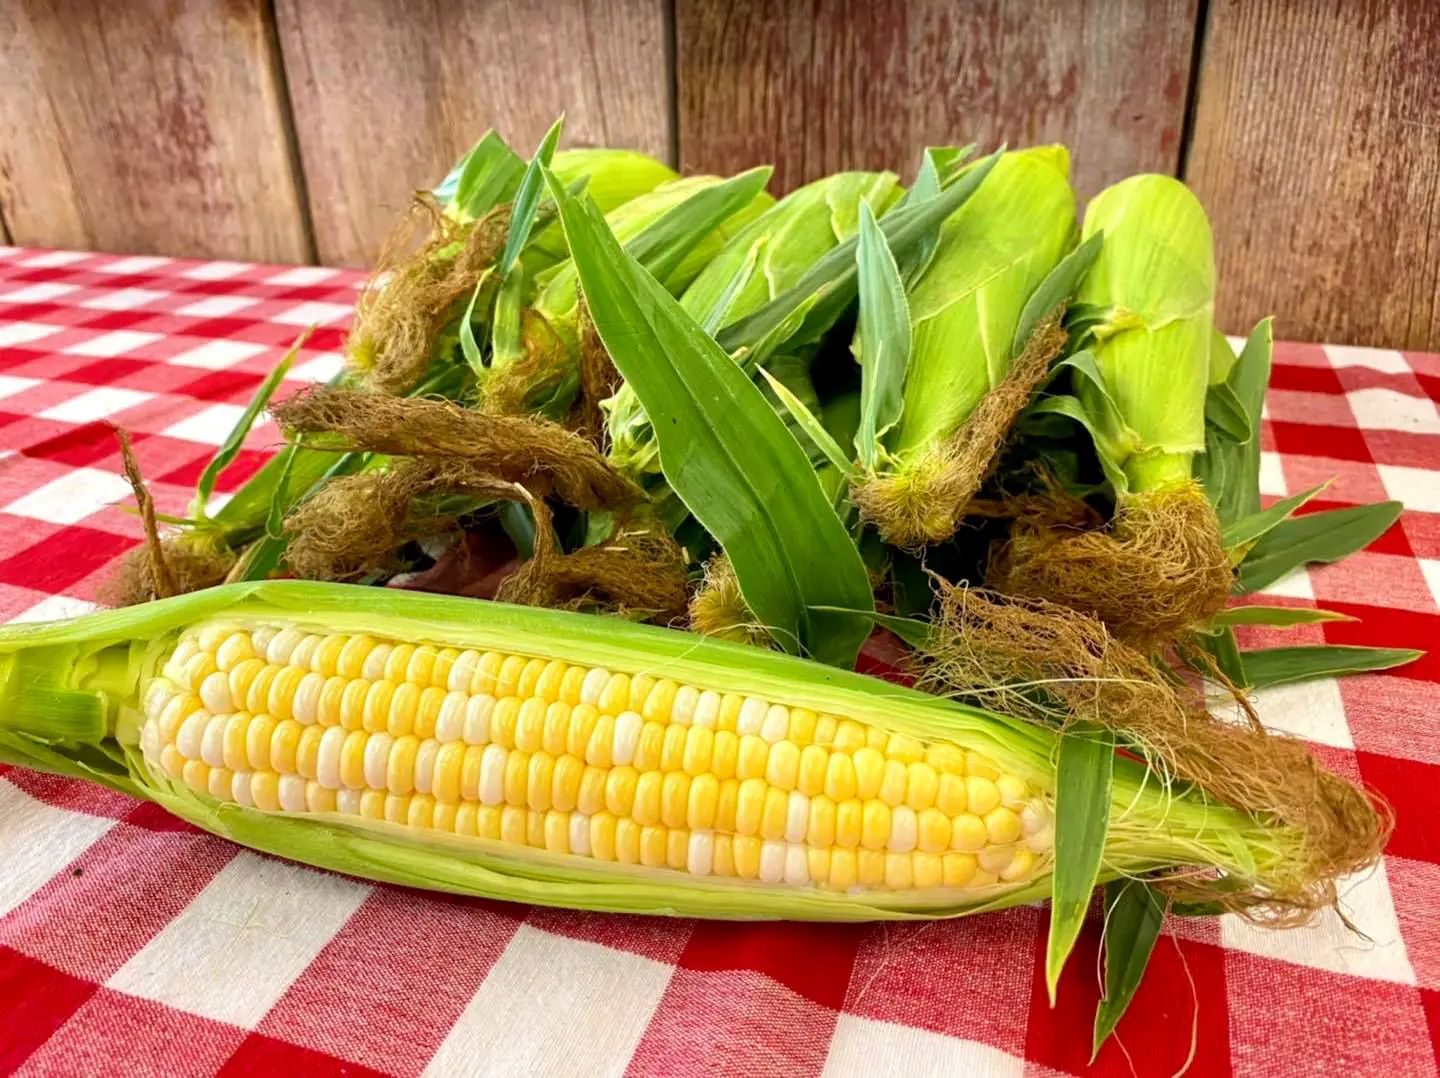
- Shuck the corn: Start by removing the outer husks of the corn ears. Gently pull the husks downwards towards the stalk, peeling them off completely. Make sure to remove any remaining silks as well.
- Inspect for any damage: As you shuck the corn, carefully examine the ears for any signs of damage, such as mold, pests, or rot. Discard any ears that show signs of spoilage or are not in optimal condition.
- Rinse the corn: Once you have shucked the corn, rinse the ears under cool running water to remove any remaining silks or debris. Use a soft brush or your hands to gently scrub the kernels if needed.
- Dry the corn: After rinsing, pat the ears dry with a clean towel or allow them to air-dry for a few minutes. It’s important to ensure that the corn is completely dry before moving on to the next step to prevent moisture from affecting the storage quality.
By shucking and cleaning the corn, you remove any unwanted materials and ensure that the kernels are fresh and ready for further processing. Now that your corn is clean, it’s time to move on to the next step: blanching the corn kernels to preserve their color and texture.
Step 3: Blanching the Corn Kernels
Blanching is an essential step in the corn kernel storage process as it helps to preserve the color, texture, and flavor of the kernels. Blanching involves briefly cooking the corn in boiling water and then quickly cooling it down. Here’s how to blanch your corn kernels:
- Boil a pot of water: Fill a large pot with water and bring it to a rolling boil. Make sure you have enough water to fully submerge all the corn ears.
- Prepare an ice bath: While the water is boiling, fill a large bowl or sink with ice water. This will be used to cool the corn quickly after blanching.
- Blanch the corn: Carefully lower the corn ears into the boiling water, ensuring that they are fully submerged. Allow the corn to cook for 3-4 minutes.
- Remove and cool: Using tongs or a slotted spoon, carefully remove the corn ears from the boiling water and immediately transfer them to the ice bath. Let them sit in the ice bath for the same amount of time as they were blanched.
- Drain and pat dry: After the corn has cooled down, remove them from the ice bath and drain any excess water. Pat dry with a clean towel to remove any remaining moisture.
Blanching helps to deactivate enzymes that can cause the corn kernels to deteriorate during storage. It also helps to maintain the vibrant color and crispness of the kernels. Once you have blanched the corn, it’s time to move on to the next step: cooling and draining.
Step 4: Cooling and Draining
After blanching the corn kernels, it’s important to cool them down and remove any excess water before moving on to the next step of the storage process. This step ensures that the corn kernels retain their texture and minimize the risk of freezer burn. Here’s how to properly cool and drain the corn kernels:
- Transfer the corn kernels: Gently remove the corn ears from the ice bath and place them on a clean towel or a wire rack to allow excess water to drain off.
- Air-dry the kernels: Let the corn kernels air-dry for about 10-15 minutes. This will help to remove any remaining moisture on the kernels.
- Pat dry if necessary: If there is still moisture on the kernels after air-drying, lightly pat them dry with a clean towel. It’s important to ensure that the kernels are as dry as possible to prevent freezer burn.
- Inspect for any moisture: Take a moment to inspect the corn kernels and make sure there are no visible droplets of water. Any excess moisture can lead to ice crystals forming during freezing, which can affect the quality of the kernels.
Cooling and draining the corn kernels is a crucial step to remove excess moisture before freezing. By ensuring the kernels are properly dried, you can prolong their shelf life and maintain their flavor and texture. Now that you have cooled and drained the corn kernels, it’s time to move on to the next step: freezing.
Store corn kernels in an airtight container or resealable bag in the refrigerator for up to 5 days. For longer storage, blanch the kernels and freeze them in airtight containers for up to 6 months.
Read more: How To Store Popcorn Kernels Long Term
Step 5: Freezing the Corn Kernels
Freezing is the primary method to store corn kernels for an extended period. By freezing the corn, you can lock in freshness and preserve the flavor and quality of the kernels. Here’s how to properly freeze your corn kernels:
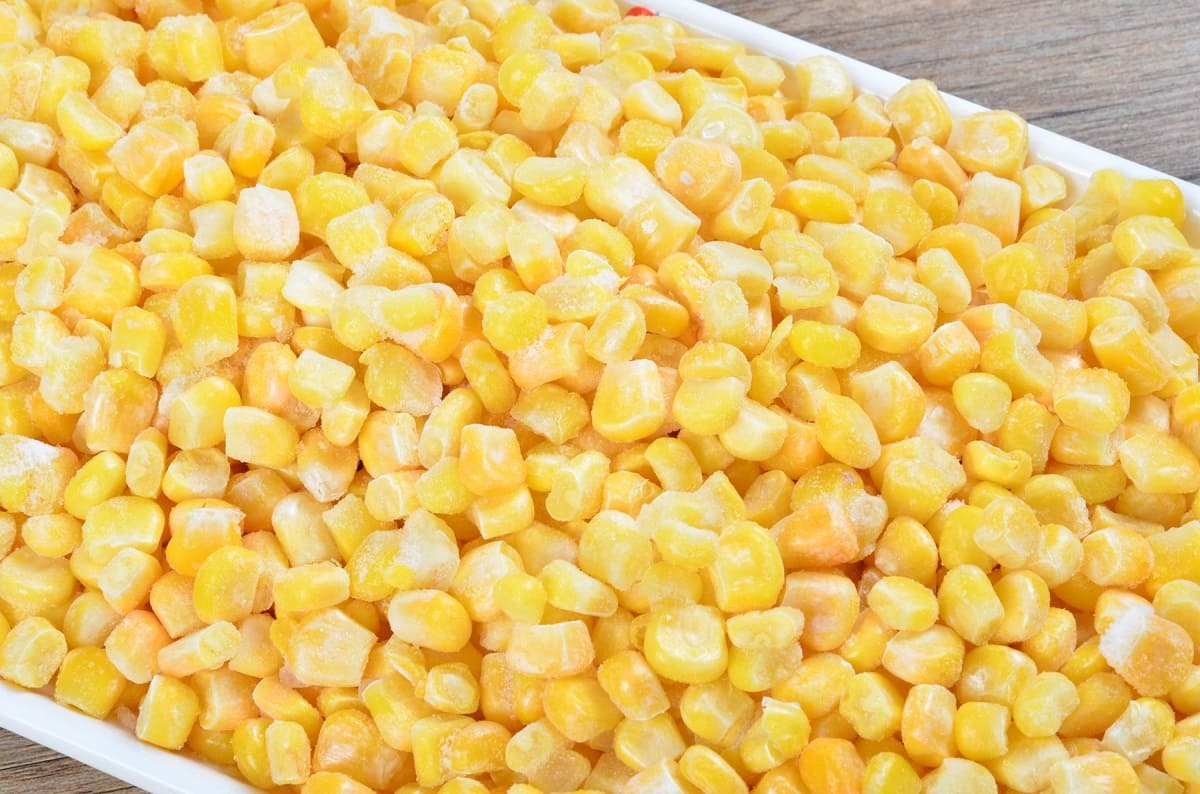
- Prepare the corn kernels: Using a sharp knife, carefully cut the corn kernels off the cobs. Make sure to remove as much of the kernels as possible, without cutting into the cob.
- Choose your freezing method: There are two common methods for freezing corn kernels: flash freezing and tray freezing.
- Flash freezing: Spread the corn kernels in a single layer on a baking sheet or tray lined with parchment paper. Make sure the kernels are not touching each other to prevent them from sticking together. Place the tray in the freezer for 1-2 hours until the kernels are firm.
- Tray freezing: Alternatively, you can fill freezer-safe bags or containers with the corn kernels, leaving some headspace for expansion. Spread the kernels evenly inside the bag or container. Flatten the bags or stack the containers in a single layer on a tray and place them in the freezer until the kernels are frozen solid.
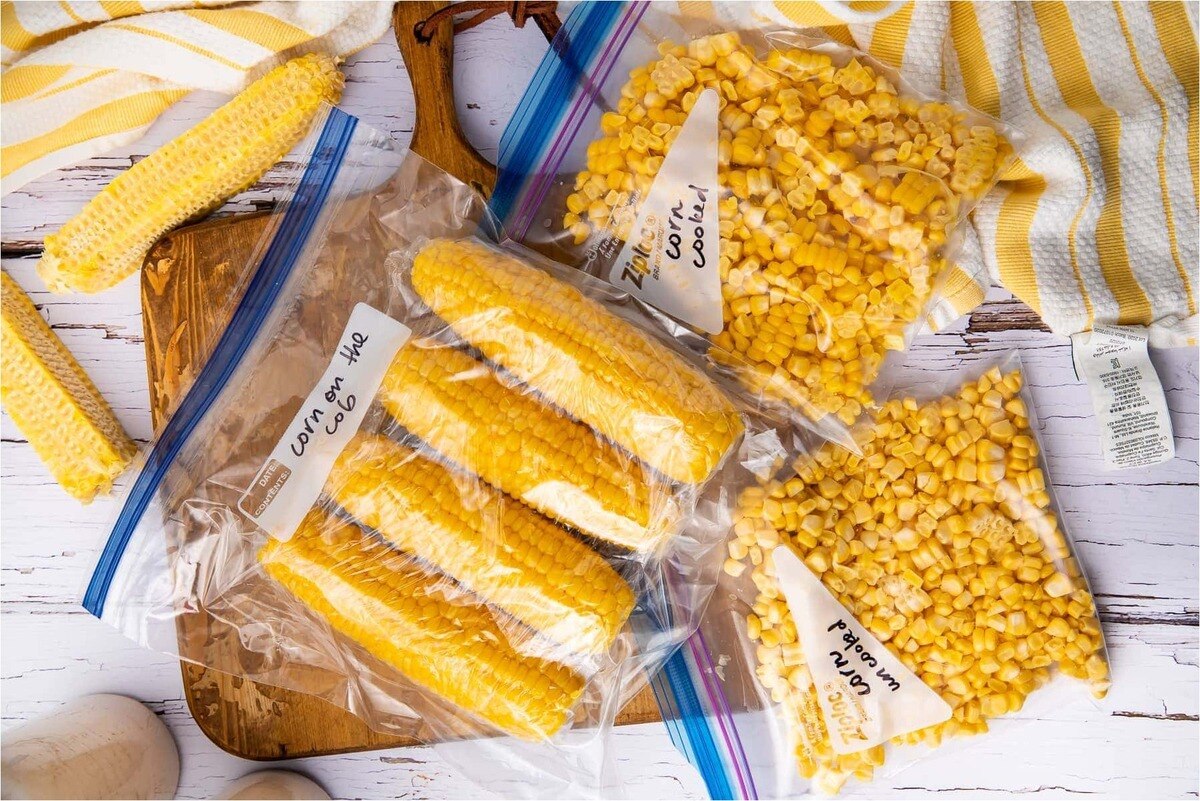
- Label and package: Once the corn kernels are frozen solid, remove them from the freezer and promptly transfer them into labeled freezer bags or airtight containers. Remember to include the date of freezing on the label.
- Return to the freezer: Place the labeled bags or containers back into the freezer. Ensure that there is adequate space between them for proper airflow. Maintain a constant freezing temperature of 0°F (-18°C) or lower for optimal storage.
By following these freezing methods, you can ensure that your corn kernels are properly preserved and ready to be used whenever you desire. Freezing helps to retain the taste, texture, and nutrients of the corn for an extended period. Now that you have successfully frozen the corn kernels, it’s time to move on to the next step: packaging and labeling.
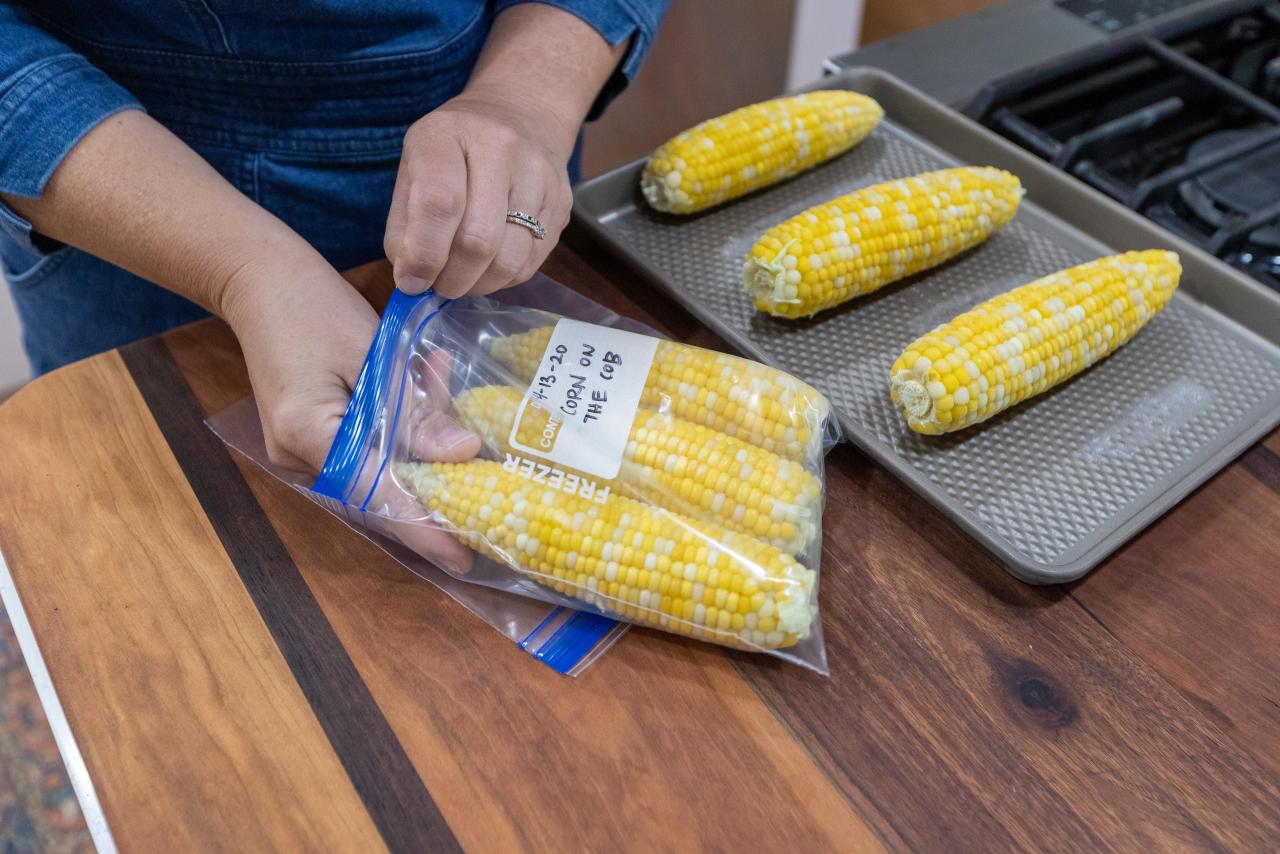
Step 6: Packaging and Labeling
Proper packaging and labeling of your frozen corn kernels are essential for easy identification and organization. By taking the time to package and label them correctly, you can ensure that your corn kernels remain fresh and ready to use. Here’s how to effectively package and label your frozen corn kernels:
- Choose appropriate storage containers: Select freezer-safe bags or airtight containers specifically designed for freezer storage. These containers help to prevent air and moisture from reaching the kernels and minimize the risk of freezer burn.
- Portion the corn kernels: Divide the frozen corn kernels into manageable portions, depending on your intended use. This allows you to defrost and use only what you need without defrosting the entire batch.
- Seal the containers: Fill the freezer bags or containers with the portioned corn kernels, ensuring there is enough headspace to allow for expansion during freezing. Seal the bags tightly, removing as much air as possible. For containers, secure the lids tightly to create an airtight seal.
- Label the packages: Use a permanent marker or labels to clearly indicate the contents and date of freezing on each package. This information will help you keep track of the age of your corn kernels and prevent any potential waste.
- Optional vacuum sealing: If you have a vacuum sealer, consider vacuum-sealing the corn kernels. Vacuum-sealing removes all air from the bags, providing an added layer of protection against freezer burn and extending the shelf life of the corn kernels.
By properly packaging and labeling your frozen corn kernels, you can ensure they stay fresh, organized, and easy to use. Now that your corn kernels are securely packaged, it’s time to move on to the final step: storing them for long-term preservation.
Step 7: Storing the Corn Kernels
Storing your frozen corn kernels properly is crucial to maintaining their quality and flavor over an extended period. By following these guidelines, you can ensure that your corn kernels remain in optimal condition for months. Here’s how to store your corn kernels:
- Choose a suitable storage location: Find a freezer with a consistent temperature of 0°F (-18°C) or lower. Avoid storing the corn kernels in freezer compartments with frequent temperature fluctuations, such as those found in the door.
- Arrange the packages: Place the packaged corn kernels in the freezer in an organized manner. Stack them vertically, if possible, to prevent the packages from getting squished and to maximize space efficiency.
- Rotate the stock: To ensure that your corn kernels stay fresh, practice a “first in, first out” approach. Place the newer packages behind the older ones so that you use the older corn kernels first.
- Monitor temperature and airflow: Regularly check the temperature of your freezer to ensure it remains at the optimal freezing temperature. Also, ensure there is sufficient airflow around the packages to maintain consistent freezing.
- Minimize temperature fluctuations: Avoid frequent freezer door openings as they can cause temperature fluctuations. Plan ahead and retrieve only the desired amount of corn kernels at a time to minimize exposure to warmer air.
- Keep track of storage time: Frozen corn kernels are best consumed within 9-12 months for optimal quality. Make note of the date of freezing on the packages, and periodically check and remove any packages that have exceeded the recommended storage time.
By storing your corn kernels in a properly maintained freezer and following these storage guidelines, you can ensure that they retain their freshness, flavor, and texture for an extended period. Now that you have completed all the steps, you can enjoy your homegrown or farm-fresh corn kernels all year round!
Remember, proper storage and handling practices are key to maximizing the shelf life and quality of your corn kernels. Enjoy the convenience and deliciousness of having frozen corn kernels readily available for your favorite recipes!
Conclusion
Storing corn kernels properly is essential to preserve their freshness, flavor, and texture. By following the step-by-step guide outlined in this article, you can ensure that your corn kernels remain delicious and ready to use for an extended period. From harvesting the corn to freezing and storing it, each step plays a crucial role in maintaining the quality of the kernels.
Remember to harvest the corn at the right time when the husks are fully filled out and the kernels are plump and milky. Properly shuck and clean the ears to remove any dirt or debris. Blanching the corn kernels helps to preserve their color and texture, while cooling and draining them ensure they are free from excess moisture.
Freezing the corn kernels is the primary method for long-term storage. Whether you choose to flash freeze or tray freeze, make sure to package them in freezer-safe bags or airtight containers. Proper labeling helps you keep track of the storage time, while organizing and rotating the stock ensures that you use the oldest kernels first.
Finally, store your frozen corn kernels in a freezer that maintains a consistent temperature below 0°F (-18°C). Avoid temperature fluctuations and minimize the number of times you open the freezer door to maintain optimal storage conditions. Remember to use the corn kernels within 9-12 months for the best quality and flavor.
With these proper storage techniques, you can enjoy the taste and goodness of corn throughout the year. Whether you use them in soups, salads, stir-fries, or any other recipe that calls for corn, your properly stored corn kernels will make your dishes burst with fresh and vibrant flavor.
So, the next time you have an abundant harvest or find yourself with a surplus of fresh corn, follow these steps to store your corn kernels correctly. You’ll have a fantastic supply of delicious corn to enjoy even when the corn season has come to an end!
Frequently Asked Questions about How To Store Corn Kernels
Was this page helpful?
At Storables.com, we guarantee accurate and reliable information. Our content, validated by Expert Board Contributors, is crafted following stringent Editorial Policies. We're committed to providing you with well-researched, expert-backed insights for all your informational needs.

0 thoughts on “How To Store Corn Kernels”