Articles
How To Store Corn On Cob
Modified: October 19, 2024
Learn the best methods for storing corn on the cob to keep it fresh and delicious. Read our articles to discover expert tips and tricks for preserving the flavor and texture of this summertime favorite.
(Many of the links in this article redirect to a specific reviewed product. Your purchase of these products through affiliate links helps to generate commission for Storables.com, at no extra cost. Learn more)
Introduction
Welcome to your guide on how to store corn on the cob! As summer approaches, farmers markets and grocery stores are bustling with delicious and fresh corn. And what better way to enjoy this sweet and juicy vegetable than by storing it for later use? Whether you want to save some for a rainy day or simply stock up when corn is in season, properly storing corn on the cob will ensure that you can enjoy its flavors all year round.
In this article, we will take you through the step-by-step process of storing corn on the cob. From choosing the freshest ears to blanching and freezing, we will cover every aspect to help you preserve the quality and taste of your corn. So, let’s get started!
Key Takeaways:
- Enjoy sweet, juicy corn year-round by following these steps to store corn on the cob. From choosing the freshest ears to freezing and cooking, savor the taste of summer anytime.
- Preserve the flavors of summer with properly stored corn on the cob. Follow these steps to select, prepare, freeze, and cook with corn for delightful dishes all year long.
Read more: How To Store Corn On The Cob After Cooking
Choosing Fresh Corn
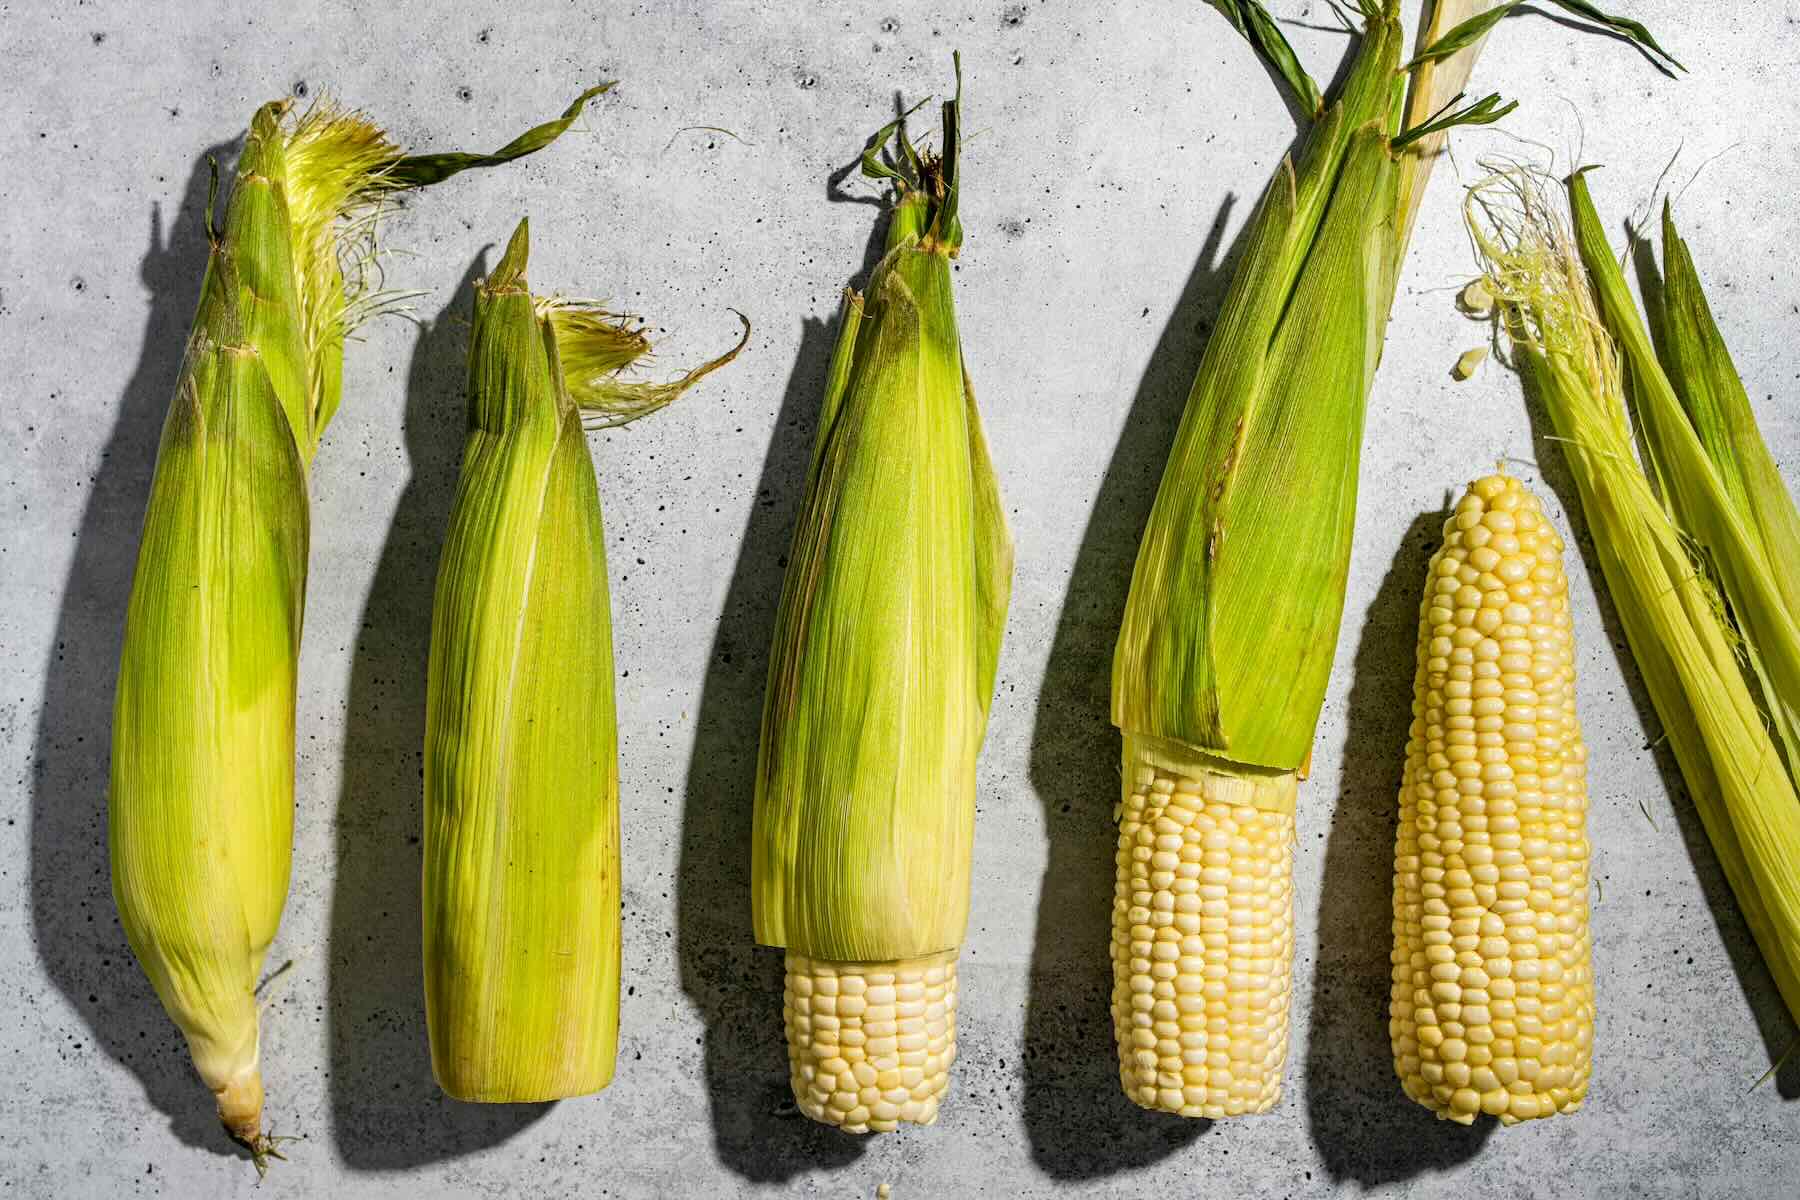
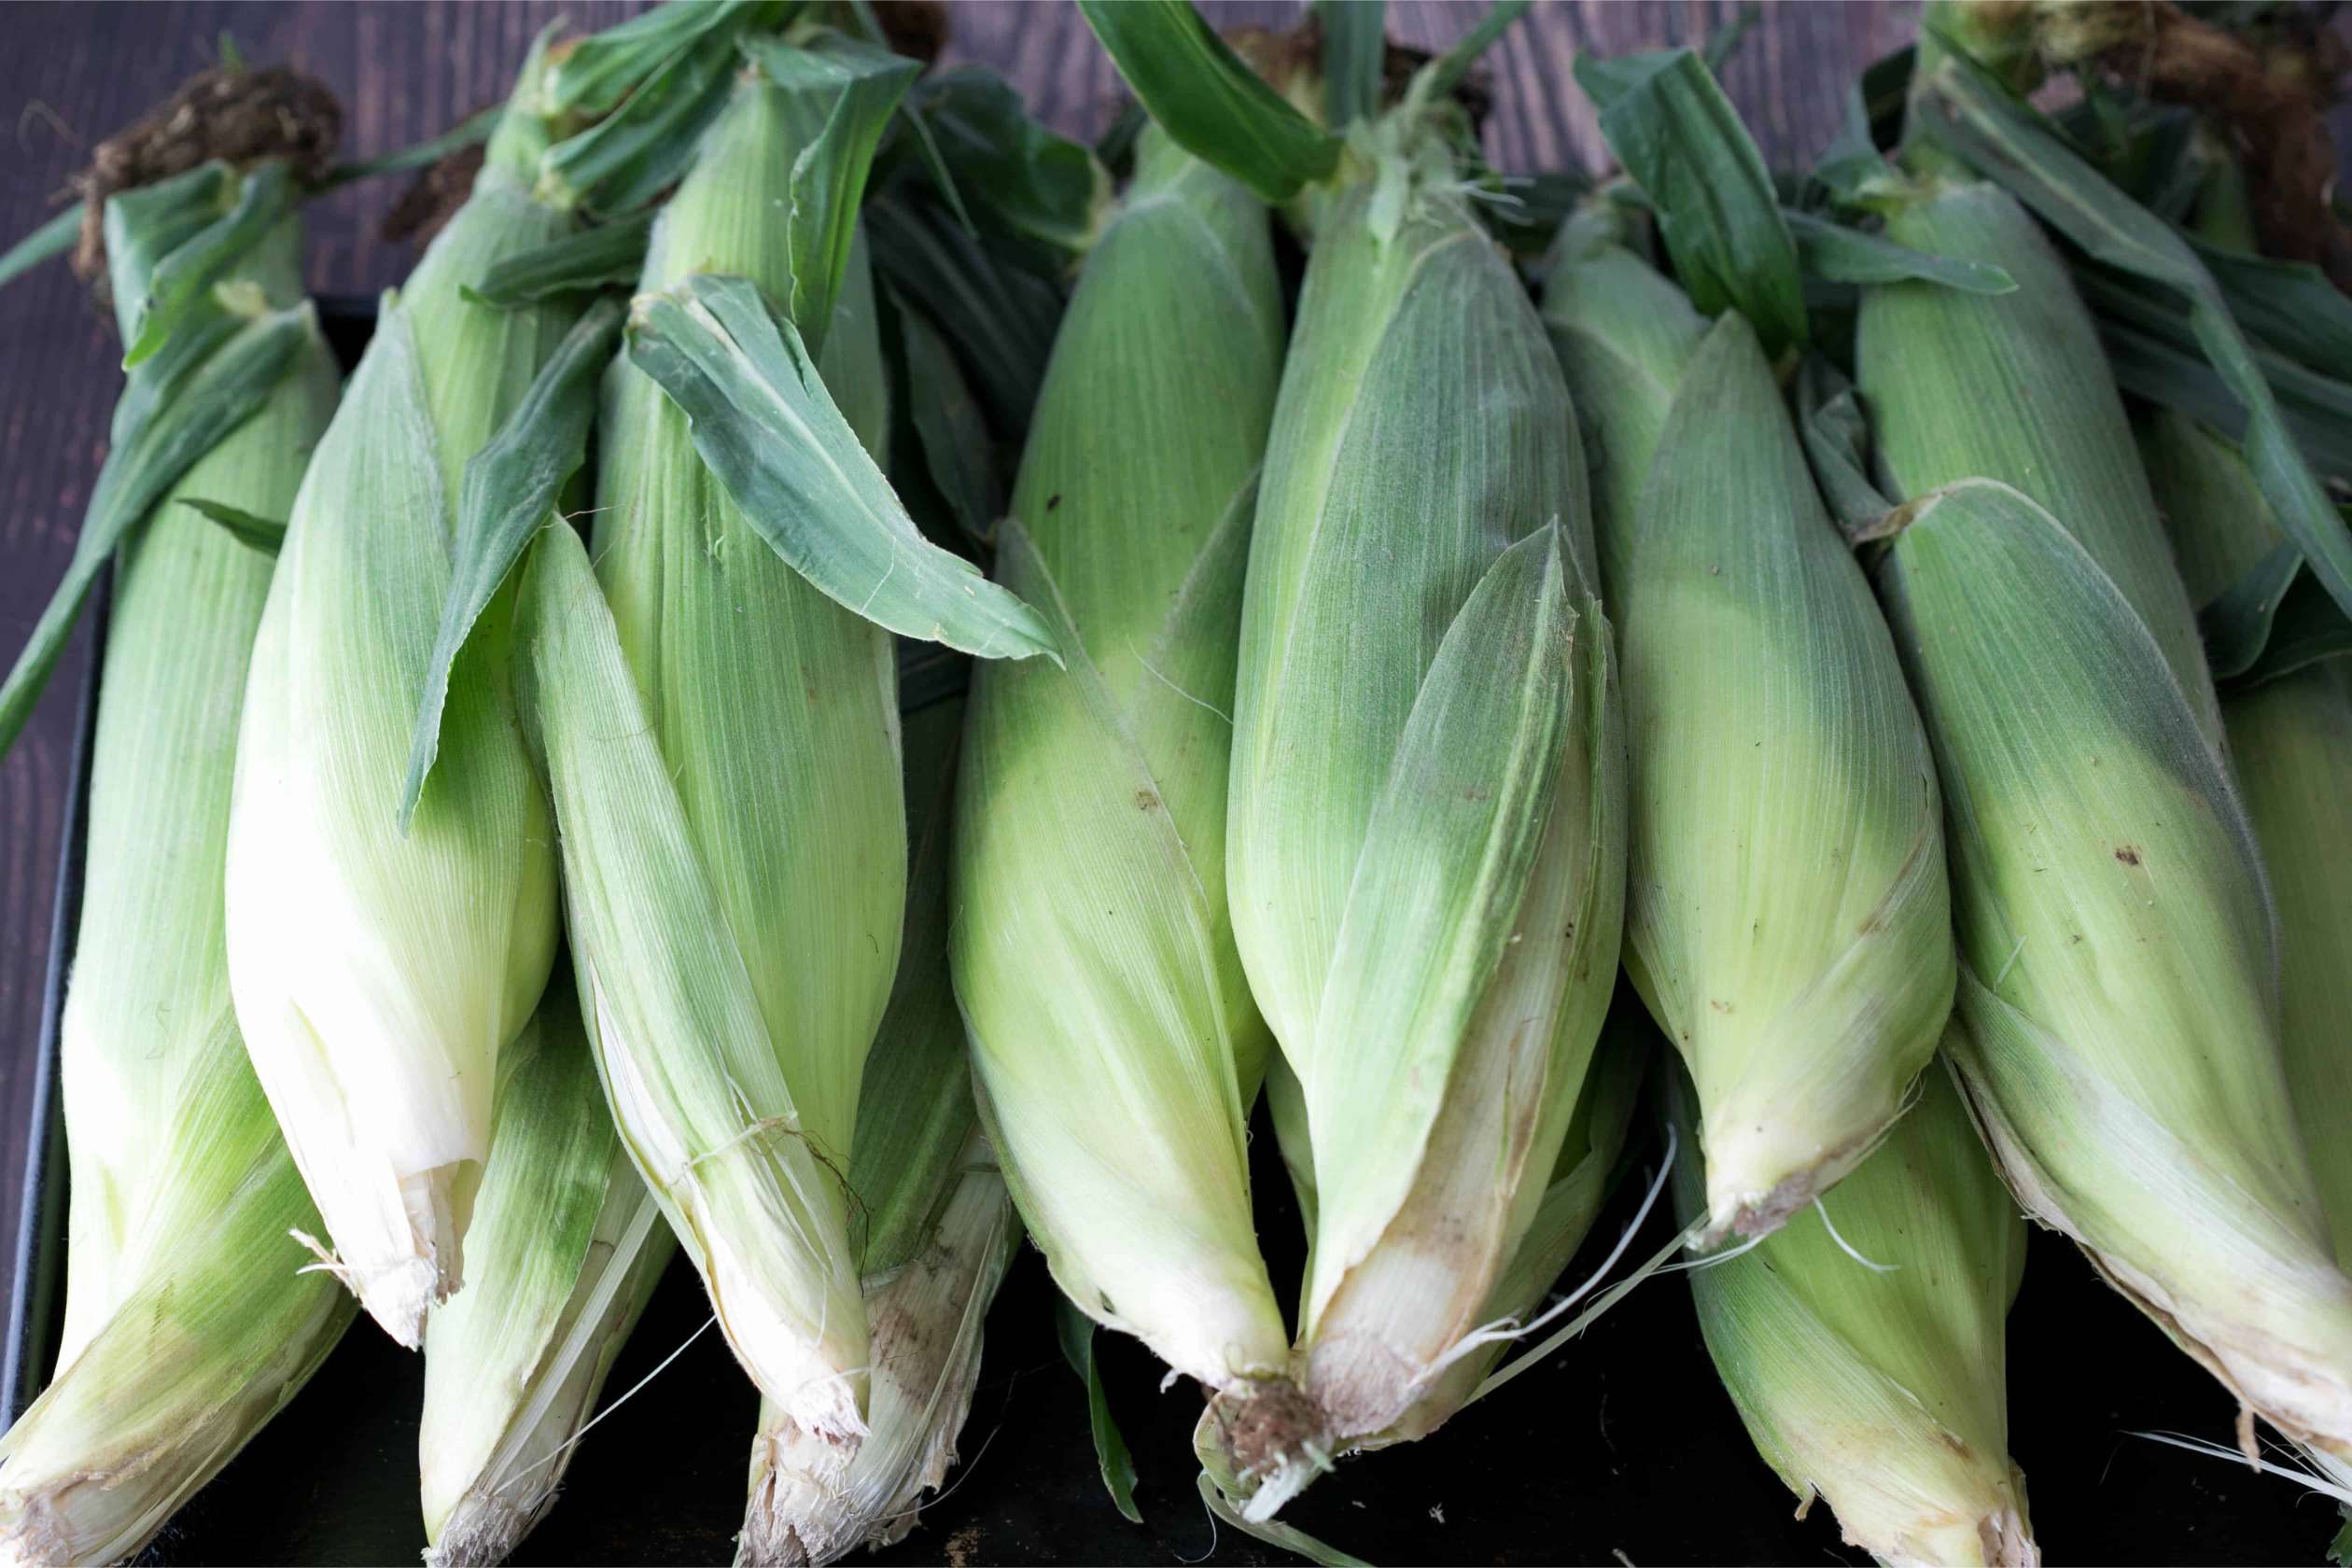
When it comes to storing corn on the cob, selecting the freshest ears is key. Here are some tips to help you choose the best corn:
- Look for green husks: Fresh corn will have vibrant green husks that are tightly wrapped around the ear. Avoid corn with dry or brown husks, as it may indicate that the corn is overripe or past its prime.
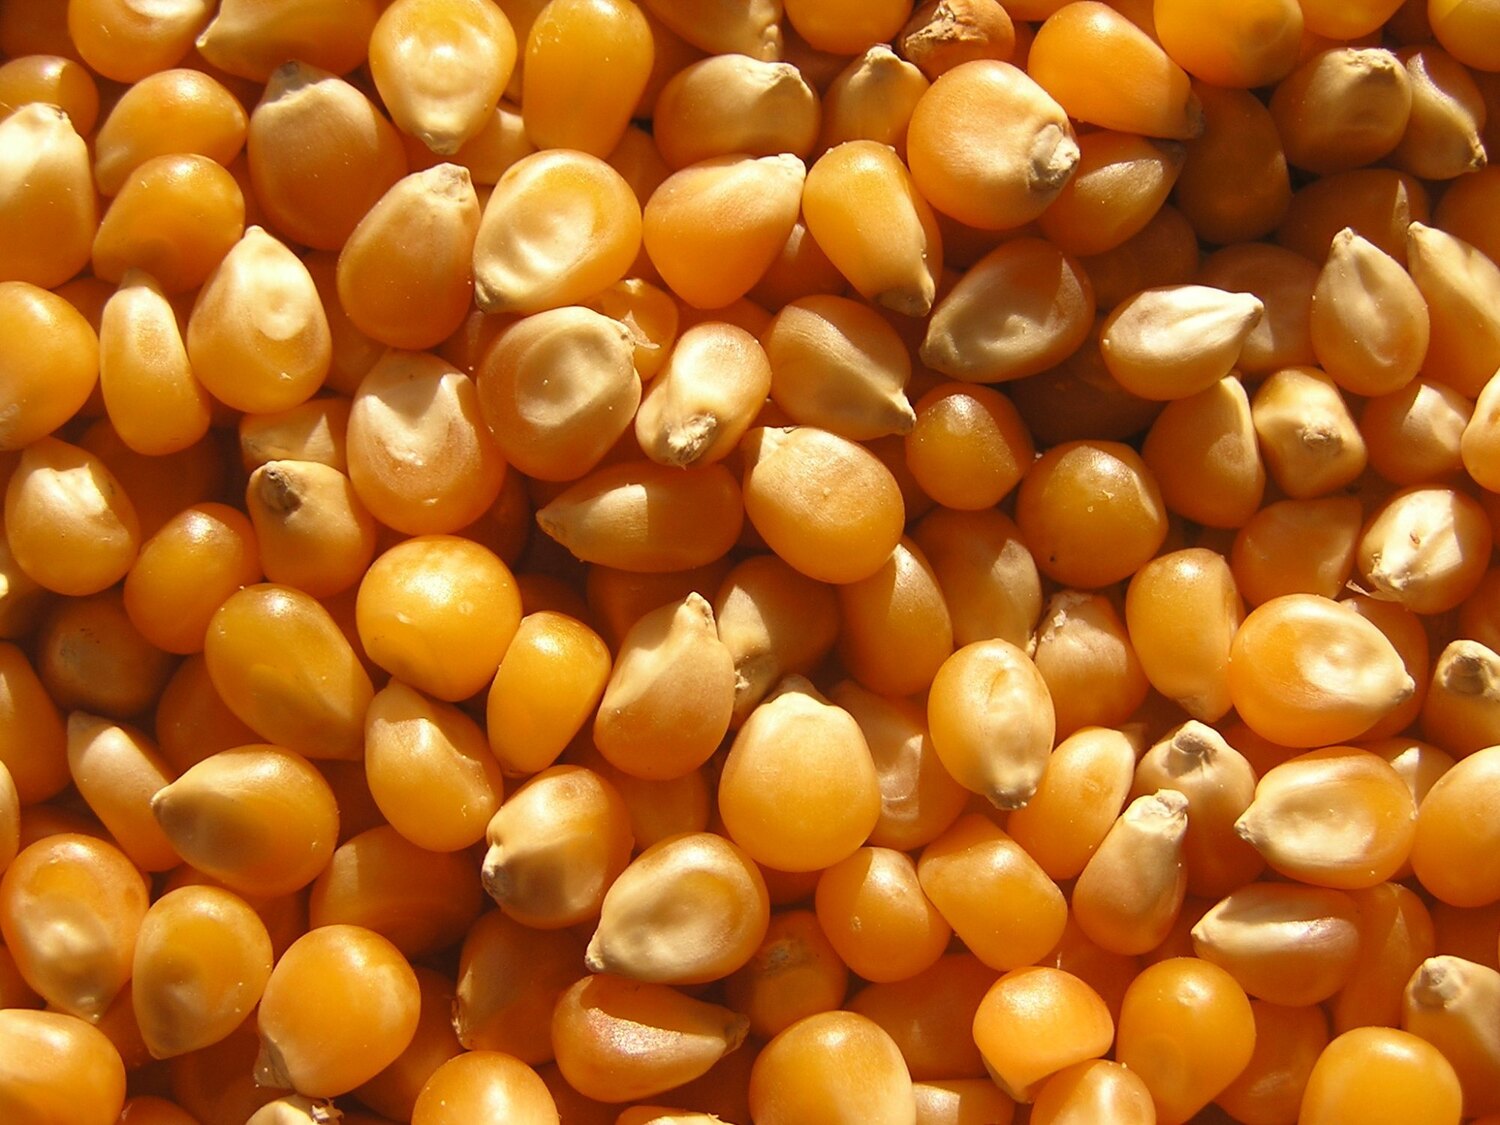
- Feel for plump kernels: Gently squeeze the corn through the husk to feel for plump and firm kernels. Avoid corn with shriveled or soft kernels, as they may be less fresh and flavorful.
- Check for moisture: Feel the top of the corn where the husk meets the stem end. It should feel moist and slightly sticky. If it is dry, it might be an indication that the corn has been sitting out for too long.
- Inspect the silk: The silk should be golden in color and slightly sticky to the touch. Avoid corn with dry, brown, or black silk, as it could be a sign of poor quality or age.
- Smell the corn: Fresh corn should have a sweet and slightly earthy scent. If there is no aroma or if it has an unpleasant odor, it might indicate that the corn is not fresh.
It’s worth noting that the best time to buy corn is during its peak season, typically from late spring to early fall. During this time, you are more likely to find corn that is at its peak freshness and flavor. Now that you know how to choose the freshest corn, let’s move on to preparing it for storage.
Preparing the Corn
Before you store corn on the cob, it is important to properly prepare it to ensure optimal storage conditions. Here are the steps to follow:
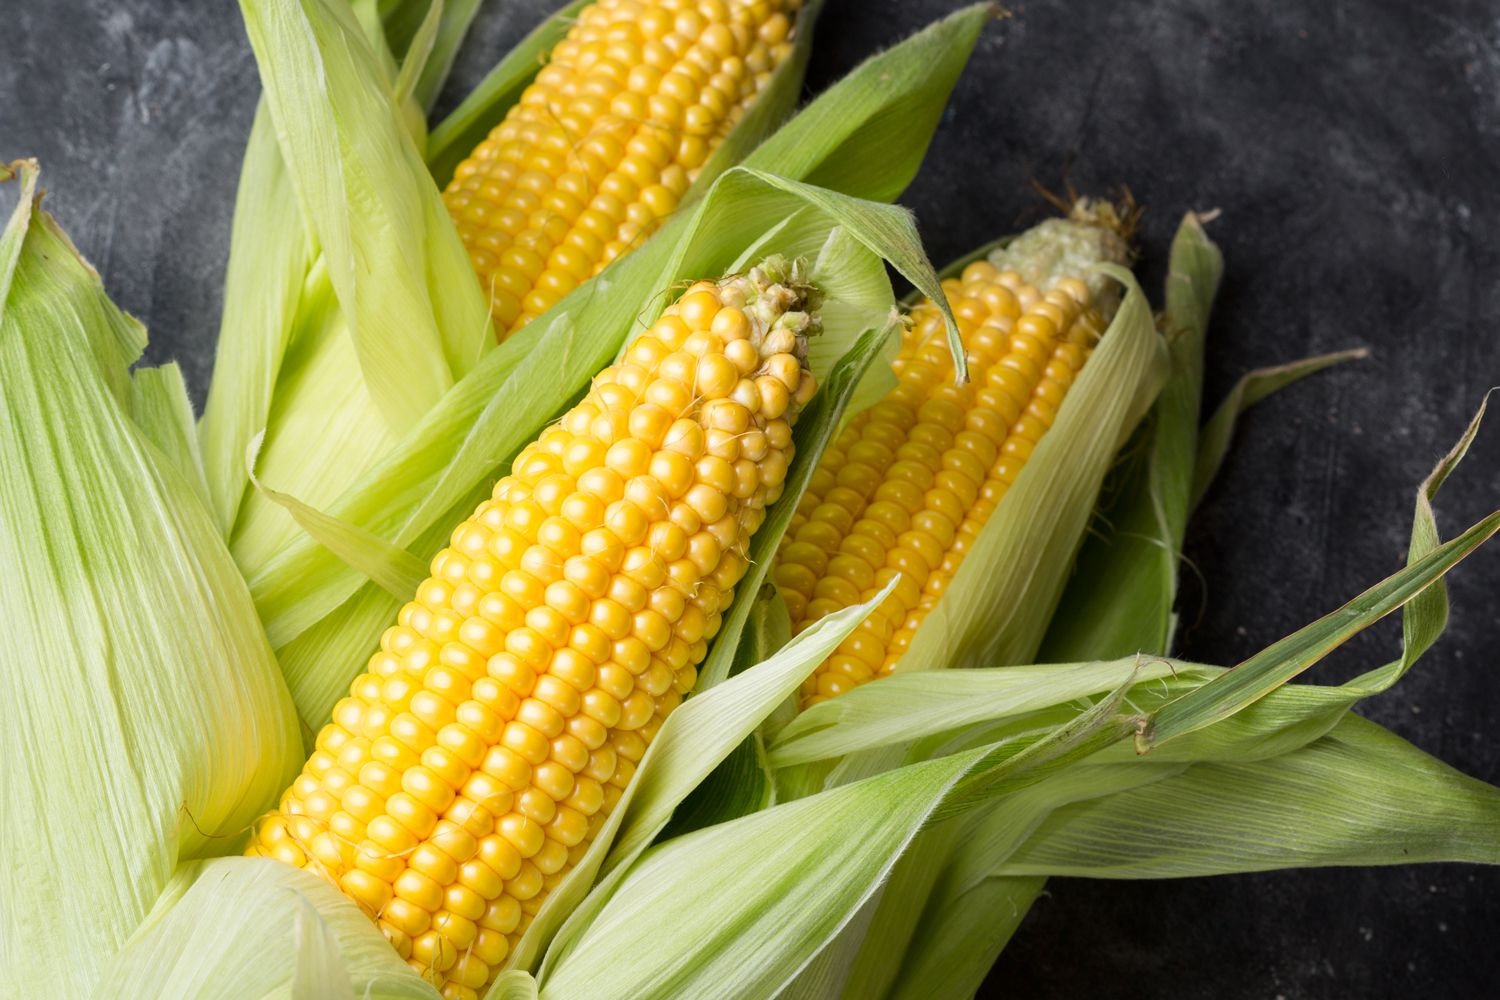
- Remove the husks: Start by peeling off the outer layers of the husk. Gently pull down the husks from the top to the base of the ear, exposing the corn kernels.
- Remove the silk: Once the husk is removed, you will notice the silky threads attached to the corn. Take a firm grip on the silk at the top of the ear and pull it downward, removing as much of the silk as possible. Rinse the corn under cold water to remove any remaining silk.
- Inspect for any flaws: Check for any blemishes or damaged kernels on the ears of corn. If you come across any corn with mold or other signs of spoilage, discard it to prevent it from affecting the rest of your batch.
- Trim the ends: Use a sharp knife to trim the stem and tip of the ear of corn. This will not only give the corn a neater appearance but also remove any potential bruised or damaged parts.
- Rinse the corn: Rinse the corn under cold running water to remove any dirt or debris that may be present.
Once you have prepared the corn, it is time to blanch it in order to preserve its flavor, texture, and color. Let’s move on to the next step: blanching the corn.
Blanching the Corn
Blanching is a crucial step in the process of storing corn on the cob. It involves briefly cooking the corn in boiling water, which helps to preserve its flavor, kill bacteria, and stop enzyme activity that can cause loss of color and texture. Here’s how to blanch corn:
- Bring a large pot of water to a rolling boil. Make sure the pot is large enough to accommodate the amount of corn you wish to blanch.
- Add salt to the boiling water. This will help enhance the flavor of the corn.
- Carefully place the ears of corn into the boiling water. Make sure they are completely submerged.
- Set a timer for 4-5 minutes. This is the ideal blanching time for corn on the cob.
- While the corn is blanching, prepare an ice bath. Fill a large bowl with cold water and ice cubes.
- Once the timer goes off, immediately remove the corn from the boiling water using tongs or a slotted spoon and transfer it to the ice bath. This will stop the cooking process and cool the corn rapidly.
- Let the corn sit in the ice bath for the same amount of time it was blanched, around 4-5 minutes.
- After the corn has cooled, remove it from the ice bath and pat it dry with a clean towel.
Blanching the corn helps to preserve its taste, texture, and color. Now that your corn is blanched and cooled, it is ready to be stored. Let’s move on to the next step: freezing the corn.
Cooling the Corn
After blanching the corn, the next step is to cool it down before freezing. Cooling the corn is crucial to preserve its freshness and prevent it from overcooking. Here’s how to properly cool the corn:
- Remove the blanched corn from the ice bath and shake off any excess water.
- Place the corn on a clean towel or a cooling rack to allow any remaining water to drip off.
- Leave the corn at room temperature for about 30 minutes to cool down completely.
During this cooling period, the corn will reach an optimal temperature for freezing. It’s important not to skip this step, as freezing warm or hot corn can lead to ice crystals forming inside the corn, resulting in a loss of texture and quality.
Once the corn has cooled down, it’s time to move on to the next step: freezing the corn. Freezing corn will allow you to enjoy its delicious flavors even when it’s out of season. Let’s learn how to freeze corn on the cob.
To store corn on the cob, keep it in the husk and store it in the refrigerator. It will stay fresh for up to 5 days. Avoid removing the husk until ready to use.Read more: How To Store Corn On The Cob Without Husk
Freezing the Corn
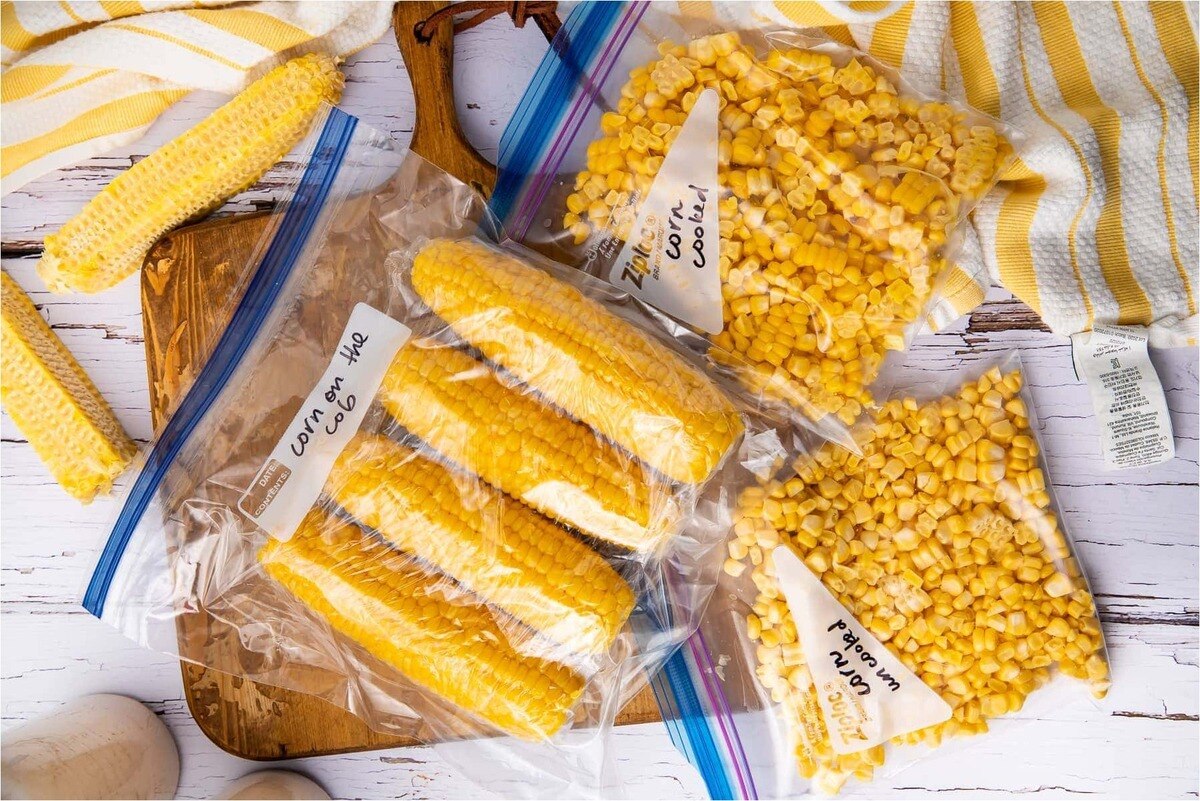
Freezing corn on the cob is a great way to preserve its delicious flavor and enjoy it year-round. Here’s a step-by-step guide on how to freeze corn:
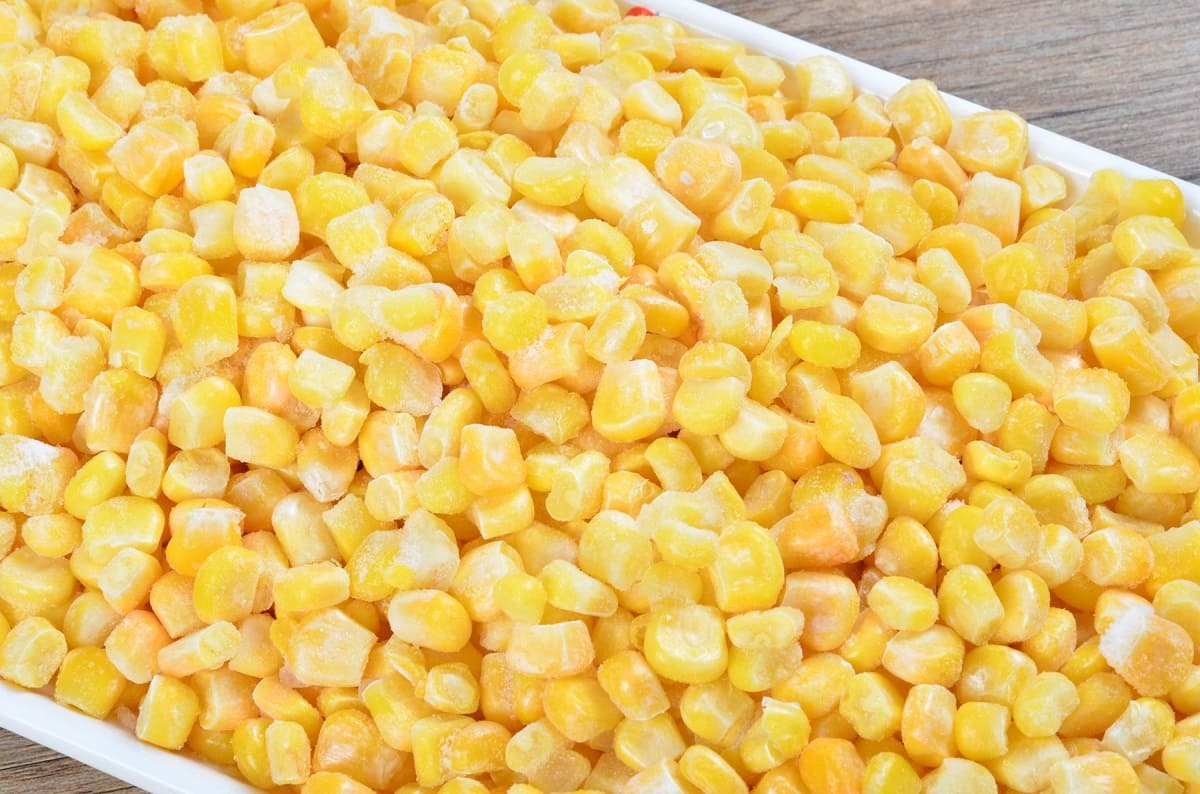
- Cut the corn off the cob: Using a sharp knife, carefully cut the kernels off the cob. Hold the cob firmly at the top and slice downward to remove the kernels. Repeat this process for each ear of corn.
- Choose your freezing method: There are two common methods for freezing corn – using freezer bags or using a vacuum sealer. Both methods work well, so choose the one that suits your preferences and the equipment you have available.
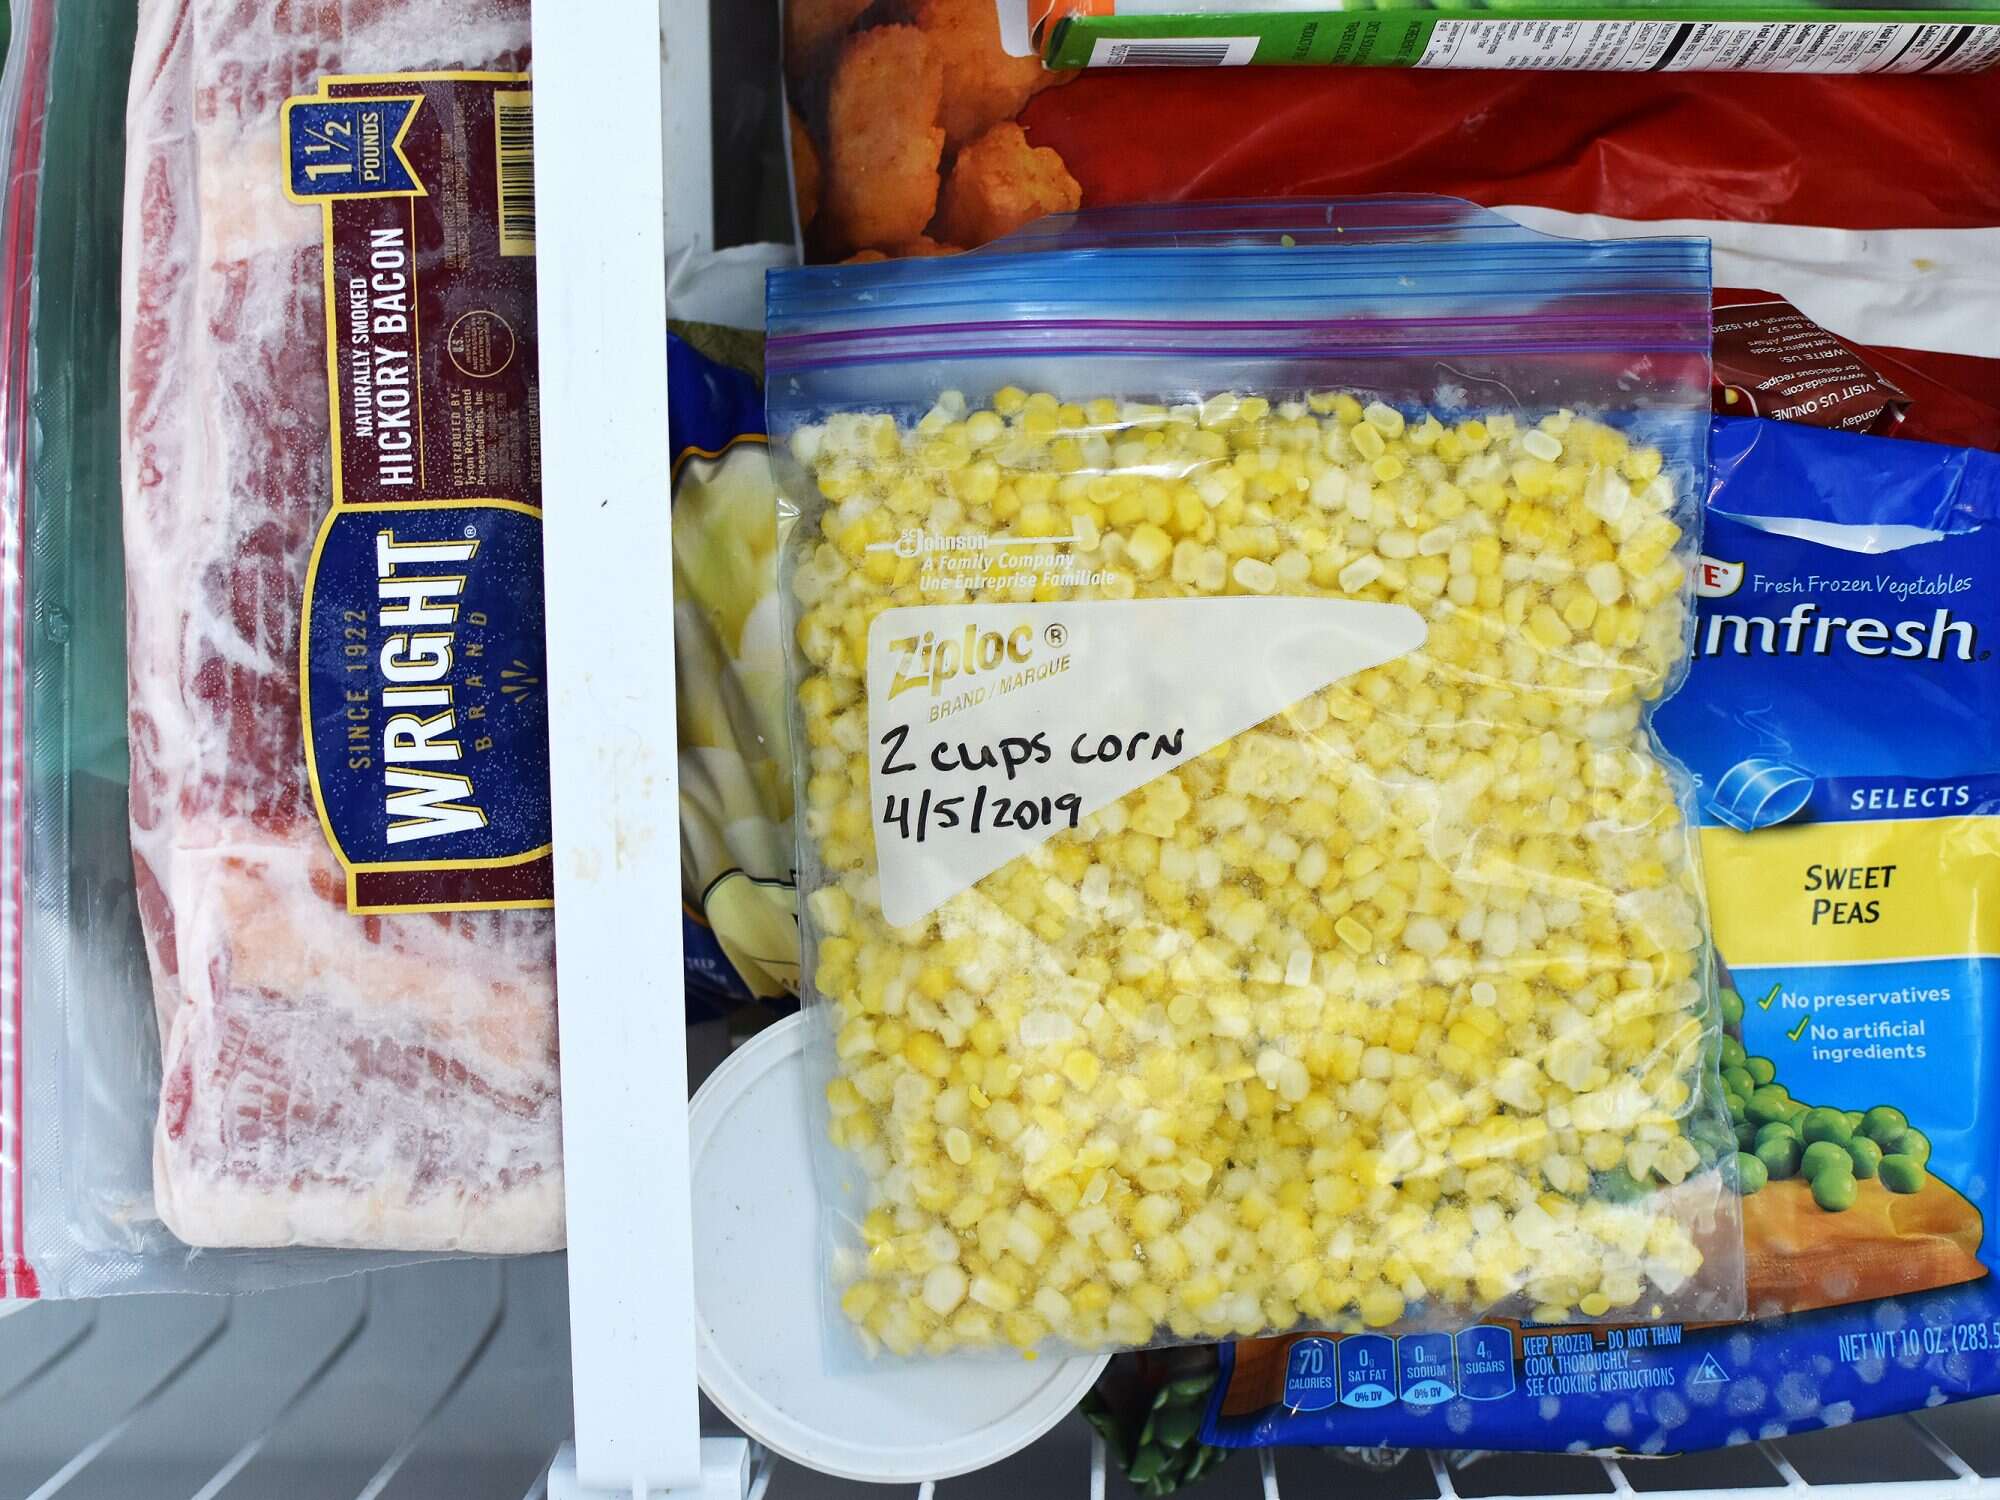
- Pack the corn in freezer bags: If using freezer bags, transfer the cut corn kernels into the bags, taking care to remove as much air as possible. Seal the bags tightly.
- Vacuum seal the corn: If using a vacuum sealer, place the corn kernels into the vacuum bags and follow the instructions on your specific vacuum sealer to remove the air and seal the bags.
- Label the bags: It’s important to label the bags with the current date and the contents (i.e., “Corn on the Cob”). This will help you keep track of the freezing date and easily identify the corn later on.
- Place the bags in the freezer: Arrange the bags in a single layer on a flat surface in the freezer. Once they are frozen solid, you can stack them to save space.
It’s worth noting that freezing the corn as soon as possible after blanching will help to maintain its freshness and flavor. The process of blanching and freezing locks in the corn’s natural sweetness and preserves its texture.
Now that your corn is properly frozen, let’s move on to the next step: storing the corn in the freezer.
Storing the Corn
Properly storing the frozen corn is essential to maintain its quality and flavor. Here are the steps to follow for storing the corn:
- Find a suitable storage container: Choose airtight containers or freezer-safe bags for storing the frozen corn. Make sure they are specifically designed for freezer storage to prevent freezer burn and maintain the corn’s freshness.
- Transfer the frozen corn: If using bags, transfer the labeled and sealed bags of corn into the containers. If using containers, ensure they are clean and dry before placing the frozen corn inside.
- Remove excess air: If using bags, squeeze out any excess air before sealing them. This helps to prevent freezer burn and maintain the quality of the corn.
- Arrange in the freezer: Place the containers or bags of corn in the freezer, making sure they are arranged in a way that allows for efficient air circulation and prevents them from getting crushed or damaged by other frozen items.
- Keep a freezer inventory: Consider keeping a record of the corn you store in the freezer. This will help you keep track of what you have and when you need to rotate or use the corn to ensure it doesn’t go to waste.
It’s important to note that frozen corn will remain safe to eat indefinitely if stored properly. However, for the best quality, it is recommended to consume the frozen corn within 8 to 12 months.
Now that your corn is safely stored in the freezer, let’s learn how to thaw it properly when you’re ready to use it.
Thawing Frozen Corn
When you’re ready to use the frozen corn, it’s important to thaw it properly to maintain its texture and flavor. Here are a few methods for thawing frozen corn:
- Refrigerator thawing: The safest method for thawing frozen corn is to place it in the refrigerator overnight. Simply take the desired amount of frozen corn out of the freezer and transfer it to a container. Leave it in the refrigerator until fully thawed, which usually takes about 24 hours.
- Water bath method: If you need to thaw the corn quickly, you can use a water bath. Fill a large bowl or basin with cold water and submerge the sealed bag of frozen corn in it. Make sure the bag is watertight to prevent water from seeping in. Change the water every 30 minutes until the corn is thawed, which can take 1-2 hours, depending on the amount and thickness of the corn.
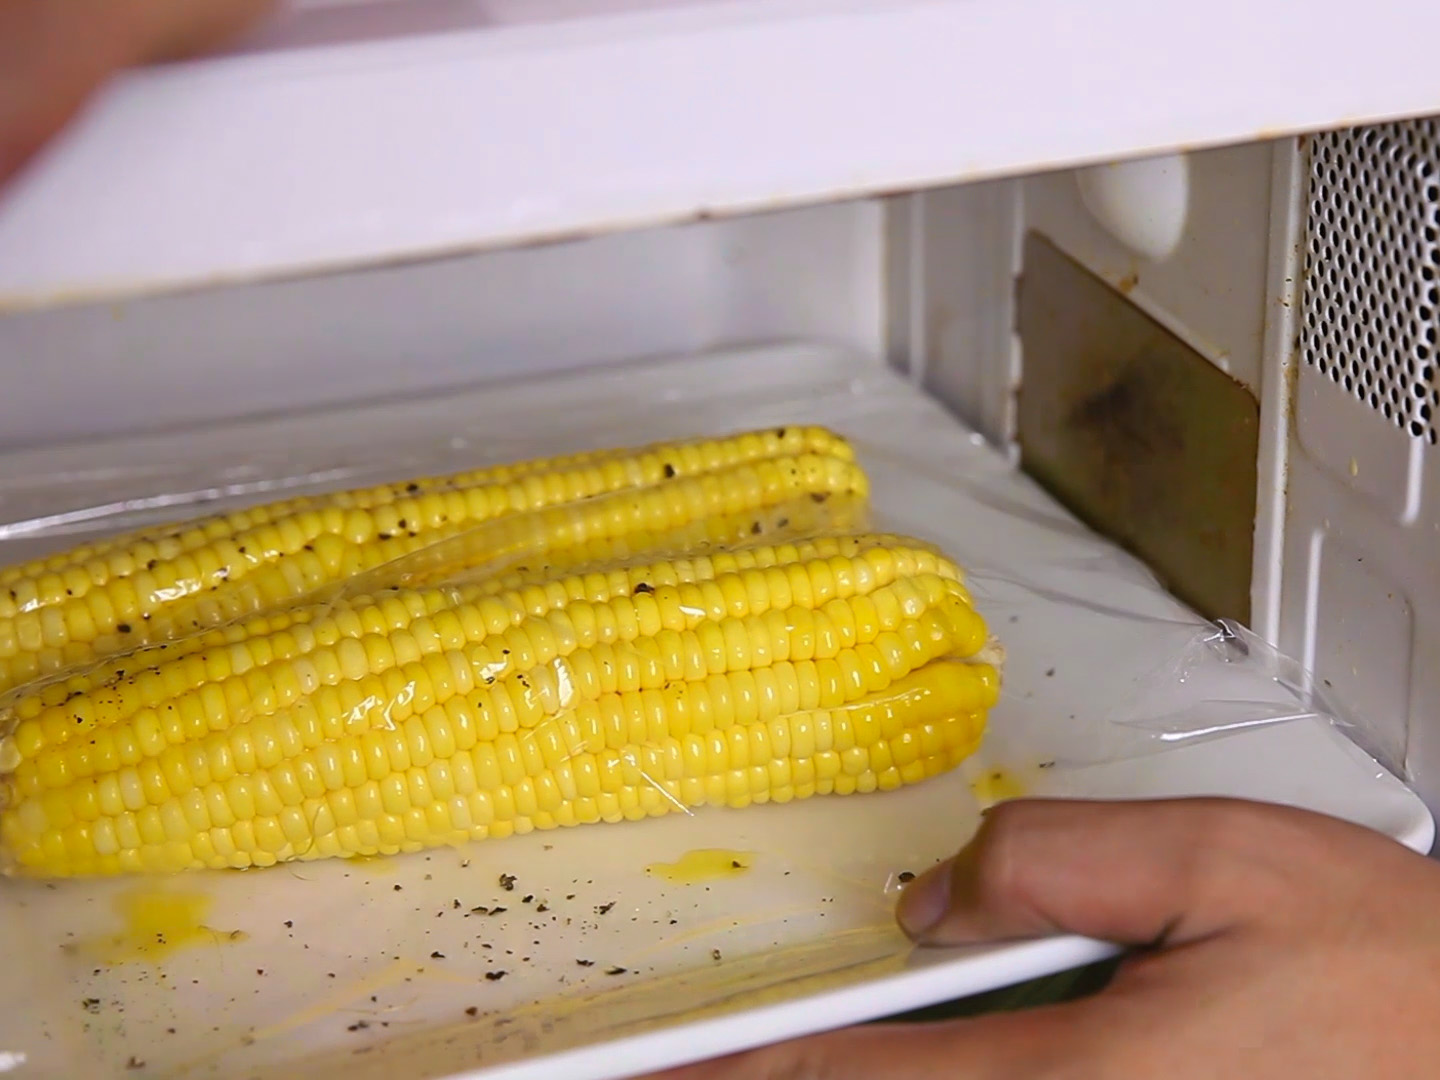
- Microwave thawing: If you’re in a hurry, you can use the microwave to thaw the corn. Place the sealed bag of frozen corn in the microwave and use the defrost setting at a low power level. Check and stir the corn every few minutes to ensure even thawing. Be careful not to overcook it, as this can result in a loss of texture and flavor.
Regardless of the method you choose, once the corn is fully thawed, it’s ready to be used in your favorite recipes.
Now that you know how to properly thaw the frozen corn, let’s explore some delicious ways to cook with it.
Cooking with Stored Corn
Stored corn can be a versatile ingredient that adds a burst of flavor and sweetness to a variety of dishes. Here are some delicious ways to cook with your stored corn:
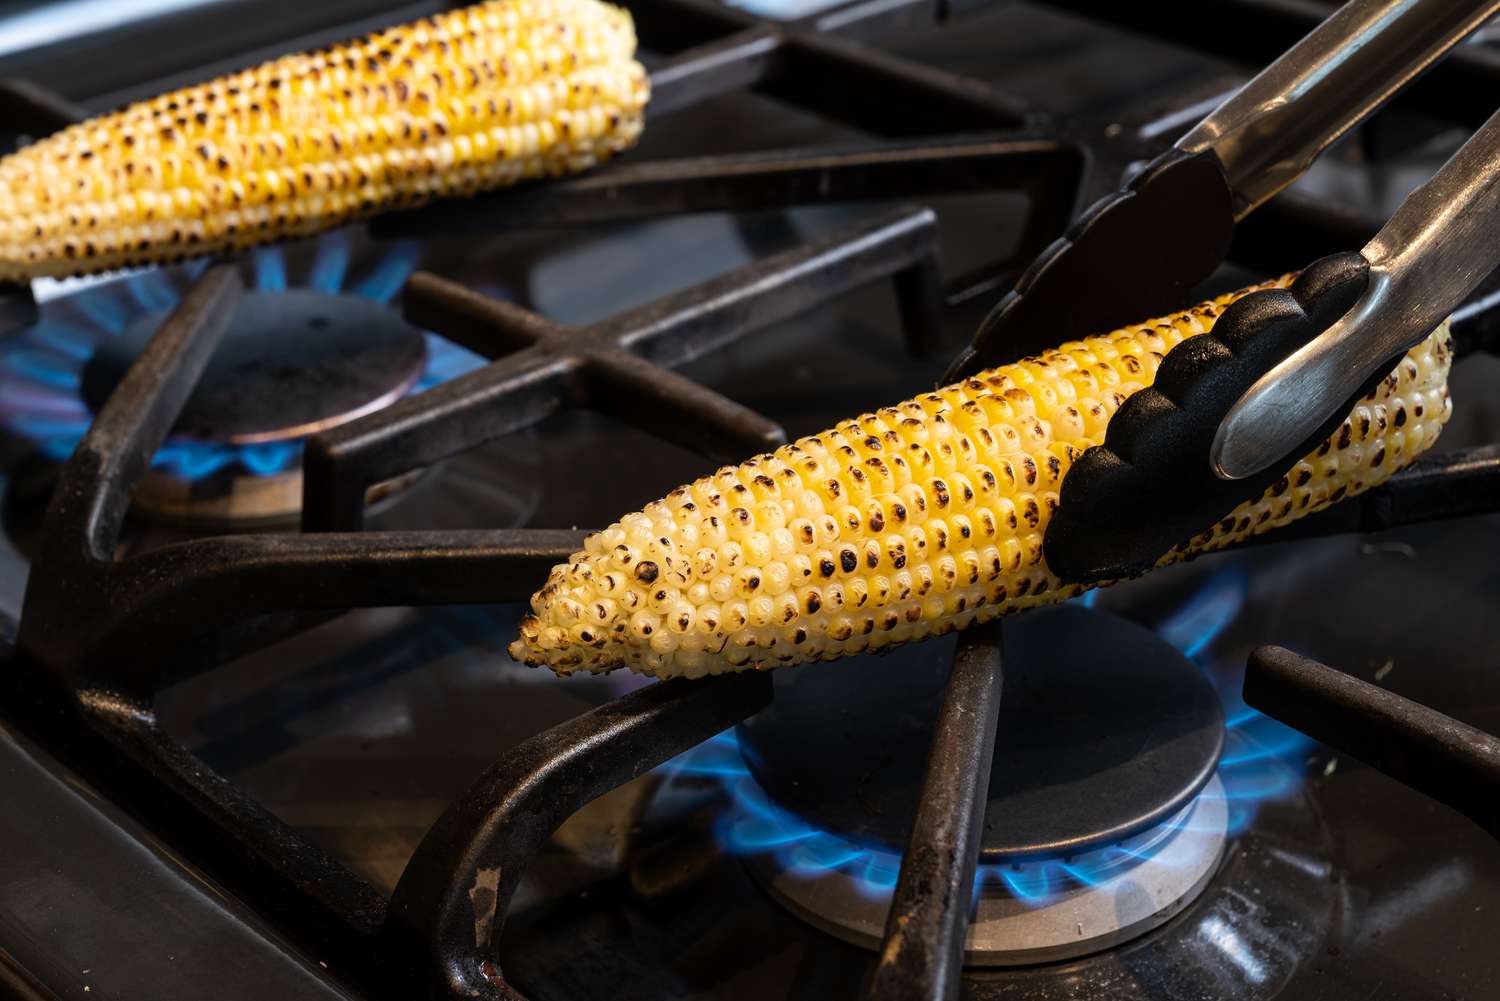
- Grilled corn on the cob: Fire up the grill and cook the thawed corn on the cob directly on the grates. Brush it with butter or your favorite seasonings and cook until the kernels are lightly charred and tender. This method brings out the natural sweetness of the corn and adds a smoky flavor.
- Corn chowder: Use the thawed corn kernels to make a creamy and comforting corn chowder. Sauté onions, garlic, and diced vegetables in a pot, then add the corn, vegetable or chicken broth, and seasonings. Simmer until the flavors meld together, then finish with a splash of cream for richness.
- Corn salsa or salad: Mix the thawed corn kernels with diced tomatoes, onions, bell peppers, cilantro, lime juice, and a touch of olive oil to make a refreshing corn salsa. You can also toss the corn with mixed greens, avocado, cherry tomatoes, and a light vinaigrette for a delicious corn salad.
- Corn fritters: Combine the thawed corn with a mixture of flour, eggs, milk, and seasonings to make tasty corn fritters. Fry them until golden brown and serve as a side dish or appetizer. Dip them in a savory sauce or top them with a dollop of sour cream for extra flavor.
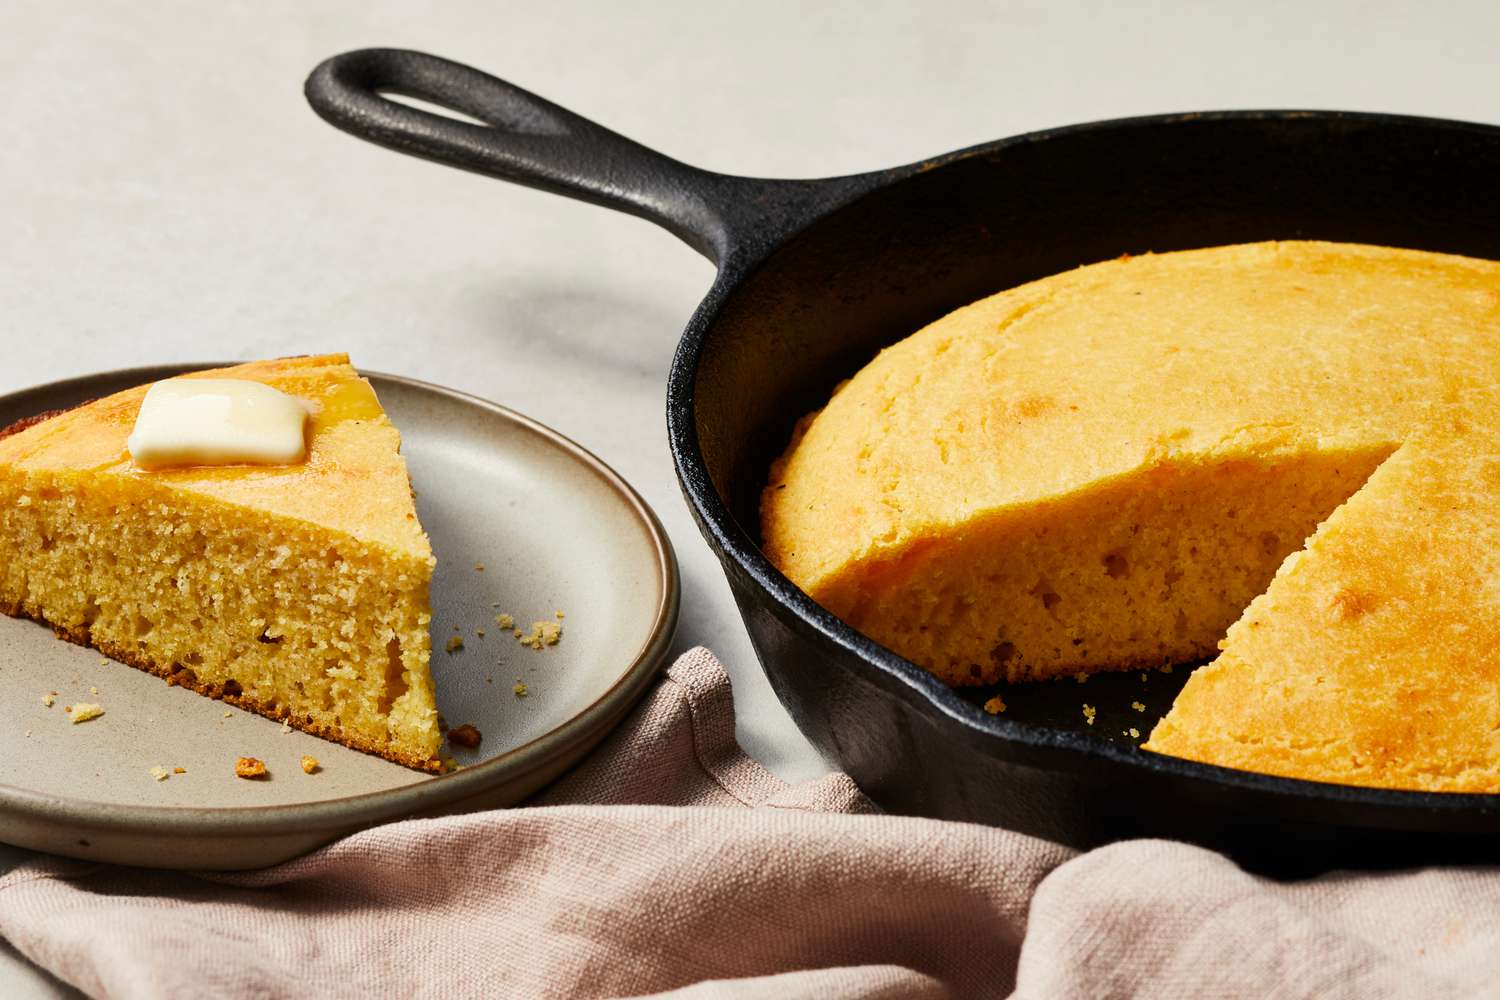
- Cornbread or muffins: Use the thawed corn in your favorite cornbread or corn muffin recipe. The added corn kernels will give the baked goods a delightful texture and a pop of sweetness. Serve them alongside soups or stews, or enjoy them as a tasty snack on their own.
These are just a few examples of the many ways you can cook with stored corn. Get creative and experiment with different recipes to make the most of your frozen corn supply.
Now that you have learned how to cook with stored corn, it’s time to enjoy the delightful flavors of this versatile ingredient.
Read more: How To Store Fresh Picked Corn On The Cob
Conclusion
Storing corn on the cob allows you to enjoy its sweet and juicy flavors long after the peak season has ended. Whether you choose to freeze it for future use or preserve it in other ways, proper storage techniques are essential to maintain the quality and taste of the corn.
In this guide, we’ve covered everything you need to know about storing corn on the cob. From choosing the freshest ears to blanching, cooling, and freezing, each step plays a crucial role in preserving the corn’s flavor, texture, and nutritional value.
Remember, selecting fresh corn, preparing it properly, and following the recommended storage methods will help you savor the taste of summer all year round. Whether you decide to grill corn on the cob, make corn chowder, or enjoy it in a variety of other delicious dishes, your stored corn will bring smiles to your table.
So, next time you come across an abundance of fresh corn, don’t hesitate to stock up and follow these storage guidelines. With a little effort, you can have a supply of corn on hand that will brighten your meals and remind you of sunny days throughout the year.
Now that you’re equipped with the knowledge of how to store corn on the cob, unleash your culinary creativity and savor the flavors of this beloved summertime vegetable all year long!
Frequently Asked Questions about How To Store Corn On Cob
Was this page helpful?
At Storables.com, we guarantee accurate and reliable information. Our content, validated by Expert Board Contributors, is crafted following stringent Editorial Policies. We're committed to providing you with well-researched, expert-backed insights for all your informational needs.


0 thoughts on “How To Store Corn On Cob”