Articles
How To Store Cut Dill
Modified: February 23, 2024
Learn the best techniques for storing cut dill in this informative article. Discover expert tips to keep your dill fresh and flavorful for longer periods.
(Many of the links in this article redirect to a specific reviewed product. Your purchase of these products through affiliate links helps to generate commission for Storables.com, at no extra cost. Learn more)
Introduction
Welcome to our guide on how to store cut dill! Dill is a versatile herb known for its distinctive flavor and aroma, making it a popular ingredient in various cuisines around the world. Whether you grow your own dill or buy it fresh from the market, knowing how to properly store cut dill is essential to ensure its freshness and extend its shelf life.
When dill leaves are cut from the plant, they begin to deteriorate quickly. Proper storage techniques are crucial to maintain the flavor and quality of the herb, whether you plan to use it in your cooking or preserve it for later use. In this article, we will explore different methods for storing cut dill and provide you with tips to maximize its longevity.
By following the right storage practices, you can enjoy the flavors of dill in your dishes for an extended period. So let’s dive in and learn how to store cut dill effectively!
Key Takeaways:
- Properly storing cut dill is crucial to maintain its freshness, flavor, and nutritional value. Whether refrigerating, freezing, or drying, follow these methods and tips to enjoy the vibrant flavors of dill all year round.
- Refrigeration keeps cut dill fresh for up to one week, freezing preserves it for up to six months, and drying concentrates its flavors for long-term use. Follow these methods and tips to make the most out of this versatile herb in your culinary creations.
Read more: How To Store Fresh Cut Dill
Why is it important to store cut dill properly?
Proper storage of cut dill is essential for several reasons. Firstly, storing it correctly helps to maintain its freshness and flavor. Dill contains volatile oils that contribute to its distinct taste and aroma, and these oils can dissipate quickly if not stored properly. By preserving the freshness of dill, you ensure that it will have a more potent flavor when used in your dishes.
In addition to flavor, proper storage also helps to retain the nutritional value of dill. This herb is rich in vitamins, minerals, and antioxidants that offer numerous health benefits. By ensuring that cut dill is stored correctly, you can preserve these valuable nutrients, allowing you to enjoy the maximum nutritional benefits.
Another reason to store cut dill properly is to prevent waste. When dill is not stored correctly, it can wilt, lose its color, and become unappetizing. This can lead to throwing away unused portions of the herb, resulting in unnecessary waste and added expenses. By storing cut dill properly, you can prolong its shelf life and minimize waste.
Furthermore, knowing how to store cut dill allows you to have a readily available supply of this herb even when it is out of season. By preserving it properly, you can enjoy the flavors of dill throughout the year, regardless of whether it is in season or not. This can be particularly beneficial if you enjoy using dill in your cooking or if you like to experiment with different recipes that call for this herb.
Lastly, proper storage of cut dill can save you time and effort. When you have a stash of properly stored dill, you don’t have to make frequent trips to the grocery store or spend time searching for fresh dill. Instead, you can easily access the herb whenever needed, simplifying your cooking process and allowing you to enjoy the convenience of having dill readily available.
In summary, storing cut dill properly is important to maintain its freshness, flavor, nutritional value, and color. It helps to prevent waste, ensures a steady supply of dill throughout the year, and saves time and effort in the kitchen. Let’s now explore different methods for storing cut dill effectively.
Methods for Storing Cut Dill
When it comes to storing cut dill, there are several methods you can choose from depending on your preferences and needs. Here are three common methods for storing cut dill:
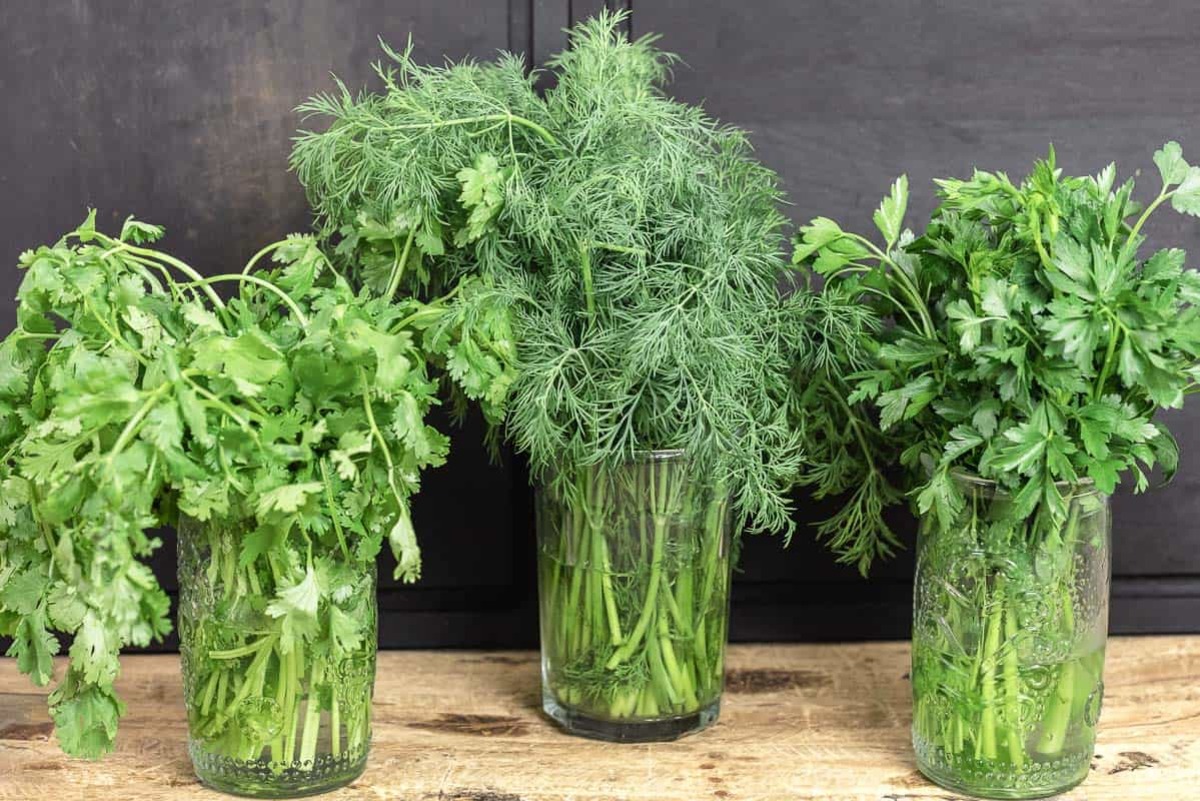
- Refrigeration: Refrigeration is a popular method for storing cut dill, as it helps to maintain its freshness and flavor. To store cut dill in the refrigerator, start by trimming any wilted or discolored parts of the stems. Next, place the dill in a glass or jar filled with a couple of inches of water, similar to how you would store fresh flowers. Cover the dill loosely with a plastic bag to retain moisture, but make sure not to wrap it tightly as this can cause the herb to wilt. Store the dill in the refrigerator’s vegetable drawer for up to one week, but try to use it as soon as possible for the best flavor.
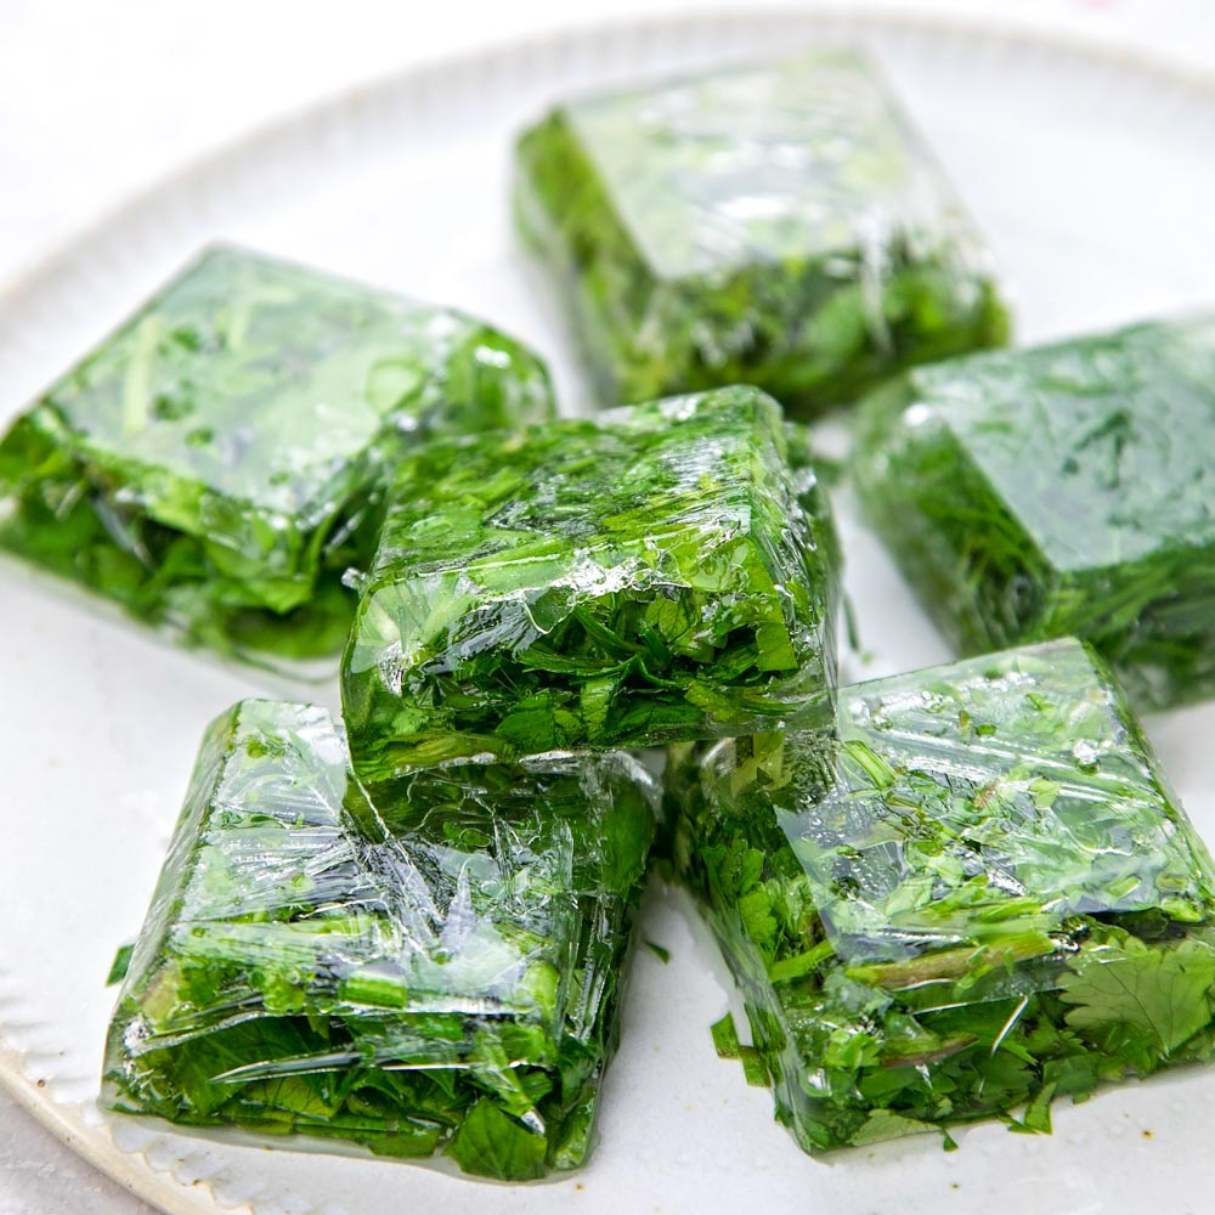
- Freezing: Freezing is an excellent method for preserving cut dill for an extended period. Begin by washing the dill thoroughly and patting it dry. Next, remove the leaves from the stems, as the stems can become tough when frozen. Spread the dill leaves in a single layer on a baking sheet lined with parchment paper and place it in the freezer until the leaves are frozen solid. Transfer the frozen dill leaves to an airtight container or a freezer bag, removing as much air as possible before sealing. Label the container with the date and store it in the freezer for up to six months. Frozen dill can be used directly in recipes without thawing, making it a convenient option.
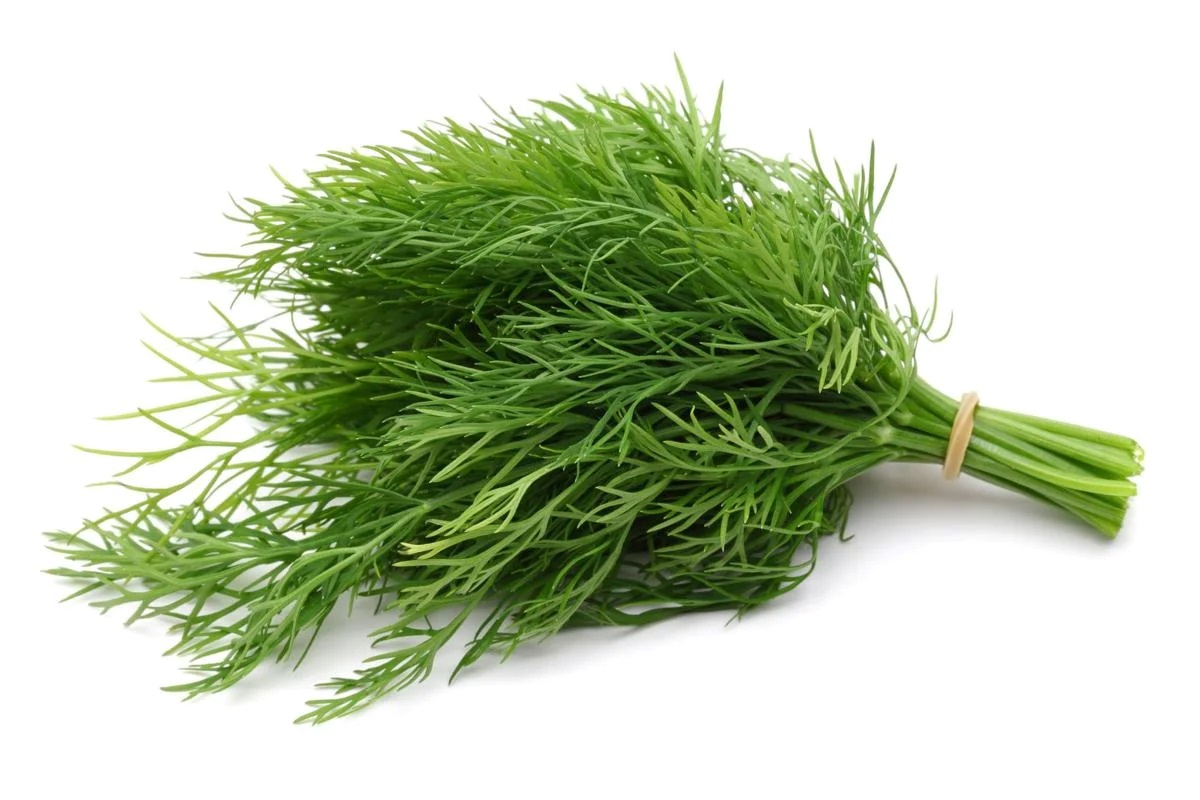
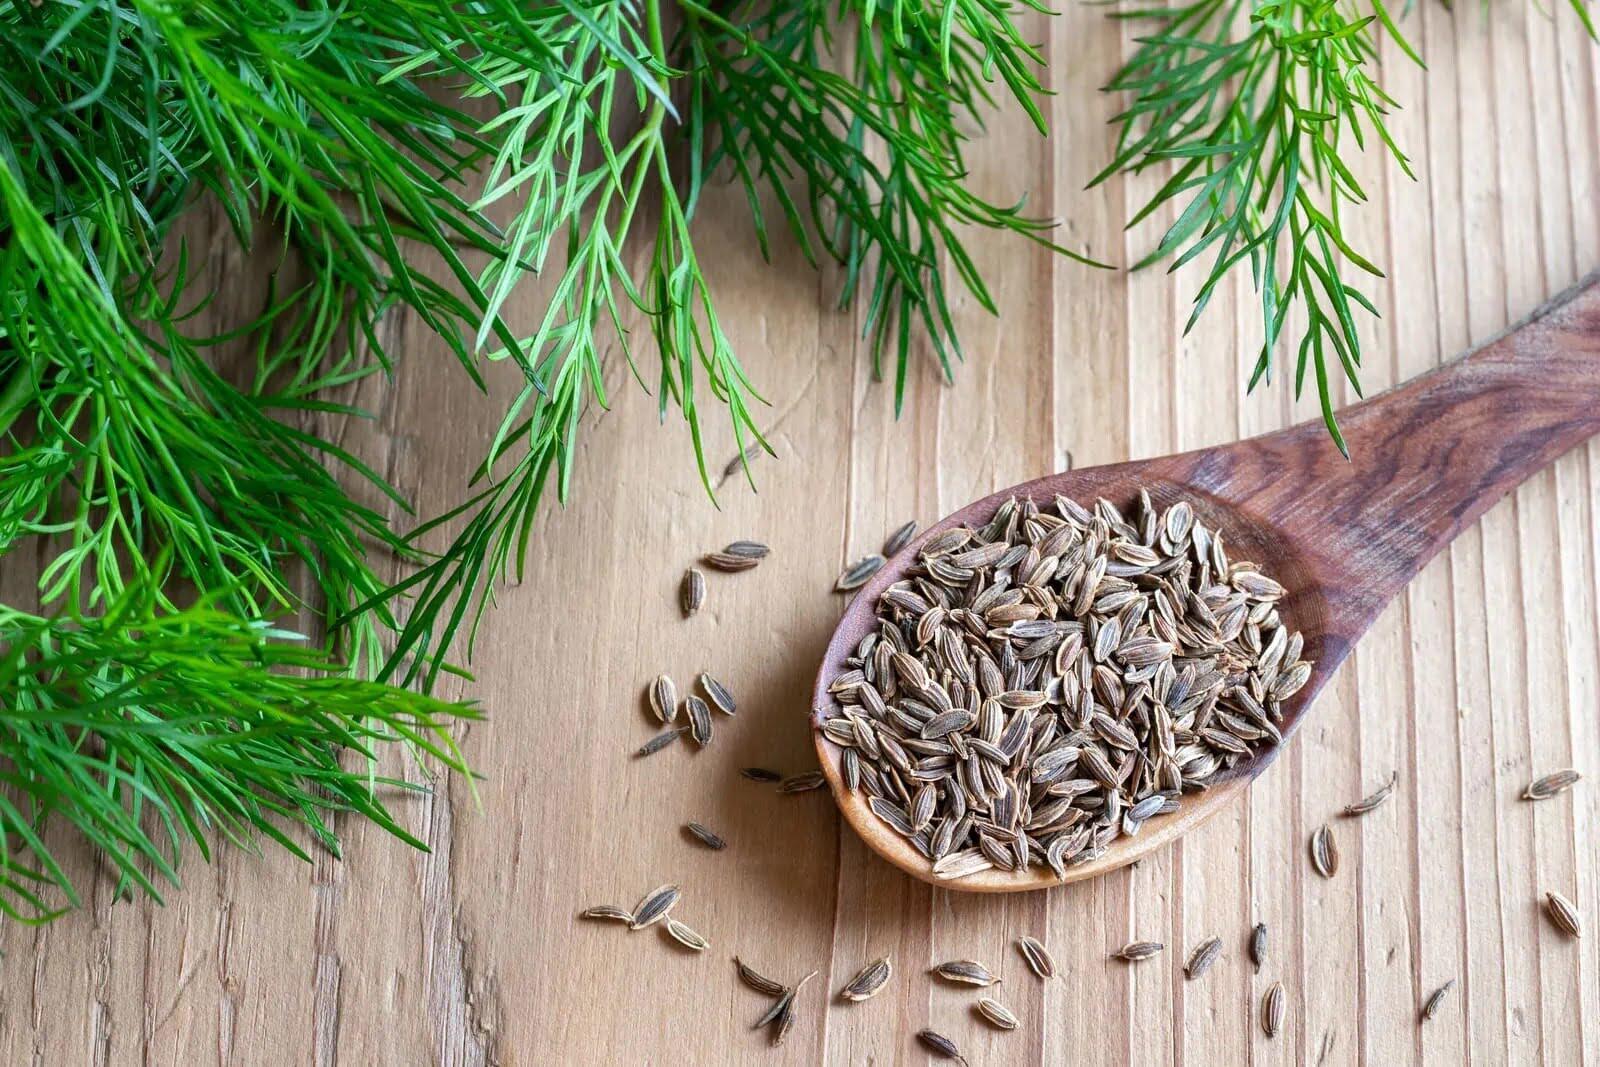
- Drying: Drying is another method for storing cut dill, especially if you want to have dried dill on hand for seasoning dishes. To dry dill, gather the stems together and tie them with a string or rubber band. Hang the bundled dill in a warm, dry, and well-ventilated area, away from direct sunlight. Allow the dill to air dry for about two weeks or until the leaves are crispy and fully dried. Alternatively, you can use a dehydrator or an oven set to low heat to speed up the drying process. Once dried, crumble the dill leaves into airtight containers or store them whole in a cool, dark place for up to six months.
Each of these methods has its own advantages, so choose the one that suits your needs and preferences. Now that we have explored different methods for storing cut dill, let’s move on to some tips that will help you store it successfully.
Method 1: Refrigeration
Refrigeration is a popular and simple method for storing cut dill. By keeping the herb cool and hydrated, you can maintain its freshness and flavor for a longer period. Follow these steps to properly store cut dill in the refrigerator:
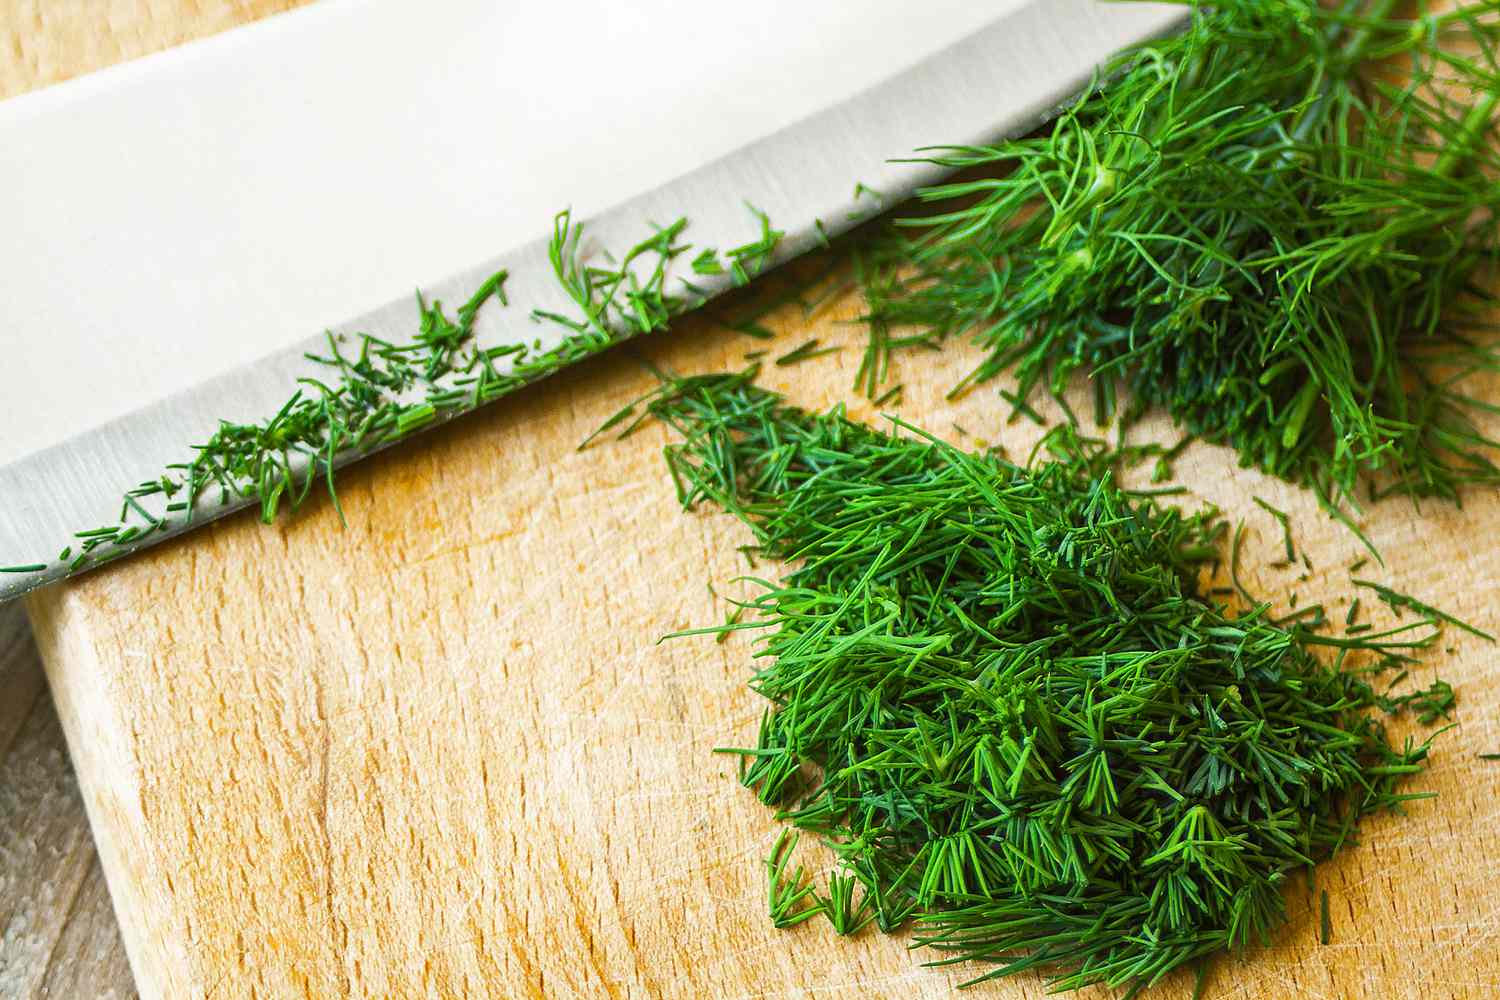
- Trim and prep: Start by inspecting the dill and removing any wilted or discolored parts of the stems. You can use a pair of kitchen shears or a sharp knife for this task. It’s important to remove any damaged portions, as they can spoil the rest of the dill more quickly.
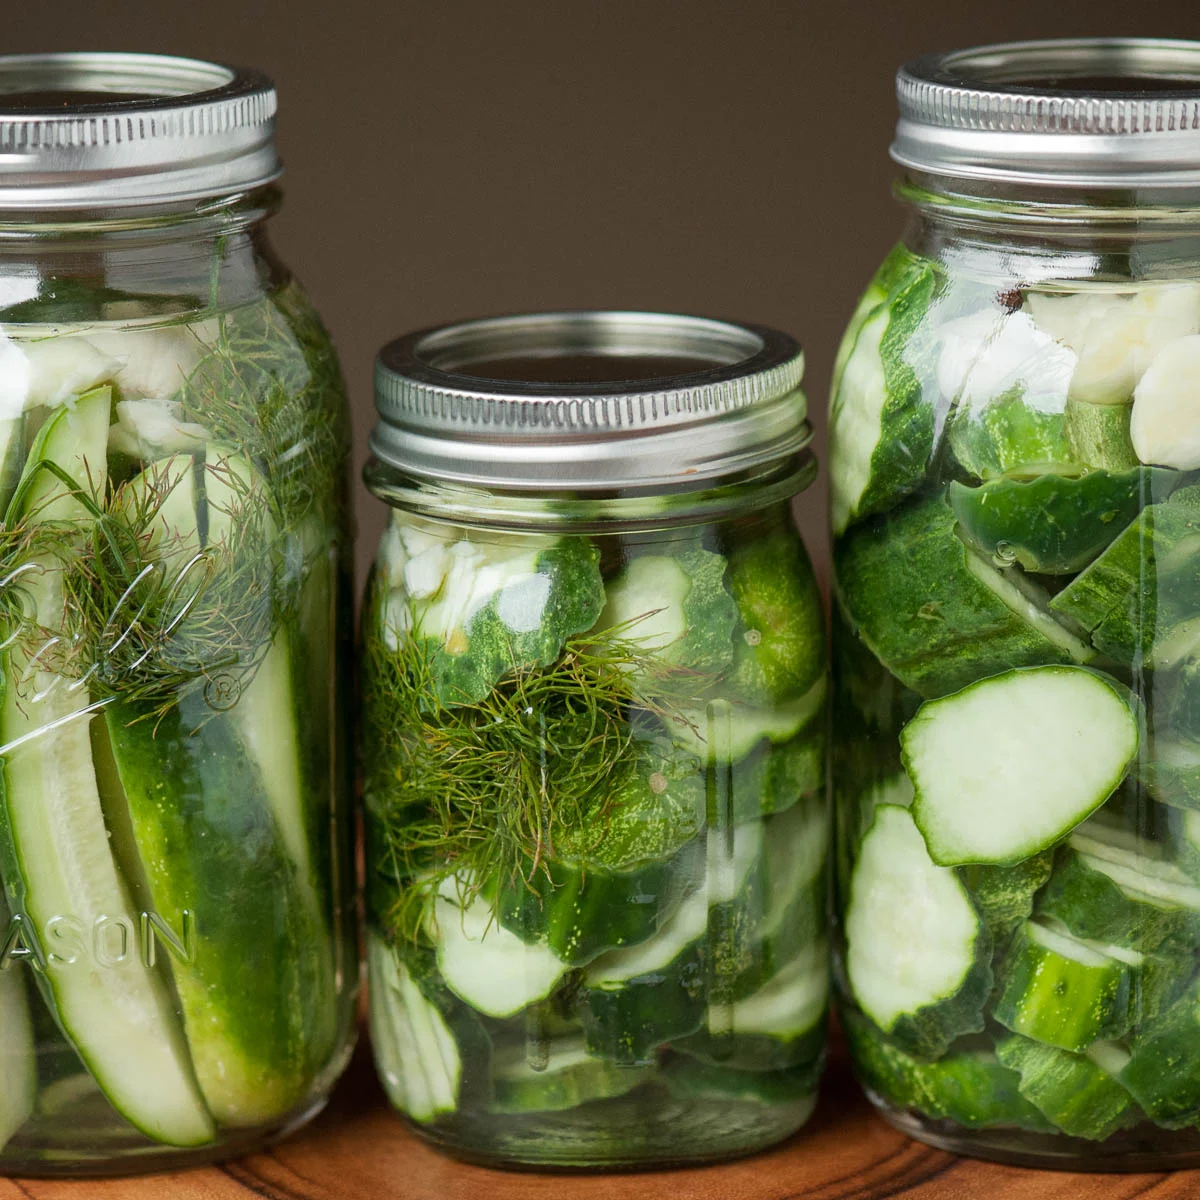
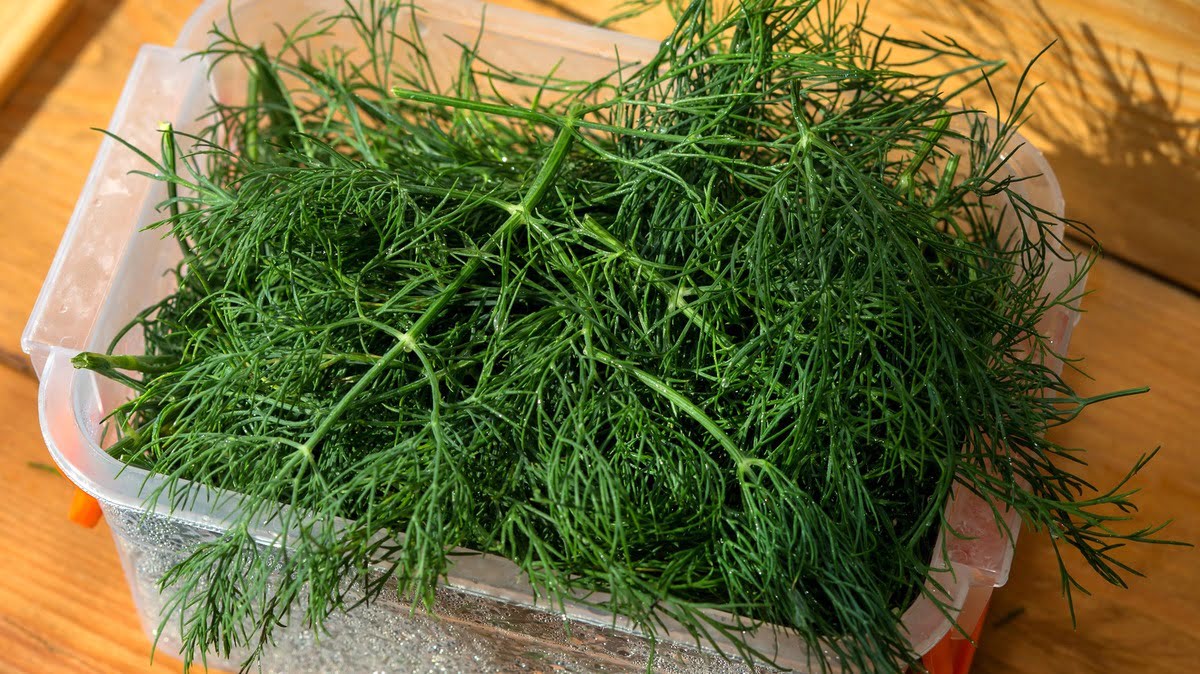
- Water container: Fill a glass or jar with a couple of inches of water. Make sure the container is tall enough to accommodate the length of the dill stems. Alternatively, you can use a plastic container with a lid that can create a humid environment for the dill.
- Place the dill: Arrange the trimmed dill stems in the container, ensuring that the bottom ends are submerged in the water. If necessary, you can remove a few lower leaves to achieve the desired water level. The remaining leaves should be above the water to prevent them from becoming waterlogged.
- Loose plastic cover: Loosely cover the dill with a plastic bag to retain humidity. It’s crucial not to wrap the dill tightly, as this can cause the herb to wilt quickly. Leave some space for air circulation to prevent moisture build-up.
- Refrigerator storage: Place the container of dill in the vegetable drawer of your refrigerator. The cool temperature of the fridge will help to slow down the deterioration process and preserve the flavor of the herb. Avoid storing the dill near fruits or vegetables that release ethylene gas, as this can accelerate the spoilage of the herb.
- Usage: It’s best to use the refrigerated dill within one week for optimal freshness and flavor. As time passes, the dill may start to lose its aroma and become less vibrant.
Refrigeration is a convenient method for storing cut dill, especially if you plan to use it in your cooking within a short timeframe. By following these steps, you can enjoy fresh and flavorful dill for an extended period. Let’s now move on to the next method: freezing.
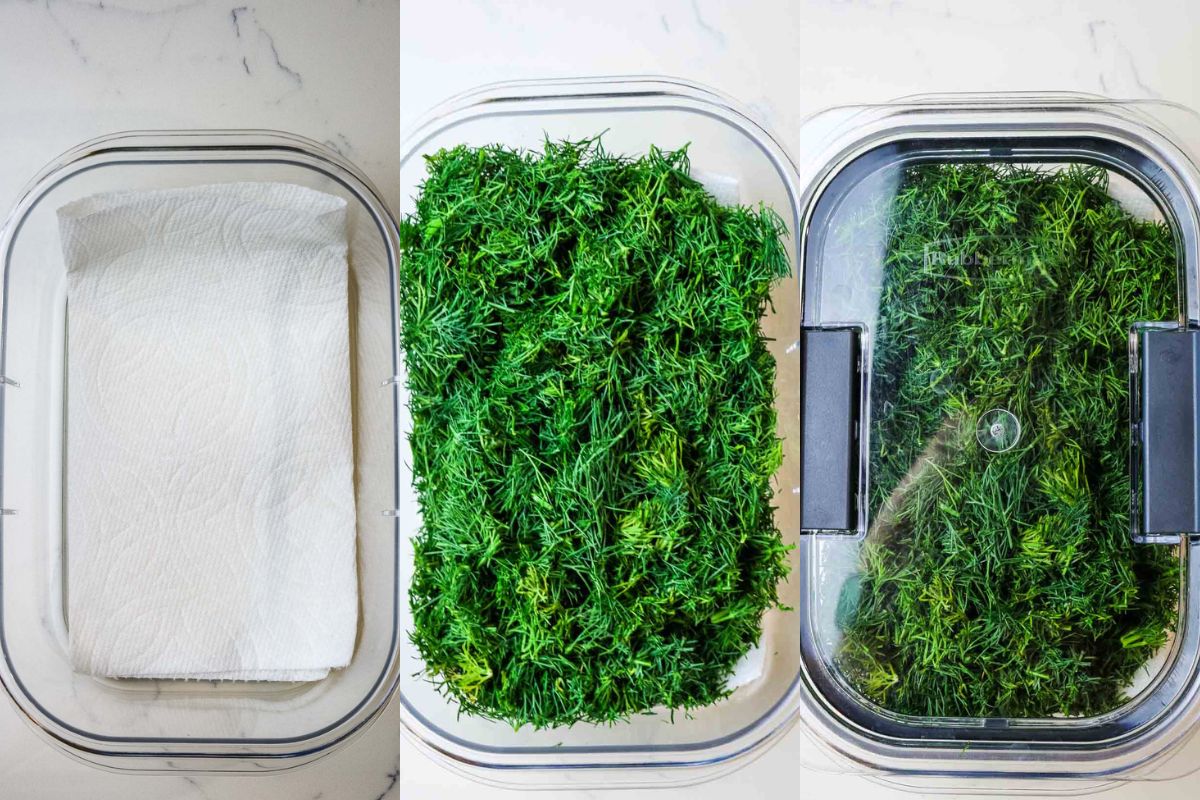
Store cut dill by wrapping it in a damp paper towel and placing it in a plastic bag in the refrigerator. It should stay fresh for up to a week.
Method 2: Freezing
Freezing is an excellent method for preserving cut dill for an extended period. Whether you have an abundant supply of fresh dill or want to save the herb for future use, freezing allows you to enjoy the flavors of dill all year round. Follow these steps to properly freeze cut dill:
- Wash and dry: Start by washing the dill under cool running water to remove any dirt or debris. Gently pat the herb dry with a paper towel or use a salad spinner to remove excess moisture. It’s important to ensure that the dill is completely dry before freezing, as ice crystals can affect the texture and quality of the herb.
- Remove leaves from stems: Take the dill stems and remove the leaves. While the stems are edible, they can become tough when frozen. By removing the leaves, you can easily incorporate frozen dill into your recipes without compromising on texture.
- Prepare for freezing: Spread the dill leaves in a single layer on a baking sheet lined with parchment paper. The parchment paper prevents the leaves from sticking to the baking sheet and makes it easier to remove them when frozen.
- Flash freeze: Place the baking sheet with the dill leaves in the freezer. Leave them in the freezer until fully frozen, usually taking about 1-2 hours. By flash freezing the dill leaves individually, it prevents them from clumping together, allowing you to easily grab the desired amount when needed.
- Transfer to freezer bags or containers: Once the dill leaves are frozen, transfer them to airtight freezer bags or containers. Remove as much air as possible from the bags before sealing to prevent freezer burn. It’s a good idea to label the bags or containers with the current date for reference.
- Freezer storage: Store the frozen dill in the freezer, preferably in the back where the temperature is more stable. The frozen dill can last for up to six months, but for the best quality, try to use it within three months.
- Usage: When you need dill for a recipe, simply take out the desired amount from the freezer and use it directly without thawing. Frozen dill works perfectly in soups, stews, sauces, and marinades, adding a burst of flavor to your dishes.
Freezing cut dill allows you to preserve its flavor and aroma while ensuring its availability whenever you need it. Whether you have an excess batch of fresh dill or want to save it for later use, freezing is a convenient method that maintains the quality of the herb. Now, let’s explore the final method: drying.
Read more: How To Store Fresh Dill
Method 3: Drying
Drying is a traditional method for preserving herbs, including dill. By removing moisture from the herb, drying helps to extend its shelf life while concentrating its flavors. Follow these steps to properly dry cut dill:
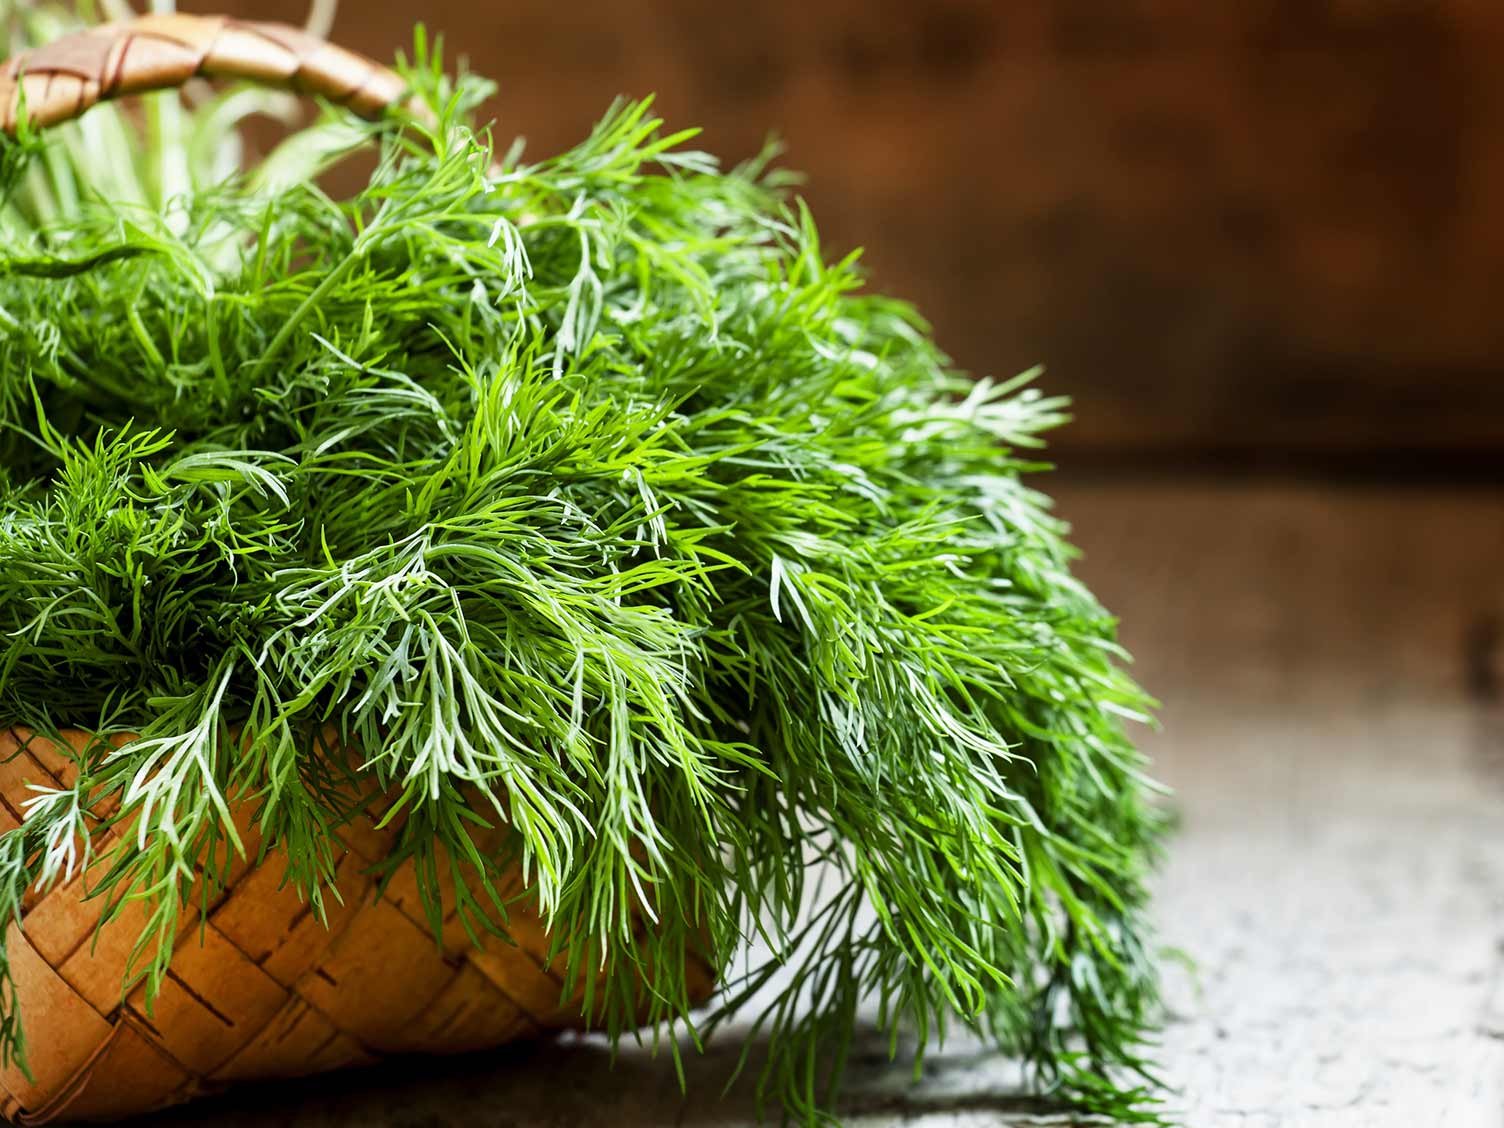
- Harvest and clean: Start by harvesting the dill when it is at its peak freshness. Use a pair of kitchen shears or a sharp knife to cut the dill stems near the base.
- Rinse and pat dry: Rinse the dill under cool running water to remove any dirt or debris. Gently pat the dill dry with a paper towel or use a salad spinner to remove excess moisture. Make sure the dill is completely dry before proceeding to the next step.
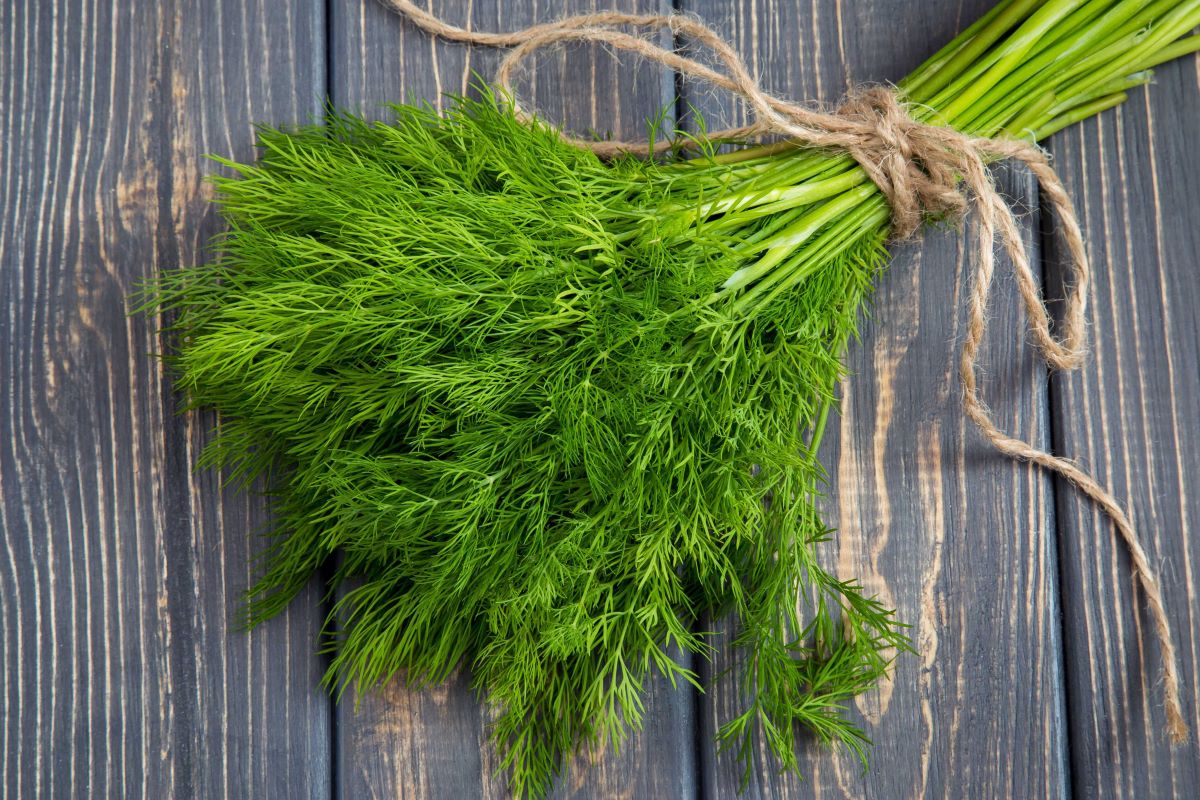
- Bunch and secure: Gather several stems of dill together and tie them at the base using a string or a rubber band. The bundle should be loose enough to allow air circulation during drying.
- Hanging method: Hang the dill bundle upside down in a warm, dry, and well-ventilated area. Choose a location away from direct sunlight to prevent the herb from losing its color and flavor. Ensure that there is enough space between the dill bundles to allow air to circulate freely.
- Alternative drying methods: If hanging the dill is not possible, you can use other drying methods. Spread the dill on a drying rack or a baking sheet lined with parchment paper. Place the dill in an oven set to the lowest temperature, typically around 120°F (50°C). Keep the oven door slightly ajar to allow moisture to escape.
- Air drying duration: Let the dill air dry for about two weeks or until the stems and leaves are fully dried. The leaves should crumble easily between your fingers when dry.
- Store and label: Once the dill is completely dried, remove the leaves from the stalks. Crumble the dried dill leaves and store them in airtight containers, such as glass jars or resealable bags. Don’t forget to label the containers with the date to keep track of their freshness.
- Storage conditions: Store the dried dill in a cool, dark place away from direct sunlight, moisture, and heat sources. Properly dried and stored dill can last for up to six months, although the flavor may gradually fade over time.
- Usage: Dried dill can be used in various dishes, including soups, stews, sauces, marinades, and salad dressings. Simply crush the dried dill leaves between your palms or use a mortar and pestle to release their flavors before adding them to your recipes.
Drying cut dill is a great option if you want to have dried dill on hand for seasoning dishes throughout the year. It is a simple and effective method that allows you to store dill for an extended period while preserving its flavors. With the dried dill ready in your pantry, you can effortlessly enhance the taste of your favorite recipes. Now that we have covered the different methods for storing cut dill, let’s move on to some tips to ensure successful storage.
Tips for Storing Cut Dill
To ensure successful storage of cut dill and maximize its freshness and flavor, consider the following tips:
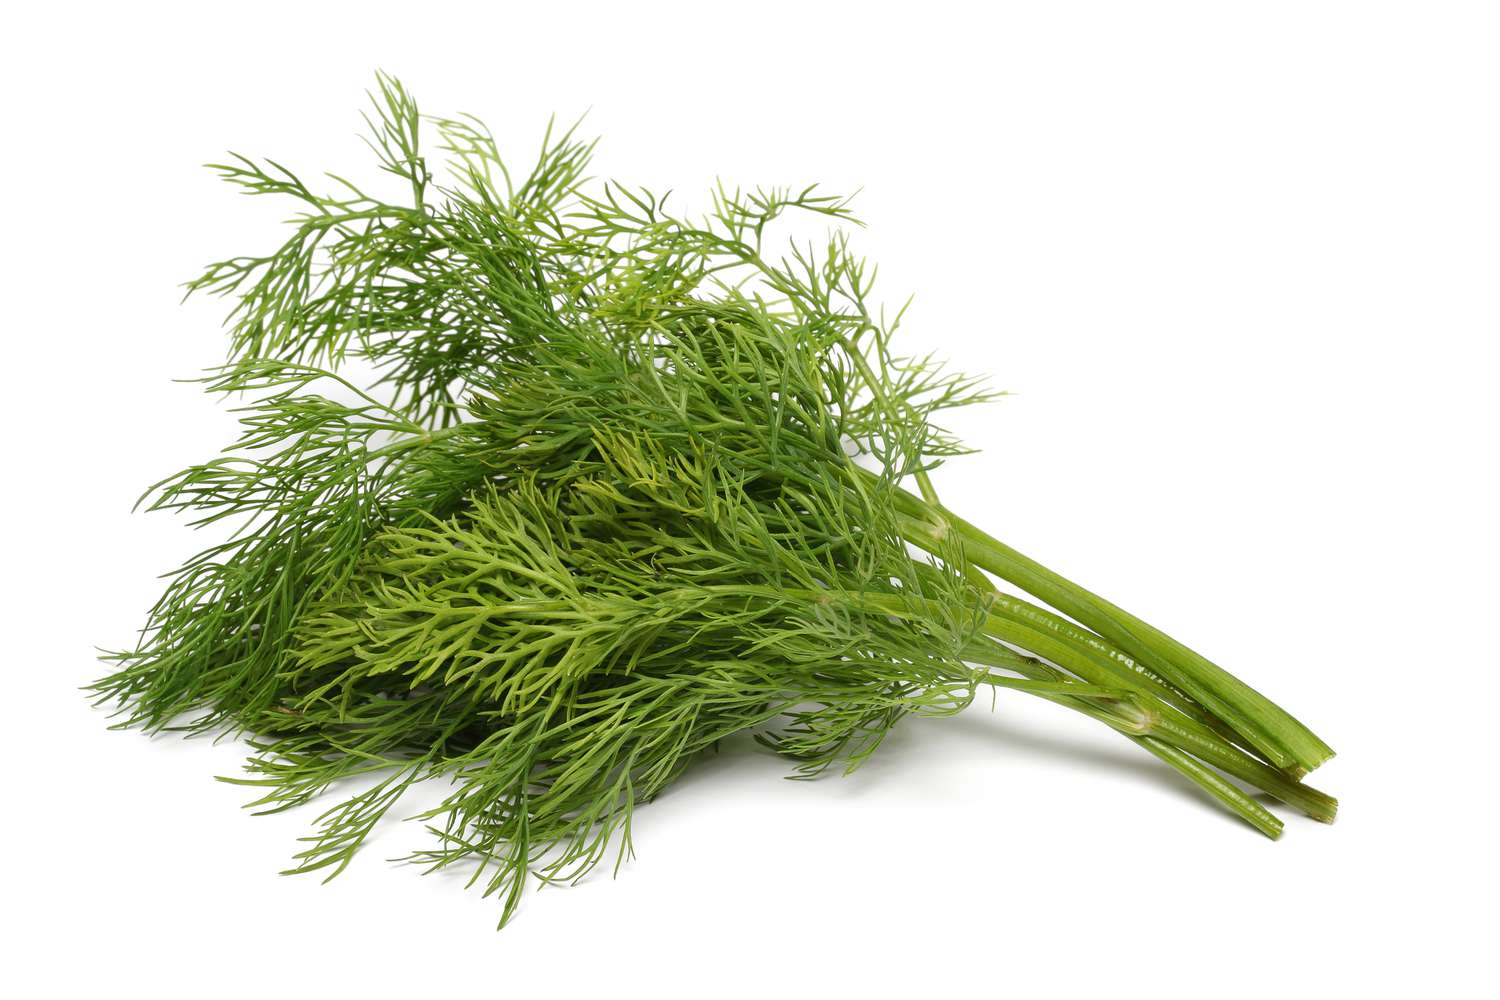
- Choose fresh dill: When selecting dill for storage, opt for fresh and vibrant leaves. Avoid dill with wilted or discolored stems, as this indicates a loss of freshness and flavor.
- Handle with care: Treat cut dill gently to prevent bruising or damage. Rough handling can accelerate the wilting and deterioration process.
- Trim as needed: Regularly trim any wilted or discolored parts of the dill stems to prevent the spread of spoilage. This helps to maintain the freshness and quality of the herb.
- Keep moisture in mind: Moisture is essential for storing cut dill, but excessive moisture can cause the herb to become slimy or moldy. Strike a balance by ensuring the dill has enough moisture for hydration but is not sitting in water or overly damp.
- Avoid ethylene-producing fruits: Store cut dill away from ethylene-producing fruits such as apples, bananas, and tomatoes. Ethylene gas can speed up the process of wilting, discoloration, and spoilage in dill.
- Label and date containers: Whether you are storing dill in the refrigerator, freezer, or pantry, always label the containers with the herb’s name and the date of storage. This allows you to keep track of its freshness and helps you rotate your stock effectively.
- Protect from light: Store cut dill in opaque containers or wrap it in brown paper bags to protect it from exposure to light. Light can degrade the flavors and colors of the herb over time.
- Use airtight containers: When storing dried dill or frozen dill, opt for airtight containers or freezer bags to prevent moisture, air, and odors from affecting the quality and flavor of the herb.
- Monitor and rotate: Regularly check on your stored dill to ensure its condition. Use the first-in, first-out (FIFO) method to maintain freshness by using the oldest dill first before moving on to newer batches.
- Adjust storage quantity: If you find that you consistently have leftover cut dill, adjust the amount you store accordingly. It’s better to store smaller quantities more frequently to maintain the herb’s freshness.
By following these tips, you can store cut dill properly, extend its shelf life, and enjoy its vibrant flavors and aromas in your culinary creations. Whether you choose to refrigerate, freeze, or dry your dill, these tips will help you make the most out of this versatile herb. Now, let’s wrap up our article.
Conclusion
Properly storing cut dill is essential to maintain its freshness, flavor, and nutritional value. Whether you choose to refrigerate, freeze, or dry your dill, each method offers unique benefits and allows you to enjoy the flavors of dill throughout the year. By following the methods and tips outlined in this guide, you can prolong the lifespan of cut dill and avoid unnecessary waste.
Refrigeration is a convenient option for short-term storage of cut dill. By keeping the herb hydrated and cool, you can retain its freshness and flavor for up to one week. Freezing, on the other hand, allows you to preserve dill for a longer period, up to six months. Flash freezing the dill leaves individually helps to maintain their texture and makes it easy to use them directly in recipes without thawing.
Drying is a traditional method for preserving herbs, including dill. By removing moisture from the herb, drying concentrates the flavors and allows you to have dried dill on hand for seasoning dishes. Properly dried dill can last up to six months and is great for soups, stews, sauces, and marinades.
Remember to follow the tips for successful dill storage, such as choosing fresh dill, handling it gently, monitoring moisture levels, and protecting it from ethylene-producing fruits. Labeling and dating your containers, using airtight storage, and regularly checking on your stored dill will help you maintain its quality and freshness over time.
By incorporating dill into your cooking, you can add a burst of flavor and aroma to your dishes. Whether it’s a creamy dip, a vibrant salad, or a savory main course, dill can elevate the taste and bring a refreshing element to your meals. With proper storage techniques, you can enjoy the flavors of dill all year round, bringing a touch of culinary creativity to your kitchen.
So, the next time you have cut dill on hand, remember to follow the methods and tips outlined in this guide to store it properly. By doing so, you can make the most out of this versatile herb and elevate the flavors of your culinary creations. Happy cooking!
Frequently Asked Questions about How To Store Cut Dill
Was this page helpful?
At Storables.com, we guarantee accurate and reliable information. Our content, validated by Expert Board Contributors, is crafted following stringent Editorial Policies. We're committed to providing you with well-researched, expert-backed insights for all your informational needs.


0 thoughts on “How To Store Cut Dill”