
Articles
How To Store Fresh Dill With Roots
Modified: December 7, 2023
Learn the best ways to store fresh dill with roots in this informative article, ensuring its freshness and flavor for longer periods.
(Many of the links in this article redirect to a specific reviewed product. Your purchase of these products through affiliate links helps to generate commission for Storables.com, at no extra cost. Learn more)
Introduction
Welcome to the wonderful world of fresh dill with roots! If you are a fan of this aromatic herb, you probably know that dill can add a delightful burst of flavor to a wide range of dishes, from soups and salads to sauces and marinades. But did you know that storing fresh dill with its roots intact can help extend its shelf life and keep it fresh for longer?
Properly storing fresh dill with roots not only helps maintain its flavor and texture but also ensures that you have access to this herb whenever you need it. Whether you have grown your own dill or purchased it from a local market, knowing how to store it correctly can make a significant difference in its longevity.
So, in this article, we will guide you through the process of storing fresh dill with roots. We will explore the importance of proper storage, the supplies you will need, and the step-by-step instructions to ensure your dill stays fresh and vibrant.
From enhancing the flavor of grilled fish to adding a refreshing touch to your cucumber salad, having a stash of fresh dill on hand can take your culinary skills to the next level. So, let’s dive into the world of preserving this herb and discover the secrets to keeping its essence alive!
Key Takeaways:
- Storing fresh dill with roots intact prolongs its shelf life, preserves its aroma and flavor, retains its nutritional value, and ensures convenient accessibility, reducing waste and enhancing culinary experiences.
- Proper maintenance of stored dill, including checking water levels, trimming stems, discarding wilted portions, and using gradually, ensures long-lasting freshness and flavor, making the most of this versatile herb.
Read more: How To Store Fresh Dill
Importance of Storing Fresh Dill with Roots
When it comes to storing fresh dill, it is essential to keep the roots intact. The roots play a significant role in keeping the herb fresh and preventing it from wilting prematurely. Here are some reasons why storing fresh dill with roots is crucial:
- Prolongs Shelf Life: By leaving the roots intact, you allow the dill to continue drawing water and nutrients from the roots. This helps to extend its freshness and ensure it stays vibrant for a longer period.
- Preserves Aroma and Flavor: Fresh dill owes its unique aroma and flavor to essential oils present within its leaves. Storing it with the roots intact helps retain these oils, ensuring that the herb retains its full fragrance and taste.
- Retains Nutritional Value: Dill is not only rich in flavor but also packed with essential vitamins and minerals. Storing it with the roots intact preserves the nutritional value of the herb, ensuring that you can enjoy its health benefits to the fullest.
- Convenience and Accessibility: Storing fresh dill with roots allows you to have easy access to the herb whenever you need it. You can simply pluck the necessary amount, leaving the rest to continue growing and staying fresh in your storage container.
Properly storing fresh dill with roots not only helps you make the most of its freshness and flavor but also reduces waste. Instead of using small amounts of dill and discarding the rest, you can store it properly and use it gradually over time.
Now that we understand the importance of storing fresh dill with roots, let’s move on to the supplies you will need to embark on this preservation journey!
Supplies Needed
Before we begin storing fresh dill with roots, let’s gather the necessary supplies. Here’s what you’ll need:
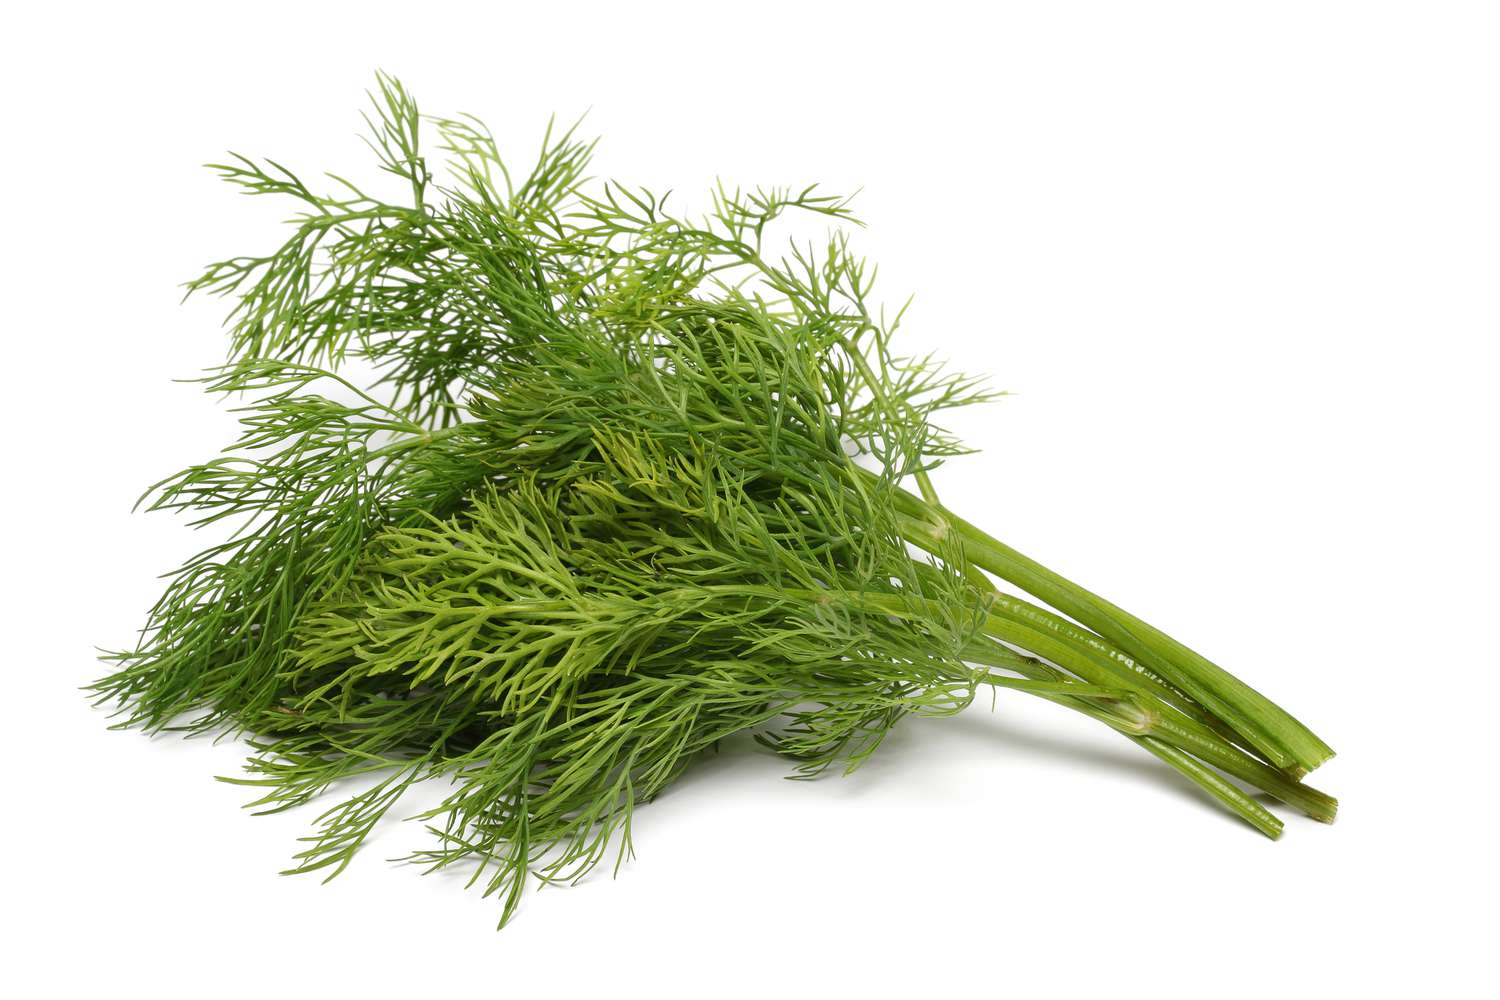
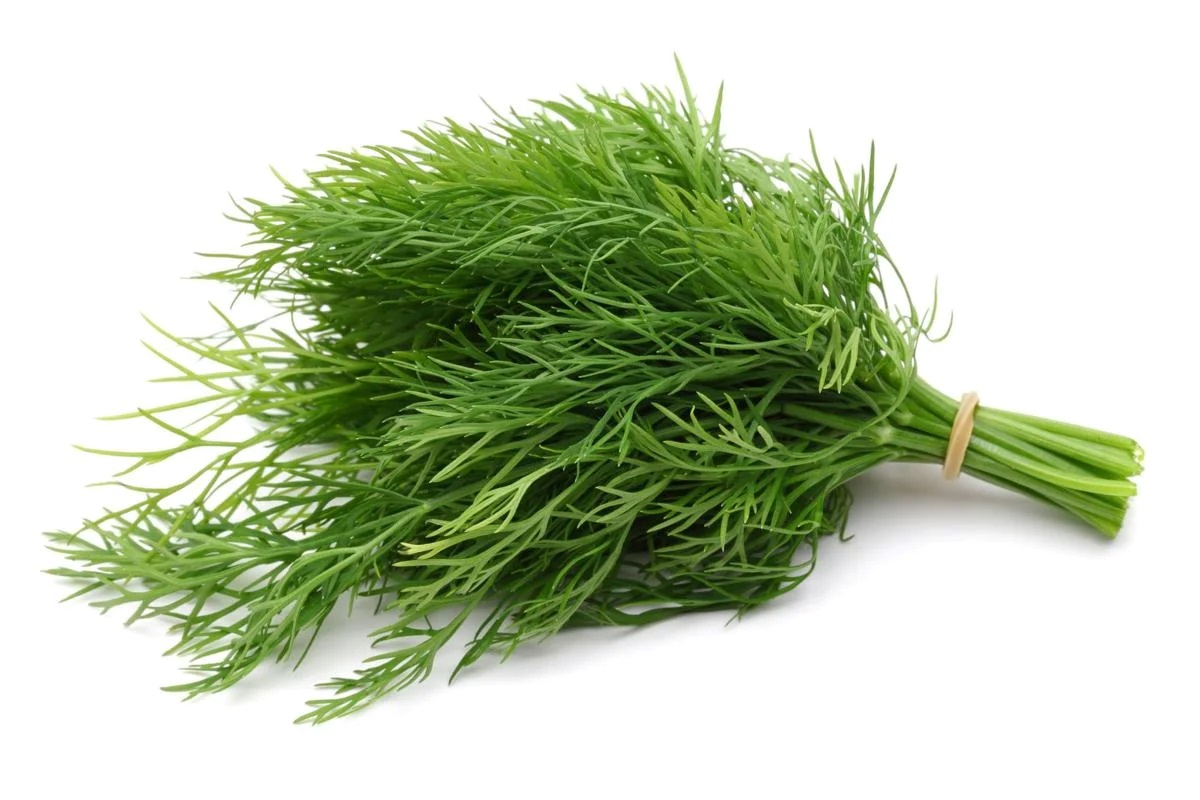
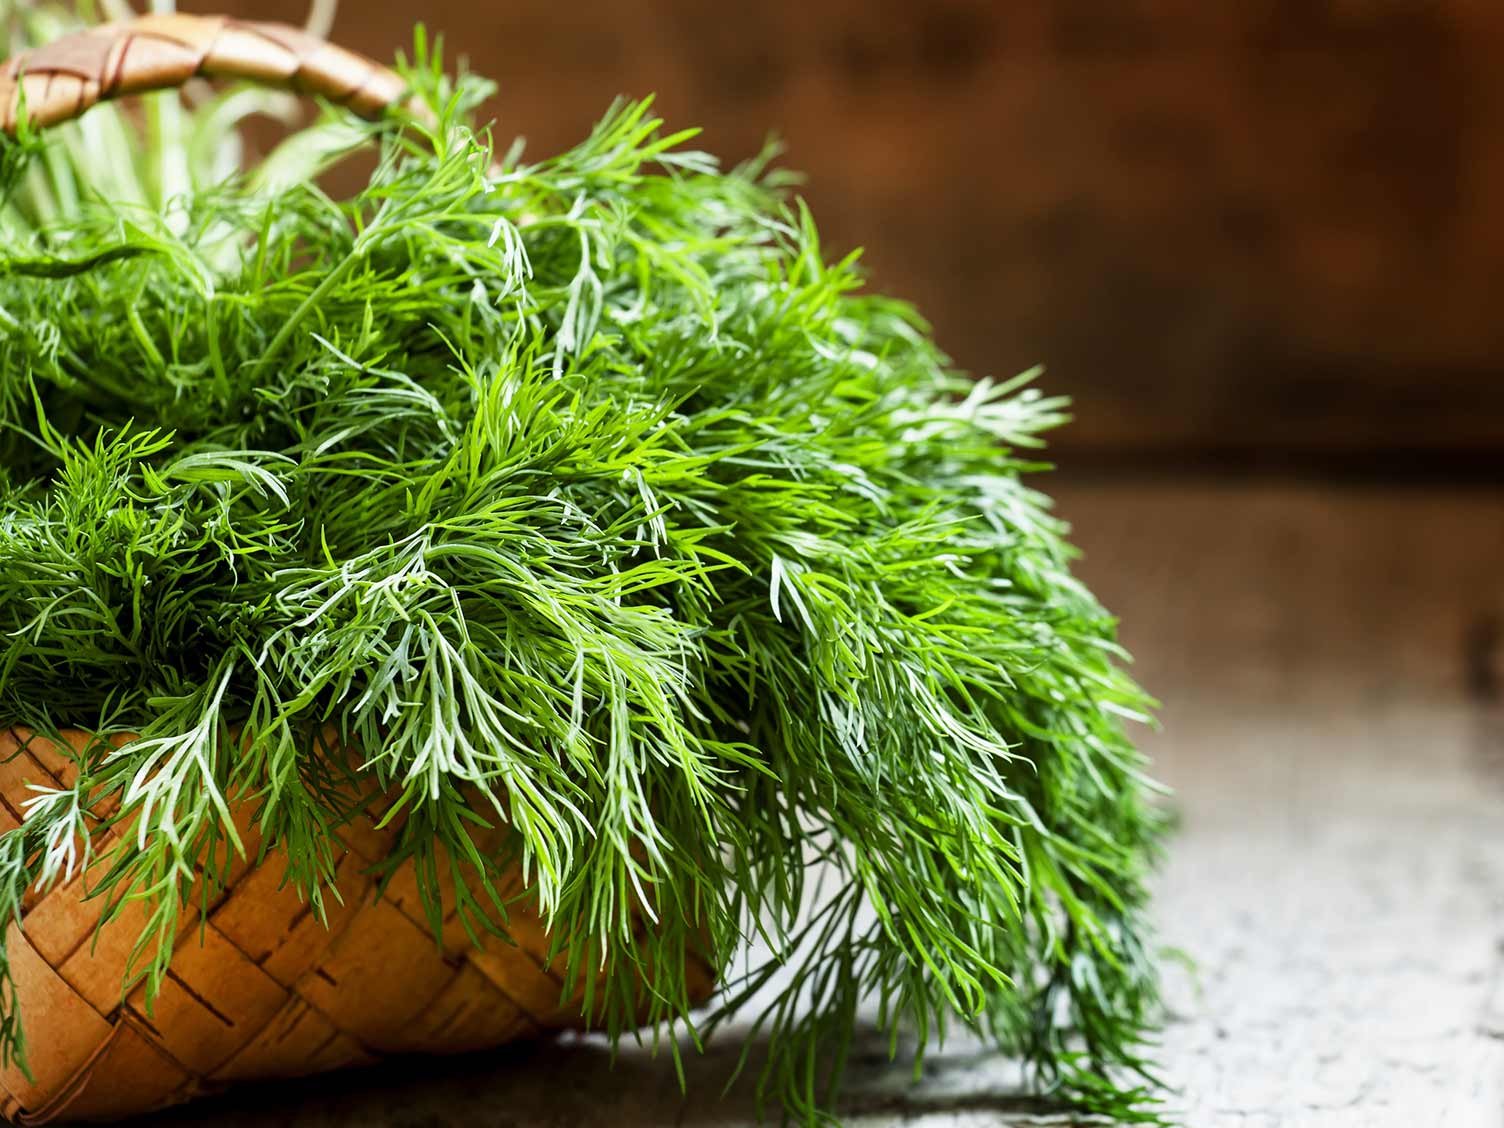
- Fresh Dill Bunch: Start with a fresh bunch of dill that has its roots attached. Look for vibrant green leaves and sturdy stems for the best quality.
- Storage Container: Choose a container that is tall enough to accommodate the length of the dill stems. A glass jar or a plastic container with a lid works well for this purpose. Make sure the container is clean and has enough space to hold the dill without crowding.
- Water: You’ll need clean, cold water to provide moisture to the dill roots during storage.
- Plastic Bag or Plastic Wrap: To create a humid environment within the storage container, you’ll need a plastic bag or plastic wrap to cover the dill.
Once you have gathered these supplies, you are ready to embark on the journey of preserving the freshness of your dill with roots. With these simple tools, you can ensure that your dill stays crisp and aromatic for an extended period.
Now that you have everything you need, let’s move on to the step-by-step process of harvesting fresh dill with roots!
Step 1: Harvesting Fresh Dill with Roots
The first step in storing fresh dill with roots is to properly harvest the herb. Harvesting dill with roots ensures that it retains its freshness and vitality for longer. Here’s how you can do it:
- Select the Right Time: Harvesting dill is best done early in the morning when the herb is at its freshest. The cool morning air helps maintain the herb’s flavor and aroma.
- Choose Healthy Stems: Look for healthy dill stems with vibrant green leaves. Avoid any stems that are wilting or discolored, as these may not store well.
- Cut the Stems: Using sharp scissors or a clean knife, cut the dill stems close to the base, leaving about 2-3 inches of the stem attached to the root. This will ensure that the herb retains its freshness and nutrients.
- Gently Remove Excess Soil: Shake off any excess soil or dirt from the roots, being careful not to damage them. You can also rinse the roots lightly under cold water to remove any stubborn dirt.
- Pat Dry: After rinsing, gently pat the roots and stems dry with a clean kitchen towel or paper towel. This helps remove excess moisture that can lead to spoilage during storage.
Now that you have harvested your fresh dill with roots, it’s time to move on to the next step: cleaning the dill to remove any impurities.
Step 2: Cleaning the Fresh Dill
Now that you have harvested the fresh dill with roots, it’s important to give it a thorough cleaning to remove any impurities. Cleaning the dill ensures that it stays fresh and free from dirt or debris during storage. Follow these steps to clean your fresh dill:
- Trim the Ends: Start by trimming the ends of the dill stems, removing any damaged or discolored leaves. This will help improve the overall appearance of the herb.
- Rinse Under Cold Water: Place the dill under cold running water and gently rub your fingers along the stems and leaves. This will help remove any dirt, dust, or residue that may be clinging to the herb.
- Inspect for Pests: While rinsing, keep an eye out for any pests that may have made their home on the dill. Remove any insects or damaged leaves that you come across.
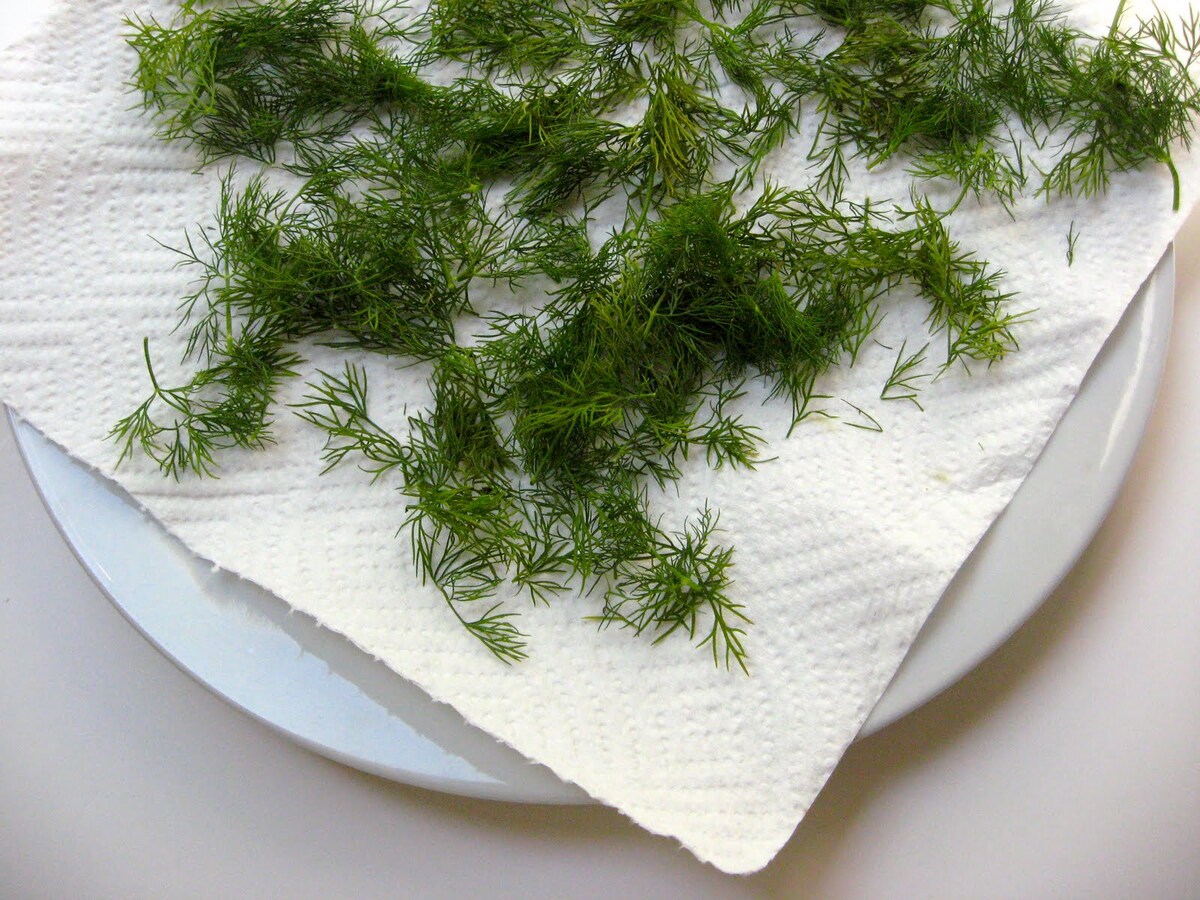
- Gently Pat Dry: After rinsing, gently pat the dill dry with a clean kitchen towel or paper towel. Be careful not to crush or bruise the delicate leaves during this process.
- Let it Air Dry: Allow the dill to air dry for a few minutes before proceeding to the next step. This will help remove any excess moisture and prevent the dill from becoming soggy and prone to spoilage.
Once you have cleaned the fresh dill, it’s time to prepare the storage container to ensure the herb stays fresh for as long as possible. Let’s move on to step 3: preparing the storage container!
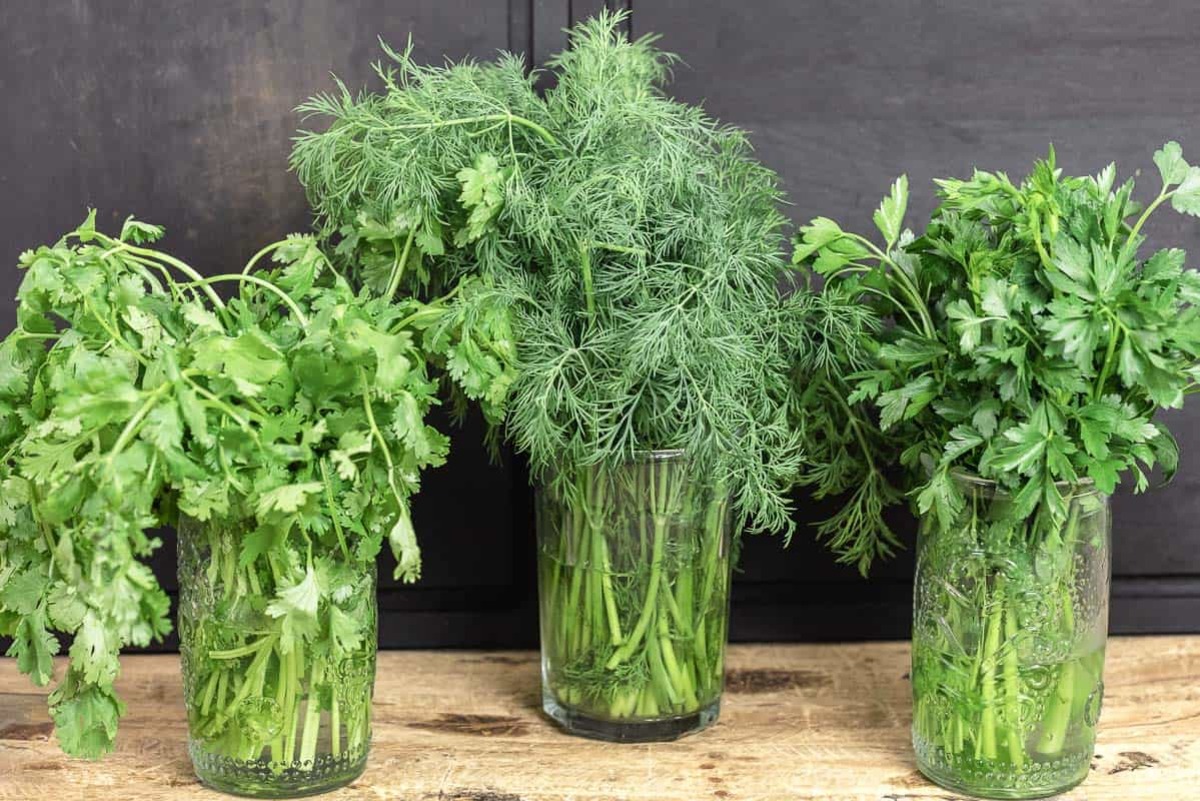
Store fresh dill with roots in a glass of water, cover with a plastic bag, and refrigerate. Change the water every few days to keep it fresh for longer.
Read more: How To Store Fresh Cut Dill
Step 3: Preparing the Storage Container
Now that you have harvested and cleaned your fresh dill, it’s time to prepare the storage container. By choosing the right container and preparing it properly, you can create an ideal environment for preserving the freshness of your dill. Follow these steps to prepare the storage container:
- Select a Clean Container: Choose a container that is clean and free from any dirt or residue. Glass jars or plastic containers with lids work well for storing dill. Make sure the container is large enough to accommodate the length of the dill stems without crowding.
- Add Cold Water: Fill the container with enough clean, cold water to submerge the dill stems. The water should be at room temperature or slightly cooler.
- Trim the Roots: Trim the roots of the dill to ensure they fit comfortably within the container. Make sure to leave a few inches of root attached to the dill stems for optimal storage.
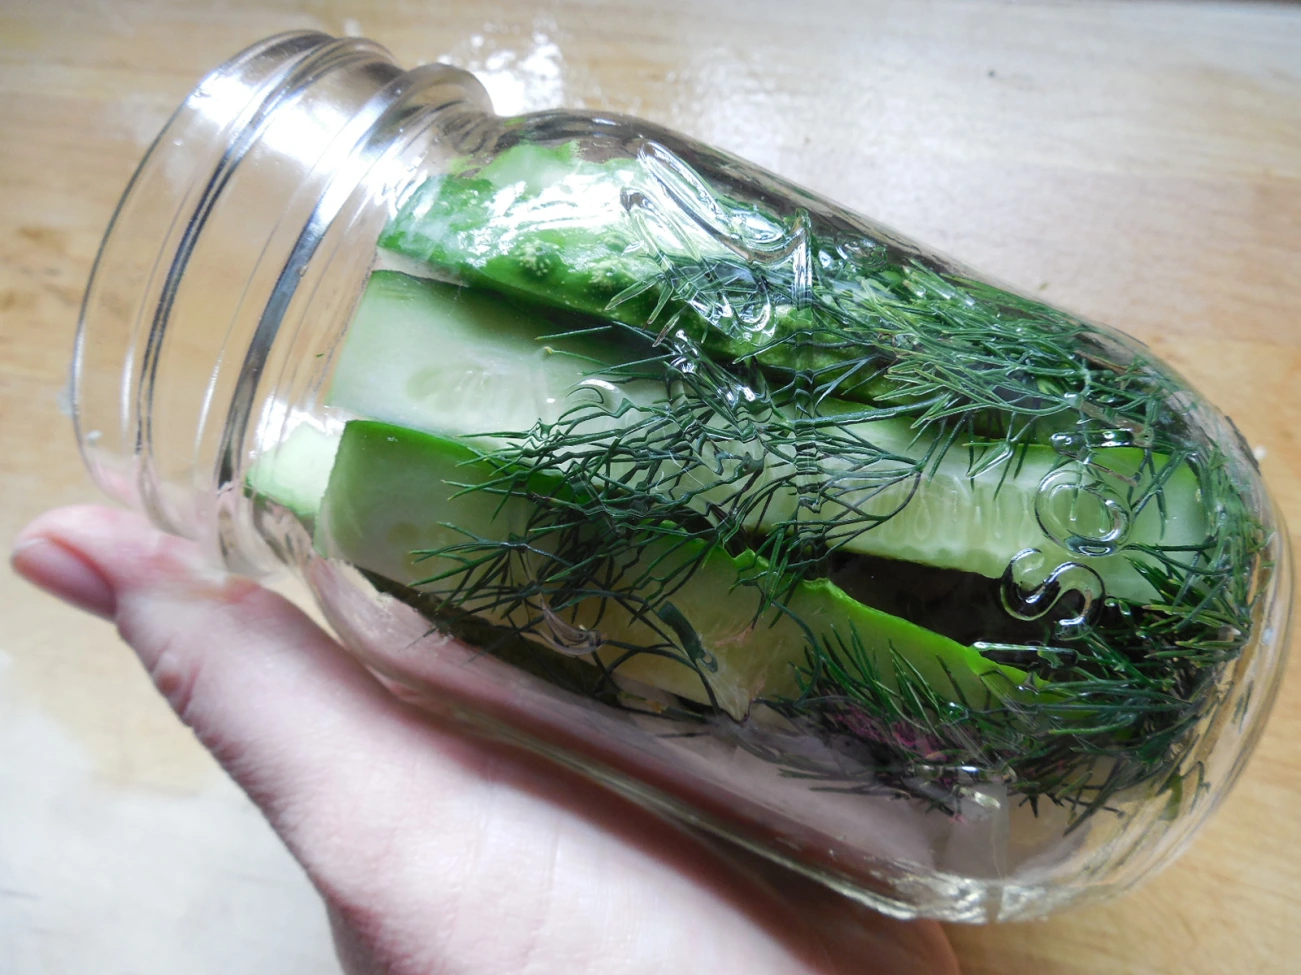
- Place the Dill in the Container: Gently place the trimmed dill stems into the container, making sure the roots are submerged in the water. Arrange the dill in a way that prevents overcrowding and allows for proper air circulation.
- Cover the Container: To create a humid environment, cover the container with a plastic bag or plastic wrap. The cover will help retain moisture and prevent the dill from drying out.
Once the container is prepared, your fresh dill with roots is ready to be stored. In the next step, we will learn how to store the dill properly to maintain its freshness. Let’s move on to step 4: storing fresh dill with roots!
Step 4: Storing Fresh Dill with Roots
Now that you have prepared your storage container, it’s time to store your fresh dill with roots. Proper storage is essential to maintaining the freshness and flavor of the herb. Follow these steps to store your dill effectively:
- Find a Suitable Storage Location: Choose a cool spot in your kitchen or refrigerator to store the dill. The temperature should be around 32-36°F (0-2°C) for optimal freshness.
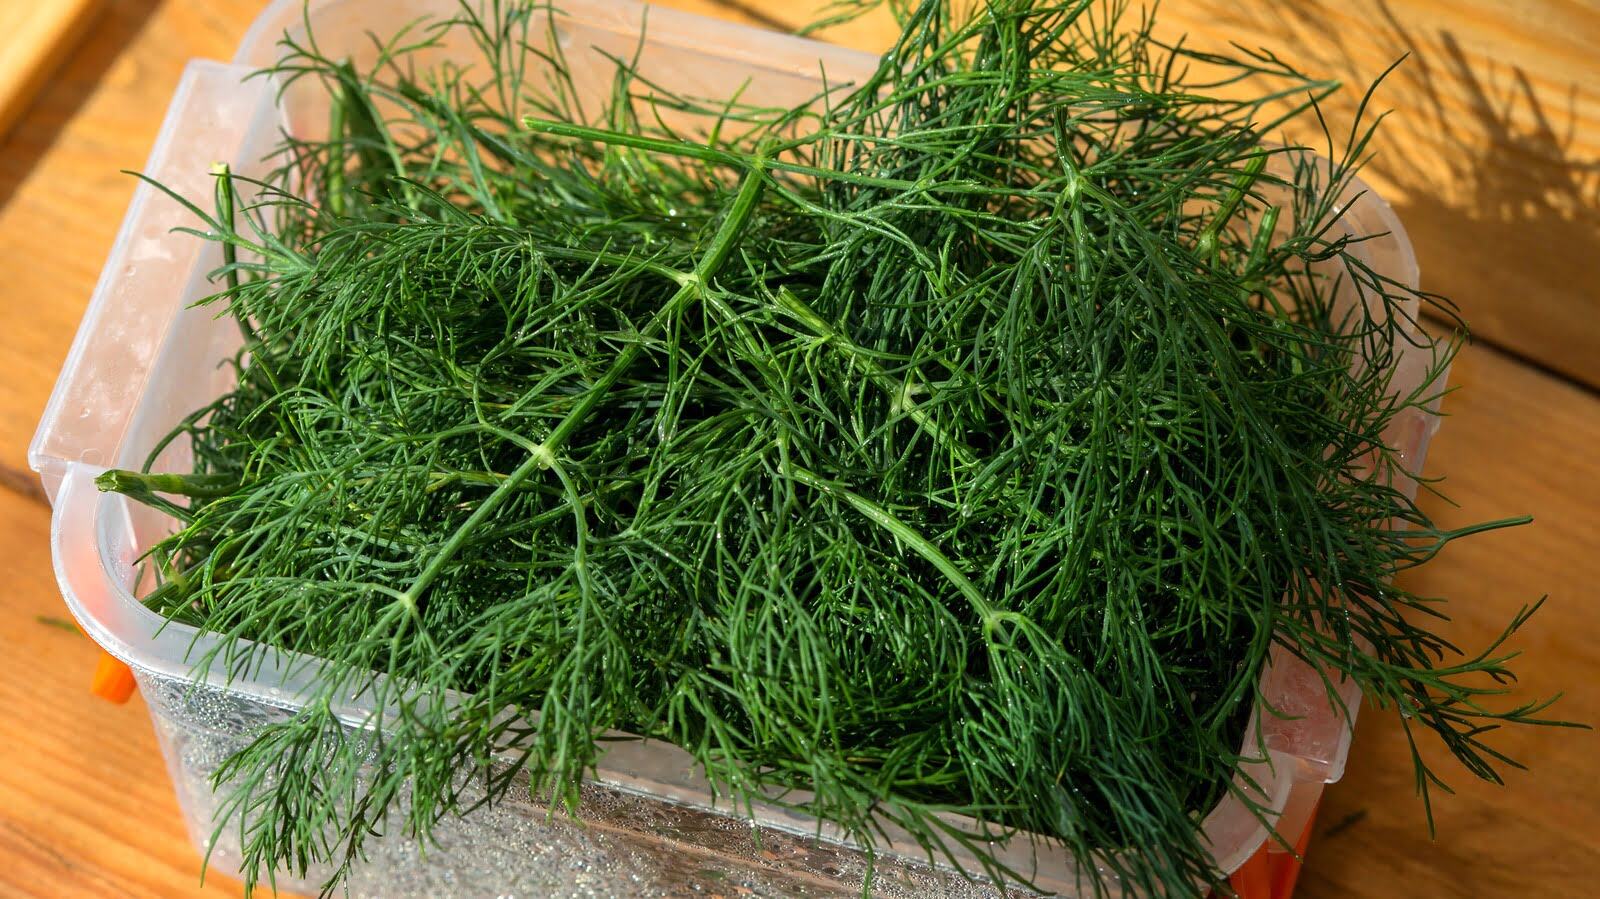
- Store upright: Place the storage container upright in the designated spot. This position allows better air circulation and prevents the dill from wilting.
- Avoid Direct Sunlight: Make sure the storage location is away from direct sunlight. Sunlight can cause the dill to wilt and lose its flavor quickly.
- Check the Water Level: Periodically check the water level in the container. If the water becomes cloudy or starts to develop an unpleasant odor, replace it with fresh, cold water. This helps maintain the freshness of the herb.
- Inspect for Spoilage: Regularly inspect the dill for any signs of spoilage, such as wilting or discoloration. If you notice any damaged or wilted stems, remove them immediately to prevent the spread of spoilage.
By following these storage guidelines, you can ensure that your fresh dill with roots stays fresh and vibrant for a longer duration. Now that you know how to store your dill, it’s time to learn how to maintain it properly. Let’s move on to step 5: proper maintenance of stored dill.
Step 5: Proper Maintenance of Stored Dill
Congratulations! You have successfully stored your fresh dill with roots. However, the work doesn’t end there. To ensure that your dill stays fresh and flavorful, it’s important to follow proper maintenance practices. Here are some tips for maintaining your stored dill:
- Regularly Check the Water: Check the water level in the storage container every day. If the water becomes cloudy or starts to smell, replace it with fresh, cold water. This keeps the dill hydrated and helps maintain its crispness.
- Trim the Stems: Every few days, trim the dill stems at the base to remove any damaged or discolored portions. This ensures that only fresh, healthy stems remain in the storage container.
- Discard Wilted or Spoiled Stems: If you notice any wilting or spoiling stems, remove them immediately. One spoiled stem can quickly spread to the other dill stems, causing the entire batch to spoil.
- Use the Dill Gradually: Instead of using the entire bunch of dill at once, gradually pluck the amount you need, leaving the rest in the water. This allows the dill to continue growing and remain fresh for an extended period.
- Store for the Optimal Time: While fresh dill can last for several days when stored properly, it’s best to use it within a week for optimal flavor and quality. As time passes, the dill may start to lose its aroma and taste.
By following these maintenance tips, you can ensure that your stored dill remains fresh, vibrant, and ready to elevate your dishes. With proper maintenance, you can enjoy the full flavor of dill for longer periods, making the most of this versatile herb.
Now that you know how to properly maintain your stored dill, it’s time to wrap up our comprehensive guide on storing fresh dill with roots.
Conclusion
Congratulations! You have now mastered the art of storing fresh dill with roots. By following the steps outlined in this guide, you can extend the shelf life of your dill and ensure that it stays fresh, aromatic, and full of flavor for longer periods.
We started by understanding the importance of storing dill with its roots intact. This not only prolongs its shelf life but also preserves its aroma, flavor, and nutritional value. We then discussed the supplies needed for successful storage, including a fresh dill bunch, a suitable storage container, water, and a plastic bag or plastic wrap.
We explored the step-by-step process of harvesting fresh dill with roots, including selecting the right time, choosing healthy stems, and gently removing excess soil. Afterward, we learned how to clean the dill, removing any impurities, and keeping it fresh and free from dirt or debris.
We then prepared the storage container, ensuring it was clean and filled with cold water, ready to accommodate the dill. We covered the container with a plastic bag or plastic wrap, creating a humid environment ideal for preserving the freshness of the herb.
Finally, we discussed the proper maintenance of stored dill, including regularly checking the water level, trim the stems, discarding any wilting or spoiled stems, and using the dill gradually for optimal freshness and flavor.
Storing fresh dill with roots not only helps reduce waste but also ensures that you always have this versatile herb on hand to enhance your culinary creations. So, whether you’re adding a sprinkle of dill to your salads or using it as a garnish for your favorite dishes, your stored dill will be ready to elevate the flavors.
Remember, while fresh dill can last for several days when stored properly, it’s essential to use it within a week for the best taste and quality. Enjoy the vibrant flavor and aroma that dill brings to your meals, and savor the satisfaction of knowing that you have preserved this delightful herb in the best way possible.
Now, armed with the knowledge of proper storage techniques, go ahead and embark on your dill-preserving journey. Store your fresh dill with roots, and enjoy the convenience of having a stash of this flavorful herb at your fingertips. Happy cooking!
Frequently Asked Questions about How To Store Fresh Dill With Roots
Was this page helpful?
At Storables.com, we guarantee accurate and reliable information. Our content, validated by Expert Board Contributors, is crafted following stringent Editorial Policies. We're committed to providing you with well-researched, expert-backed insights for all your informational needs.

0 thoughts on “How To Store Fresh Dill With Roots”