Articles
How To Store Eggs Before Incubation
Modified: January 6, 2024
Learn the best methods for storing eggs before incubation in this informative article. Find out how to keep your eggs safe and ready for hatching.
(Many of the links in this article redirect to a specific reviewed product. Your purchase of these products through affiliate links helps to generate commission for Storables.com, at no extra cost. Learn more)
Introduction
Welcome to the world of egg incubation! Whether you are a seasoned farmer or just starting out, it is crucial to understand the importance of properly storing eggs before incubation. The success of your incubation process greatly depends on the quality and condition of the eggs you select for hatching. In this article, we will guide you through the steps of storing eggs before incubation, ensuring you are equipped with the knowledge and techniques to achieve optimal hatch rates.
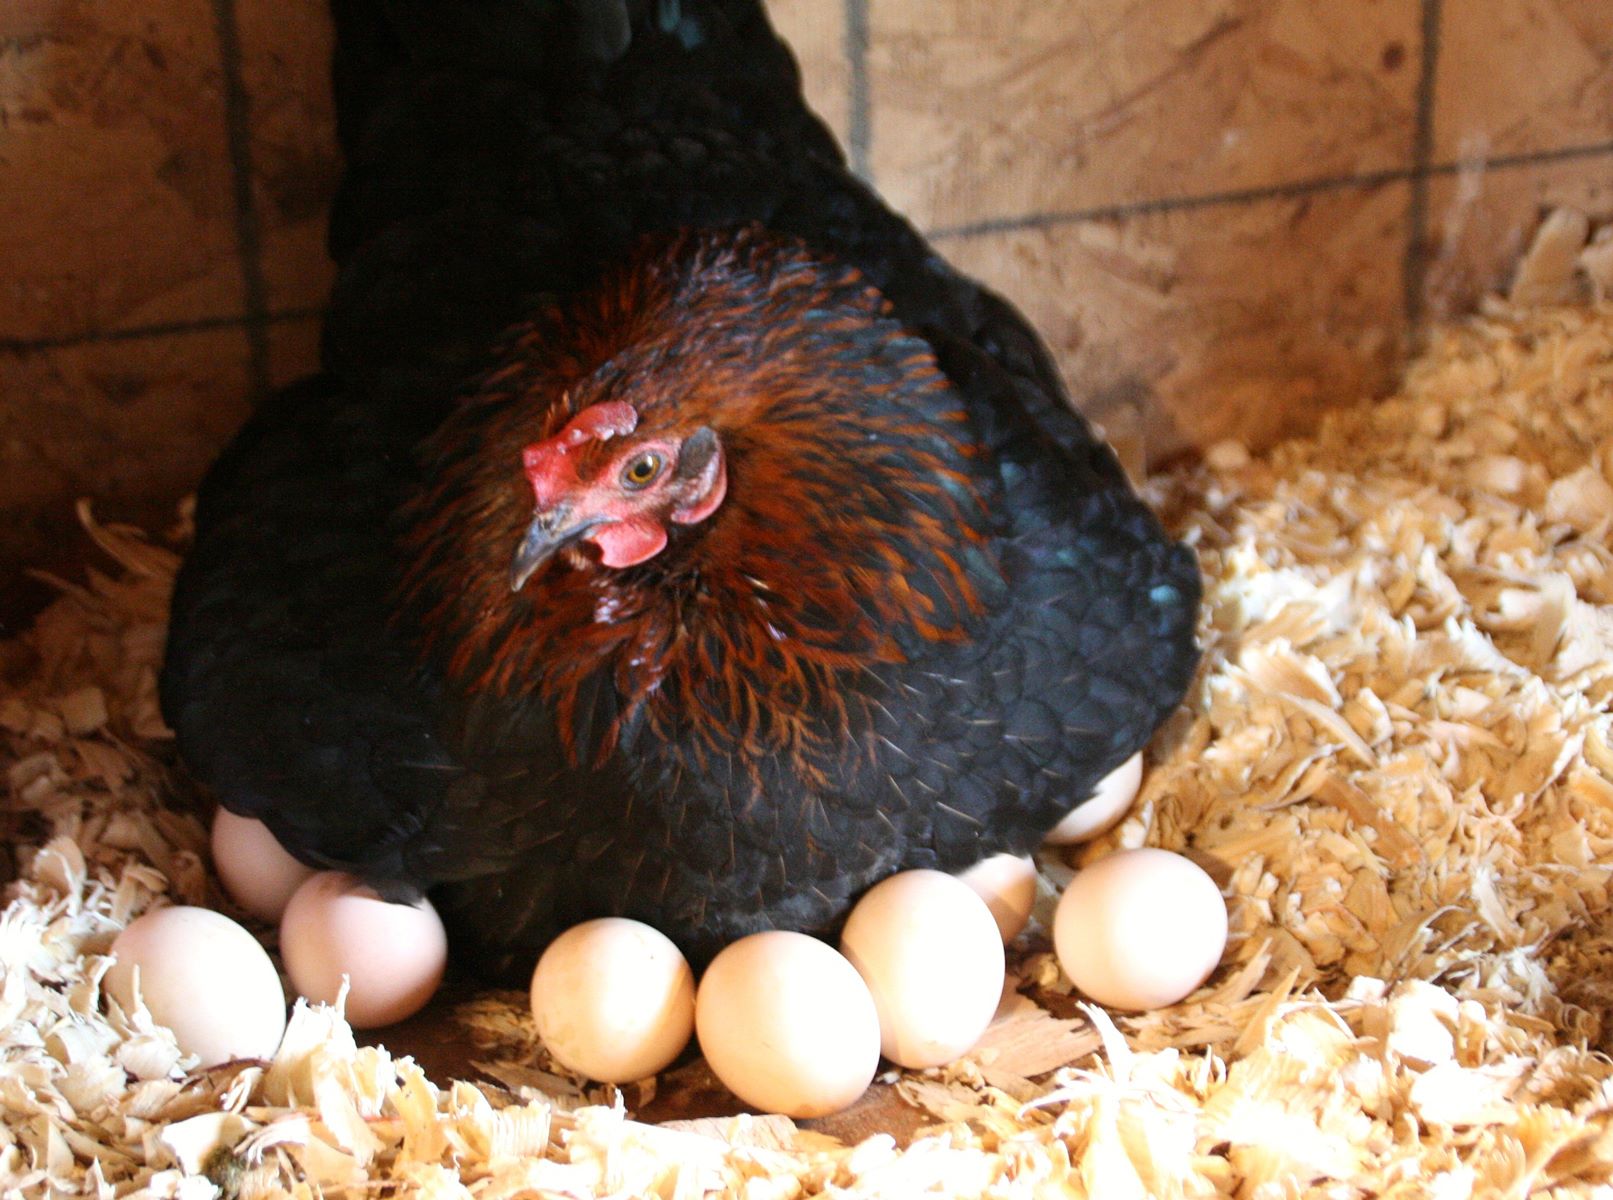
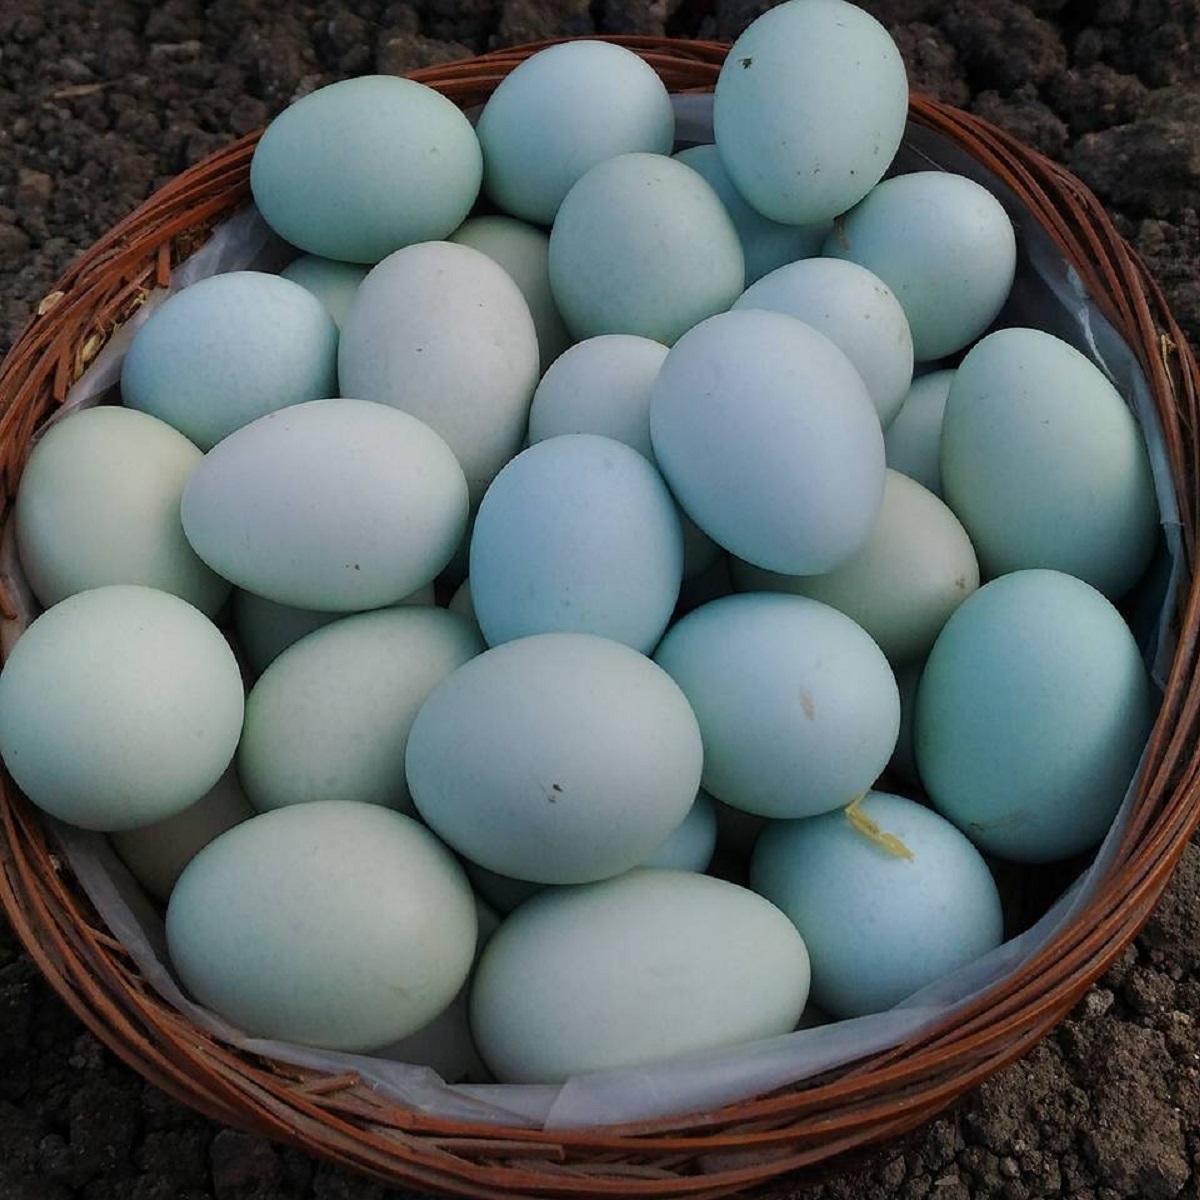
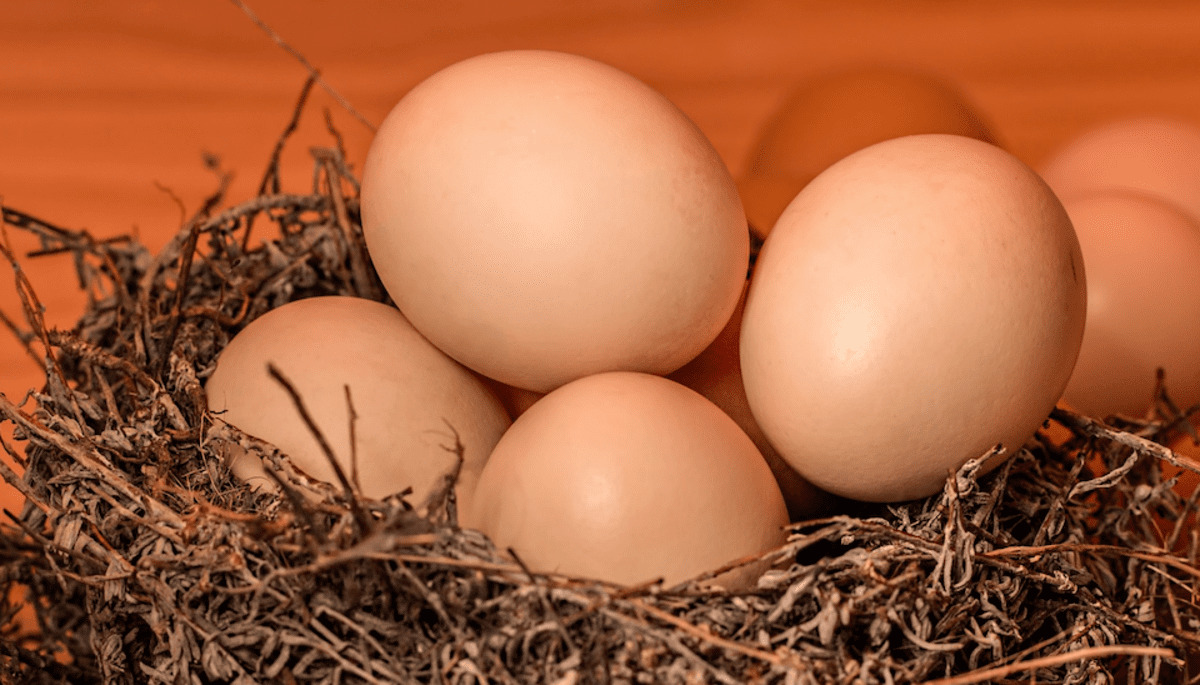
Choosing suitable eggs is the first step towards a successful incubation process. It is crucial to select eggs that are fresh and of high quality. Fresh eggs have a higher chance of hatching successfully as the embryos inside them are more likely to be viable. To determine the freshness of an egg, perform the “float test”. Fill a container with water and gently place the egg in it. Fresh eggs will sink to the bottom, while older eggs will float or tilt. Select eggs that sink to the bottom for the best results.
Before storing the eggs, it is important to clean and disinfect them to minimize the risk of bacterial contamination. Use warm water and a mild detergent to gently clean the eggs, making sure to remove any visible dirt or debris. After cleaning, disinfect the eggs by using a food-grade disinfectant or a solution of 1 part bleach and 9 parts water. Allow the eggs to air dry completely before moving on to the next step.
Selecting an appropriate storage location is essential to maintain the quality and viability of the eggs. Choose a cool, dry, and well-ventilated area, away from direct sunlight and extreme temperature fluctuations. A basement or cellar can be a suitable storage location, as they tend to have a stable temperature and humidity level. Avoid storing eggs near strong-smelling substances, as eggs can absorb odors easily.
Temperature and humidity control are crucial factors in egg storage. Ideally, the temperature should be maintained between 50-55 degrees Fahrenheit (10-13 degrees Celsius), with a humidity level of around 75%. Use a reliable thermometer and hygrometer to monitor these conditions regularly. Avoid storing eggs in refrigerators, as the humidity levels are usually too low, and the temperature fluctuations can adversely affect the viability of the eggs.
Turning the eggs during storage is important to prevent the embryo from sticking to the shell membrane. This can be achieved by gently and slowly rotating the eggs by 180 degrees, two to three times a day. You can use an egg turner or manually rotate the eggs. Just be sure to handle them with care to avoid any damage to the delicate embryo inside.
Key Takeaways:
- Proper egg storage is crucial for successful hatching. Choose fresh, clean eggs, store them in a cool, well-ventilated area, and maintain optimal temperature and humidity levels for best results.
- Regularly check egg viability, turn them during storage, and adhere to species-specific guidelines. Attention to detail and proper handling are key to maximizing hatch rates and enjoying the miracle of life.
Read more: How To Store Fertile Eggs Before Incubation
Choosing Suitable Eggs
When it comes to incubating eggs, selecting suitable eggs is key to achieving successful hatching rates. The quality and freshness of the eggs greatly influence the viability of the embryos inside. Here are some important factors to consider when choosing eggs for incubation:
- Freshness: Fresh eggs have a greater chance of developing into healthy chicks. Eggs that have been stored for too long may have a decreased viability. To determine the freshness of an egg, perform the “float test”. Simply fill a container with water and gently place the egg in it. Fresh eggs will sink to the bottom, while older eggs tend to float or tilt. Select eggs that sink to ensure the highest chances of successful hatching.
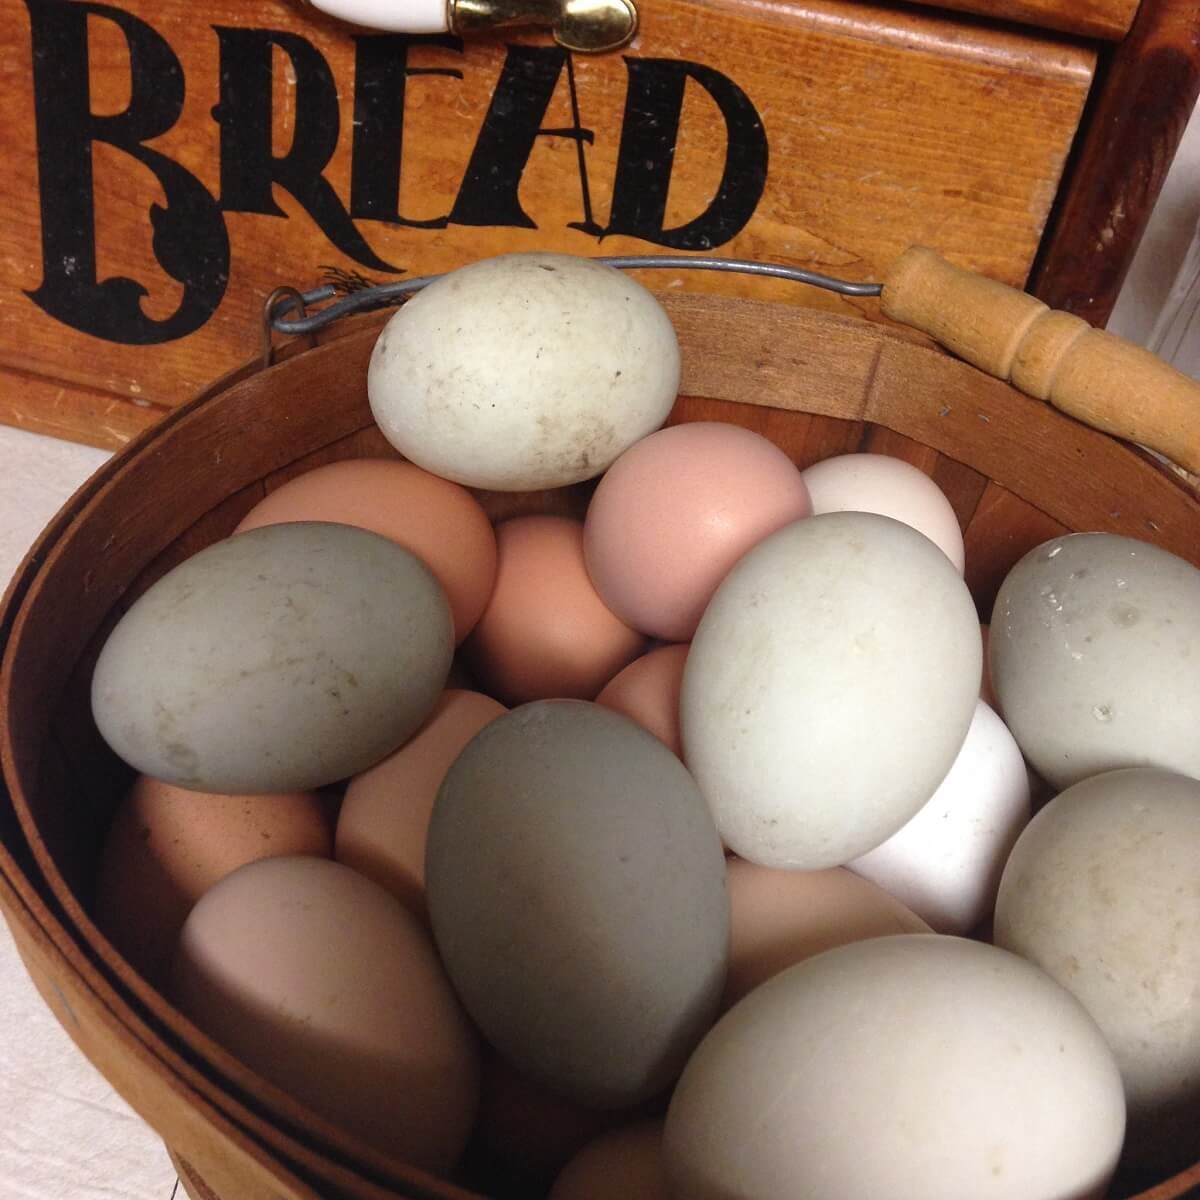
- Size: Choose eggs that are of average size. Extremely small or abnormally large eggs may have lower success rates. It is best to choose eggs that are within the recommended weight range for the particular breed you are hatching.
- Shape: Consider the shape of the eggs. Oval-shaped eggs with a smooth surface are generally preferred for incubation. Eggs with irregular shapes or rough surfaces may indicate potential issues or abnormalities.
- Integrity: Inspect the eggs for any cracks, leaks, or deformities. Eggs with damaged shells should not be used for incubation, as they can introduce harmful bacteria or compromise the viability of the embryo.
- Source: Obtain eggs from healthy and disease-free adult birds. Breeding stock should be in optimal health and free from any genetic defects or illnesses. This helps ensure the quality and genetic potential of the offspring.
Additionally, it is important to note that not all eggs from a laying flock are suitable for incubation. Some eggs may have double yolks or other abnormalities, which can affect their viability. It is best to carefully inspect each egg before deciding to include it in your incubation batch.
When selecting eggs from a commercial source, it is essential to confirm that they have been properly handled and stored. Ask the supplier about the egg collection and storage practices to ensure the eggs have been maintained in optimal conditions.
Remember, the quality and suitability of the eggs are the foundation for successful incubation. By choosing fresh, well-shaped, and undamaged eggs, you maximize the chances of hatching healthy and robust chicks.
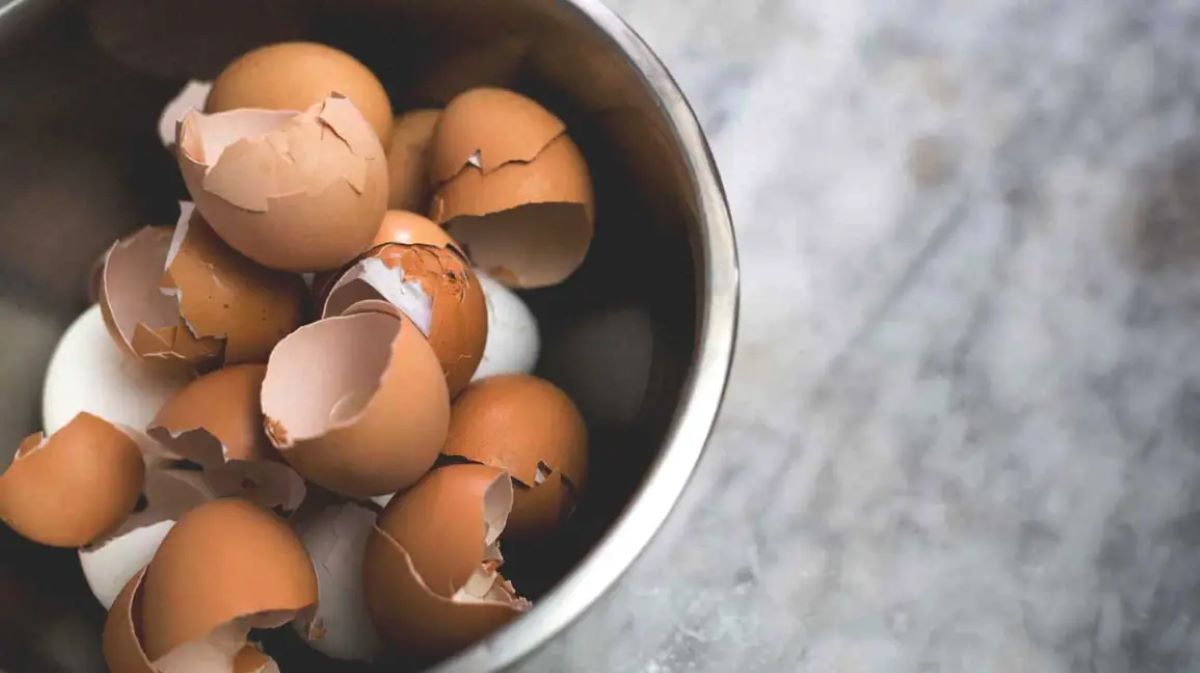
Cleaning and Disinfecting
Cleaning and disinfecting eggs before incubation is crucial to minimize the risk of bacterial contamination and improve hatchability. Proper cleaning and disinfection procedures help create a clean and hygienic environment for the developing embryos. Here are the steps to effectively clean and disinfect your eggs:
- Gather the necessary supplies: Prepare a clean, non-porous container for washing the eggs. You will need warm water, a soft brush or sponge, and a mild detergent or egg-cleaning solution. Ensure that all utensils and materials used are clean and free from any contaminants.
- Remove visible dirt and debris: Before cleaning, inspect each egg carefully. Discard any eggs with cracks, leakage, or other visible defects. Use a soft brush or sponge to gently remove any dirt or debris from the surface. Take care not to scrub too vigorously as excessive force can damage the protective cuticle of the eggshell.
- Prepare a cleaning solution: Fill a container with warm water and add a mild detergent or a specialized egg-cleaning solution. Avoid using harsh chemicals or soaps as they can permeate the shell and harm the developing embryo inside.
- Clean the eggs: Dip the eggs into the cleaning solution and gently scrub them using a soft brush or sponge. Pay attention to any stubborn stains or residue on the shell. Ensure that the entire surface of the egg is thoroughly cleaned, including the crevices and the air cell at the blunt end of the egg.
- Rinse the eggs: After cleaning, rinse the eggs under running water or by placing them in a container of clean water. Ensure that all traces of the cleaning solution are removed. Avoid using water that is too hot, as it may penetrate the eggshell and compromise the embryo.
- Disinfect the eggs: After rinsing, prepare a disinfection solution by diluting a food-grade disinfectant or using a mixture of 1 part bleach to 9 parts water. Dip the eggs in the disinfection solution for a few seconds, ensuring that the entire surface is exposed. This step helps eliminate any remaining bacteria on the shell.
- Air-dry the eggs: Allow the disinfected eggs to air dry completely before storing or placing them in the incubator. Placing damp eggs in the incubator can create a breeding ground for harmful bacteria.
Remember, cleanliness is essential for successful egg incubation. By following these cleaning and disinfection steps, you can promote a healthy environment for the developing embryos and increase the likelihood of successful hatching.
Selecting an Appropriate Storage Location
The choice of a suitable storage location for your eggs before incubation is crucial for maintaining their quality and viability. The right environment will help preserve the freshness of the eggs and create optimal conditions for embryo development. Here are some key considerations when selecting a storage location:
- Temperature: Eggs should be stored in a cool environment to slow down the natural aging process. The ideal temperature range for egg storage is between 50-55 degrees Fahrenheit (10-13 degrees Celsius). Avoid extreme temperatures as they can negatively impact egg viability. Fluctuations in temperature can also affect embryo development.
- Humidity: Humidity levels should be maintained around 75% during egg storage. Adequate humidity helps prevent excessive moisture loss from the eggs, which can lead to dehydration and reduced hatchability. A humidity level that is too high, however, can create a favorable environment for bacterial growth. Monitor the humidity level regularly to ensure it remains within the recommended range.
- Light: Eggs should be stored in a location away from direct sunlight. Exposure to intense light can increase the temperature inside the storage area and negatively affect the eggs’ quality. Choose a dark storage area or cover the eggs with a light-blocking material, such as a towel or cardboard, to protect them from light exposure.
- Ventilation: Proper ventilation is essential to prevent the buildup of excess moisture and odors. A well-ventilated area helps maintain a fresh environment and reduces the risk of mold or bacterial growth. Ensure that the storage location has adequate airflow to prevent stale air from accumulating around the eggs.
- Odor: Eggs have a porous shell that can absorb odors. Avoid storing eggs near substances with strong odors, such as chemicals, strong-smelling foods, or cleaning products. Unpleasant odors can penetrate the eggshell and affect the quality and taste of the hatchlings. Choose a location that is free from any strong-smelling substances.
When selecting a storage location, consider using a basement, cellar, or a dedicated egg storage room. These areas often provide the stable temperature and humidity levels required for successful egg storage. If you don’t have access to such spaces, you can use a cool, dark closet or a refrigerator specifically designed for storing eggs. However, be cautious with refrigerators, as they can have low humidity levels. To mitigate this, consider placing a small dish of water inside the refrigerator to increase humidity.
Regularly monitor the temperature and humidity levels within the storage area to ensure they remain within the recommended ranges. Use a reliable thermometer and hygrometer to keep track of these essential parameters. Maintaining the right storage conditions will help preserve the quality of the eggs and increase the chances of successful incubation and hatching.
Temperature and Humidity Control
Temperature and humidity control are crucial factors to consider when storing eggs before incubation. Maintaining optimal conditions is essential for preserving the viability and quality of the eggs. Let’s explore the importance of temperature and humidity control during egg storage:
Temperature:
The ideal temperature range for egg storage is between 50-55 degrees Fahrenheit (10-13 degrees Celsius). Storing eggs within this range helps slow down the natural aging process and maintains the freshness of the eggs. Extreme temperatures, both hot and cold, can negatively impact egg quality and viability. Fluctuations in temperature can also disrupt the embryo development inside the eggs.
Avoid storing eggs in areas with direct exposure to sunlight or close to heat sources such as radiators or ovens. These can cause temperature spikes and fluctuations, which can have detrimental effects on the eggs. Choose a storage location with a stable and consistent temperature, such as a basement, cellar, or dedicated egg storage room.
Humidity:
Proper humidity levels are crucial for preventing excessive moisture loss from the eggs. The recommended humidity level for egg storage is around 75%. Adequate humidity helps maintain the necessary moisture balance within the egg, which is essential for the development of the embryo.
Excessively high humidity levels can create a breeding ground for mold and bacteria, potentially leading to contamination and reduced hatchability. On the other hand, low humidity can cause the eggs to dehydrate, resulting in decreased viability and poor hatch rates.
Regularly monitor the humidity levels within the storage area using a hygrometer. If the humidity is too high, increase ventilation or use dehumidifiers if necessary. If the humidity is too low, you can increase it by placing a shallow dish of water in the storage area or using a humidifier.
It’s important to note that refrigerators are not ideal for storing eggs due to their low humidity levels. If you choose to use a refrigerator, consider placing a small dish of water inside to help maintain humidity. Alternatively, you can use specialized egg storage containers or incubators with humidity control features.
By ensuring proper temperature and humidity control during egg storage, you create an environment that helps maintain the freshness and viability of the eggs. These optimal conditions set the stage for successful incubation and the development of healthy and robust chicks.
Store eggs for incubation in a cool, dry place with a consistent temperature of around 50-60°F. Turn the eggs daily to prevent the yolk from sticking to the shell. Avoid washing the eggs, as this can remove the protective coating.
Read more: How To Store Eggs For Incubation
Turning the Eggs
Turning the eggs during storage is an important step in maintaining their viability and promoting proper embryo development. This simple yet crucial process helps prevent the embryo from sticking to the shell membrane and ensures that it receives sufficient nutrients and oxygen. Here’s what you need to know about turning the eggs:
Why is turning important?
When the eggs are laid, the yolk settles to one side due to gravity. Turning the eggs regularly helps distribute the yolk and prevents it from adhering to the inner shell membrane, which can interfere with the embryo’s development. Turning also promotes proper blood vessel formation in the developing embryo and helps prevent deformities.
How often should you turn the eggs?
During storage, it is recommended to turn the eggs two to three times a day. This frequency helps mimic the natural behavior of hens who would frequently move their eggs while sitting on the nest. Turning the eggs evenly distributes the nutrients and oxygen, and prevents the embryos from becoming tangled or stuck.
Methods of turning:
There are two common methods to turn the eggs during storage:
- Manual turning: If you have a small number of eggs, you can perform manual turning. Gently rotate each egg by 180 degrees using your hands. Ensure that you handle the eggs with care to avoid any damage or jarring to the developing embryo inside.
- Egg turner: For larger quantities of eggs, an egg turner can be a convenient option. An egg turner is a device that automatically rotates the eggs at regular intervals. Simply place the eggs in the turner, following the manufacturer’s instructions, and it will handle the turning for you.
Turning considerations:
When turning the eggs, it’s important to keep a few considerations in mind:
- Be consistent in turning the eggs at regular intervals throughout the day.
- Avoid turning the eggs during the last 3 days before incubation since the embryo has already developed and may be disrupted by unnecessary movement.
- Always wash and sanitize your hands before handling the eggs to prevent the introduction of bacteria.
- Handle the eggs with care to avoid any accidental dropping or shaking.
Remember, turning the eggs is a vital part of maintaining their viability during the storage period. By following the recommended turning frequency and methods, you provide the embryo with the best chance of developing into a healthy and successful hatchling.
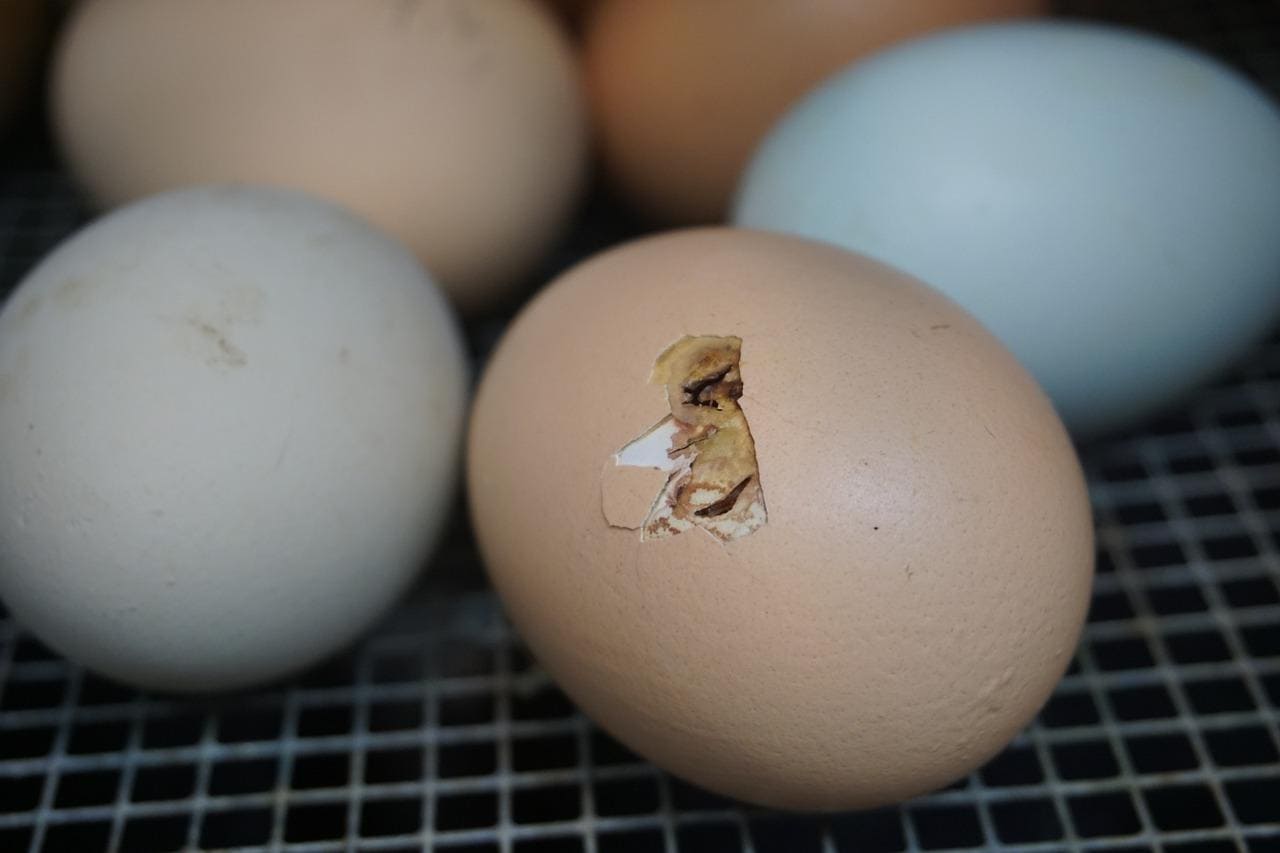
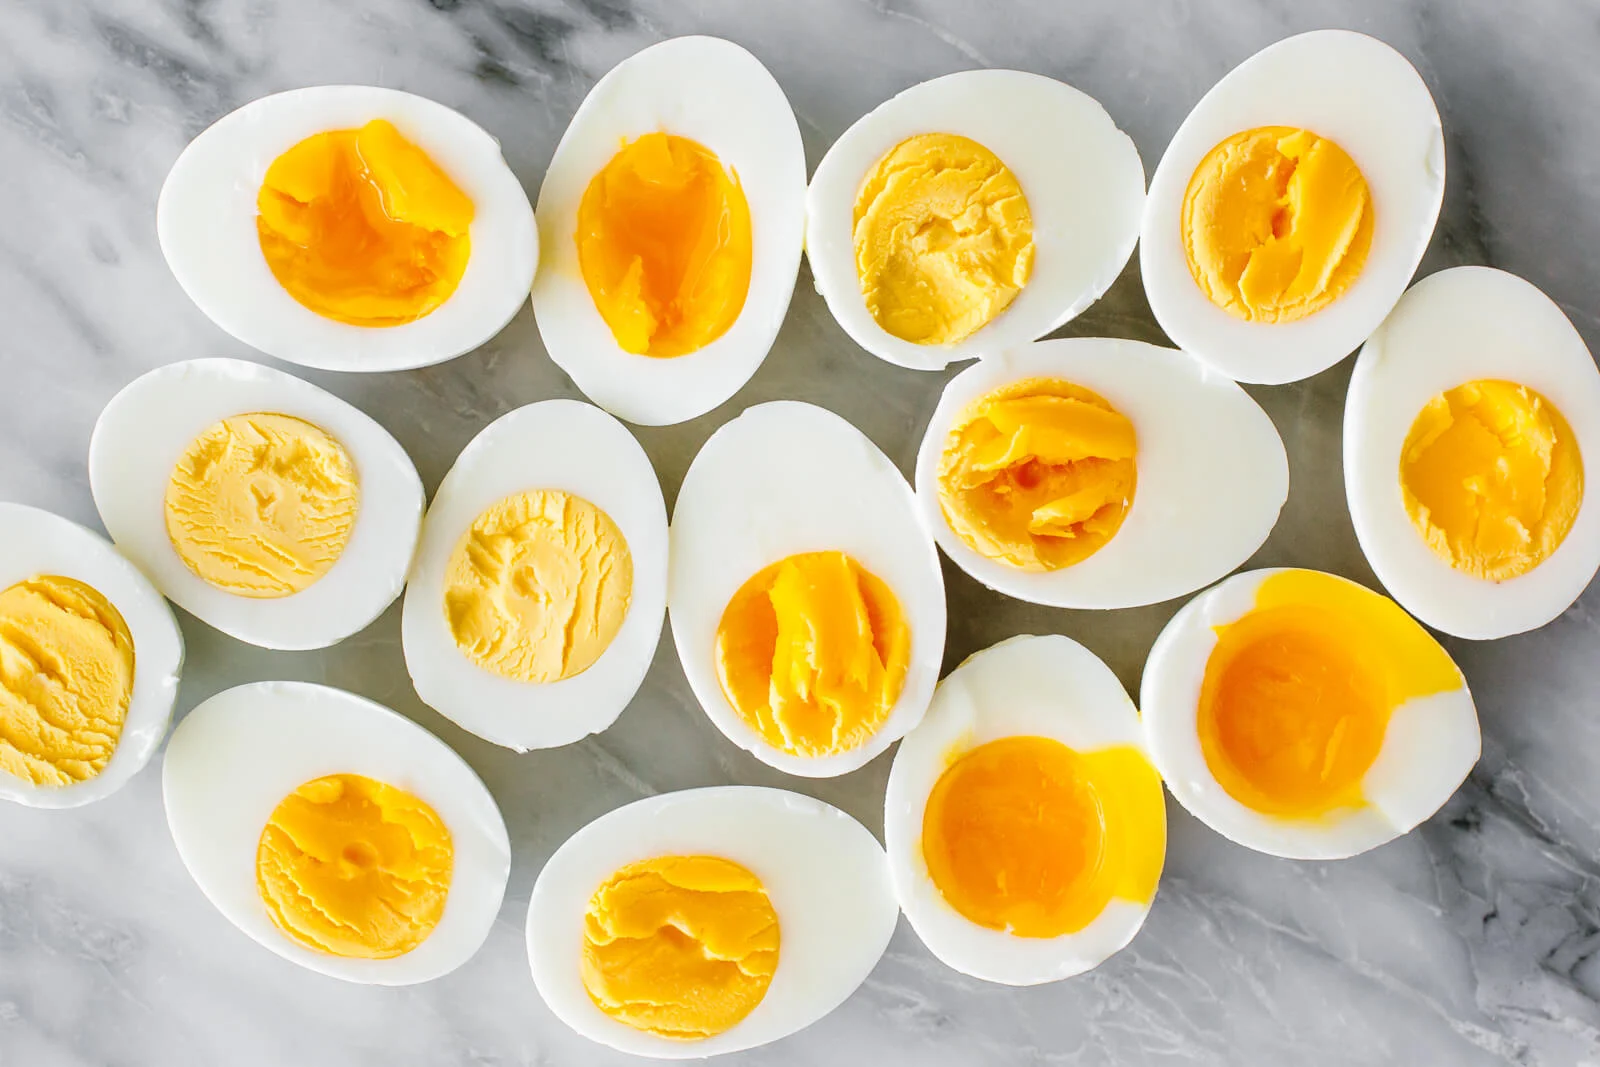
Checking the Eggs for Viability
Checking the viability of eggs before incubation is an essential step in ensuring successful hatching. Not all eggs have the potential to develop into healthy chicks, and identifying non-viable eggs early on can save time and resources. Here are some methods to check the viability of eggs:
Candling:
Candling is a widely used method for assessing egg viability. It involves shining a bright light source through the egg to observe the contents inside. Here’s how to perform the candling process:
- In a dark room, hold the egg close to a bright light source, such as a candle or a dedicated egg candler.
- Rotate the egg slowly and observe the interior. Viable eggs will show clear development, such as visible blood vessels and a growing embryo. The air cell, located at the blunt end of the egg, should also be prominent and well-defined.
- Non-viable eggs may appear clear or show minimal development, indicating a lack of embryo growth or an early-stage developmental failure.
Egg floating test:
The egg floating test is another method to determine the viability of eggs. Here’s how to perform the test:
- Fill a container with water deep enough to fully submerge the eggs.
- Gently place the eggs into the water and observe their behavior. Viable eggs will sink to the bottom and lie horizontally. This indicates that the air cell is intact and the egg is properly hydrated.
- Eggs that stand upright with the large end upward or float on the water’s surface are likely non-viable. A floating egg may indicate excessive dehydration or gas accumulation inside, indicating compromised development.
Other signs of non-viability:
Aside from candling and the floating test, there are other indicators that an egg may not be viable:
- Visible cracks or leaks on the eggshell.
- Unusual odors emanating from the egg, indicating bacterial contamination or spoilage.
- Abnormal egg appearance, such as an irregular shape or deformities.
- Extreme temperature fluctuations during storage, which may affect embryo development.
It’s important to note that checking for viability is not an exact science. Some eggs may show signs of viability but still fail to hatch, while others that appear non-viable may surprise you by producing healthy chicks. Nevertheless, regularly assessing the eggs’ viability allows you to focus your resources on those with a higher chance of successful development.
By performing candling, the floating test, and considering other signs of non-viability, you can make informed decisions about which eggs to include in the incubation process. This practice maximizes your chances of hatching healthy and robust chicks.
Duration of Storage
The duration of egg storage before incubation plays a significant role in the success of hatching. While eggs can be stored for a certain period without compromising their viability, it is important to understand the limits of storage time to achieve optimal hatch rates. Here are some important factors to consider regarding the duration of egg storage:
Egg freshness:
Eggs are freshest when they are first laid, and their viability decreases over time. Generally, eggs can be stored for up to 7-10 days without a significant impact on hatchability. However, to maximize the chances of successful hatching, it is recommended to use eggs that are as fresh as possible, preferably within the first week of being laid.
Long-term storage:
If you plan to store eggs for an extended period before incubation, it is important to take additional measures to preserve their viability. Eggs can be stored for several weeks to a few months, depending on the conditions and precautions taken. Here are some guidelines for long-term egg storage:
- Temperature control: Maintain the storage temperature between 50-55 degrees Fahrenheit (10-13 degrees Celsius) to slow down the aging process. Avoid extreme temperature fluctuations, as they can negatively affect egg viability.
- Humidity control: Keep the humidity levels around 75% to prevent excessive moisture loss or dehydration. Monitor the humidity regularly to ensure it remains within the recommended range.
- Egg turning: Continue to turn the eggs at least two to three times a day during long-term storage to prevent the embryo from sticking to the shell membrane. Turning helps distribute nutrients and oxygen inside the egg, promoting healthy embryo development.
- Egg quality: The quality of the eggs significantly affects their viability during storage. Select fresh, undamaged, and properly cleaned eggs for the best chance of successful hatching.
Know your limits:
While it is possible to store eggs for extended periods, it is important to recognize that storage duration does have its limits. As the storage time increases, the hatchability of the eggs decreases. Older eggs may have a lower chance of successful hatching, and hatch rates can vary depending on factors such as breed, genetics, and overall egg quality.
Regularly check the viability of stored eggs through candling, floating tests, and other indicators mentioned earlier. This allows you to identify non-viable eggs and focus on those with a higher potential for hatching. It is recommended to start incubation as soon as possible for the best hatch rates.
Overall, the duration of egg storage before incubation should be optimized to maximize hatch success. By storing eggs within the suggested time frame and taking appropriate measures for temperature, humidity, and egg handling, you can increase the likelihood of hatching healthy and robust chicks.
Additional Tips and Considerations
When it comes to storing eggs before incubation, there are some additional tips and considerations that can further enhance your success in hatching healthy chicks. Here are some valuable suggestions to keep in mind:
- Egg handling: Always handle the eggs with care to avoid any damage or impact to the delicate embryos. Rough handling can disrupt or harm the developing chicks inside the eggs. Use gentle movements and avoid sudden jarring or dropping of the eggs.
- Egg orientation: Store the eggs with their pointed ends slightly lower than the rounded ends. This position helps maintain the proper position of the air cell and promotes optimal development of the embryo.
- Record keeping: Keep a detailed record of the eggs you store, including the breed, date of collection, and any notable observations. This information can be invaluable for monitoring hatch rates and identifying potential issues or patterns.
- Batch size: Consider the size of your incubator and the capacity for successful incubation. It is recommended to store and incubate eggs in smaller batches to facilitate better heat and humidity control during incubation.
- Uniformity: Select eggs of similar size and quality for storage and incubation. This promotes uniformity in development and increases the chances of hatching healthy and harmonious chicks.
- Egg rotation during storage: If you are manually turning the eggs during storage, mark each egg with an ‘X’ on one side and an ‘O’ on the other to help keep track of which eggs have been turned. This ensures proper rotation and helps prevent missed turns or unnecessary turning of the same egg multiple times.
- Disposal of non-viable eggs: Promptly remove non-viable eggs from the storage batch to prevent the risk of contamination or odor from affecting the viable ones. Dispose of the non-viable eggs properly, following local regulations or guidelines.
It is also worth noting that different species of birds may have specific requirements for egg storage and incubation. Always refer to species-specific guidelines or consult with experienced breeders for any specific considerations that may apply to the type of eggs you are working with.
Lastly, consistency and attention to detail are key throughout the egg storage and incubation process. Regularly monitor temperature, humidity, and the viability of the eggs to ensure optimal conditions and maximize hatch rates. Maintain cleanliness and hygiene practices to minimize the risk of bacterial contamination.
By implementing these additional tips and considering the various factors involved in egg storage before incubation, you can greatly increase your chances of successful hatching and the development of healthy and robust chicks.
Read more: How To Store Egg Rolls Before Frying
Conclusion
Congratulations! You are now equipped with the knowledge and techniques to properly store eggs before incubation, setting the stage for successful hatching. The quality and viability of the eggs you choose, as well as the conditions in which they are stored, play a vital role in the development of healthy and robust chicks.
From selecting suitable eggs and cleaning them meticulously to choosing the right storage location with optimal temperature and humidity control, every step is essential. Turning the eggs, checking their viability, and understanding the duration for proper storage help ensure the best possible outcome.
Remember to handle the eggs with care, maintaining proper hygiene and avoiding unnecessary stress or damage to the delicate embryos inside. Keep detailed records of your eggs, monitor their progress, and practice regular candling or floating tests to identify any non-viable eggs and focus your efforts on those with the highest potential for hatching.
By following the additional tips and considerations shared, such as proper egg handling, orienting the eggs correctly, and managing batch size, you can further increase your chances of success. Consistency, attention to detail, and adherence to species-specific guidelines will go a long way in achieving optimal hatch rates.
Remember, the journey from egg storage to hatching is a dynamic and exciting process. It requires a balance of knowledge, patience, and care. Embrace each step with passion and curiosity, and enjoy witnessing the miracle of life unfold before your eyes.
Now, go forth and store those eggs like a pro! May your incubation journey be filled with the delight of healthy, fluffy chicks as your ultimate reward.
Frequently Asked Questions about How To Store Eggs Before Incubation
Was this page helpful?
At Storables.com, we guarantee accurate and reliable information. Our content, validated by Expert Board Contributors, is crafted following stringent Editorial Policies. We're committed to providing you with well-researched, expert-backed insights for all your informational needs.


0 thoughts on “How To Store Eggs Before Incubation”