
Articles
How To Store Evaporated Milk After Opening
Modified: March 23, 2024
Learn the best way to store evaporated milk after opening to keep it fresh and extend its shelf life. Read more in our informative articles.
(Many of the links in this article redirect to a specific reviewed product. Your purchase of these products through affiliate links helps to generate commission for Storables.com, at no extra cost. Learn more)
Introduction
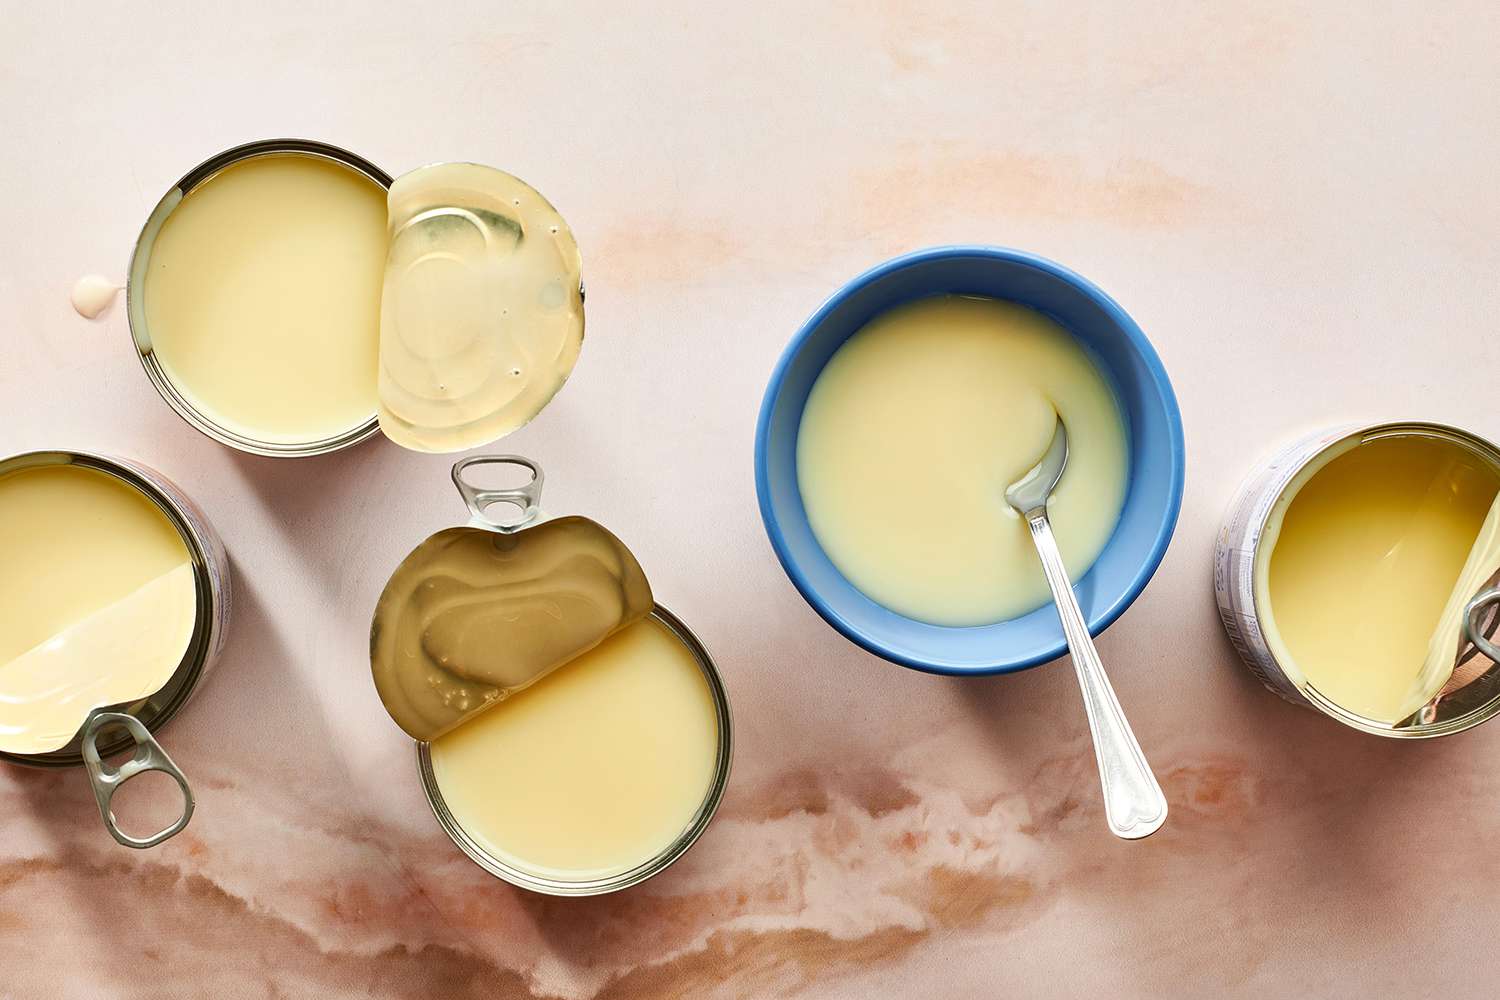
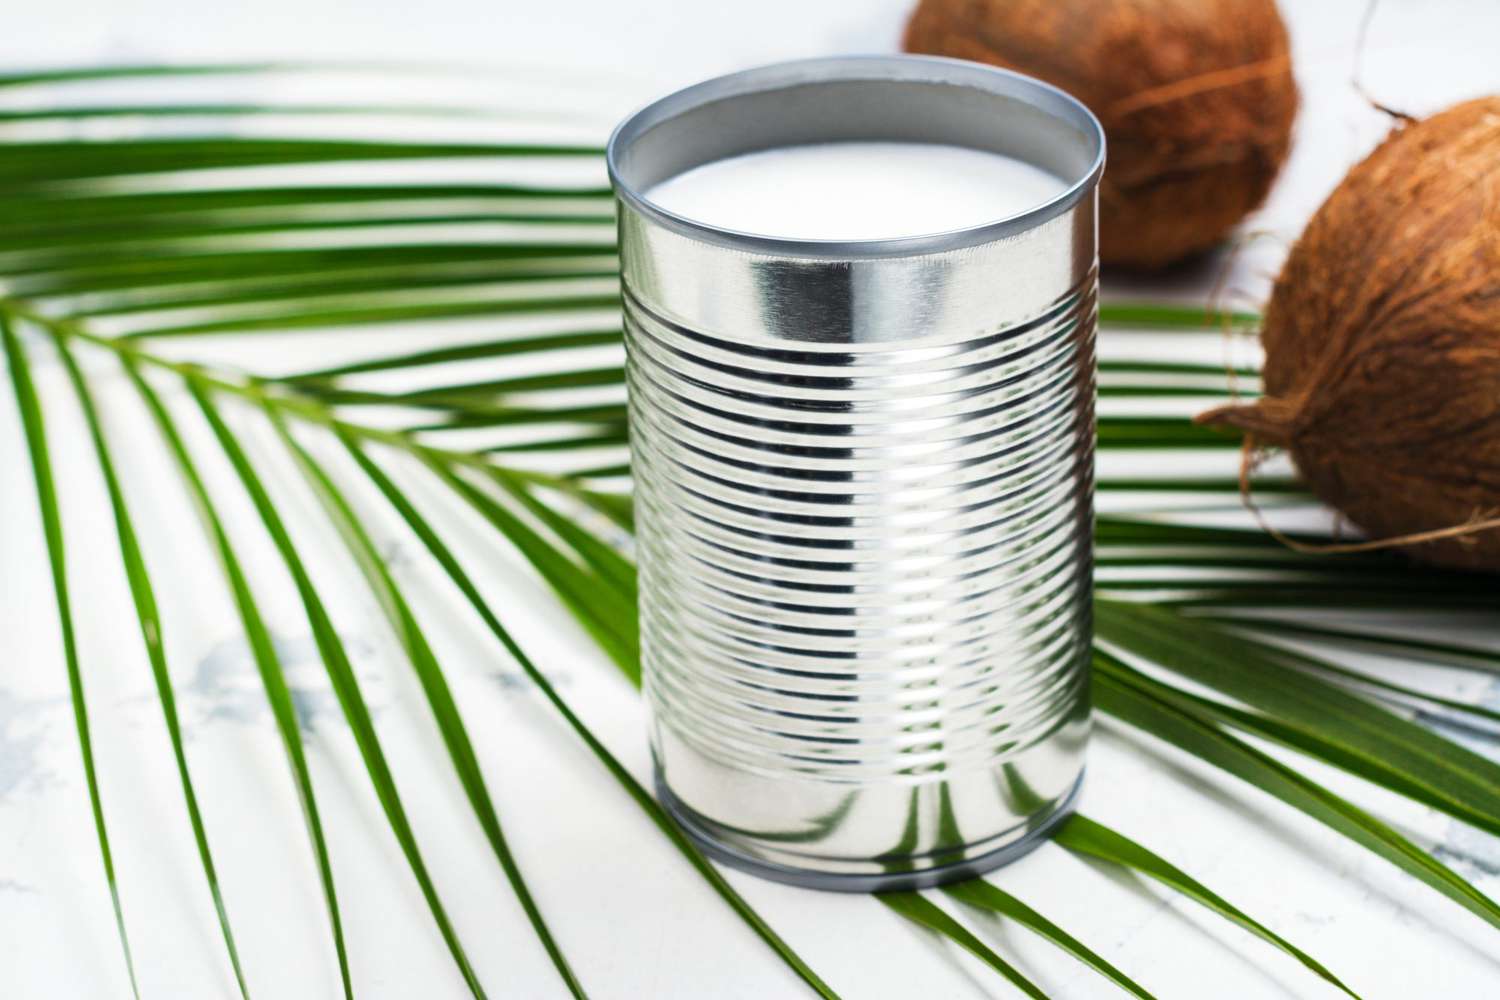
Evaporated milk is a versatile pantry staple that is widely used in various recipes and beverages. It is created by removing about 60% of the water content from fresh milk, resulting in a thicker and creamier product. Many people rely on evaporated milk as a convenient substitute for fresh milk, especially when the latter is not readily available.
Once you open a can of evaporated milk, it is essential to store it properly to maintain its freshness and quality. Improper storage can lead to spoilage and the development of off flavors, which can compromise your recipes. In this article, we will explore the best practices for storing evaporated milk after opening, ensuring that it remains safe for consumption and retains its signature creamy texture.
Whether you have leftover evaporated milk from a recipe or purchased a larger can than needed, knowing how to store it correctly is crucial. By following these guidelines, you can extend the shelf life of your evaporated milk and reduce waste at the same time. Let’s dive in and explore the different methods of storing evaporated milk to keep it fresh for as long as possible.
Key Takeaways:
- Properly storing evaporated milk is essential for maintaining its freshness and quality. Whether refrigerating or freezing, transferring to airtight containers and labeling with dates ensures optimal usage and reduces waste.
- When using frozen evaporated milk, thaw it slowly in the refrigerator or more quickly in a cold water bath. Remember to remix the milk gently after thawing to restore its smooth consistency, allowing for versatile use in various recipes.
Read more: How To Store Evaporated Milk Once Opened
Storing Evaporated Milk: The Basics
When it comes to storing evaporated milk, there are a few key factors to consider: temperature, container, labeling, and duration. By paying attention to these basics, you can extend the shelf life of your evaporated milk and maintain its quality.
1. Refrigerating Evaporated Milk: After opening a can of evaporated milk, it is advisable to refrigerate any unused portion. Transfer the remainder of the evaporated milk into a clean and airtight container. Place it in the refrigerator, preferably on a shelf rather than the door, as the temperature fluctuates less there. Keeping the milk chilled helps to slow down the growth of bacteria and maintain its flavor and consistency for a longer period.
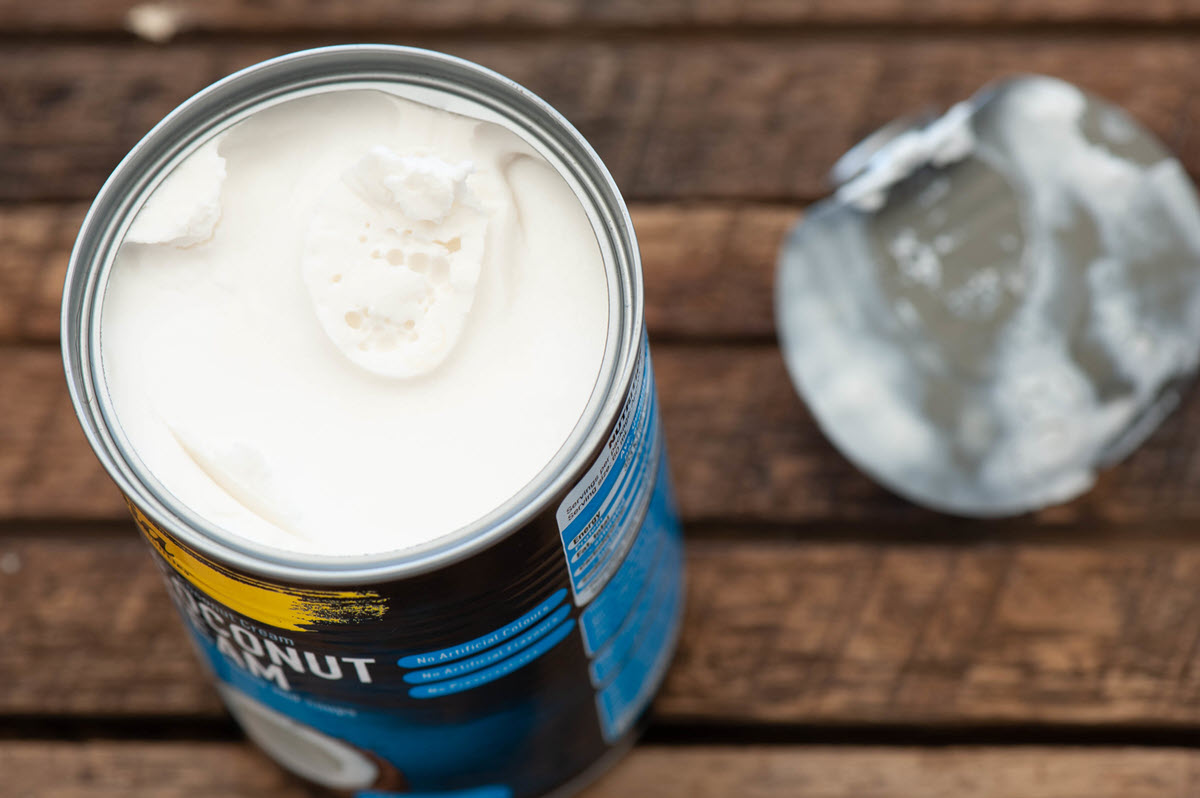
2. Freezing Evaporated Milk: If you don’t plan to use the remaining evaporated milk within a few days, freezing it is a viable option. Freezing can prolong its shelf life for up to 3 months. Pour the leftover milk into a freezer-safe container, leaving some space at the top since liquid expands as it freezes. Seal the container tightly and label it with the date of freezing. Freezing evaporated milk can cause slight texture changes, but it will still be suitable for use in recipes.
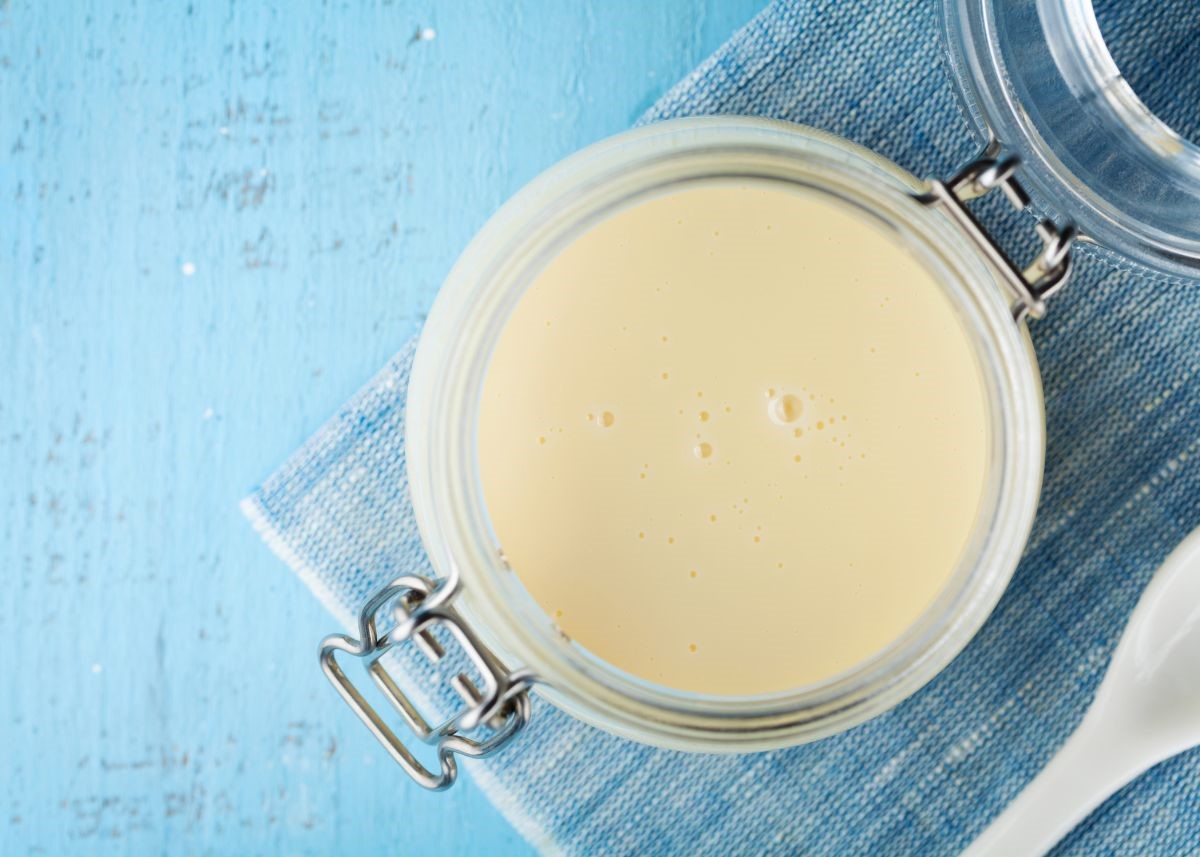
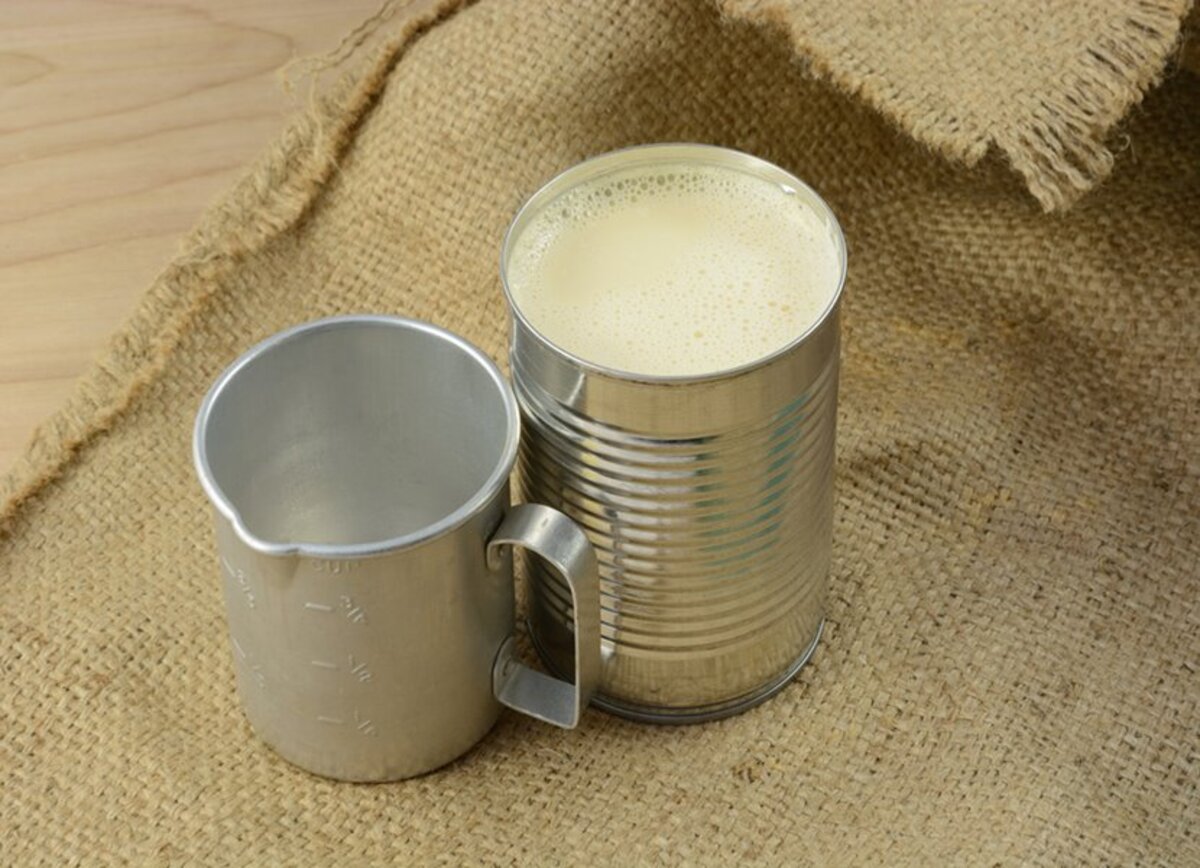
3. Transferring to an Airtight Container: To maintain the freshness of the evaporated milk, it is important to transfer it to an airtight container. This prevents exposure to air, which can lead to spoilage and off-flavors. Choose a container that is specifically designed for food storage, such as a glass jar with a tight-fitting lid or a plastic container with a good seal. Ensure that the container is clean and dry before transferring the milk.
4. Labeling and Date: It’s always a good practice to label the container with the date of opening or freezing. This helps you keep track of the milk’s freshness and ensures that you use it within the recommended timeframe. Use a permanent marker or adhesive labels to clearly indicate the date. Additionally, labeling allows you to differentiate between different types of milk or recipes if you have multiple containers in the refrigerator or freezer.
5. Using Frozen Evaporated Milk: When you’re ready to use frozen evaporated milk, thaw it in the refrigerator overnight or under cool running water. Avoid leaving it at room temperature for an extended period, as this can encourage bacterial growth. Once thawed, give the milk a gentle shake or stir to reincorporate any separated components. While the texture might be slightly different from fresh milk, it will still be suitable for cooking and baking applications.
By following these basic guidelines, you can store evaporated milk properly and ensure its freshness for an extended period. Whether you are refrigerating or freezing it, choosing the right container and labeling it correctly will help you maintain the quality of your evaporated milk. Now that we have a solid foundation of storage techniques let’s explore each method in more detail to ensure maximum efficacy.
Refrigerating Evaporated Milk
Refrigeration is one of the most common methods for storing evaporated milk after opening. By keeping it chilled, you can maintain the quality and freshness of the milk for a longer period. Here are some important tips to keep in mind when refrigerating evaporated milk:
– Transfer to an Airtight Container: Once you have opened a can of evaporated milk, it is important to transfer any leftover milk to a clean and airtight container. This prevents exposure to air and helps to maintain the milk’s flavor and consistency. Choose a container that is appropriate for food storage, preferably one with a tight-fitting lid. Make sure the container is clean and dry before transferring the milk.
– Refrigerator Placement: It is best to place the container of evaporated milk on a refrigerator shelf rather than the door. The temperature on the door fluctuates more as it is frequently opened and closed. By keeping the milk on a shelf, you can ensure a more consistent and cool temperature, which helps to preserve its freshness.
– Temperature Control: Set your refrigerator temperature to around 40°F (4°C) or below. This helps to slow down the growth of bacteria and maintain the quality of the evaporated milk. Keep in mind that refrigeration does not indefinitely preserve the freshness of the milk, so it is important to use it within a certain timeframe.
– Shelf Life: Refrigerated evaporated milk typically has a shelf life of around 5-7 days after opening. However, always refer to the expiration date on the can and use your judgment. If the milk shows any signs of spoilage, such as an off smell, unusual texture, or discoloration, it is best to discard it.
– Usage: When using refrigerated evaporated milk, give it a good shake or stir before incorporating it into your recipe. This helps to remix any separated components and ensures even distribution of the milk’s richness and flavor.
Refrigerating evaporated milk is a straightforward and effective method for storing it after opening. By following these tips, you can maintain the quality and freshness of the milk for a longer period. However, remember to use your senses and judgment when assessing the milk’s safety and quality, and if in doubt, it is always better to err on the side of caution and discard it. Now, let’s move on to the next storage method: freezing evaporated milk.
Freezing Evaporated Milk
Freezing evaporated milk is a convenient method to extend its shelf life beyond the typical 5-7 days in the refrigerator. Freezing allows you to store the milk for up to 3 months, preserving its quality for future use. Here’s how to freeze evaporated milk properly:
– Transfer to Freezer-Safe Containers: Pour the leftover evaporated milk into freezer-safe containers. It is important to leave some space at the top of the container since liquids expand as they freeze. Choose containers that are specifically designed for freezing, such as glass jars or plastic containers with tight-fitting lids. Make sure the containers are clean and dry before pouring the milk.
– Seal the Containers Tightly: To prevent freezer burn and maintain the quality of the milk, ensure that the containers are sealed tightly. This prevents air and moisture from entering, which can lead to off-flavors and texture changes.
– Date and Label: Label each container with the date of freezing. This helps you keep track of the milk’s freshness and ensures that you use it within the recommended duration. You can use adhesive labels or a permanent marker to clearly mark the containers.
– Freezing Duration: Evaporated milk can be stored in the freezer for up to 3 months. However, the longer it stays frozen, the more likely it is to develop freezer burn or experience changes in texture. It is best to use the milk within the first month of freezing for optimal results.
– Thawing Frozen Evaporated Milk: When you’re ready to use the frozen evaporated milk, it is important to thaw it properly. The ideal method is to thaw it overnight in the refrigerator, allowing it to gradually defrost. If you need to thaw it quickly, you can place the container in a bowl of cool water, changing the water every 30 minutes until the milk is thawed.
– Remixing Separated Milk: After thawing, the milk may separate into layers or clumps. Give the container a gentle shake or stir to remix the components and achieve a smooth consistency before use. While the texture might be slightly different from fresh milk, it is still suitable for use in most recipes.
Freezing evaporated milk expands its usable time while preserving its quality. By following these guidelines, you can safely freeze evaporated milk and have it readily available for future culinary endeavors. Now that you know how to effectively freeze evaporated milk, let’s move on to the next section: transferring it to an airtight container.
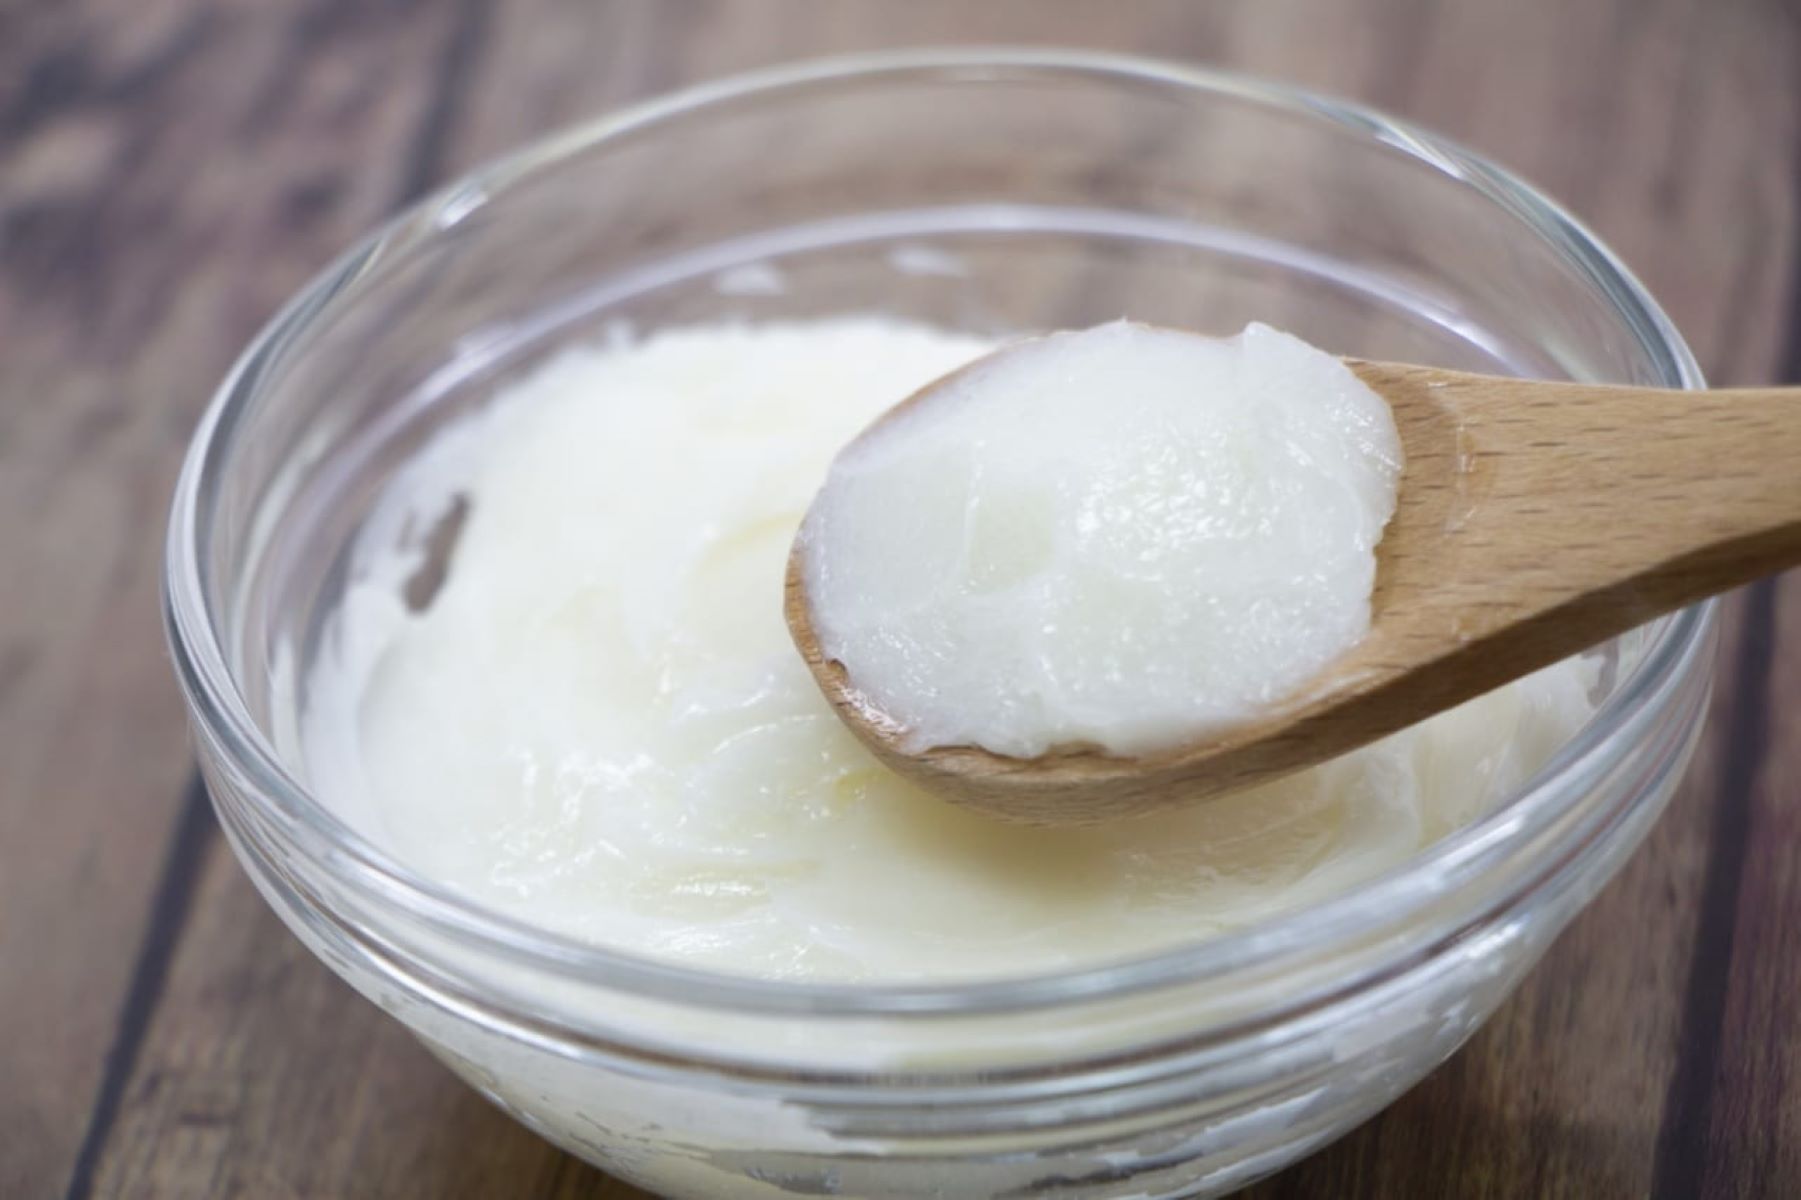
Store opened evaporated milk in an airtight container in the refrigerator. Use it within 3-4 days for best quality. Avoid storing it in the can once opened.
Transferring to an Airtight Container
Transferring evaporated milk to an airtight container is an essential step in preserving its freshness and preventing spoilage. By properly packaging the milk, you can prevent exposure to air and maintain its flavor and texture. Here’s how to transfer evaporated milk to an airtight container:
– Select the Right Container: Choose a clean and airtight container specifically designed for food storage. Glass jars with tight-fitting lids or plastic containers with secure seals are excellent options. Make sure the container is large enough to accommodate the amount of milk you are transferring.
– Clean and Dry: Before transferring the evaporated milk, ensure that the container is clean and dry. Any residual moisture or contaminants can affect the quality of the milk. Wash the container with warm, soapy water, rinse it thoroughly, and allow it to air dry completely.
– Pour Carefully: Slowly pour the evaporated milk into the container, taking care not to spill or splash. Avoid touching the inside of the container or introducing any contaminants.
– Seal Tightly: Once the milk is transferred, seal the container tightly to create an airtight environment. This prevents air from entering and prolongs the freshness of the milk. Check that the lid or seal is secure and that there are no gaps or leaks.
– Store Properly: After transferring the milk to the airtight container, place it in the refrigerator or freezer, depending on your preferred storage method. Remember to label the container with the date of transfer or freezing for easy reference.
Transferring evaporated milk to an airtight container is a simple yet crucial step in preserving its quality. It creates a protective barrier against air and helps to maintain the flavor and consistency of the milk. By following these steps, you can ensure that your evaporated milk stays fresh and ready to use. Now, let’s move on to the importance of labeling and dating the container.
Read more: How To Store Pet Milk After Opening
Labeling and Date
Labeling and dating the container that holds your evaporated milk is an important practice when it comes to storing it properly. By accurately labeling and dating the container, you can keep track of its freshness and ensure that you use it within the recommended timeframe. Here’s why labeling and dating are crucial:
– Identification: Labeling the container allows you to easily identify the contents, especially if you have multiple containers of evaporated milk in your refrigerator or freezer. This can help prevent confusion and ensure that you are using the correct milk for your recipes.
– Expiration Date: Most cans of evaporated milk have an expiration date printed on them. However, once you transfer the milk to an airtight container, that expiration date is no longer visible. Labeling the container with the date of transfer or freezing helps you keep track of how long the milk has been stored and when it should be used by.
– Rotation: Proper labeling and dating allow you to establish a rotation system for your evaporated milk. By using the “first in, first out” principle, you can ensure that you are consuming the oldest milk first and avoiding unnecessary waste.
– Quality Control: When you label the container with the date, you can easily determine if the milk has exceeded its recommended storage duration. This helps you assess the quality and safety of the milk before using it in your recipes.
– Organizational Benefits: Labeling the container also helps you stay organized in your refrigerator or freezer. With clear and visible labels, you can quickly locate the evaporated milk you need, saving time and reducing frustration.
To label the container, use a permanent marker or adhesive labels. Write the date of transfer or freezing in a clear and legible manner. Make sure the label is securely attached to the container and won’t easily smudge or wash off.
By implementing a labeling and dating system, you can effectively track the freshness of your evaporated milk and ensure that it is used within a safe and optimal timeframe. These simple steps can help reduce waste and contribute to a well-organized storage system for your pantry. Now, let’s explore how to use frozen evaporated milk effectively.
Using Frozen Evaporated Milk
When it comes to using frozen evaporated milk, there are a few important steps to ensure that it thaws properly and maintains its quality. While freezing may slightly affect the texture of the milk, it can still be used in a variety of recipes. Here’s how to effectively use frozen evaporated milk:
– Thawing Method: The ideal method for thawing frozen evaporated milk is to place the container in the refrigerator and let it thaw overnight. This slow thawing process allows for a gradual return to its original texture and consistency.
– Cold Water Bath: If you’re short on time, you can use a cold water bath to thaw the frozen evaporated milk more quickly. Fill a large bowl or basin with cool water and place the container of frozen milk in it. Make sure the container is sealed tightly to prevent water from seeping in. Change the water every 30 minutes until the milk is fully thawed. Avoid using warm water as it can cause the milk to thaw unevenly or too quickly.
– Separation and Remixing: After the frozen evaporated milk is fully thawed, it may appear separated or have some clumps. This is normal due to the frozen state. To remix the milk, give the container a gentle shake or stir until the separated components blend back together. This will help restore its smooth consistency.
– Texture Changes: Keep in mind that freezing and thawing may slightly alter the texture of the evaporated milk. While it may not be as creamy as fresh or refrigerated milk, the frozen milk can still be suitable for various recipes, including soups, sauces, desserts, and beverages.
– Cooking and Baking: Frozen evaporated milk can often be used as a substitute for regular milk in recipes. However, it is best suited for cooked or baked dishes rather than being used as a beverage on its own. Its rich and concentrated flavor makes it a suitable replacement in items like custards, puddings, and creamy sauces.
– Best Usage Timeframe: It is generally recommended to use thawed evaporated milk within a few days to maintain its quality. While it can be stored in the refrigerator, it is best to use it up in a timely manner to enjoy its full freshness.
By following these steps and guidelines, you can effectively use frozen evaporated milk and incorporate it into your favorite recipes. While the texture may not be exactly the same as fresh milk, it still adds a creamy and rich element to your dishes. Now that you’re equipped with knowledge on how to use frozen evaporated milk, let’s summarize the key points.
Conclusion
Properly storing evaporated milk after opening is crucial to maintain its quality and ensure its safety for consumption. Whether you choose to refrigerate or freeze your leftover evaporated milk, transferring it to an airtight container and labeling it with the date is essential. Let’s summarize the key points we covered in this article:
– Refrigerating evaporated milk helps to slow down bacterial growth and maintain its freshness. Transfer the milk to an airtight container and store it on a refrigerator shelf for 5-7 days.
– Freezing evaporated milk is a great option for extending its shelf life. Pour the milk into freezer-safe containers, leaving space for expansion, and label them with the date. Frozen evaporated milk can be stored for up to 3 months.
– Transferring evaporated milk to an airtight container prevents exposure to air, helping to maintain its flavor and texture. Use clean and dry containers with secure seals for optimal results.
– Labeling and dating your evaporated milk containers allow for easy identification and proper rotation. It helps you keep track of the milk’s freshness and ensures that you use it within the recommended timeframe.
– When using frozen evaporated milk, thaw it slowly in the refrigerator or more quickly in a cold water bath. Remember to remix the milk gently after thawing to restore its smooth consistency.
By following these guidelines, you can make the most of your evaporated milk and reduce waste. Whether you use it in recipes or as a substitute for regular milk, properly stored and handled evaporated milk can enhance the taste and texture of a wide range of culinary creations.
So, next time you find yourself with leftover evaporated milk, remember these storage tips to keep it fresh and ready for your next delicious dish. Enjoy the convenience and versatility of evaporated milk while ensuring it remains of the highest quality.
Frequently Asked Questions about How To Store Evaporated Milk After Opening
Was this page helpful?
At Storables.com, we guarantee accurate and reliable information. Our content, validated by Expert Board Contributors, is crafted following stringent Editorial Policies. We're committed to providing you with well-researched, expert-backed insights for all your informational needs.


0 thoughts on “How To Store Evaporated Milk After Opening”