Articles
How To Store Chicken Feed
Modified: December 7, 2023
Discover the best articles on how to store chicken feed to keep it fresh and free from pests. Learn effective methods for preserving the quality of your poultry's food.
(Many of the links in this article redirect to a specific reviewed product. Your purchase of these products through affiliate links helps to generate commission for Storables.com, at no extra cost. Learn more)
Introduction
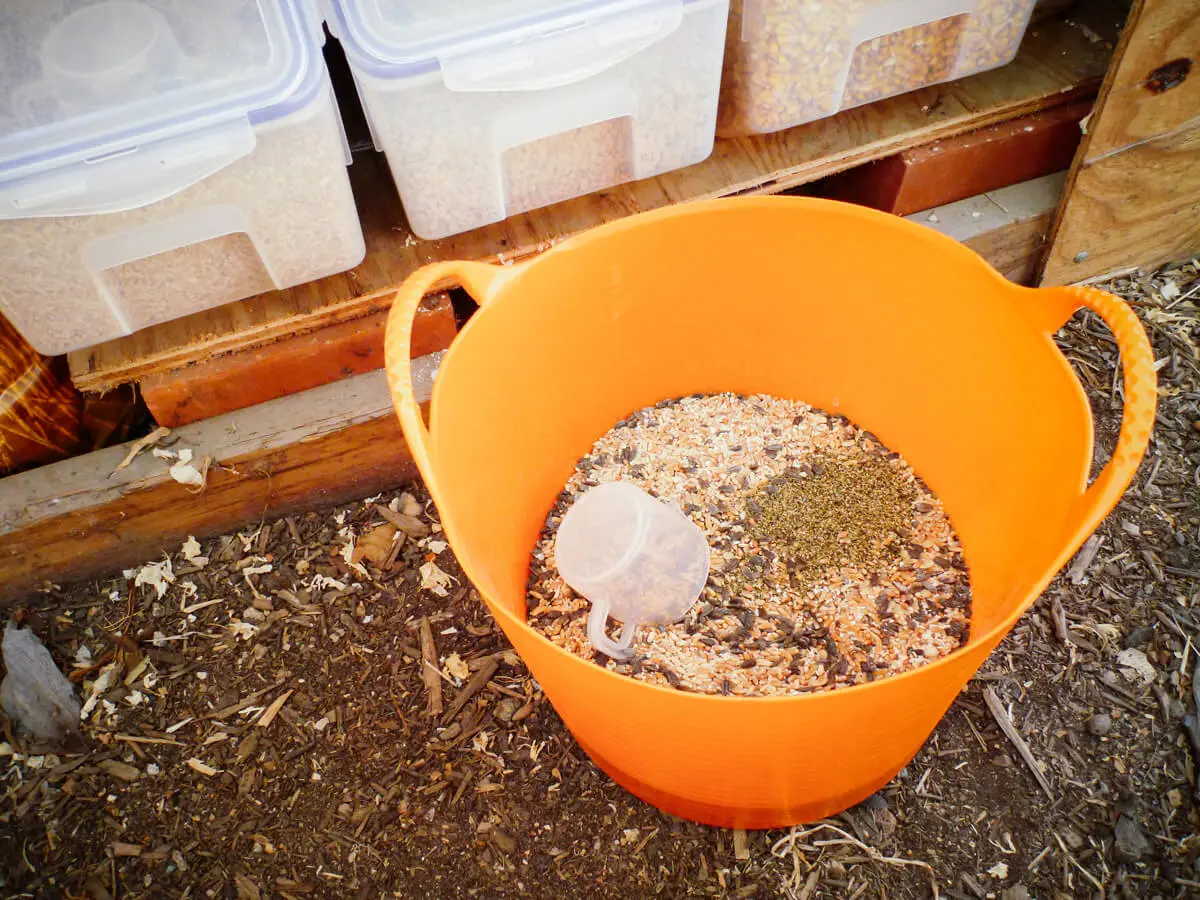
Properly storing chicken feed is essential for maintaining the health and well-being of your hens. Whether you have a small backyard flock or a larger-scale operation, ensuring that your chicken feed is stored correctly will not only keep it fresh, but also protect it from pests and prevent it from spoiling.
When it comes to poultry nutrition, feed plays a crucial role in providing the necessary nutrients for optimal growth, egg production, and overall chicken health. However, if feed is stored improperly, it can attract pests like rodents, wild birds, and insects, leading to contamination and a higher risk of disease transmission.
In order to maintain the quality and freshness of your chicken feed, it is important to implement proper storage practices. This article will guide you through the importance of proper chicken feed storage, factors to consider when choosing a storage location, types of containers suitable for feed storage, steps to store chicken feed correctly, tips for maintaining feed freshness, as well as common mistakes to avoid.
Key Takeaways:
- Properly storing chicken feed is crucial for maintaining its nutritional value, preventing contamination, and deterring pests. Choosing the right containers, storage location, and practicing proper maintenance are key to ensuring feed freshness and quality.
- Avoid common mistakes such as using improper storage containers, overstocking feed, and ignoring signs of spoilage to maintain the freshness and safety of your chicken feed. Prioritize cleanliness, proper rotation, and protection from pests to keep your flock healthy and well-nourished.
Read more: How To Store Ready To Feed Formula
Importance of Proper Chicken Feed Storage
Proper chicken feed storage is crucial for several reasons. Firstly, it helps to maintain the nutritional value of the feed. Chicken feed contains a variety of essential nutrients that are necessary for the overall health and productivity of your flock. Exposure to factors such as heat, moisture, and sunlight can lead to the degradation of these nutrients, rendering the feed less effective in meeting the dietary needs of your chickens.
Secondly, ensuring proper storage of chicken feed helps to prevent contamination. Feed that is improperly stored can be vulnerable to pests such as rodents, insects, and wild birds. These pests not only consume the feed, but they can also introduce harmful bacteria and diseases to your flock. Contaminated feed can lead to a myriad of health issues for your chickens, including digestive problems, weakened immune systems, and reduced egg production.
In addition to preventing contamination, proper feed storage also helps to deter pests from entering your coop or surrounding area. When feed is stored in sealed and secure containers, it becomes less attractive to pests, reducing the risk of infestations and the need for pest control measures.
Furthermore, storing chicken feed properly can help to minimize waste. When feed is not stored correctly, it can become exposed to elements that cause spoilage, such as moisture and mold. Spoiled feed is not only unpalatable to chickens, but it can also pose serious health risks. By implementing proper storage practices, you can prolong the shelf life of your feed and reduce the amount of waste generated.
Overall, proper chicken feed storage is essential for maintaining the nutritional quality of the feed, preventing contamination and disease transmission, deterring pests, and minimizing feed waste. By ensuring that your chicken feed is stored correctly, you are taking proactive steps to promote the health and well-being of your flock, resulting in happier and more productive chickens.
Factors to Consider when Choosing a Storage Location
When it comes to choosing a storage location for your chicken feed, there are several important factors to consider. The right storage location will not only protect the feed from external elements, but also make it easily accessible for regular feeding. Here are some key factors to keep in mind:
1. Protection from pests: The storage location should be secure and pest-proof. Ensure that it is sealed tightly to prevent rodents, insects, and wild birds from accessing the feed. This can help avoid contamination and reduce the risk of attracting unwanted guests to your coop or storage area.
2. Temperature control: It is important to choose a storage location that provides a consistent temperature. Extreme heat or cold can impact the quality of the feed, leading to nutrient degradation. Avoid areas that are exposed to direct sunlight or extreme temperature fluctuations.
3. Air circulation: While it is crucial to keep the feed protected, it is equally important to ensure proper air circulation to prevent the growth of mold and mildew. Choose a storage location that allows for adequate ventilation to maintain the freshness of the feed.
4. Accessibility: Ideally, the storage location should be easily accessible for convenient feeding. This will save you time and effort when it comes to refilling the feeders. Consider placing the storage area close to the chicken coop or the feeding station for easy access.
5. Space availability: Determine the amount of feed you plan to store and choose a storage location that provides enough space to accommodate the quantity. It should be spacious enough to store the feed containers without overcrowding, ensuring that you can easily access and organize the feed as needed.
6. Cleanliness: Choose a storage location that is clean and free from dirt, dust, and other contaminants that can compromise the quality of the feed. Regularly clean the storage area to prevent the buildup of debris and ensure a hygienic environment for the feed.
By considering these factors, you can select a suitable storage location that provides the necessary protection for your chicken feed, while also ensuring convenience and accessibility for feeding your flock.
Types of Containers for Storing Chicken Feed
Choosing the right containers for storing your chicken feed is essential for maintaining its freshness and quality. Here are some common types of containers that are suitable for storing chicken feed:
- Plastic bins with tight-sealing lids: Plastic bins, such as food-grade storage containers, are a popular choice for storing chicken feed. Look for bins that are made of durable, non-toxic materials and have airtight, secure lids. These containers are relatively inexpensive, easy to clean, and provide good protection against pests and moisture.
- Metal containers: Metal containers, such as galvanized steel bins or metal drums, are another option for storing chicken feed. They offer excellent durability and can withstand harsh weather conditions. Metal containers are also resistant to pests and rodents. However, be cautious of any rust or sharp edges that could contaminate the feed.
- Garbage cans with tight-fitting lids: Large plastic or metal garbage cans can be repurposed for chicken feed storage. Make sure to thoroughly clean and sanitize the can before using it for feed storage. Look for cans with tight-fitting lids to keep out pests and moisture.
- Bulk feed storage containers: If you have a larger flock or prefer to purchase feed in bulk, consider investing in bulk feed storage containers. These containers are specifically designed for storing large quantities of feed and often feature convenient dispensing mechanisms to make feeding easier.
- Feed storage bins with built-in dispensers: Feed storage bins with built-in dispensers are a convenient option for consistent and controlled feeding. These bins often have spouts or openings that allow you to easily fill your chicken feeders without the need for separate scoops or containers.
When choosing containers, it is important to prioritize durability, airtight seals, and resistance to pests and moisture. Additionally, always ensure that the containers used for storing chicken feed are clean and free from any contaminants that could spoil the feed or harm your flock.
Remember to label the containers with the type of feed and the date it was purchased or filled. This will help you keep track of feed freshness and prevent any mix-ups or confusion.
Store chicken feed in a cool, dry place to prevent mold and spoilage. Use airtight containers to keep out pests and maintain freshness. Rotate stock regularly to ensure feed is used before it expires.
Steps to Store Chicken Feed Properly
Properly storing chicken feed is essential for maintaining its freshness and quality. Follow these steps to ensure that your chicken feed is stored correctly:
- Clean the storage containers: Before transferring the feed to storage containers, ensure that they are clean and free from any debris or contaminants. Wash the containers with warm soapy water, rinse thoroughly, and allow them to dry completely.
- Choose a suitable storage location: Select a storage location that meets the factors mentioned earlier, such as protection from pests, temperature control, and accessibility. A cool, dry, and well-ventilated area is ideal for storing chicken feed.
- Transfer the feed to containers: Pour the chicken feed from its original packaging into the clean, dry storage containers. Ensure that the containers have tight-sealing lids to keep out pests and moisture. If using large containers, consider adding smaller containers or bins within them to facilitate easy access and prevent moisture buildup.
- Label the containers: Clearly label each container with the type of feed and the date it was filled or purchased. This will help you keep track of feed freshness and prevent any confusion or mix-ups.
- Seal the containers tightly: Ensure that all containers are sealed tightly to prevent air, moisture, and pests from entering. This will help to maintain the freshness and nutritional quality of the feed.
- Store the containers off the ground: Elevate the storage containers off the ground to prevent them from coming into contact with moisture or pests. This can be done by using pallets or shelving units.
- Monitor and rotate the feed: Regularly monitor the feed containers for signs of spoilage or pests. Check for any unusual odors, discoloration, or signs of mold. Rotate the feed inventory, using the oldest feed first, to ensure that it is consumed before it reaches its expiration date.
By following these steps, you can effectively store your chicken feed, keeping it fresh, free from contaminants, and easily accessible for daily feeding.
Read more: How To Store Similac Ready To Feed
Tips for Maintaining Feed Freshness
Maintaining the freshness of your chicken feed is crucial for ensuring its nutritional value and preventing spoilage. Here are some helpful tips to keep your feed fresh:
- Buy in smaller quantities: If possible, purchase chicken feed in smaller quantities to ensure that it is consumed within a reasonable time frame. This helps to minimize the exposure of the feed to air, moisture, and pests.
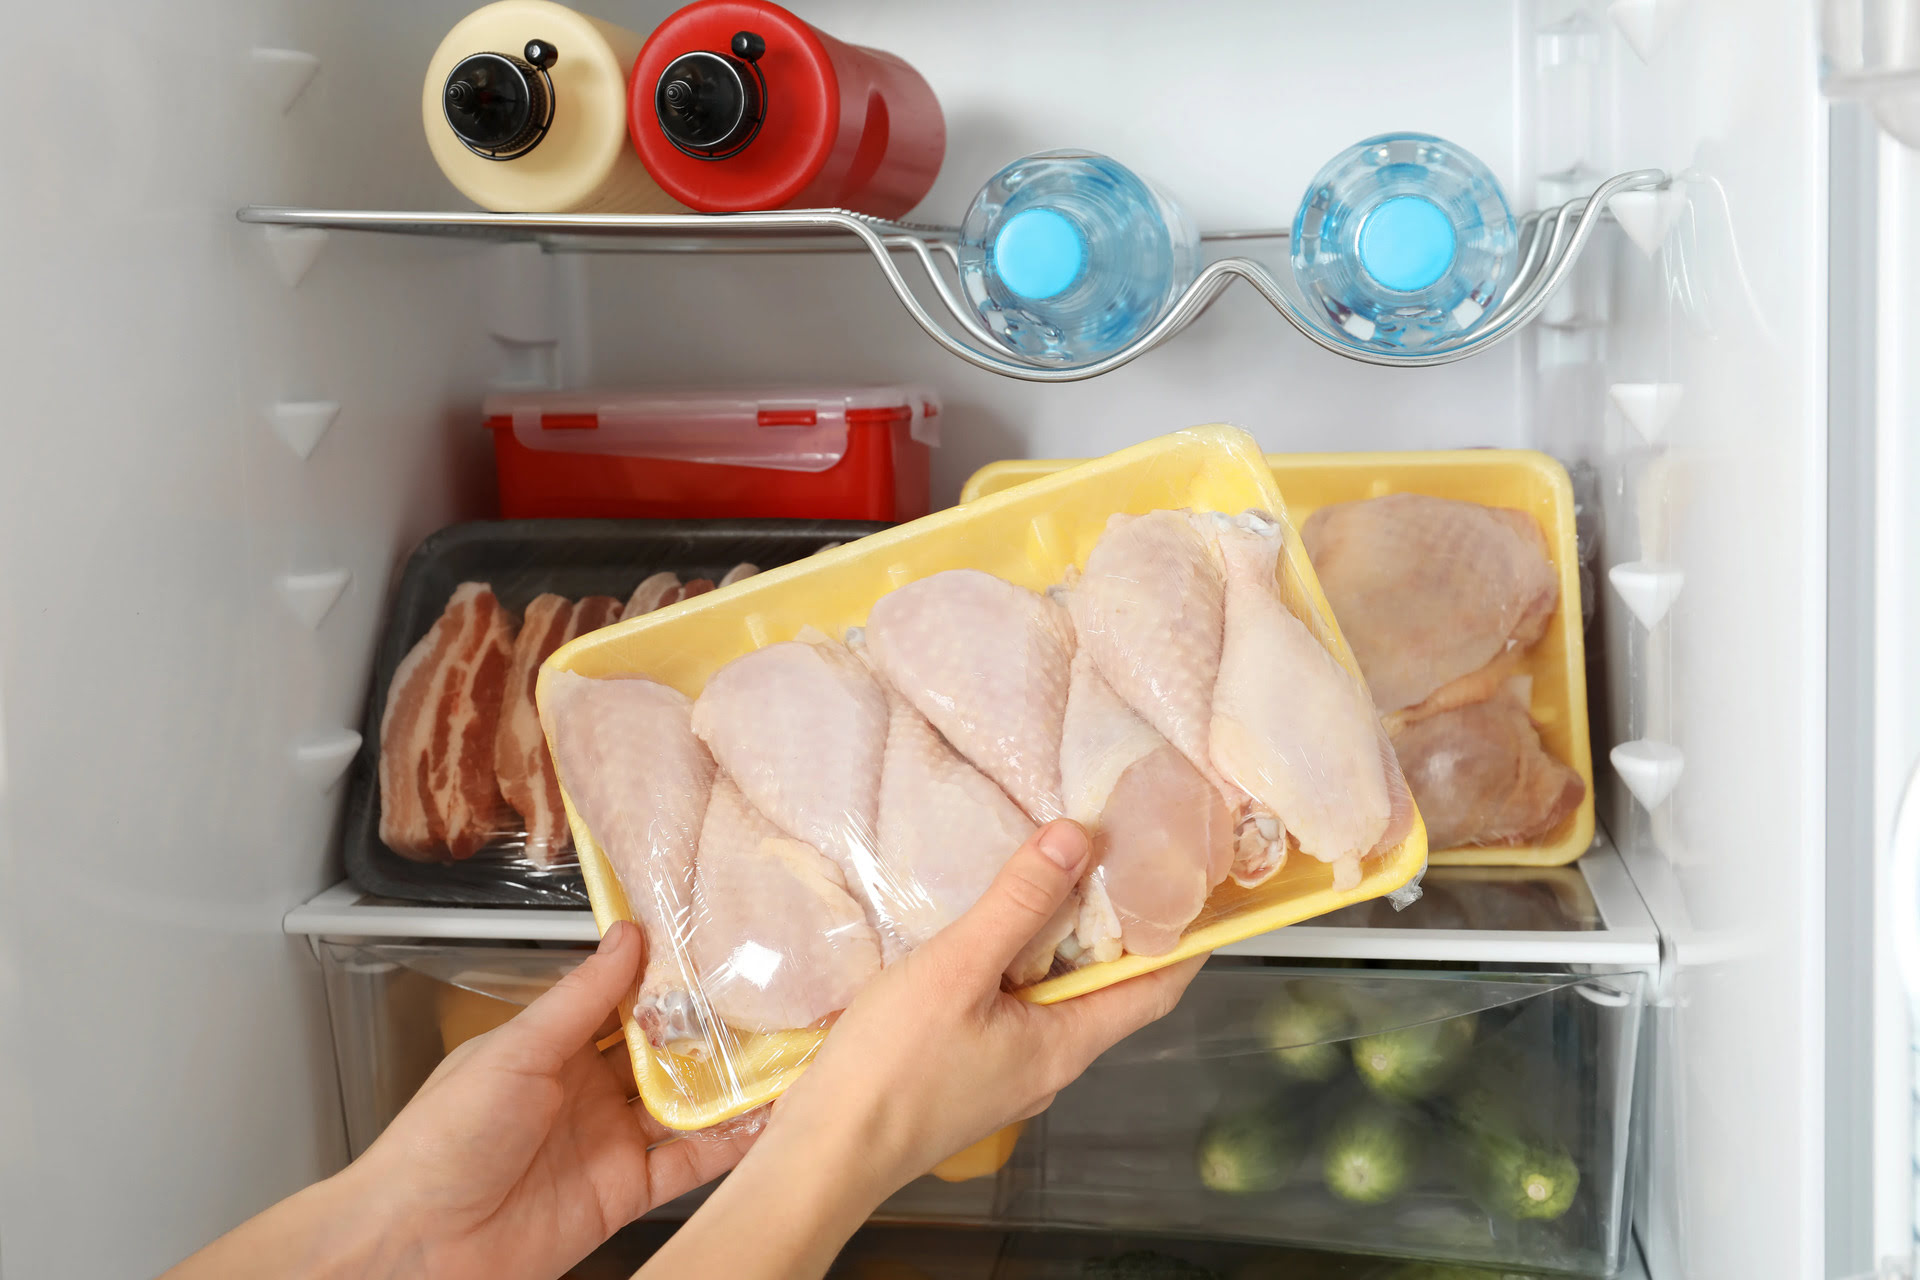
- Store feed in a cool, dry place: Temperature and humidity can impact the quality of the feed. Choose a storage location that is cool and dry, as higher temperatures and excess moisture can lead to spoilage and degradation of nutrients.
- Avoid storing feed near strong odors: Chicken feed can absorb odors from nearby sources, which may make it unappealing to your flock. Avoid storing it near chemicals, cleaning agents, or other strong-smelling substances.
- Keep the storage area clean: Regularly clean and sanitize the storage area to prevent the buildup of dust, debris, and pests. Wipe down the containers and shelves with a mild detergent, rinse thoroughly, and allow them to dry before refilling with fresh feed.
- Use feed within its expiration date: Check the expiration date on the feed packaging and use the feed before it expires. Expired feed may lose its nutritional value and become less palatable to your chickens.
- Control feed exposure to sunlight: Sunlight can accelerate the degradation of feed nutrients. Store the feed containers in a shaded area or use opaque containers that block out sunlight to maintain the feed’s freshness.
- Monitor for signs of spoilage: Regularly inspect the feed for any signs of spoilage, such as mold, unusual odors, or discoloration. If you notice any of these signs, discard the affected feed immediately.
- Practice first-in, first-out (FIFO) rotation: Implement a FIFO system by using older feed first and placing newly purchased or freshly filled containers at the back. This ensures that feed is consumed before it has a chance to expire or lose its freshness.
By following these tips, you can help maintain the freshness and quality of your chicken feed, ensuring that your flock receives the best nutrition possible.
Common Mistakes to Avoid when Storing Chicken Feed
Proper storage of chicken feed is crucial for maintaining its quality and preventing issues such as spoilage, contamination, and pest infestations. Here are some common mistakes to avoid when storing chicken feed:
- Not using airtight containers: Failure to use containers with tight-sealing lids can lead to air exposure, which can speed up the degradation of the feed and reduce its freshness. Always choose airtight containers to keep out moisture, pests, and oxygen.
- Storing feed in damp or humid areas: Moisture is a breeding ground for mold and bacterial growth. Avoid storing feed in damp or humid areas, as it can lead to spoilage and contamination. Opt for dry and well-ventilated storage locations.
- Ignoring proper cleaning and maintenance: Neglecting to regularly clean and sanitize storage containers, shelves, and the surrounding area can lead to the buildup of contaminants, mold, and pests. Make it a habit to clean and maintain these areas regularly.
- Overstocking feed: Buying excessive amounts of feed without considering proper storage capacity can lead to overcrowded storage areas and compromised feed quality. Purchase feed in quantities that can be consumed within a reasonable time frame to maintain freshness.
- Failure to rotate feed: Failing to practice a first-in, first-out (FIFO) rotation method can result in older feed being left unused for extended periods. Always use older feed before introducing newer batches to ensure the feed is consumed before it expires or loses its freshness.
- Storing feed near chemicals or strong odors: Chicken feed can absorb odors from nearby chemicals or strong-smelling substances, making it unappetizing for your flock. Avoid storing feed in close proximity to such substances to maintain its palatability.
- Exposing feed to sunlight: Exposure to direct sunlight can accelerate the degradation of nutrients in the feed. Store feed in a shaded area or use opaque containers to protect it from sunlight and maintain its quality.
- Ignoring signs of spoilage: Failure to regularly inspect feed for signs of spoilage, such as mold, discoloration, or unusual odors, can lead to feeding your flock contaminated or spoiled feed. Discard any feed that shows signs of spoilage immediately.
By avoiding these common mistakes and implementing proper storage practices, you can ensure that your chicken feed remains fresh, safe, and nutritious for your flock.
Conclusion
Properly storing chicken feed is essential for maintaining the health and productivity of your flock. By following the guidelines outlined in this article, you can ensure that your chicken feed remains fresh, nutritious, and free from contaminants. Choosing a suitable storage location, using the right containers, and implementing proper storage practices are key to preserving the quality of the feed.
Remember to consider factors such as protection from pests, temperature control, and accessibility when selecting a storage location. Use airtight containers, such as plastic bins with tight-sealing lids or metal containers, to prevent exposure to air and pests. Cleanliness and regular maintenance of the storage area are also important to prevent the buildup of contaminants and pests. Additionally, monitor feed freshness, practice FIFO rotation, and discard any feed that shows signs of spoilage.
By avoiding common mistakes such as using improper storage containers, storing feed in damp areas, and failing to rotate feed, you can prevent issues like spoilage, contamination, and nutrient degradation. With proper storage, you can ensure that your flock receives feed that is fresh, nutritious, and free from harmful contaminants.
By prioritizing the freshness and quality of your chicken feed, you are taking proactive steps to promote the health and well-being of your feathered friends. Healthy, well-nourished chickens are more likely to thrive, lay healthy eggs, and bring joy to your backyard or farm.
In conclusion, proper chicken feed storage is an important aspect of responsible poultry care. By following the tips and guidelines provided in this article, you can maintain the freshness, nutritional value, and overall quality of your chicken feed, resulting in healthier and happier hens.
Frequently Asked Questions about How To Store Chicken Feed
Was this page helpful?
At Storables.com, we guarantee accurate and reliable information. Our content, validated by Expert Board Contributors, is crafted following stringent Editorial Policies. We're committed to providing you with well-researched, expert-backed insights for all your informational needs.


0 thoughts on “How To Store Chicken Feed”