Articles
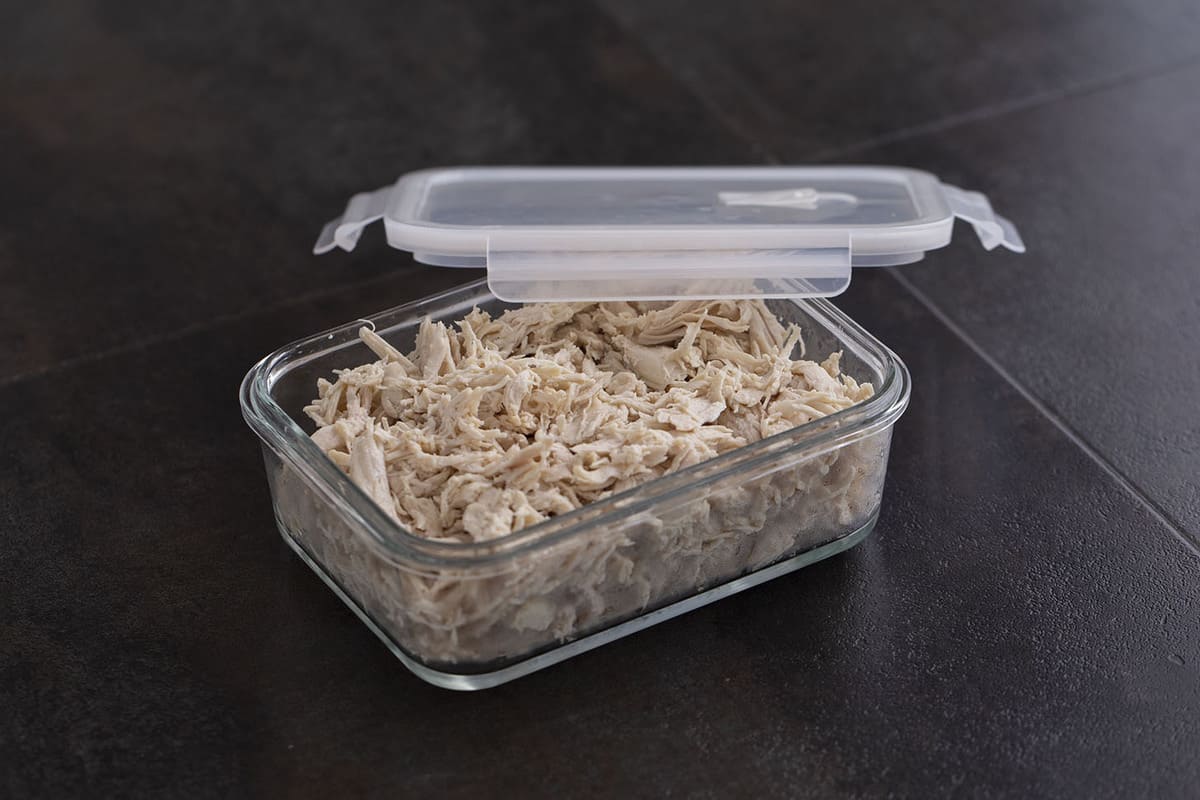
How To Store Meal Prep Chicken
Modified: August 25, 2024
Learn the best techniques for storing meal prep chicken in this helpful articles. Keep your meals fresh and convenient for days to come.
(Many of the links in this article redirect to a specific reviewed product. Your purchase of these products through affiliate links helps to generate commission for Storables.com, at no extra cost. Learn more)
Introduction
Meal prepping has become increasingly popular among individuals seeking to maintain a healthy lifestyle, save time, and stay on track with their nutrition goals. When it comes to meal prep, chicken is a staple protein source for its versatility and lean properties. However, proper storage of meal prep chicken is essential to ensure its freshness, safety, and flavor.
In this article, we will explore the step-by-step process of storing meal prep chicken to help you maximize its shelf life while preserving its quality. From choosing the right containers to properly reheating, we have got you covered.
So let’s dive in and discover the best practices for storing meal prep chicken!
Key Takeaways:
- Properly storing meal prep chicken is essential for freshness and safety. Choose the right containers, follow food safety guidelines, and enjoy convenient, nutritious meals throughout the week.
- From prepping and portioning to thawing and reheating, mastering the art of storing meal prep chicken ensures maximum shelf life and delicious, hassle-free meals.
Read more: How To Store Shredded Chicken
Step 1: Choosing the Right Containers
When it comes to storing meal prep chicken, choosing the right containers is crucial. The containers you use should be airtight and able to keep your chicken fresh while preventing any cross-contamination with other foods in your refrigerator or freezer.
Here are some container options you can consider:
- Glass Containers: Glass containers are a popular choice for meal prep due to their durability, non-porous surface, and ability to withstand high temperatures. They are also free from harmful chemicals like BPA, making them a safe option for storing your chicken.
- Plastic Containers: If you opt for plastic containers, ensure that they are made from food-grade, BPA-free materials. Look for containers that have secure locking lids to prevent any leaks or spills.
- Reusable Silicone Bags: Silicone bags are a sustainable alternative to traditional containers. They are durable, freezer-safe, and easy to clean. Look for bags that are leak-proof and have airtight seals.
- Aluminum Foil or Freezer Wrap: If you’re planning to freeze the chicken for an extended period, you can wrap it tightly in aluminum foil or freezer wrap. This method helps to prevent freezer burn and maintain the quality of the chicken.
Remember to choose containers that are appropriately sized for your portions, allowing room for expansion if freezing. It’s also a good idea to label your containers with the date of preparation to keep track of freshness.
Now that you’ve selected the right containers, let’s move on to the next step: prepping the chicken.
Step 2: Prepping the Chicken
Properly prepping your chicken before storing it is essential for maintaining its quality and safety. Here are some key steps to follow when preparing your meal prep chicken:
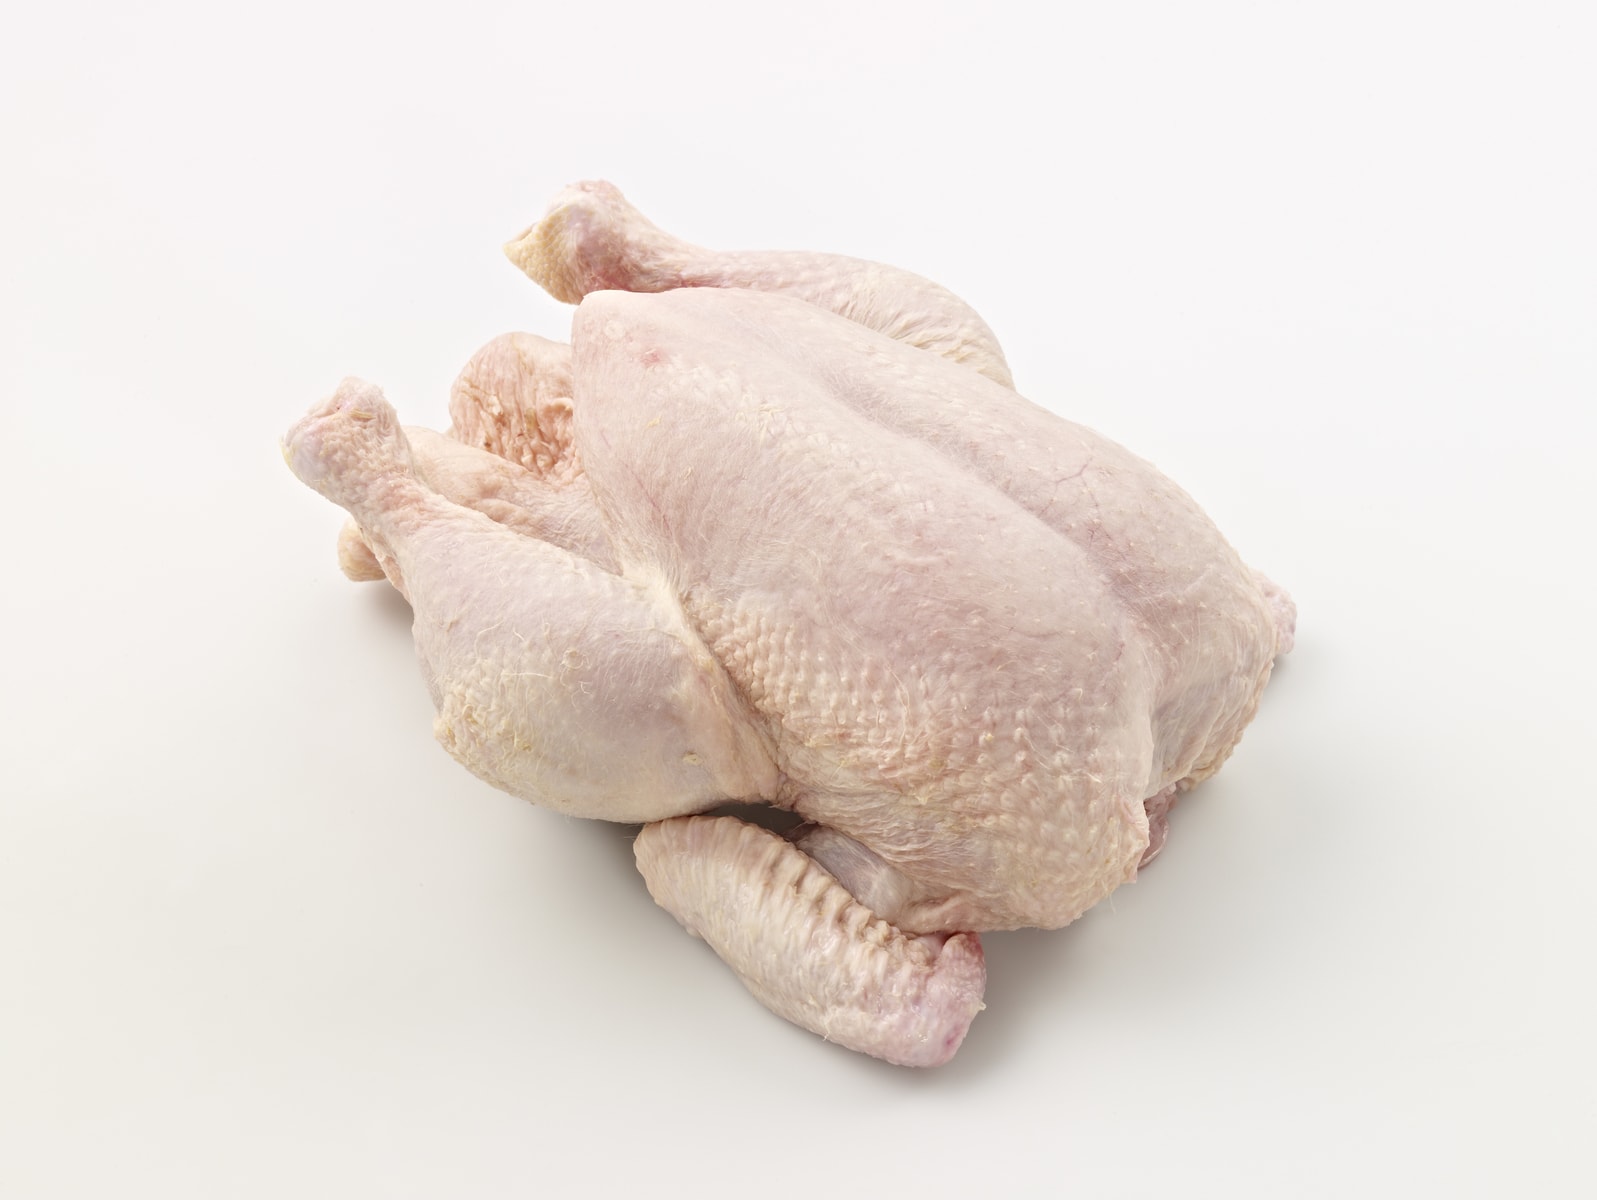
- Cleaning: Start by washing your chicken under cool running water. Pat it dry using paper towels to remove any excess moisture. Remember to practice good hygiene by washing your hands thoroughly with soap and water before and after handling raw chicken to prevent the spread of bacteria.
- Seasoning: Adding flavor to your chicken before storing it can enhance the taste of your meals. You can marinate the chicken with your favorite herbs, spices, and sauces. Seal the chicken in a food-safe bag and let it marinate in the refrigerator for at least 30 minutes to allow the flavors to penetrate the meat.
- Cutting or Slicing: Depending on your meal prep preferences, you may choose to cut or slice the chicken before storing. This can make it easier to portion out and use in different recipes later on. Just ensure that your cutting board and utensils are clean and sanitized to avoid any cross-contamination.
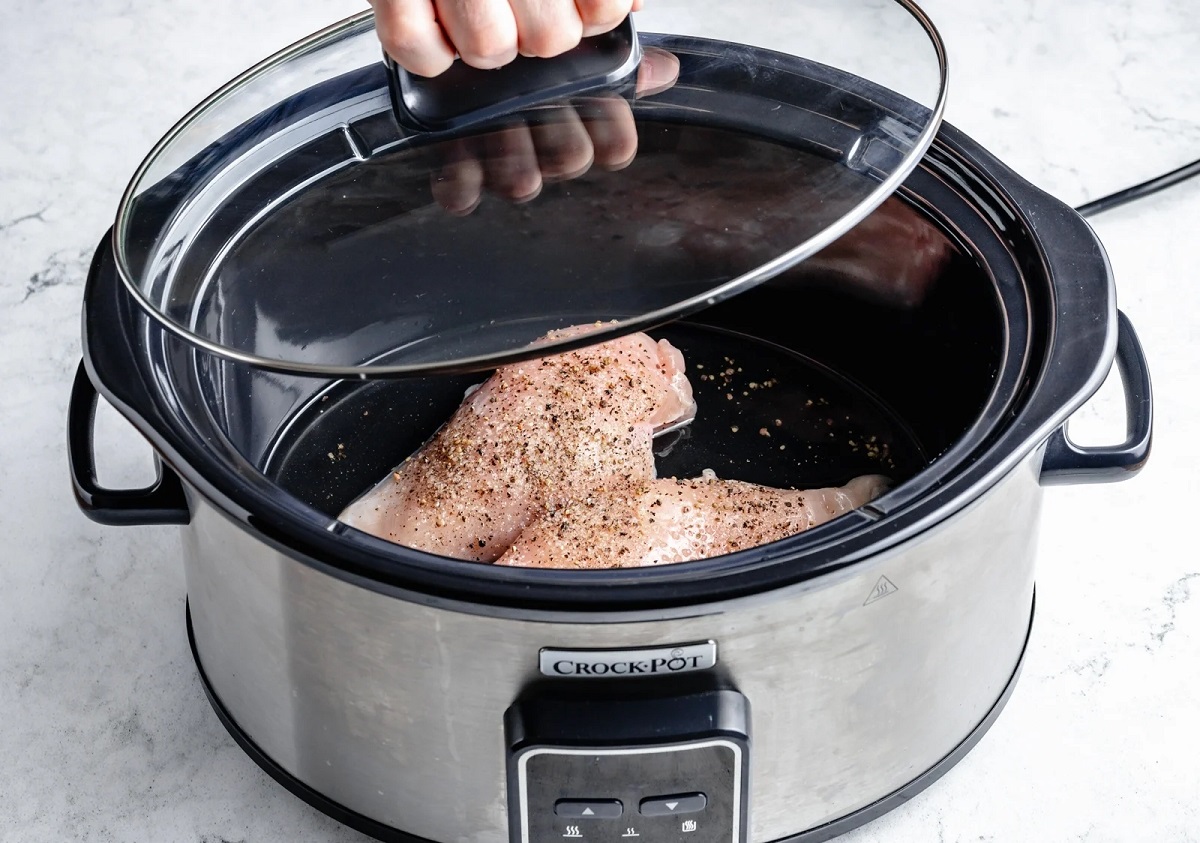
- Cooking: It’s important to cook your meal prep chicken thoroughly before storing it. Aim for an internal temperature of 165°F (74°C) to ensure that any potential bacteria or pathogens are eliminated.
Once your chicken is prepped and cooked, it’s time to move on to the next step: portioning the chicken.
Step 3: Portioning the Chicken
Portioning your meal prep chicken is an important step to ensure that you have the right amount of chicken for each meal without any wastage. Here are some tips on how to effectively portion your chicken:
- Determine Serving Sizes: Consider the number of servings you would like from each batch of meal prep chicken. If you have specific nutritional goals or meal plans, consult your dietary needs to determine the appropriate serving size.
- Use Measuring Tools: To ensure uniform portion sizes, you can utilize measuring cups or a food scale. This will help you achieve consistency and accurately track your protein intake.
- Divide into Individual Containers or Bags: Once you have determined the appropriate serving size, divide the chicken into individual containers or bags. This will make it easier to grab and go when you’re ready to eat.
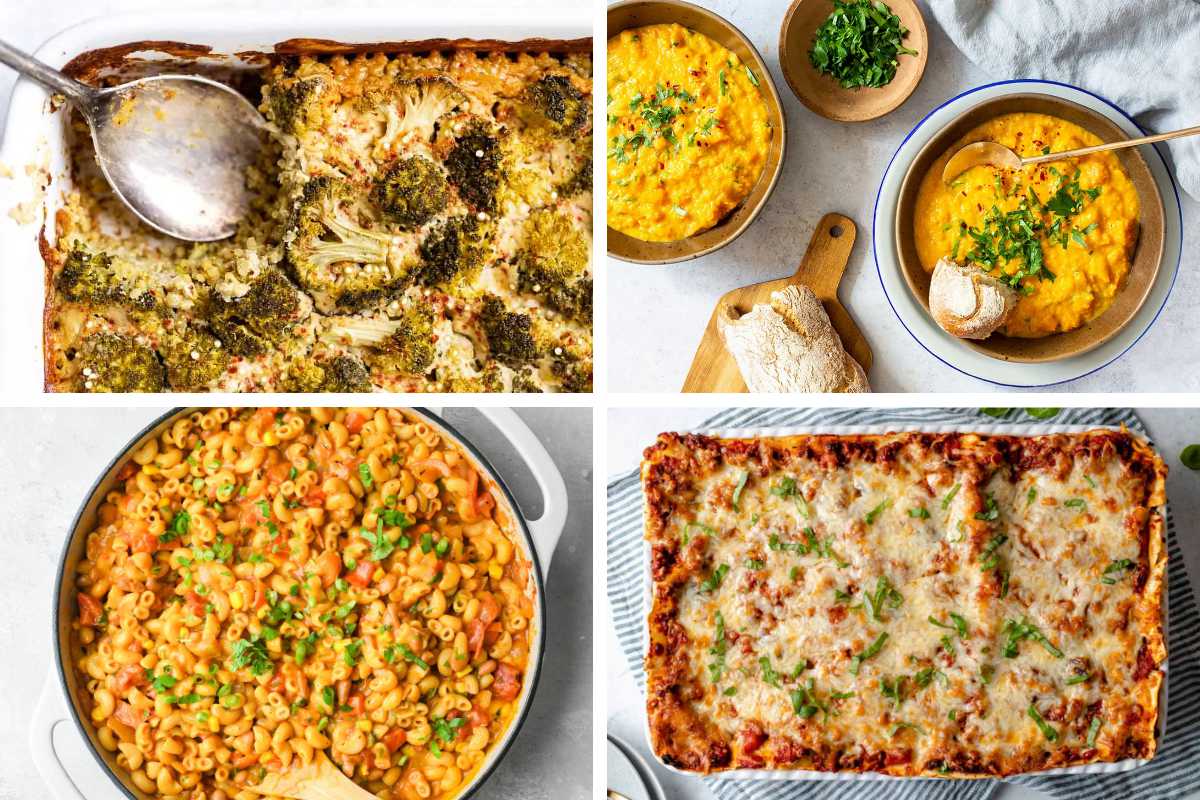
- Consider Meal Components: If you’re planning specific meals or recipes, you can portion the chicken along with other ingredients that will be used together. This saves time during meal preparation and ensures that each portion is complete.
By portioning your chicken, you can easily grab the right amount for each meal, reducing the temptation to overeat or waste food. Now that you have portioned your chicken, let’s move on to the next step: storing it in the refrigerator.
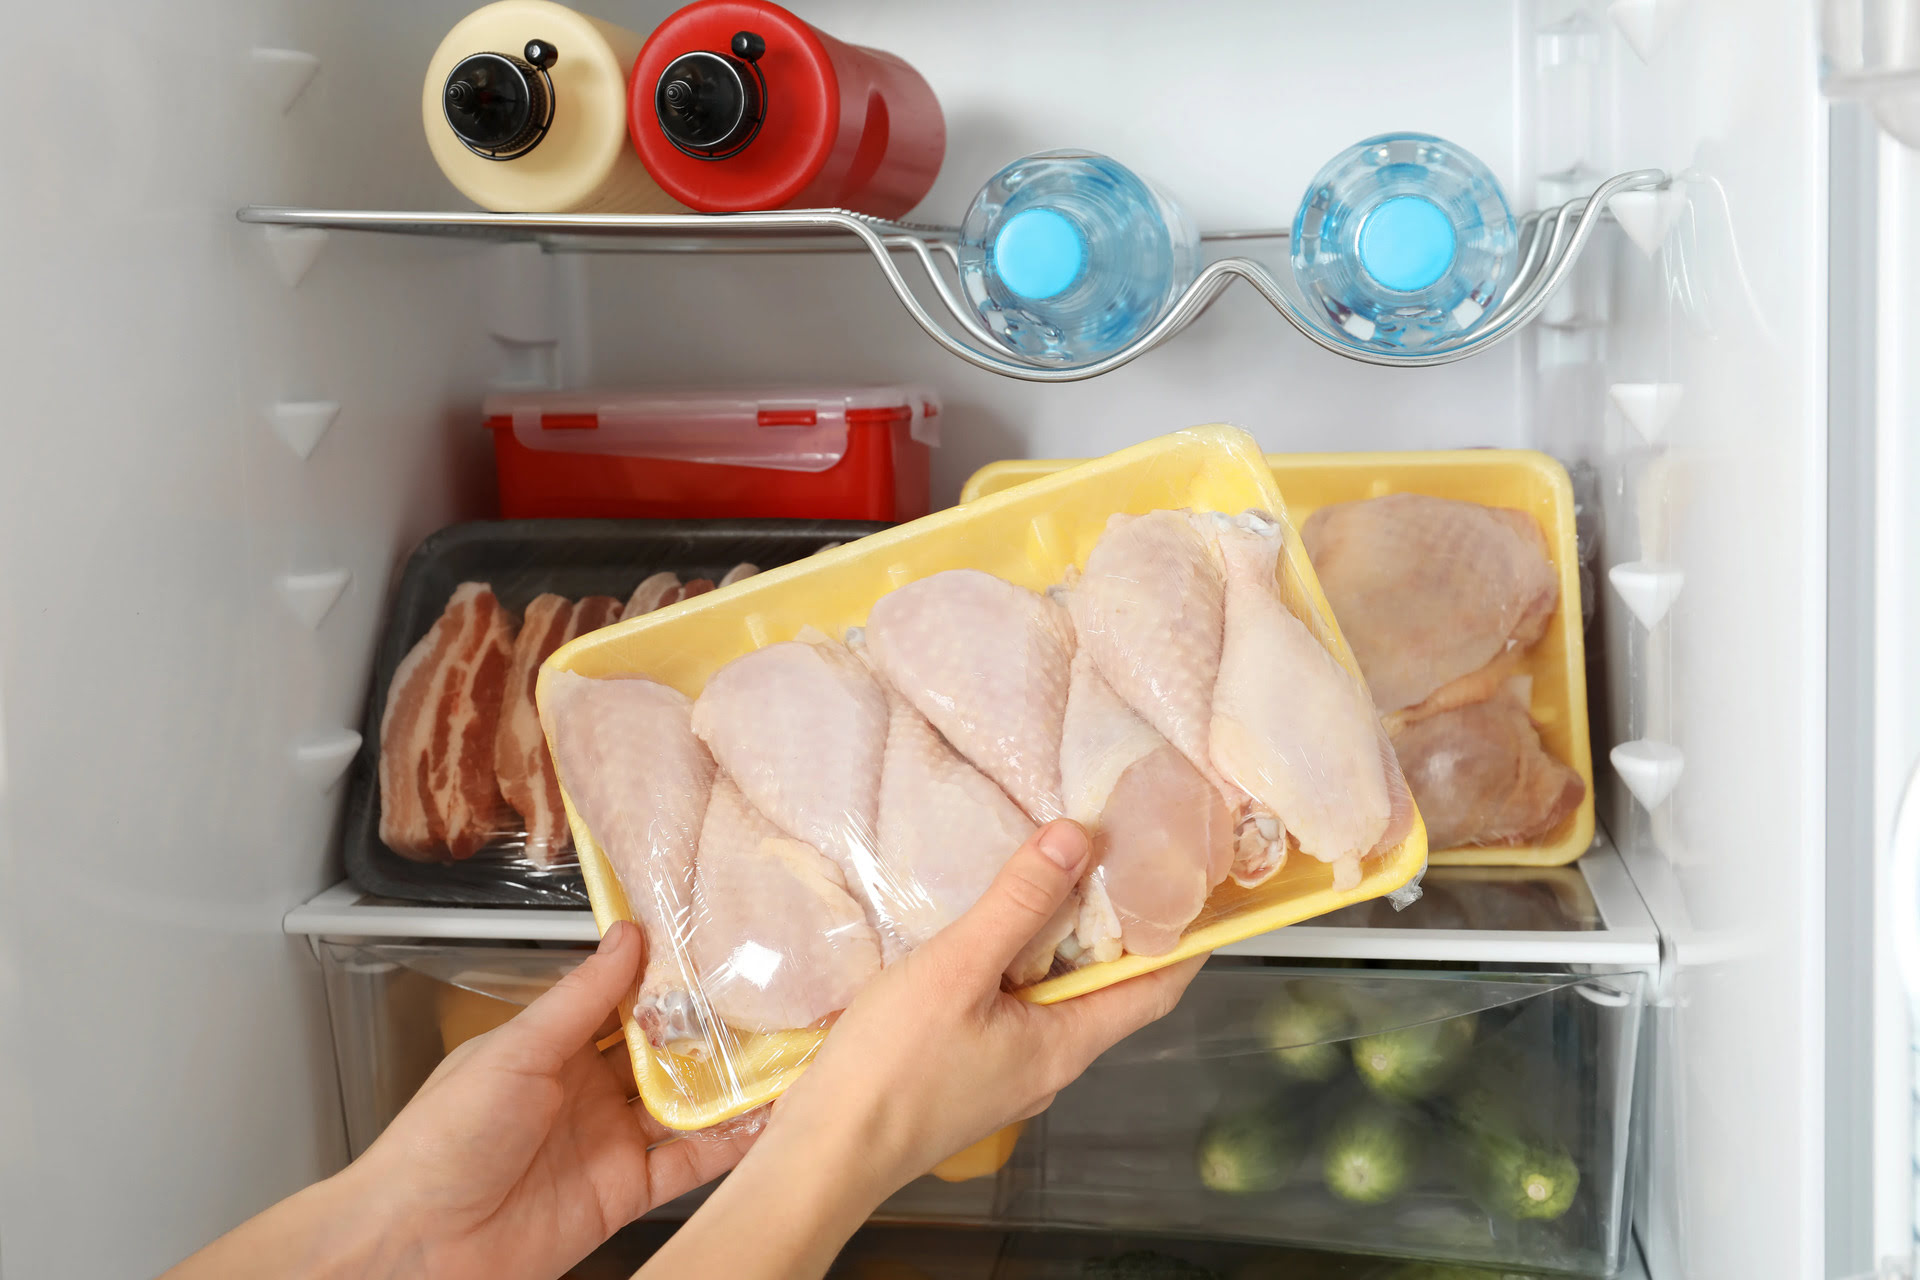
Step 4: Storing in the Refrigerator
Properly storing your meal prep chicken in the refrigerator is essential to maintain its freshness and prevent the growth of harmful bacteria. Here are some guidelines to follow when storing your chicken in the refrigerator:
- Cool the Chicken: Before placing the chicken in the refrigerator, allow it to cool down to room temperature. Placing hot chicken in the fridge can raise the temperature inside, potentially compromising the safety of other perishable foods.
- Use Airtight Containers: Transfer your portioned chicken into airtight containers or wrap it tightly in plastic wrap. Ensure that there are no air pockets, as exposure to air can lead to freezer burn and spoilage.
- Store on the Bottom Shelf: Place your chicken containers on the bottom shelf of your refrigerator. This prevents any potential cross-contamination with other ready-to-eat foods. You can also use a tray or a plate to catch any potential drips or leaks from the chicken.
- Label and Date: Don’t forget to label your containers with the date of preparation. This helps you keep track of the freshness and ensures that you consume the chicken within a safe time frame.
- Consume Within 3-4 Days: It is recommended to consume your meal prep chicken within 3-4 days of refrigeration. This ensures that it stays fresh and maintains its quality. If you don’t plan on eating it within this timeframe, it’s better to freeze it for longer storage.
Remember to always follow proper food safety practices when storing chicken to prevent foodborne illnesses. Now that you have stored your chicken in the refrigerator let’s move on to the next step: freezing the chicken.
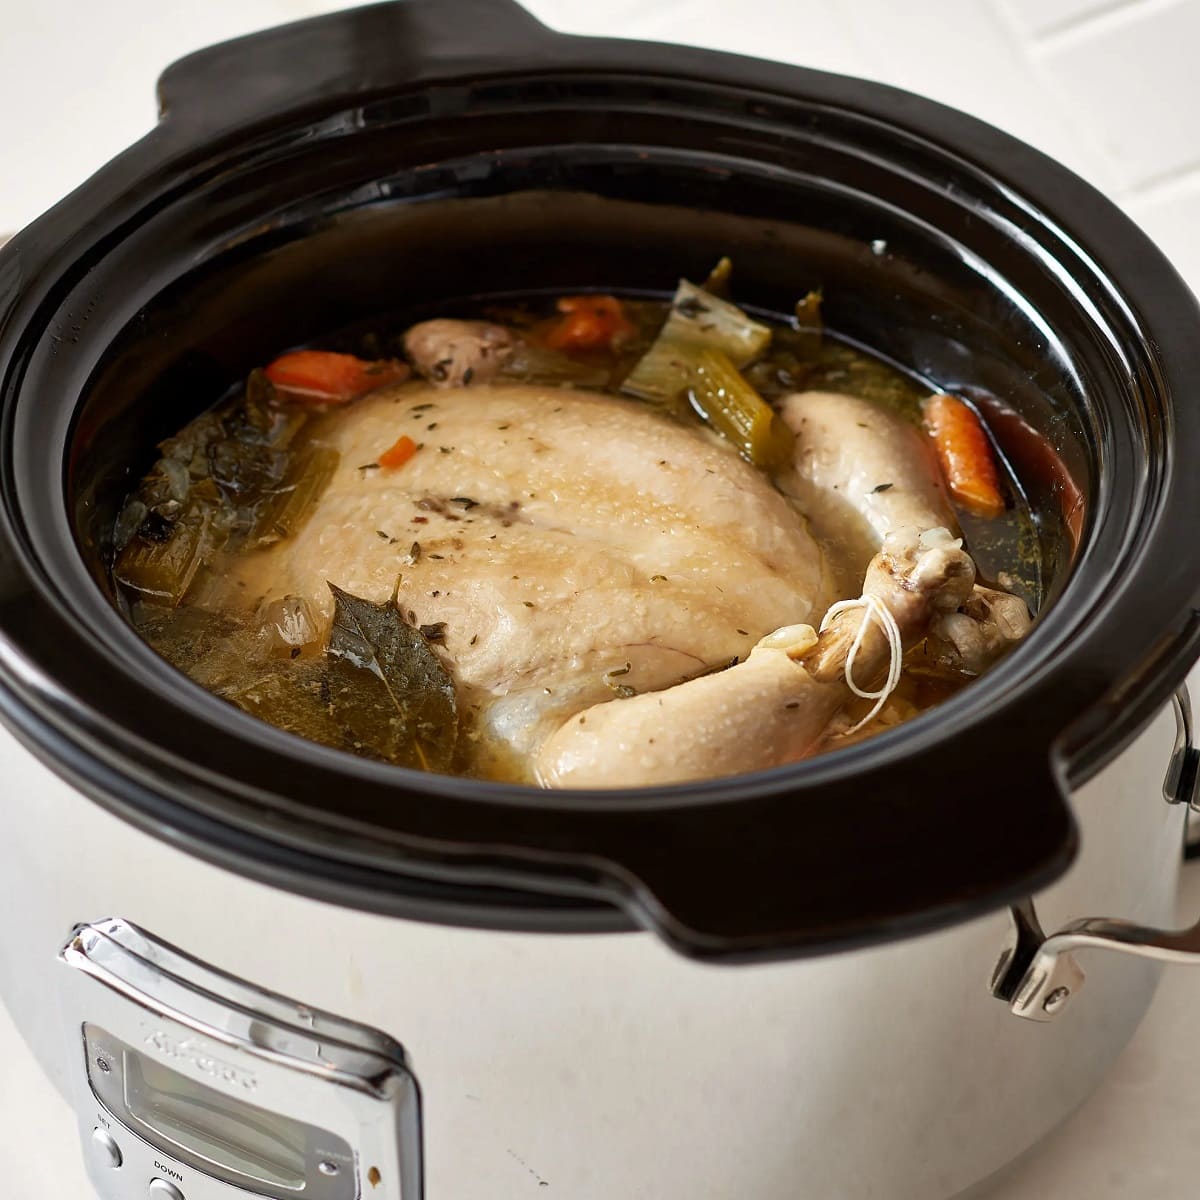
After cooking, allow the meal prep chicken to cool completely before storing it in an airtight container in the refrigerator to maintain its freshness and prevent bacterial growth.
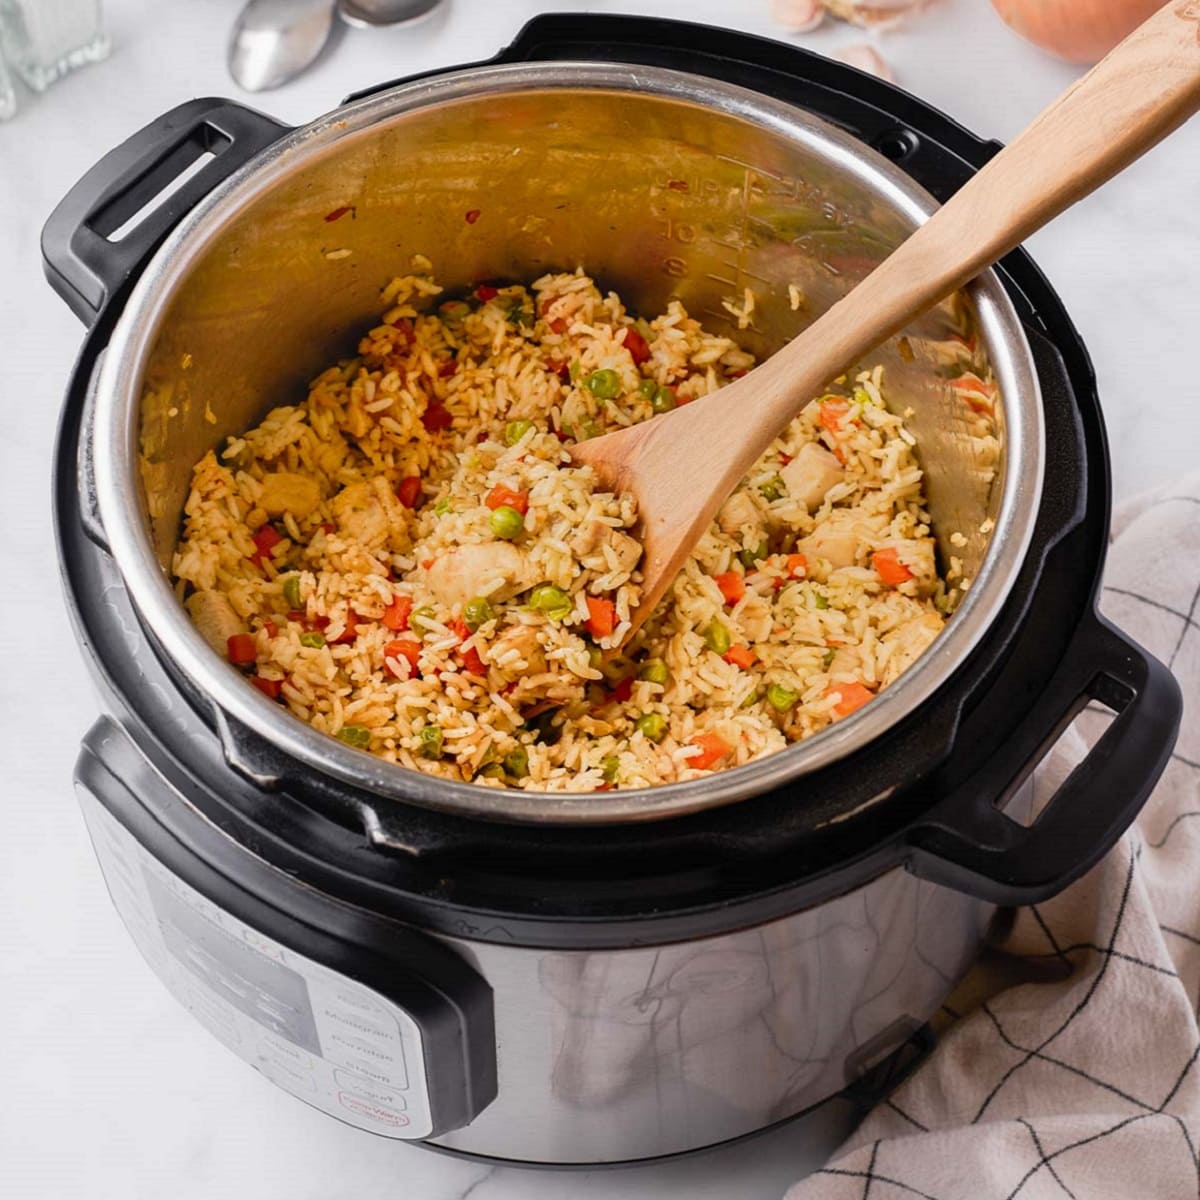
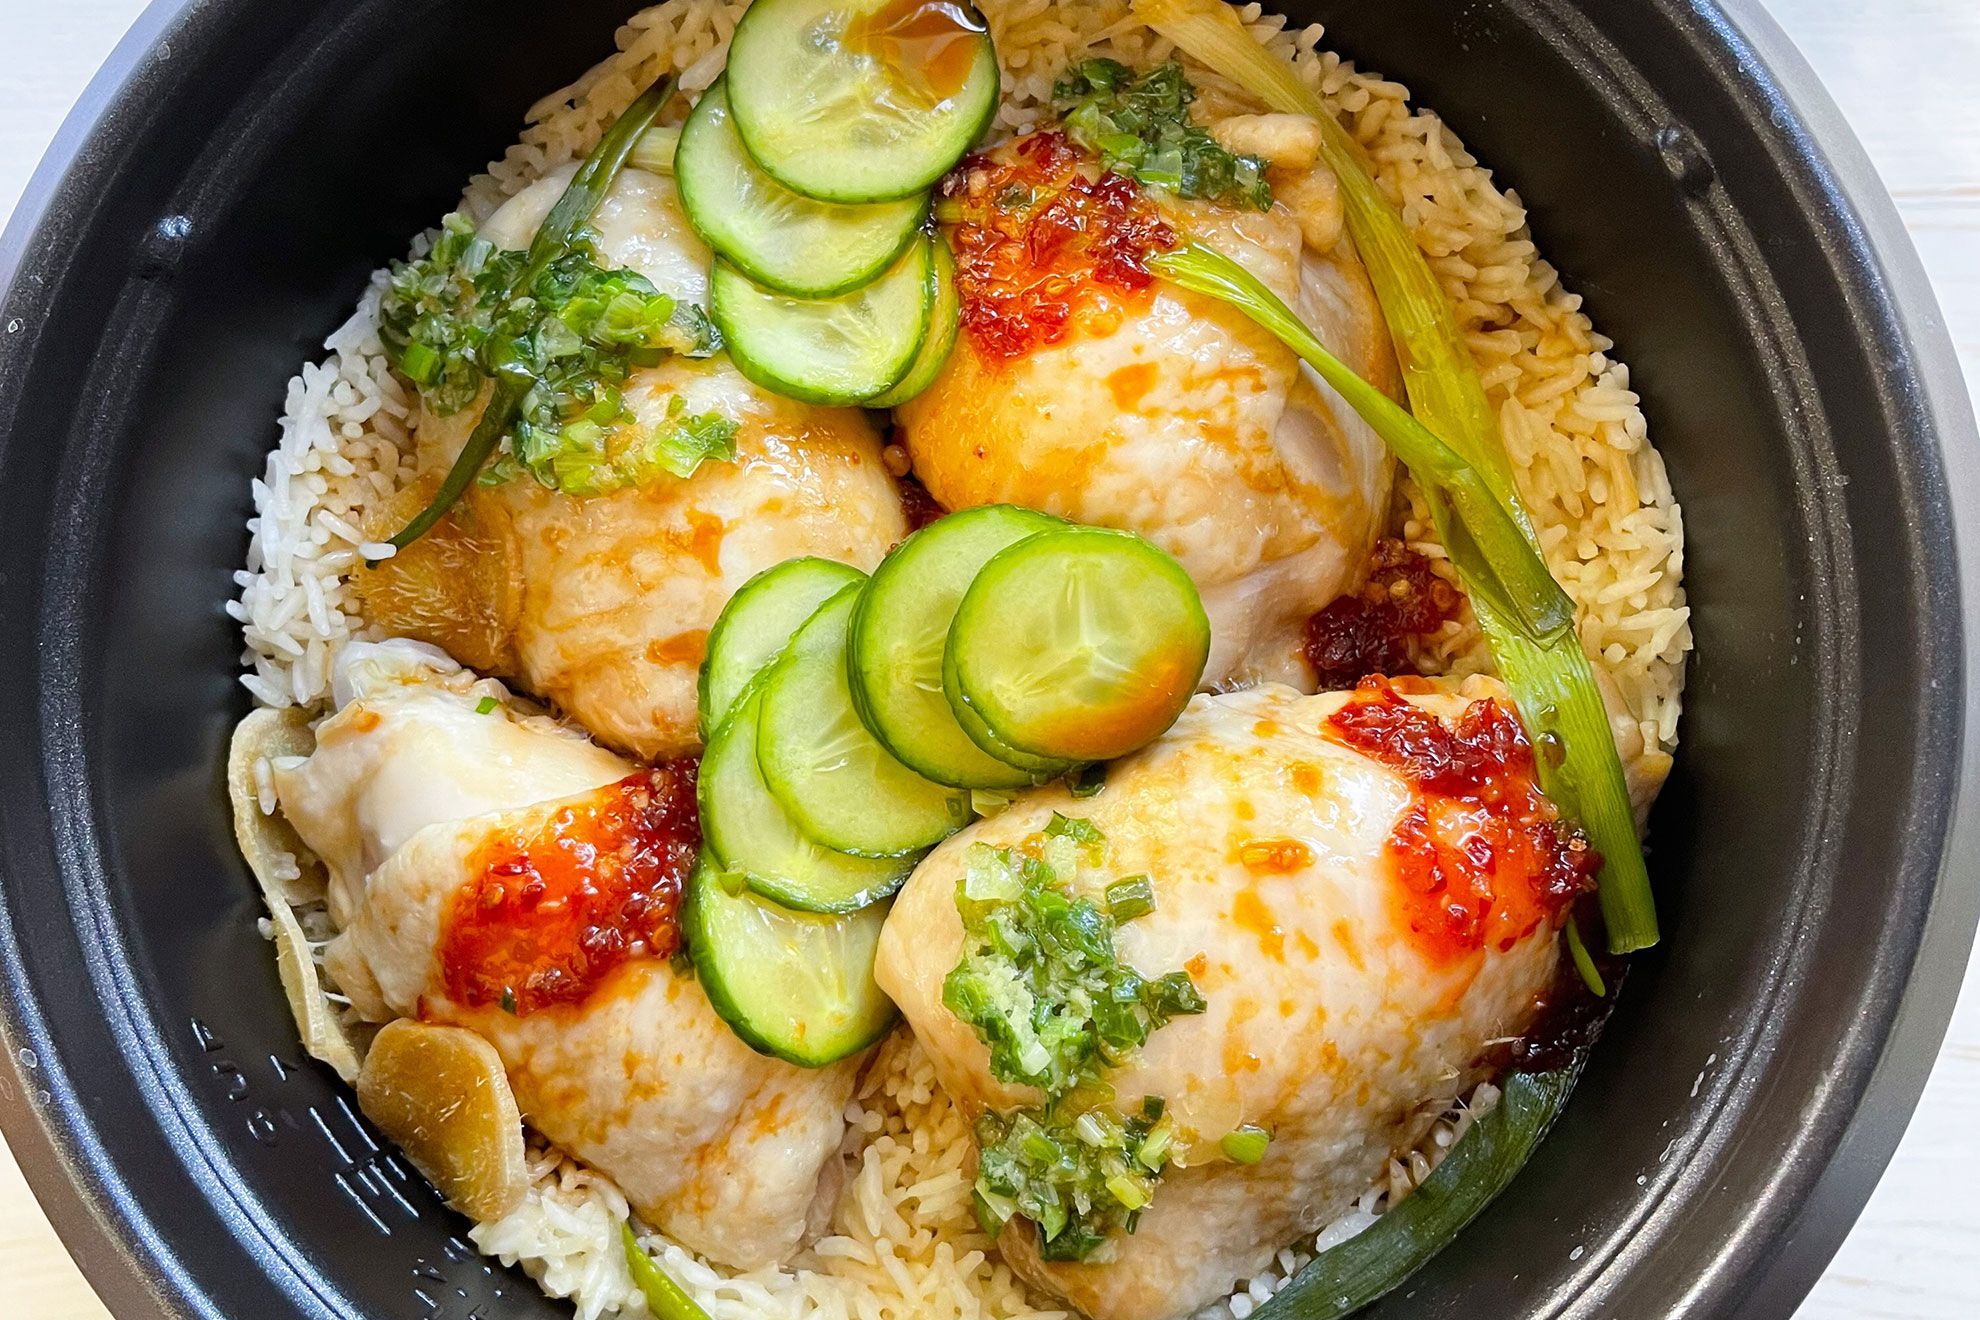
Read more: How To Make Chicken In A Rice Cooker
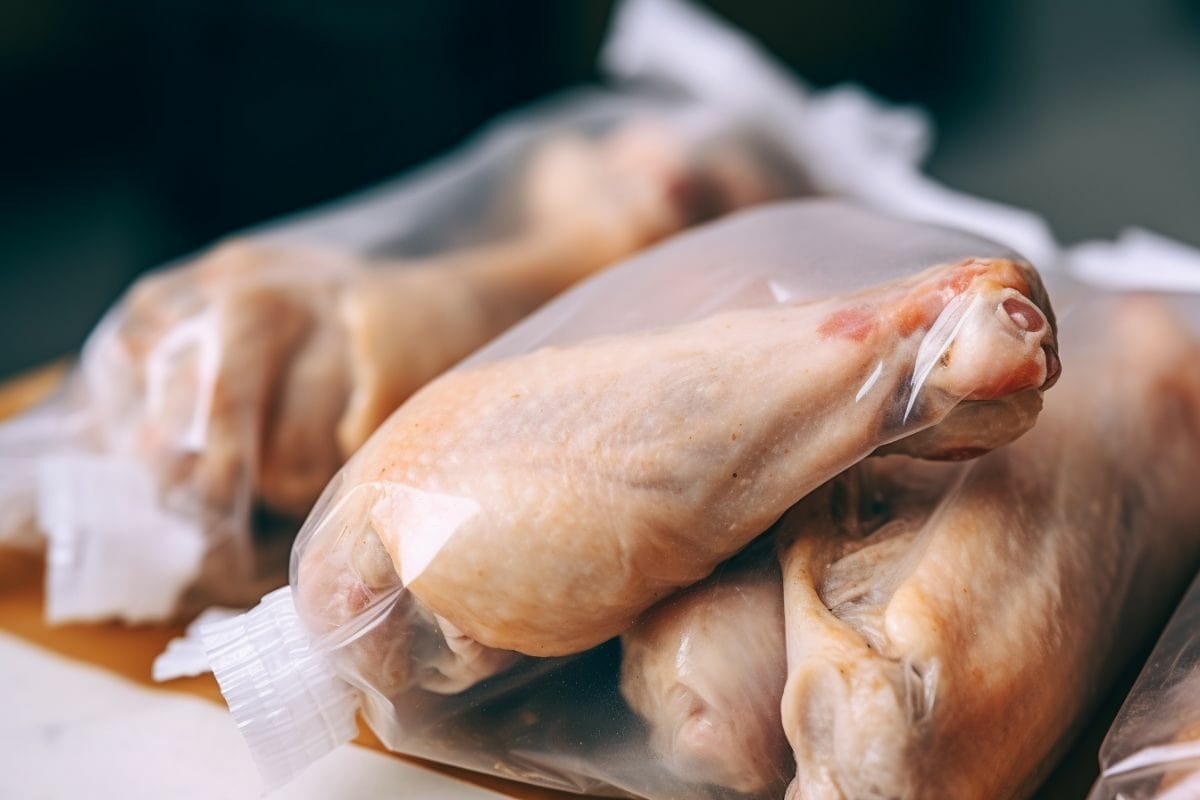
Step 5: Freezing the Chicken
Freezing your meal prep chicken is a great way to extend its shelf life and have prepped meals ready for longer-term storage. Here’s how you can freeze your chicken:
- Cool the Chicken: Allow your cooked chicken to cool down completely before freezing. Placing hot chicken in the freezer can lead to uneven freezing and can affect the texture and quality of the meat.
- Wrap in Freezer-safe Packaging: Individually wrap each portion of chicken tightly in plastic wrap or aluminum foil. Alternatively, you can place the portions in freezer-safe bags and remove as much air as possible to prevent freezer burn.
- Label and Date: Label the packaging with the date of freezing to keep track of its freshness. It’s also a good idea to write the portion size or the number of servings for easy reference.
- Store in the Freezer: Place the wrapped or bagged chicken portions in the freezer, making sure they are arranged in a flat, even layer. This allows for quicker freezing and easier organization.
- Use within 2-3 Months: For optimal quality, try to consume the frozen chicken within 2-3 months. While frozen chicken can be safe to eat beyond this timeframe, it may start to lose its texture and taste.
By freezing your meal prep chicken, you can have ready-to-eat meals available for an extended period. Just make sure to thaw and reheat the chicken properly when you’re ready to enjoy it. Speaking of which, let’s move on to the next step: thawing and reheating.
Step 6: Thawing and Reheating
Thawing and reheating your frozen meal prep chicken properly is essential to maintain its texture, flavor, and safety. Here’s how you can thaw and reheat your chicken:
- Thawing: The best way to thaw frozen meal prep chicken is to transfer it from the freezer to the refrigerator and allow it to thaw overnight. This gradual thawing method ensures even thawing and minimizes the risk of bacterial growth.
- Reheating Methods: There are a few different methods you can use to reheat your thawed chicken:
- Oven: Preheat your oven to around 325°F (163°C). Place the chicken in an oven-safe dish and cover it with foil to prevent drying out. Reheat for about 15-20 minutes or until the chicken reaches an internal temperature of 165°F (74°C).
- Microwave: If you’re short on time, you can use the microwave to reheat your chicken. Place the chicken in a microwavable dish and cover it with a microwave-safe lid or vented plastic wrap. Heat on high for about 2-3 minutes, stirring or flipping halfway through, until the chicken is heated thoroughly.
- Stovetop: To reheat sliced or shredded chicken, you can heat it on the stovetop. In a skillet over medium heat, add a small amount of oil or cooking spray and heat the chicken, stirring frequently, until it reaches the desired temperature.
- Consume Promptly: Once reheated, it’s important to eat the chicken promptly. Avoid reheating the chicken multiple times, as this can lead to a decline in quality and may increase the risk of foodborne illness.
Following these thawing and reheating methods will help you enjoy your meal prep chicken at its best. Now that you know how to thaw and reheat your chicken, let’s move on to step 7, where we’ll cover some important food safety guidelines.
Step 7: Proper Food Safety Guidelines
Ensuring food safety is of utmost importance when it comes to storing and preparing meal prep chicken. Follow these guidelines to maintain food safety:
- Keep Clean: Practice good hygiene by washing your hands thoroughly with soap and water before and after handling raw chicken. Also, ensure that all utensils, cutting boards, and surfaces that come into contact with the chicken are clean and sanitized.
- Separate Raw and Cooked Chicken: To prevent cross-contamination, keep raw chicken separate from cooked or ready-to-eat foods during storage, preparation, and serving. This includes using separate cutting boards, utensils, and storage containers.
- Cook to Safe Temperatures: Ensure that your meal prep chicken is cooked to an internal temperature of 165°F (74°C) to eliminate any harmful bacteria or pathogens. Use a food thermometer to check the chicken’s doneness.
- Refrigerate Promptly: After cooking, promptly cool and store your meal prep chicken in the refrigerator within two hours. This helps prevent the growth of bacteria that can cause foodborne illnesses.
- Proper Thawing: Thaw frozen meal prep chicken safely in the refrigerator or using the defrost function of a microwave. Avoid thawing at room temperature, as this can promote bacterial growth.
- Store Properly: Whether in the refrigerator or freezer, ensure that your meal prep chicken is stored in airtight containers or tightly wrapped to prevent contamination and freezer burn.
- Observe Shelf Life: Pay attention to the recommended shelf life of your meal prep chicken. Consume refrigerated chicken within 3-4 days and frozen chicken within 2-3 months for optimal quality and safety.
- Discard if Suspicious: If you notice any unusual odor, texture, or discoloration in your chicken, or if it has been stored improperly, it’s best to discard it to avoid the risk of foodborne illness.
By following these food safety guidelines, you can ensure that your meal prep chicken is safe to consume and enjoy. Now that you have a thorough understanding of the proper food safety measures, it’s time to wrap up this article.
Conclusion
Meal prep chicken is a convenient and nutritious option for those looking to maintain a healthy diet and save time in the kitchen. By following the steps outlined in this article, you can ensure that your meal prep chicken stays fresh, flavorful, and safe for consumption.
Choosing the right containers, properly prepping and portioning the chicken, and storing it in the refrigerator or freezer are all crucial steps in maximizing the shelf life of your meal prep chicken. Thawing and reheating the chicken correctly while adhering to food safety guidelines further ensures its quality and safety.
Remember to always practice good hygiene, keep raw and cooked chicken separate, cook to safe temperatures, and promptly store and refrigerate your meal prep chicken to avoid any potential foodborne illnesses.
Whether you’re a busy professional, a fitness enthusiast, or simply someone who values convenience, meal prepping chicken can help you stay on track with your healthy eating goals. With proper storage techniques and adherence to food safety guidelines, you can enjoy your meal prep chicken with peace of mind.
So why wait? Start meal prepping your chicken today and experience the benefits of easy, nutritious, and delicious meals throughout the week!
Frequently Asked Questions about How To Store Meal Prep Chicken
Was this page helpful?
At Storables.com, we guarantee accurate and reliable information. Our content, validated by Expert Board Contributors, is crafted following stringent Editorial Policies. We're committed to providing you with well-researched, expert-backed insights for all your informational needs.
0 thoughts on “How To Store Meal Prep Chicken”