Articles
How To Store Fish After Catching
Modified: October 22, 2024
Learn the best methods and techniques for storing fish after catching in this informative article. Keep your catch fresh and delicious for longer with our expert tips.
(Many of the links in this article redirect to a specific reviewed product. Your purchase of these products through affiliate links helps to generate commission for Storables.com, at no extra cost. Learn more)
Introduction
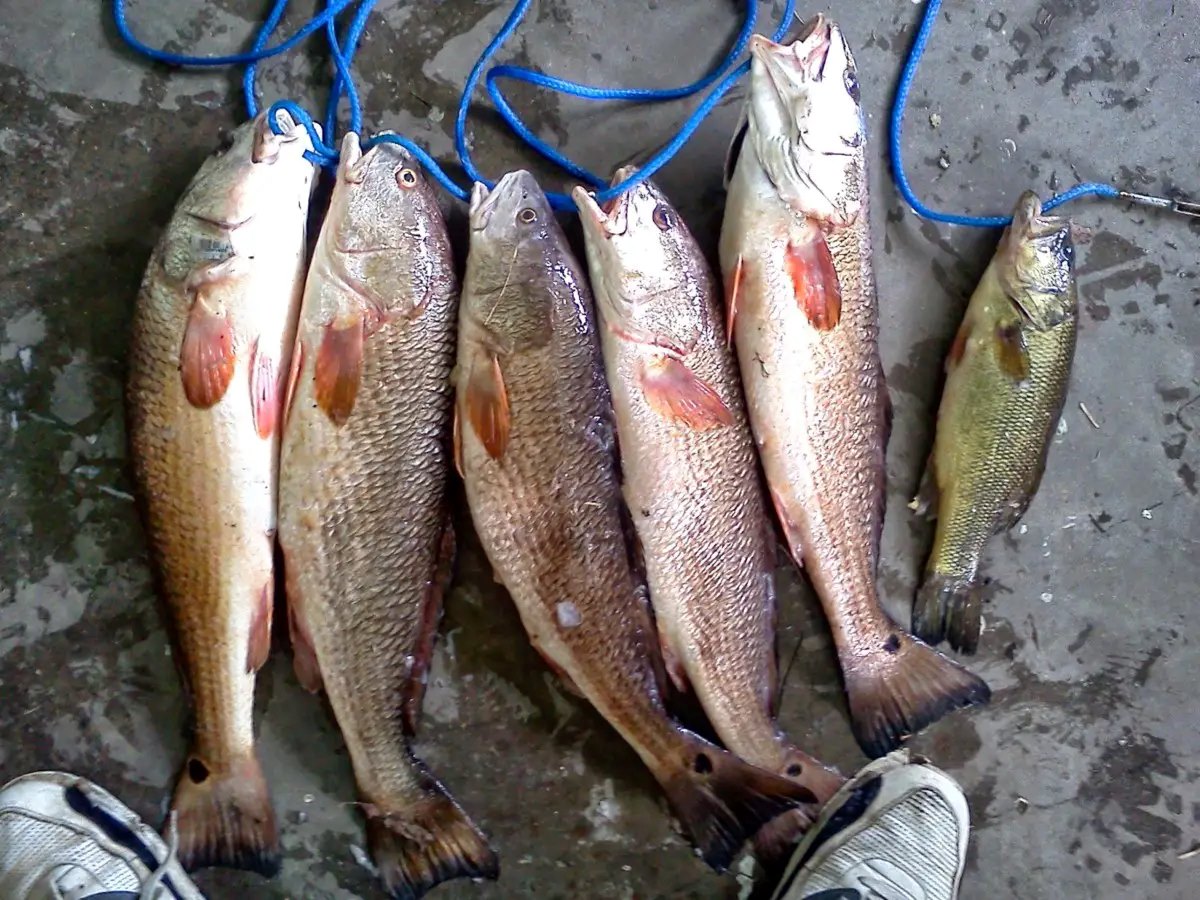
After a successful day of fishing, you want to ensure that your catch remains fresh and flavorful until you’re ready to cook it. Properly storing fish is crucial to maintain its quality, texture, and taste. Whether you’re an experienced angler or a novice fisherman, understanding the best practices for storing fish will help you maximize its freshness and minimize wastage.
In this article, we will explore the various techniques and tips for storing fish after catching it. From cleaning and gutting to selecting the right storage containers and using ice effectively, we will cover everything you need to know to keep your fish in optimal condition. So, let’s dive in!
Key Takeaways:
- Maximize fish freshness by cleaning, gutting, and storing it properly. Use food-grade containers, layer with ice, and seal fish individually for optimal preservation. Embrace alternative methods like canning and smoking for extended storage.
- Handle frozen fish with care, using proper thawing techniques and avoiding refreezing. Prioritize hygiene and food safety throughout the storage process to enjoy high-quality, flavorful fish.
Read more: How To Store Trout After Catching
Proper Cleaning and Gutting Techniques
When it comes to preserving the freshness of your catch, proper cleaning and gutting techniques are essential. Here’s a step-by-step guide to help you clean and gut your fish effectively:
- Start by rinsing the fish thoroughly with clean water to remove any dirt, blood, or slime. Use a gentle stream of water to ensure that you don’t damage the delicate skin.
- Using a sharp knife, make an incision from the vent (located near the anal fin) up to the throat. Take care not to cut too deep, as you don’t want to puncture the intestines.
- With the incision made, carefully remove the guts and organs from the fish’s body cavity. This process is known as gutting. Be cautious not to rupture the gallbladder, as it can ruin the taste of the fish.
- Once the fish is gutted, give it another thorough rinse with clean water to remove any remaining blood or debris.
- After cleaning, pat the fish dry with a clean cloth or paper towel.
It’s worth noting that some larger fish may require additional steps for cleaning and gutting, such as removing the gills or scales. Consult online resources or seek advice from experienced anglers for specific instructions on cleaning larger species.
To maintain the fish’s freshness, it’s important to clean and gut it as soon as possible after the catch. Leaving the guts in the fish can lead to faster spoilage and result in off-flavors.
Now that your fish is clean and gutted, let’s move on to the next step: choosing the right storage containers.
Choosing the Right Storage Containers
Once you have cleaned and gutted your fish, it’s important to store it properly to maintain its freshness. Choosing the right storage containers plays a crucial role in preserving the quality of your catch. Here are some factors to consider when selecting the appropriate containers:
- Material: Opt for containers made of food-grade materials such as stainless steel, glass, or high-quality plastic. These materials are non-reactive and won’t introduce any unpleasant flavors or odors to the fish.
- Size: Select containers that are proportionate to the size of your fish. Using containers that are too large can cause air exposure and accelerate spoilage, while using containers that are too small can cause the fish to be squeezed and lose its shape.
- Tight Seal: Ensure that the containers have a tight-fitting lid or cover to prevent air from entering. This helps slow down the oxidation process and keeps the fish fresh for longer.
- Easy to Clean: Look for containers that are easy to clean and sanitize. Fish can leave behind strong odors, so having containers that can be thoroughly washed will help eliminate any residual smells.
Additionally, consider the shape of the container. Flat and rectangular containers are considered more space-efficient and allow for easier stacking in the refrigerator or freezer.
If you plan to store multiple fish, it’s advisable to place them in individual containers rather than stacking them on top of each other. This ensures that each fish has enough air circulation and avoids crushing or damaging the delicate flesh.
Now that you have the right containers, let’s explore the use of ice to preserve the freshness of the fish.
Using Ice to Preserve Freshness
Ice is a vital component in keeping fish fresh and preventing bacterial growth. It helps maintain a cold temperature, slows down enzyme activity, and reduces the growth of spoilage-causing microorganisms. Here are some tips for using ice effectively:
- Crushed or Cubed Ice: Use either crushed or cubed ice for storing fish. Both options work well in maintaining a consistent cold temperature. Choose the form that is readily available to you.
- Layering Technique: Start by placing a layer of ice at the bottom of the container. Then, carefully arrange the fish on top of the ice, making sure they are not touching each other. Next, add another layer of ice, covering the entire surface of the fish. Repeat this layering technique until the container is filled, ensuring the fish is fully surrounded by ice.
- Avoid Excess Water: Ensure that the ice does not melt excessively, as it can create excess water in the container. Too much water can lead to a loss of flavor and texture in the fish. Drain any excess water periodically to maintain the desired moisture level.
- Replenish Ice: As the ice melts, regularly replenish it to maintain a consistent cold temperature. Aim to keep the container at a temperature of around 32°F (0°C) to 40°F (4°C) to preserve the fish’s freshness.
Remember to handle the ice with clean hands or utensils to prevent contamination. Avoid direct contact between the fish and the ice to minimize the risk of freezer burn.
The use of ice is particularly important when storing fish for extended periods or in warmer climates. It helps prolong the shelf life and maintain the quality of the catch until you’re ready to consume it.
Now that you know how to use ice effectively, let’s move on to the next step: properly sealing and storing fresh fish.
Properly Sealing and Storing Fresh Fish
Properly sealing and storing fresh fish is crucial to prevent contamination, maintain its quality, and extend its shelf life. Follow these steps for optimal storage:
- Wrap Individually: Wrap each fish individually in airtight packaging, such as plastic wrap or vacuum-sealed bags. This prevents exposure to air and reduces the risk of freezer burn or moisture loss.
- Label and Date: Don’t forget to label each package with the type of fish and the date of storage. This helps you keep track of the freshness and avoid confusion when consuming the fish later.
- Consider Freezing: If you plan to store fish for an extended period, freezing is a great option. Place the individually wrapped fish into a freezer-safe bag or container to prevent freezer burn and ensure the longest possible shelf life.
- Store at Appropriate Temperature: Whether storing fresh fish in the refrigerator or freezer, it’s important to maintain the correct temperature to avoid spoilage. The refrigerator should be set to around 32°F (0°C) to 40°F (4°C), while the freezer should be set at 0°F (-18°C) or below.
- Avoid Overcrowding: Avoid overcrowding the storage space to allow for proper air circulation. This helps maintain a consistent temperature and prevents the fish from thawing or spoiling prematurely.
For the best results, consume fresh fish within two to three days of storing it in the refrigerator. Frozen fish can be stored for several months but is best consumed within six months for optimal flavor and texture.
Remember to always practice good hygiene when handling fish. Wash your hands thoroughly before and after handling, and clean all utensils and surfaces that come into contact with the fish to prevent cross-contamination.
Now that you know how to properly seal and store fresh fish, let’s explore alternative methods of fish storage.
After catching fish, store them in a cooler with ice to keep them fresh. Make sure to clean and gut the fish before storing to maintain quality.
Read more: How To Store Crab After Catching
Alternative Methods of Storage
While refrigeration and freezing are the most common methods of storing fish, there are alternative methods that can be used in certain situations. Here are a few alternative methods of fish storage:
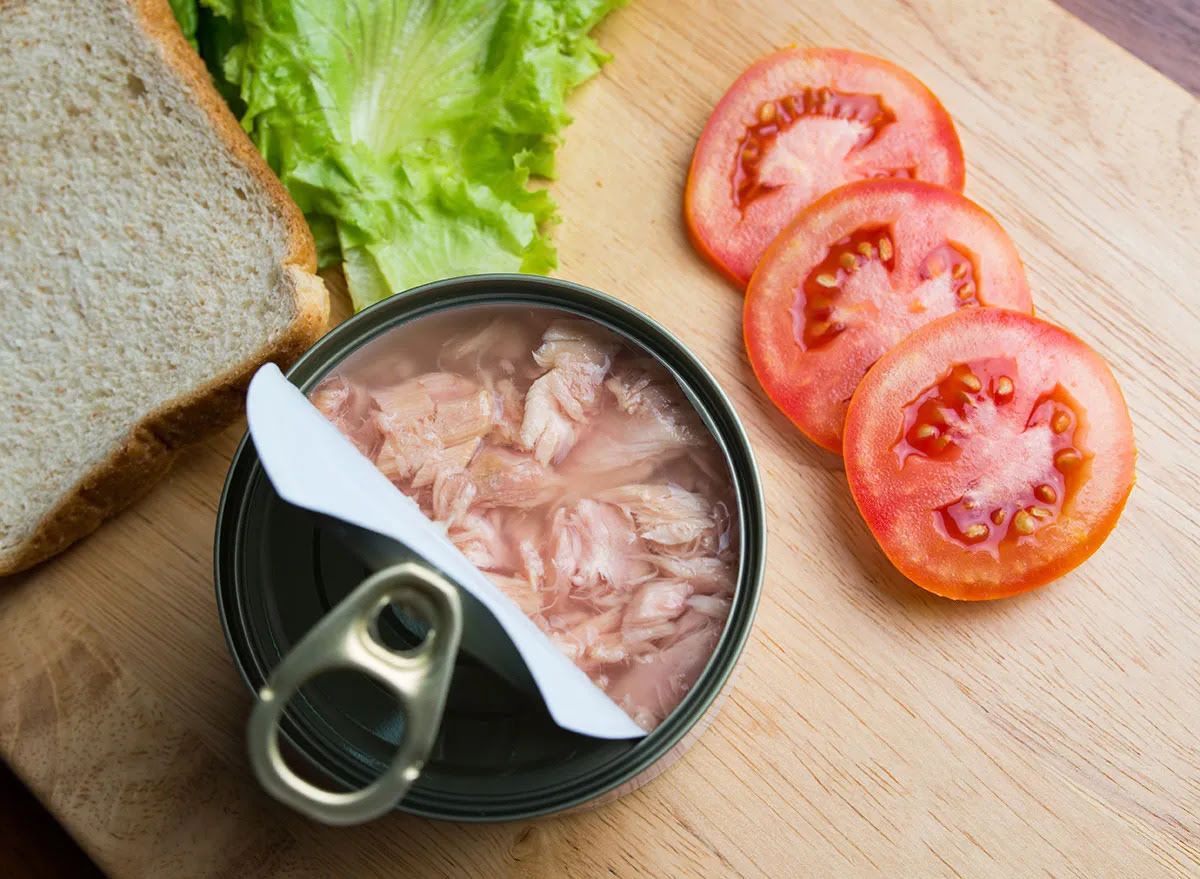
- Canning: Canning is a great way to preserve fish for an extended period without the need for refrigeration or freezing. The fish is cooked and sealed in airtight cans or jars, eliminating the risk of spoilage. Canned fish can last for several years when stored in a cool, dry place.
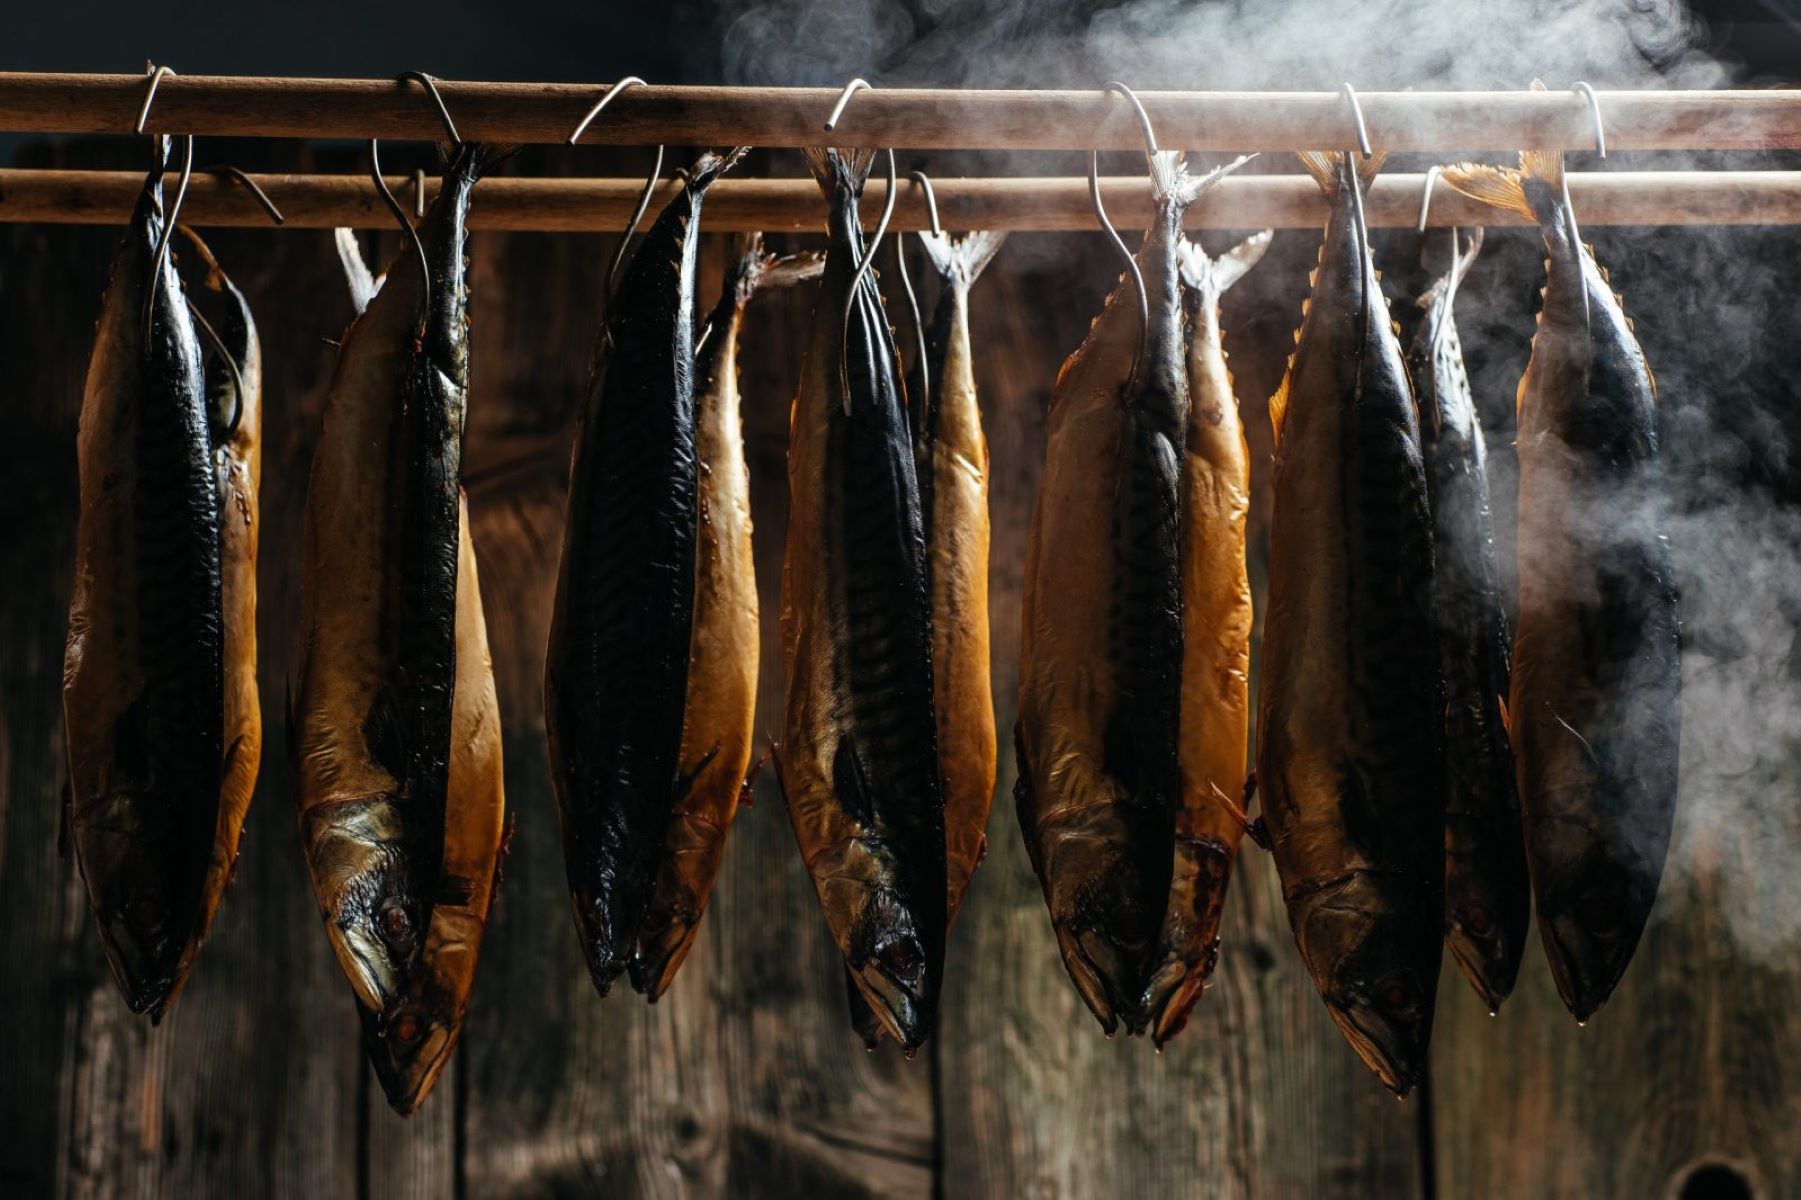
- Smoking: Smoking fish not only imparts a delicious flavor but also acts as a natural preservative. The smoking process removes moisture from the fish, inhibiting bacterial growth. Smoked fish can be stored in the refrigerator for a few weeks or in the freezer for several months.
- Pickling: Pickling involves marinating fish in a solution of vinegar, salt, sugar, and spices. The acidic nature of the solution creates an inhospitable environment for bacteria, allowing the fish to be stored at room temperature for a considerable amount of time. Pickled fish can be enjoyed for several months when stored properly.
- Drying: Drying, also known as dehydrating, removes moisture from fish, making it less prone to spoilage. Dried fish can be stored at room temperature for an extended period. However, it’s important to ensure that the fish is properly cured and dried to prevent the growth of harmful bacteria.
These alternative methods of storage are particularly useful in situations where refrigeration or freezing is not readily available. They allow you to safely store fish for an extended period and enjoy it at a later time. However, it’s important to follow proper techniques and guidelines for each method to ensure food safety.
Now that you’re aware of the alternative methods, let’s discuss some tips for handling frozen fish.
Tips for Handling Frozen Fish
Handling frozen fish requires proper care to maintain its quality and prevent any foodborne illnesses. Here are some tips to keep in mind when handling frozen fish:
- Thawing: When thawing frozen fish, it’s best to do so in the refrigerator. Place the fish on a plate or tray to catch any drips and allow it to thaw slowly overnight. Avoid thawing fish at room temperature, as it can promote the growth of bacteria.
- Pat Dry: After thawing, gently pat the fish dry with a paper towel to remove excess moisture. This helps maintain the texture and flavor of the fish.
- Avoid Refreezing: Once fish has been thawed, it’s not recommended to refreeze it. Refreezing can affect the quality and texture of the fish, leading to a loss of flavor and a higher risk of spoilage.
- Inspect for Freezer Burn: Freezer burn can occur when moisture is lost from the fish due to improper storage. It results in dry and discolored patches on the surface. If you notice signs of freezer burn, trim off the affected areas before cooking.
- Handle with Clean Hands: Always handle frozen fish with clean hands or utensils to avoid introducing any contaminants.
- Proper Storage: If you have leftovers from a thawed fish, store them in a covered container in the refrigerator for up to two days. Ensure the fish is stored away from other raw food items to prevent cross-contamination.
By following these tips, you can handle frozen fish safely and enjoy its deliciousness without compromising on quality.
Now that we’ve covered the tips for handling frozen fish, let’s summarize the key points.
Proper Thawing Techniques
Thawing fish correctly is essential to preserve its quality, texture, and flavor. Improper thawing can lead to moisture loss, a change in the fish’s texture, and an increased risk of bacterial growth. Here are some proper thawing techniques:
- Refrigerator Thawing: The safest and most recommended method of thawing fish is in the refrigerator. Place the frozen fish in a covered container or on a plate to catch any drips. Allow it to thaw slowly in the refrigerator overnight or for several hours, depending on the size and thickness of the fish.
- Cold Water Thawing: If you need to quickly thaw fish, you can use the cold water method. Ensure the fish is in a leak-proof plastic bag to prevent water contamination. Submerge the fish in cold water, which should be changed every 30 minutes to maintain a consistent temperature. Thawing using this method usually takes about one to two hours, depending on the size and thickness of the fish.
- Microwave Thawing: While microwave thawing is convenient, it should be used with caution. Follow the manufacturer’s instructions carefully and use the defrost setting to thaw the fish. Take care to monitor the process closely to prevent overcooking certain parts of the fish.
Regardless of the thawing method you choose, it’s important to never thaw fish at room temperature. This can lead to bacterial growth and compromise the quality and safety of the fish.
Once the fish is fully thawed, pat it dry with a paper towel to remove any excess moisture. This step is important, especially if you plan to cook the fish, as excess moisture can affect its texture and result in less desirable outcomes.
Remember that once fish is thawed, it is not recommended to refreeze it. Proper thawing ensures that you can safely enjoy the fish without compromising its quality.
Now, let’s wrap up and summarize the key points we’ve discussed throughout this article.
Conclusion
Properly storing fish after catching it is crucial to maintain its freshness, quality, and flavor. By following the techniques and tips outlined in this article, you can ensure that your catch remains in optimal condition until you’re ready to cook and enjoy it.
Start by cleaning and gutting the fish as soon as possible after catching it. This helps prevent spoilage and off-flavors. Choose the right storage containers made of food-grade materials with tight seals to keep the fish protected.
Using ice is essential to preserve the freshness of the fish. Layer the fish with crushed or cubed ice in a container, avoiding excess water buildup and regularly replenishing the ice to maintain the desired temperature.
Properly sealing and storing fresh fish is crucial for maintaining its quality and extending its shelf life. Wrap each fish individually and label them with the type of fish and the storage date. Store them at the appropriate temperature in the refrigerator or freezer, avoiding overcrowding.
In addition to traditional refrigeration and freezing, there are alternative methods of preserving fish such as canning, smoking, pickling, and drying. These methods offer options for longer-term storage or situations where refrigeration is not available.
When handling frozen fish, ensure proper thawing techniques such as refrigeration thawing or cold water thawing. Avoid refreezing the fish and handle it with clean hands or utensils to prevent contamination.
By following these guidelines, you can maximize the freshness of your catch and enjoy delicious, high-quality fish whenever you’re ready to cook. Remember to prioritize food safety and practice good hygiene throughout the entire process.
Now that you’re equipped with the knowledge of proper fish storage techniques, go ahead and make the most of your next fishing adventure!
Frequently Asked Questions about How To Store Fish After Catching
Was this page helpful?
At Storables.com, we guarantee accurate and reliable information. Our content, validated by Expert Board Contributors, is crafted following stringent Editorial Policies. We're committed to providing you with well-researched, expert-backed insights for all your informational needs.


0 thoughts on “How To Store Fish After Catching”